


Oversized Wastegate and Regrinding
When we're trying to get as much out of our turbo as possible, it is very common to port the the wastegate out to help keep drive pressure in check. However, we are limited to how much we can port the wastegate out by the size of the wastegate flapper. The size of the little HX35's flapper could use some serious help, and it wouldn't hurt to give a HE351 a little love as well. So what we're going to do is install a larger flapper, so we can make the hole even bigger, without having to worry about how much sealing surface is left. The stock wastegate port diameter on both HX35 and HE351 are right around 21.75mm (just shy of 7/8). While the stock wastegate flapper is considerably larger on the HE351, where you can take it out to 1” without much issue. The HX35’s flapper is considerably smaller, so 15/16” is the largest I would consider without upgrading the flapper to a larger diameter. Lucky for us, making a new flapper is a simple job, and takes all of 15 minutes.
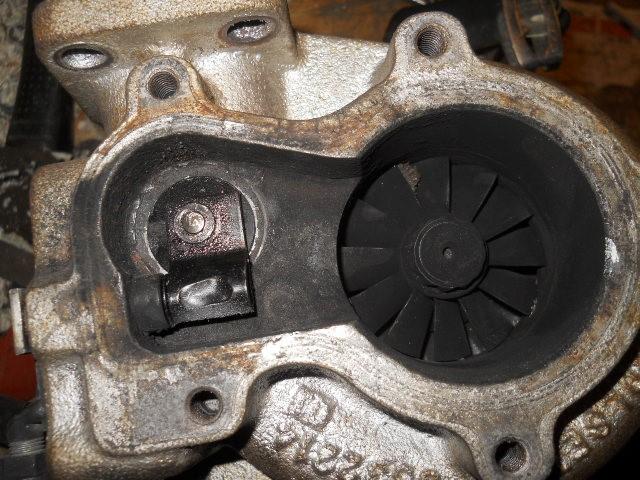
Here is a Stock HX35 wastegate flapper.
And here is a Stock HE351CW wastegate flapper.
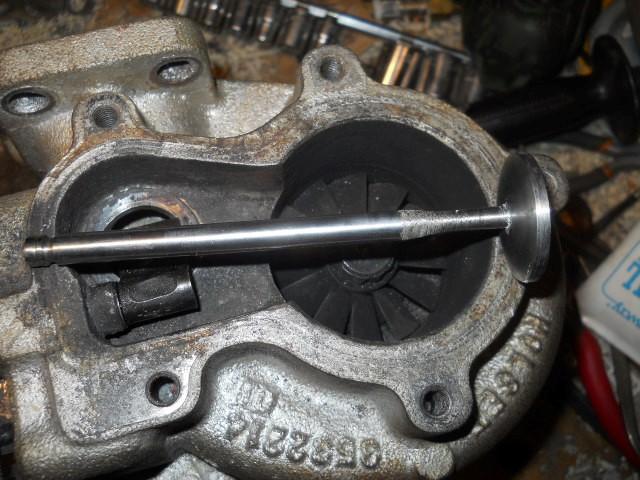
To make a new flapper, I used an old exhaust valve, but this is as great of place as any to get creative.
First we’ll need to remove the old wastegate flapper. Just drill out the center of the “rivet” holding the flapper to the wastegate arm.
To grind the exhaust valve to the correct size, I installed the valve into a drill press, did the rough grinding with a hand grinder, and then did the finishing touches with a hand file.
Here’s our new HX35 wastegate flapper, after I got it to the dimensions I wanted.
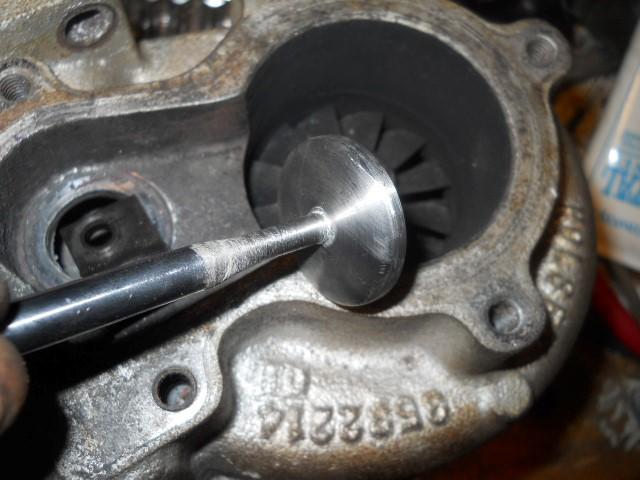
I then cut the stem off the valve, and installed it to make sure there was a nice fit. On the HX35 I used a ¼” nut and hammered it onto the shaft, to hold the wastegate flapper on. We’ll weld it on in a second, first we need make sure the wastegate has enough “slop” in it to make full contact with the housing, for a positive seal. A little extra slop is a good thing.
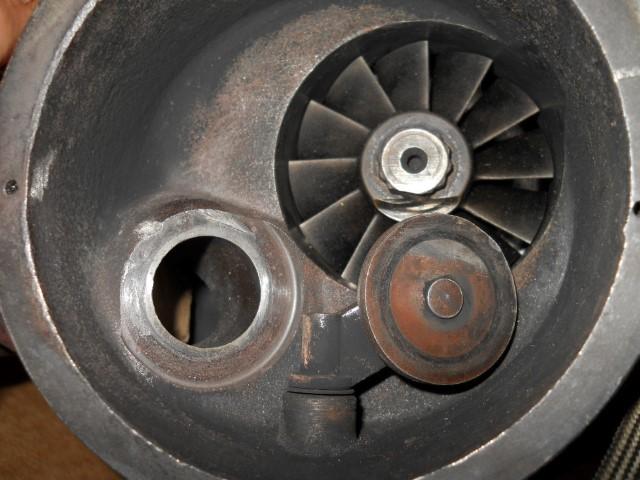
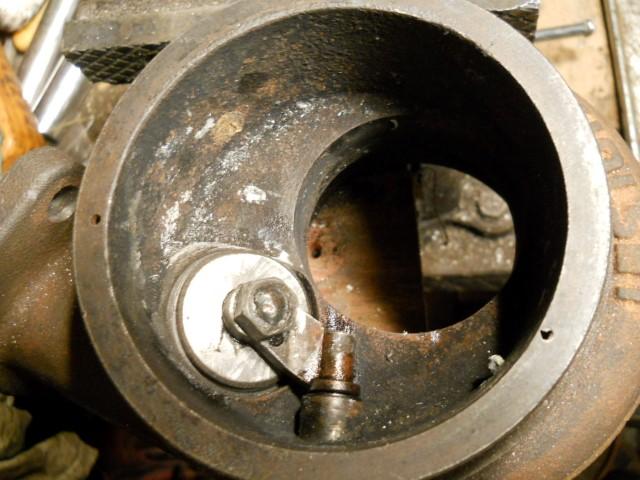
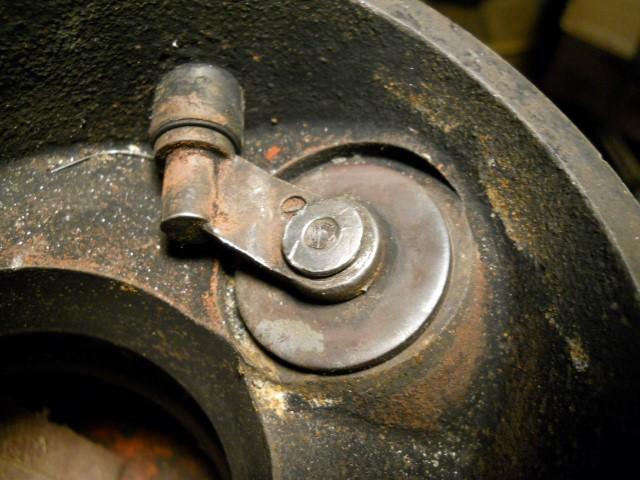
Here is our wastegate at this point.

After making sure everything will work, weld the nut onto the shaft. Make sure no weld gets in the way of being able to put a socket on the nut, this will help for later.
Now lets go to the HE351CW, we already made a new flapper for it, and welded it on (for the HE351CW, a 5/16” nut worked best)
Now we’re going to “lap” the wastegate, to insure that everything sits together well and there are no leaks. Remember! Leaks mean slower spooling! Even if you don’t upgrade the flapper, I would recommend doing this if the wastegate has ever been ported, as porting can create a lip, and when porting. Even if it was sealing before, you may have removed the sealing surface for the wastegate.
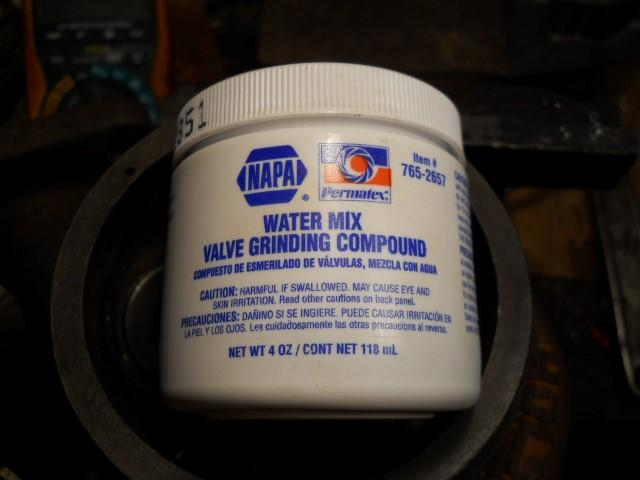
For lapping the wastegate, we’re going to use Valve Grinding Compound, last time I got some it was about $6 from Napa, you should be able to get it from most any auto parts store.
Then we need to apply it on the flapper, make sure to put more on the flapper then you think you’ll need, as we use the compound, the grit becomes finer and finer, so by reusing the compound that goes to the edges, we can get a progressively finer finish.
Now we need to be able to spin the flapper, to grind away at the high spots in the housing. When doing this, I would recommend going in circles instead of back and forth, that way the whole valve gets ground evenly. Also make sure to apply the pressure to the flapper by the wastegate arm, same as it would in the truck, otherwise the pressure won’t be the same when you hook the wastegate actuator up, and can grind away one side of the hole more than the other.
Now here is where the nut welded to the top comes in handy! Just take a screw driver, or a drill and spin the flapper. Remember not to get carried away if using a drill, and don’t spin it to fast. Make sure to check the progress repeatedly along the way, make sure that the compound never gets dry, as it will start to scor the surface.
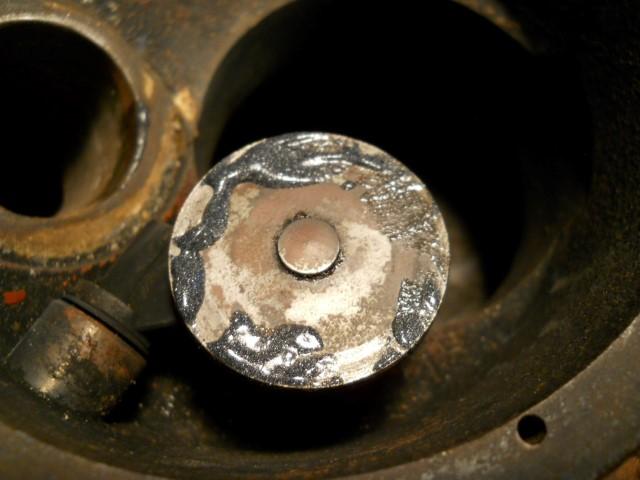
Before:

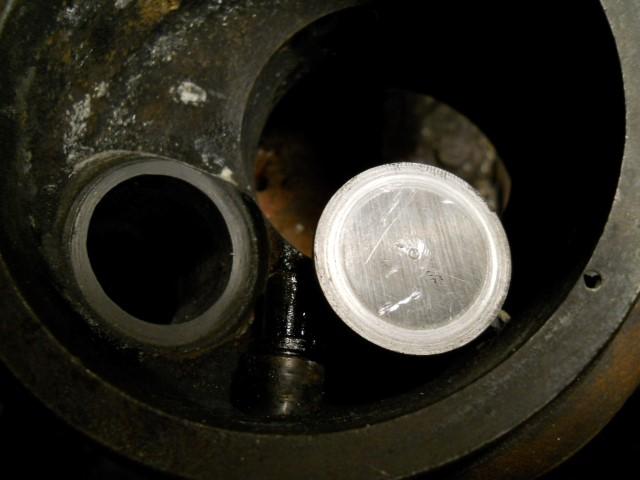
After:
So there you have it, a wastegate that will seal wonderfully, but can flow enough for you performance needs!
-
 1
1

There are no reviews to display.