


HVAC Case Removal
WARNING! Disconnect the batteries for at least 15 minutes before starting to disassemble the dash. This is because of the Air Bags in the dash. This is just a safety precaution to keep the possibility of discharging your Air Bags while you work on your dash.
So that being said we'll disconnect the batteries and work under the hood for a short period. There are a few chores we got to do under the hood.
Drain at least 1 gallon of coolant
Disconnect the heater hoses
Remove the Air-filter Assembly
Discharge the freon from the Air Conditioning System
Disconnect all A/C plumbing to the evaporator
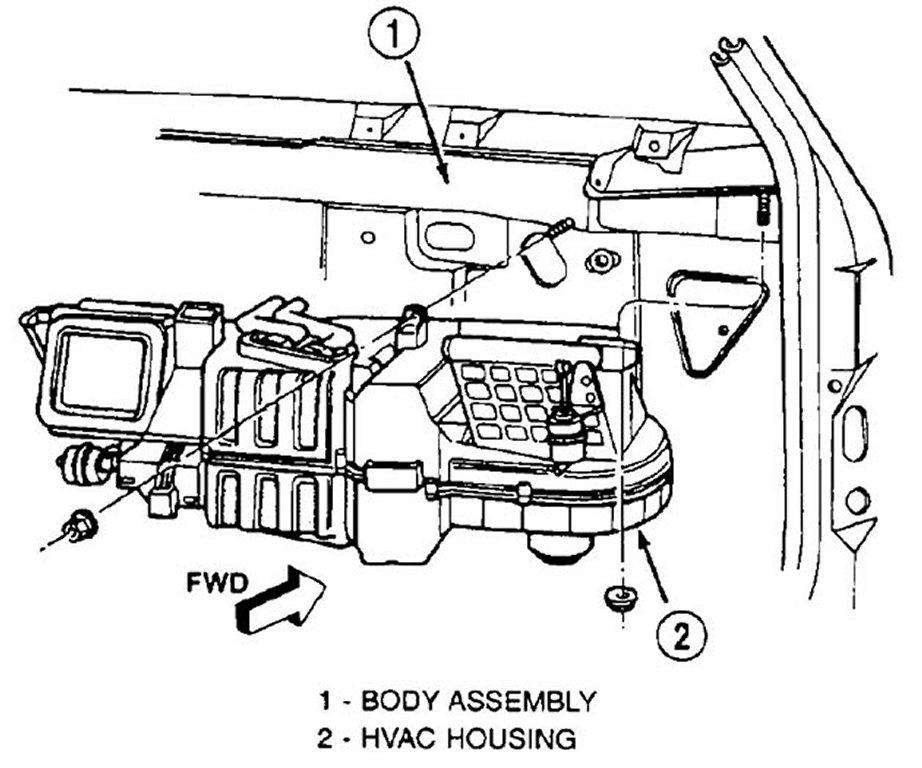
Remove the 4 nuts holding the HVAC unit on the firewall
On the driver side of trans hump disconnect the vacuum lines to the HVAC
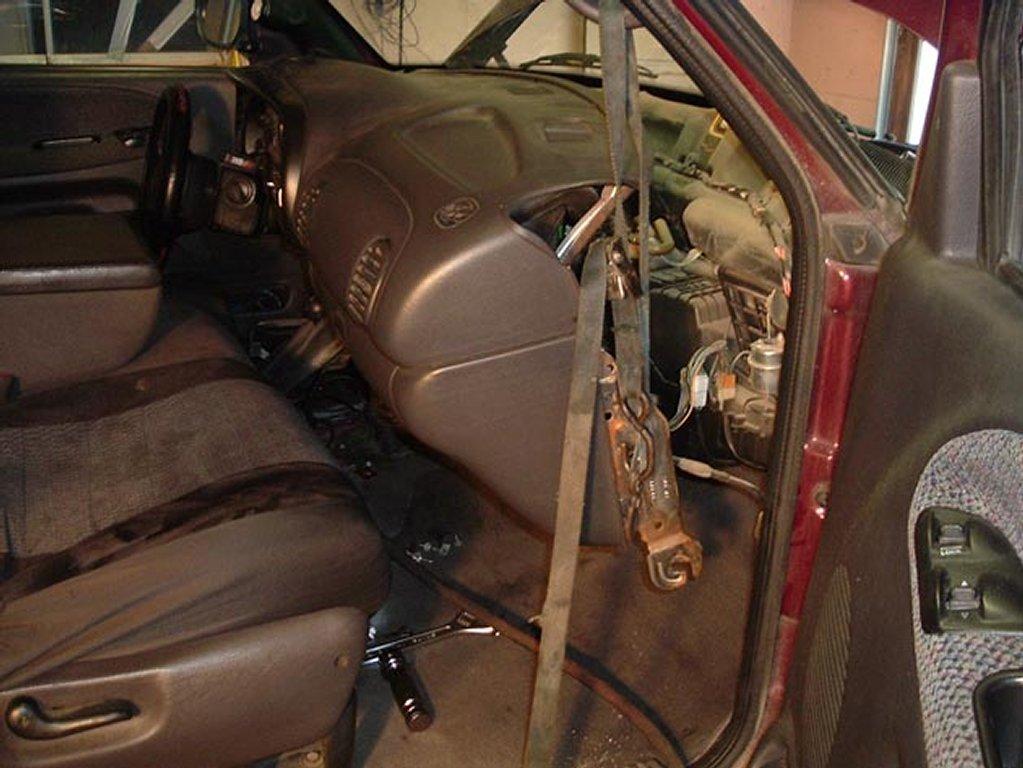
Now as for the fast way to access the HVAC unit you need to remove all 5 screws all the top of the dash. Then pull the knee bolster and remove the 2 nuts holding the steering column and allow it to lay on the driver seat. Then remove both kick panels and loosen both bolts at the base of the dash. Now in the center (SRS computer) there is 2 bolts and 2 nuts holding the center of the dash these have to be removed. Now gently lift the dash up and out of the slot in the passenger side bolt. Using a tie strap hang the dash from the grab handle on the passenger side.
Note: You may add a note on automatics to remove the shift indicator cable before dropping the steering column. (Oldbeek)
Disconnect any wiring going to the HVAC unit. Now there are 2 nuts on the dash side you got to remove.
Now the HVAC unit will slide out under the dash on the passenger side. You'll have to lift the dash slightly but it will come out easy.
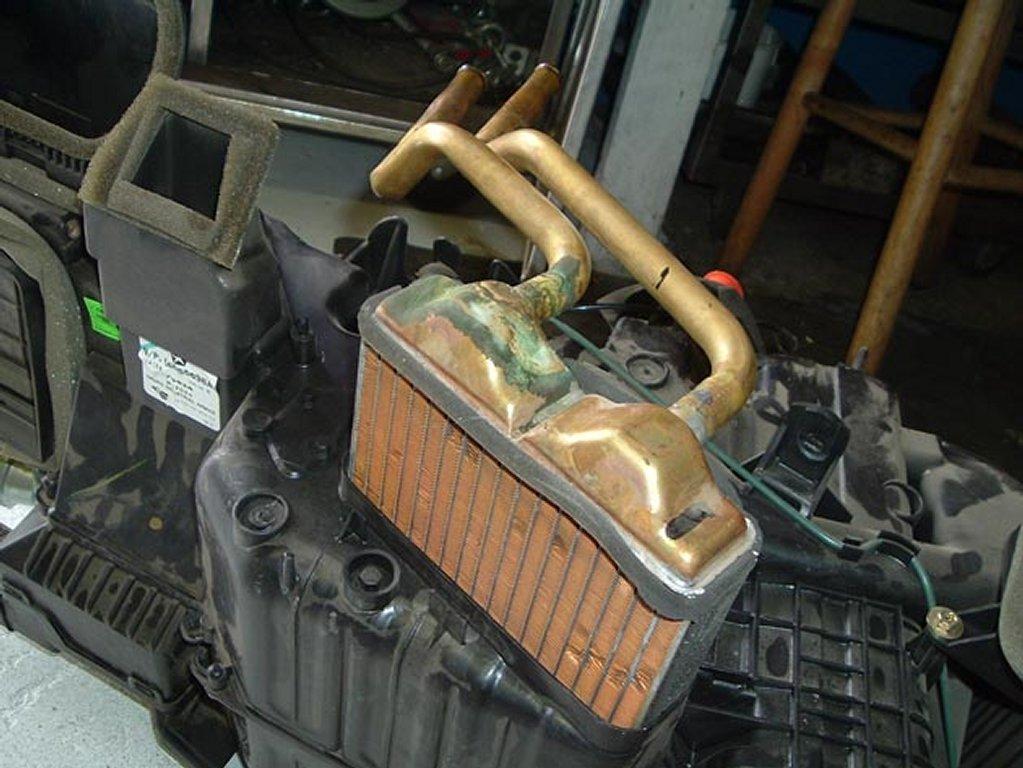
Heater Core Removal
Remove the 3 Phillips screws and lift the heater straight up out of the HVAC unit.
Evaporator Removal
Flip the HVAC unit upside down. Now find the floor vent and careful unsnap the floor vent and remove the first Phillips screw. Then remove the remaining Phillips screws around the edge.
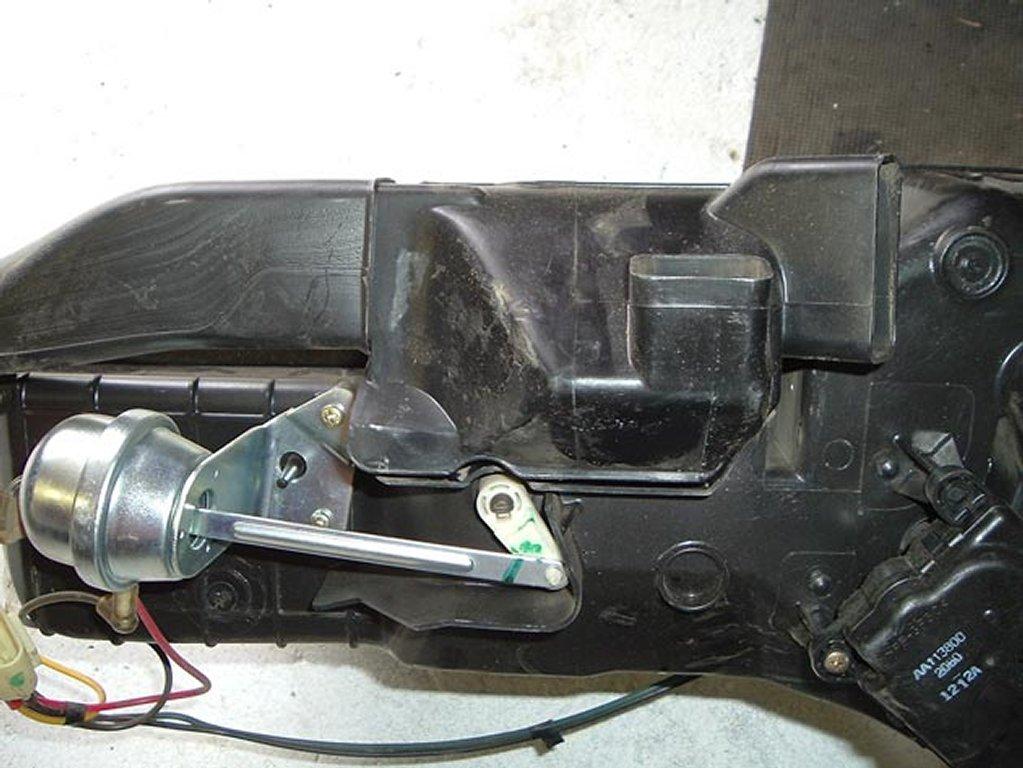
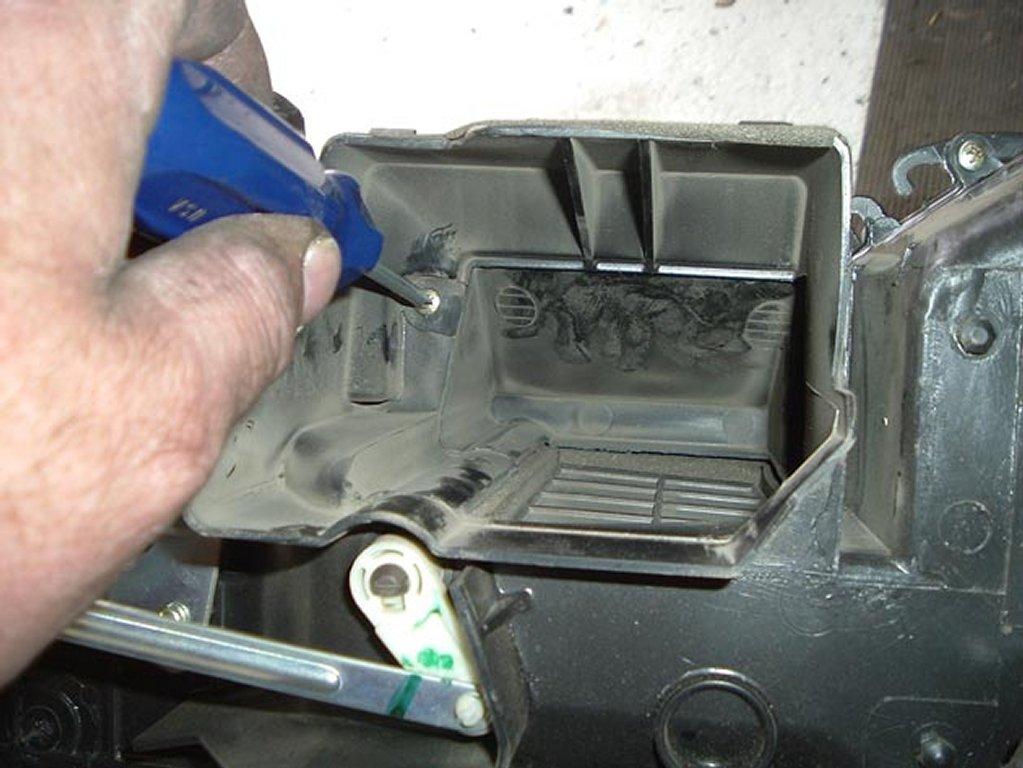
Now carefully pry the two halves apart. The picture below is including the heater core so you see part placement. But the heater core was removed in the earlier process.
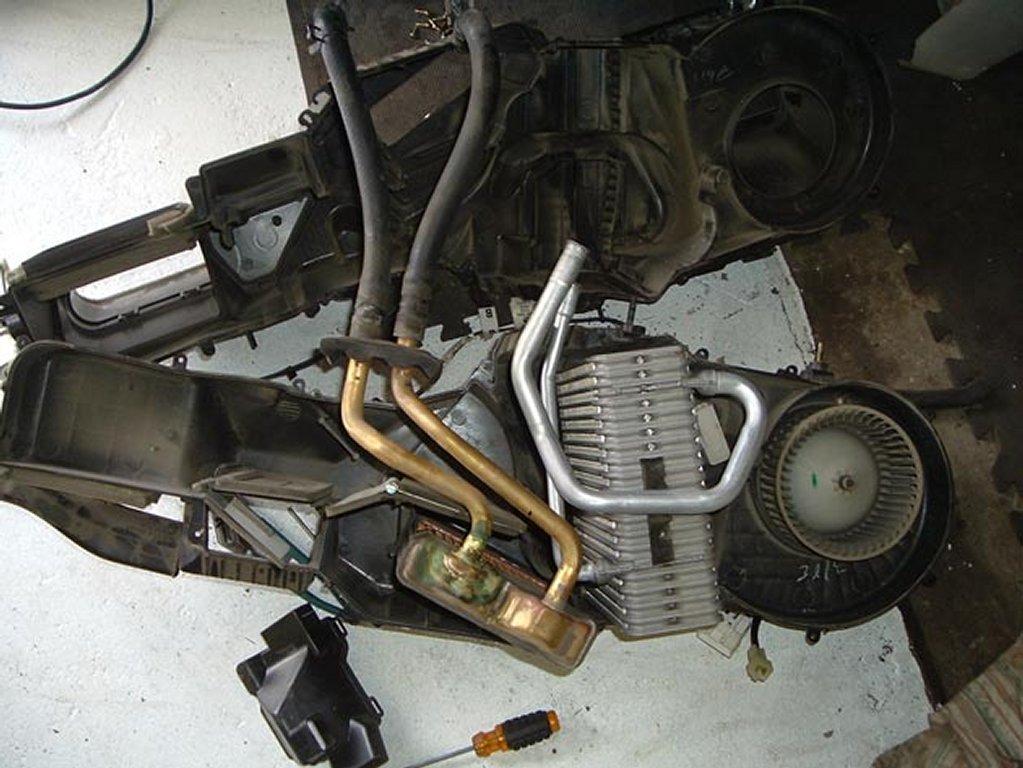
Make sure you have new foam to reseal both the heater core and the evaporator if you replace either one. Take the time and clean the HVAC case and any heater core or evaporator that you re-use.
Now during assembly is careful of the spring loaded door on just left of the blend door. Really easy to crush this little door so take your time and pay attention to this spring loaded flap. Also, make sure to line up the blend door pivot with the hole in the other half. Don't force anything!
Additional Information
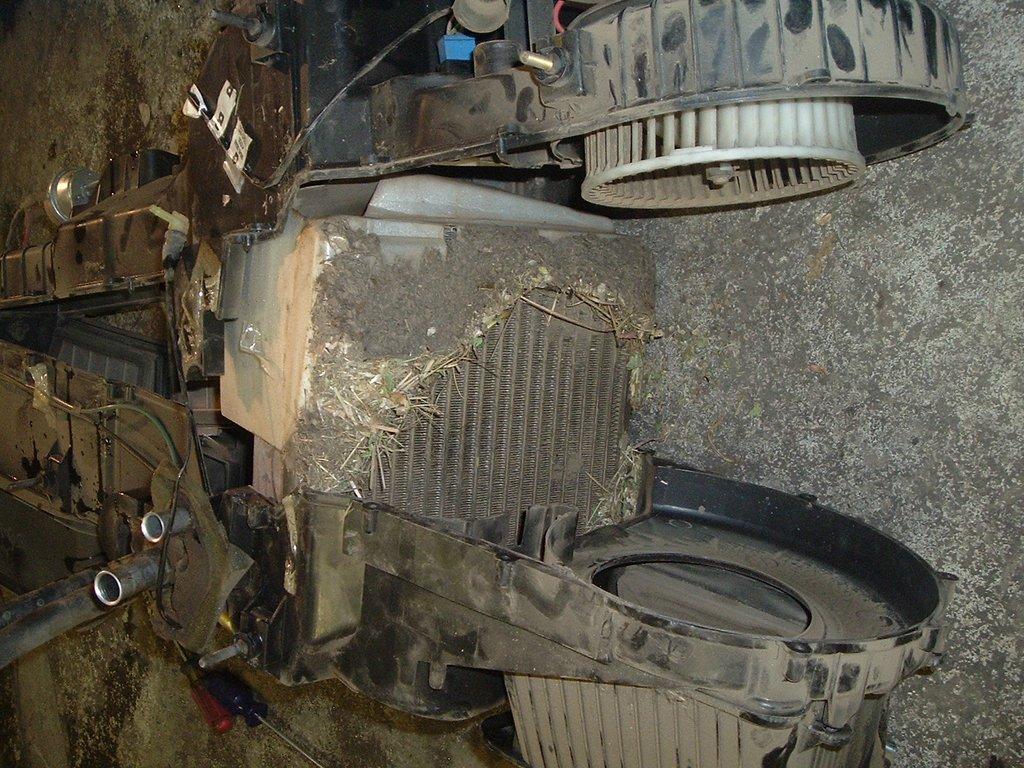
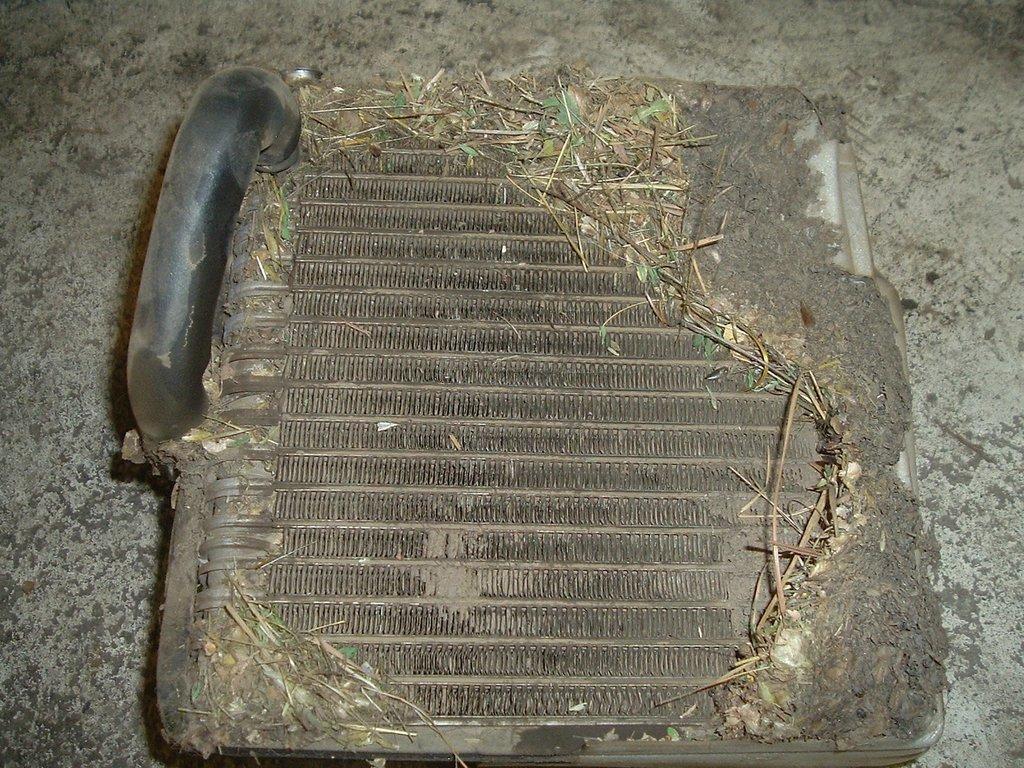
I want to bring attention to CF article about a short cut method of changing heater cores without pulling the HVAC case. It's possible to do this method but I highly suggest against this. When you remove the entire case and split it open you are able to inspect everything from the blender door plastic shaft to the evaporator. If you do the shortcut method you cannot inspect the evaporator nor clean it. In the pictures below I was able to use a 3,000 PSI power washer and clean the evaporator to re-use it. The owner told me his heater now is way stronger and hotter. He's got to roll down the window to cool off. In other words, it way better to invest the extra time and effort to pulling and doing the job right.
-
 3
3
Recommended Comments