Remove and Replace Fuel Injectors
First step you need to have all your tools ready and clean place to layout parts in the assembly order.
Make things a bit easier take a moment and disconnect the 2 plugs going to the valve cover. Grab a 10mm wrench or a short socket on a ratchet. There are 6 bolts holding the valve cover in place. You don't need to pull the bolts out of the cover just loosen and leave till you lift the valve cover off. Now you should see this below. You are going to grab a 8mm short socket and ratchet and remove all 12 wires from all 6 injectors. Don't worry about tagging there is no wrong way for those wires. Then just lift the gasket off carefully and watch for snagged nuts.
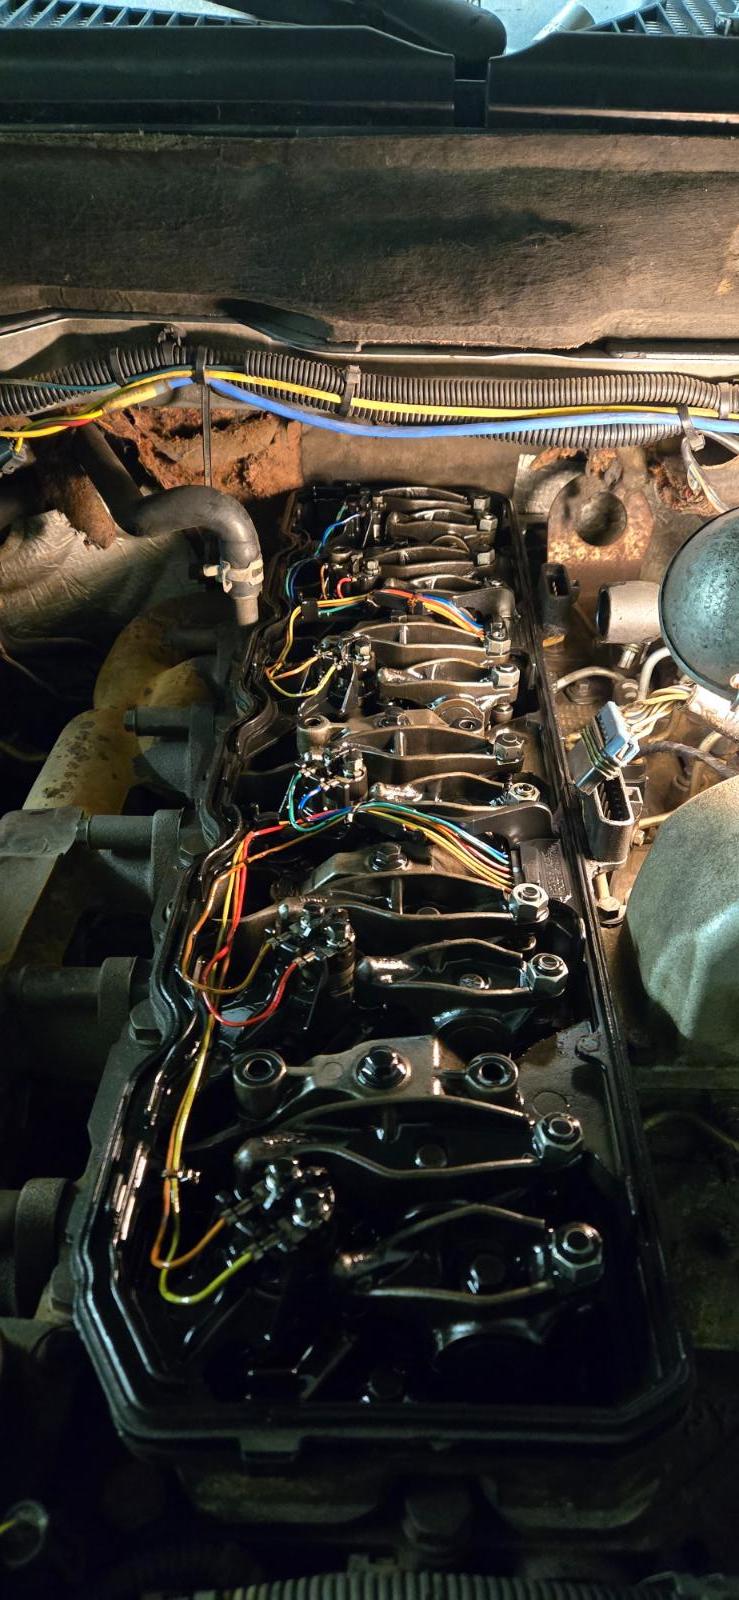
Now you have the spacer to remove. There is 10mm bolts holding the space in place. Be aware there is one bolt at each end right near the gasket. There is 7 bolts in total. The rear most is difficult to see bu the next photo should help.
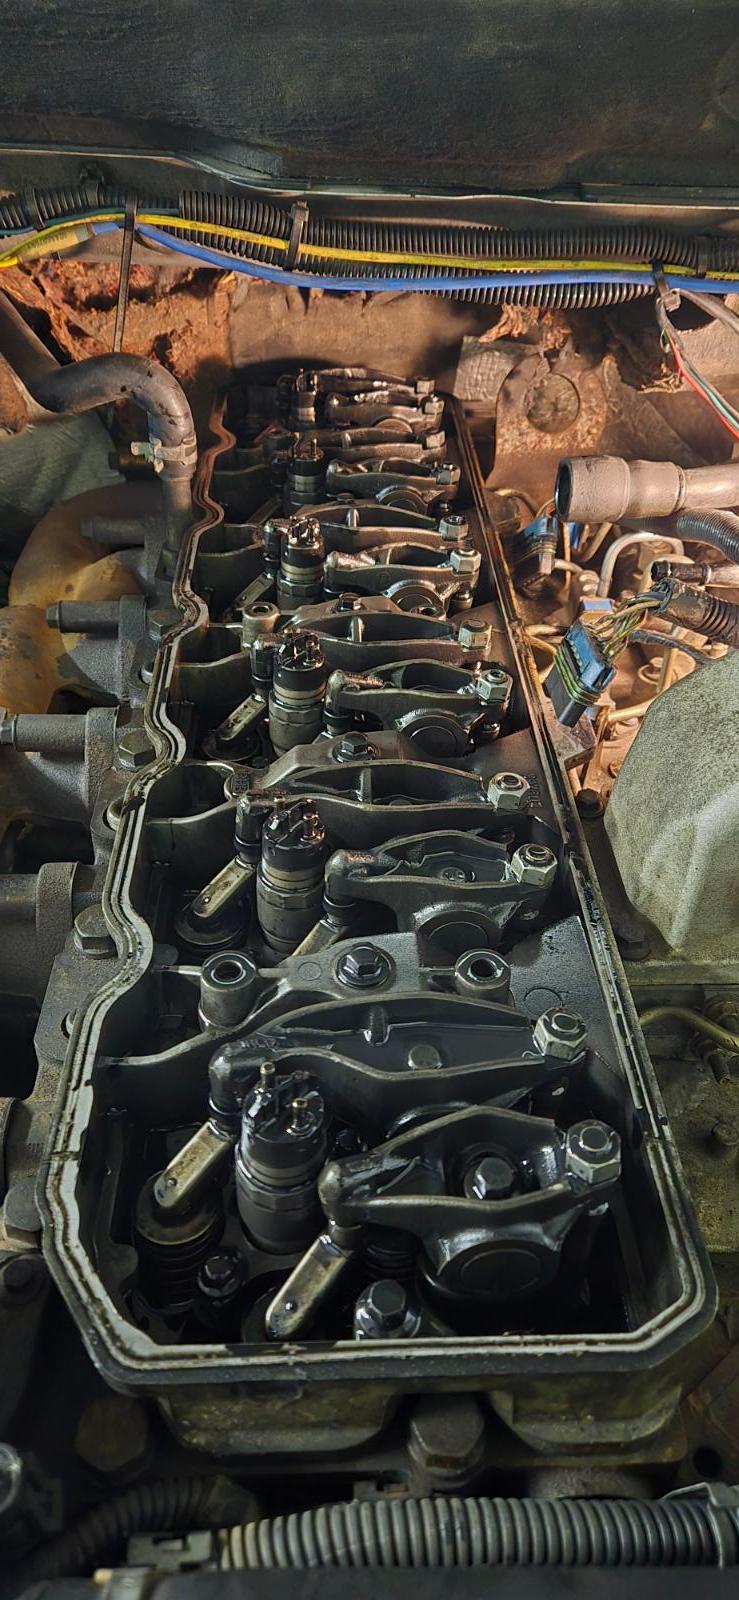
Showing the bolts for the spacer.
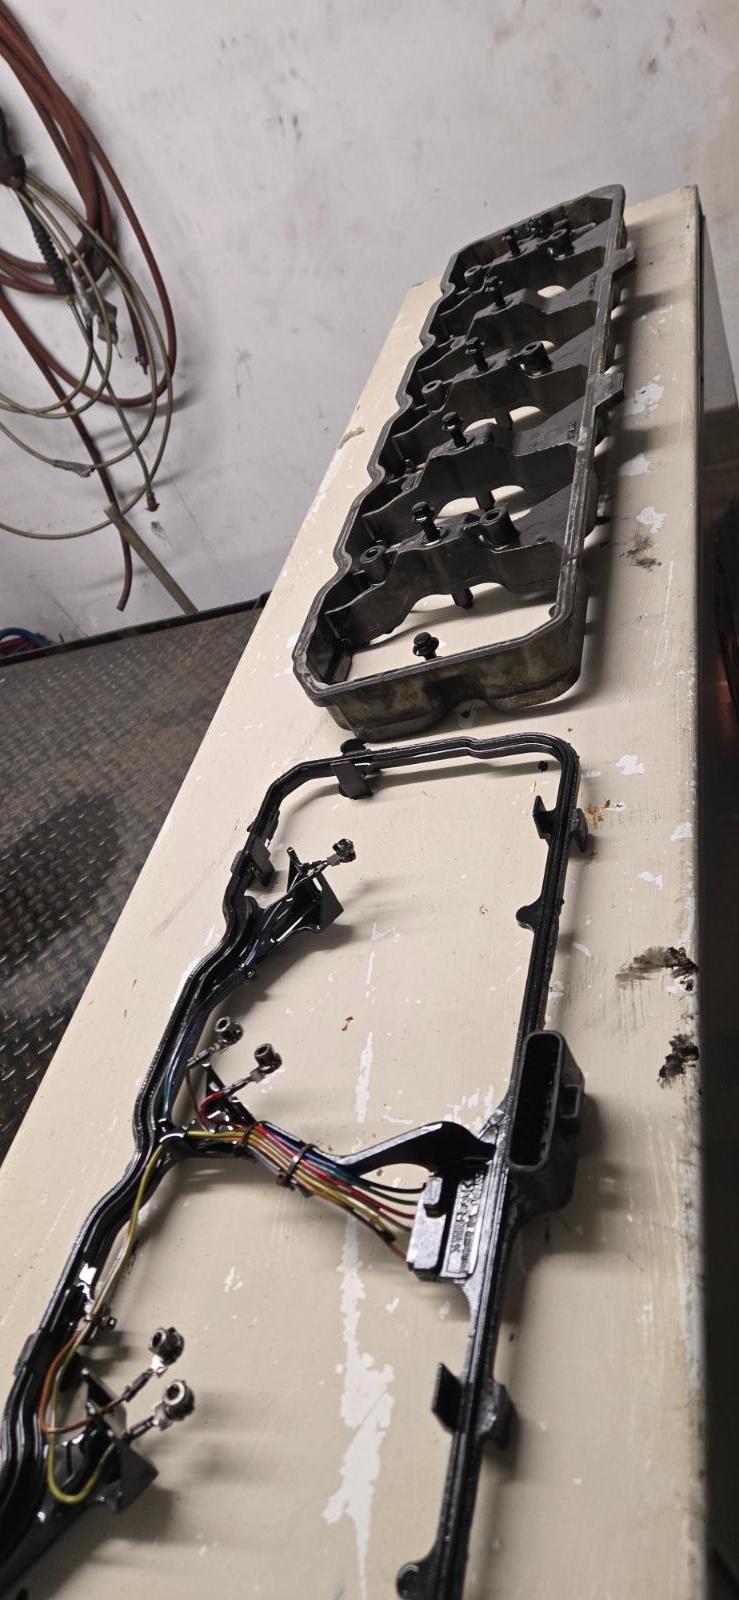
Now your ready to pull the exhaust rockers of using a 10mm socket and just loosen and lift of each rocker and lay in order on your clean area.
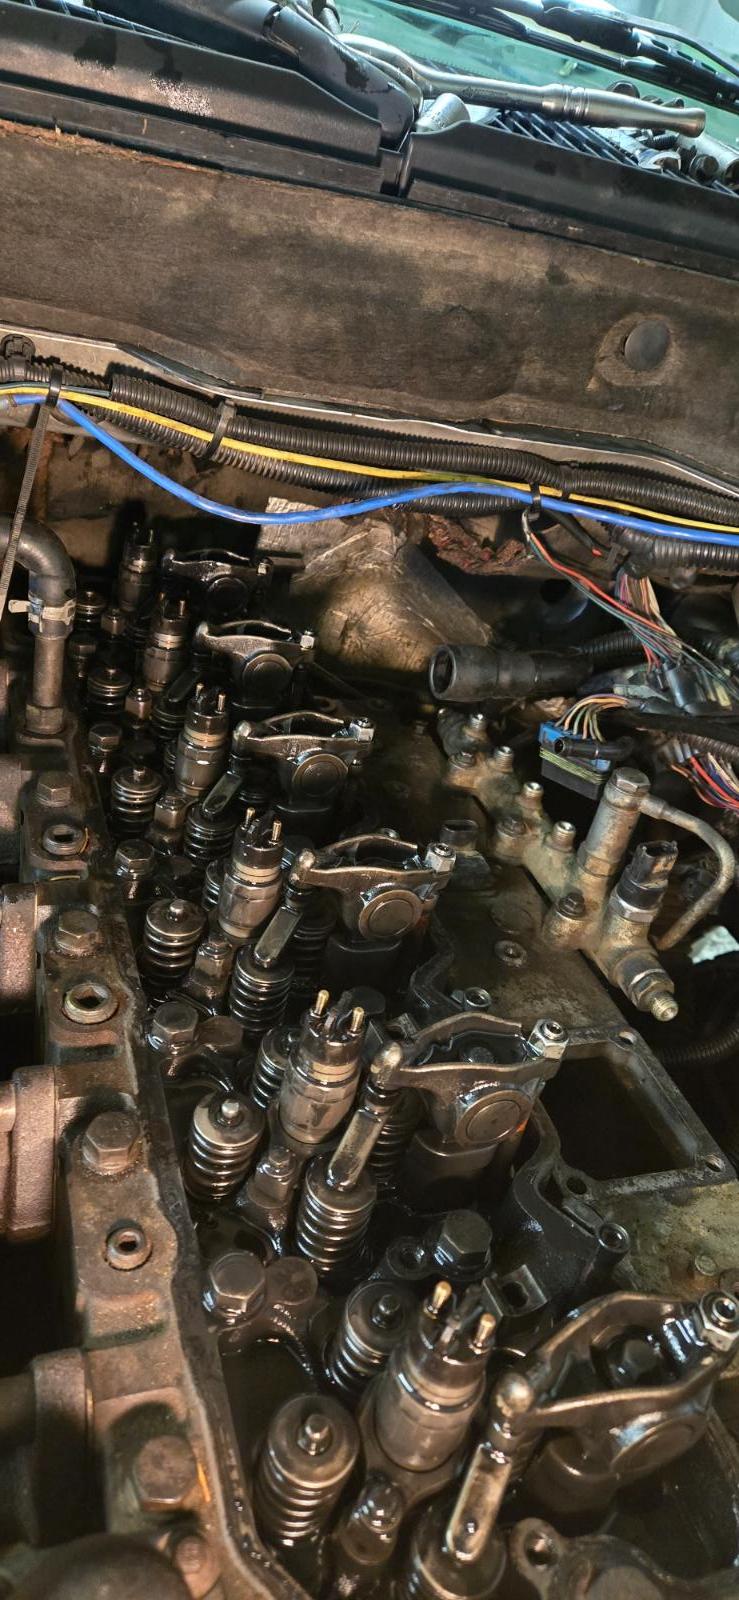
Make sure to grab the valve bridges as you go they have to stay paired up with its valve set. If you don't you will have to do a valve lash adjustment afterwards.
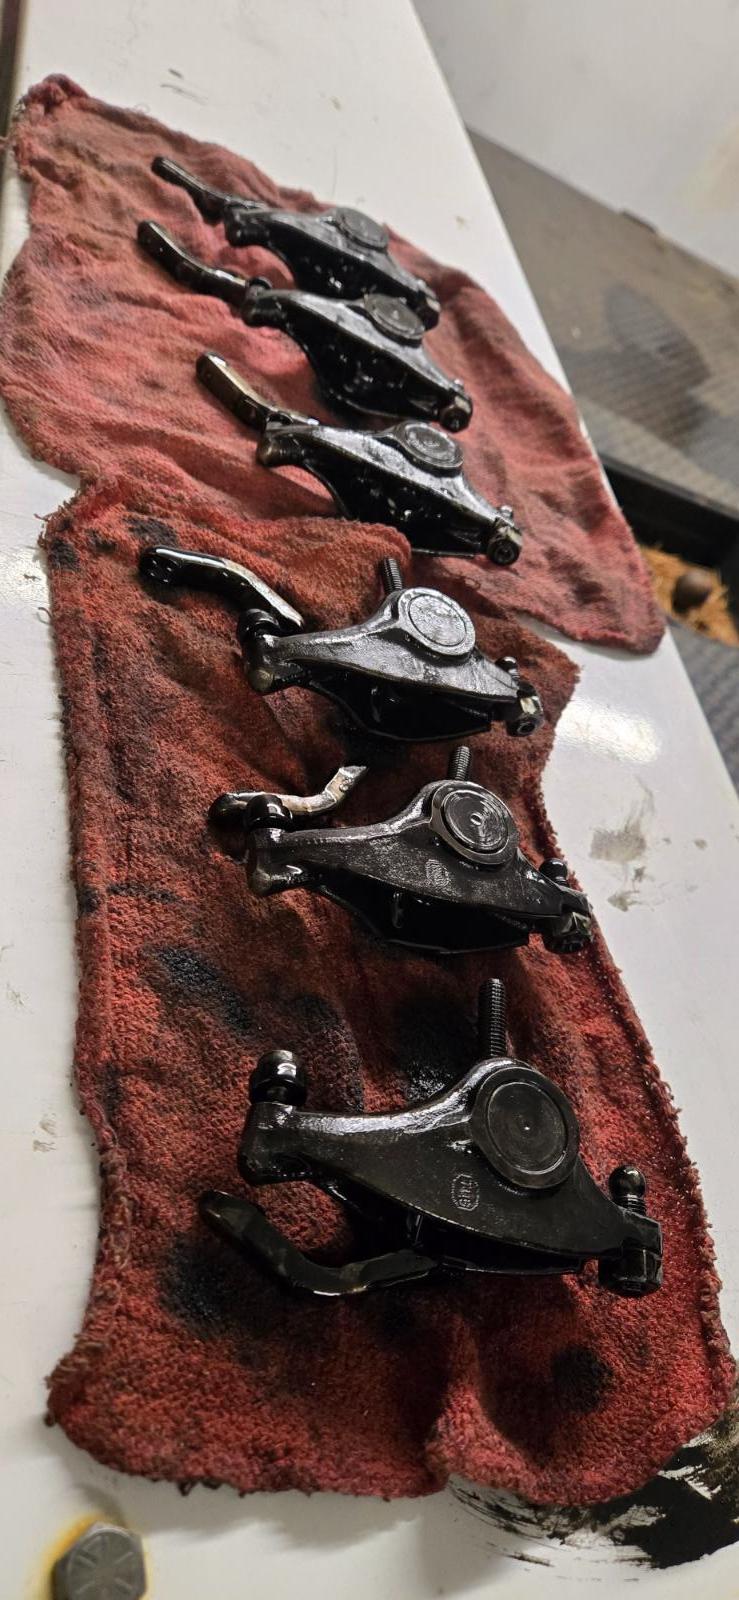
It should look the same as this with all 6 exhaust rockers removed.
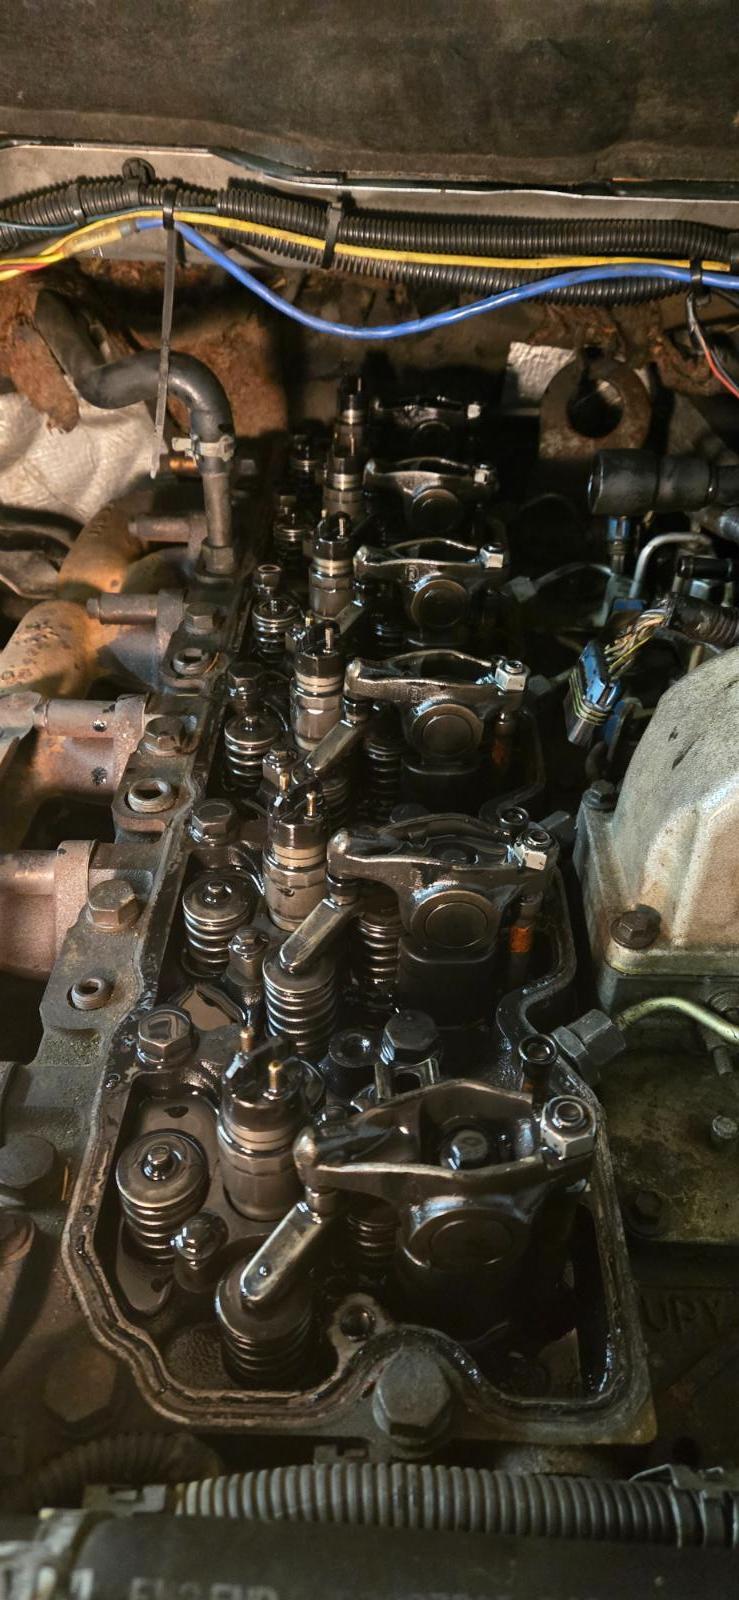
Now you have the external stuff to handle. 10mm socket and 11mm socket and remove the single 10mm bolt holding the dipstick to the air horn. Then loosen the 11mm nut on the hose clamp and slip the air tube off the air horn. Then the last 10mm should be 4 holding the air horn to the grid heater and intake.
Now grab a 19mm open-end wrench and start loosening all the high-pressure lines from the fuel rail and the crossover tubes. There will be 10mm bolts holding the lines to the manifold. Be aware cylinder 6 you have two 15mm bolts in the hoist ring. The right bolt is a 13mm nut holding the injector line. Use an 8mm wrench and loosen the clamp. Remove the 13mm nut and flip the holder off the stud then you can remove the 15mm bolts to gain access to cylinder 6 line way in the back.
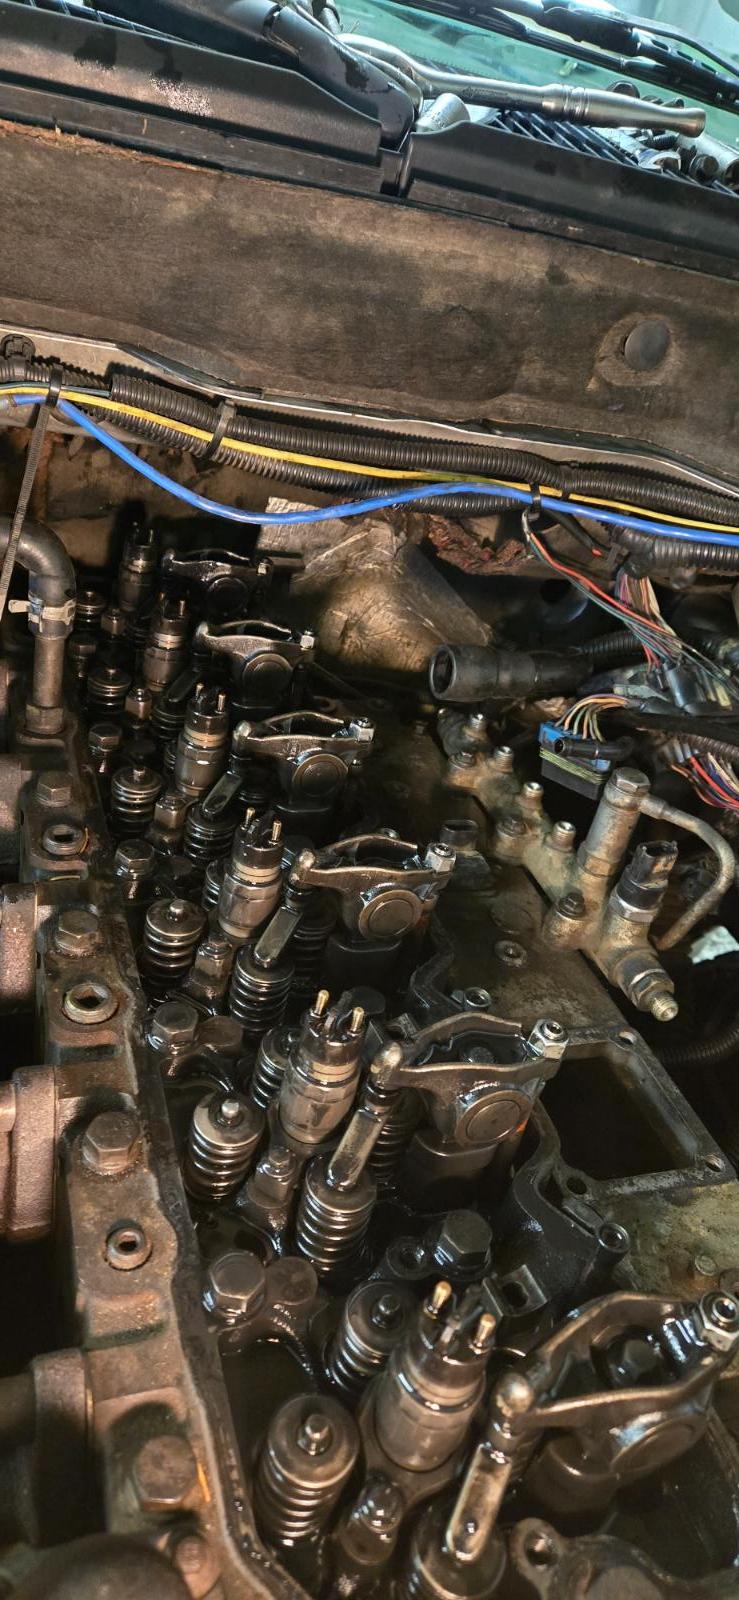
Now using a 24mm open end wrench or socket you can remove all 6 crossover tube nuts in the driverside of the head. As for removing the crossover tubes, there is cap tools that aid in the removal of the tube from the heads. I wrap a rag around and gently grab with channel locks in a rocking motion and pulling it will come out without much effort. Just for the backyard mechanic.
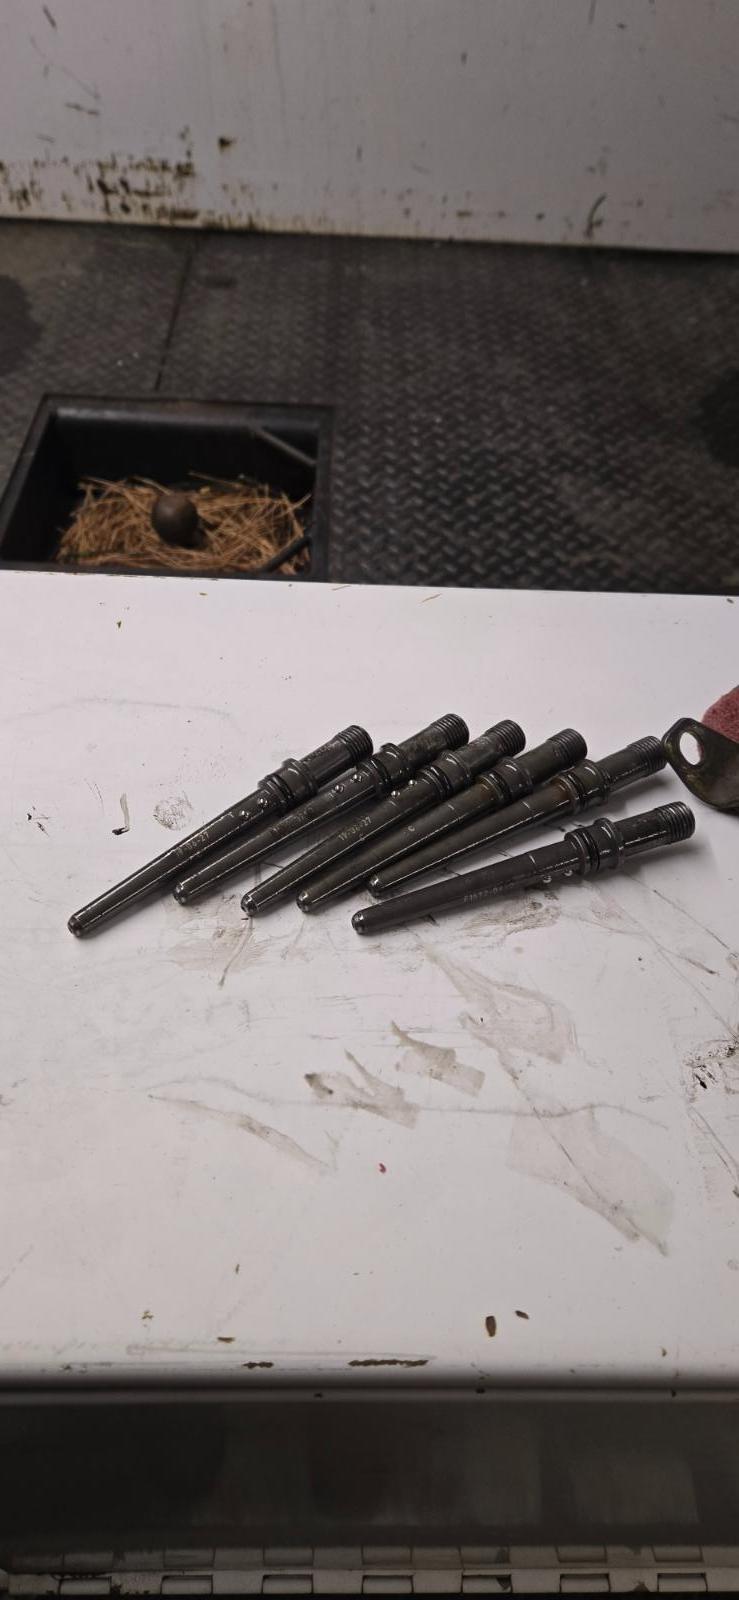
Now use an 8mm socket and remove all 12 bolts holding the 6 injectors in place. Using a flat-blade screwdriver insert it below the collar and twist the screwdriver to lift the injector out of the bore of the head.
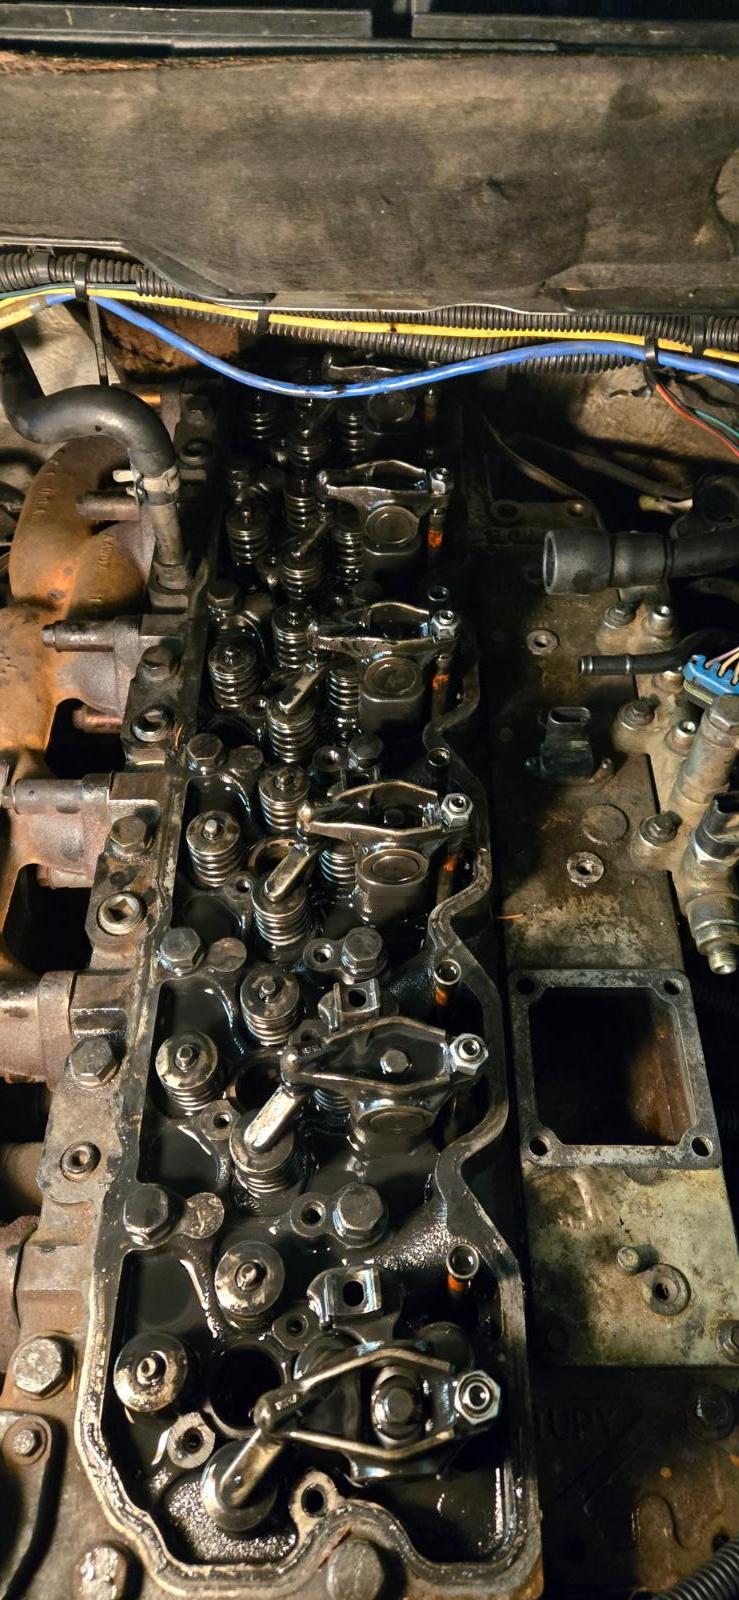
Cylinders 1, 2, and 3
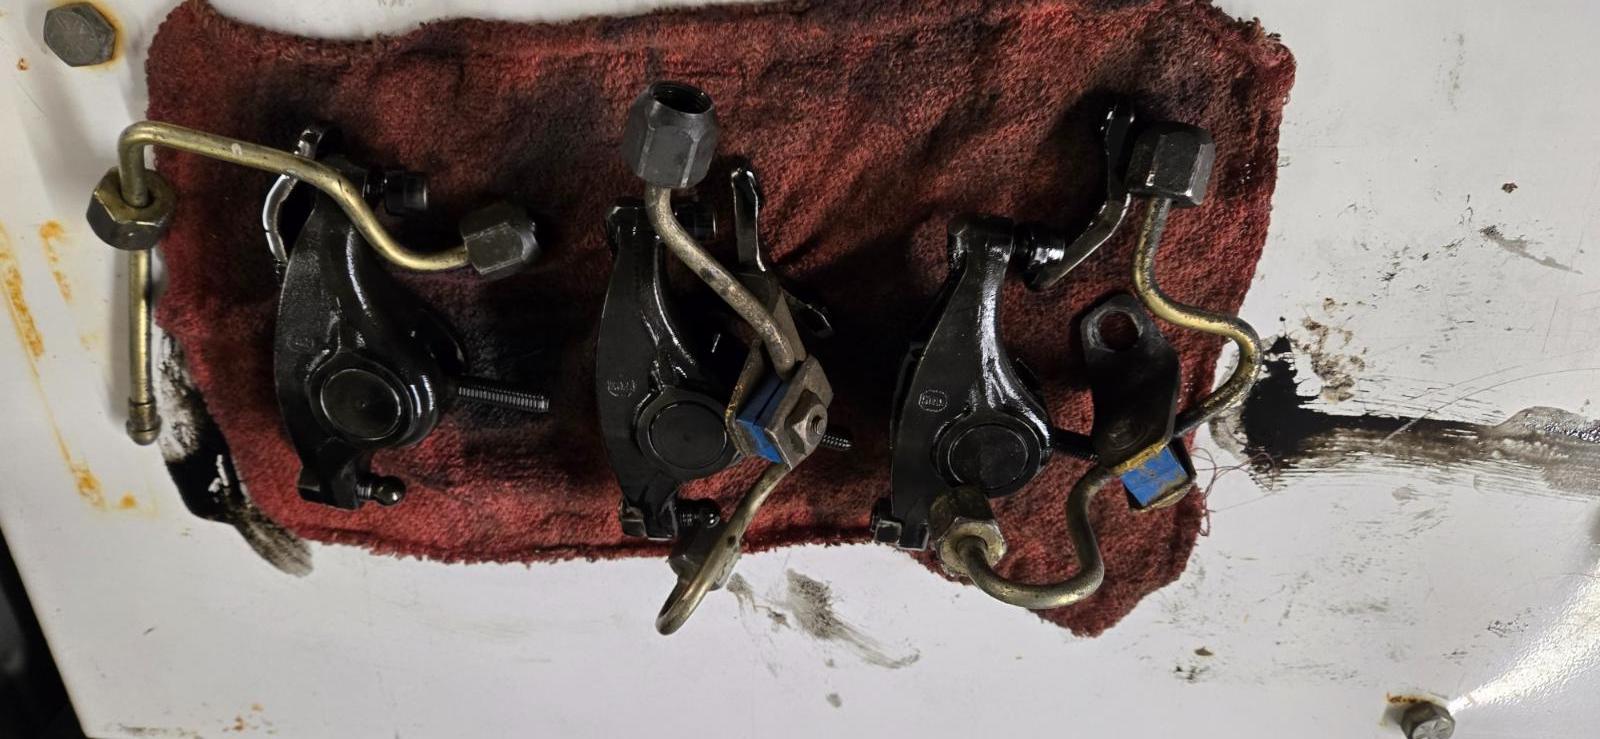
Cylinders 4, 5, and 6
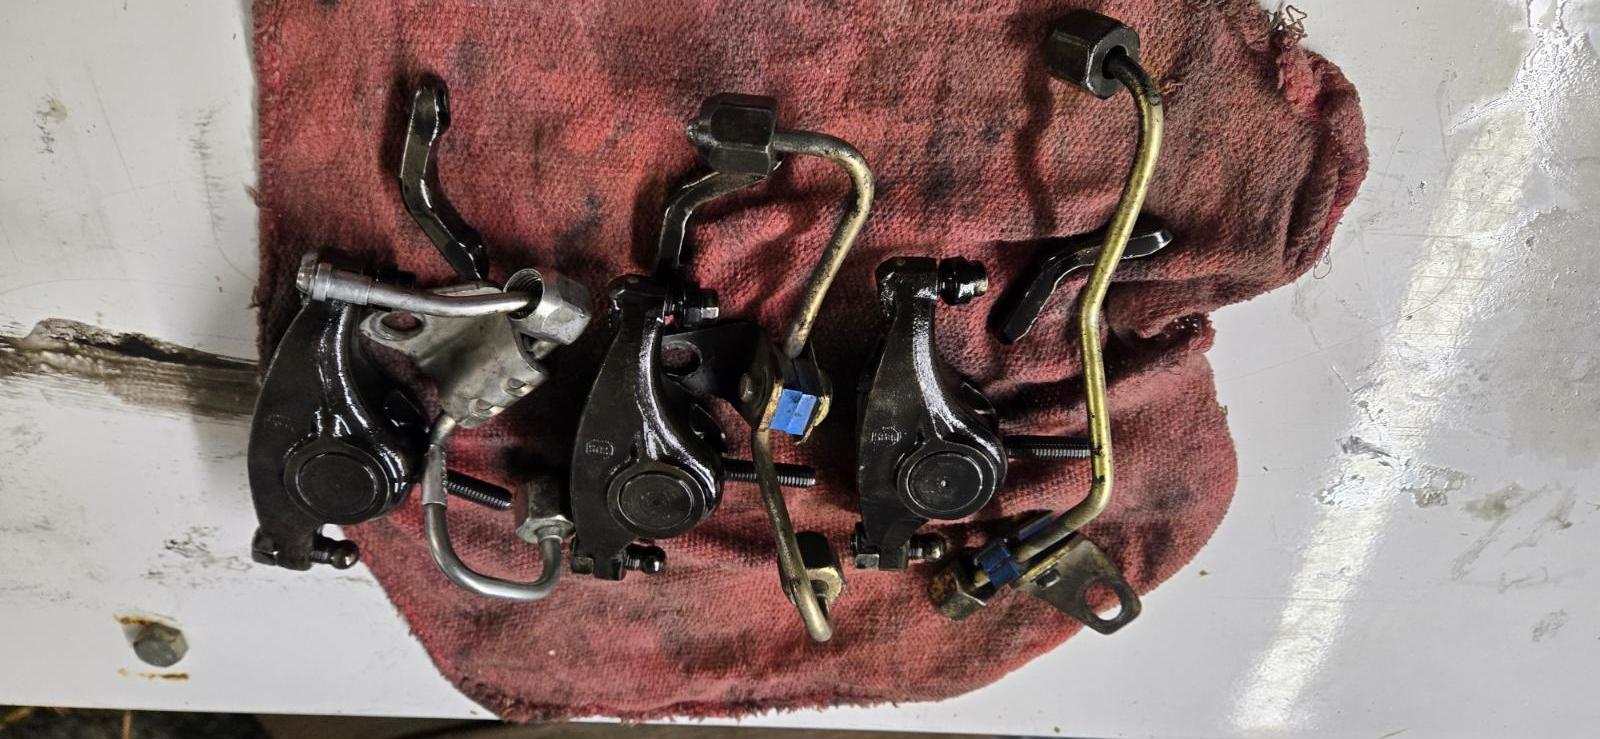
Injectors and crossover tubes.
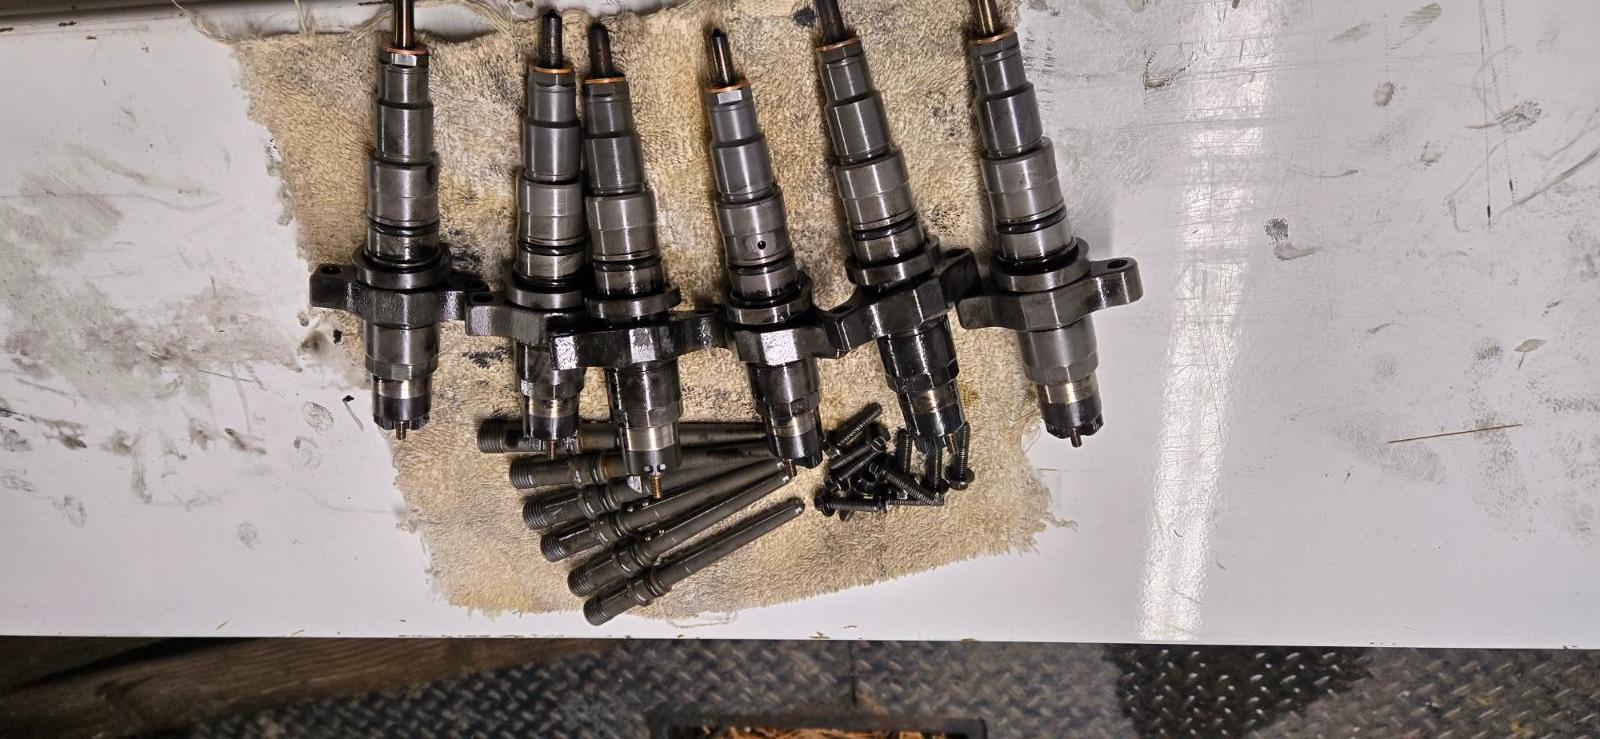
INSTALLATION
Now I'm going to show you how to install new injectors in your common rail Cummins.
Lay out all your injectors. Remove protective caps. Look and see if the copper washer are installed on the nozzle. If not use a small dab of axle grease to hold the washer in place on the injector.
Now place the injector in the cylinder head. Please take notice to the crossover tube hole and its location on the injector and make sure it faces the driver's side. You will also notice the one side of the collar is square and the end towards the exhaust valve side is rounded. Install the two 8mm bolts and torque to 44 inch/pounds. After this loosen both bolts. This is only to seat the injector completely in the bore.
Now install the crossover tube with the BBs facing up. Then install the collar nut. Then torque to 11 foot/pounds.
Now complete the torquing of the injector hold down to 89 inch/pounds. Make sure to do both bolts evenly.
Then you can finalize the crossover tube torque to 37 foot/pounds.
Install the valve cover spacer and tighten the 10mm bolts. Don't forget the one bolt in back.
Install the valve cover gasket and electrical. Torque the electrical nuts to the injectors at 11 inch/pounds.
Install the exhaust rockers. Remember these must be in correct order to the cylinder in which it came from. Don't swap rockers to another cylinder you will be forced to do a valve lash adjustment if you do. The torque on the 10mm rocker arm bolt which is 35 foot/pounds.
Install the fuel rails to each injector. Torque the line nuts to 37 foot/pounds.
This should get all the injectors installed but you'll need to install remaining things like the grid heater and air horn.


There are no reviews to display.