This describes how to lift the bed up on a 2nd gen to get to the tank to replace the in tank lift pump/fuel level sending unit.
First this was done on a 2x4, short bed truck. As I understand it, the long bed has to have the bumper removed or the bed will hit it.
Tools:
10mm & 15mm socket
Flat & Phillips tip screw drivers
7mm socket for hose clamps on filler tube (Optional).
Hose loosening tool (Optional).
strap Wrench (Maybe Optional).
Prop rod for bed (48" on 2x4 truck)
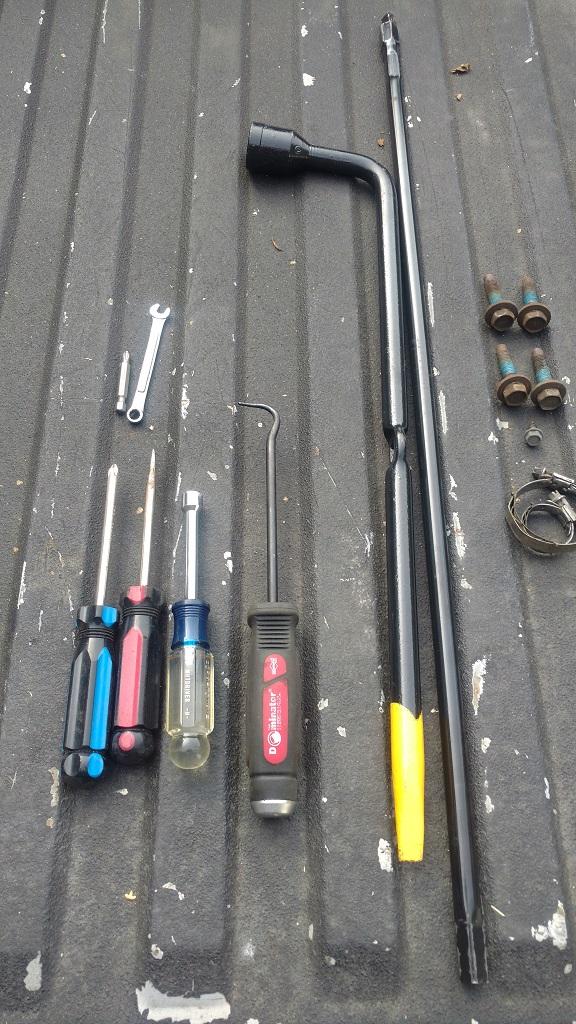
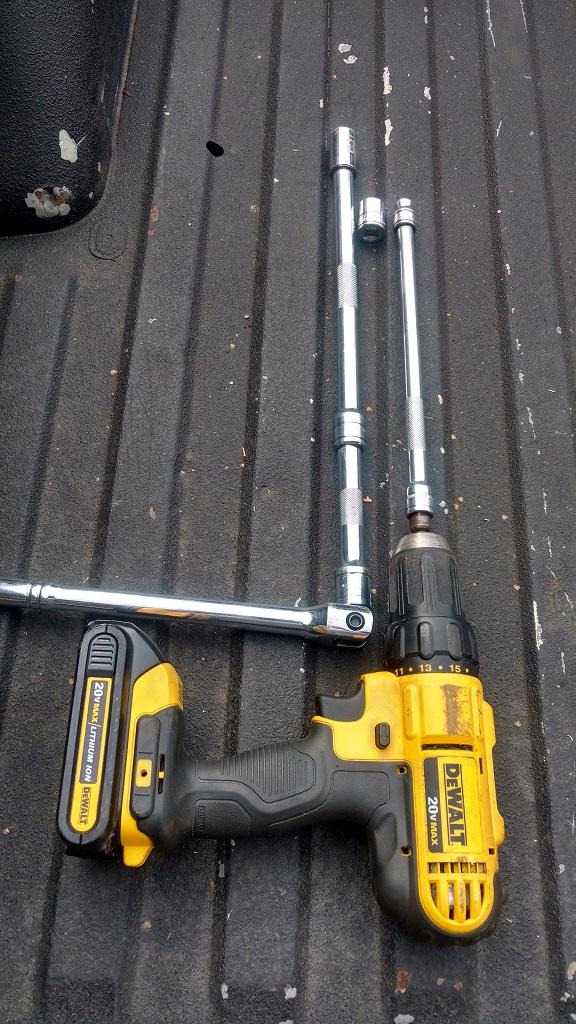
The first thing I did was to remove the spare tire to remove as much weight as possible. Im not sure if you could do this w/o removing the tire, having it out sure made things easier.
Next I removed the license plate and the plastic piece that holds the plate onto the truck. I dont think that this needs to get removed, however I did not want to change smashing the plastic & lights, so I removed them.
Next I removed the hoses that goto the filler neck and the vent line. You can use a flat tip screw driver, but I preffered using a 1/4" drive 7mm socket. I used the hose loosening tool to break the hoses loose from the tubes that come off of the filler neck so I would not have to pull on them hard. they are just aluminum & they go into a plastic piece & I can see breaking that by cranking on it hard to get the hoses loose.
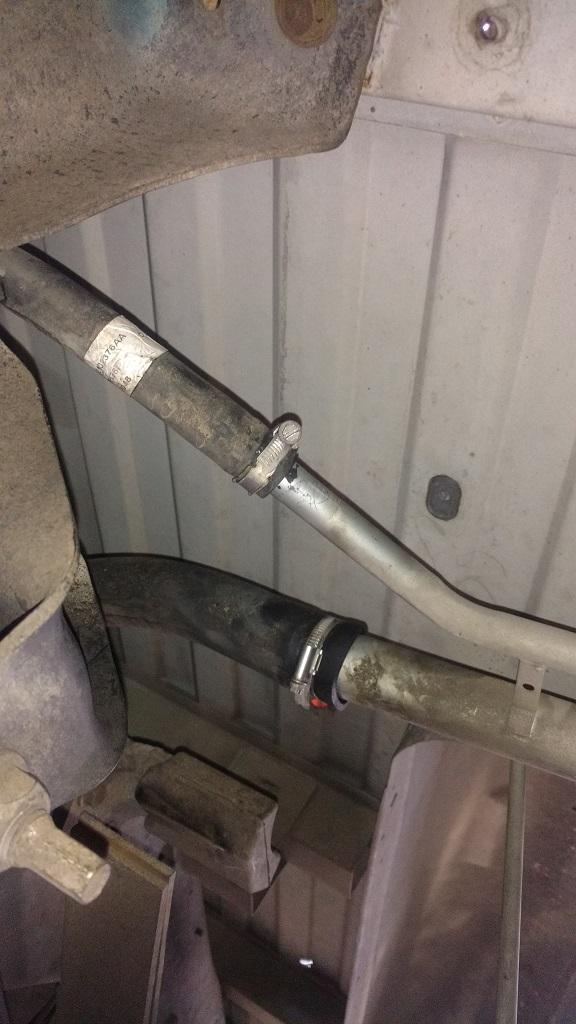
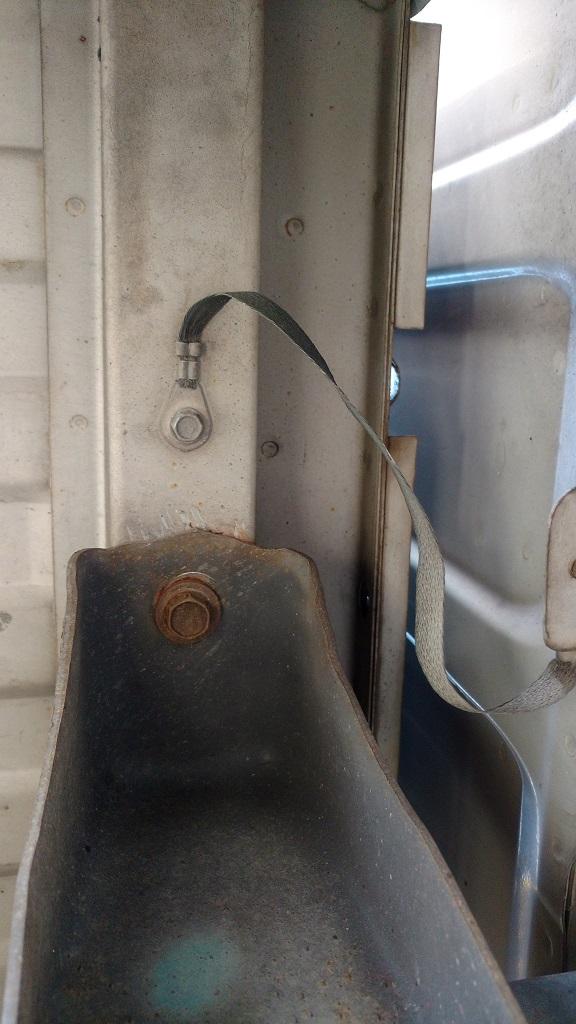
Next was to remove 4 of the 6 bed bolts, and to loosen the aft 2 bolts almost all of the way out. If this is for a long bed truck the bumper has to get removed, and there are 8 bolts (6 out & 2 loosened). on the Passenger side, there is a grounding strap that goes from the frame to the bed. I used a 10mm socket & removed it from the bed.
Once I had everything out & ready to go, we lifted the bed up & I measured how long of a prop rod I would need, and we put the bed back down. on my truck it was exactly 48" long. Once I cut some 1" thick wall tubing, 48" long, we lifted the bed up & I put the prop rod in. I put it up against the frame between the front spring mount & the bed mount.
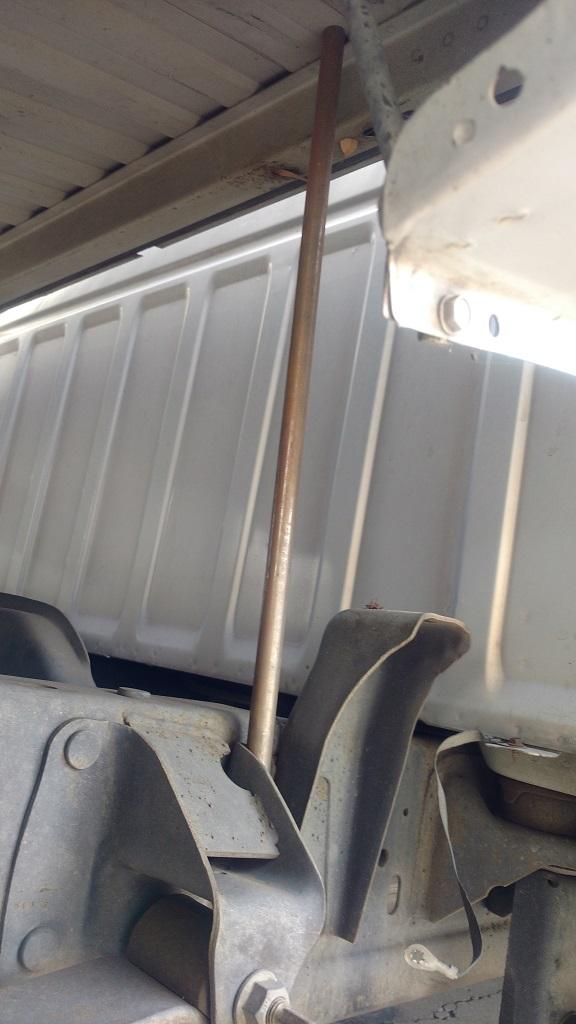
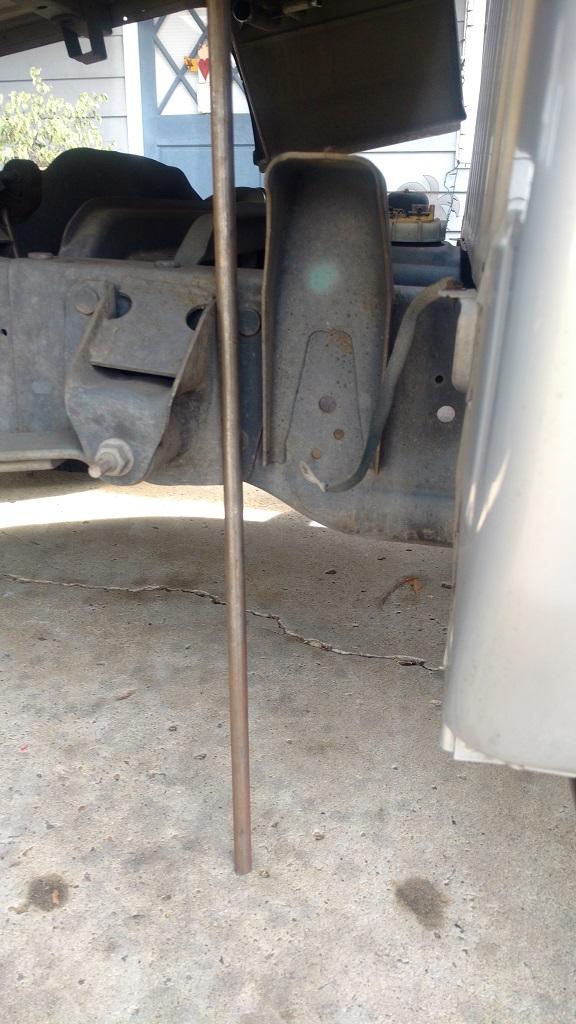
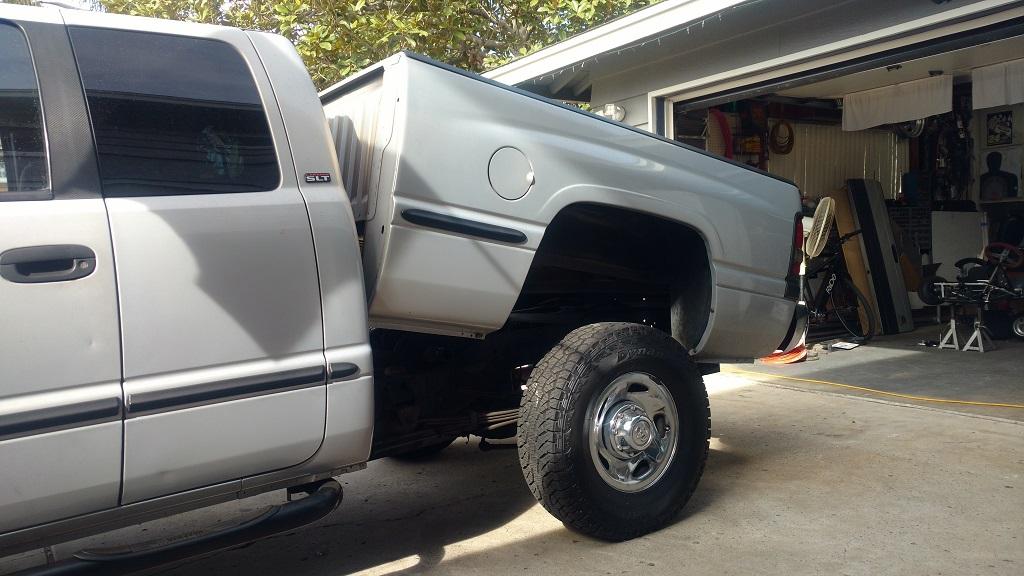
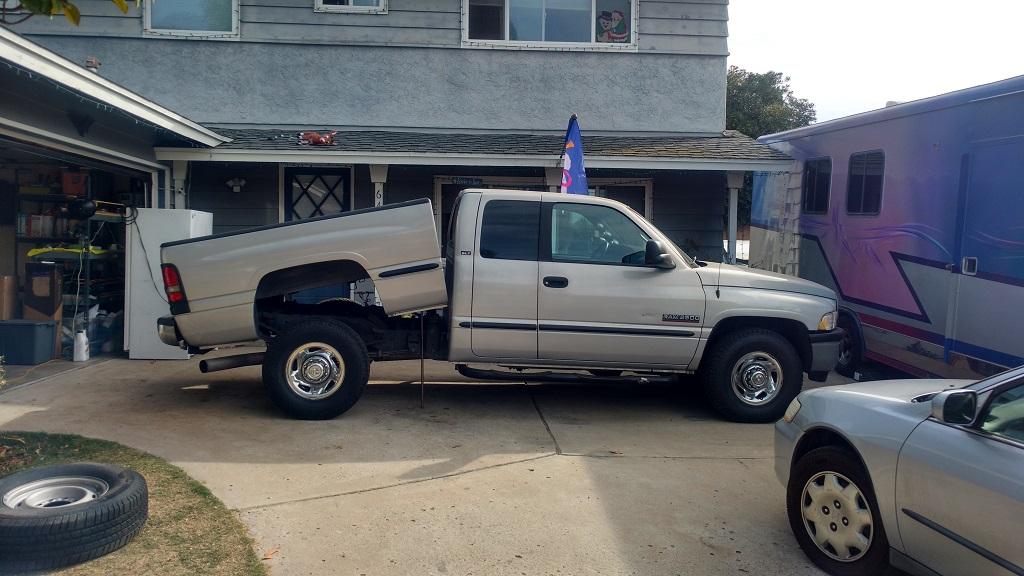
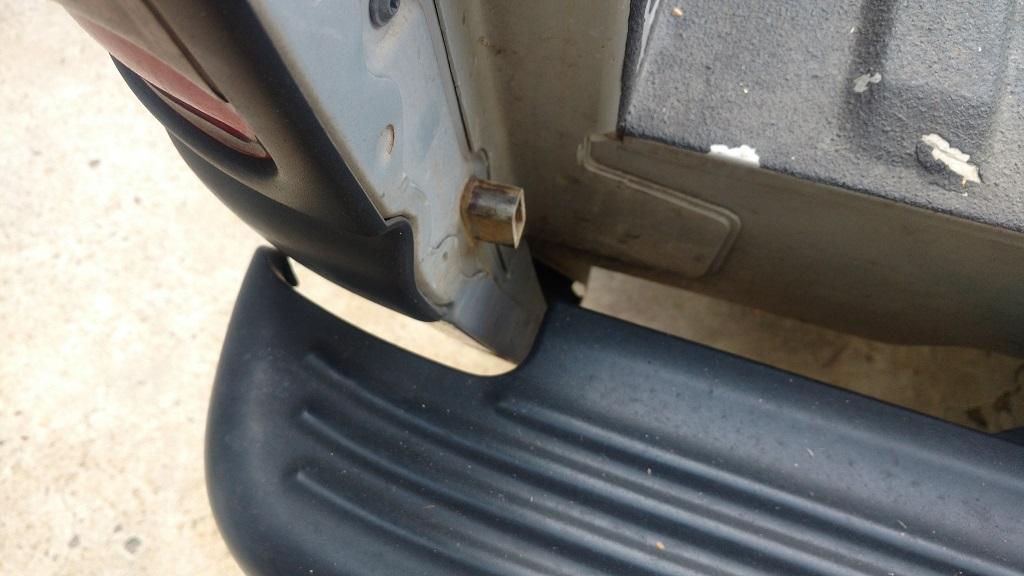
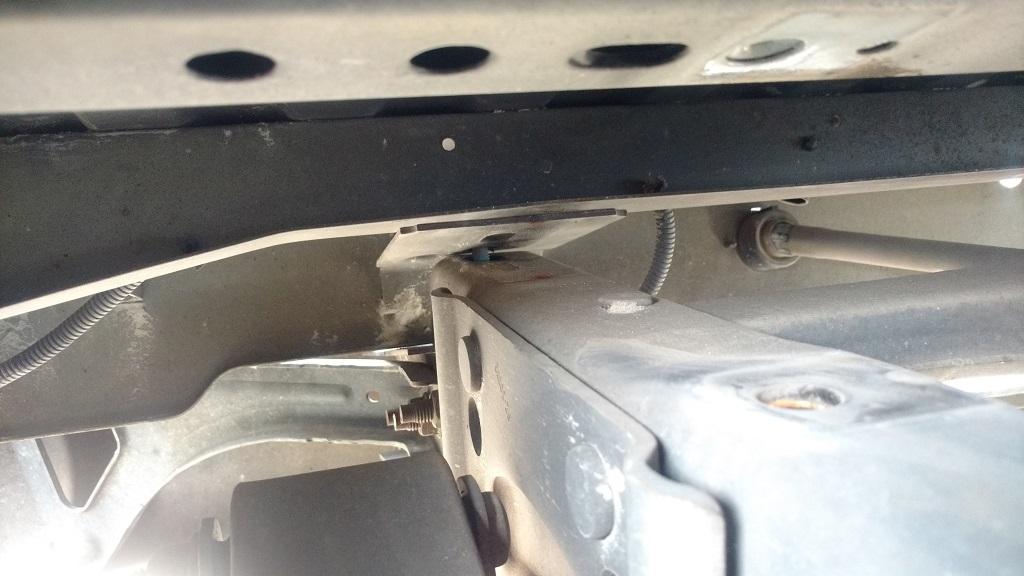
Once the bed was propped up, it was easy to get to the tank. Next thing to do is to use a small flat tip screw driver & remove the 2 hoses going to the sending unit & the electrical connector on the sending unit. there is a little red latch that has to get slid aft then you can push the lock on the electrical connector & slide it off of the sending unit. Next is to get the ring that holds the sending unit to the tank. Mine was a bear to get lose. I used a strap wrench & got it off. then the sending unit will come straight up & out.
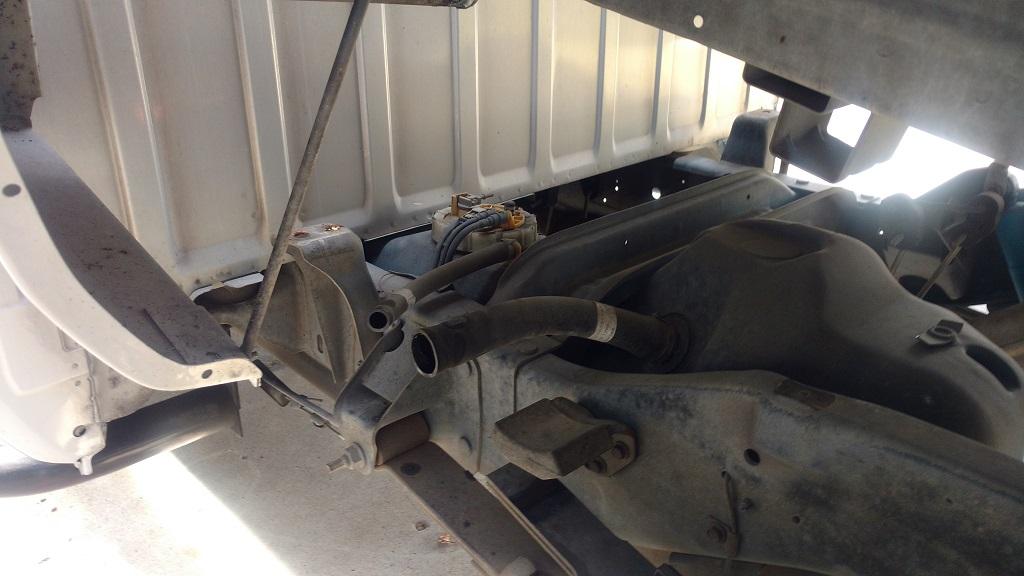
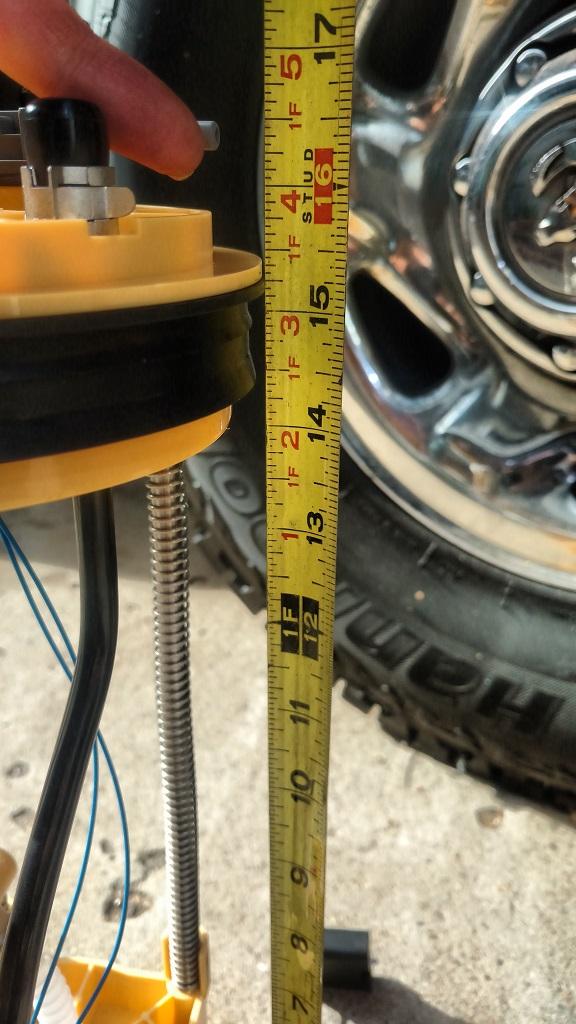
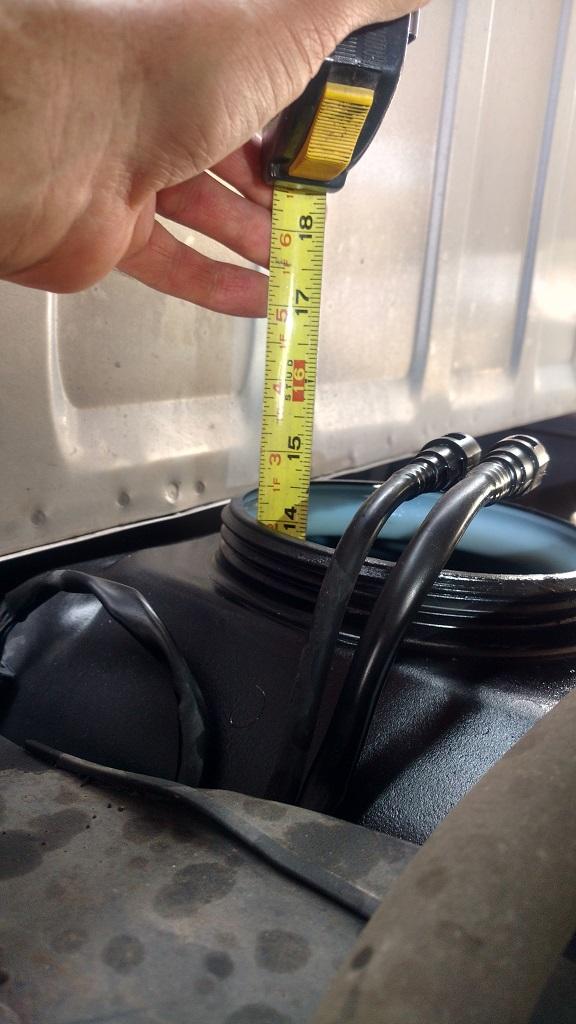
assembly is just reverse of the removal, however there is something to keep in mind. the sending unit is 15.25" long & the tank is 14" deep (bottom of the tank to the top of the flange. so when your tightening the ring, you have to collapse the springs on the sending unit 1.25". if the ring that holds the sending unit is not tight, you will be able to push down on the sending unit & continue to push the springs down. make sure you tighten the ring enough to seal the sending unit to the top of the tank but not so tight you break the threads on the ring or tank. I had to use the strap wrench to get it tight enough to seal. I could easily see that if you were using your hands to tighten the ring that you would think it was tight, but it is not.
Bob


