This article is meant to serve as a step by step guide to removing your brake and/or clutch pedals. Specifically for the purpose of replacing and greasing the plastic bushings on the pedal pin. It may become necessary to replace the bushings as your truck ages and the plastic bushings become deformed and allow side to side movement of the pedals. I believe this procedure will be very similar for a truck equipped with an automatic transmission as well. Another thing I'd like to add is that the FSM is somewhat misleading when it describes how to perform this particular task. Feel free to look over it before hand like I did, but I'm confident you will find this article and other tips on the internet more helpful.
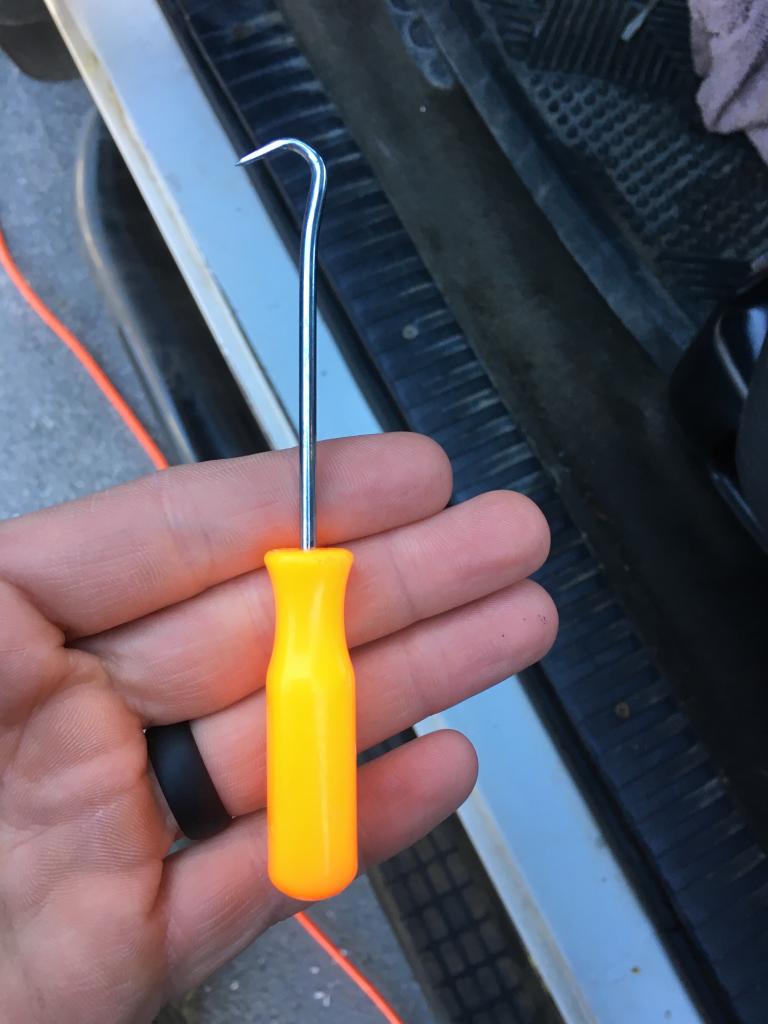
First off, let me say that you won't need any special tools or skills for this task. A small hook like the one pictured below will come in handy though. You do have to be a little flexible as you will be laying under the dash for most of it. Some people recommend removing the front seat for more space. I chose not to do that because I thought it would be more trouble than it was worth. I'm not a huge guy (5'9" and 190 lbs), but not tiny either and I was fine.
As far as parts, you will need at a minimum, 6 new pedal bushings. The dealer may tell you 4 because the diagram is slightly misleading, but you will need 6. You may also want to have a couple new retaining clips for the brake and clutch pushrods as well, and it would be good to pick up new E clips for the ends of the pedal pivot pin too.
Step 1. Remove the knee bolster. All you have to to is remove the small philips head screws along the bottom and them it should pop off. Just be gentle so as not to break anything. Then you will see something like this. You may be able to do the project without removing this, but it makes everything a lot easier to see and give you better access over all.
Step 2. Remove the spring retaining clips that hold the brake and clutch pushrods to the pedals. They look like this. To remove them, you must very gently pry on the center tab, and at the same time push the clip off the pin. A small, flat bladed screw driver works great to release them. Mopar1973man has a great video on youtube of a clutch master and slave cylinder replacement, and he does an excellent job of explaining how to remove these clips. If you do damage them, they are only a dollar or so at the dodge dealer. I don't know the part number, but I think they are pretty common as my local dealer had a ton on hand.
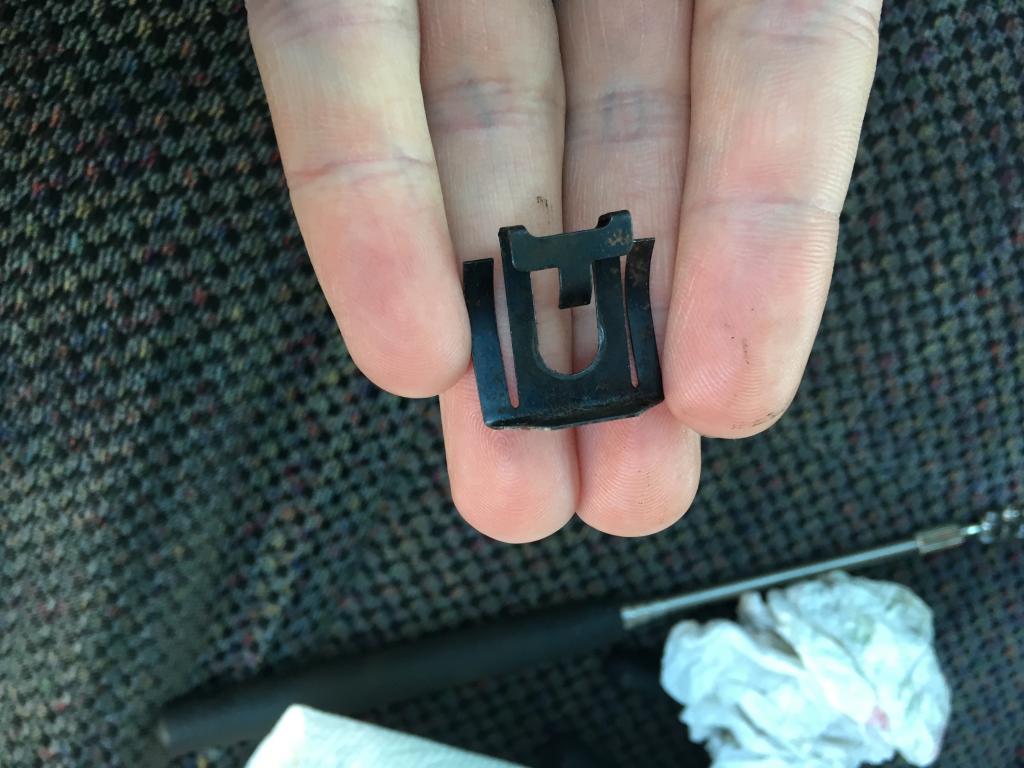
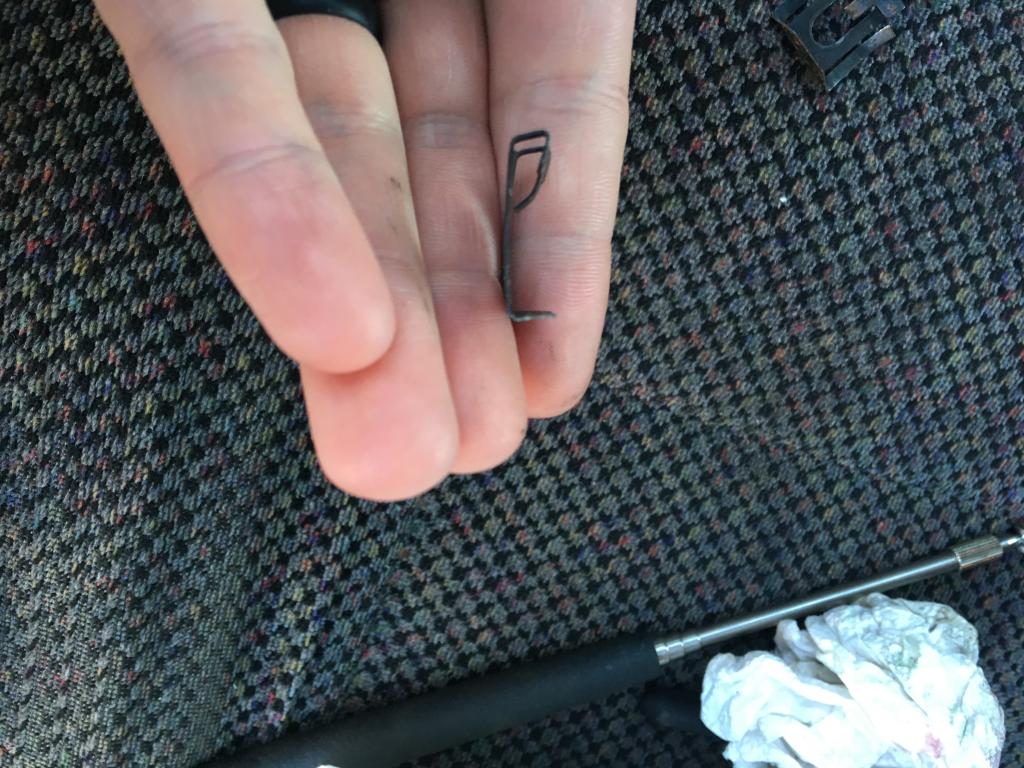
It should be springy like this
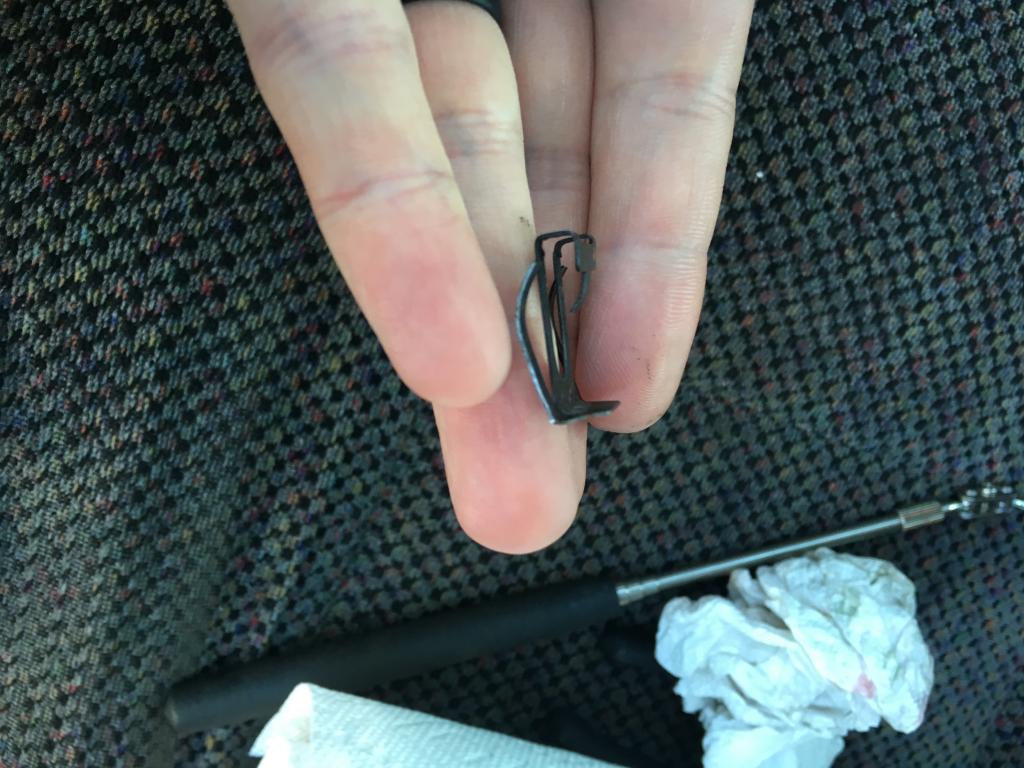
not flattened out like this. The new ones will be bent even tighter.
Once the clips are off, you can remove the pushrods from both pedals. This allows them to swing backward or forward out of your way. The brake pushrod has a washer that goes between it and the spring clip. Be careful not to loose it.
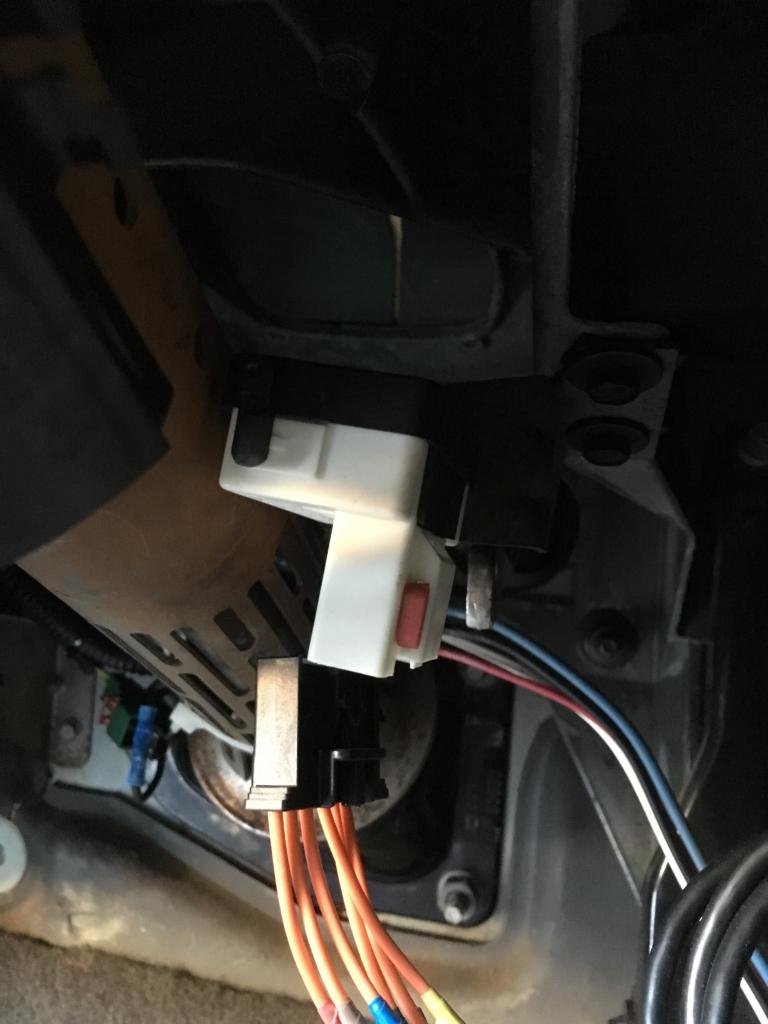
Step 3. Unplug the brake light switch. This is a good idea, because if you don't, your brake lights will be on until you get things back together. This is one instance where the FSM is a little misleading. It tells you you have to remove the brake light switch, however, you're not supposed to re install a brake light switch. So not removing it save you the $13 for a new one. And there is really no reason to remove it. It does have a safety clip that you have to pull towards the back of the truck first. Then you can squeeze the plug and pull it out. Brace the switch with your free hand as you undo the safety clip and pull the plug out, its only mounted by two small plastic wings. Here you can see the brake light switch unplugged.
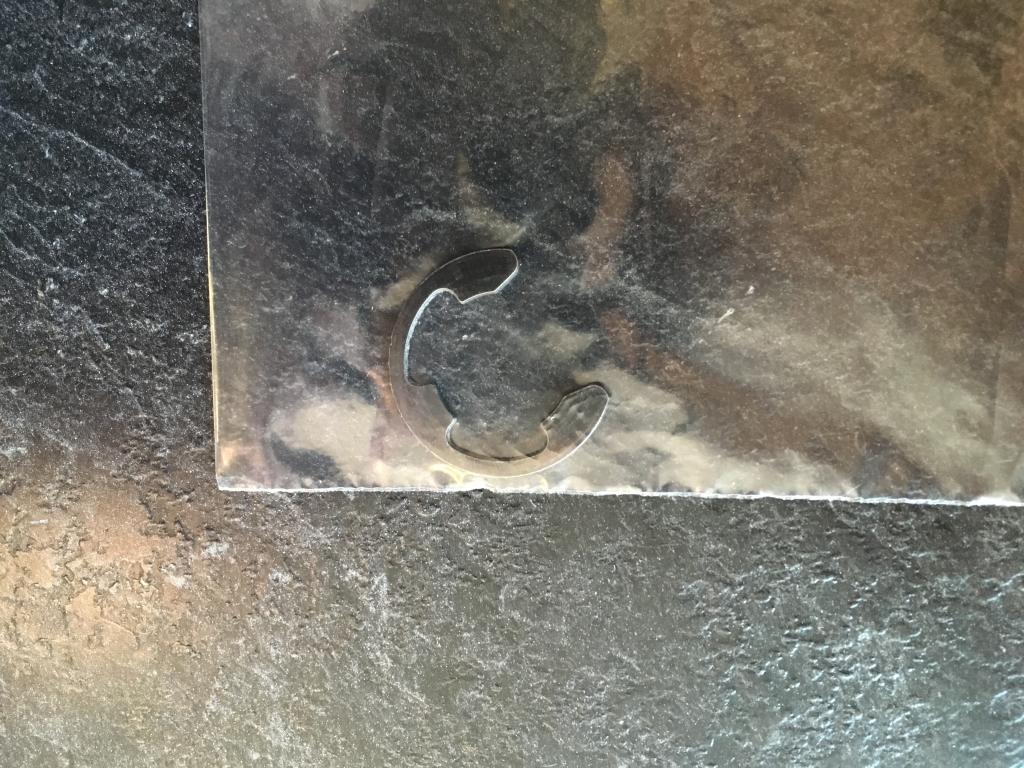
Step 4. Remove the E clip from the passenger side of the pedal pivot pin. It looks like this and is located almost directly above the brake pedal.
This hook worked great for pulling them off.
Once you have the clip off the passenger side, just slide the pin toward the driver side to make it easier to remove that E clip in the same way. Then you can slip the pin all the way out to the passenger side. The pedals will come off as you pull it out. Be careful to take note of where all the bushings go. Also be careful not to loose the little spring washer that goes on the right of the brake pedal, between it and the bushing like this. The dealer told me it is no longer available.

Also be careful to remember which side of the pedal pivot pin is which. I don't know if it really matters, but to be safe I marked each end of mine. Here is what it looks like.

Step 5. Clean everything up with brake cleaner and scotch brite if necessary. I used scotch brite to try and remove any and all roughness or burs on all the surfaces including the pedal pin and the holes that it sits in up under the dash.
Step 6. Re assemble with a liberal amount of synthetic bearing grease on all surfaces. The pedals have a groove in the tube where the pivot pin goes and I used it like a grease groove. Be sure that the E clips snap into place on the ends of the pedal pivot pin when you re install them. These would be a good thing to check regularly to make sure they don't come loose. Also be sure the pushrod retaining clips snap into place.
Thats it!
Below are some extra pics to give you a good idea of what everything looks like under the dash.
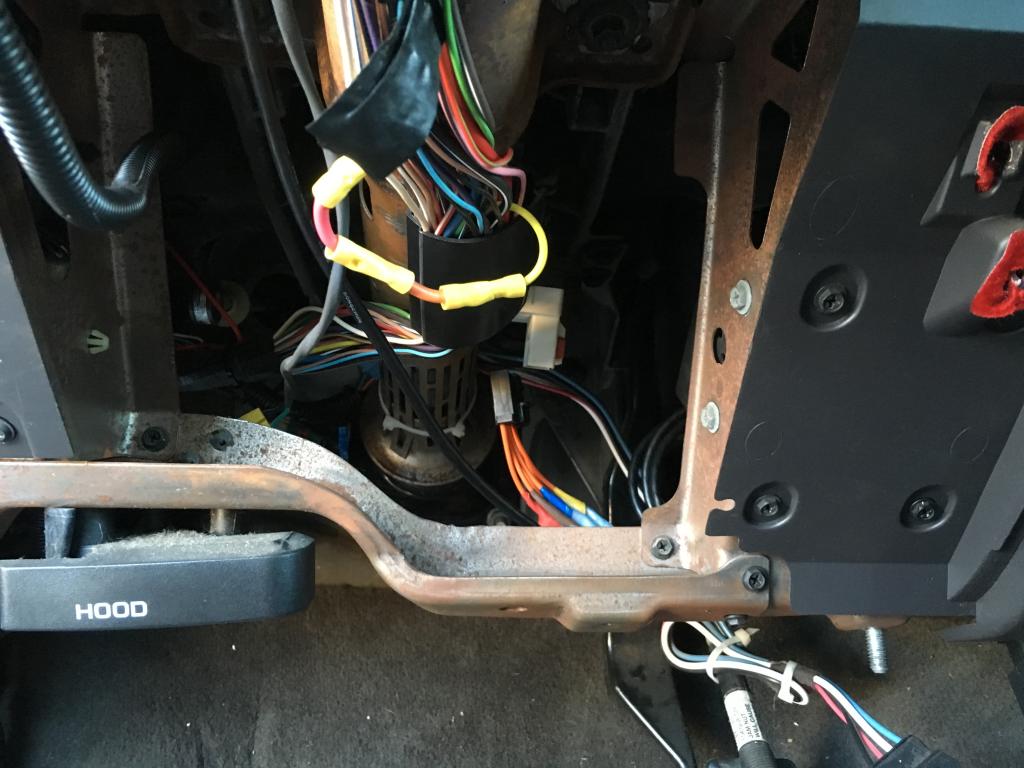
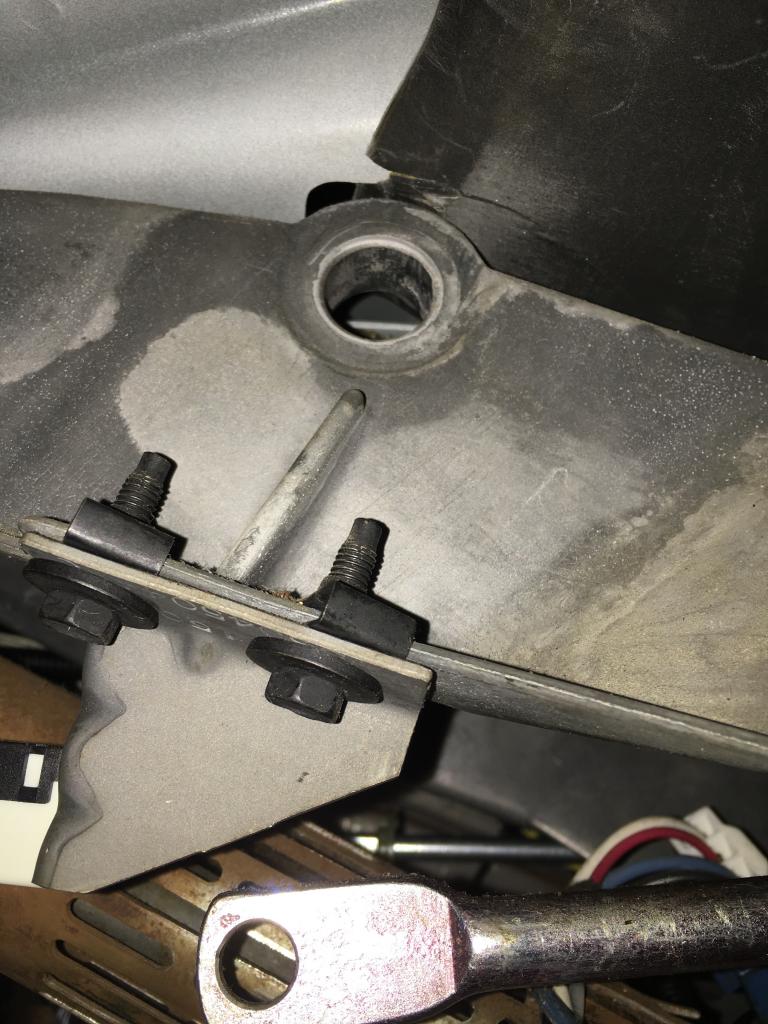
This is the passenger side of the pedal mount. The pushrod is for the brake master cylinder, and the bracket towards the center is what the brake light switch mounts to, it would be further toward the left.
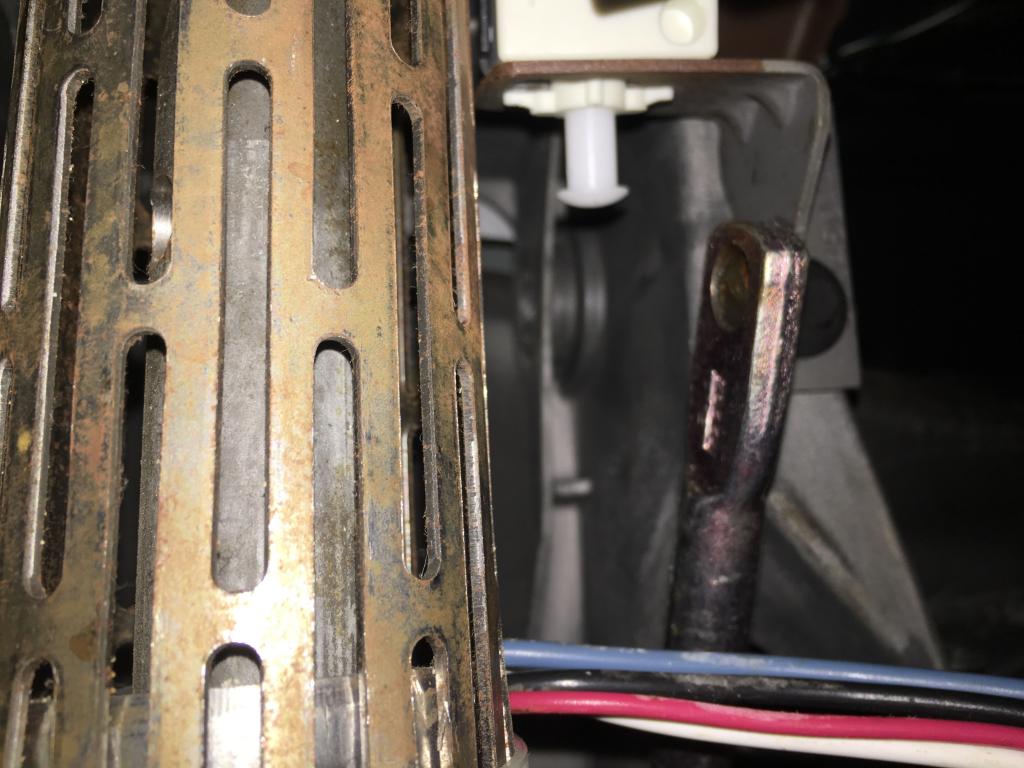
This is the brake light switch and pushrod as seen from below. In the background you can also see the hole where the pedal pivot pin goes.
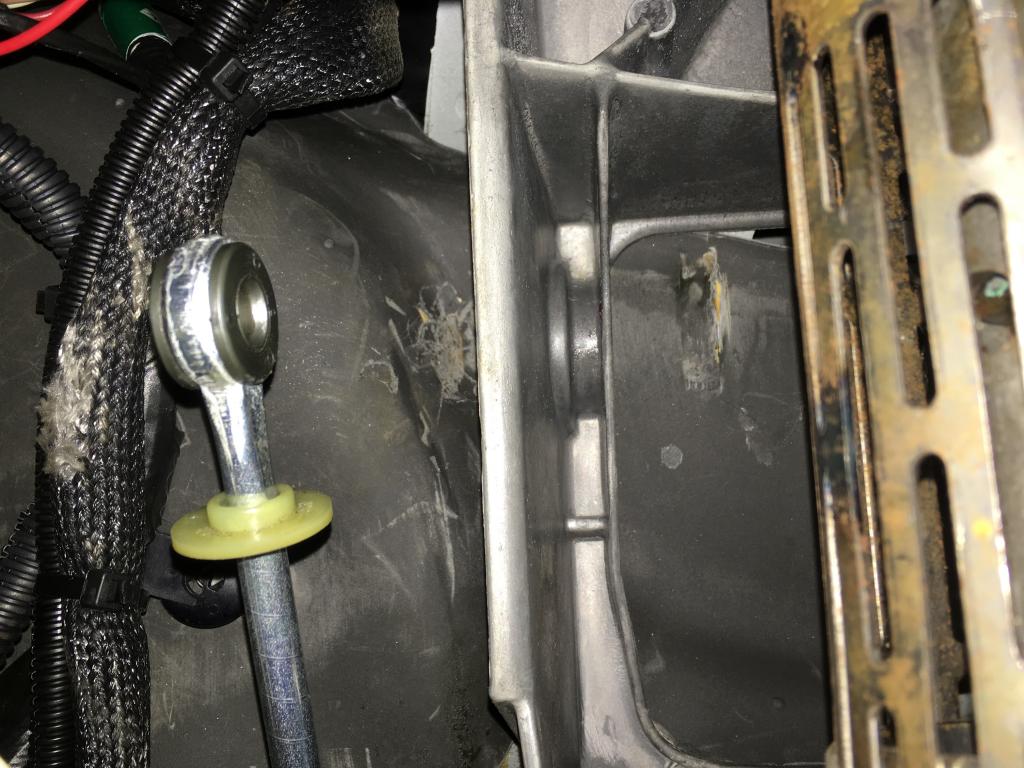
The is the other side of the pedal mount as seen from below. You can see the clutch master cylinder pushrod as well.
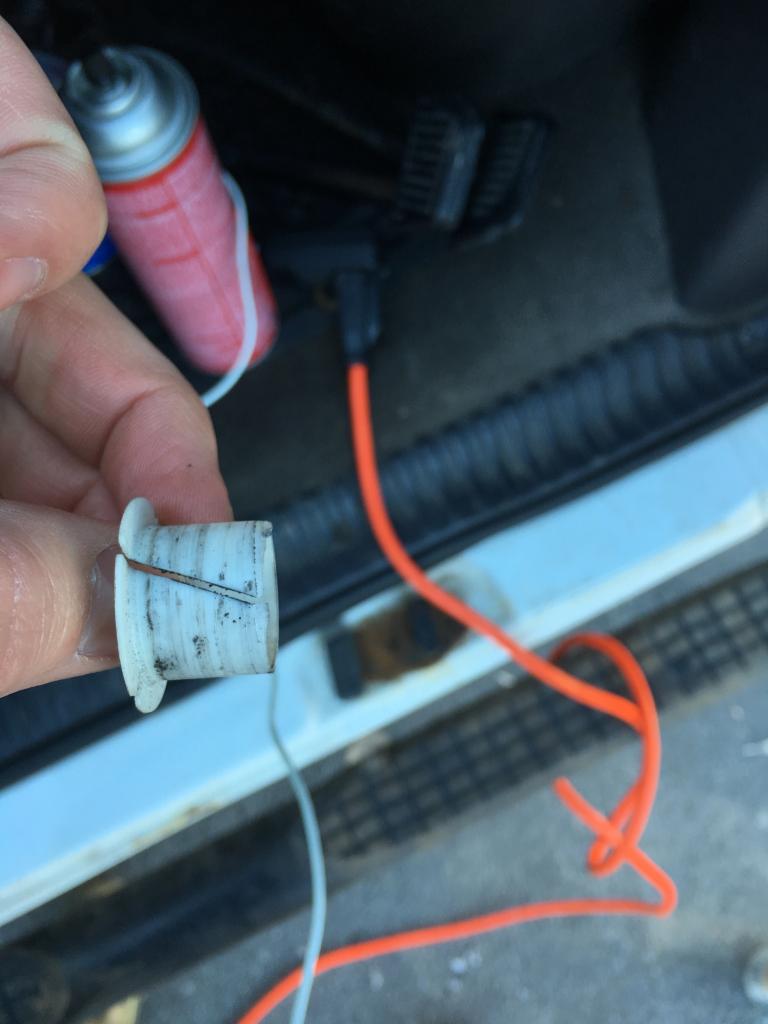
This is what a well worn pedal bushing looks like.