So I did this almost a year ago; but since someone on the forum asked me to post it I will.
FIRST OFF:
THIS IS NOT FOR THE FAINT OF HEART: I've done a lot of conversions, engine swaps, and a lot of intricate trim work on houses; and by far and away, this was one of the MOST difficult projects I have ever tackled.
THIS WILL TAKE A LONG TIME: The TRS guides lie; this will probably take you 2-3 days, even with my having paved the road.
This was, by far and away, one of my biggest complaints with the Ram. It's factory projector halogens just sucked. I have become used to good headlights in European and Japanese luxury sedans, and this was just severely lacking.
I debating just upgrading the bulbs and converting to HID. Had I known then what I know now; I probably would have.
That being said: These are the best headlights I've ever had on any vehicle I've owned. They're simply amazing.
I have a few pics of before and after with the headlights:
Before; low beams and fogs
http://photobucket.com/confirmation?...42bovmnyEnN11H
Before; just low beams
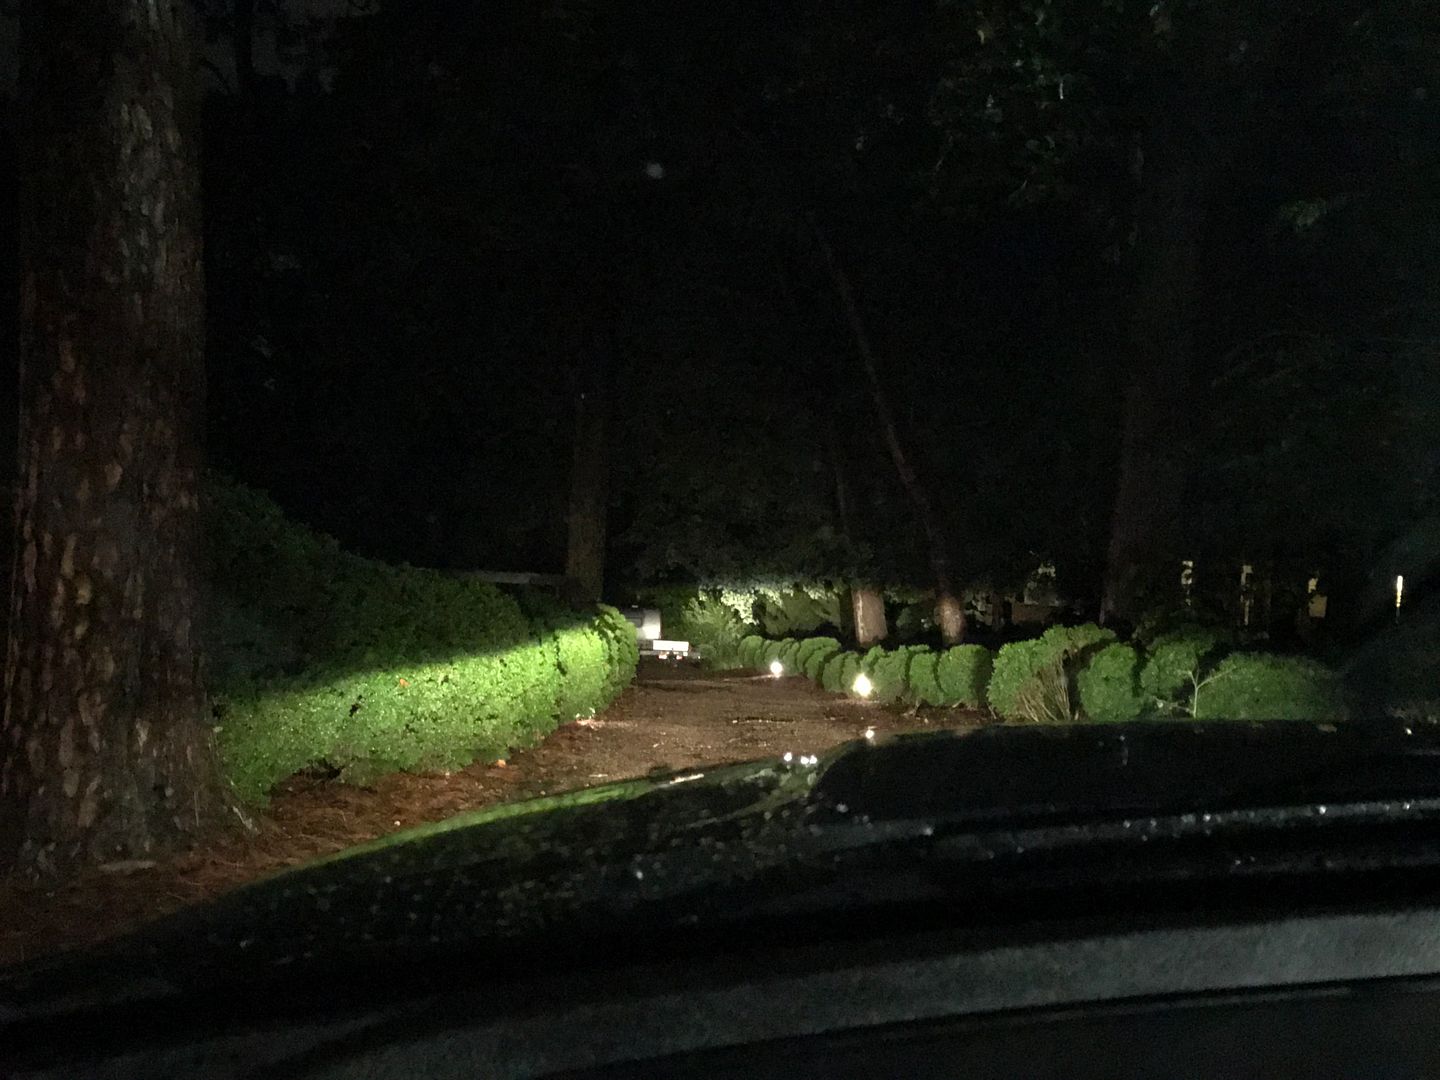
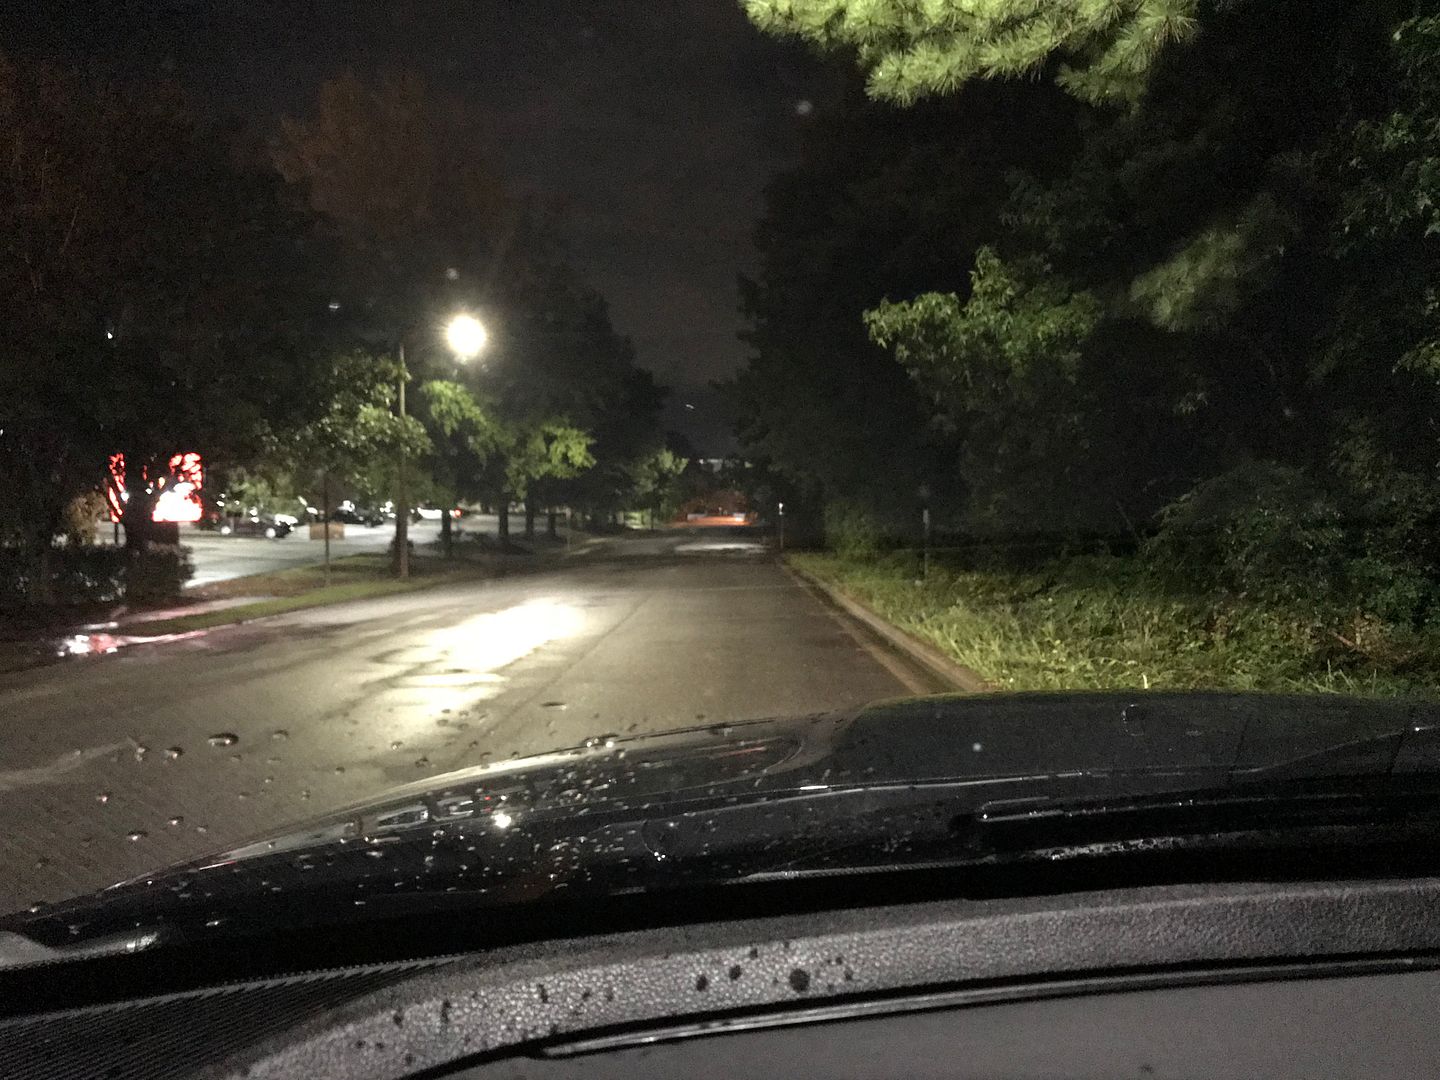
Before High Beams
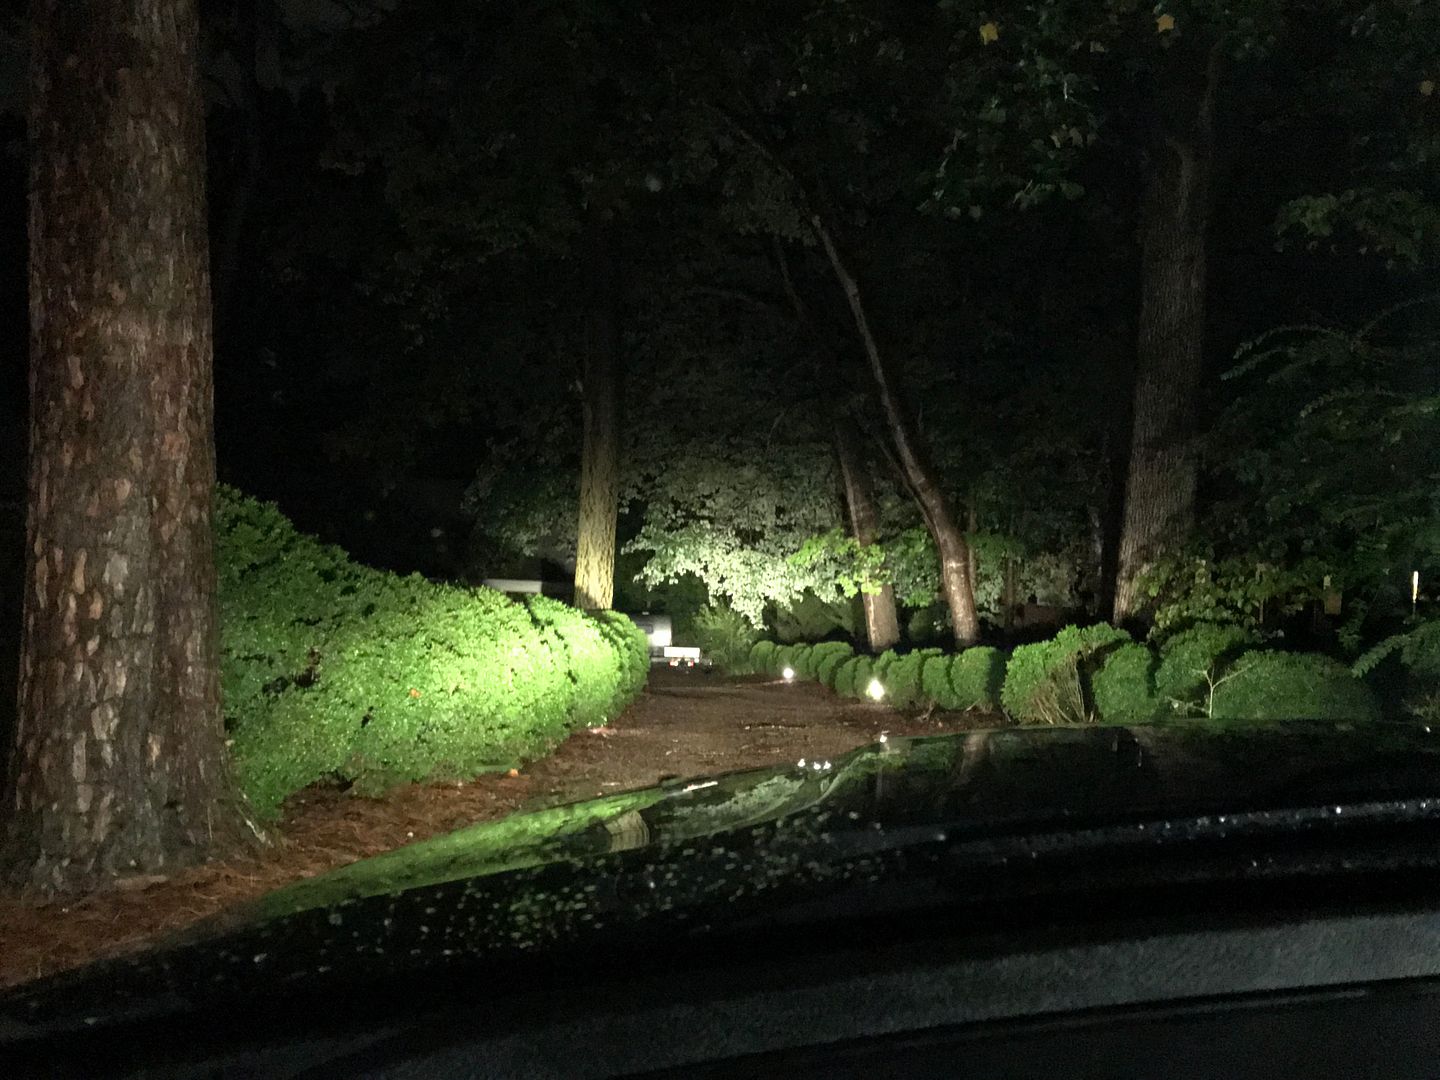
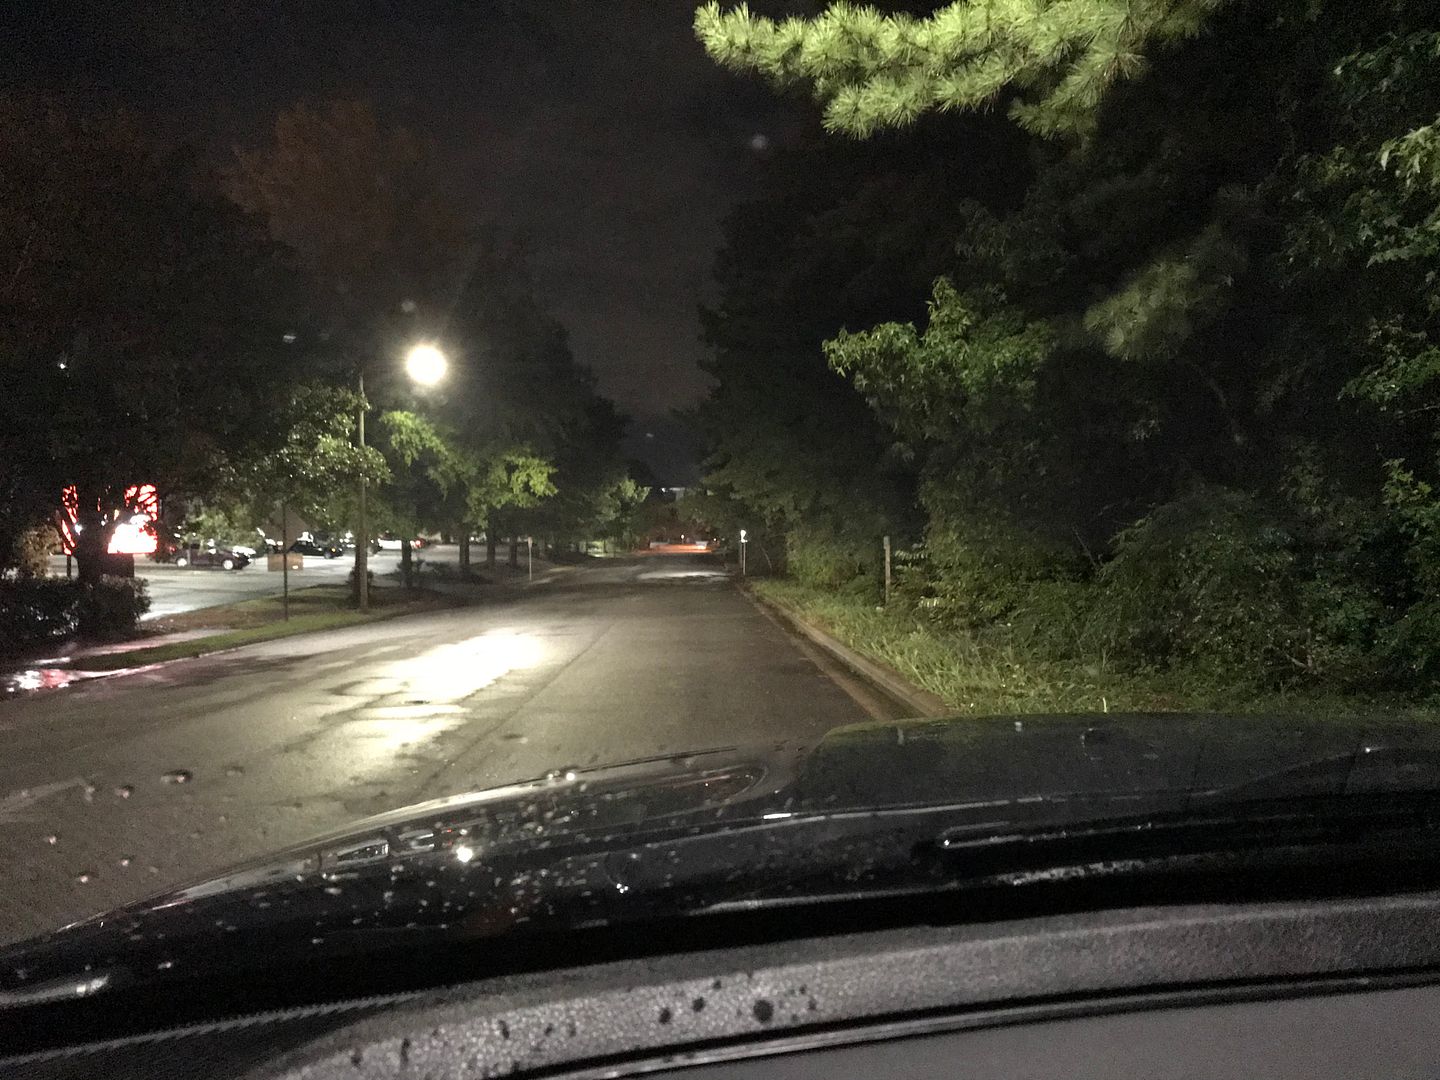
I bought the full FX-R kit from The Retrofit Source. First stop is just taking the headlights out. Removal is simple, and there are several youtube videos on how to do this.
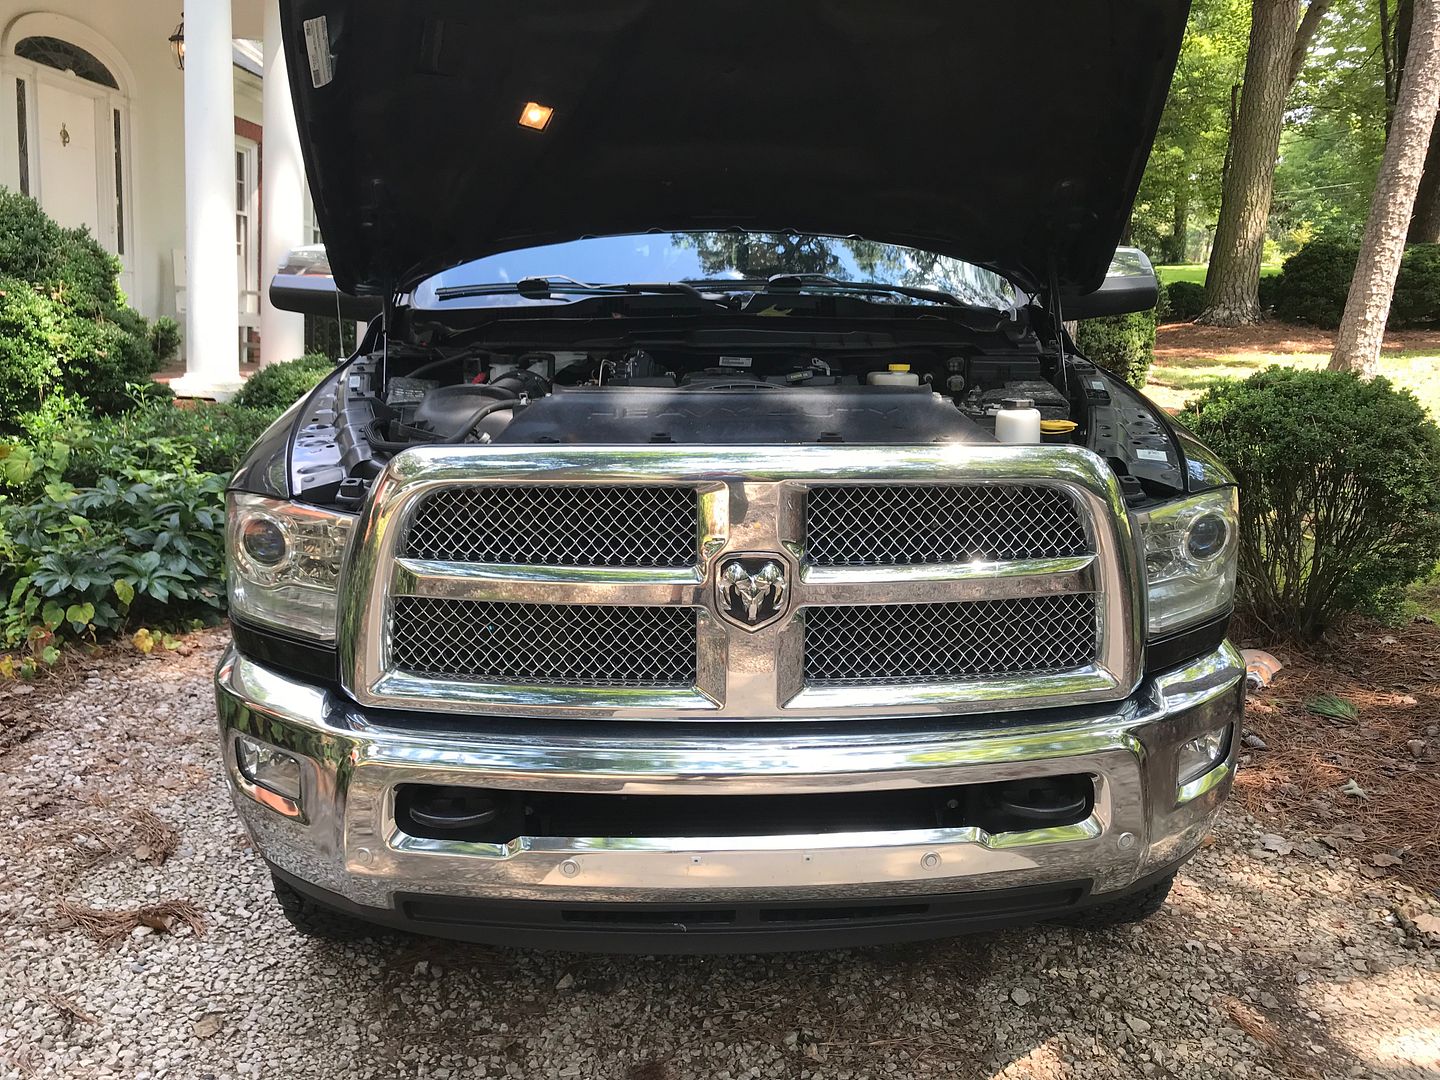
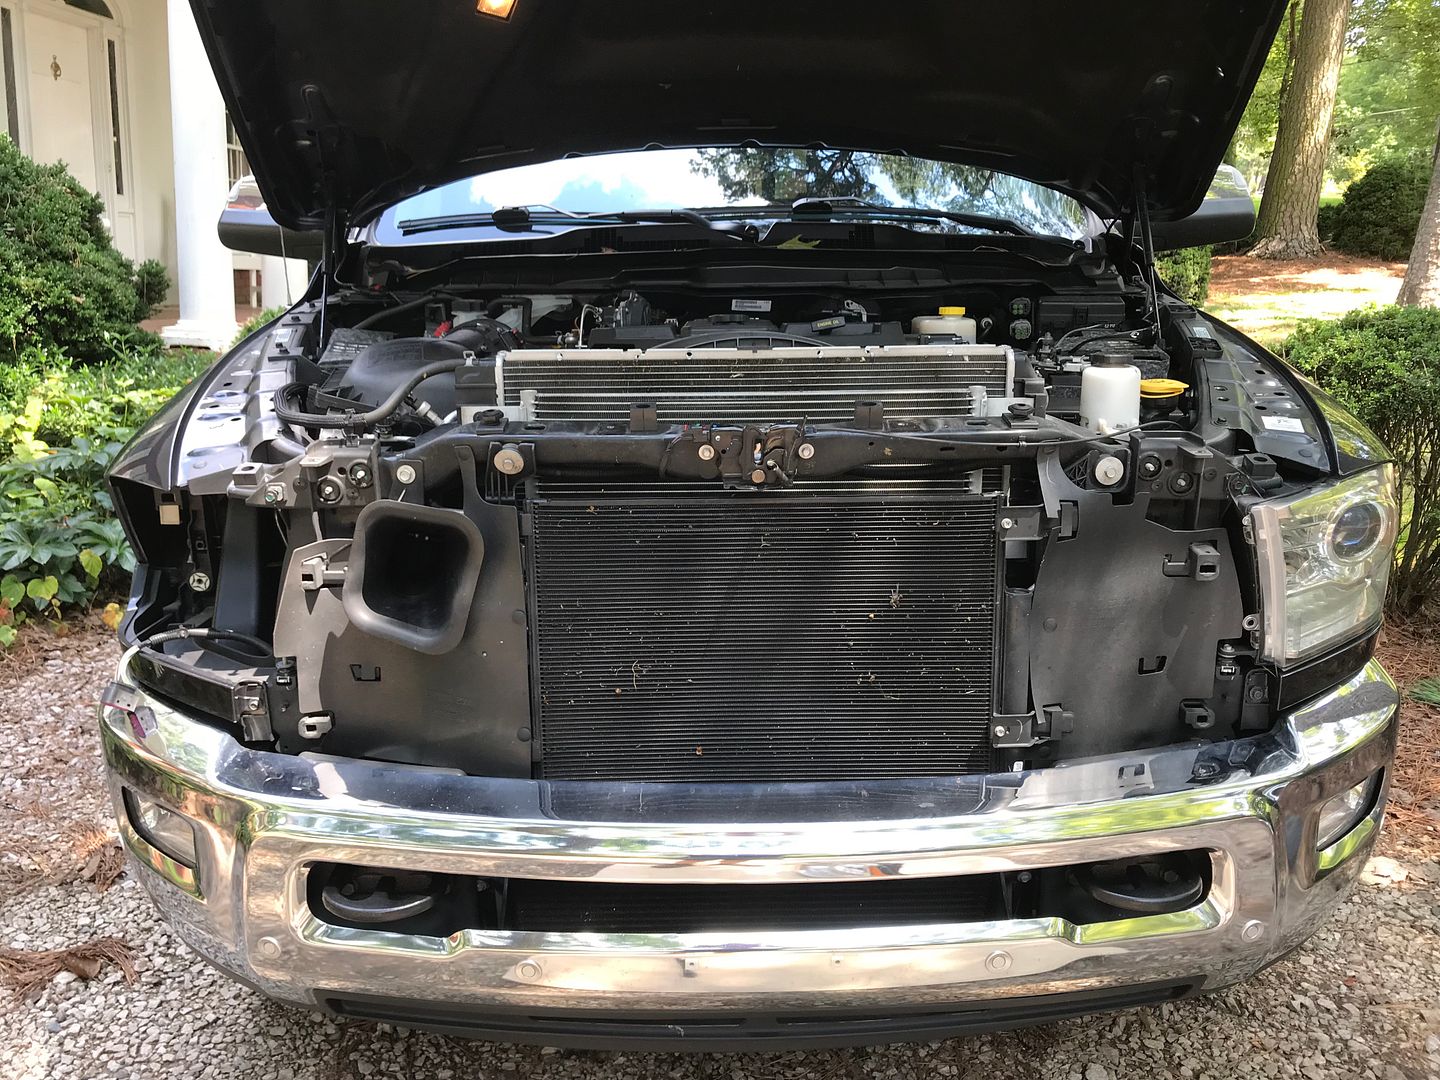
With those out of the way, I routed the wiring to get an idea and didn't a test fit for the connectors. My biggest complaint with the TRS wiring harness is that it's a bit short; especially on the passenger side.
Started with just layout; feeding the wiring harness through and seeing where things fit the best.
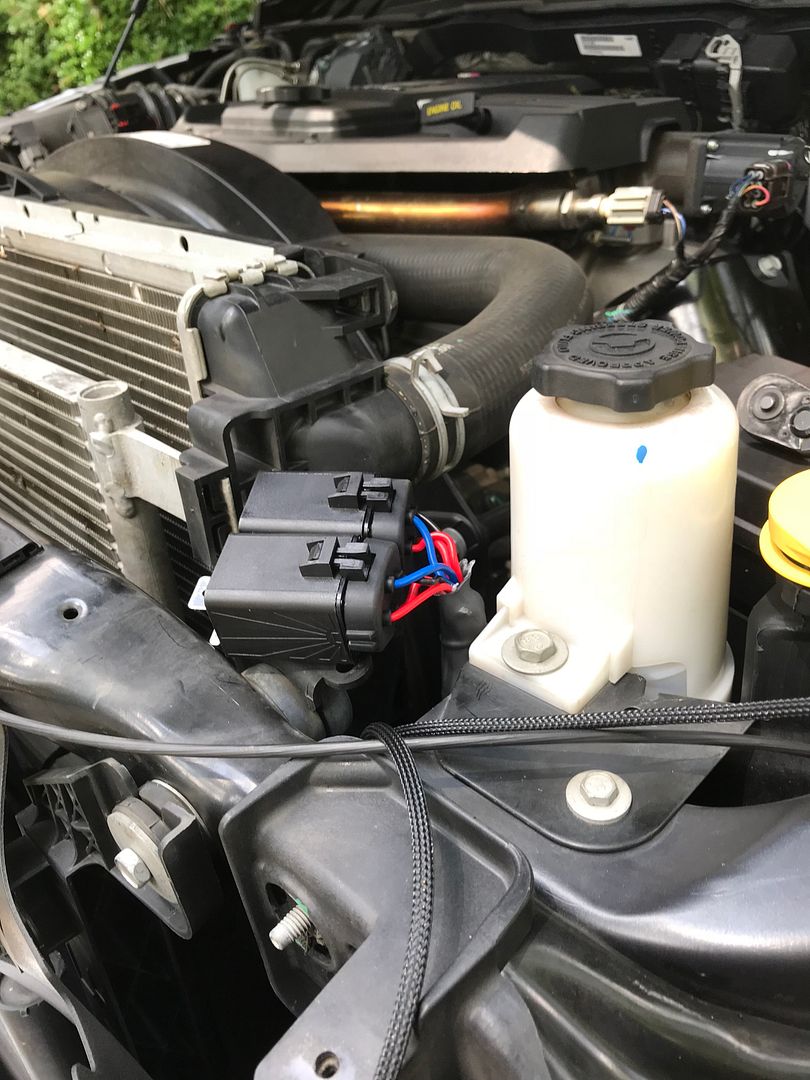
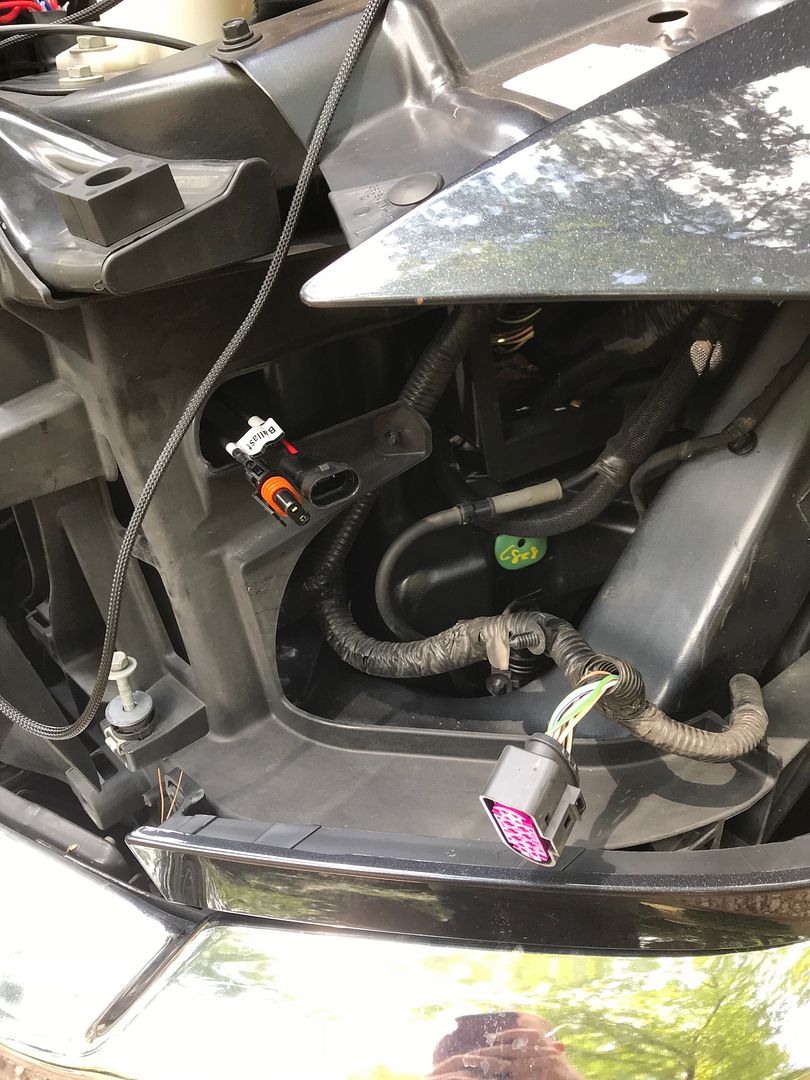
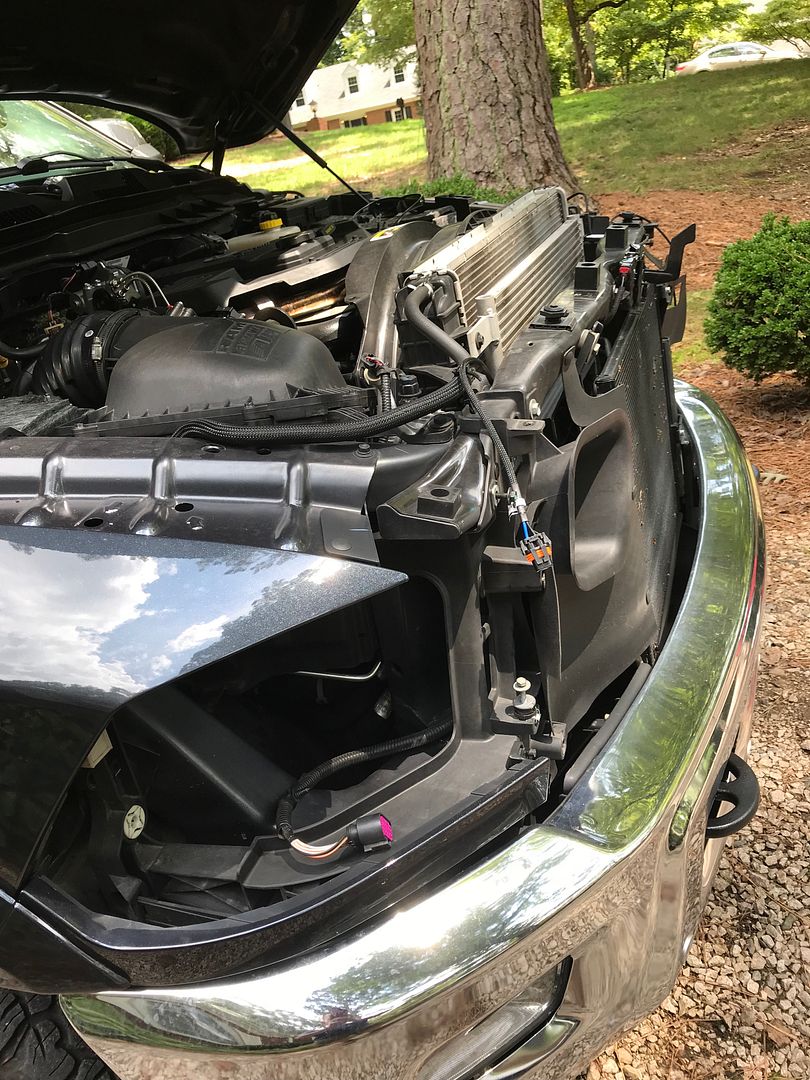
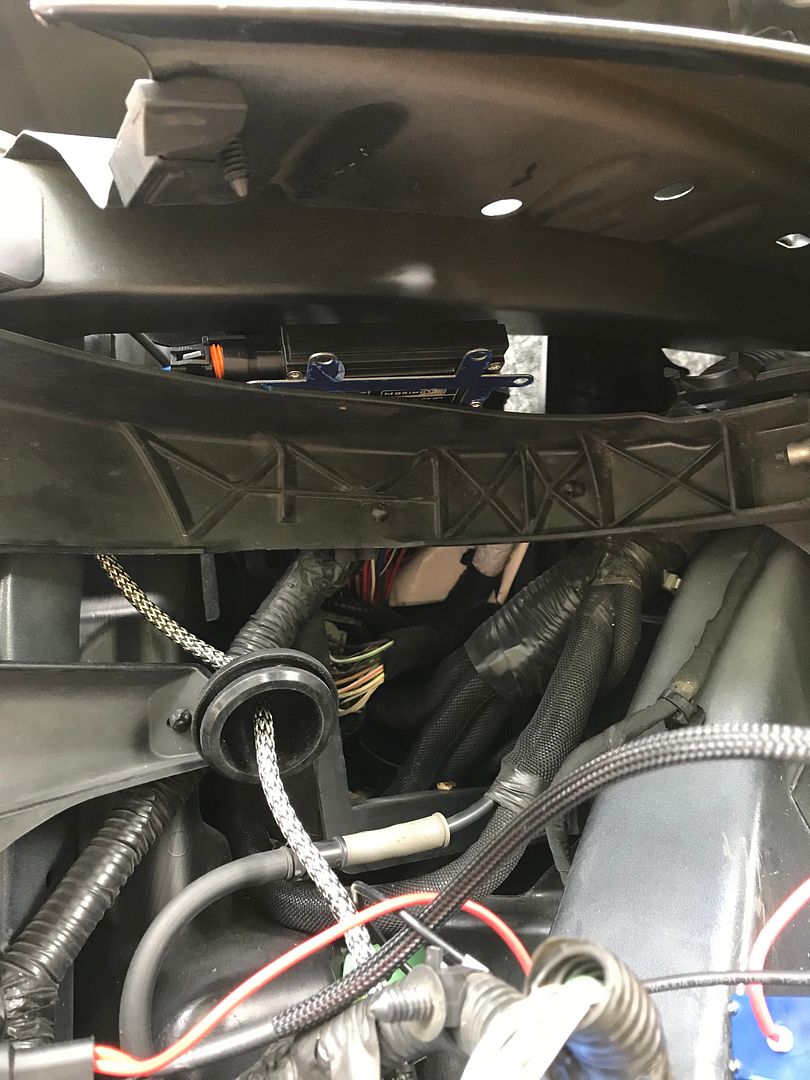
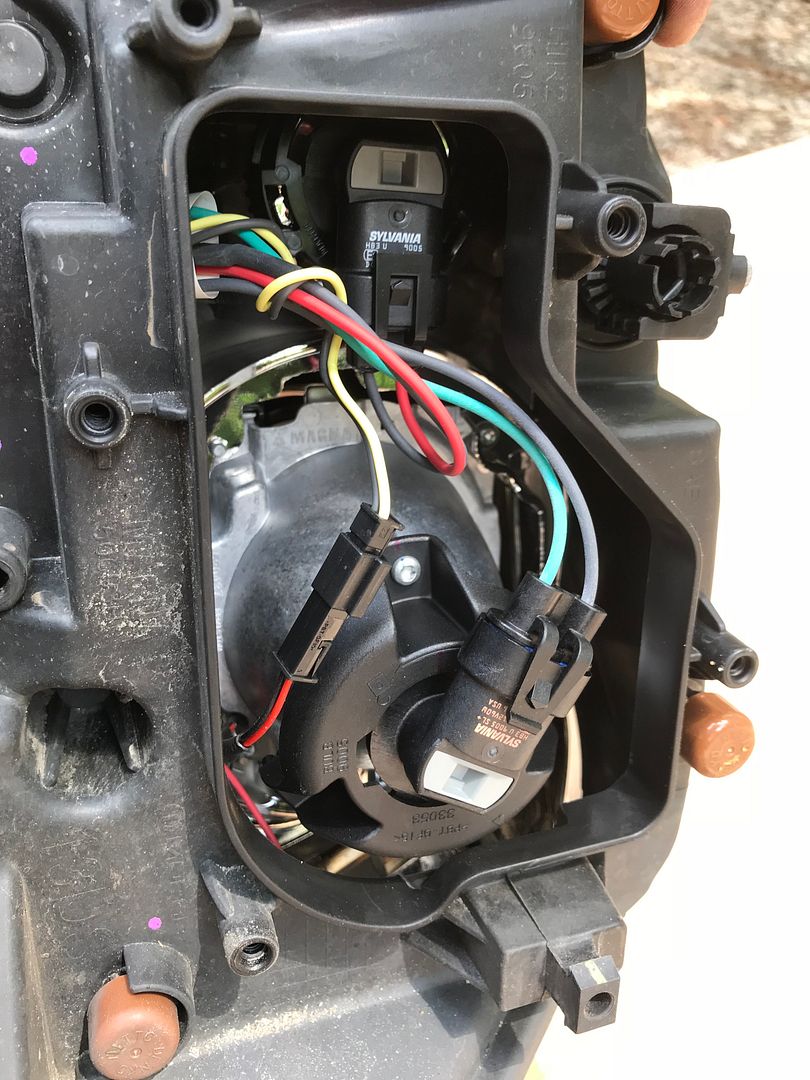
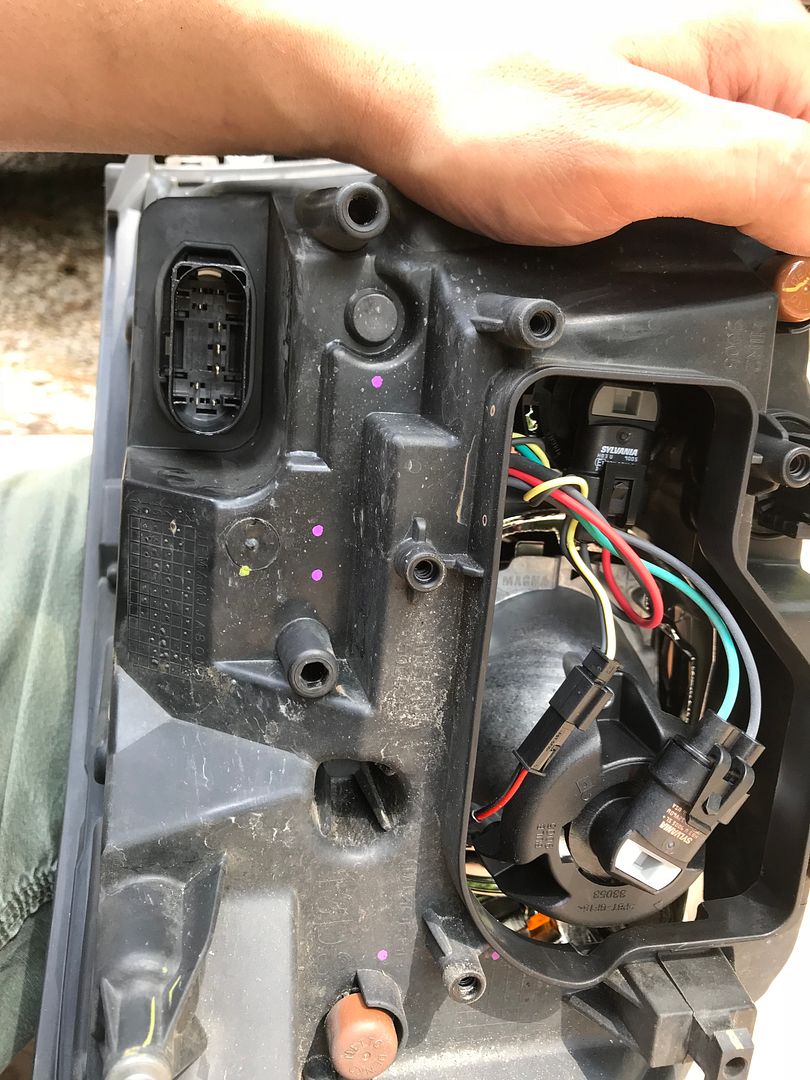
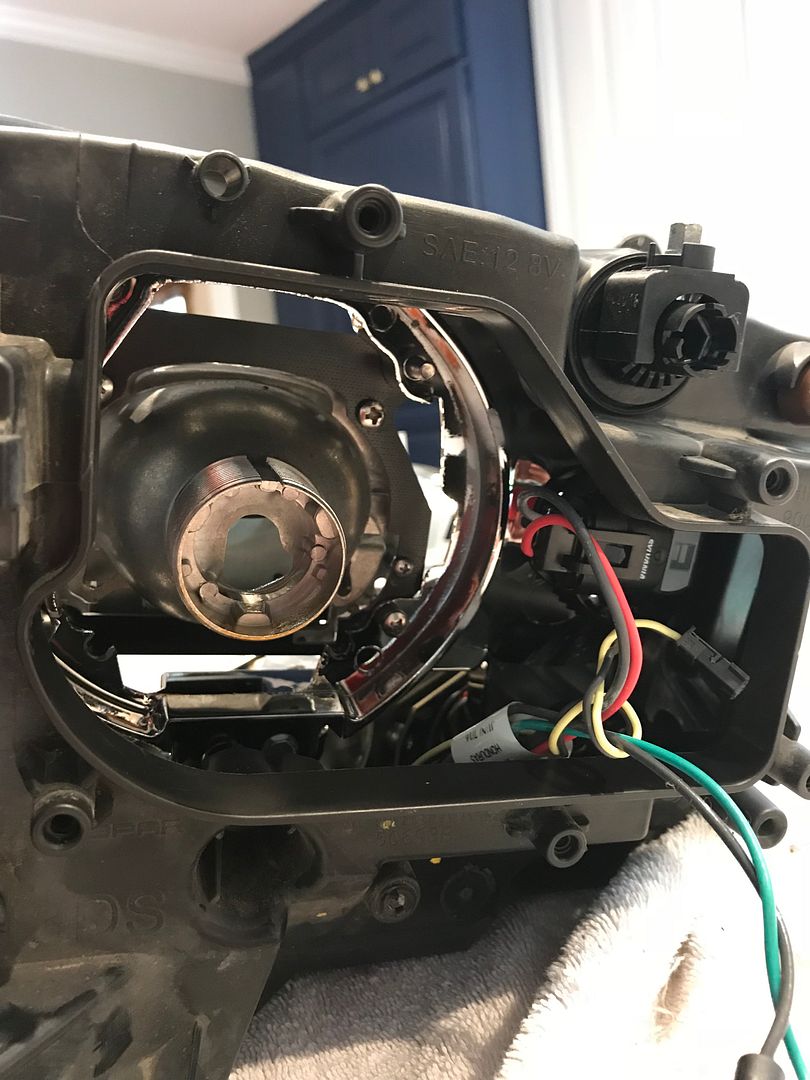
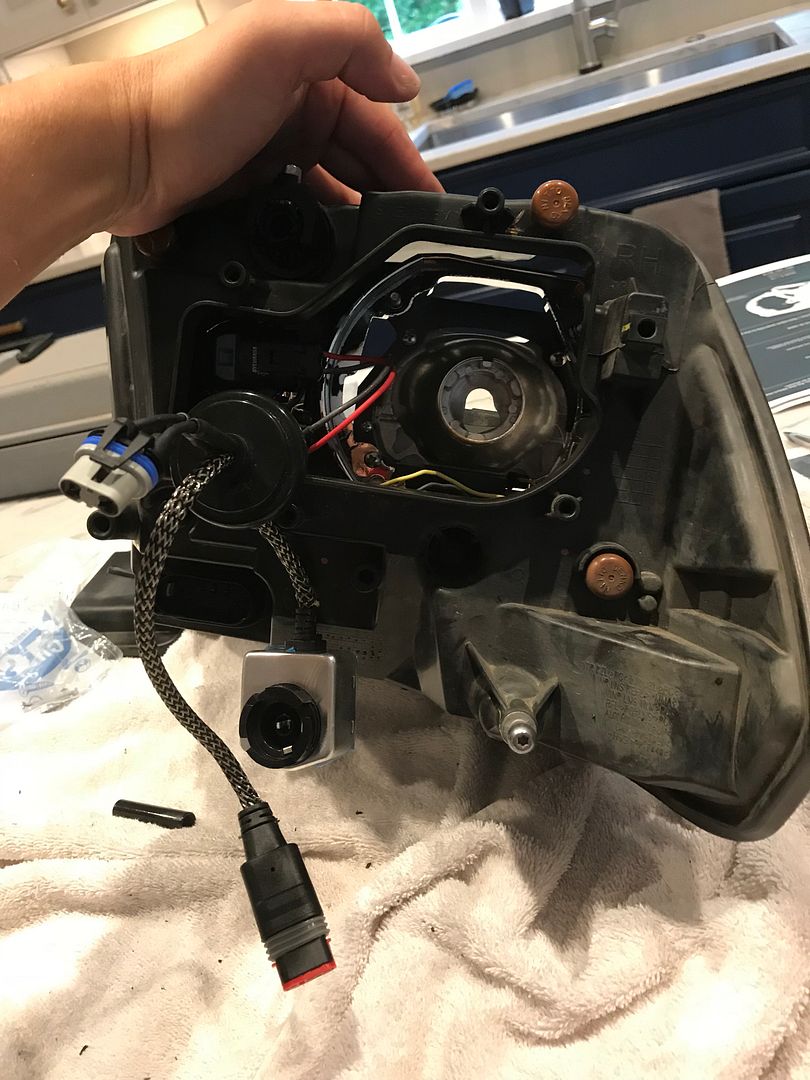
With the headlights removed; I took the backing plates off to see what the inside looks like and how the wiring is going to have to go together. If you look closely you will see three connectors.
Single red/white wire is the solenoid control that pulls the "lid" up for high beams in the projectors.
Double connector closest to that is (purple/aqua) is the halogen low-beam lamp in the projector; the last one is recessed into the high beam bulb (halogen)
The TRS instructions say to take the headlights inside and bake them to get them to come apart. So...inside we go...
Supposedly a couple minutes (like 10) around 200* will work to get the glue to melt that bonds the clear plastic covering over the internal chrome pieces.
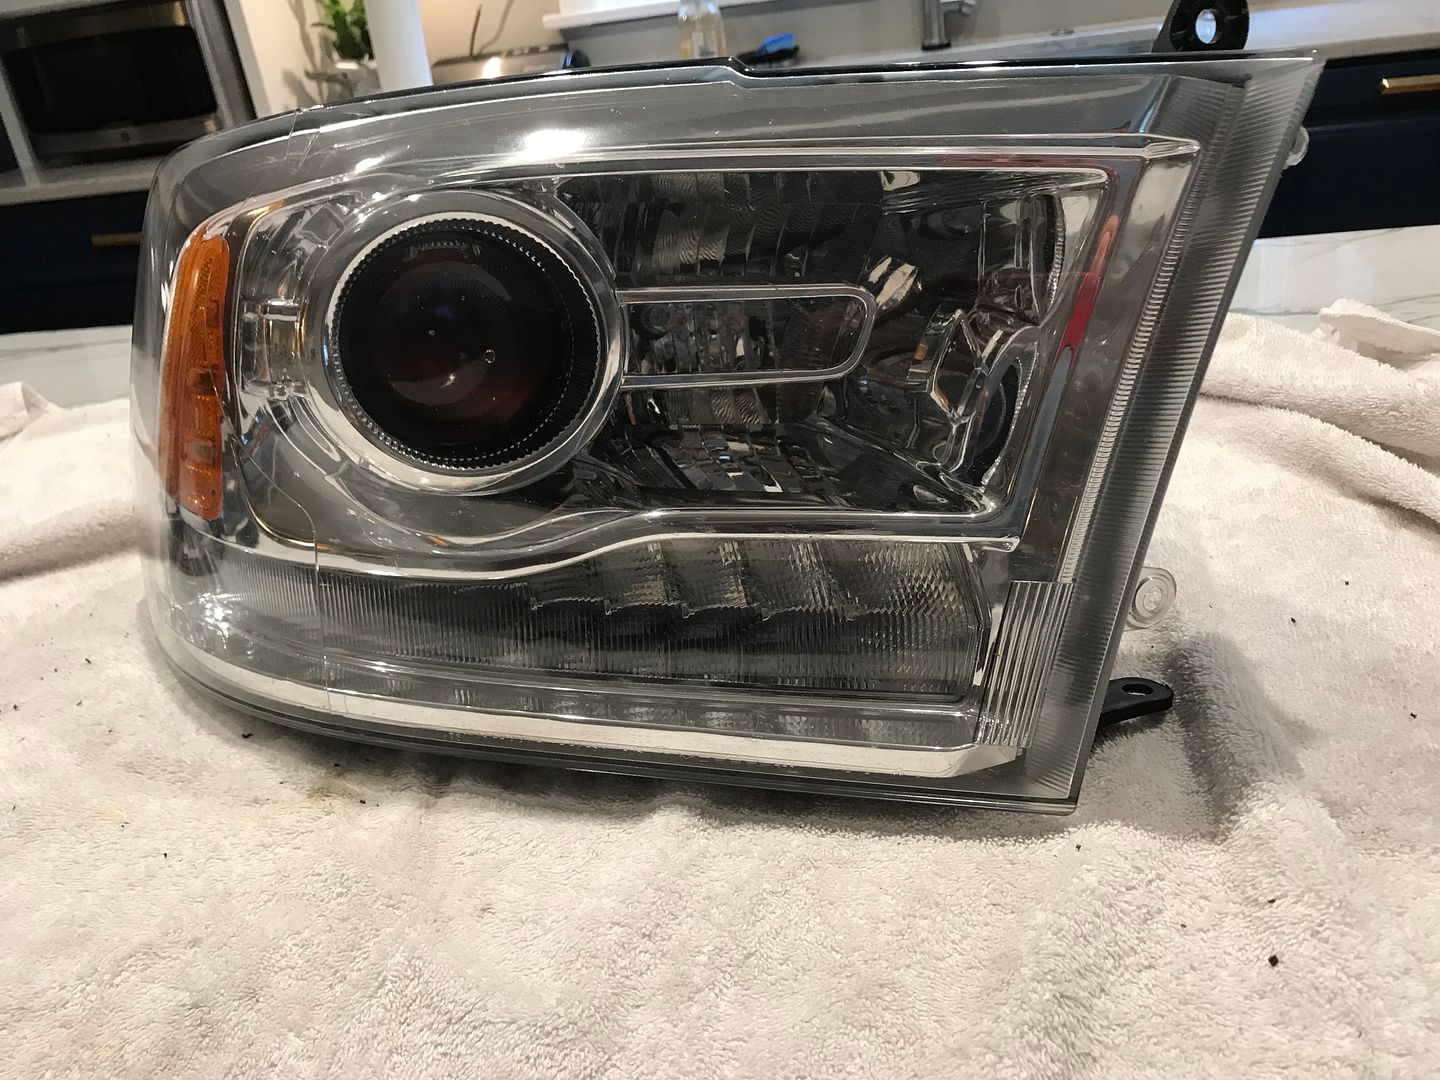
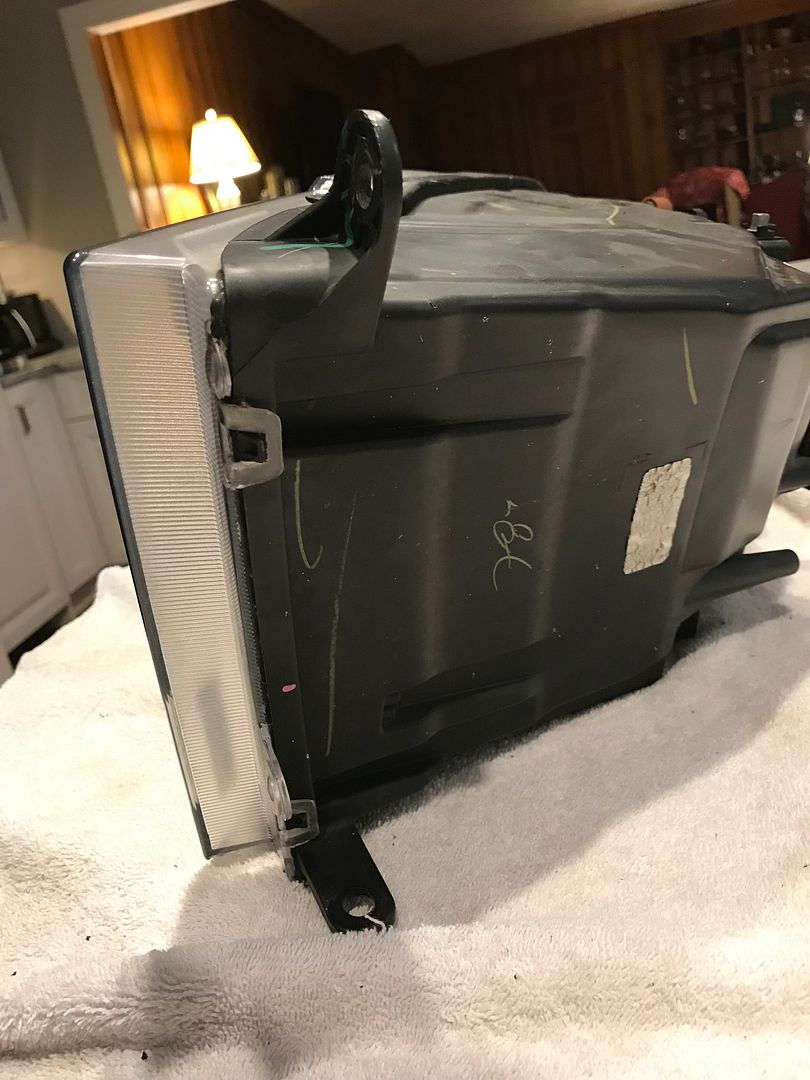
I removed it; and it was hard as a rock. Back for more...
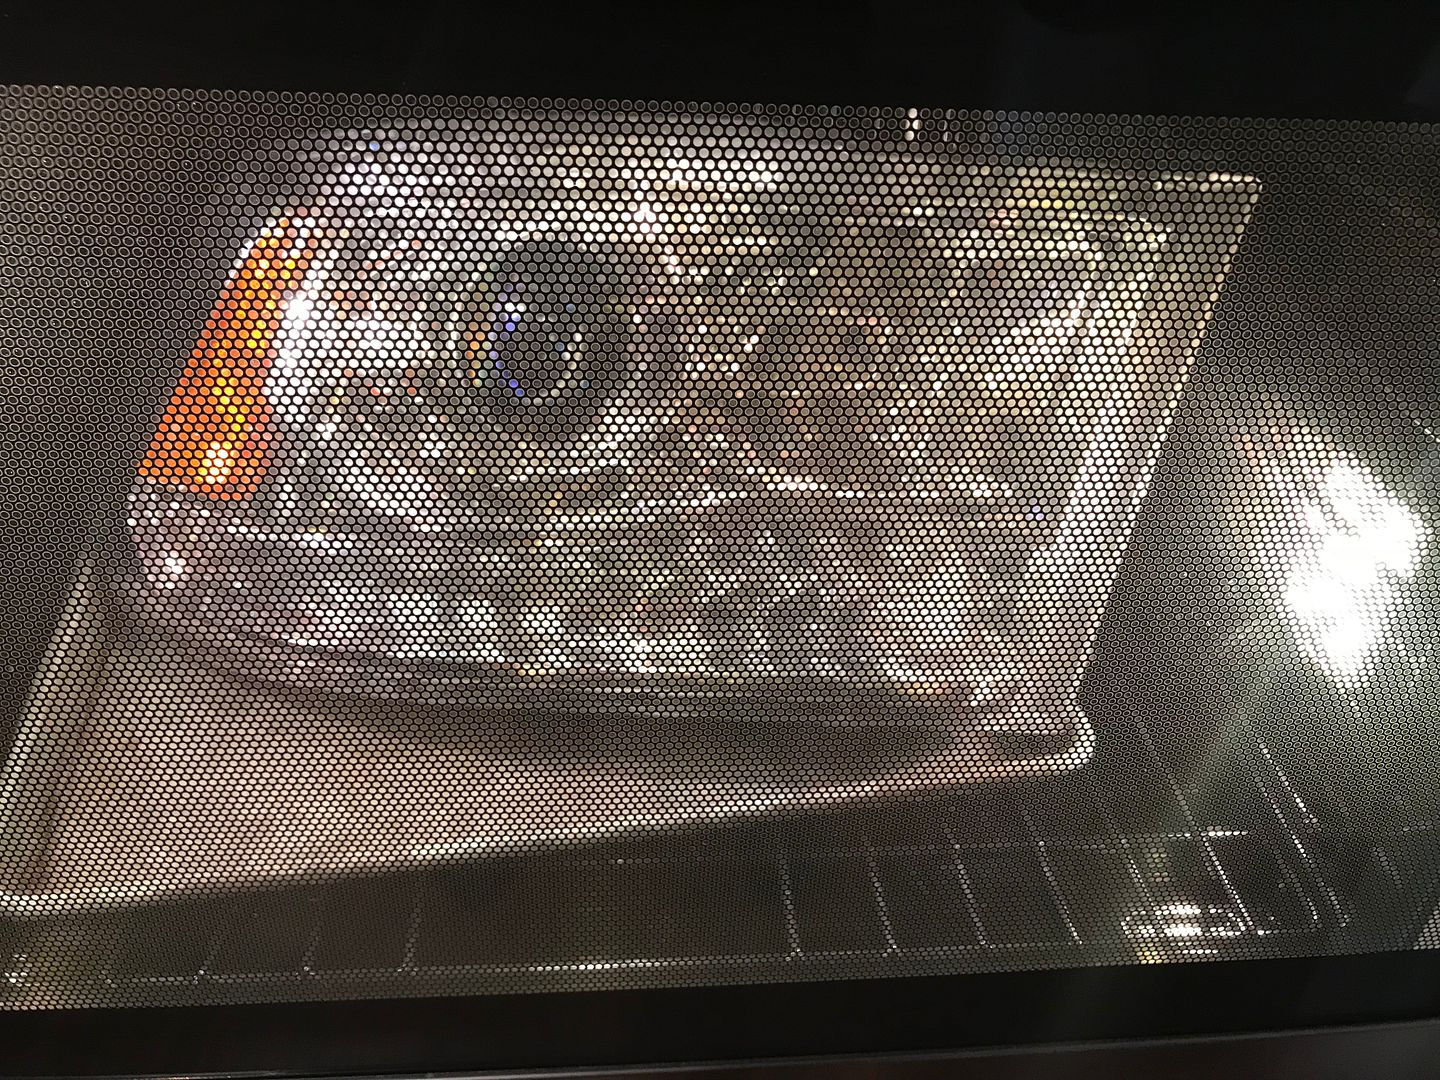
same
and more...
same...
And more heat...
same.
and longer time
and it finally started to loosen.
At this point I believe I was up to around 250* and had been baking in excess of 45 minutes.
I'd get a corner loosened, and get that unstuck, and then it would cool off, and it'd have to go back into the oven and heat up. The plastic black "housing" with the slot where the clear plastic sits would want to melt and deform before the glue holding the two together did. It was a delicate balancing act of heat, pressure, time, and a LOT of cussing. The "glue" they used came out in little pieces, and as soon as they got cool were hard as nails. It took HOURS to get each headlight apart and the channel cleaned up so that you would be able to reinsert. Leather gloves were critical, as was a large beach towel to be able to hold the light, as it was pretty warm at this point.
The best tool was a small screwdriver (flat) and most useful was a good solid putty knife. Pretty sure there was a utility knife in there someplace as well.
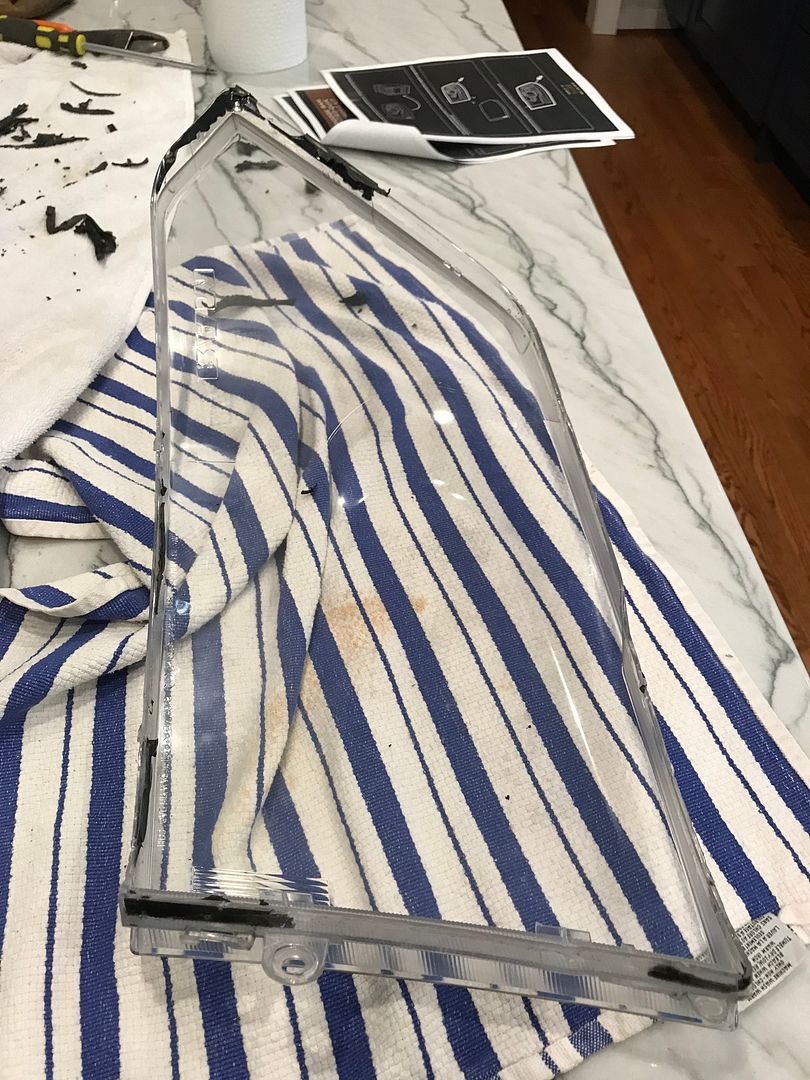
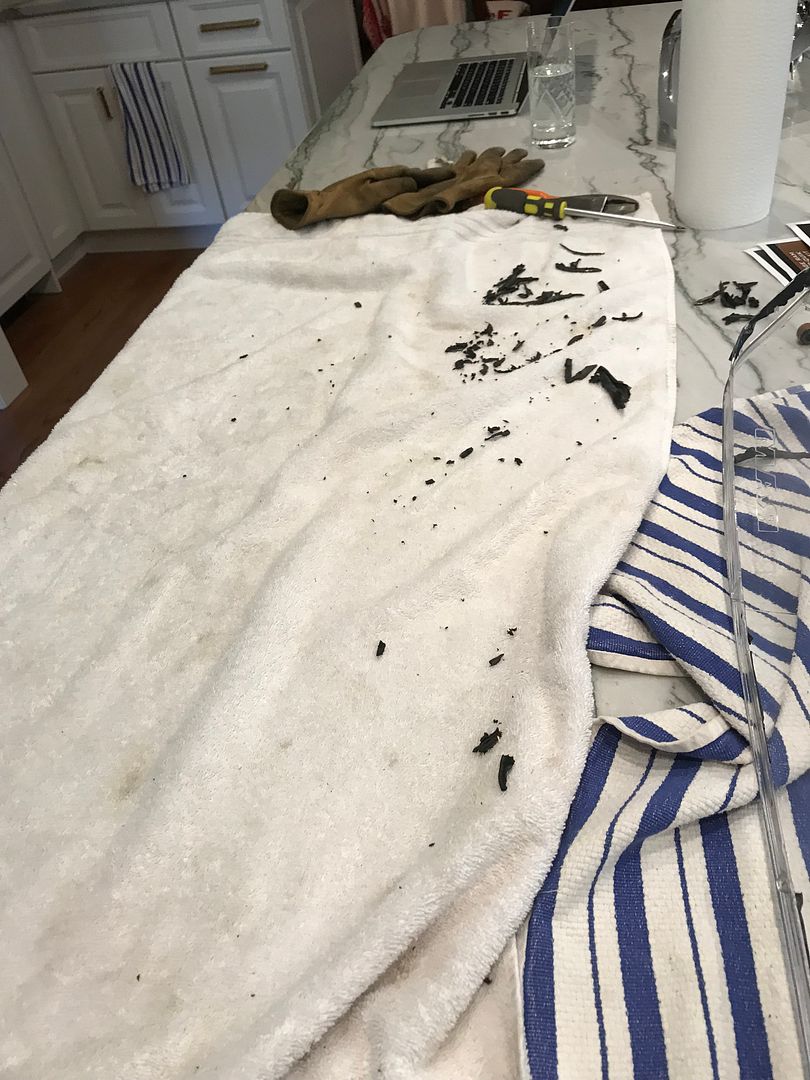
Finally
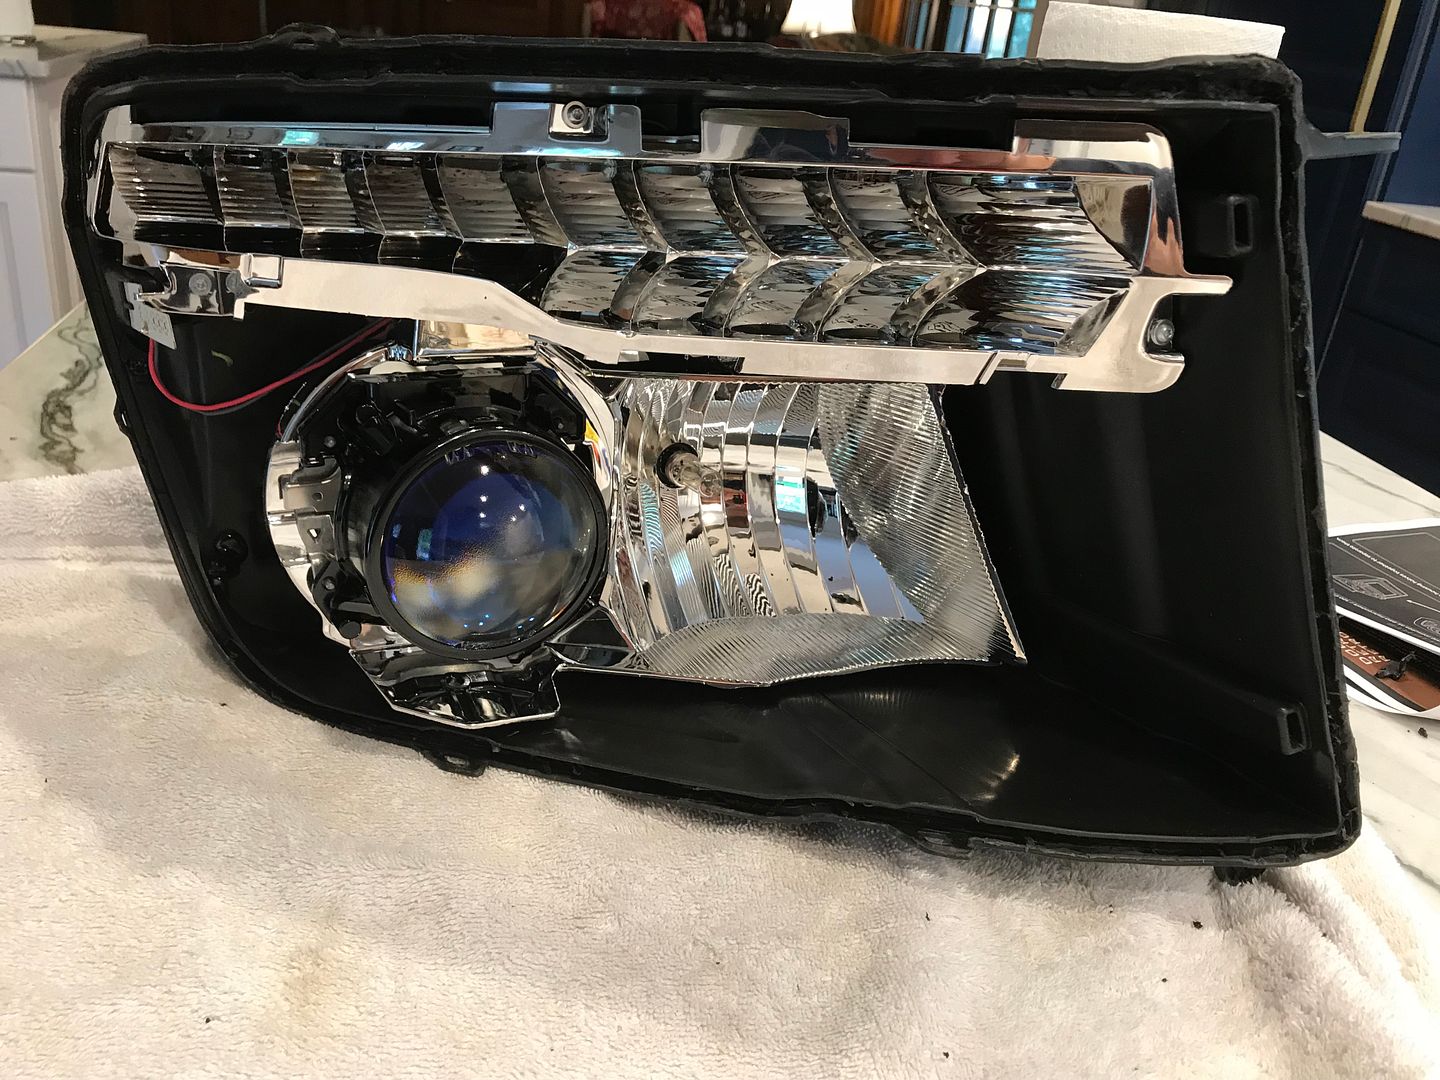
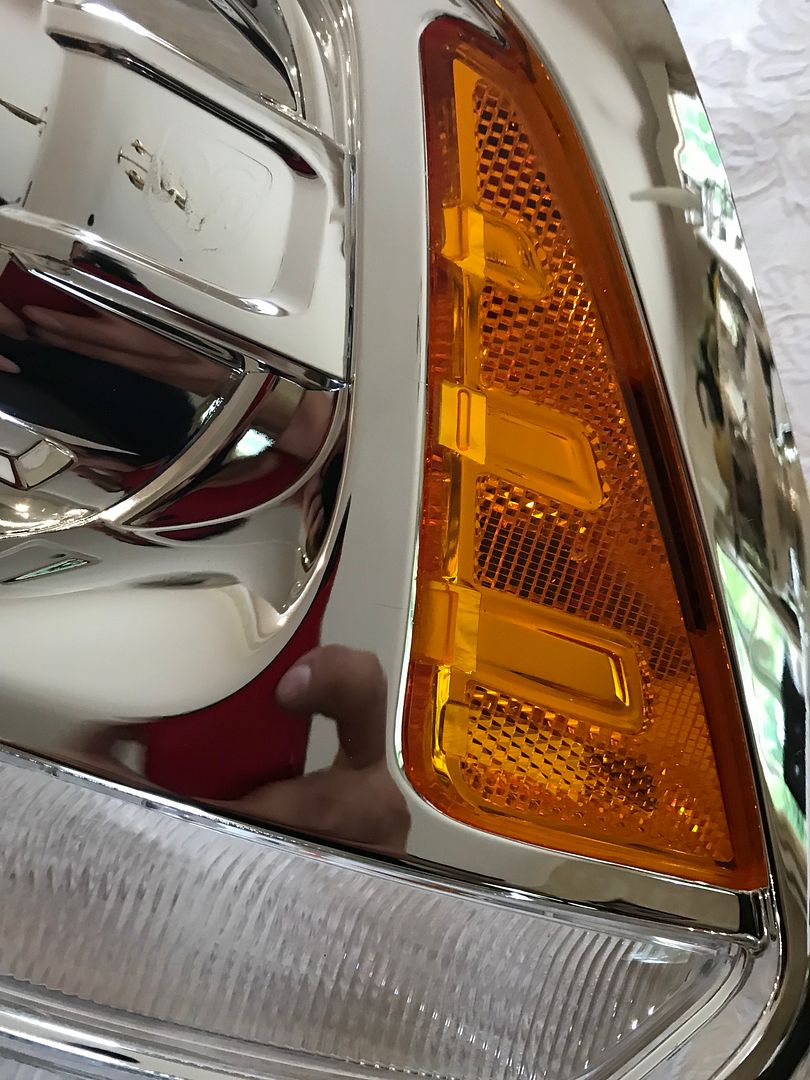
NOTE WELL: Once that clear lens is off; CLEANLINESS is next to godliness. The Chrome on the inner parts of the plastic lens scratches VERY easily. I handled this very tenderly.
The only thing you should really allow to touch is a high end detail quality microfiber. A vacuum, making sure your hands/tools/bench/is clean is IMPERATIVE.
And if you get impatient, and crank the heat up too much; or leave it in too long...
You too, can have a new piece of wall art.
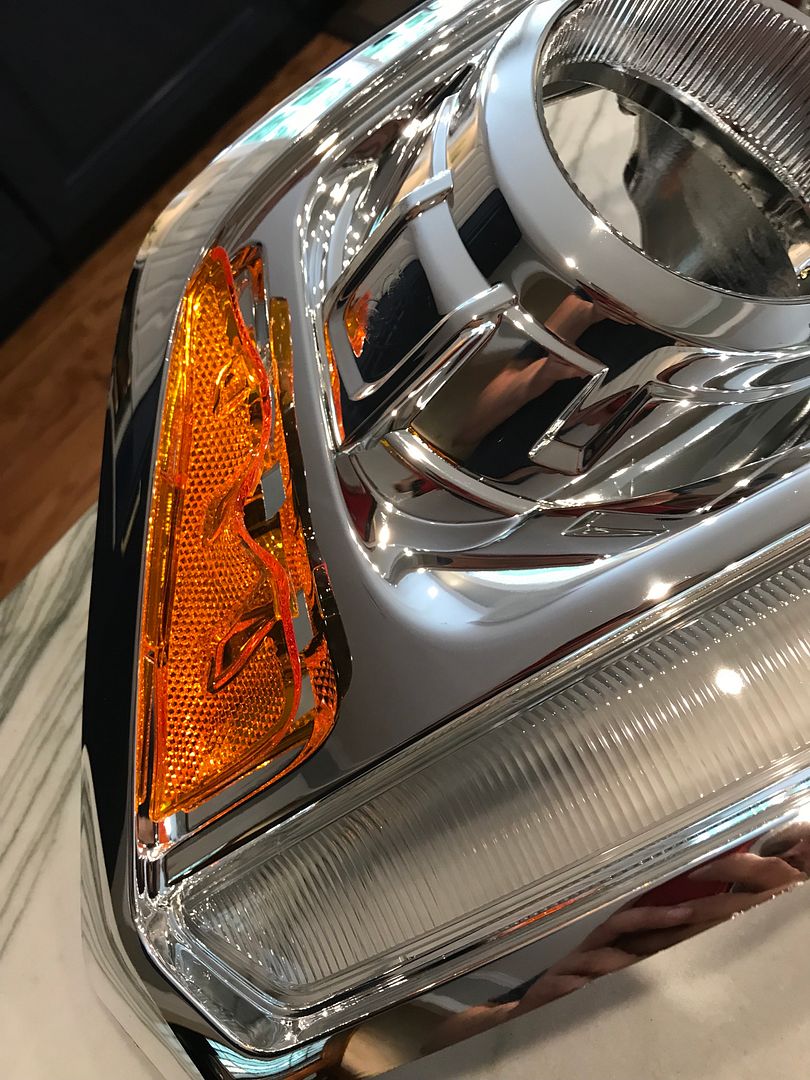
I managed to turn the orange turn signal into a wavy potato chip. So... off to buy new ones of those (which are un-obtanium, btw). But clear ones exist... So I ordered smoked ones, on overnight delivery... which would arrive on Monday (quite after I expected to be done with this project.
Oh well. Onto the next step...
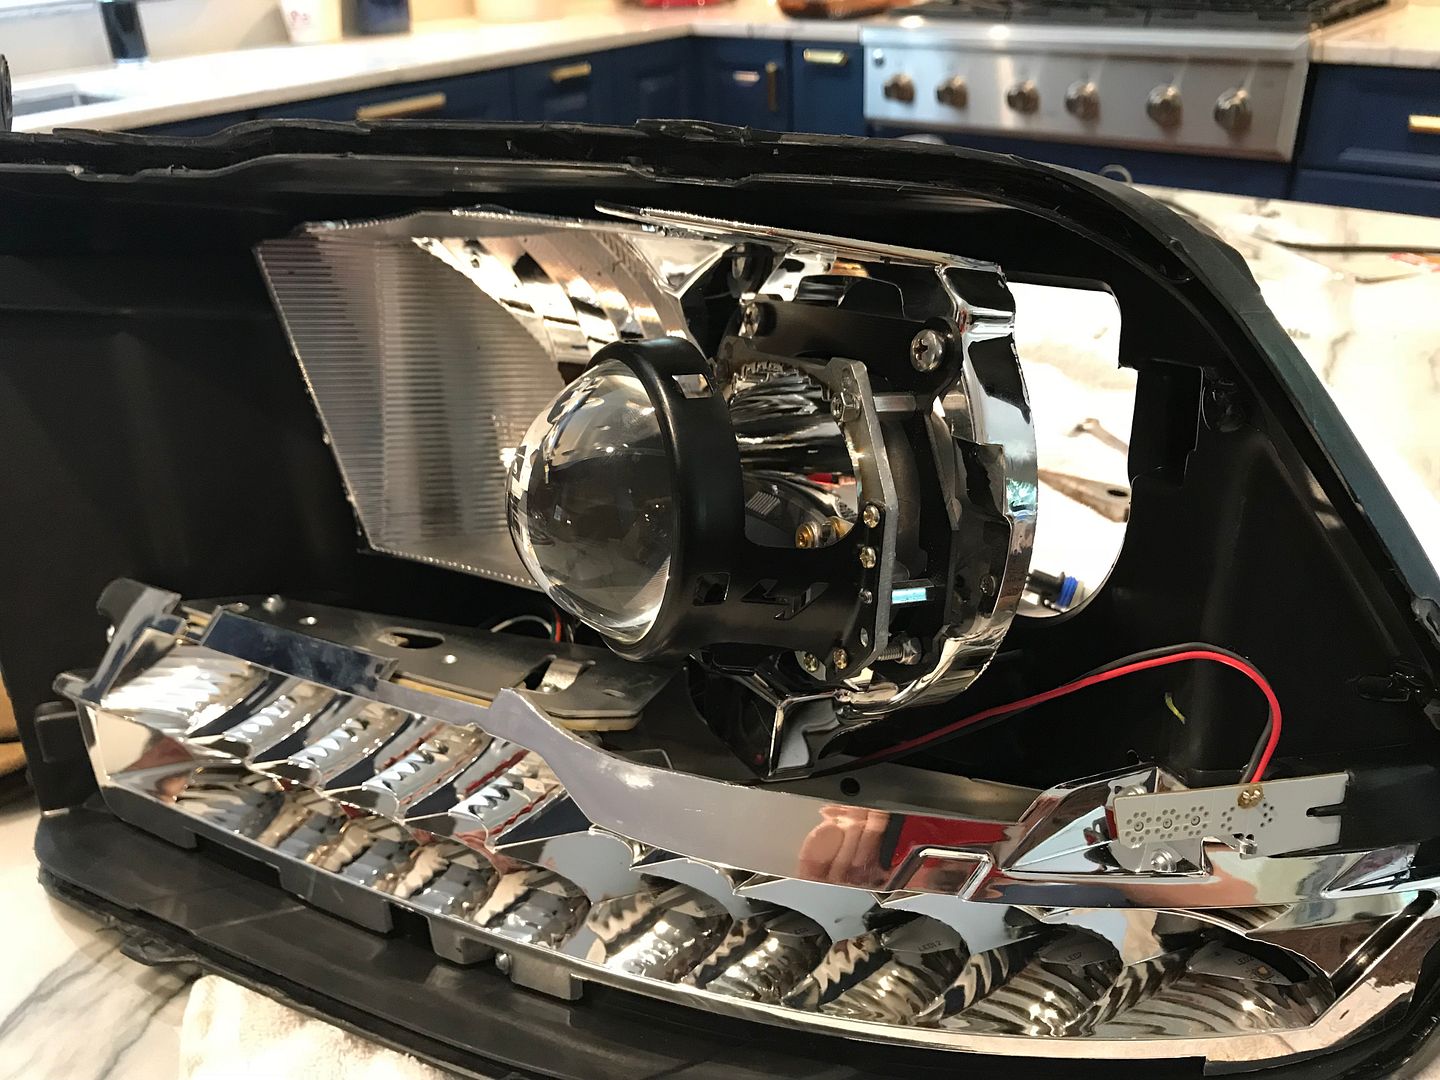
New Projector: This thing weighs about 4x what the stock unit does. Quite nice.
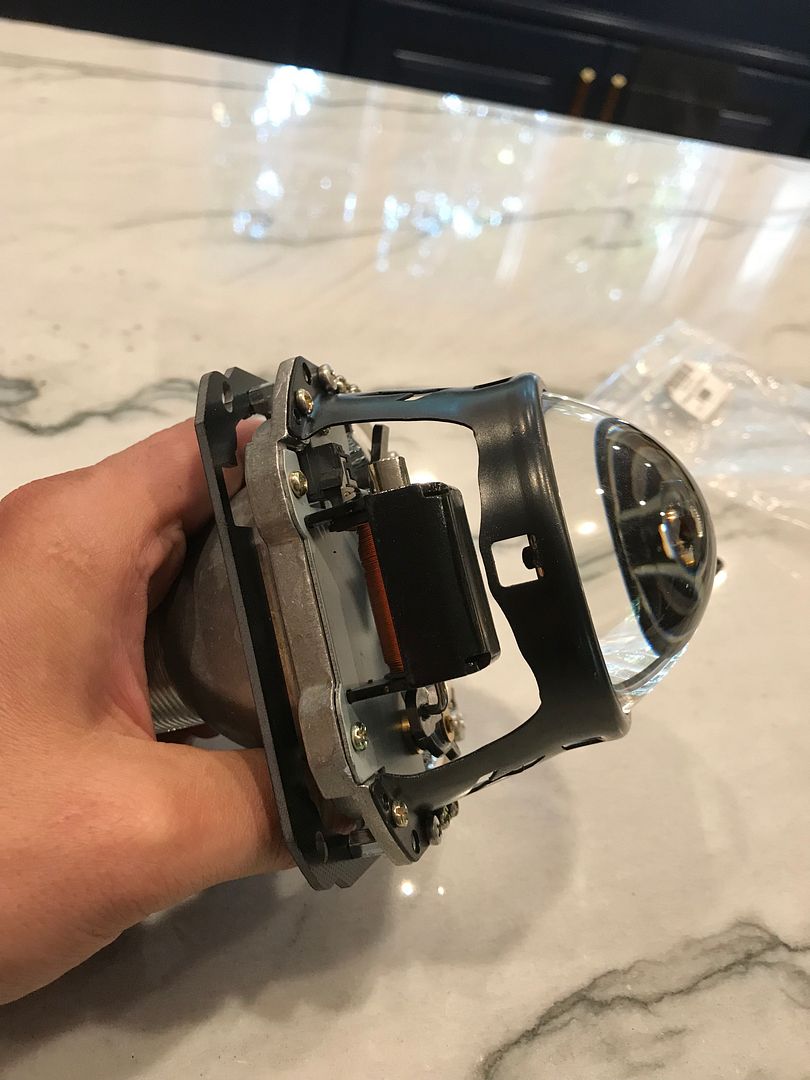
Here you can see the solenoid and the shutter that raises for high beam operation.
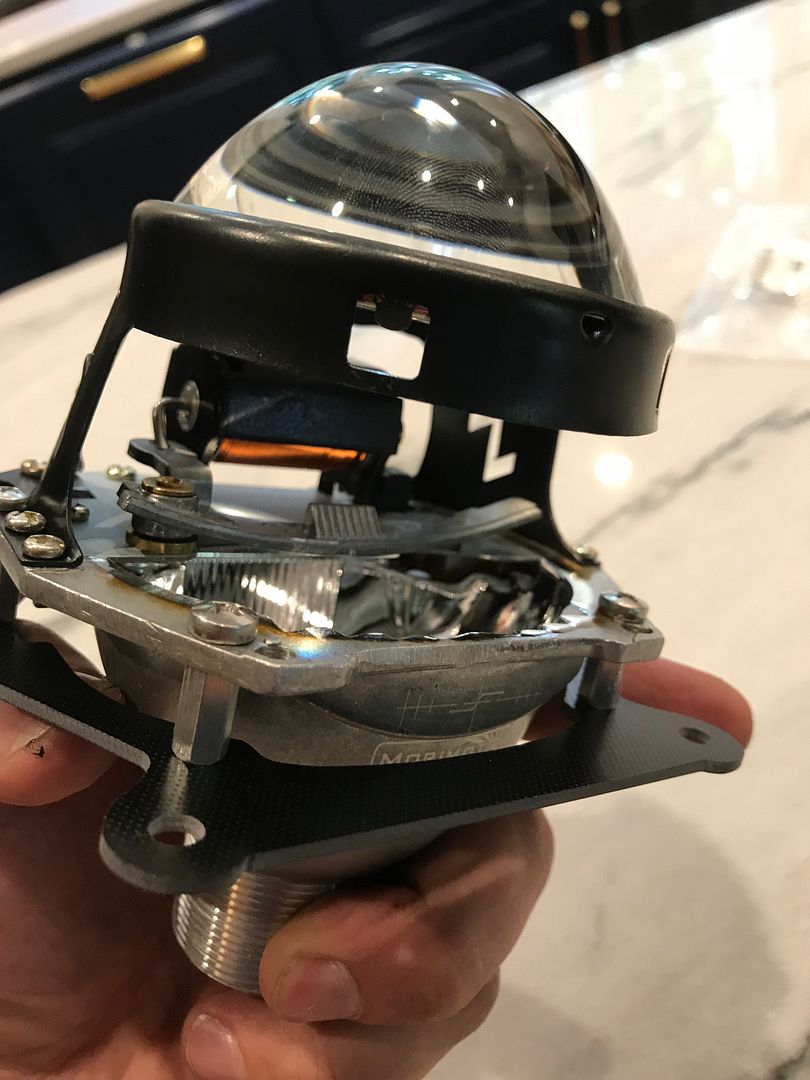
Hmm. Now Houston, we have another problem. The screws are too short.
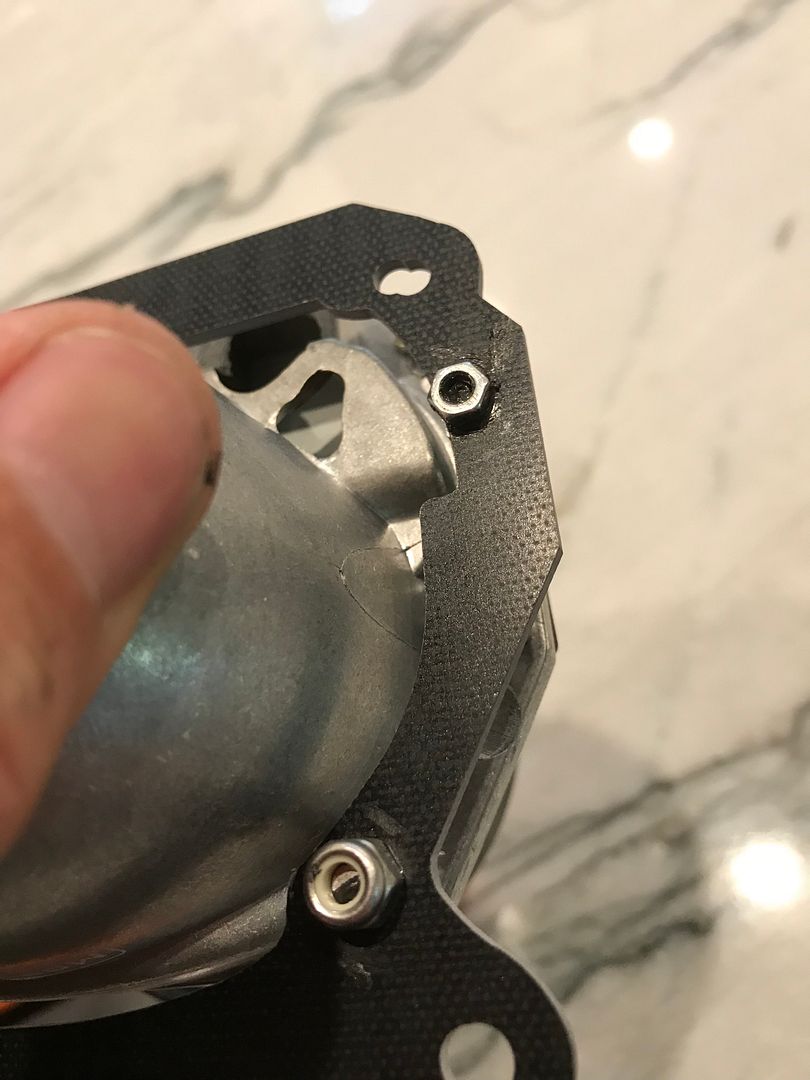
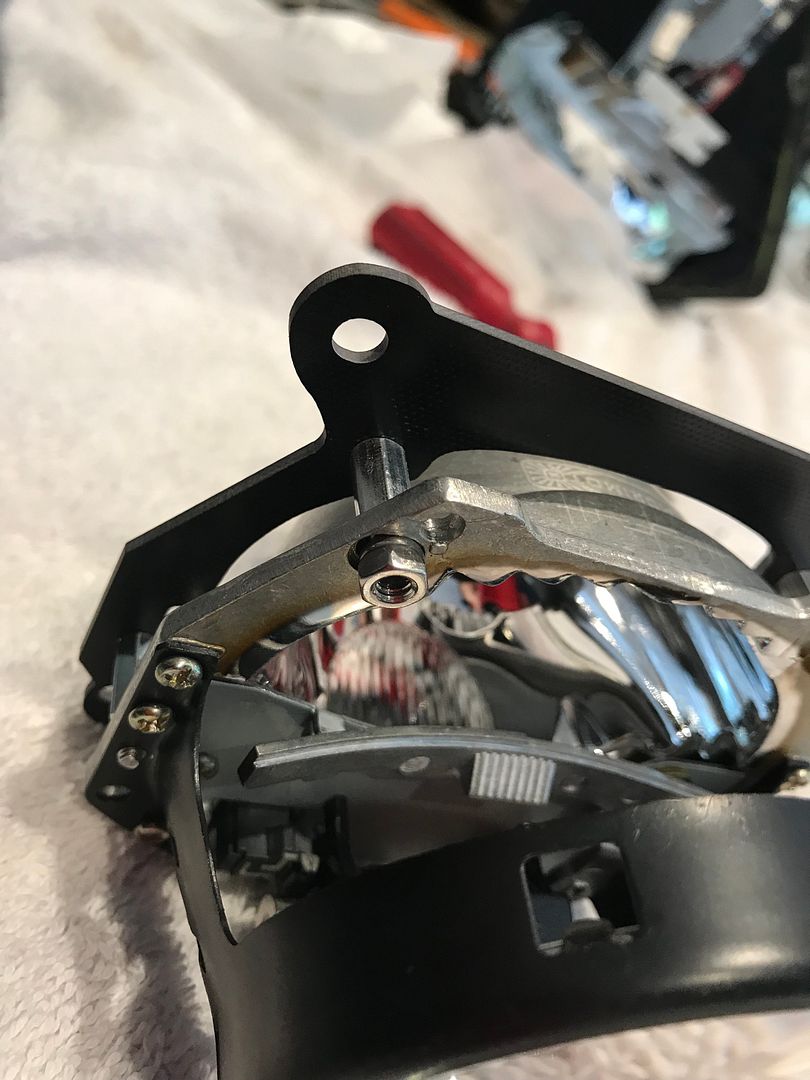
See how the screws go through. Technically these hex spacers are threaded; but I needed a secure connection to the fiberglass mounting plate and the housing of the projector. And the nuts that TRS provided are not Ny-lock; and the screws aren't long enough. Well... None of that worked for me. I bought new stainless steel screws and NyLock nuts for each of the screws. No way did I want a projector coming loose.
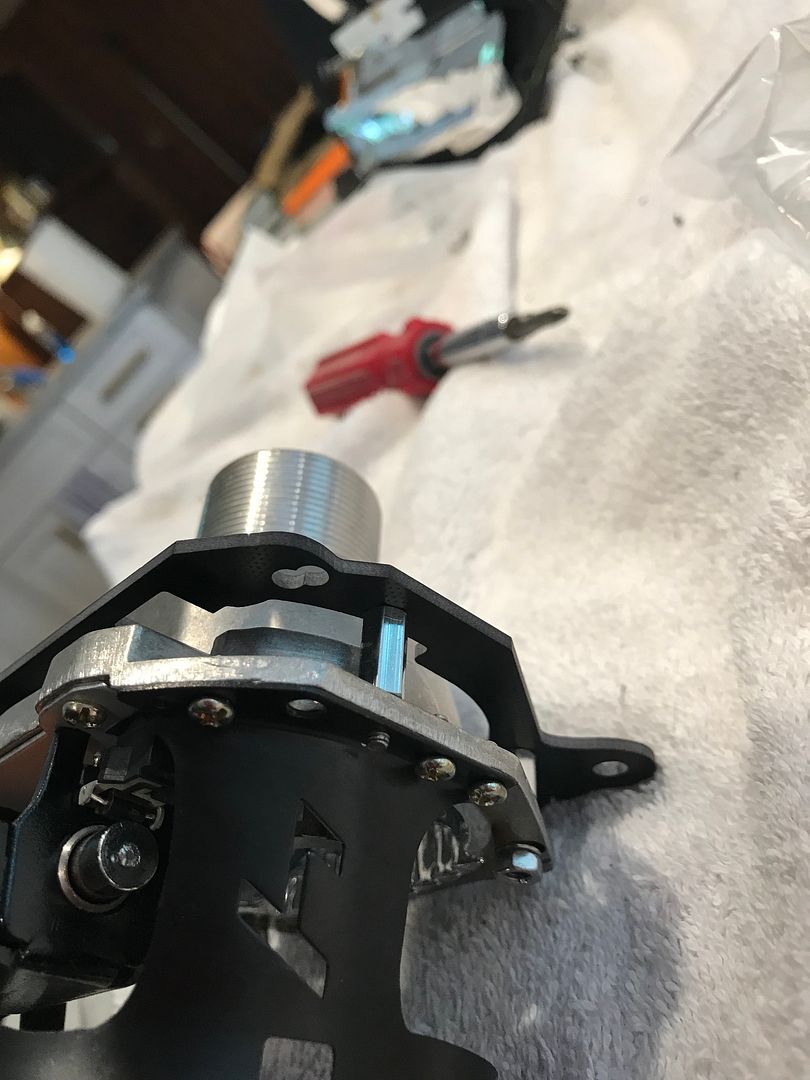
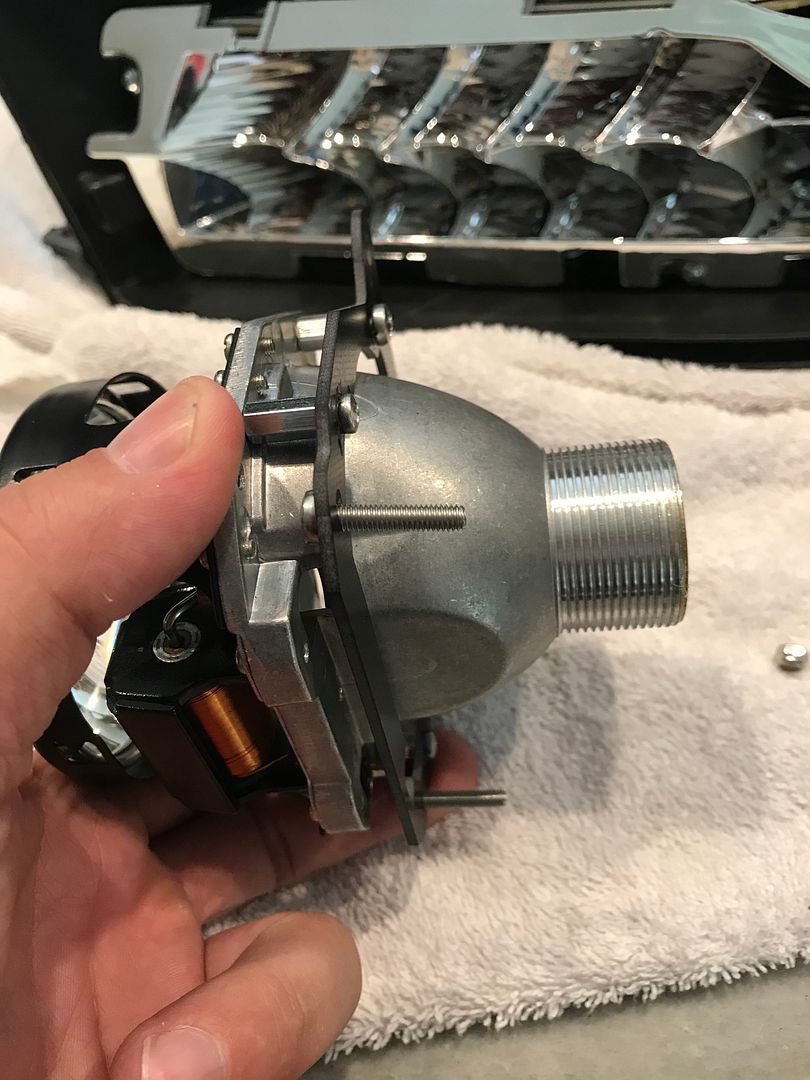

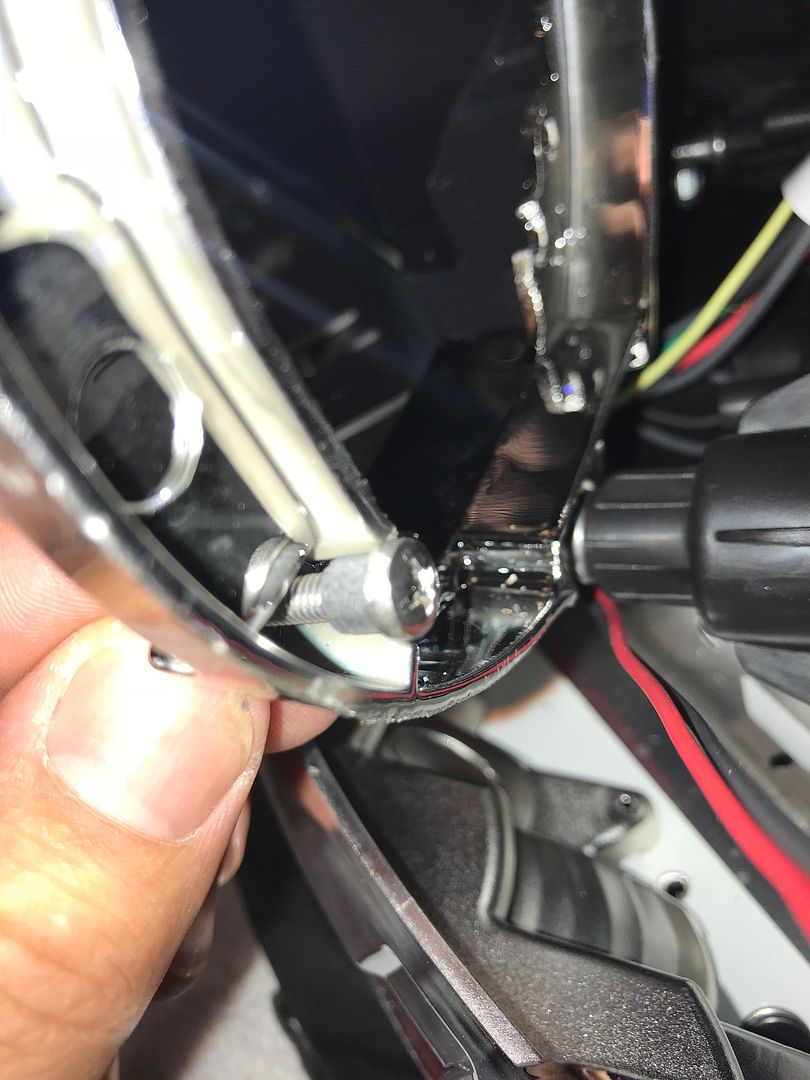
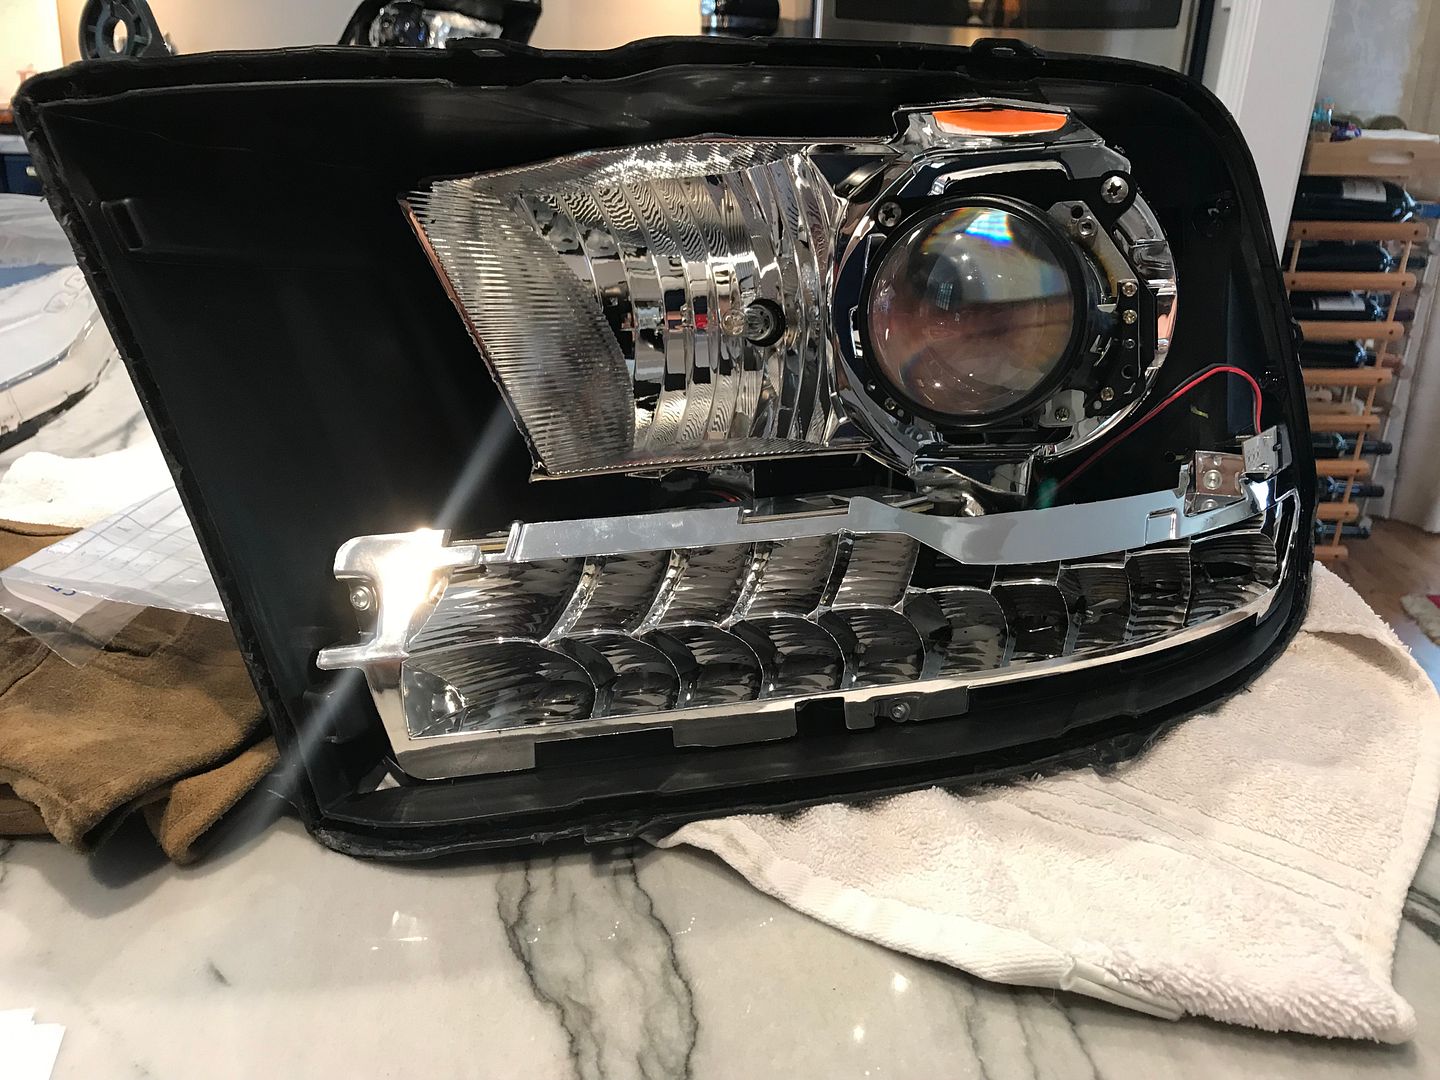
with the correct screws and everything bolted together we can test fit the new projector.
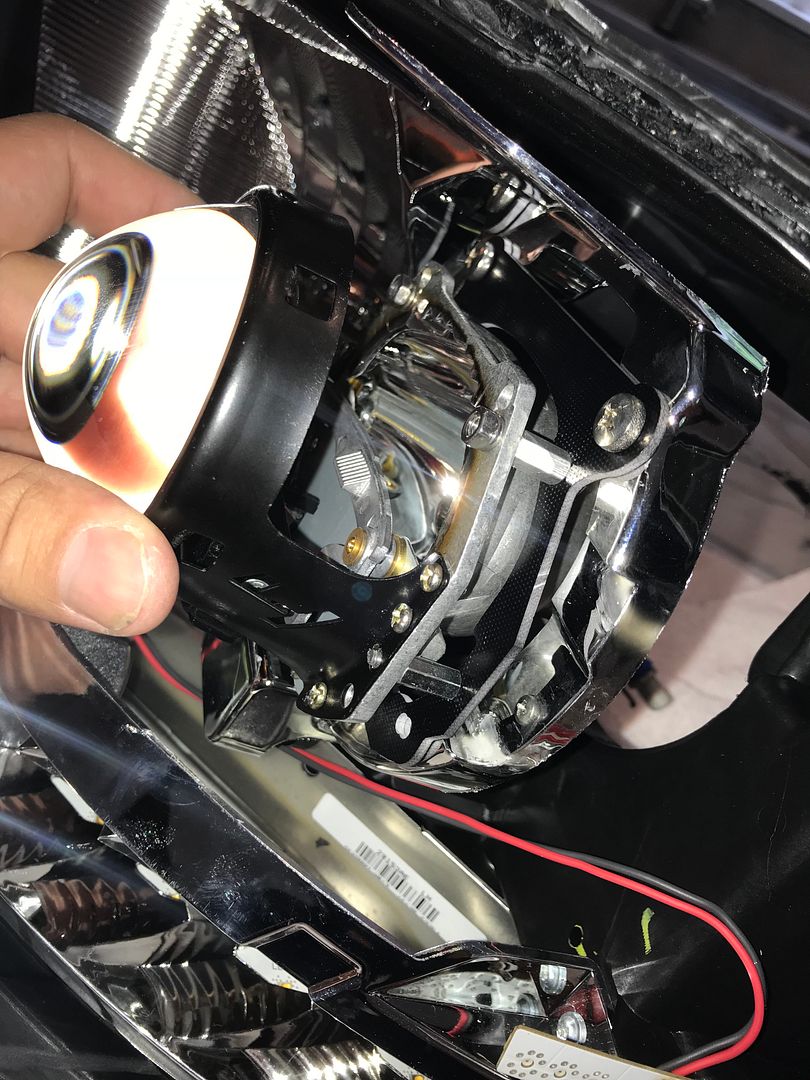
Now here's the crappy part.
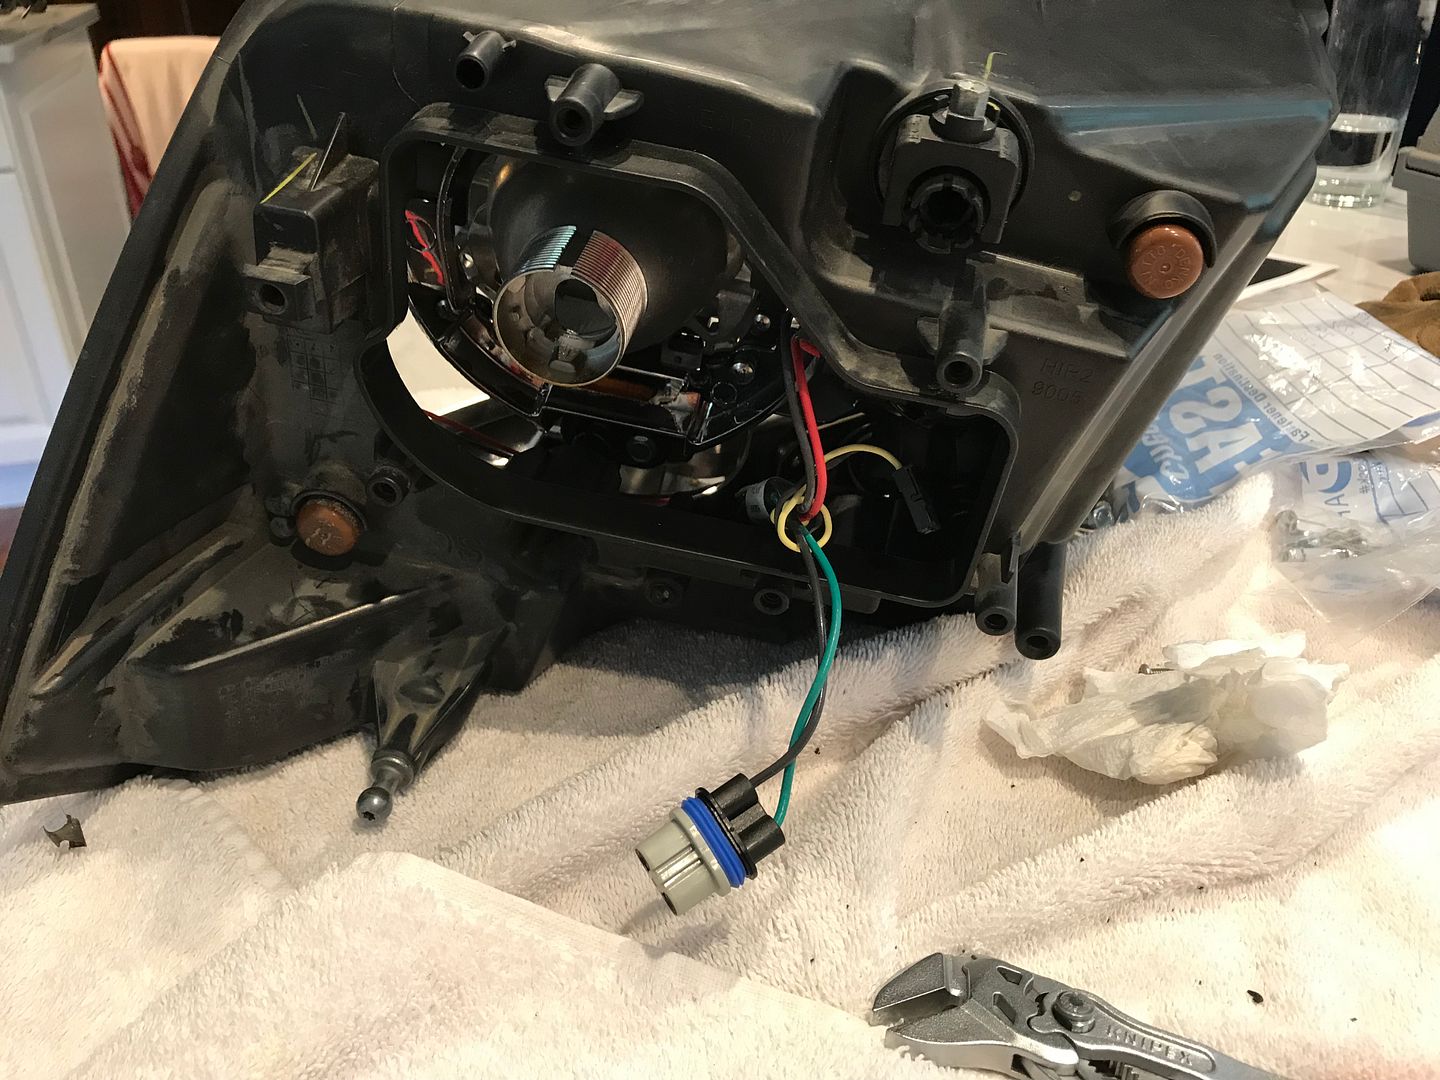
The high beam wire needs to go through to capture the high beam light bulb; and I didn't want to drill a second hole in the backing plate. I decided to cut the wires; solder them together with the weather grommet, and go on.
I attempted to get the terminals out of the connector and pulling the wires through, but I was unsuccessful and on a time-line.
This project was already triple the hours I had allowed and we weren't even close to finished.
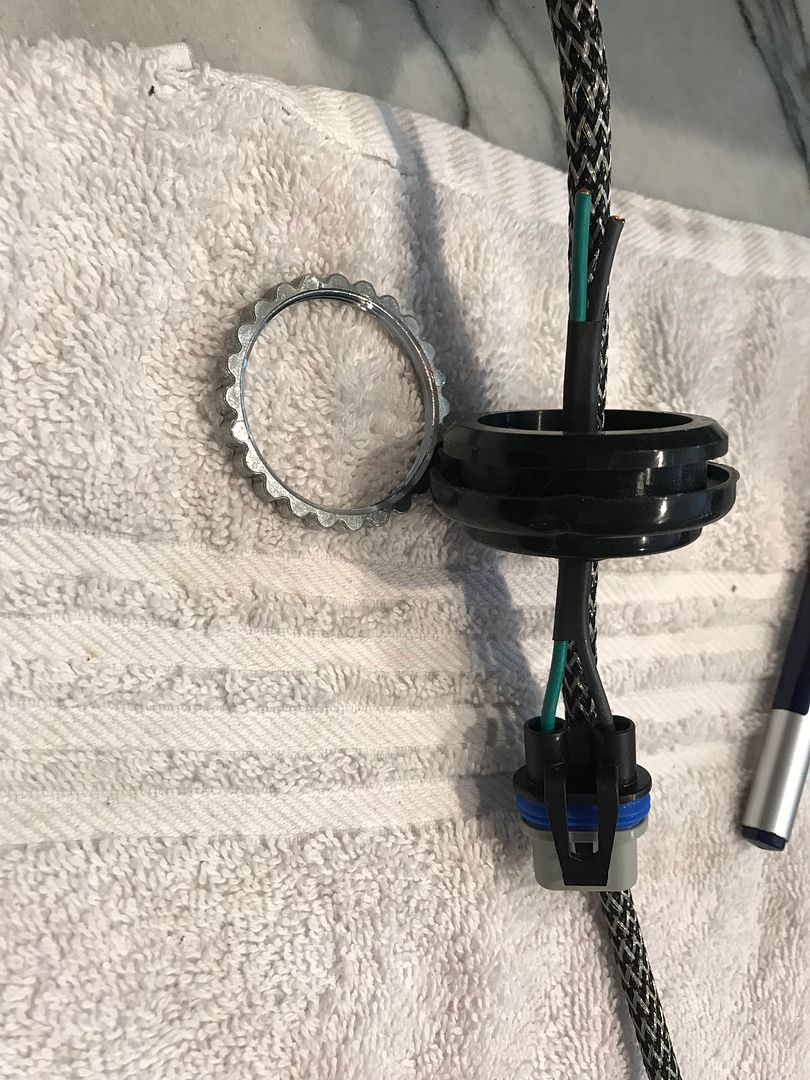
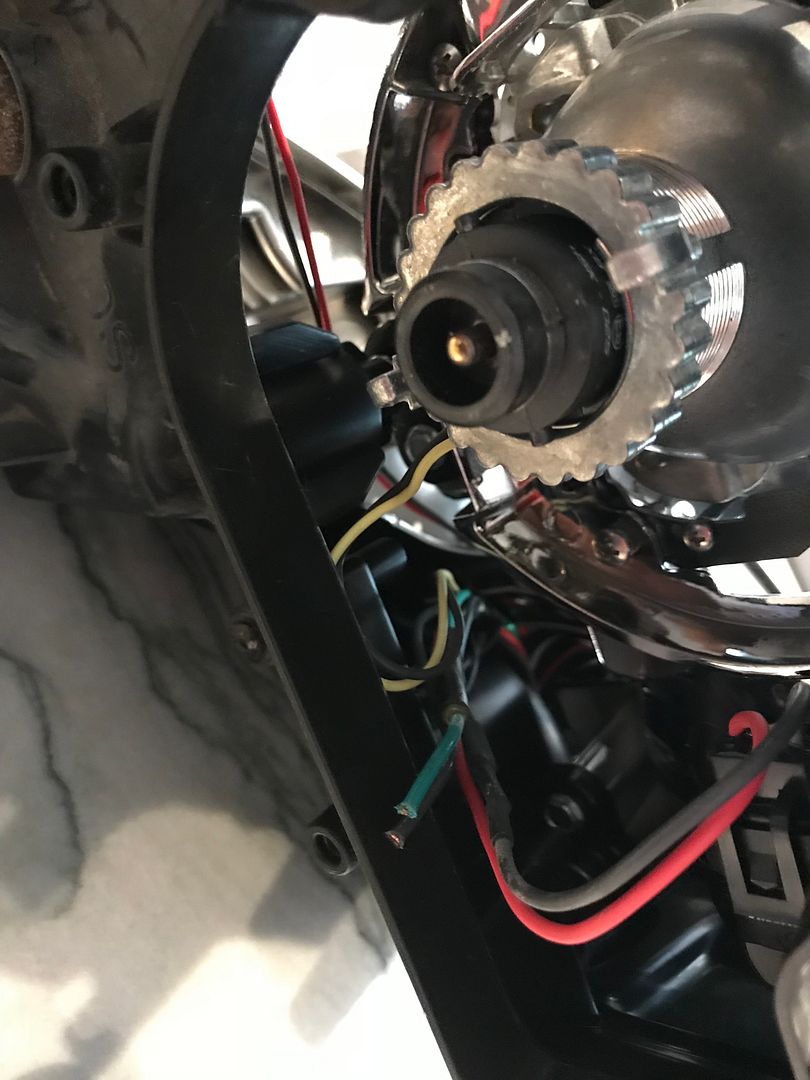
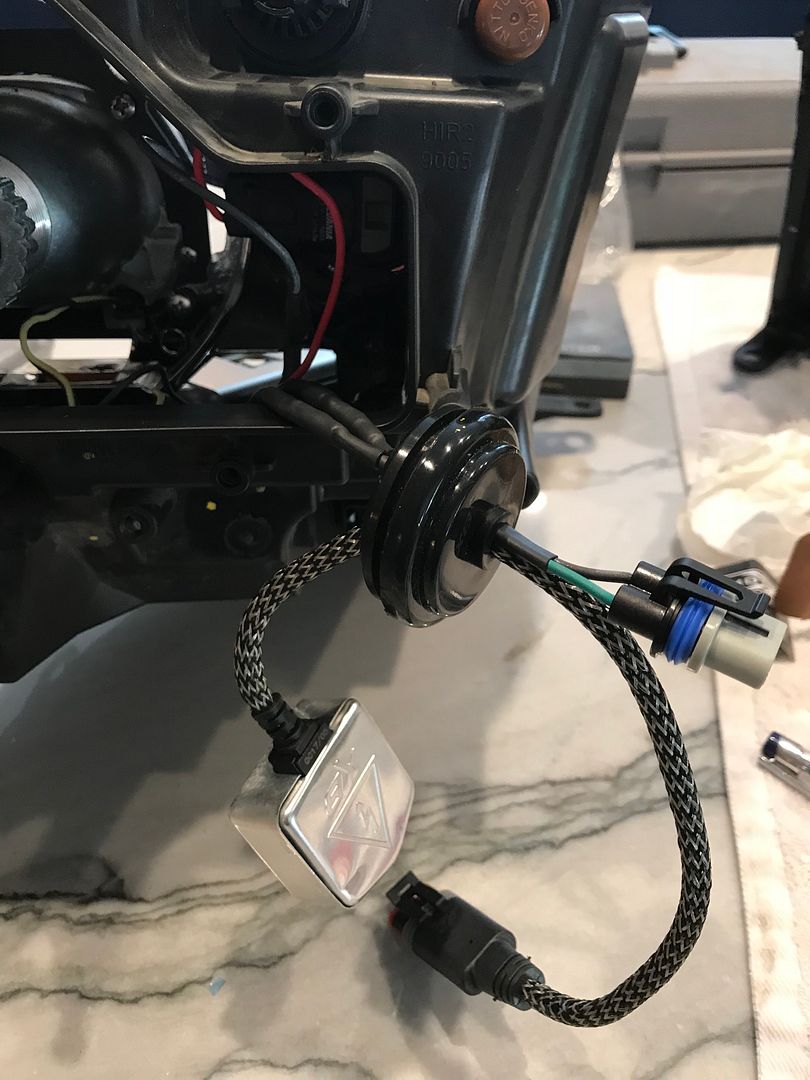
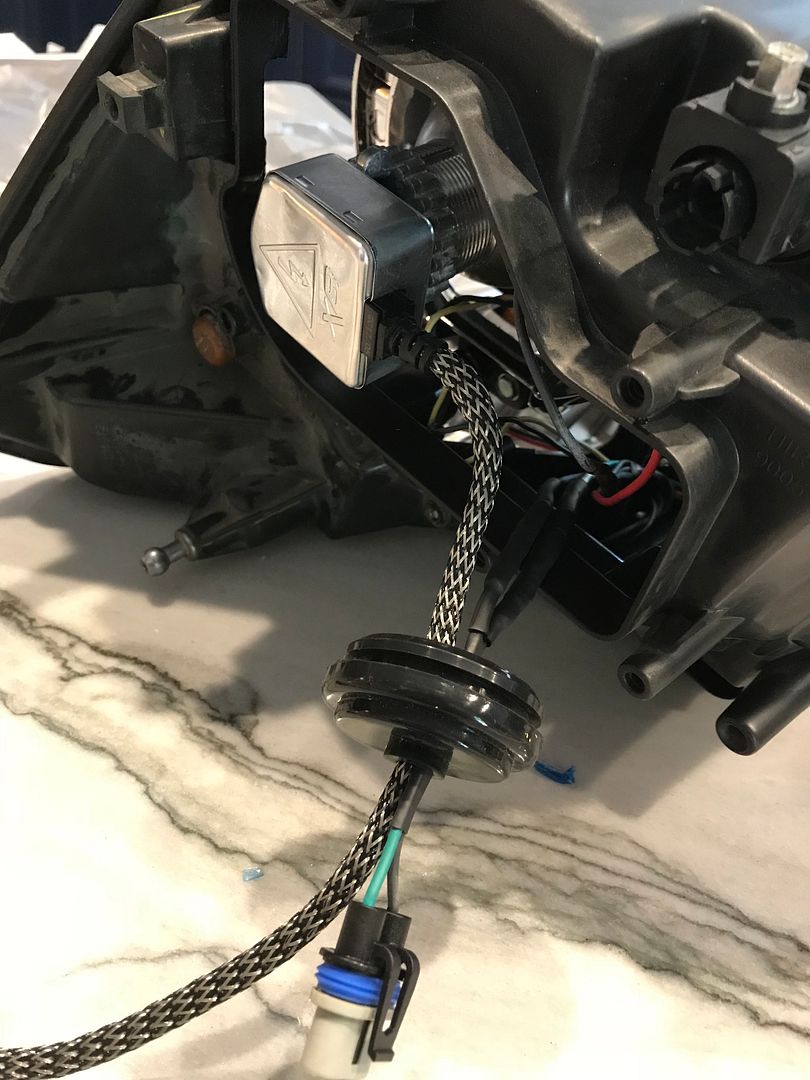
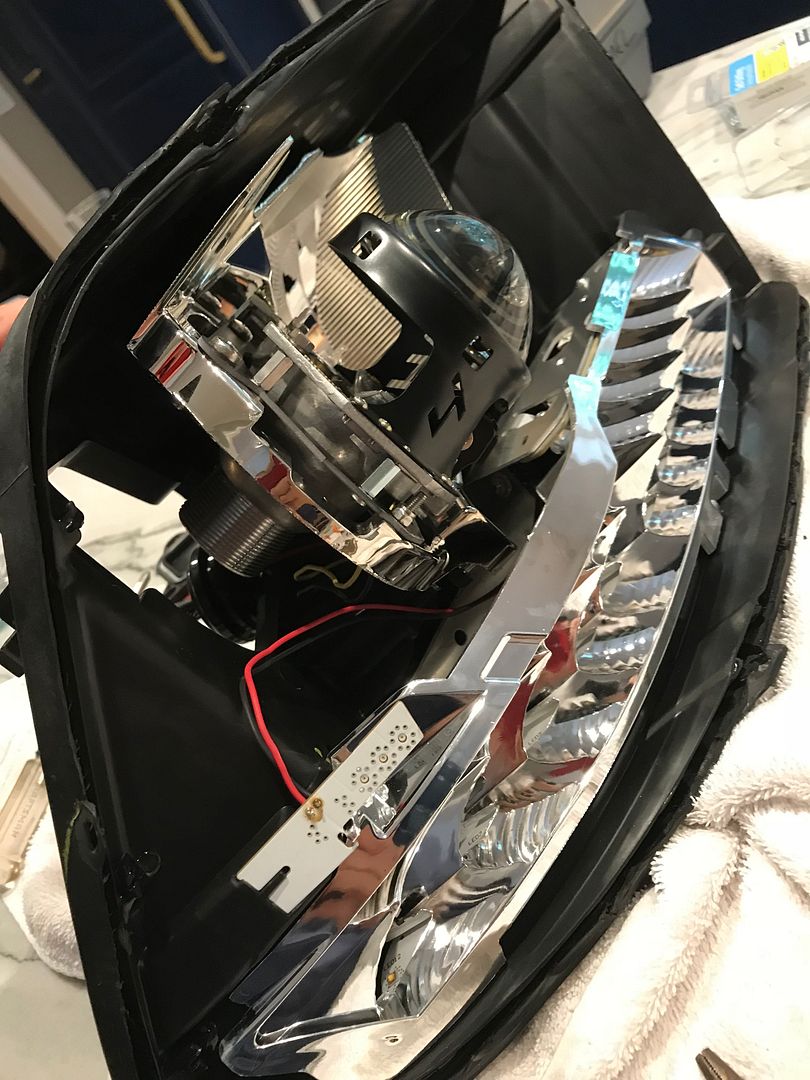
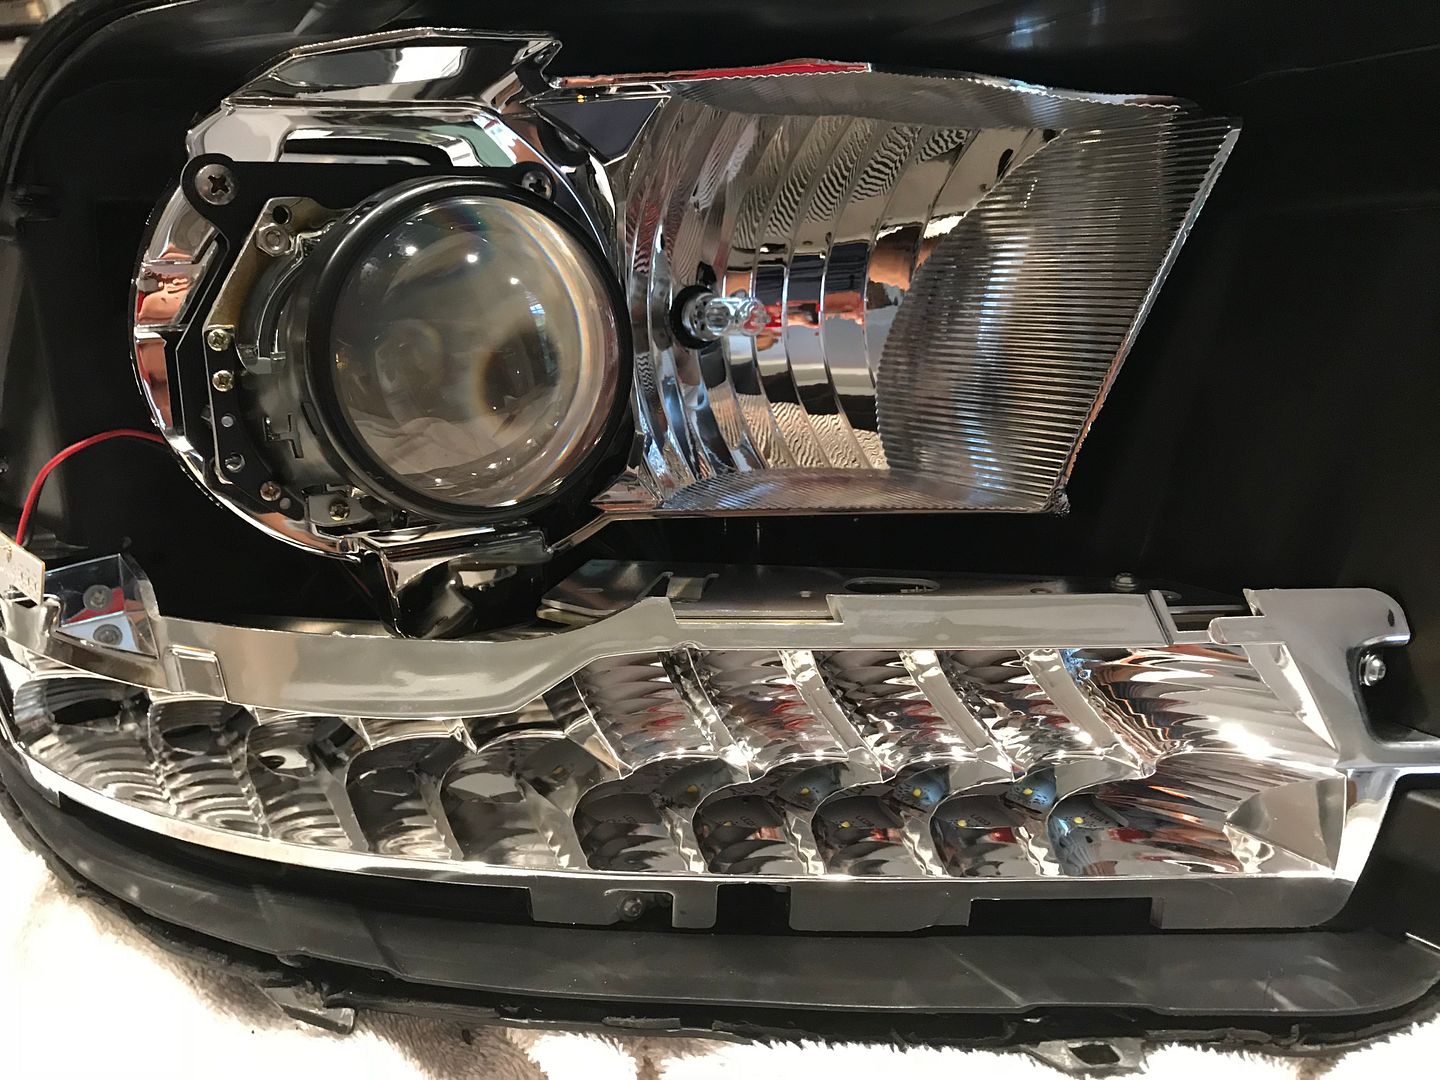
Finally. I"ve gotten my wiring done inside the headlights, my projectors installed in both lamps, and now I'm waiting on the wonderful new clear lenses to arrive.
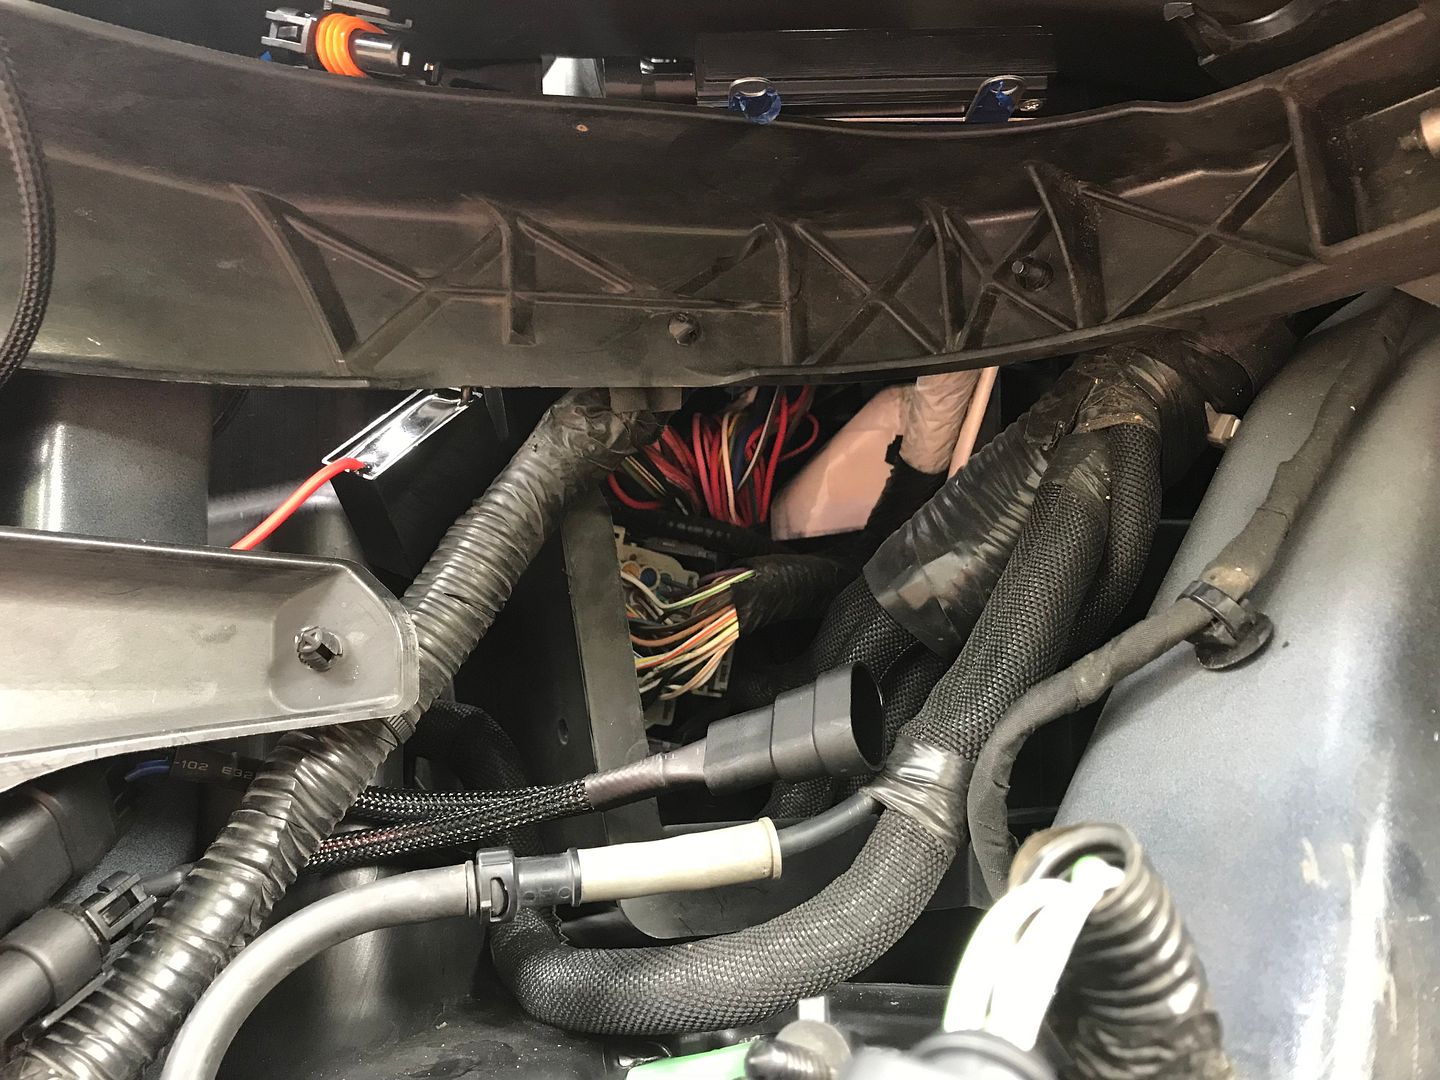
Back out to the truck to mount the rest of the hardware; the resistor packs, the ballasts, and tidy up the wiring.
I mounted my resistors on the frame rail. I drilled a small pilot hole and then used self tapping screws on an impact gun to mount these.
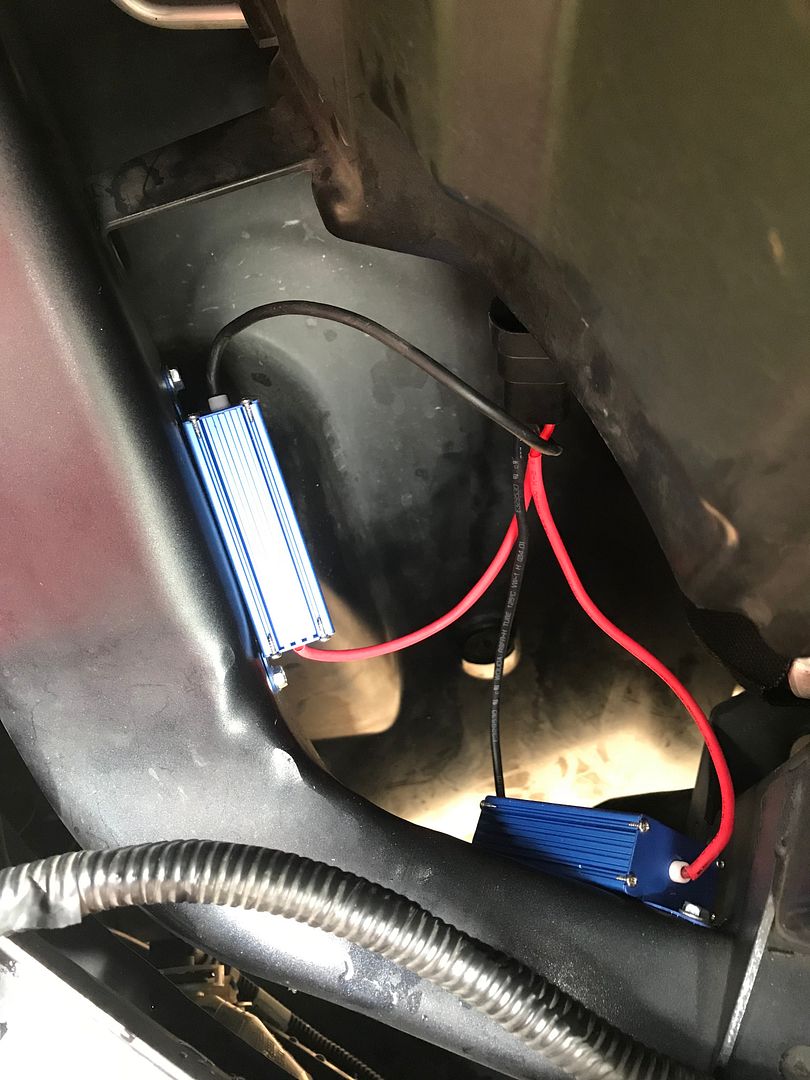
If you look at the top of this picture; you'll see the ballast resting above the headlight. I was able to get one screw into this; and then a strip of double sided 3M tape to secure this.
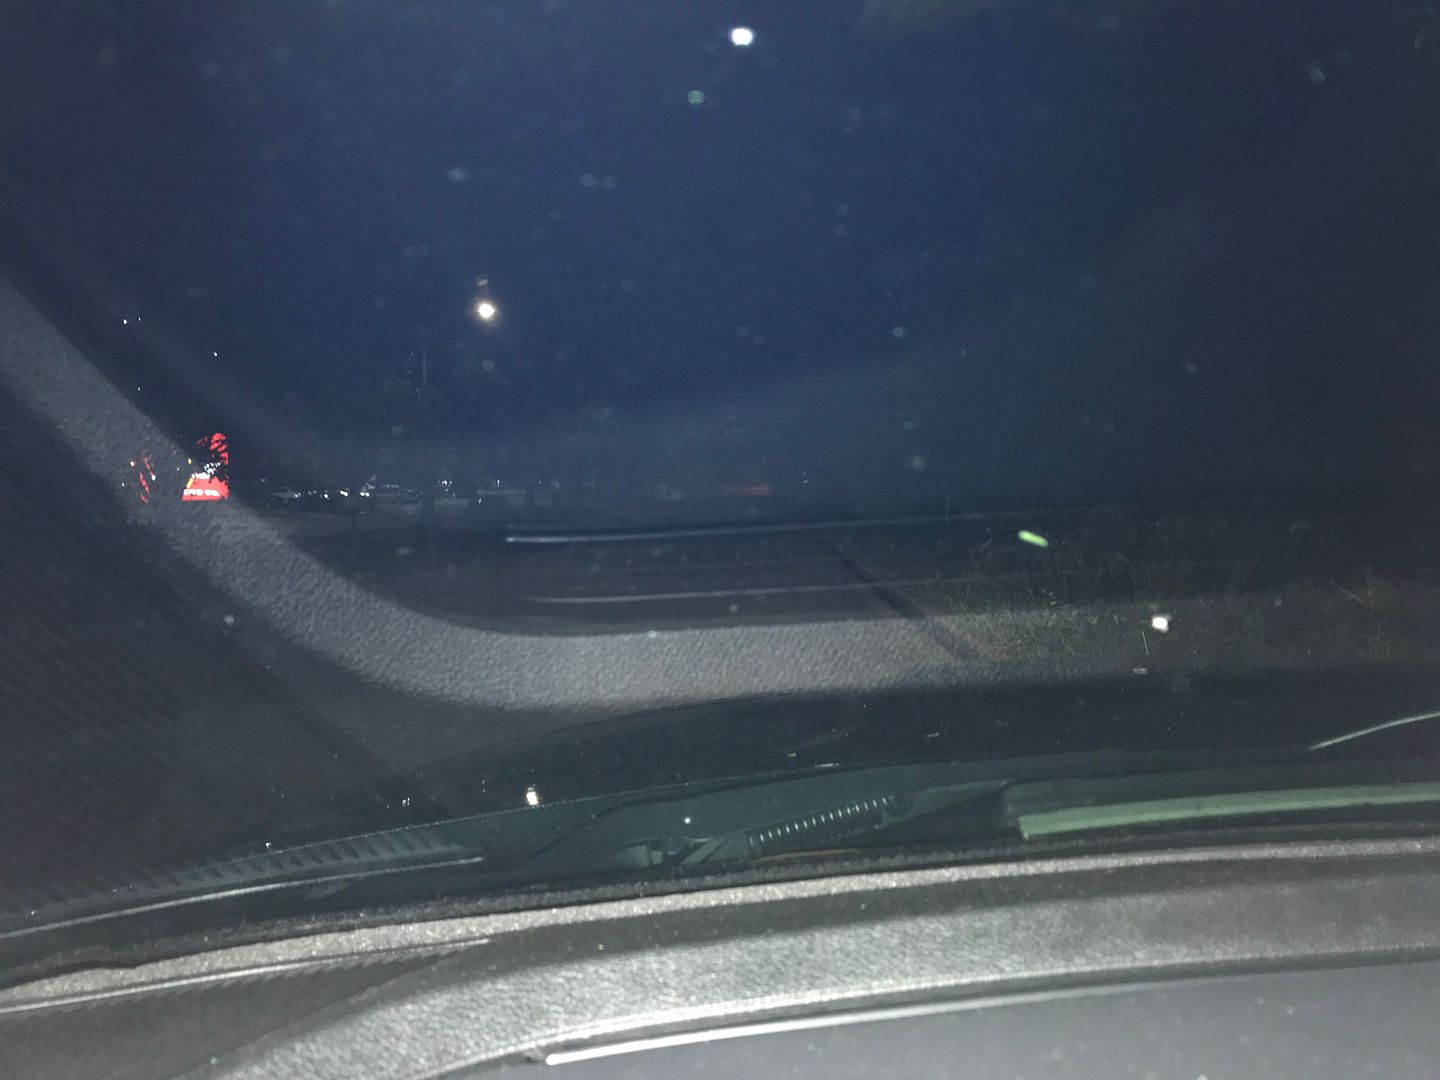
Low beams with fogs

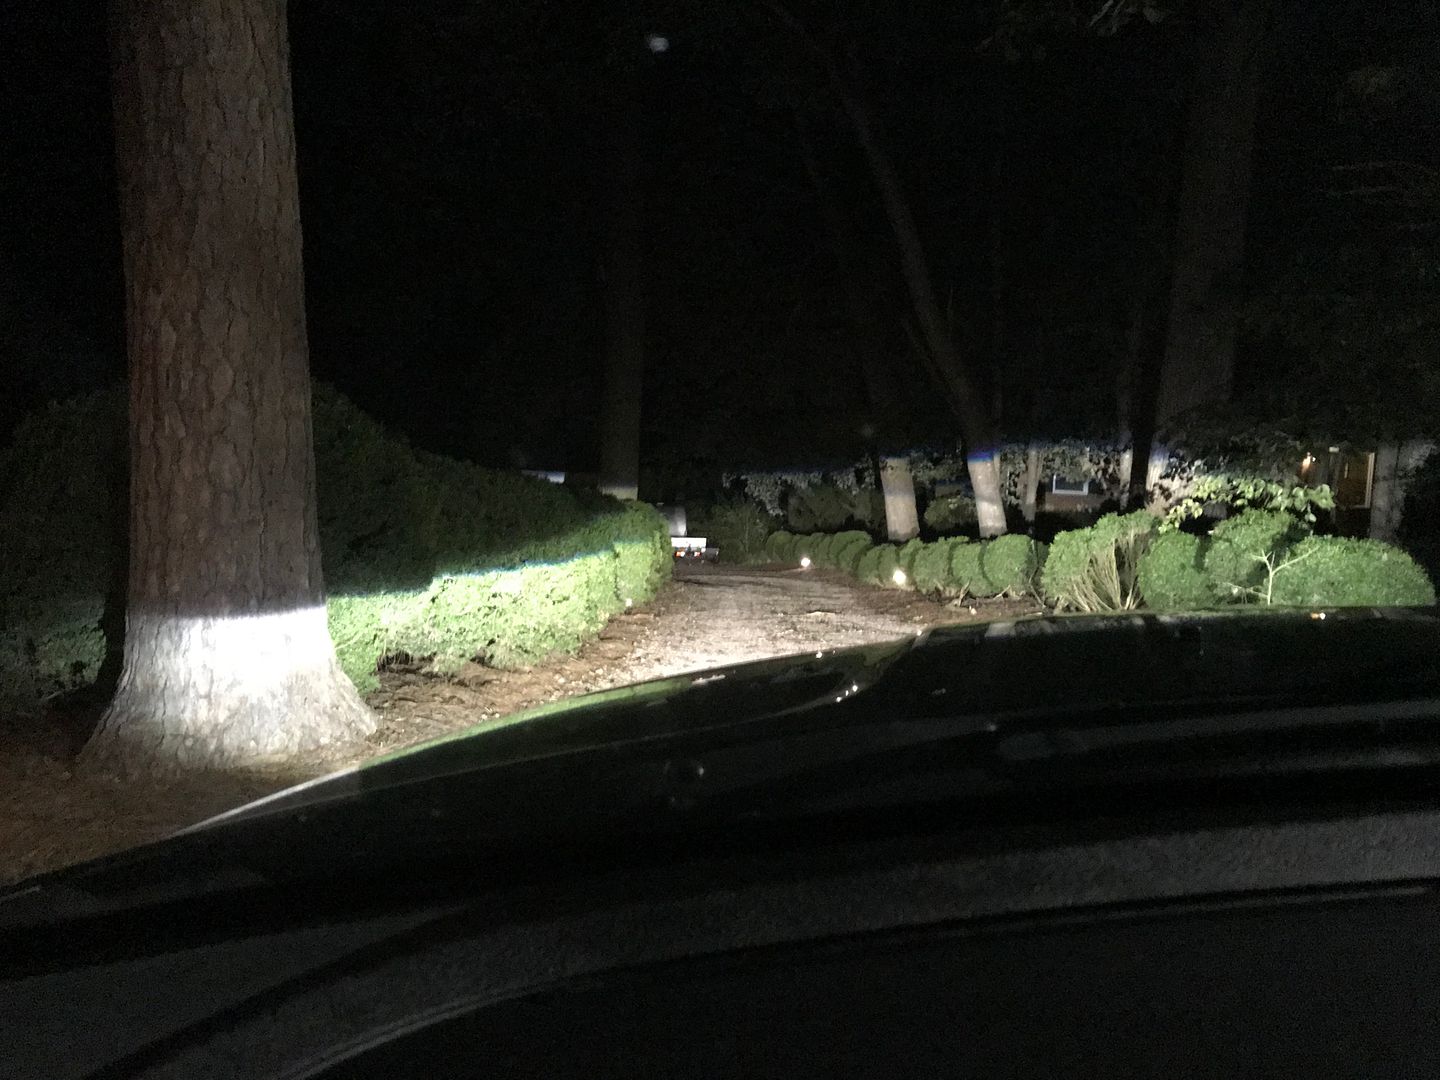
Low beams without fogs
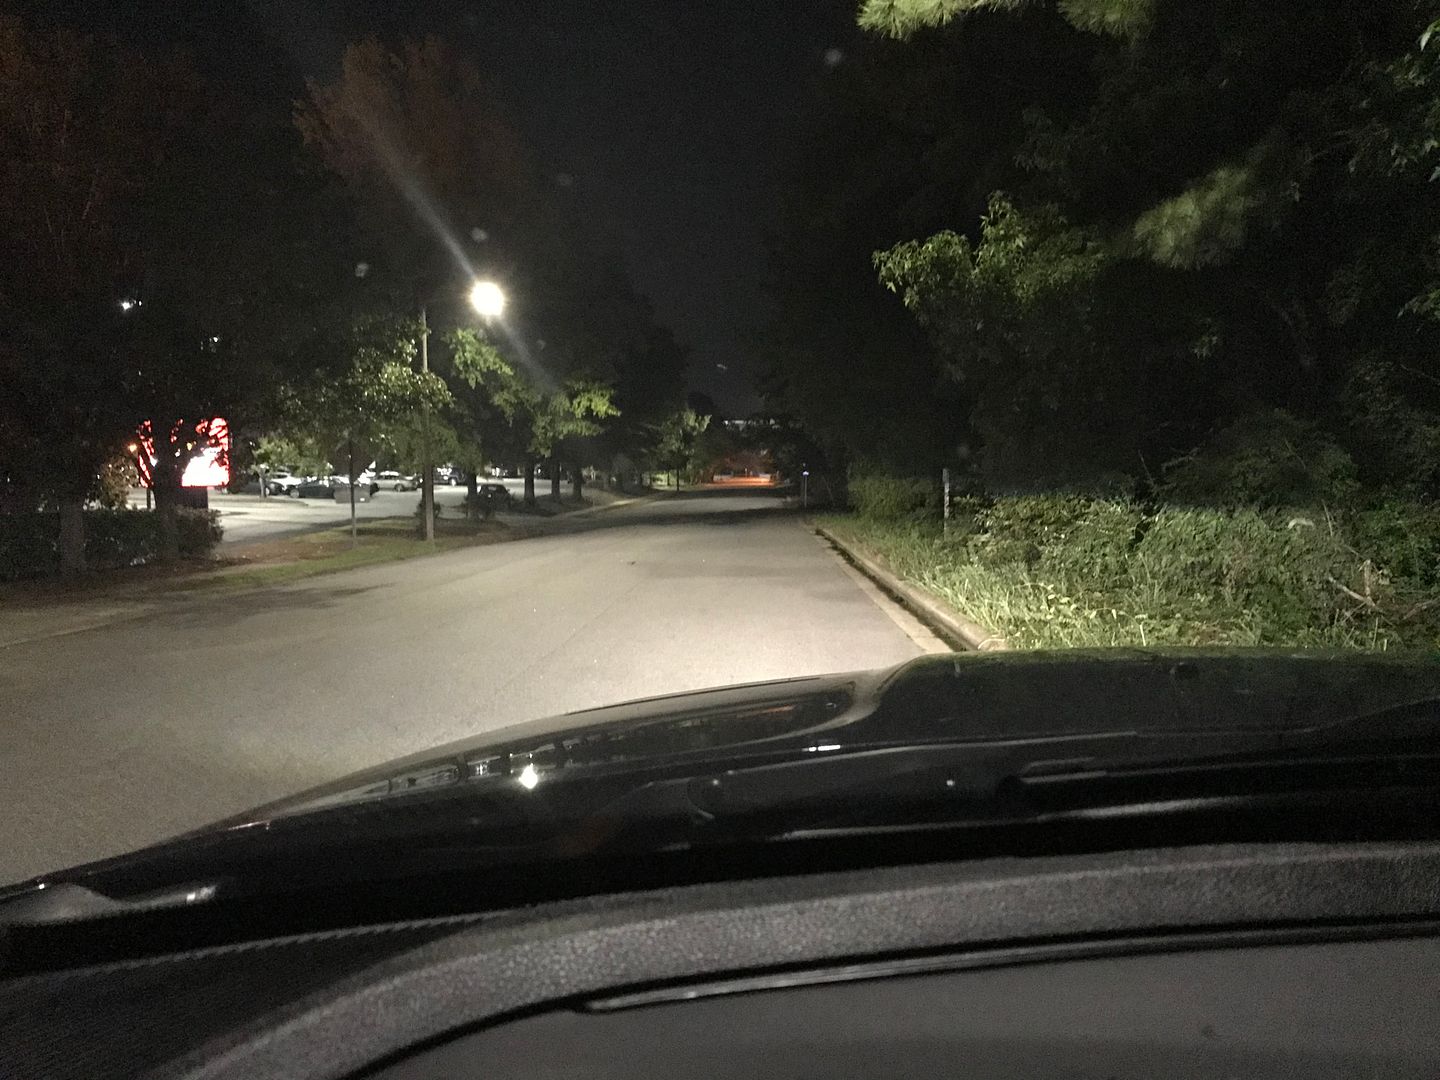
High beams
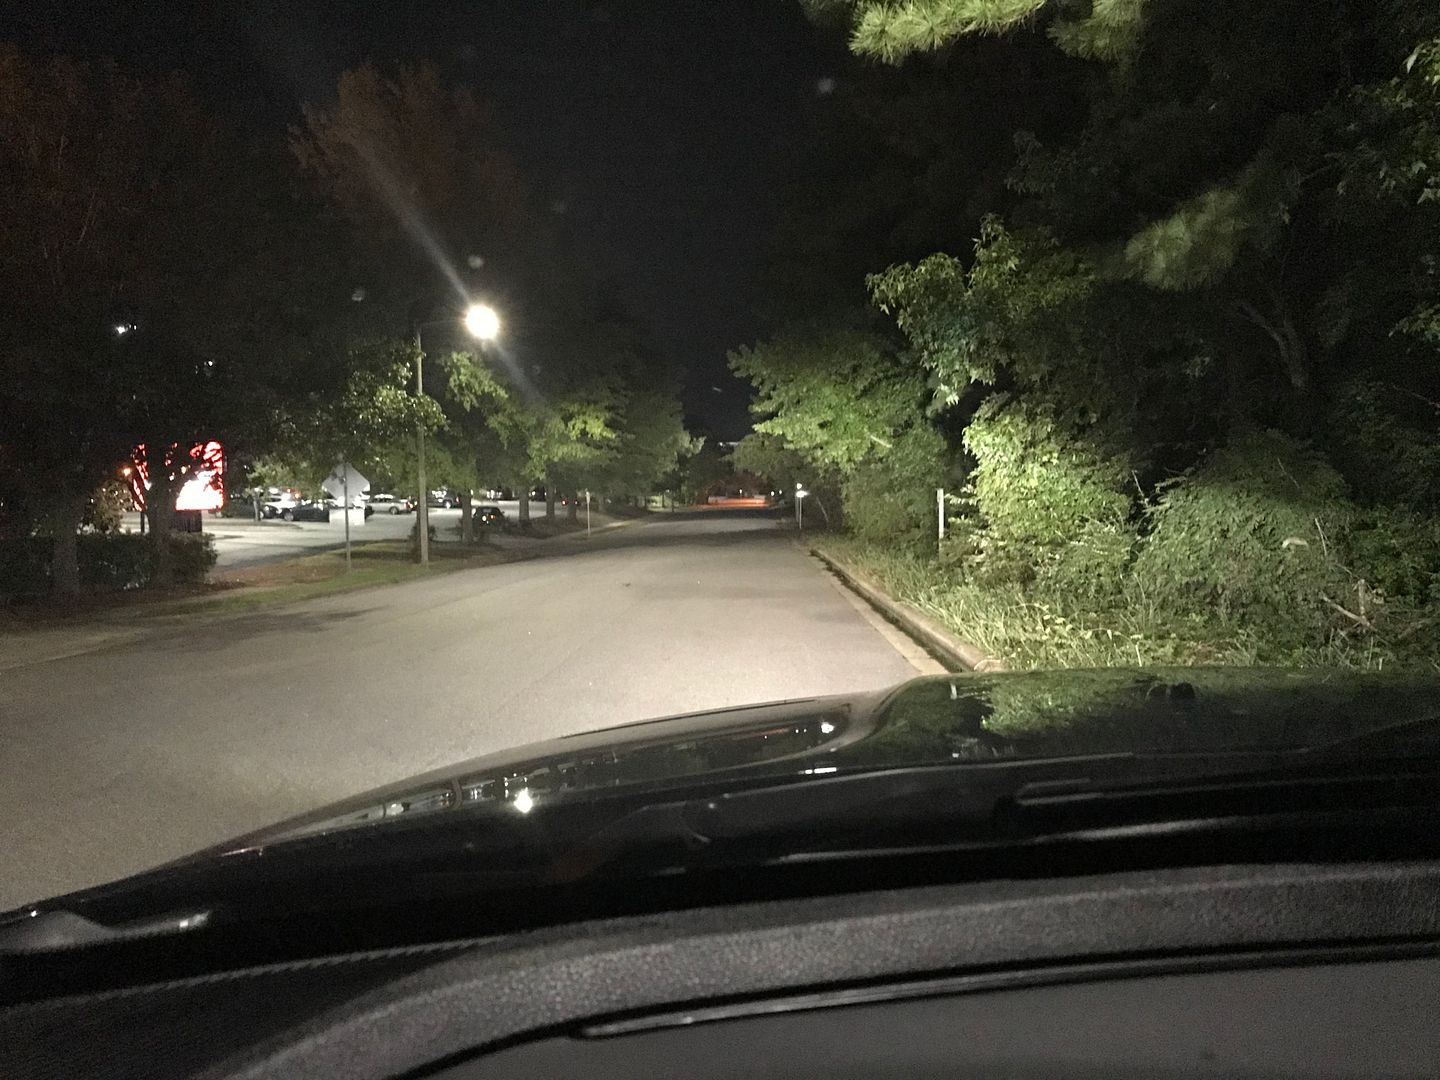
Low beams with fogs
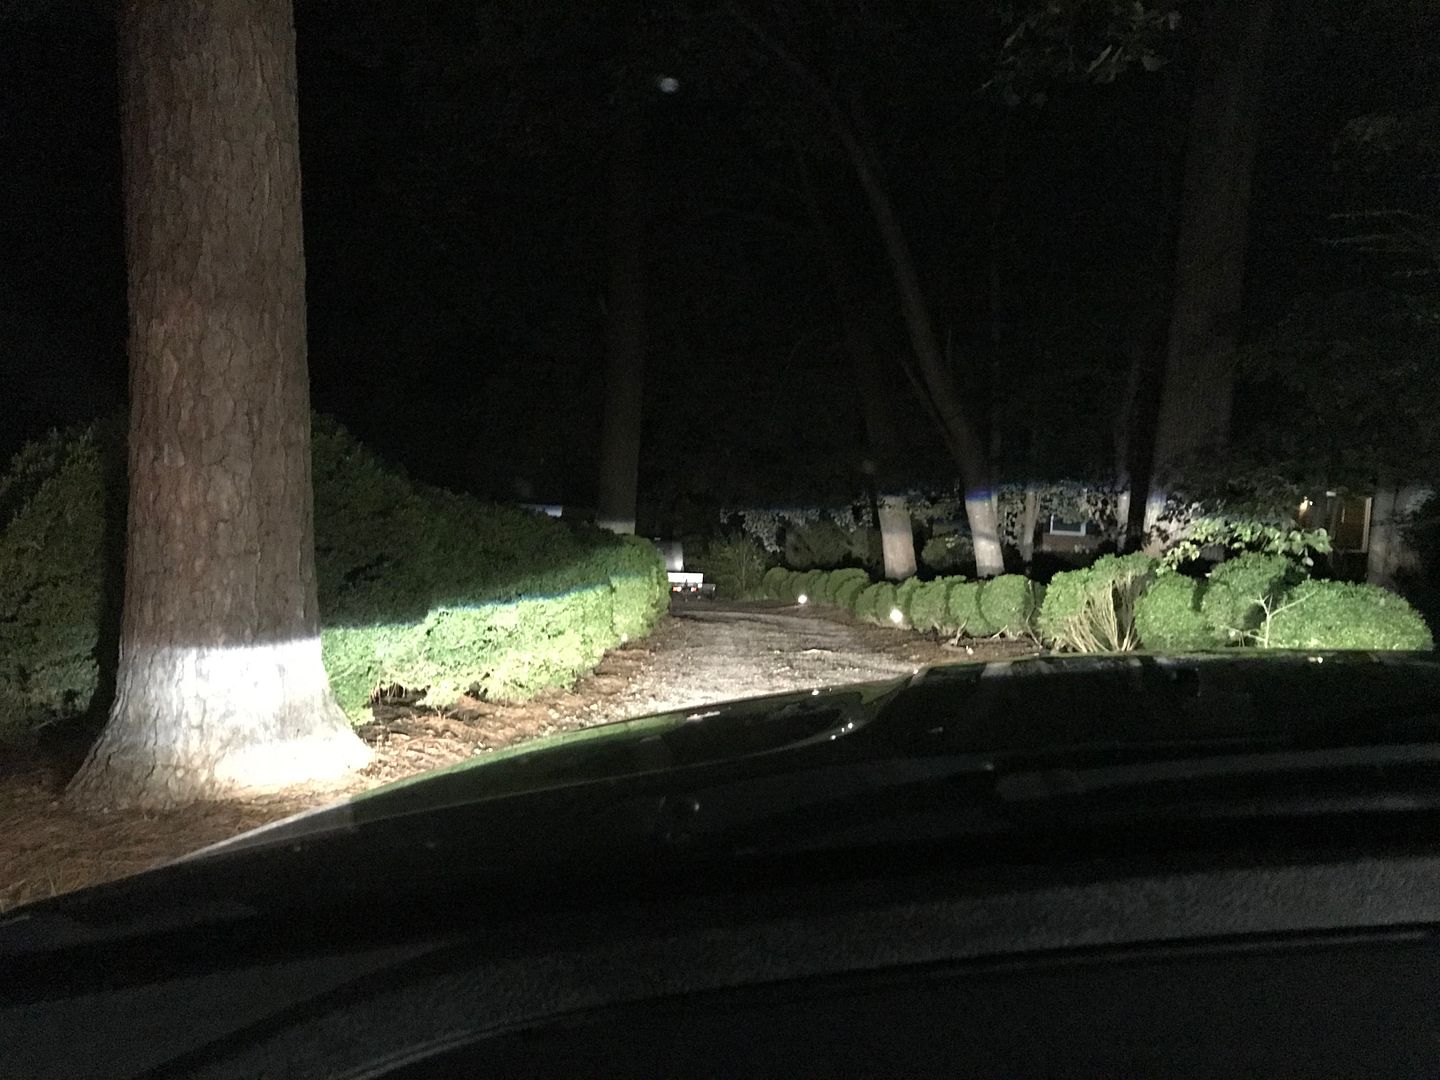
Low beams without fogs
High beams
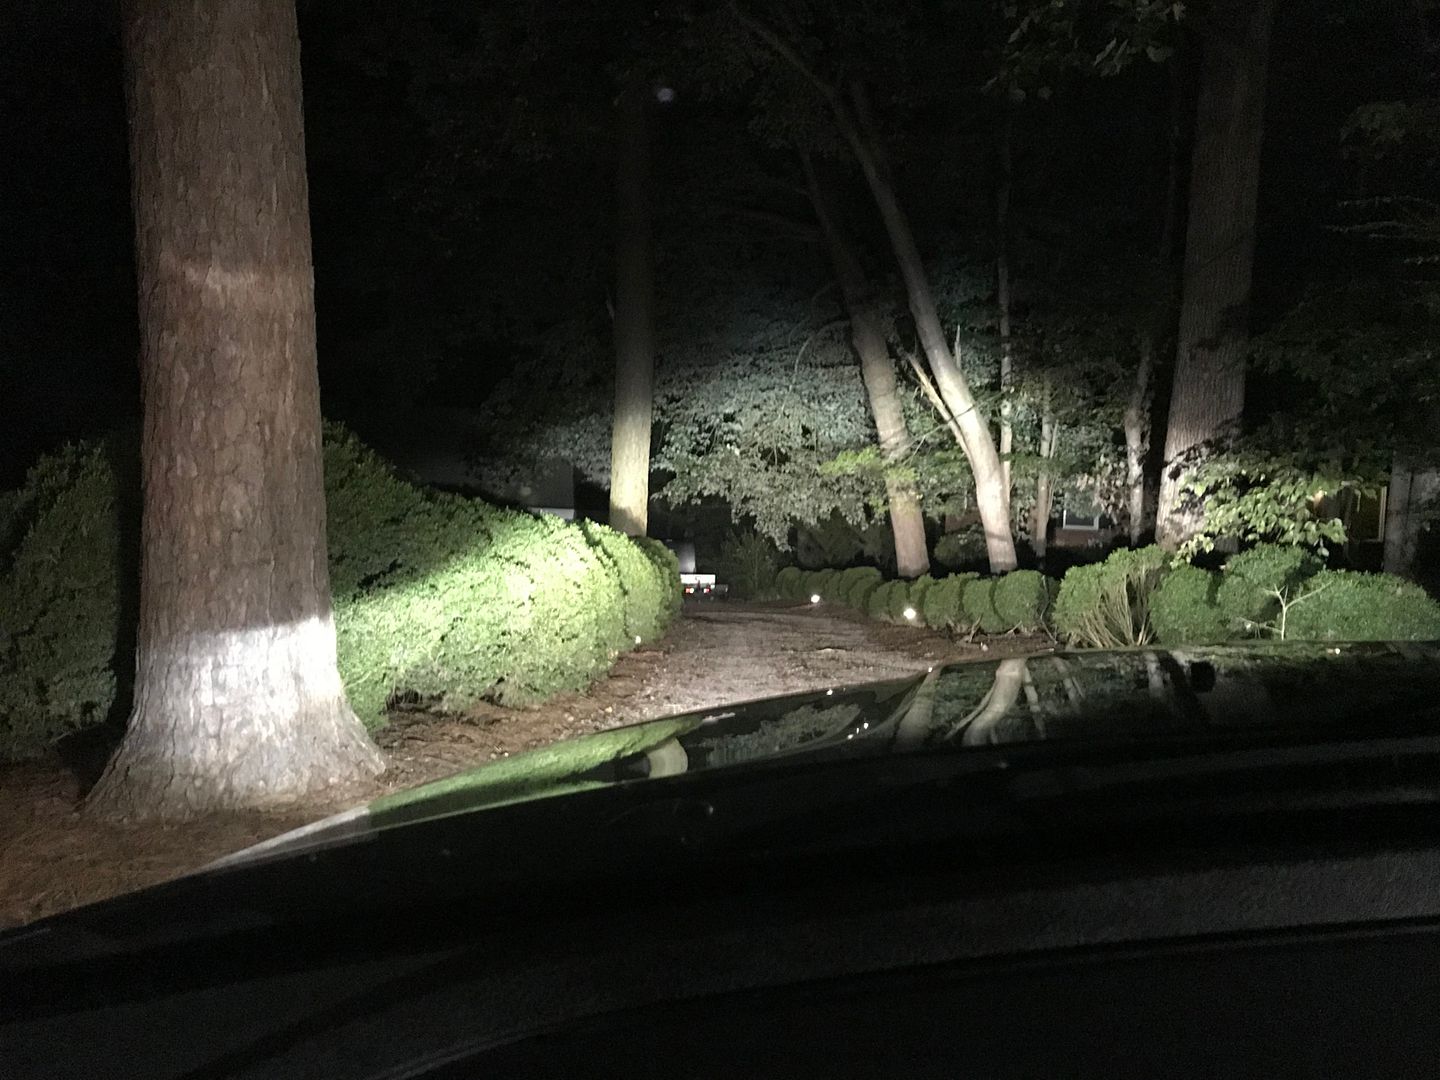
The improvement is absolutely earth shattering. There is no Porsche, Audi, BMW, MB, Lexus on the road that has been light than I do. The beam pattern is so sharp and clear; it throws such a wide cast. I do not get flashed for having my high beams on; and the cut-off is astounding.
The high beams are like turning on the sun.
It's a HUGE amount of effort to do this. I NEVER *want* to do this again. But I'm willing to bet that I would, if I bought a new truck.
The improvement is absolutely astounding.



There are no reviews to display.