Jump to content
Mopar1973Man.Com LLC
  • Welcome To Mopar1973Man.Com LLC

    We are a privately owned support forum for the Dodge Ram Cummins Diesels. All information is free to read for everyone. To interact or ask questions you must have a subscription plan to enable all other features beyond reading. Please go over to the Subscription Page and pick out a plan that fits you best. At any time you wish to cancel the subscription please go back over to the Subscription Page and hit the Cancel button and your subscription will be stopped. All subscriptions are auto-renewing. 

Recommended Posts

  • Owner
Posted

I'm in process of fixing this truck for shift issue. 

16802833406587480815885663882974.jpg


Here is the toys. Updated valve body and electrics going into this truck.

20230331_112008.jpg


20230331_112017.jpg


16802835417958549172594790137493.jpg

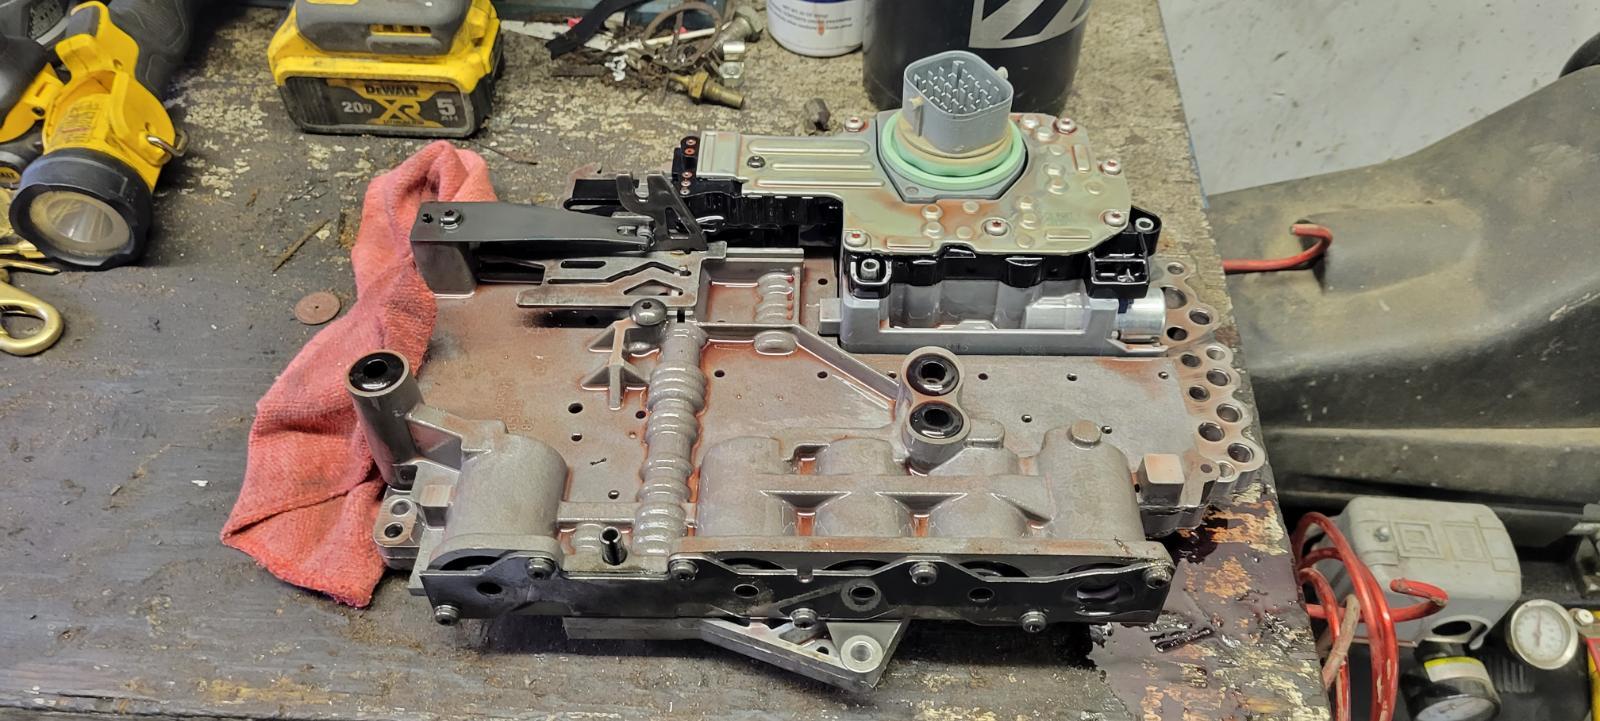
Valve body out. Little tricky getting the plug unhooked. The shift linkage interferes slightly. Now I need to steal all the solenoid screws from the OE valve body and bolt up the new electrics to the upgraded valve body.


16802859867754224069703001479334.jpg

  • Owner
Posted

Ok. I've stopped for lunch. 


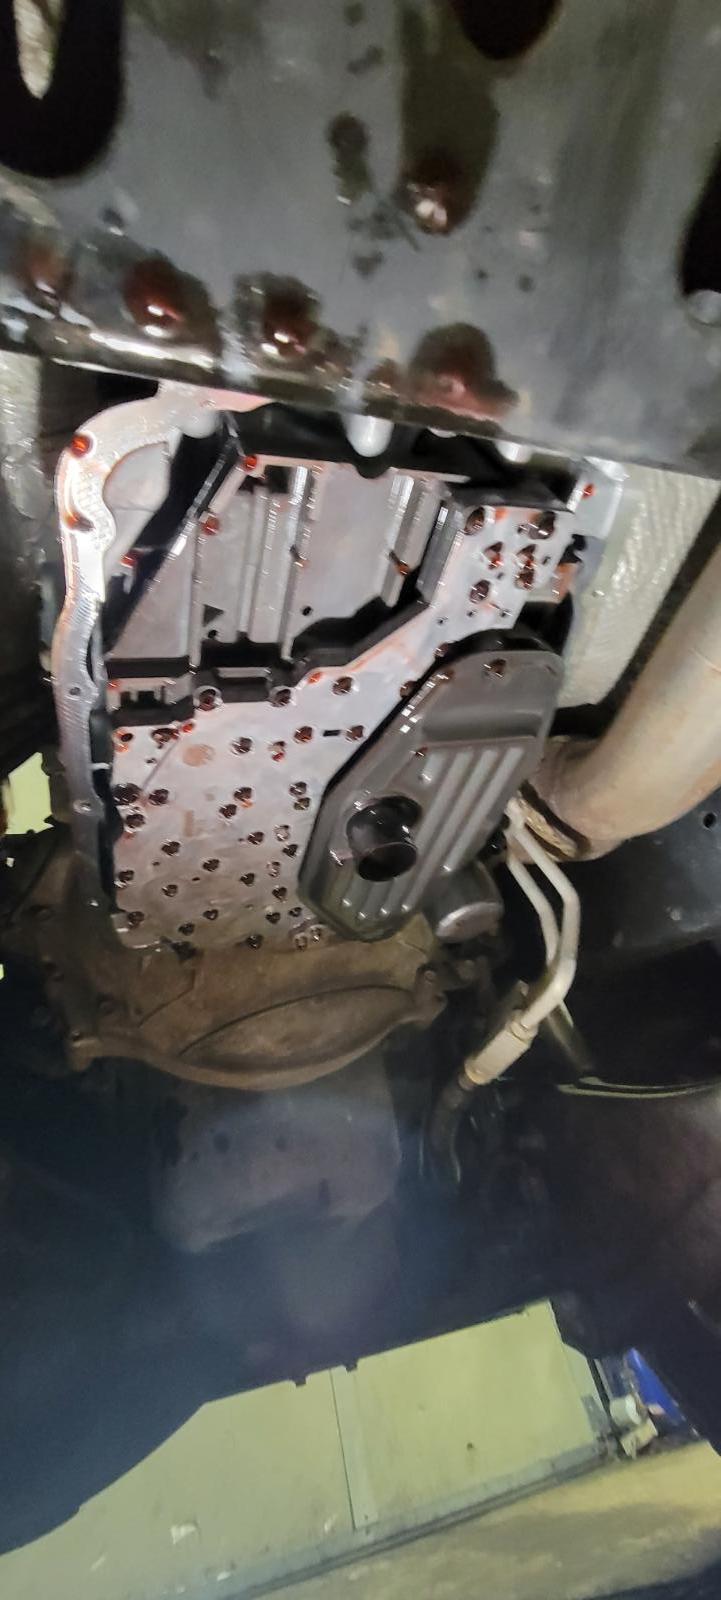
So as for the transmission pan, it's all 8mm bolts holding the transmission pan on. Then I used a trash can lid over a 5-gallon bucket for my catch. Worked well. Now after draining the fluid I reached up with a T25 and took the single screw out of the main filter. Removed the filter. Now as for the valve body, there are 8mm bolts holding the valve body in place. Before you do take the time and unplug the transmission harness. Use a small flat-blade screwdriver and pry the red lock downward. Then the tab at the top will release the white bail and allow you to work both the bail down and the plug upwards. Now after all the 8mm bolts are removed you can work the valve body off the nipples in the transmission. Since I'm replacing all the valve body and electrics as a set I've got to steal all the bolts from the OE valve body electrics and transfer them to the new body attaching the new electrics to the new valve body. This is where I stopped for a lunch break. 

  • Like 1
  • Owner
Posted

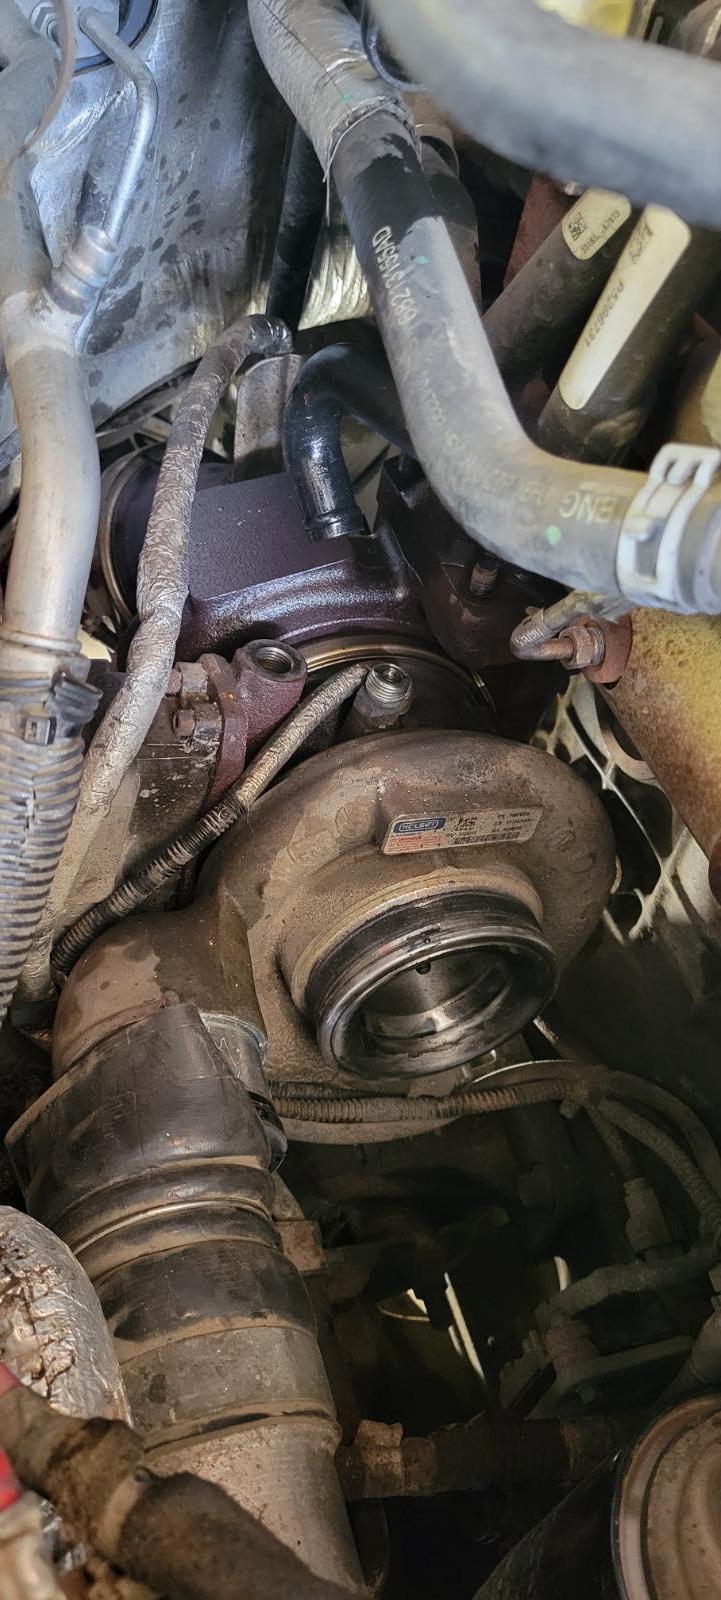
Well, it continues. I'm doing the turbo. I will say it is NOT easy. The turbo is tucked in rather deep against the frame. There are oil lines and coolant lines you have to remove. 16807199078867878705684814623751.jpg


Then the four 15mm nuts holding the turbo to the manifold are stainless nuts. My magnetic induction heater can't heat the nuts because they are stainless. The studs are steel and it takes a lot to break them loose. This is quite the battle. I've still got to get the lines off the bottom and there is a heat shield in the way. I've got to bend the shield back to gain access. Other than that you would have to remove the engine mount to deal with the shield. Progress is slow and difficult.

  • Owner
Posted

Well, I can tell you this is harder than changing an oil pan gasket on a 2nd Gen.


So if you get the 4 nuts holding the turbo to the manifold, then the 2 oil lines then the two coolant lines top and bottom. Exhaust elbow removed. Then you are beating on it with a 2x4 and hammer to get it even off the manifold. Then once it drops off the studs then you have to rotate the turbo.  I even went as far as loosening the passenger-side engine mount and lifting the engine to gain a bit of room. As you get the position right then you try to come up and out then realize that more has to be removed. The grid heater solenoid and battery power. Even after then you get a hold of it and attempt to lift it several times but the pure size of these turbos and weight is unreal. All I can say is have stable footing your going to be leaned over quite a bit and lifting a heavy turbo. This truck has oversized tires but you need a milk crate to reach down inside. The funny part is I barely fit under the control arms of the axle doing all the return coolant and return oil lines. Sadly I'm glad I opted for a full turbo replacement the bearings and controller were both bad. Had oil in the boost line. After 5 hours of beating, lifting, smashing fingers, and cussing at this I finally gave birth to a wore out turbo.


I can tell you these turbos are monsters in size. Very heavy. I even laid my HX35/40 Hybrid beside this and it looks tiny or like a toy. Weight wise a huge difference in weight. All I can say is this is not like the 2nd Gewn where it's an hour to swap turbos this is nearly a weekend thing to swap a turbo.

  • Sad 1
  • Owner
Posted (edited)

Completed. A new turbo was installed with no communication error code. New Revmax valve body with a BD pressure mod kit. Holy cow builds boost a bit quicker being the controller and vanes are working. Shift quality is very crisp and firm. Exhaust brake holds back quickly. 


I will admit the valve body and electrics was super easy and about a 3 hour job. Seriously we'll worth it mod to do for and 4th Gen truck.


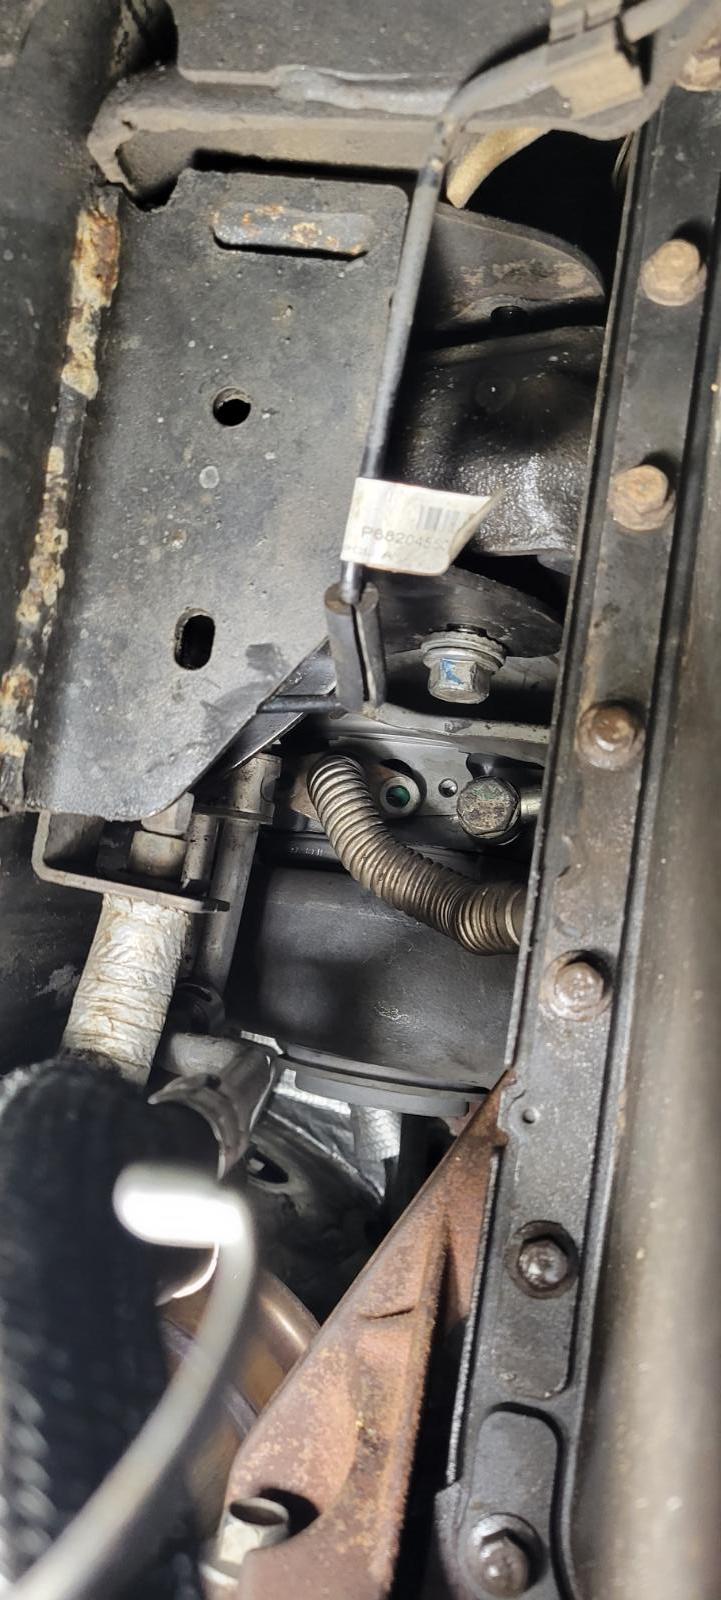
Now for a direct replacement turbo you better have about 2 days. It took a full day just to remove the old turbo. Then it took me all of today to reinstall the new turbo. The biggest issues I had was removing the lower coolant line and oil return and attaching again to the new turbo. Being the new turbo was slightly of clock position made line up of the oil return bit difficult.


20230408_111307.jpg


As you can see in the photo where the oil return landed. The heat shield you have to bend back to even access these two connections. Then during assembly getting exhaust elbow back in was a tough reach and I've got long arms and big paws. Lots of cussing occurred. I managed to figure out this puzzle but 2 days even for me. Oh you might noticed the engine mount bolt yup I hoist the front of the engine just a bit to gain access to the bottom connections.


Edited by Mopar1973Man
  • Like 2
×
×
  • Create New...