
This article is on how to disassemble a Cummins 24v VP44 injector and thoroughly clean and then reassemble it.For starters, you need to refer back to injector removal and get all 6 Injectors removed from the engine. Once you got all six injectors out you can proceed to clean each injector. But something to be aware of there is small parts and these parts must be put back exactly the way it came apart.
WARNING! Only disassemble and clean only 1 injector at a time. All the parts are tuned to that particular body. Don't mix and match parts!
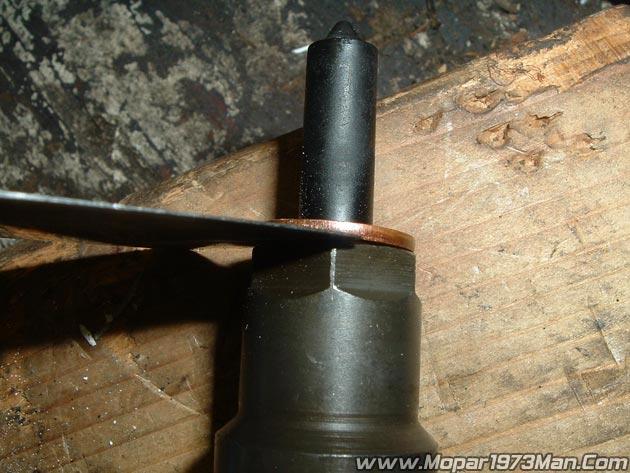
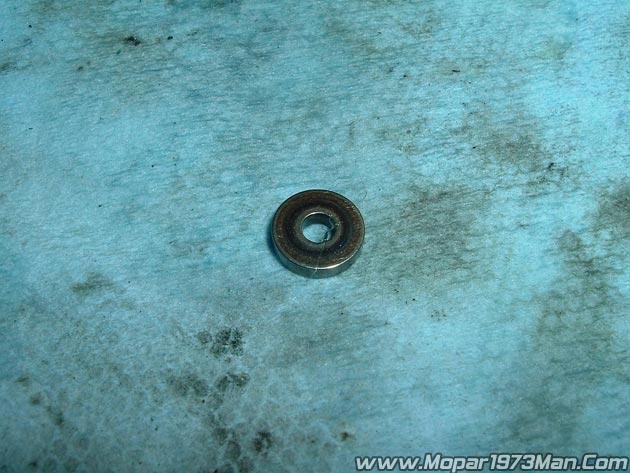
Then before you can remove the nut you need to remove your copper washer. This can be done with a putty knife and a hammer just lightly tap the putty knife and it should be able to pry it up enough to using the putty knife or a screwdriver.
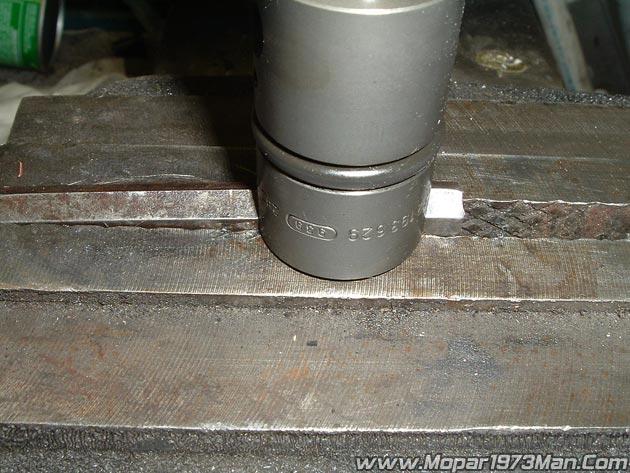
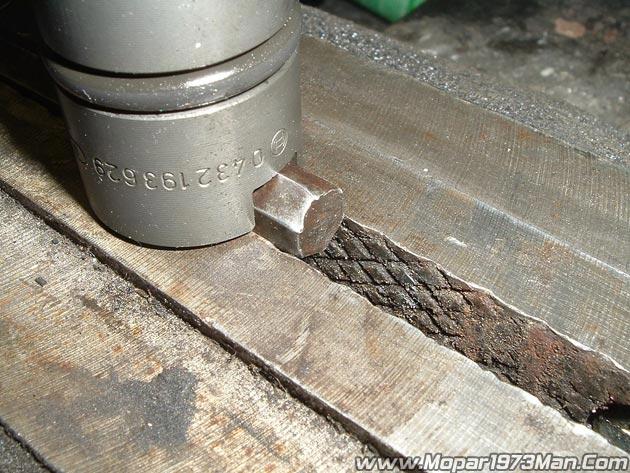
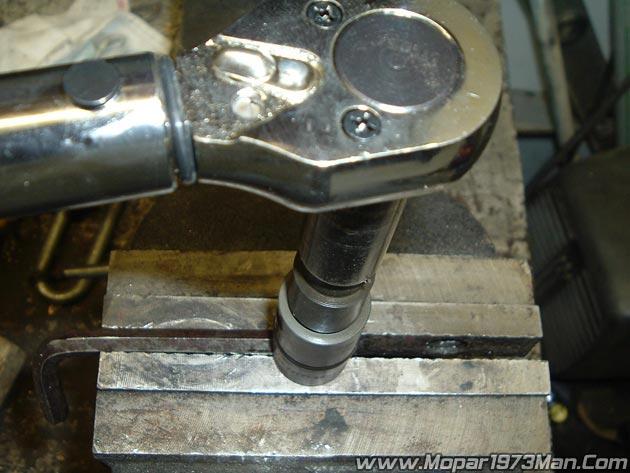
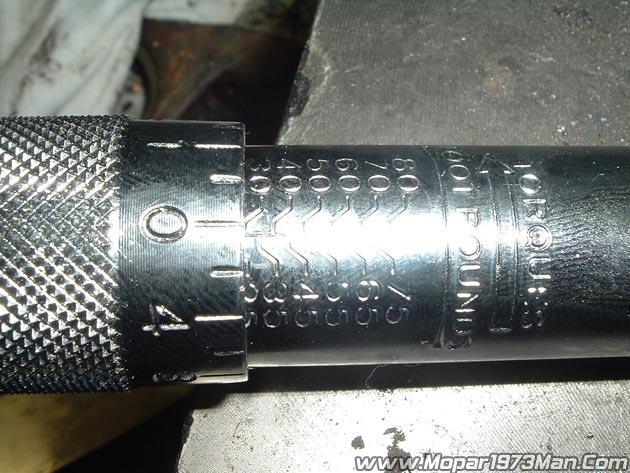
Now as I set my torque wrench for loosening and kept adding torque to the handle adjustment looking for the click and loosening of the nut. I found it at about 32 foot/pounds so I backed off to 30 foot/pounds and set the wrench. Loosen the nut.
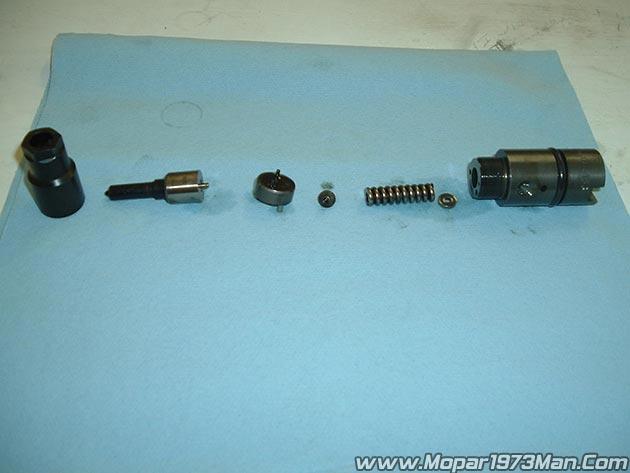
Now you need a clean area too. I set up a shop towel and an old ashtray. I filled the ashtray with Coleman fuel (Naphtha). So I would open up the injector carefully and place all the parts in the solvent to soak. Now in the picture above there is a shim that goes in the bottom below the spring. This shim might be stuck inside the body don't sweat it let in soak in the Coleman fuel for about 5 minutes and pick it up and it will fall out.
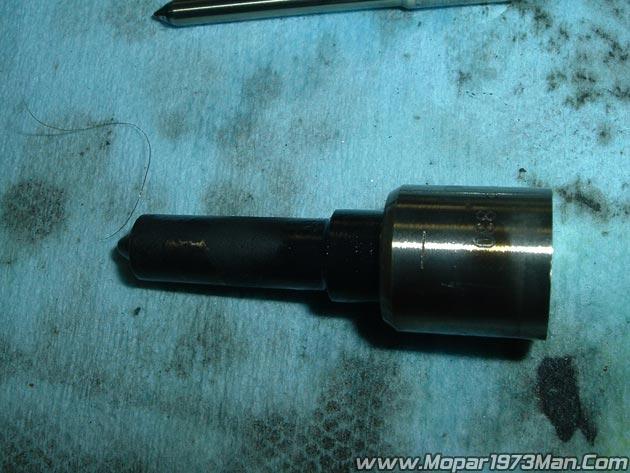
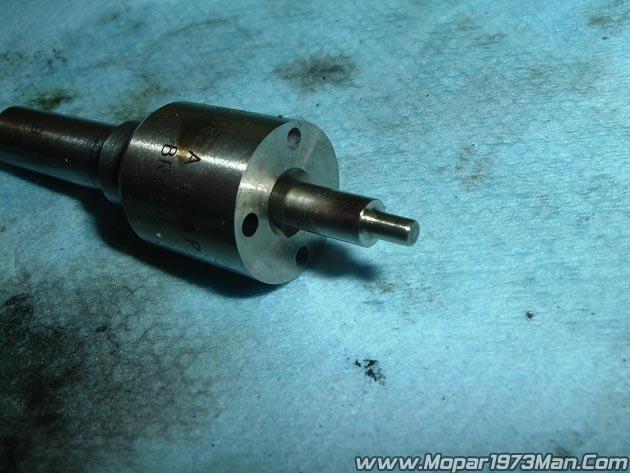
Now that all the parts are soaking take an old scotch bright one that's been used a bit and rather soft. dip it in the solvent and light rub the nozzle clean of soot. Yes, you may rub the tip but be gentle about it. Now look at the pintle (needle) look at the tip for damage or wear... Now check it for smooth sliding action in the nozzle. If it feels rough rub the pintle gently with the scotch bright pad and it will help it out...
I was doing a mini-spray test too... Dip the nozzle in the solvent keeping the fuel hole up and holding the nozzle horizontal using a blow gun just a light burst of air will show you your spray pattern somewhat but also ensures the nozzle tip is not plugged.
Now just blow all the large parts clean and dry from the solvent. Make sure to blow the fuel passages clear.
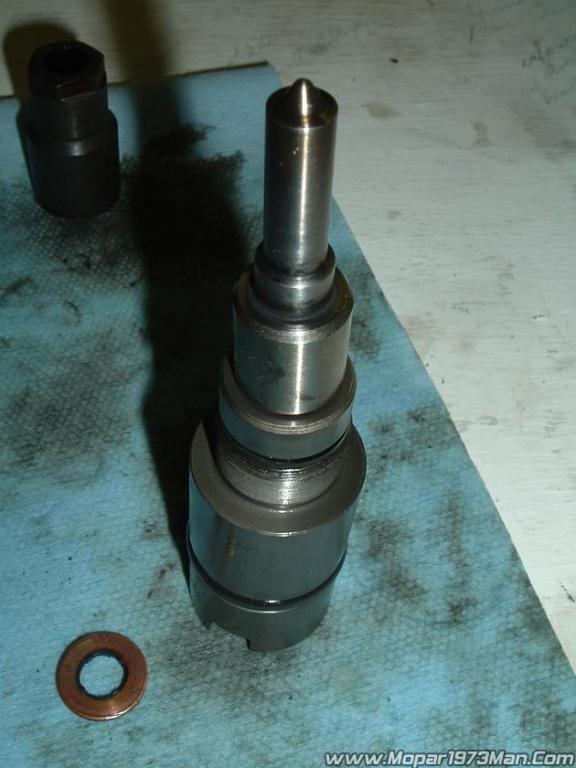
Once you happy with the clean up and every is clean now reassembly the injector exactly the way it came apart. Put your shim in the body take notice of which side was up. You'll also notice the shim has worn marks from the spring so be sure to put it back in the right way.
The shim has to be this side up... Take notice to the side that has the wear mark for the spring...
Then place your spring the body.
Then there is a cone shaped piece that goes on top of the spring but make sure to place the hollow side up. This is for the pintle to ride in.
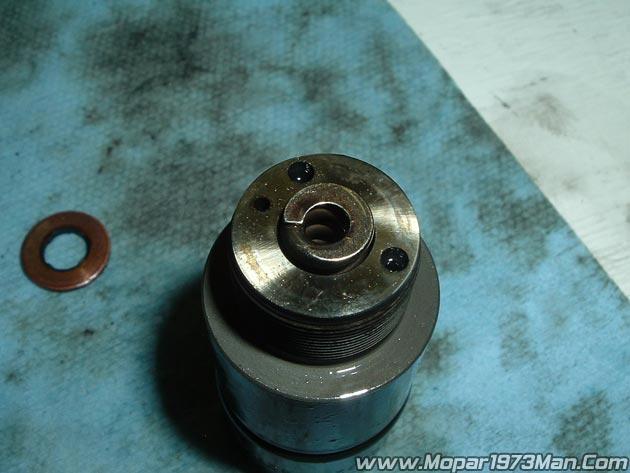
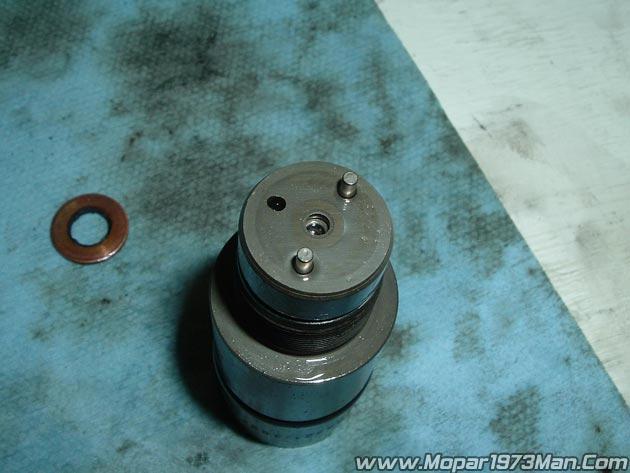
The mid body goes on top of this take notice to the pins it will only go on one way...
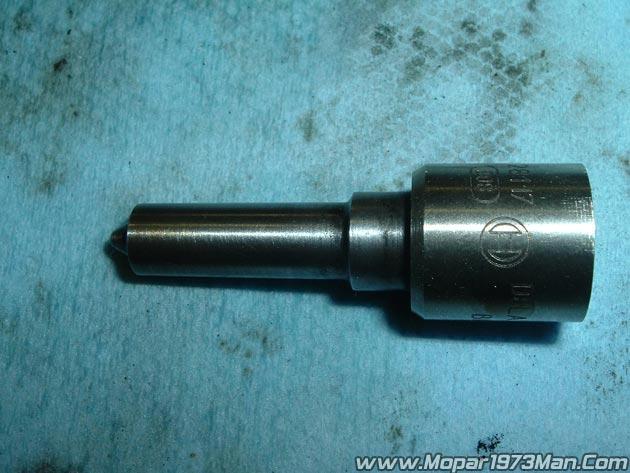
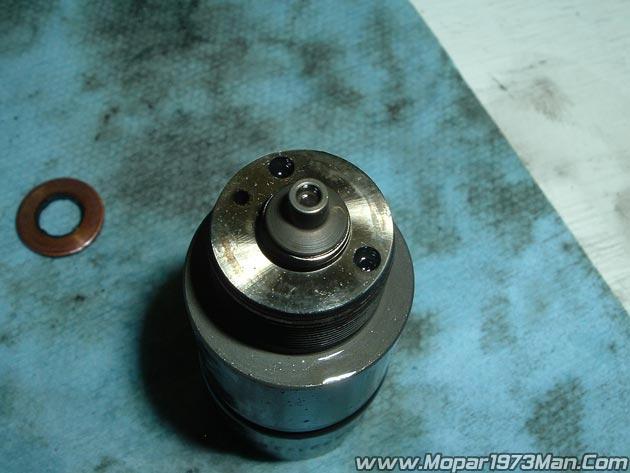
Then your nozzle and pintle go on top to look like this...
Here is a good video of how I did each injector.
-
 1
1