
I'm going to refer to my VP44 post for the first part here.
So you should be to this point if you have done all the work on the link above. So we'll continue to remove the tappet cover and replace the tappet cover gasket on the driver side of the engine. On my truck, the leak is very minor but I want to get this resolved before it gets worse. Being I'm already replacing a VP44 it just a good time to do the tappet cover gasket and fix that oil leak.

You need to remove the two 15mm bolts for the rear hoist ring. This is so you can gain access to the #6 injection line nut at the rear of the head.
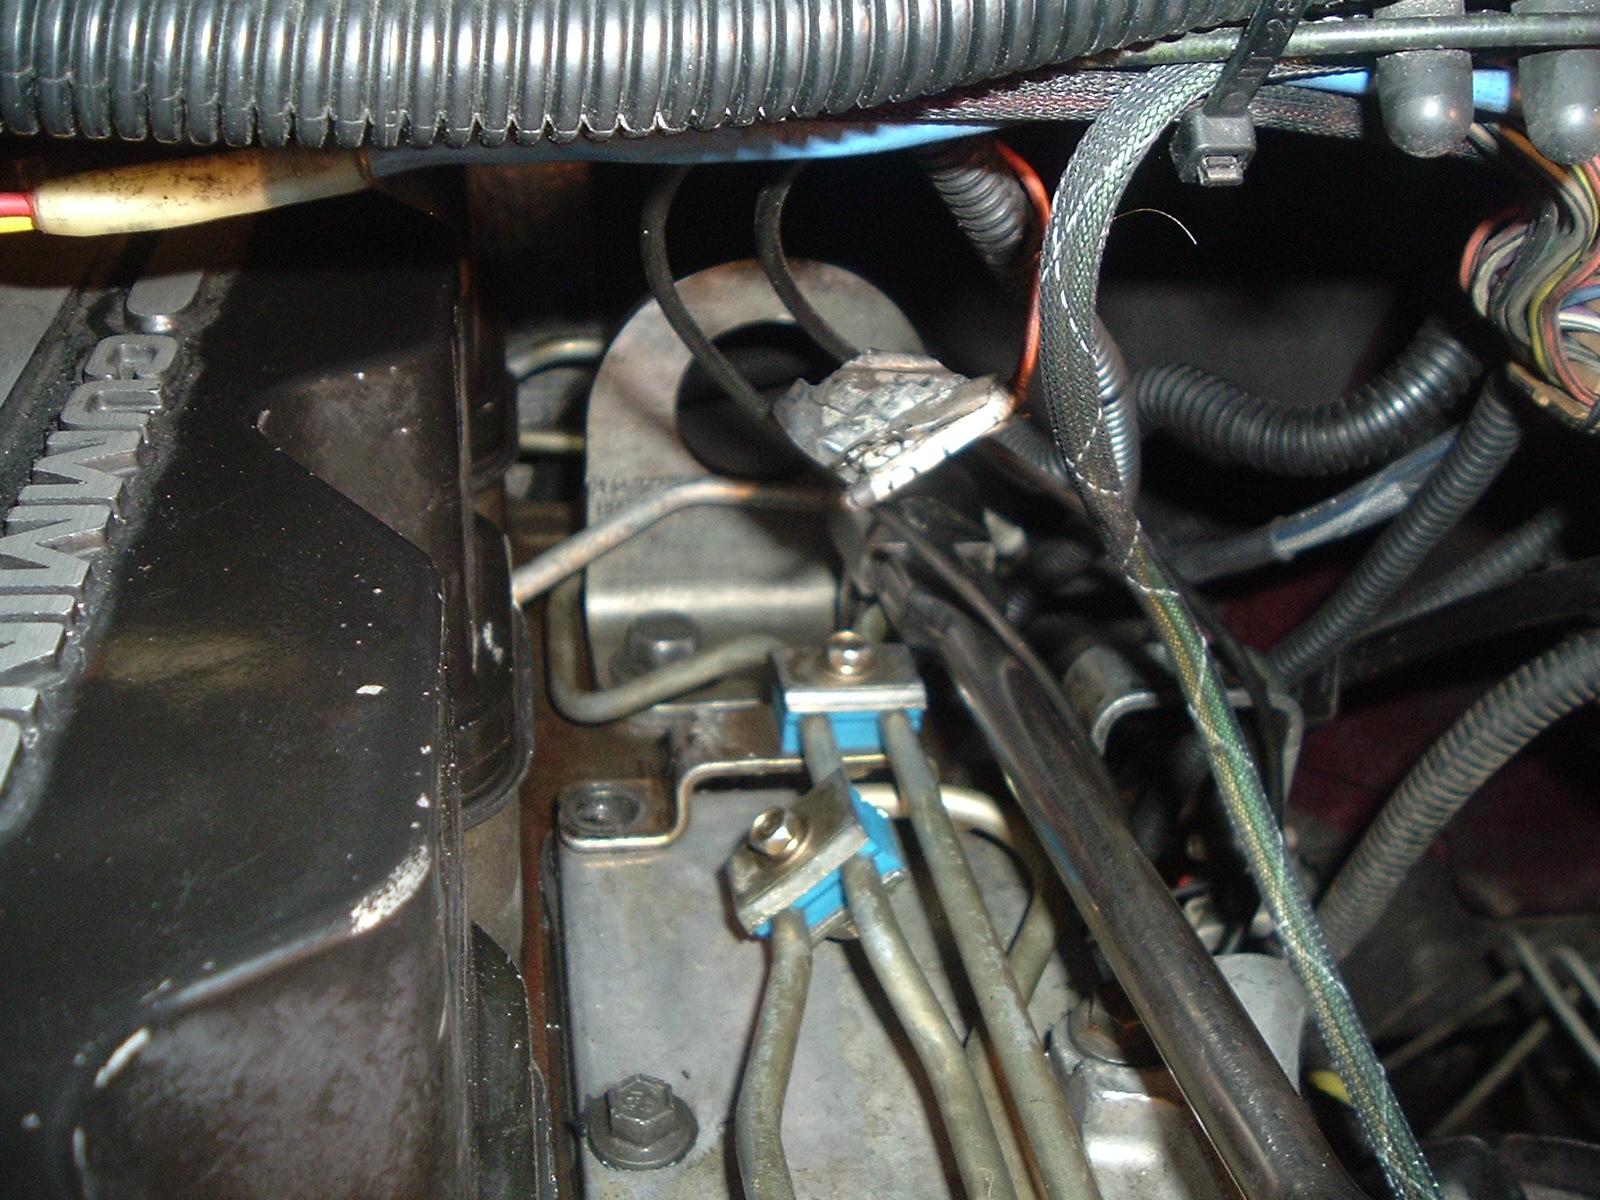
Now you need to remove the two 10mm bolts holding the 3,5,6 injection rails. This is so you can remove the 3,5,6 from the intake.
Now there is a 8mm bolt holding the dipstick tube. This caught me off guard so don't forget to remove this 8mm bolt for the dipstick tube.

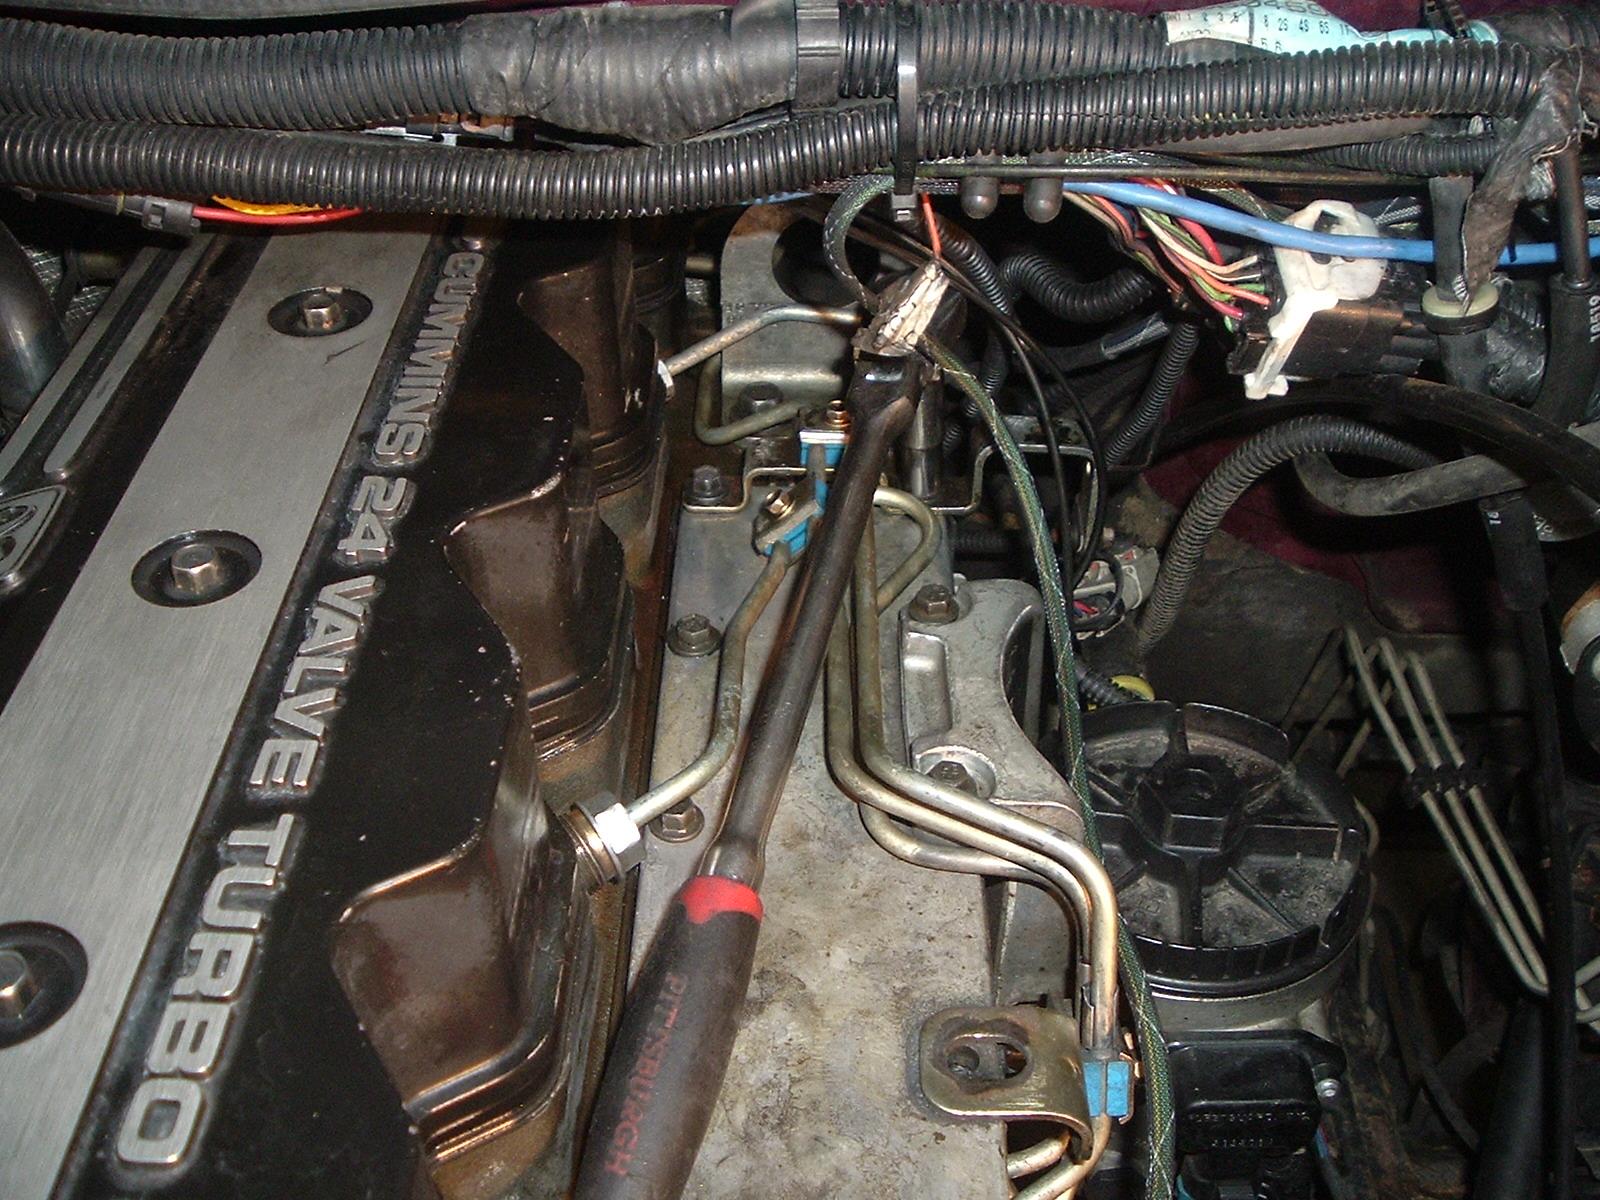
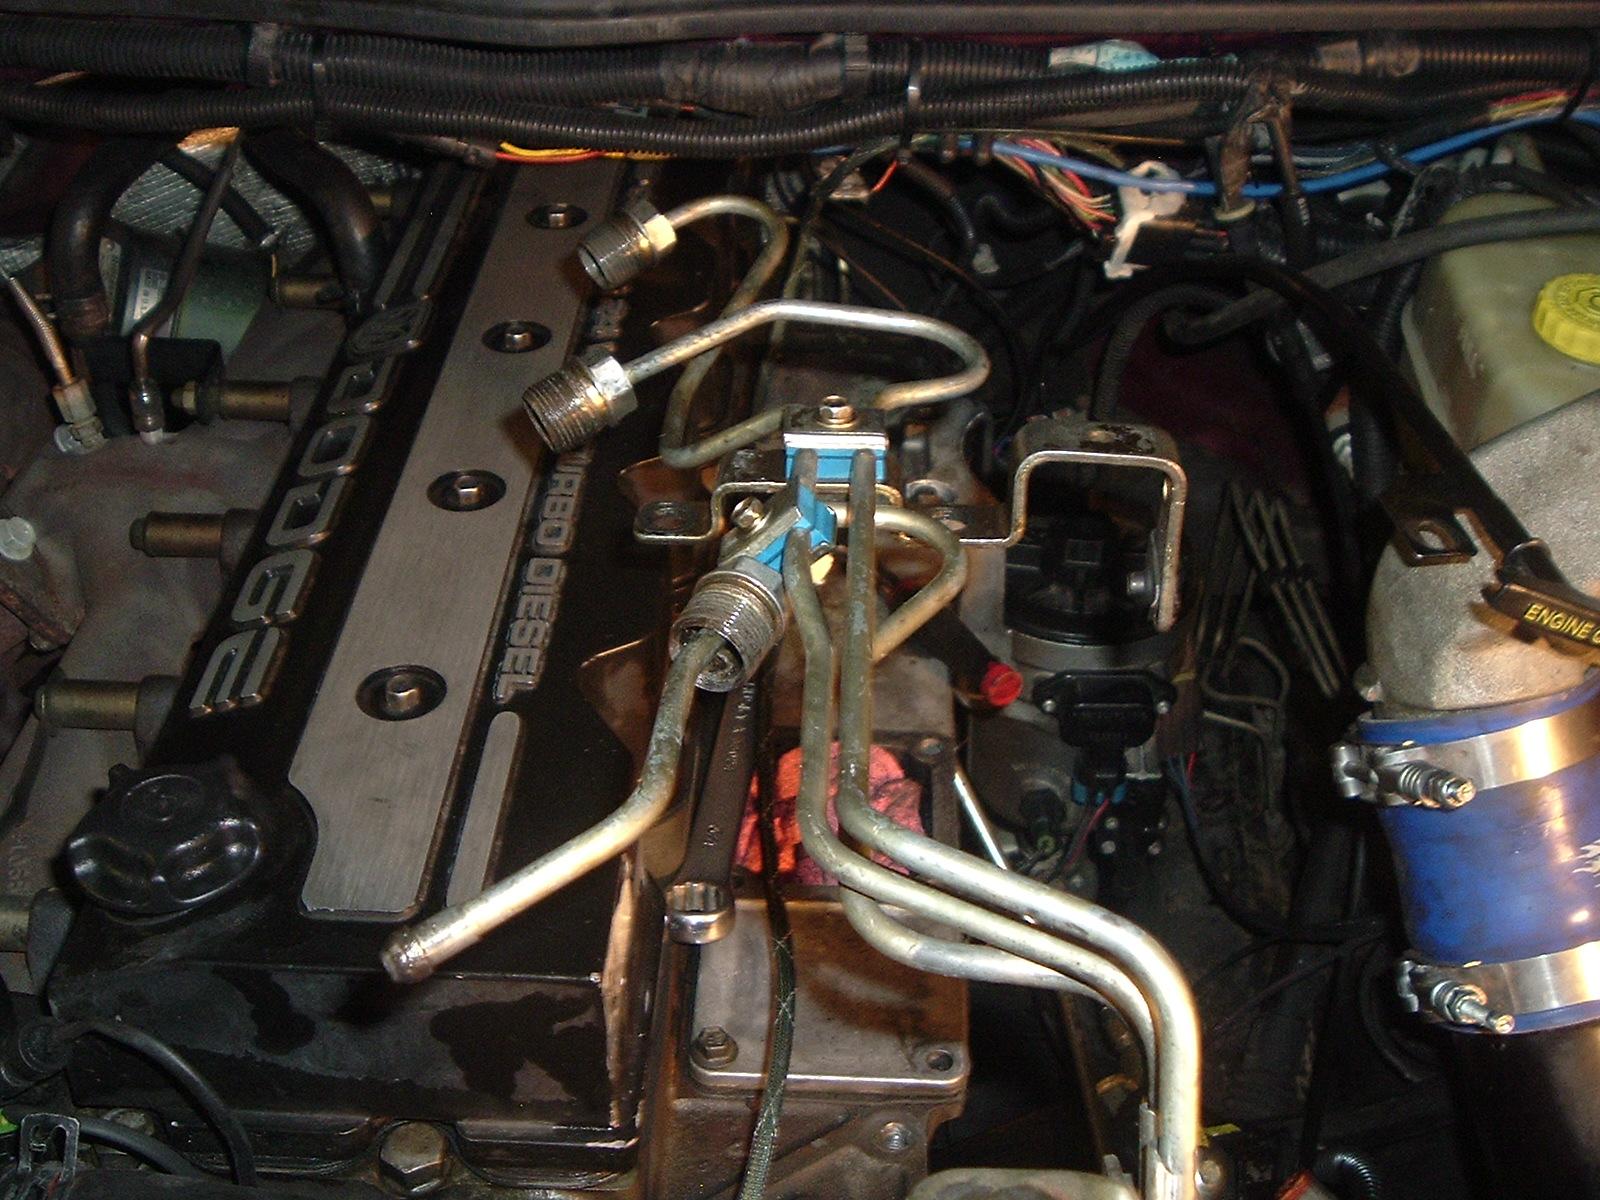
Now loosen the 3,5,6 injection line from the head.
Lift the 3,5,6 injection lines from the engine. Place them somewhere clean.
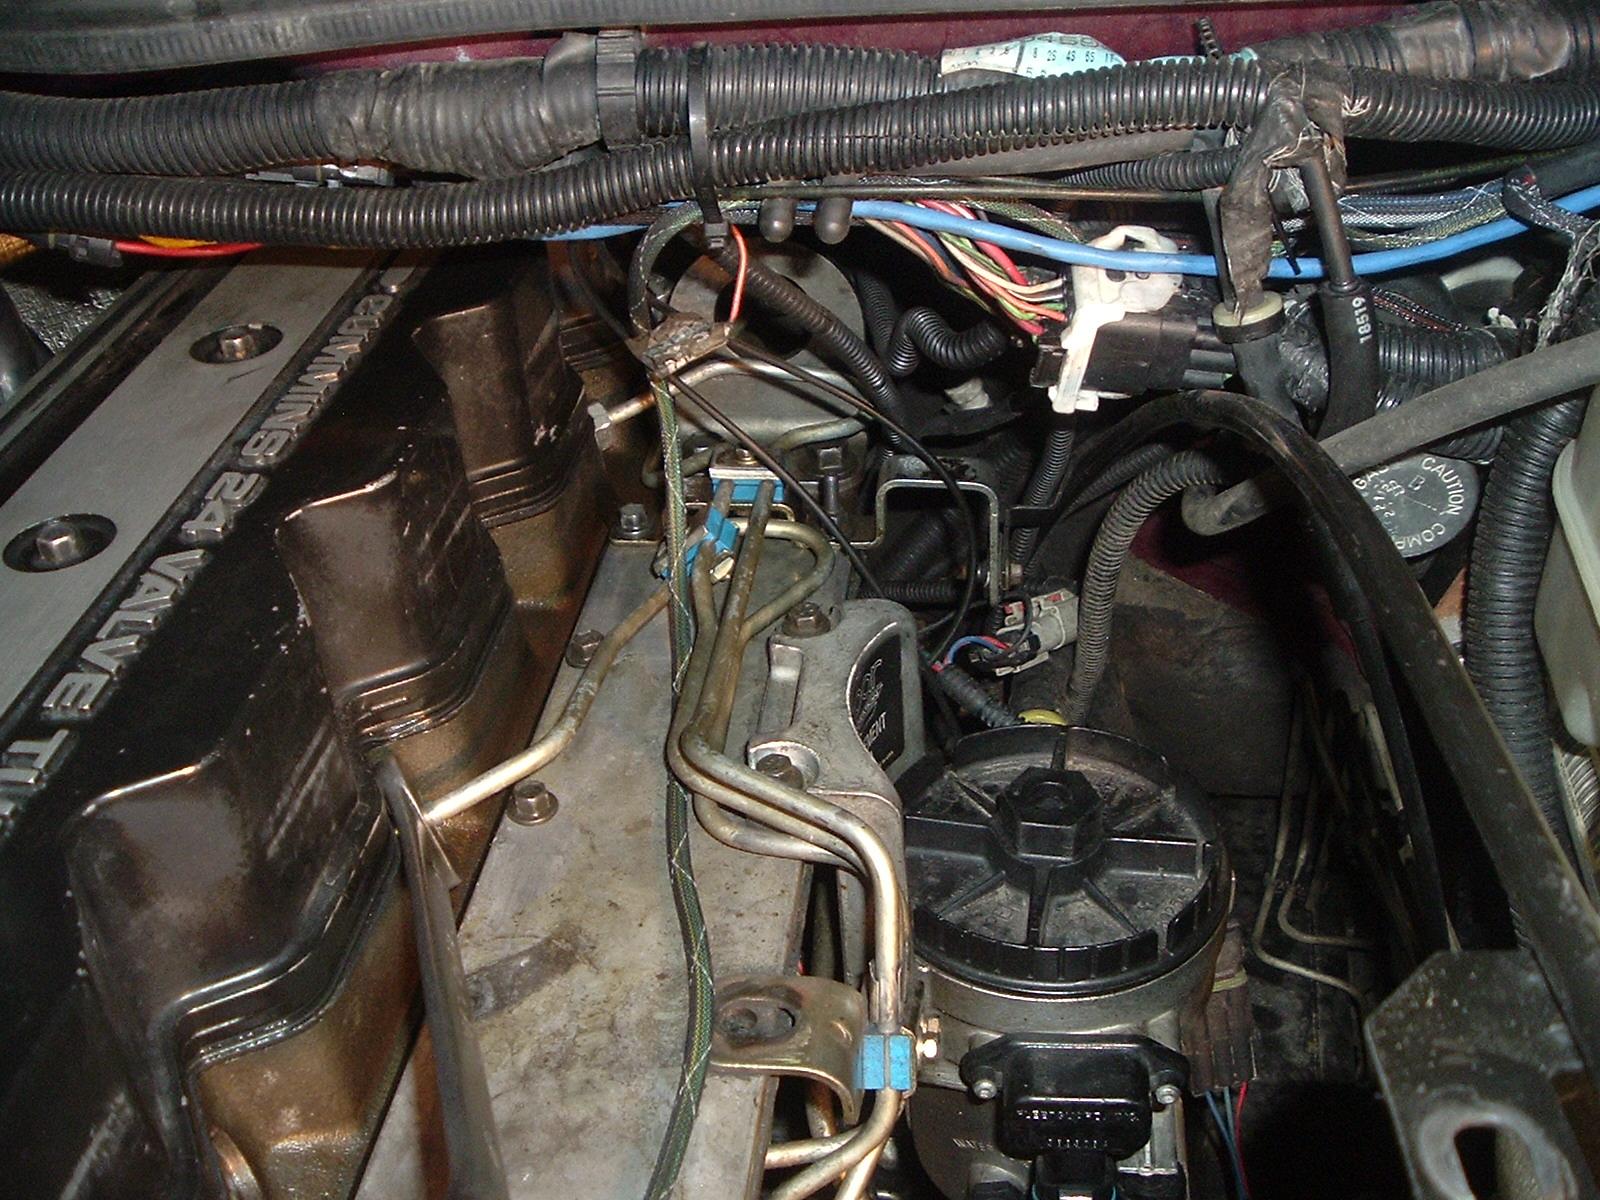
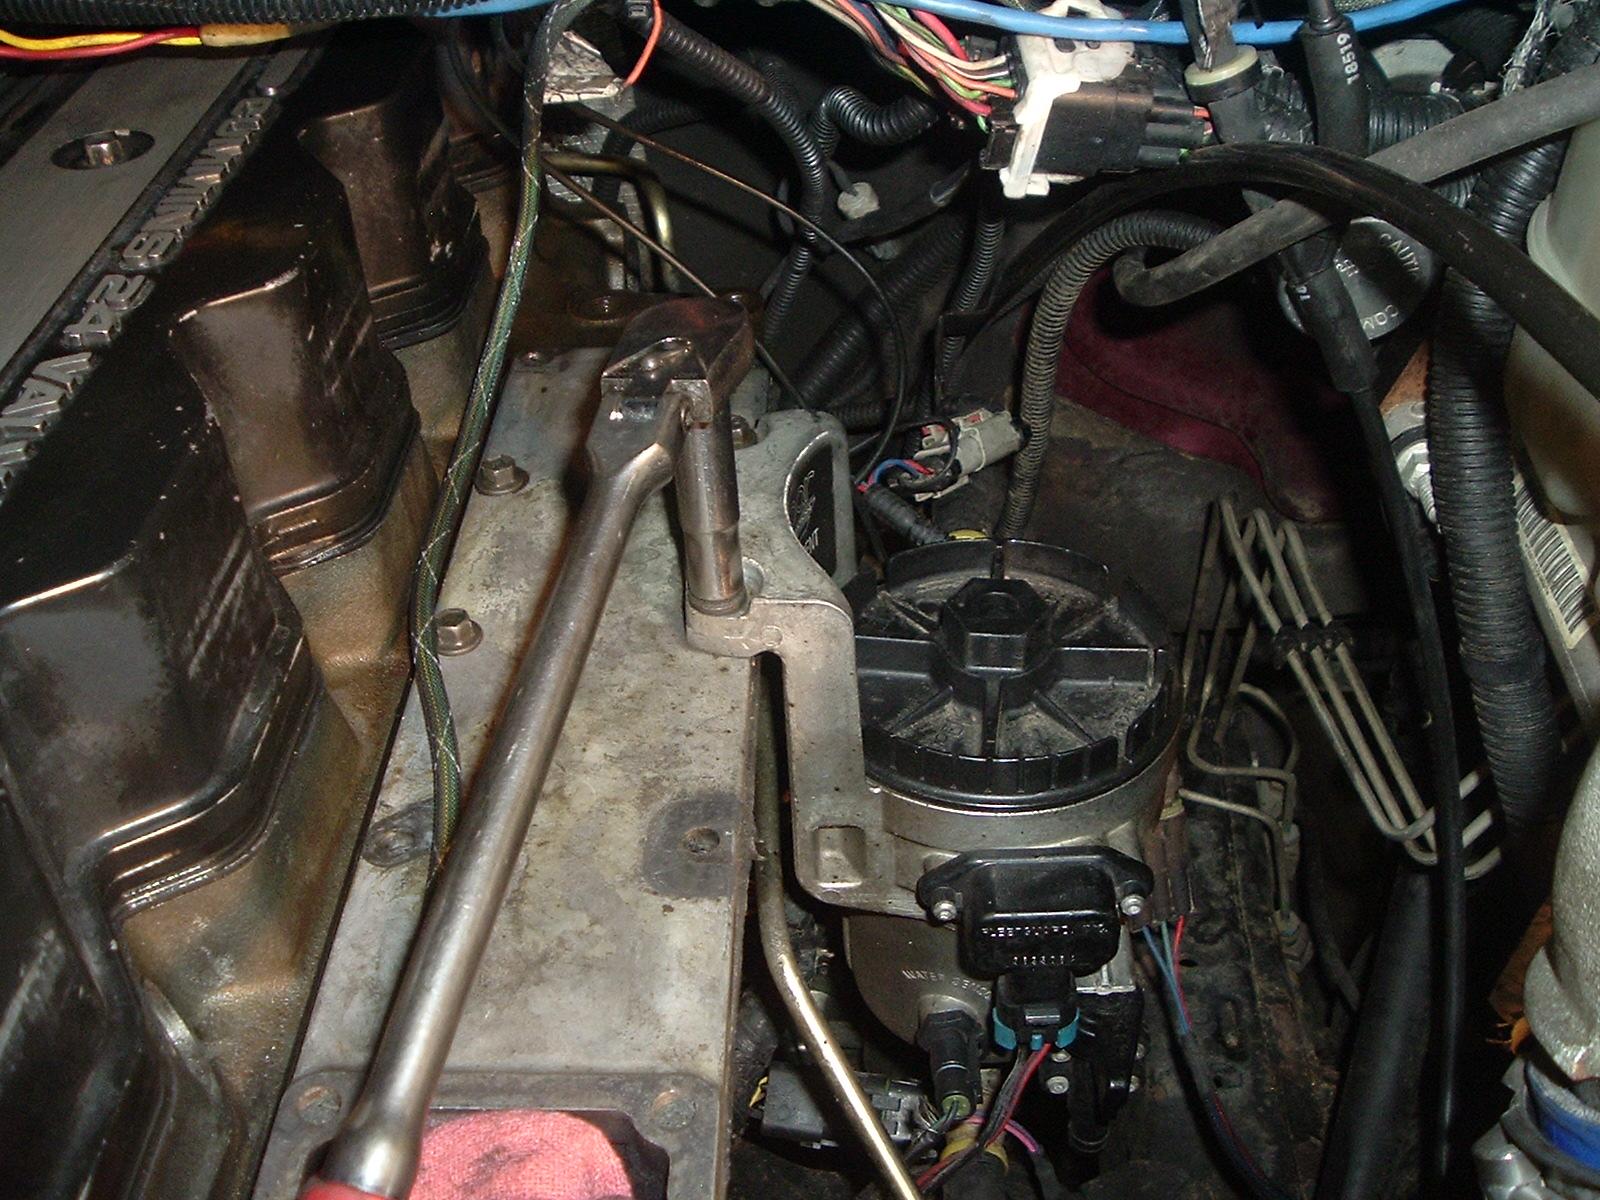
Take the two 10mm bolts out holding the fuel filter housing. Then lay the fuel filter over out of the way. This might require removing the fuel lines if you still have hard lines yet.
Now remove the three 10mm bolts holding the ECM to the tappet cover. Lay it over as well toward the driver side fender.
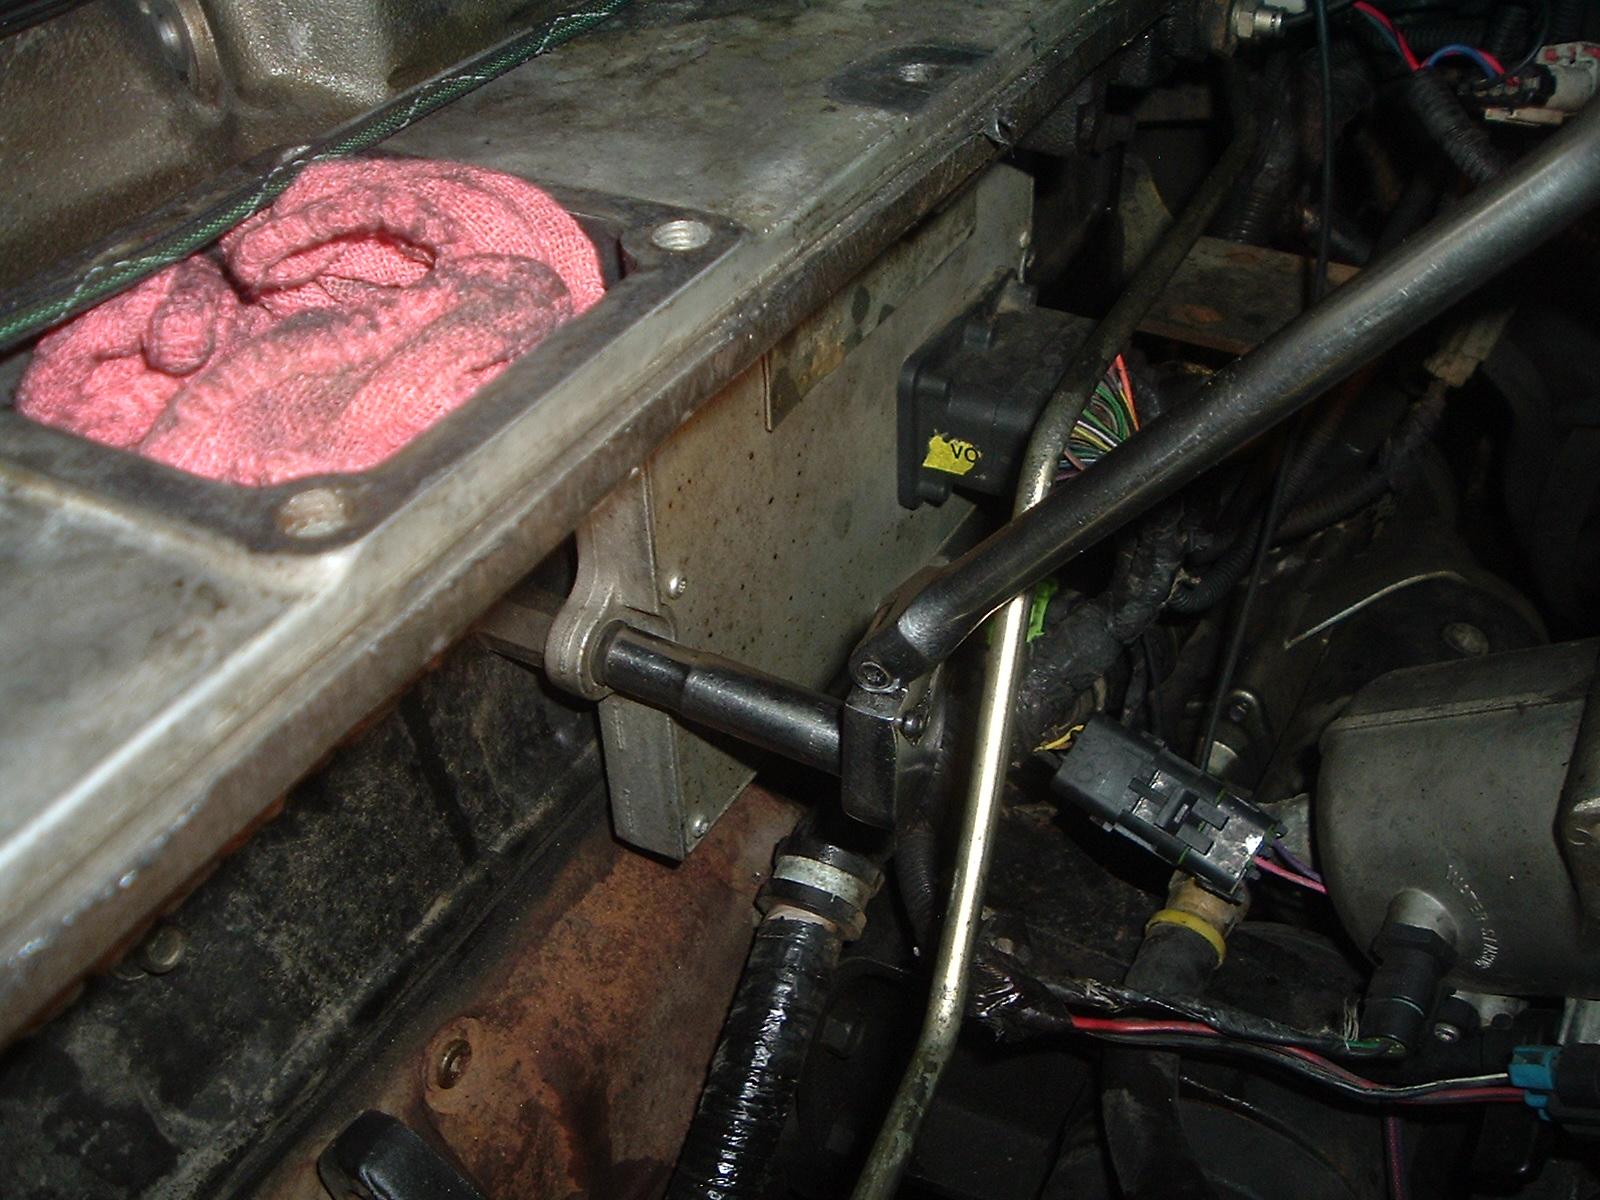
Now you need to remove the 10mm bolt on the rear most holding the return line. Then there are three 16mm standoffs bolts you need to remove. Then three 10mm bolts.

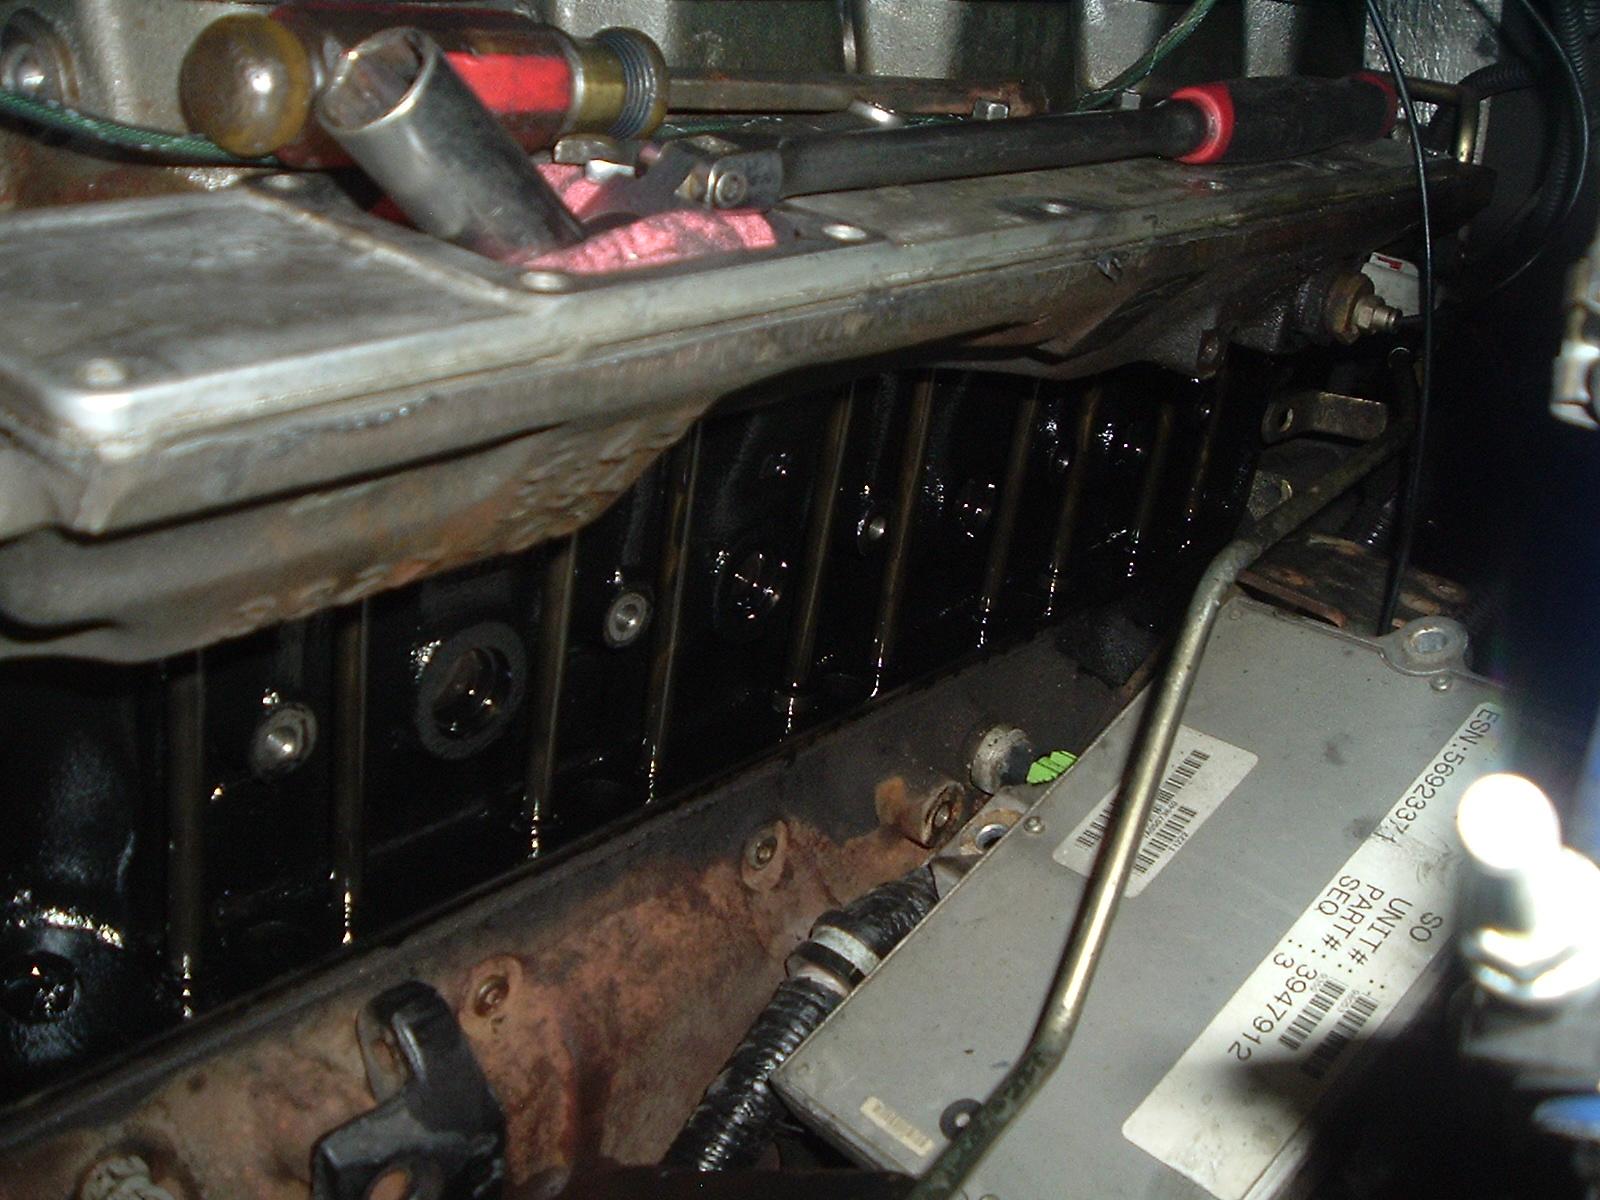
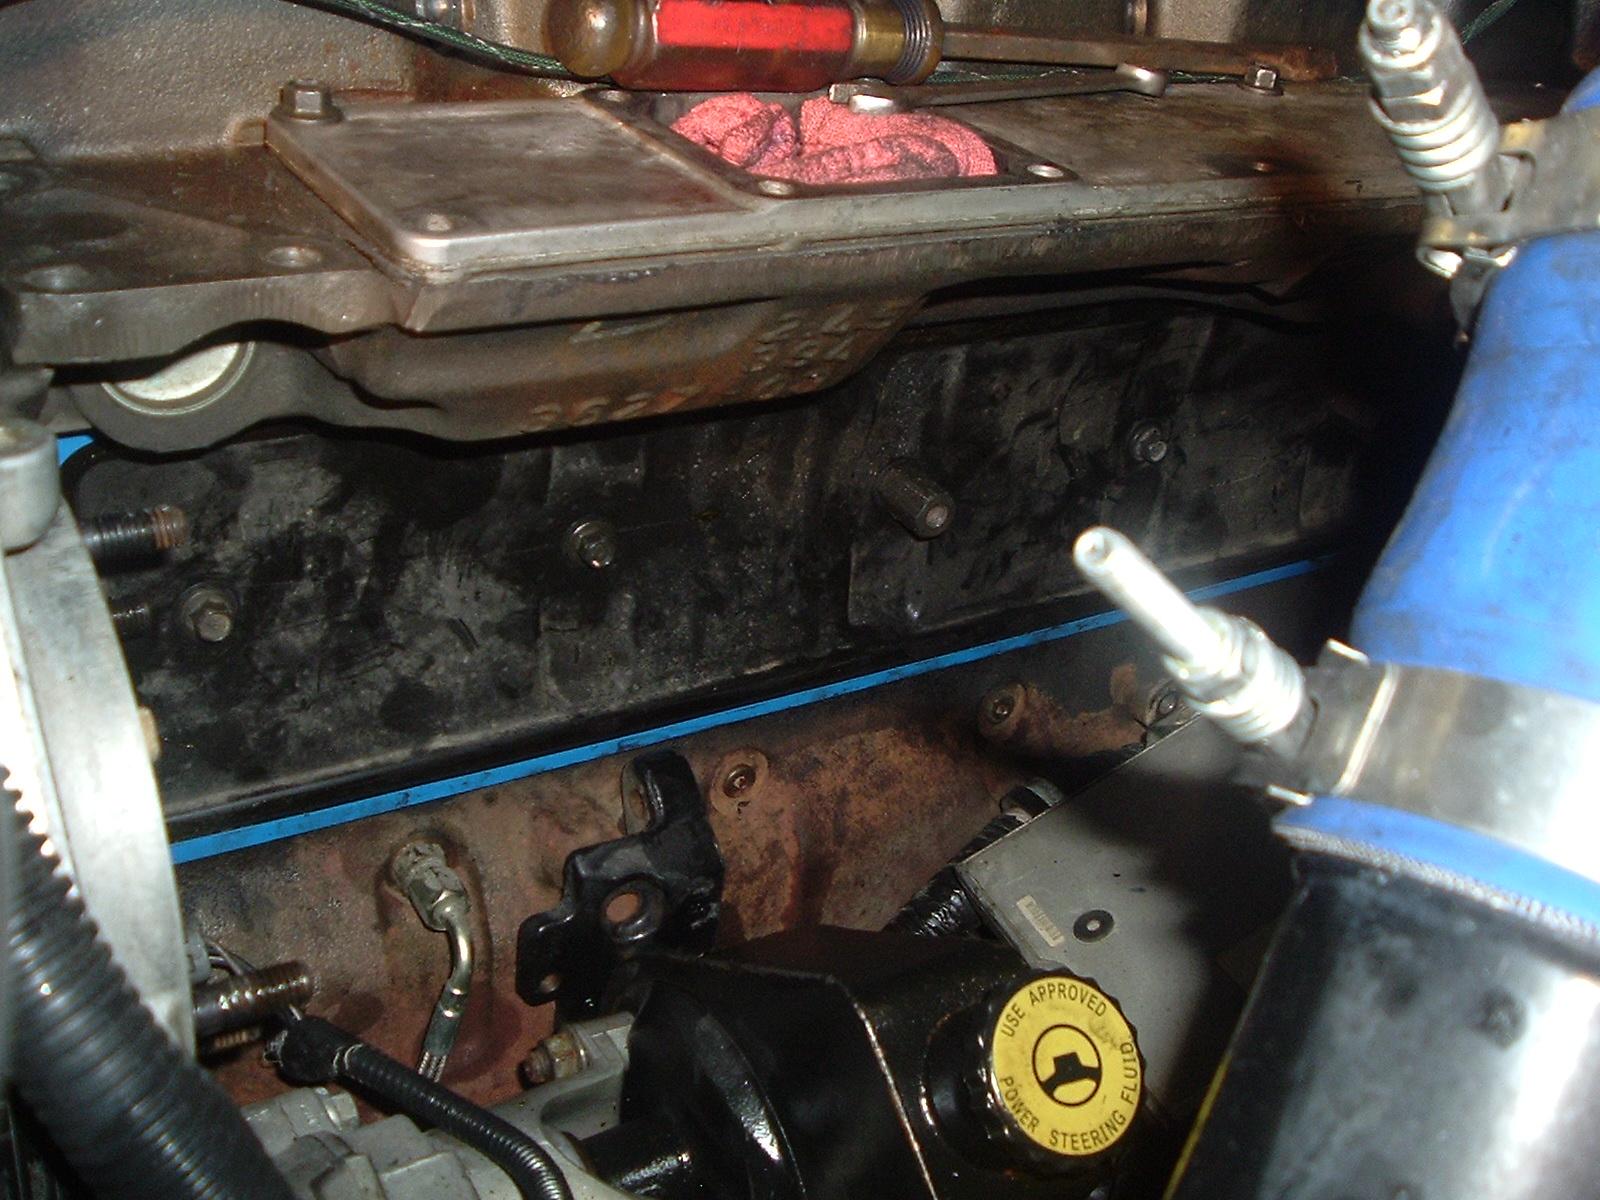
You may need to lightly pry on the cover to break the seal loose from the block. Be careful not to drop or break the rubber seal into the engine while doing this. It should lift out.
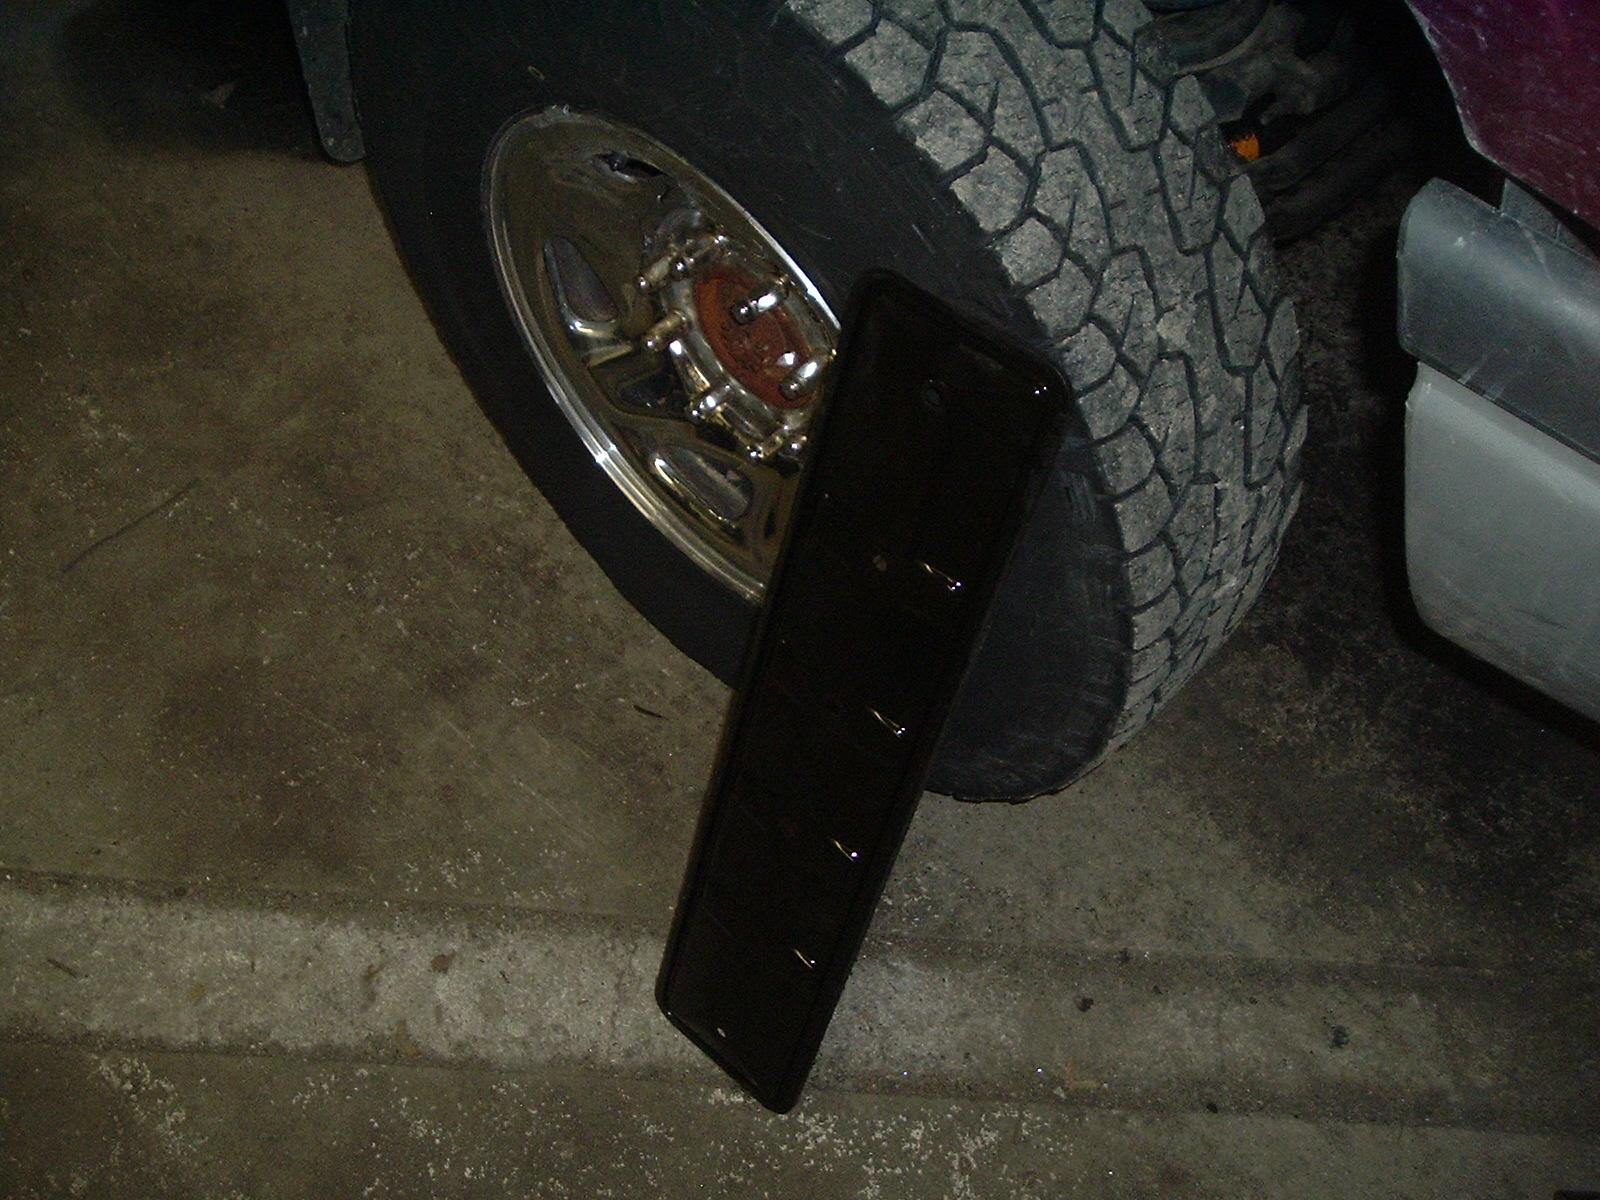
Now take some brake cleaner and a rag and wash down the tappet cover and clean the edge. I use a gasket tack for the edge of the cover. I had to quickly put the gasket on so it would tack it together to prevent it from slipping off. Make sure the large tab is in the front and the flat side of the tab is point outwards. The thicker side should be towards the engine. Also watch for the FRONT mark on the tappet cover.
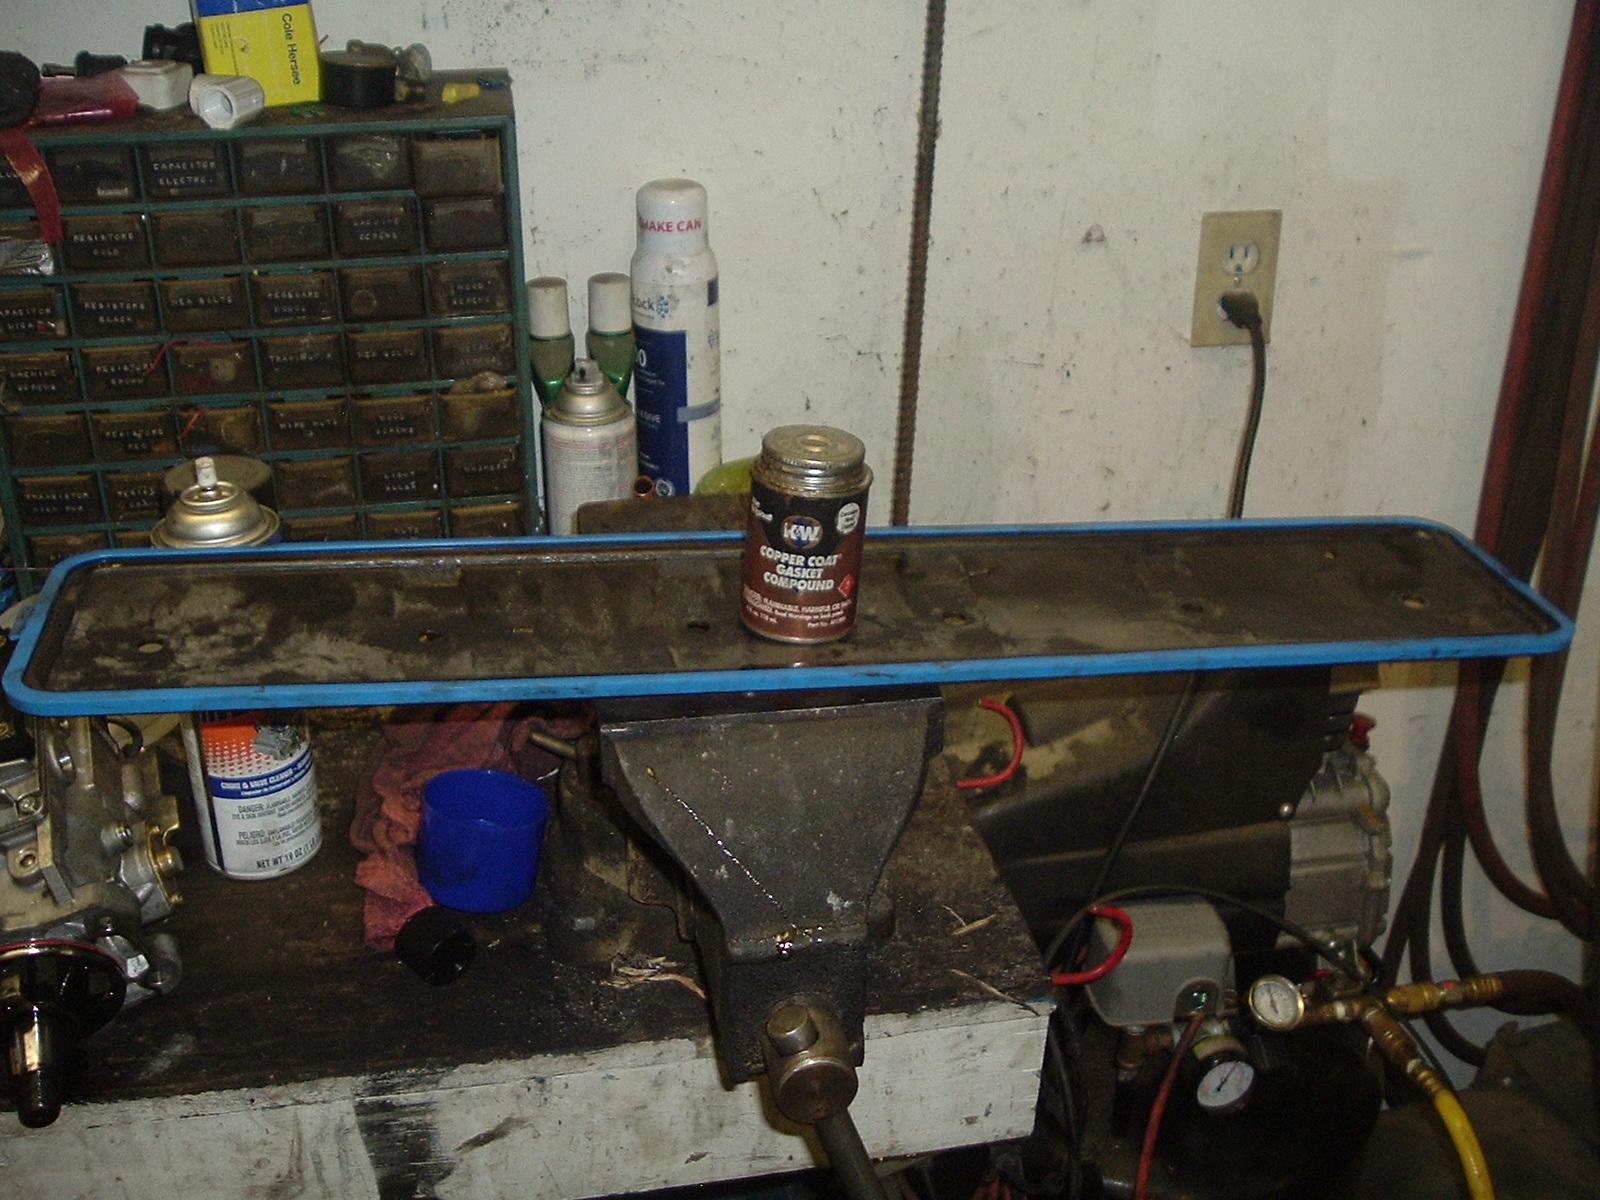
Install. Make sure to put the right bolt in the right spots. I did not use any sealants on the face of the gasket. I highly do not suggest using RTV or gasket sealant on the mating face of the tappet cover gasket. This will most likely cause issues in the future.
Just reverse the process to assemble.
-
 3
3