Vacuum Pump Rebuild
I'm going to cut to the chase. I'm not going to post the instructions included with the Cummins seal kit because it has a lot of stuff you can skip and save time.
You'll need to pull the intake horn and APPS sensor to gain ample room to work. Now I didn't mess with the power steering pump at all. I unbolted it and pull it back out of the way. I would suggest getting a pan or something under before pulling the power steering pump it will spill some engine oil. As for the 4 nuts on the power steering pump they are 15mm nuts. The 2 15mm nuts on the drivers side of the pump can be removed from the top, where as the 2 nuts on the passenger side of the pump need to be removed from the bottom.
You can find the vacuum pump seal kit in our store
There is one stud with double nuts which hold the battery cable away from the steering shaft. Now unhook you vacuum line and the oil supply in the bottom which is 9/16 fitting. Now the 2 bolts holding the vacuum pump to the gear case are 15mm as well. You have the upper bolt with a 10mm nut hold the wiring harness as well. Now the vacuum pump slips right out of the gear case. The upper colt can be removed from the top of the engine bay, the bottom bolt needs to be removed from under the truck.
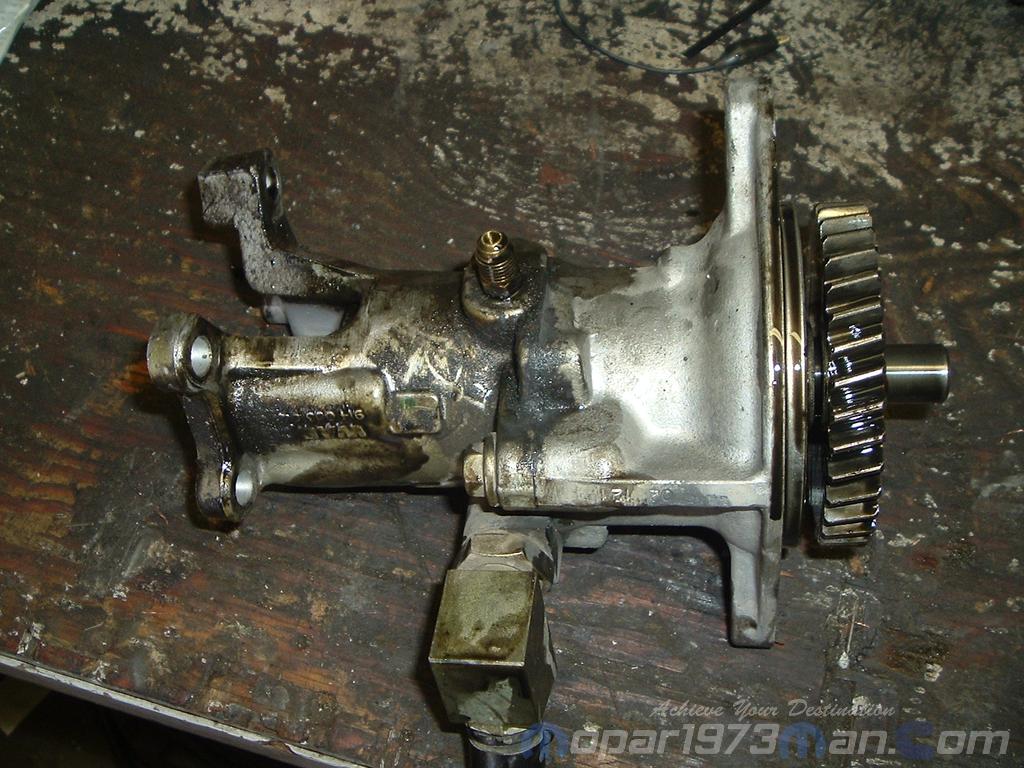
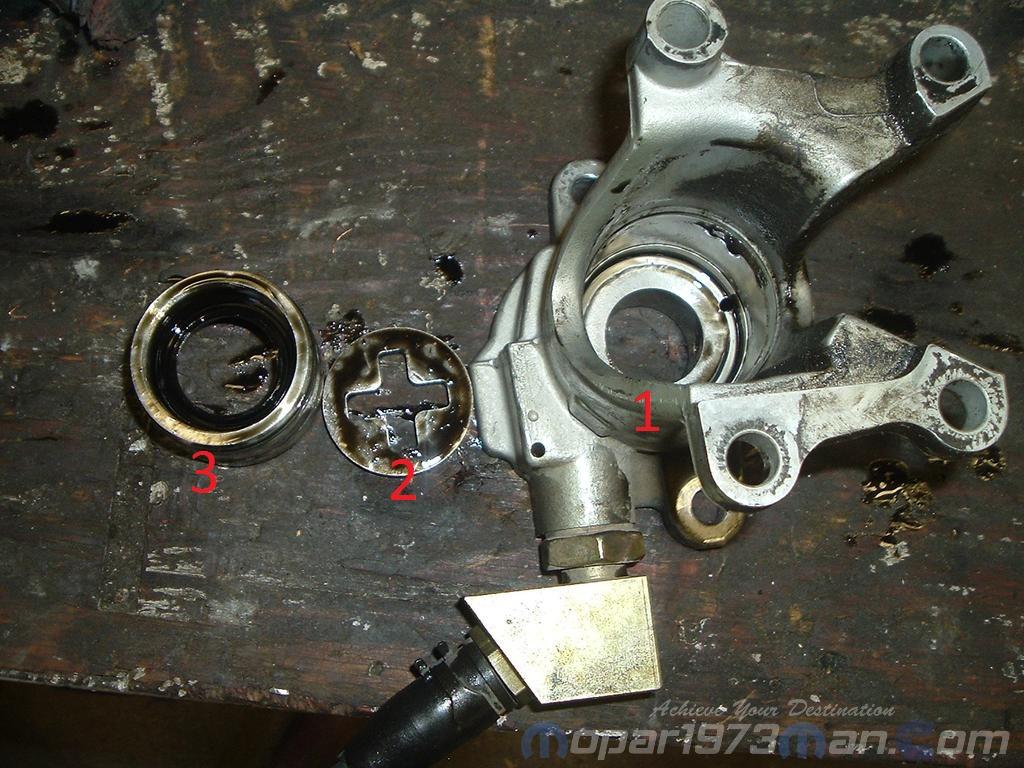
Now you'll have two 13mm bolts holding the vacuum pump together.
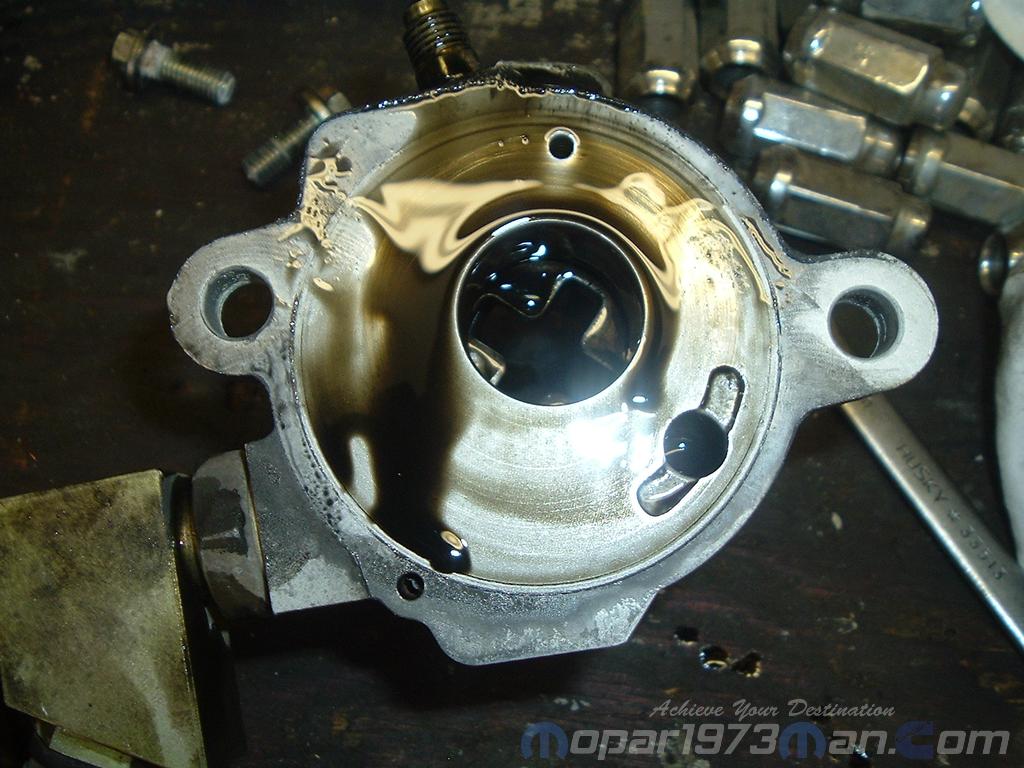
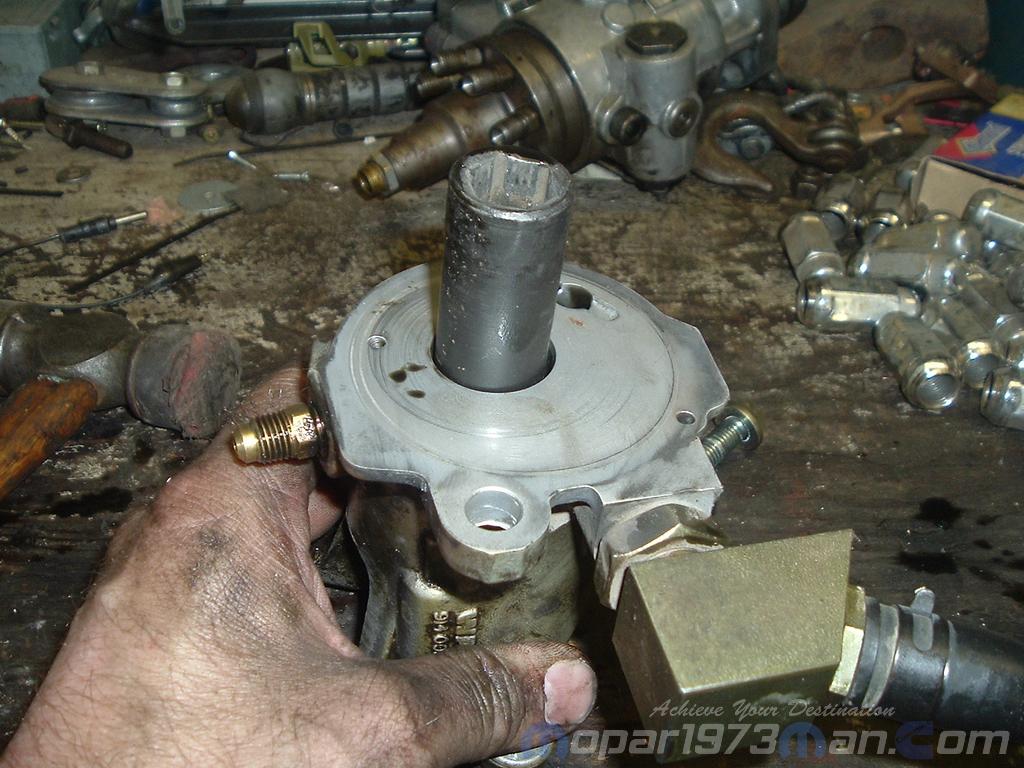
Now take the power steering pump end. You'll need to find a deep well socket that fits within the hole of the shaft so you can knock the power steering pump seal and collar out. Using a rubber or dead blow hammer knock the collar out with the seal.
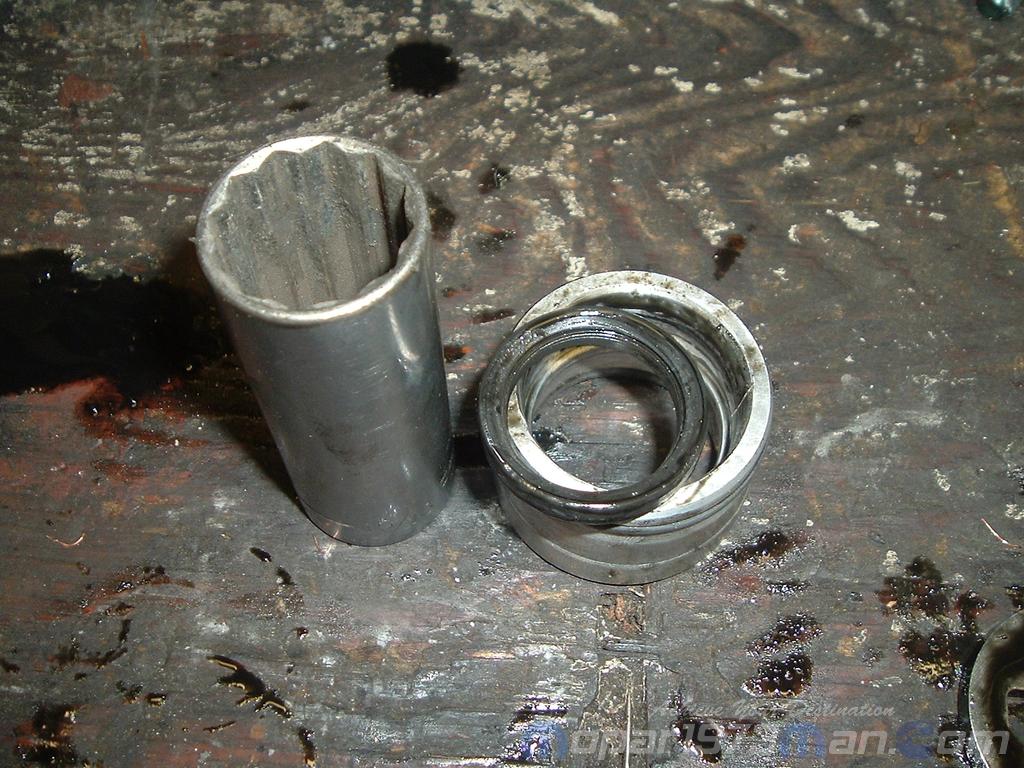
This is what should come out.

Now you'll need to find another deep well socket and knock the seal out of the collar. Now be careful there is a raised shoulder inside so be sure you're going to strike the seal and not the collar.
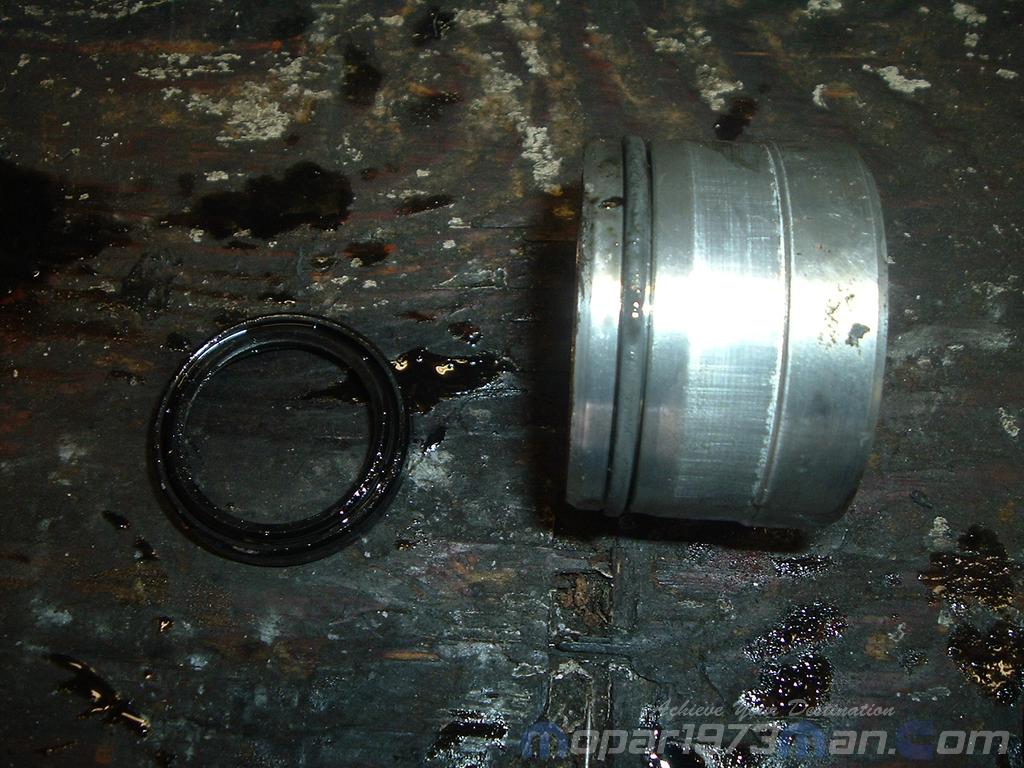
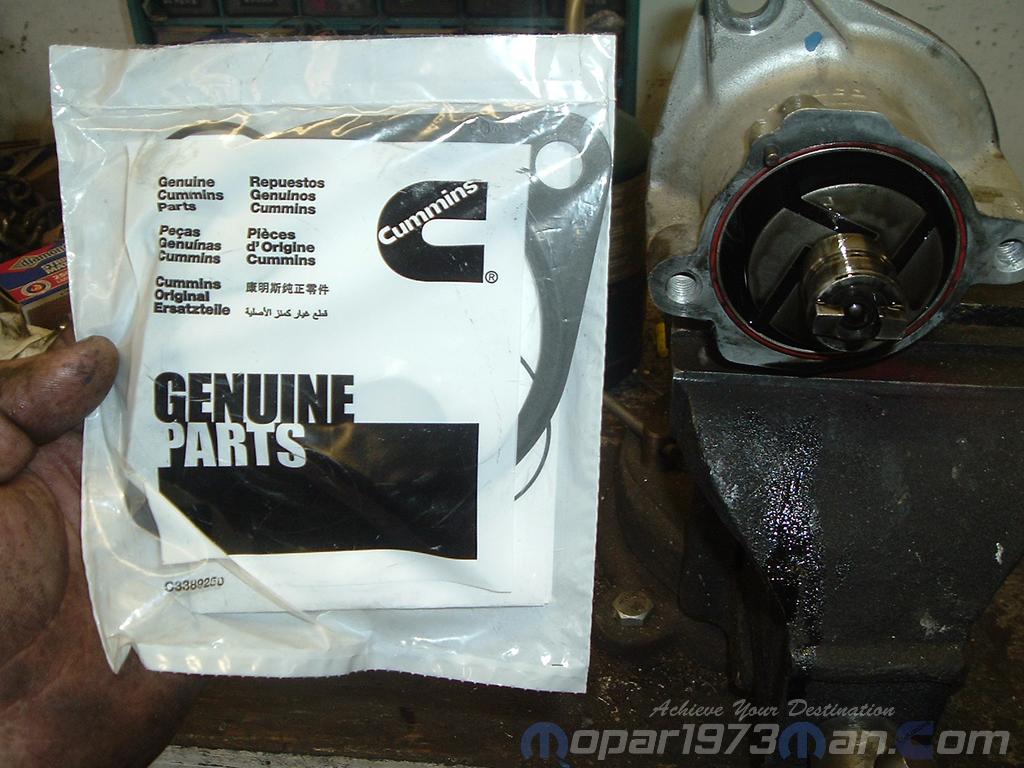
Now all you have left is 2 o-rings to remove. One is on the collar and the other is on the main body of the vacuum pump. At this point, you need to clean all your parts with degreaser or brake clean before assembly. While you're at it grab your Cummins Vacuum Pump Rebuild Kit.
Now basically, you just reverse for assembly. Using the same sockets for driving seals into place. Make sure to replace both o-rings on the body and the collar. During all assembly make sure to lube all seals and o-rings will oil first.
The order of the parts installed into the pump is,
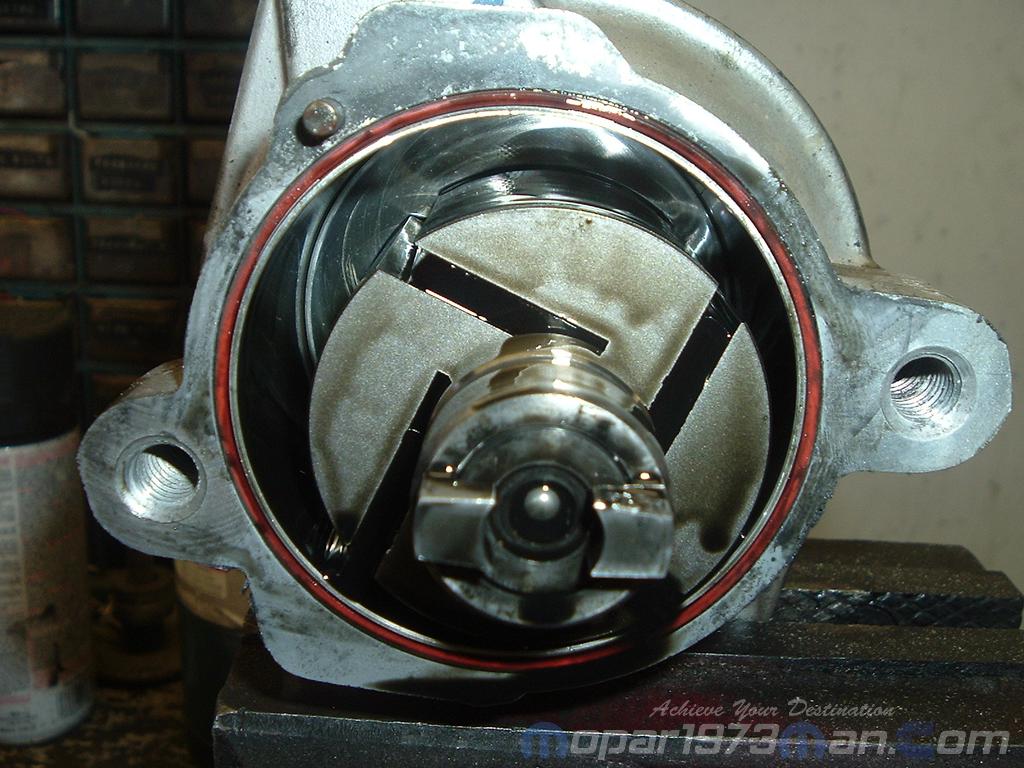
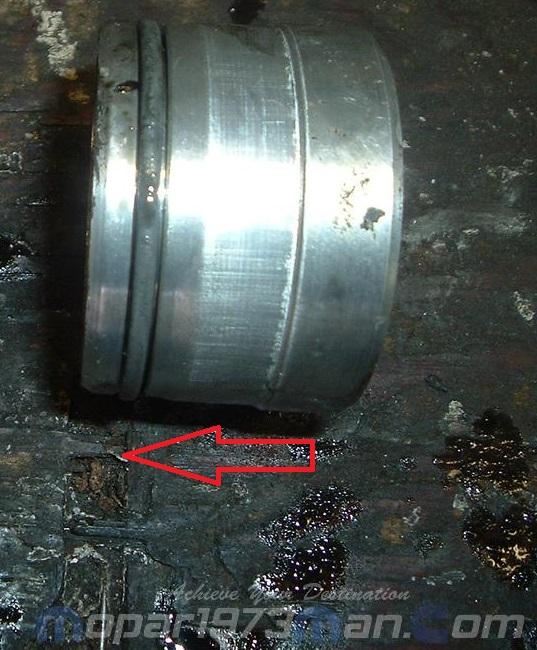
Part number 3 goes in with the rubber oring closer to the front of hte engine. you will tap in the collar until the bezel is flush with the vacuum pump housing. The red arrow shows the direction to insert the collar into the vacuum pump housing.
Now I installed the vacuum pump back to the gear case. Now using a 22mm socket I rolled the engine over using the alternator pulley and positioned the slot of the pump vertically so I could line up the power steering pump. Now carefully slide the power steering shaft into the pump. Now if it's lined up properly it should seat down to the base of the power steering pump. If its doesn't DO NOT force using the nuts you will do damage. It should push all the way into the housing and seat with just hand pressure. If you get the pump lined up run your nuts back on the studs. Don't forget to hang the battery cable back on the bottom stud and using the 5th nut. Now you can hook up your oil feed line because you need the room to work to get the nuts back on the power steering pump. Now it just a matter of reassembling all the other stuff like intake horn, APPS sensor, etc.
Torque Specs
Vacuum Pump Body bolts (2) ...................................... 22 FT/LBS (30 Nm)
Power Steering Pump nuts (4) ..................................... 18 FT/LBS (24 Nm)
Gear Case Bolts (2) .................................................... 57 FT/LBS (77 Nm)
-
 3
3