


Big thanks to aub1895 over on CF for lettings us save his writeup on an Eaton 10 speed swap
QuoteI did a write up 2 years ago on this swap, but now the photo's are no longer visible thanks to photobucket. I received a request for the photos and I couldn't go back and edit my post or get anyone from the forum to return my messages, so I'm reposting this write up.
So, I've blown up 3 of my stock transmissions and decided it was time for an upgrade. I have a P-pumped 24v with twins, and I haul heavy loads regularly, so I wanted to put a 10 speed in. I got the Road Ranger, oil cooler and driveshaft from a local junk yard. The transmission is rated for 1,400ft/lbs, so it should hold up to the abuse. I decided that I wanted to keep my stock bell housing and adapt it to my transmission, instead of using a SAE bellhousing, for several reasons. First, I have a southbend dual disk clutch that I really like. Second, I would have a lot more expense into buying a SAE flywheel housing adapter, flywheel and clutch. Third, a SAE bellhousing would take up more space and I would have to make a mechanical linkage for the clutch. I used a np205 divorced mount transfer case, and built my own mounts and driveshafts.
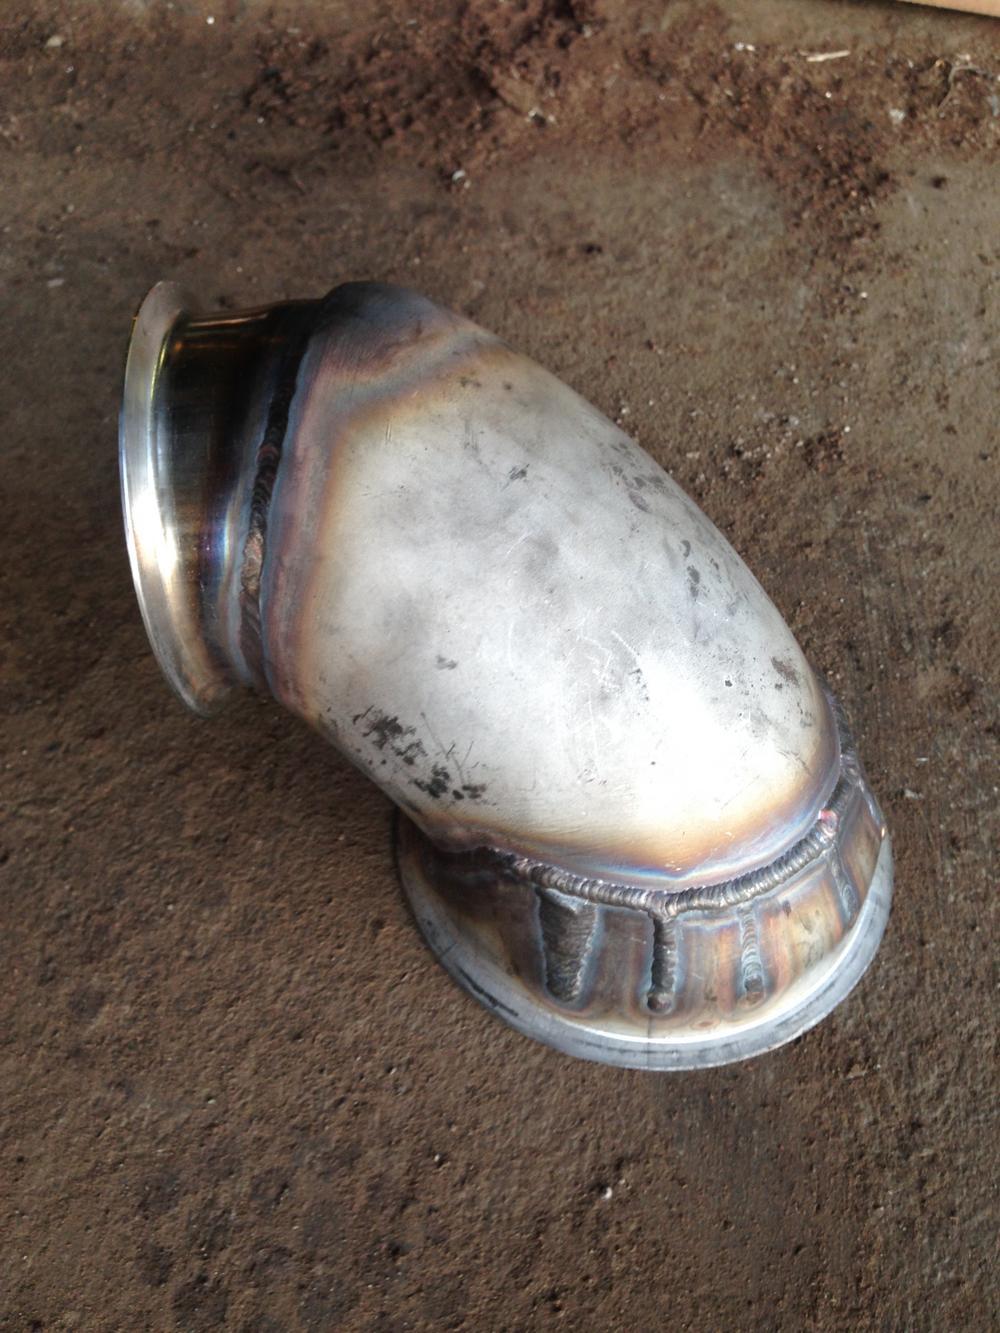
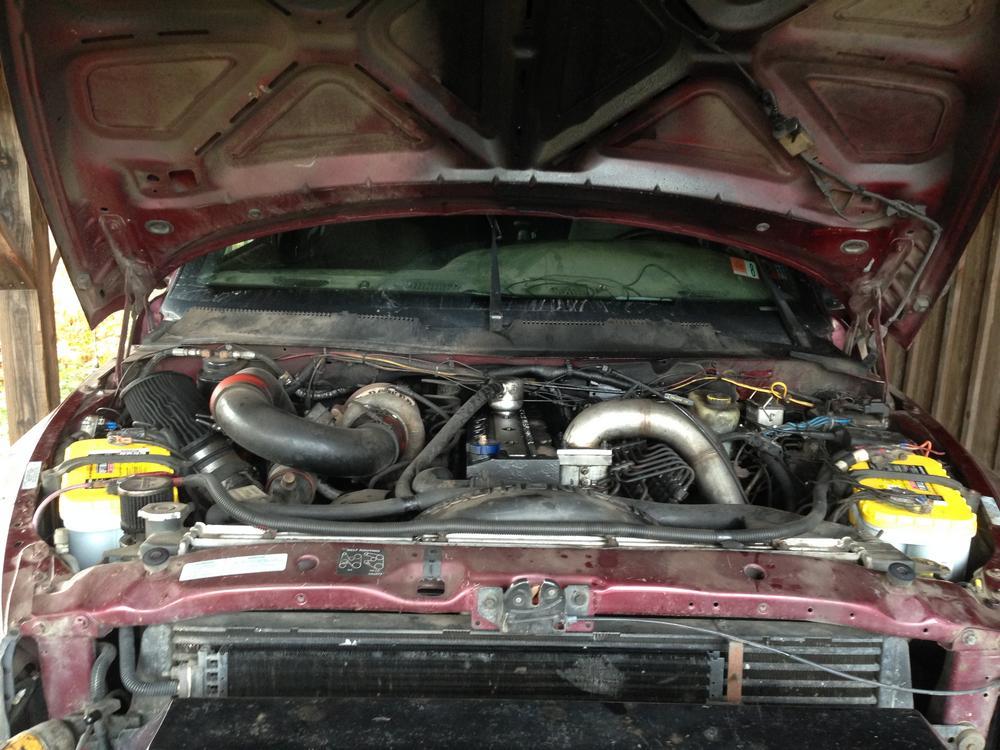
Primary turbo + exhaust brake
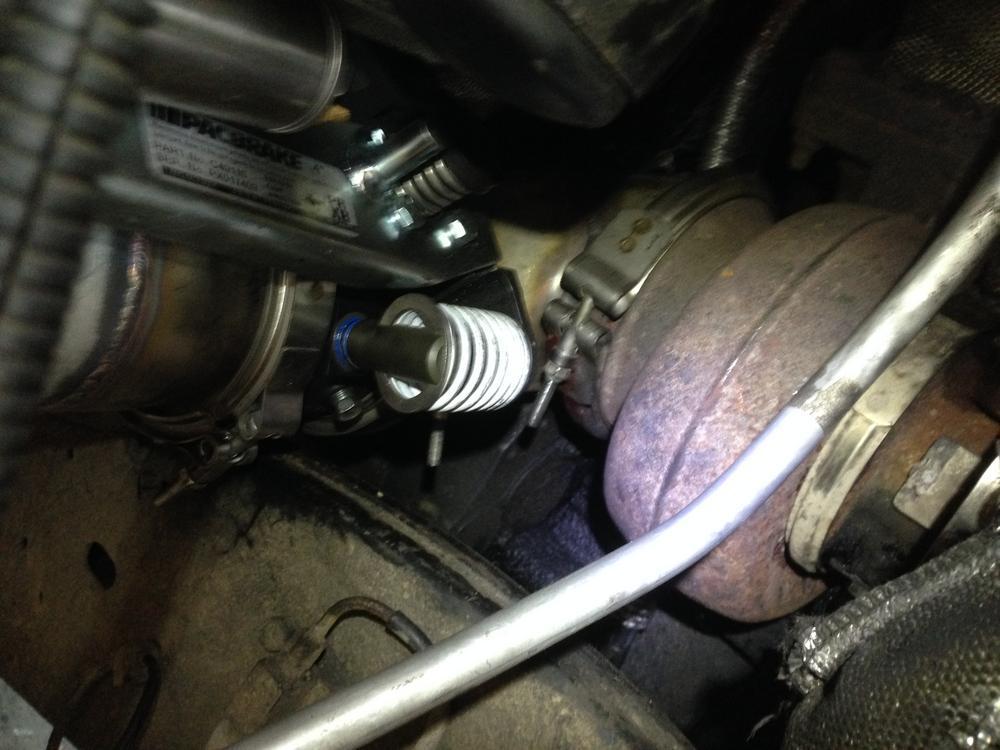
I had to put an air system on the truck so I upgraded to an air actuated exhaust brake.
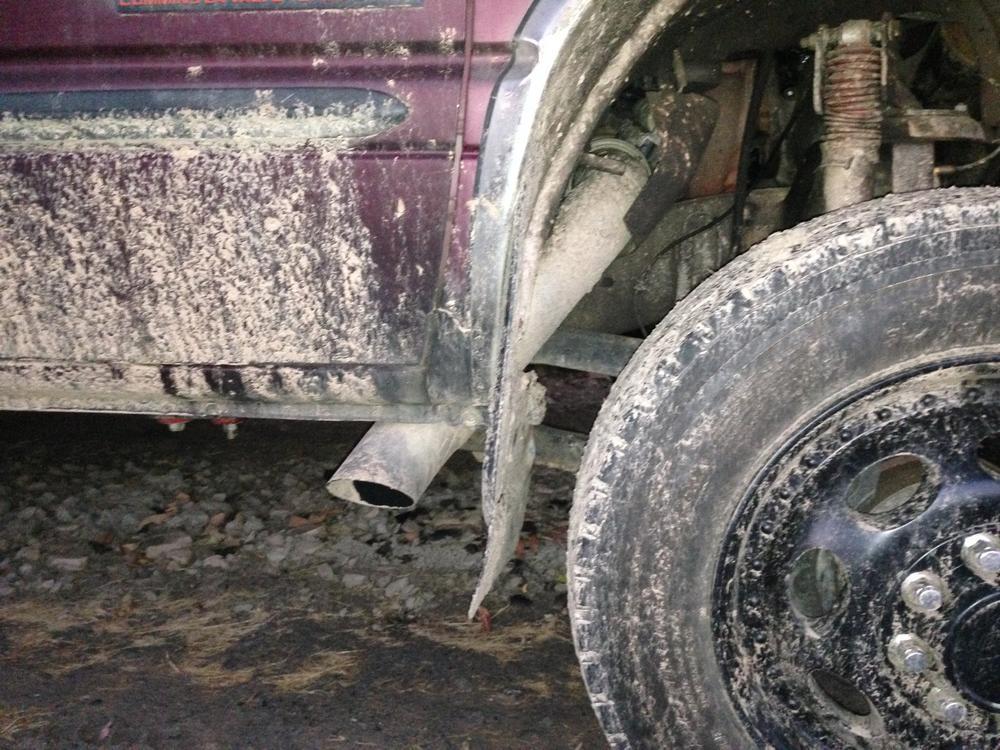
Modified exhaust
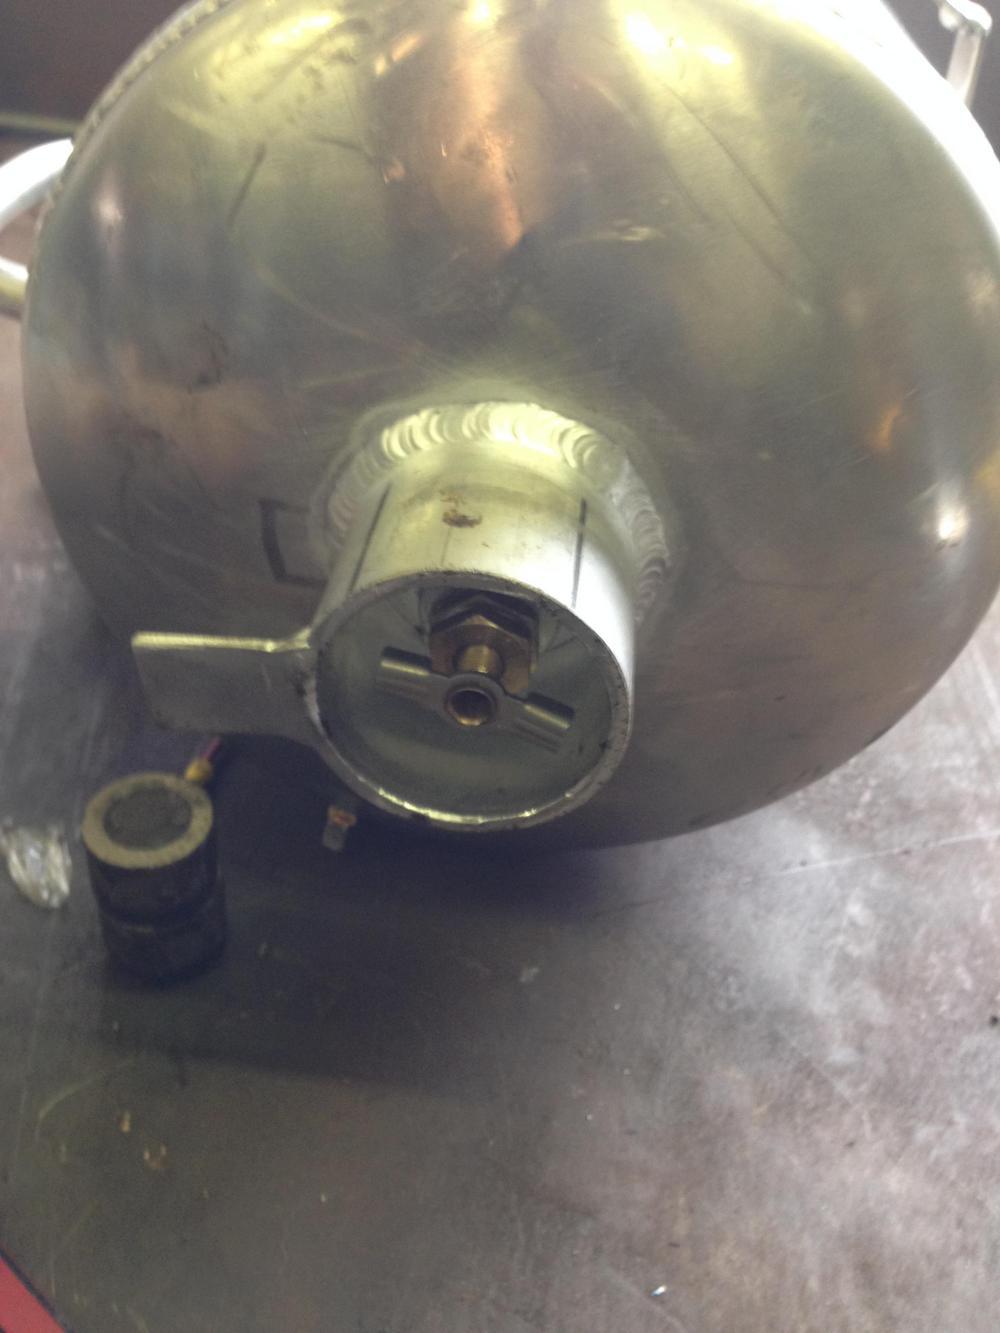
The tank for the air system
The air system runs the transmission, exhaust brake, horn, air suspension and air ride seat.
Desiccant air dryer

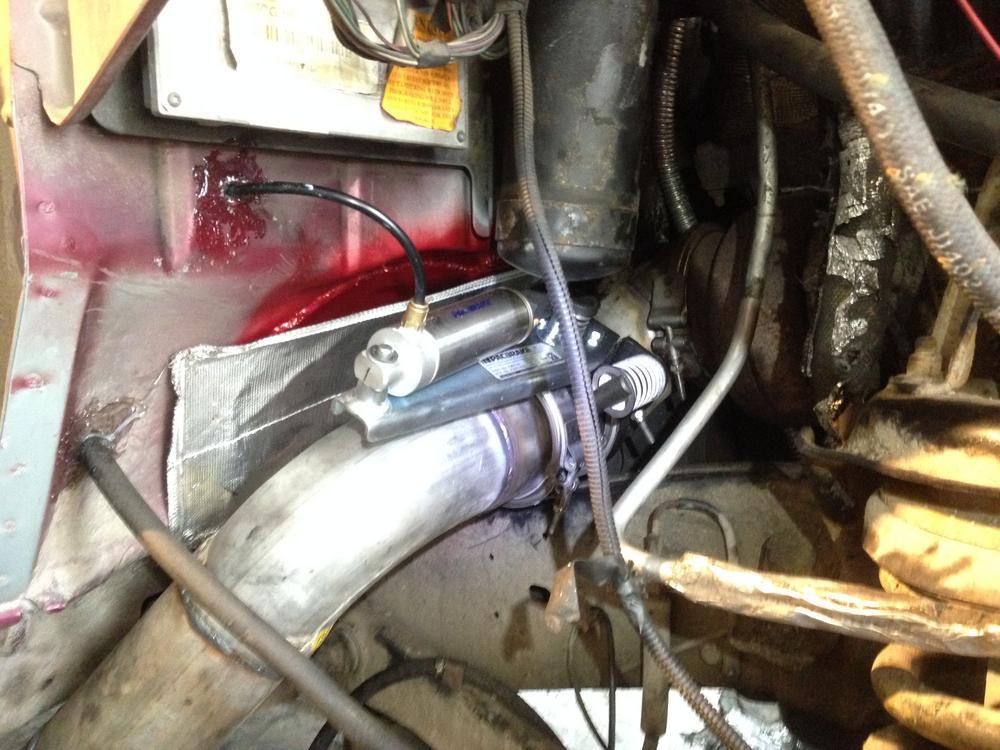
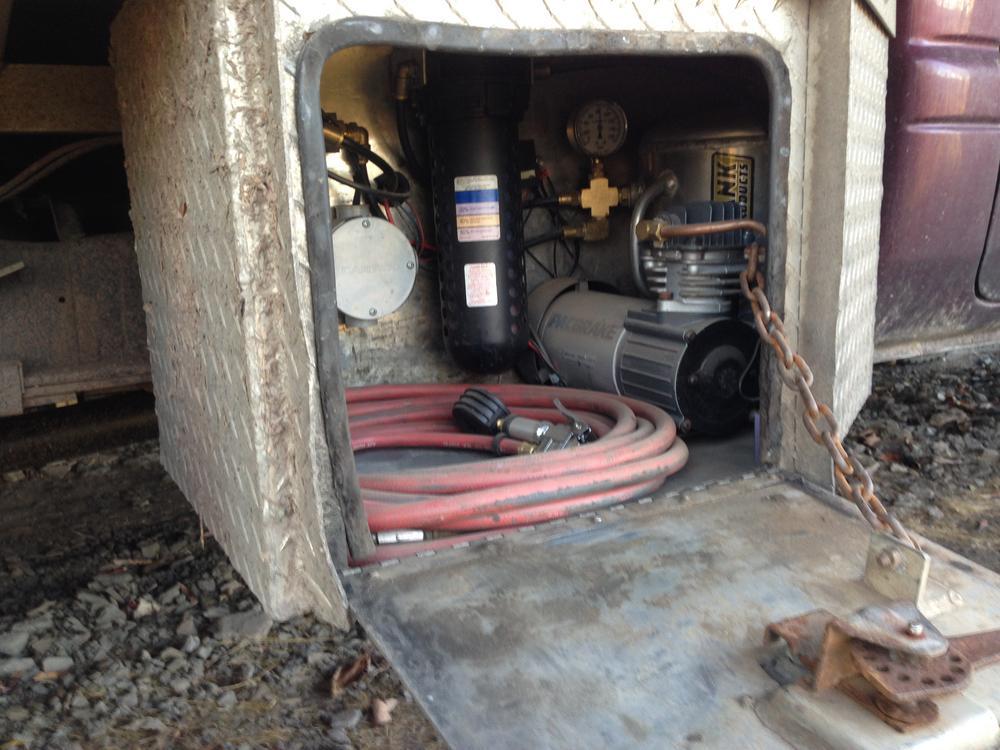
Air system installed
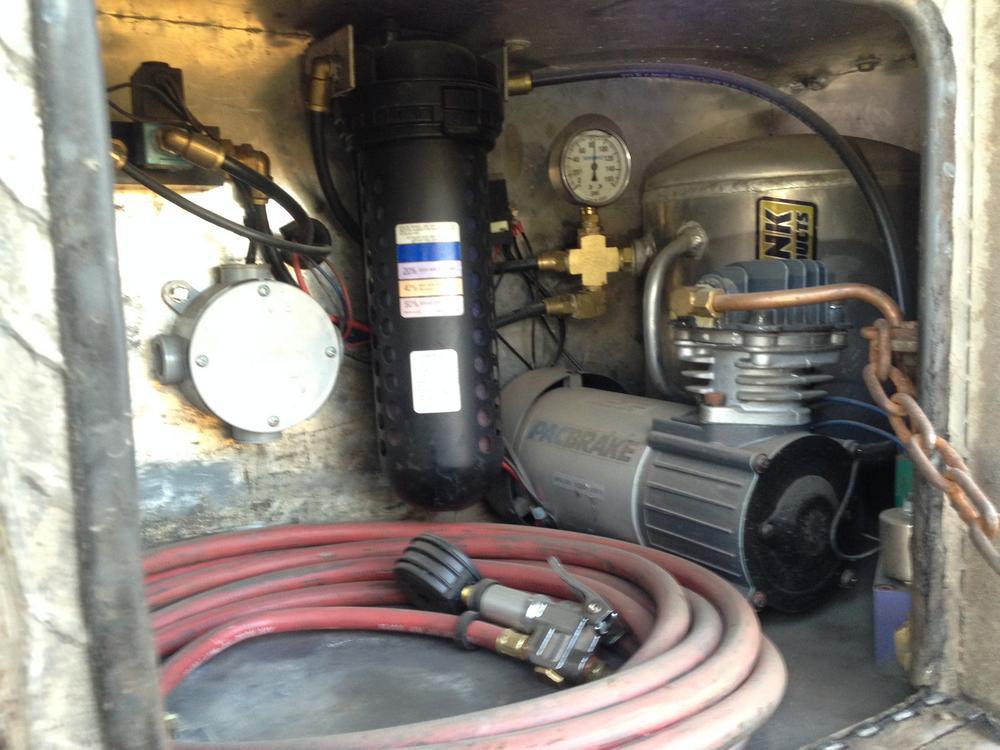
Air system installed
I had to upgrade to Optima Yellowtop batteries to run everything.
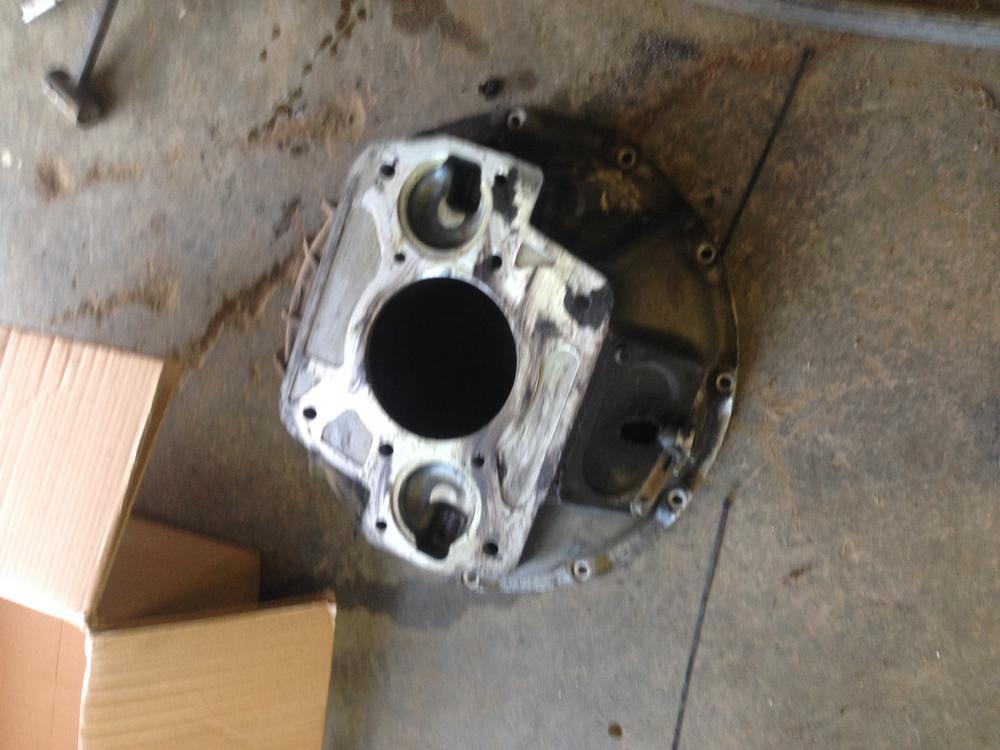
Stock RR bellhousing
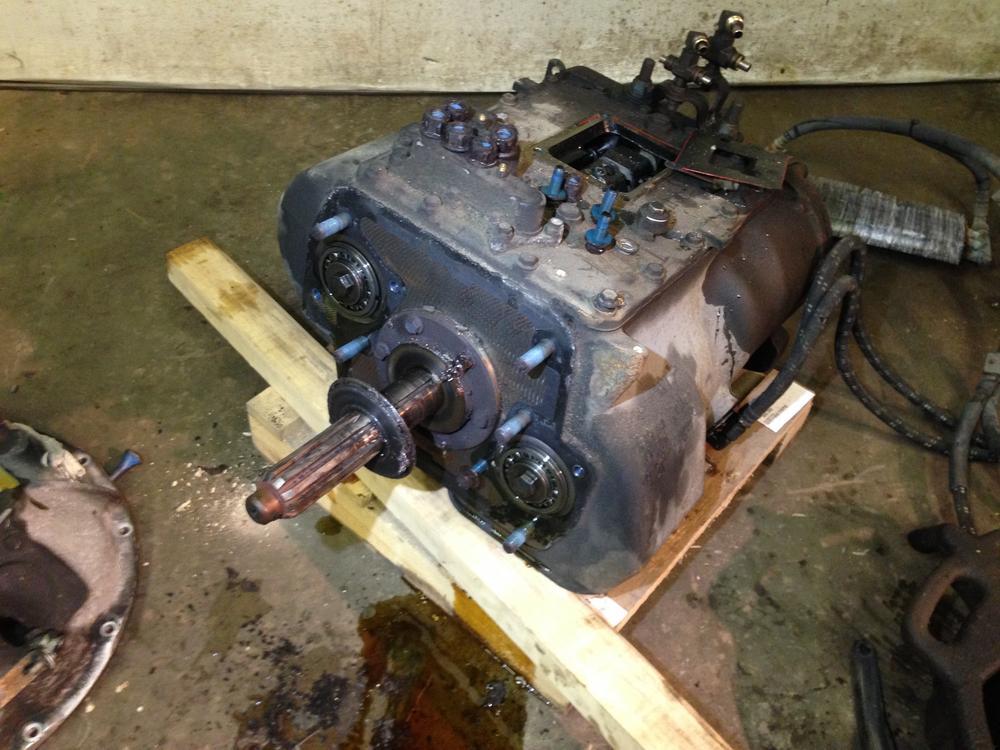
Road Ranger transmission
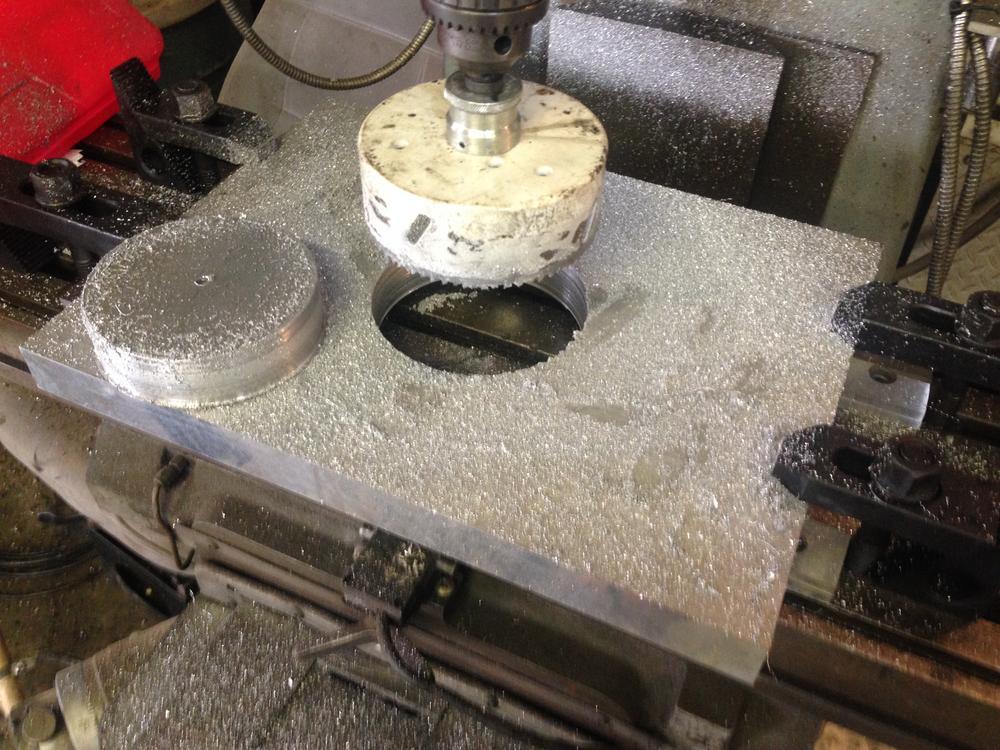
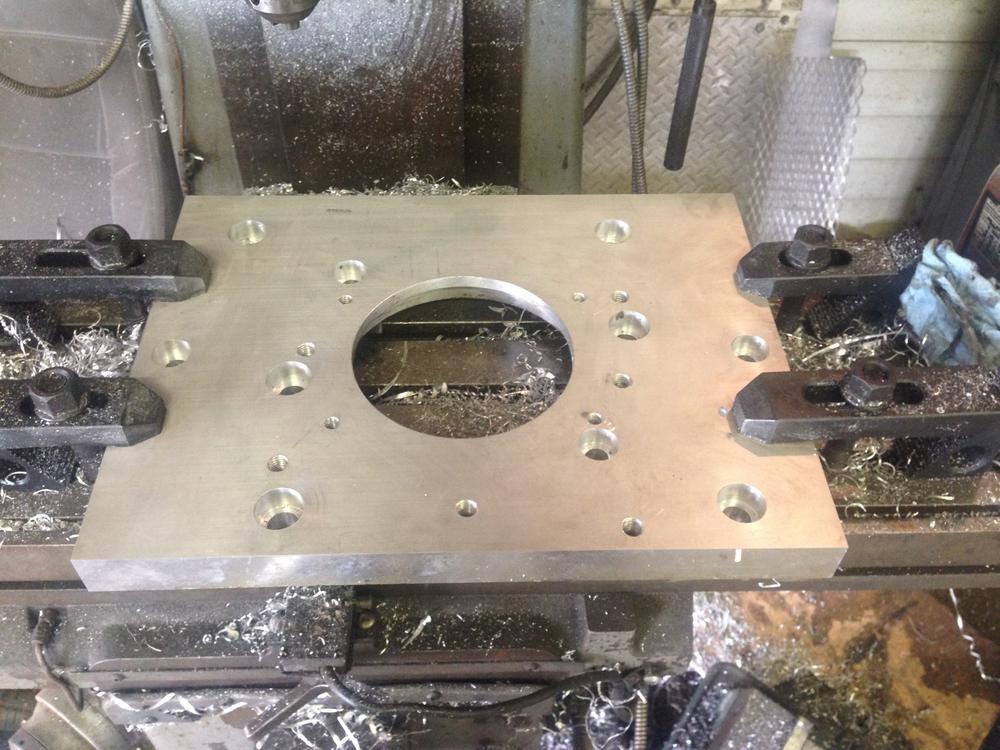
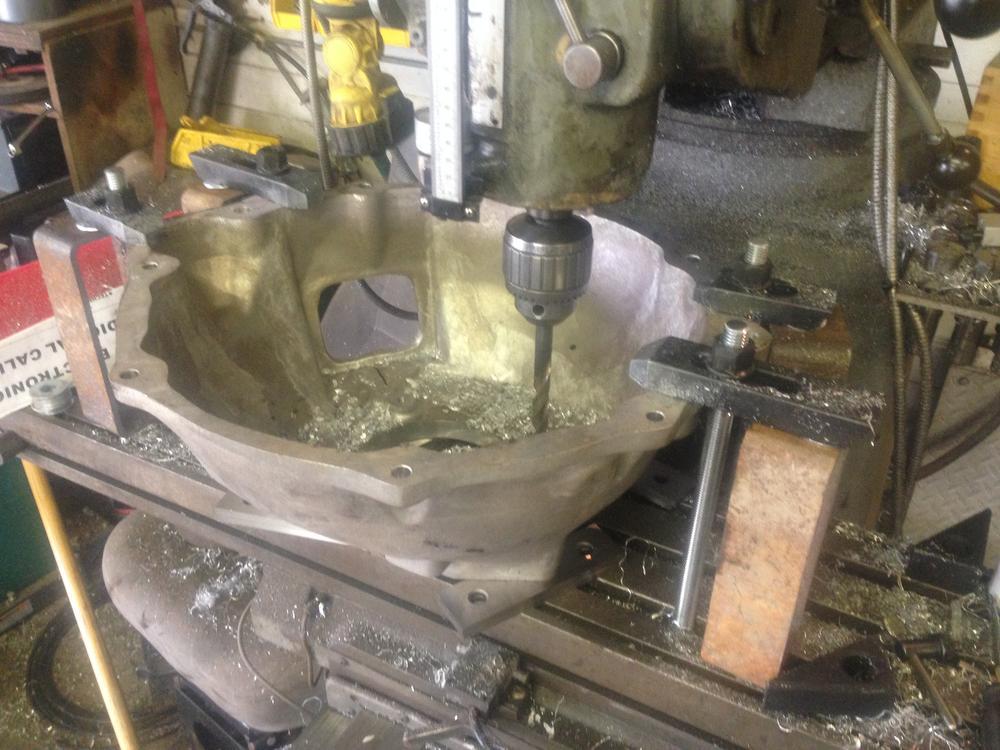
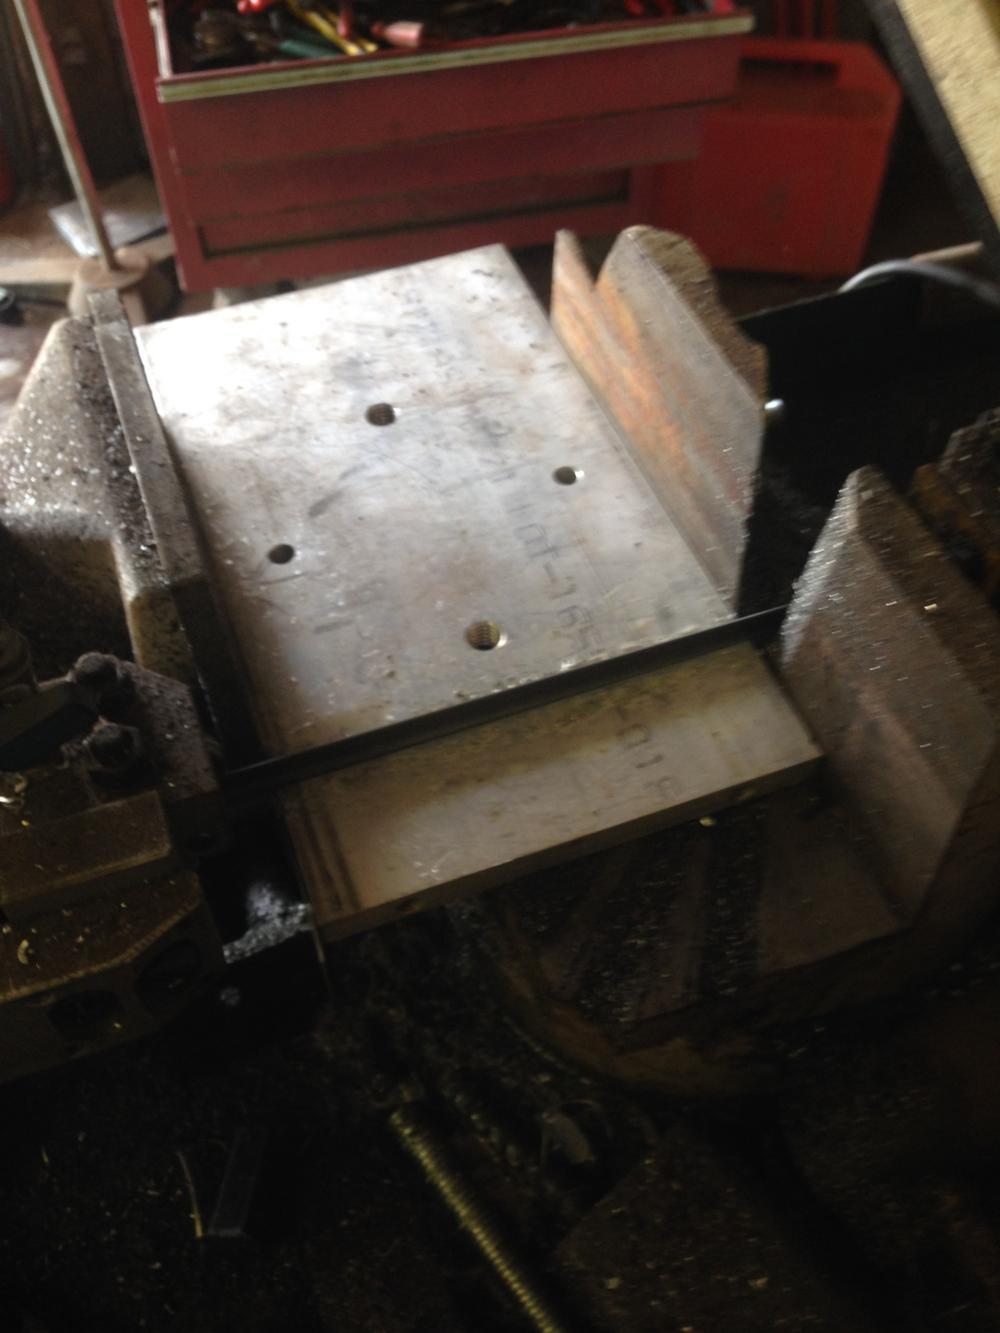
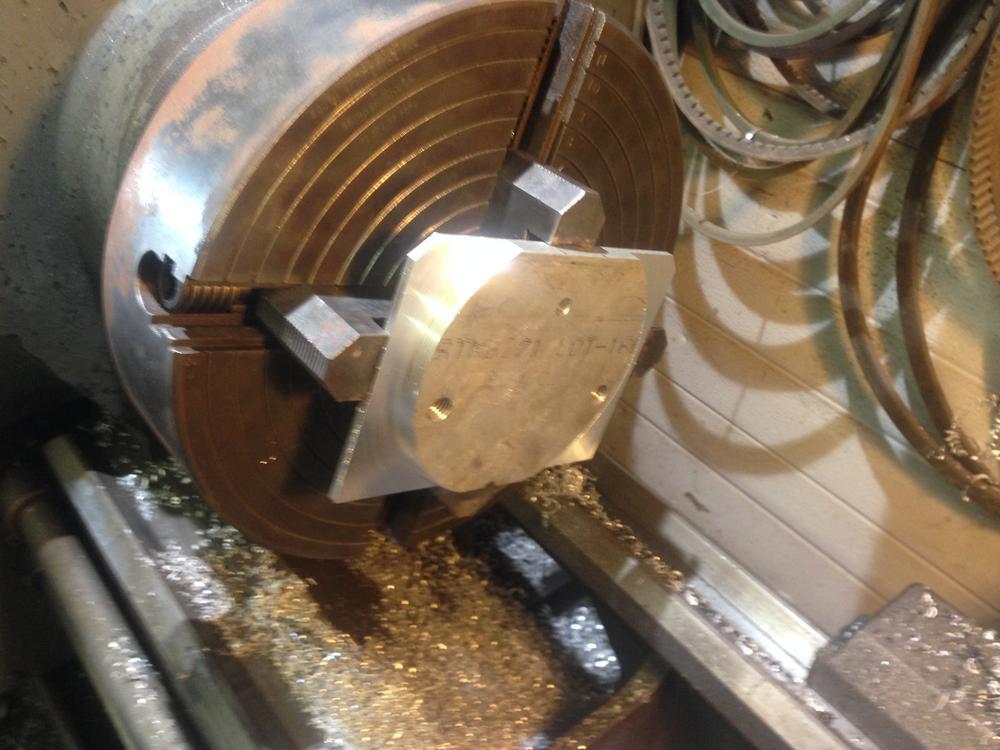
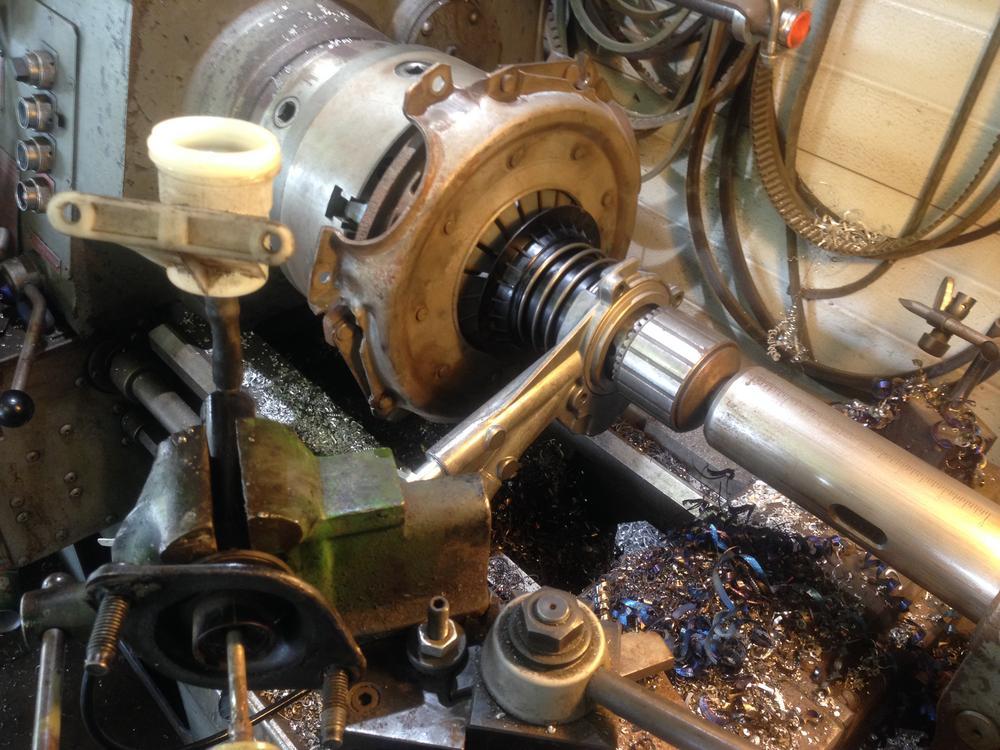
Beginning milling the adapter plate
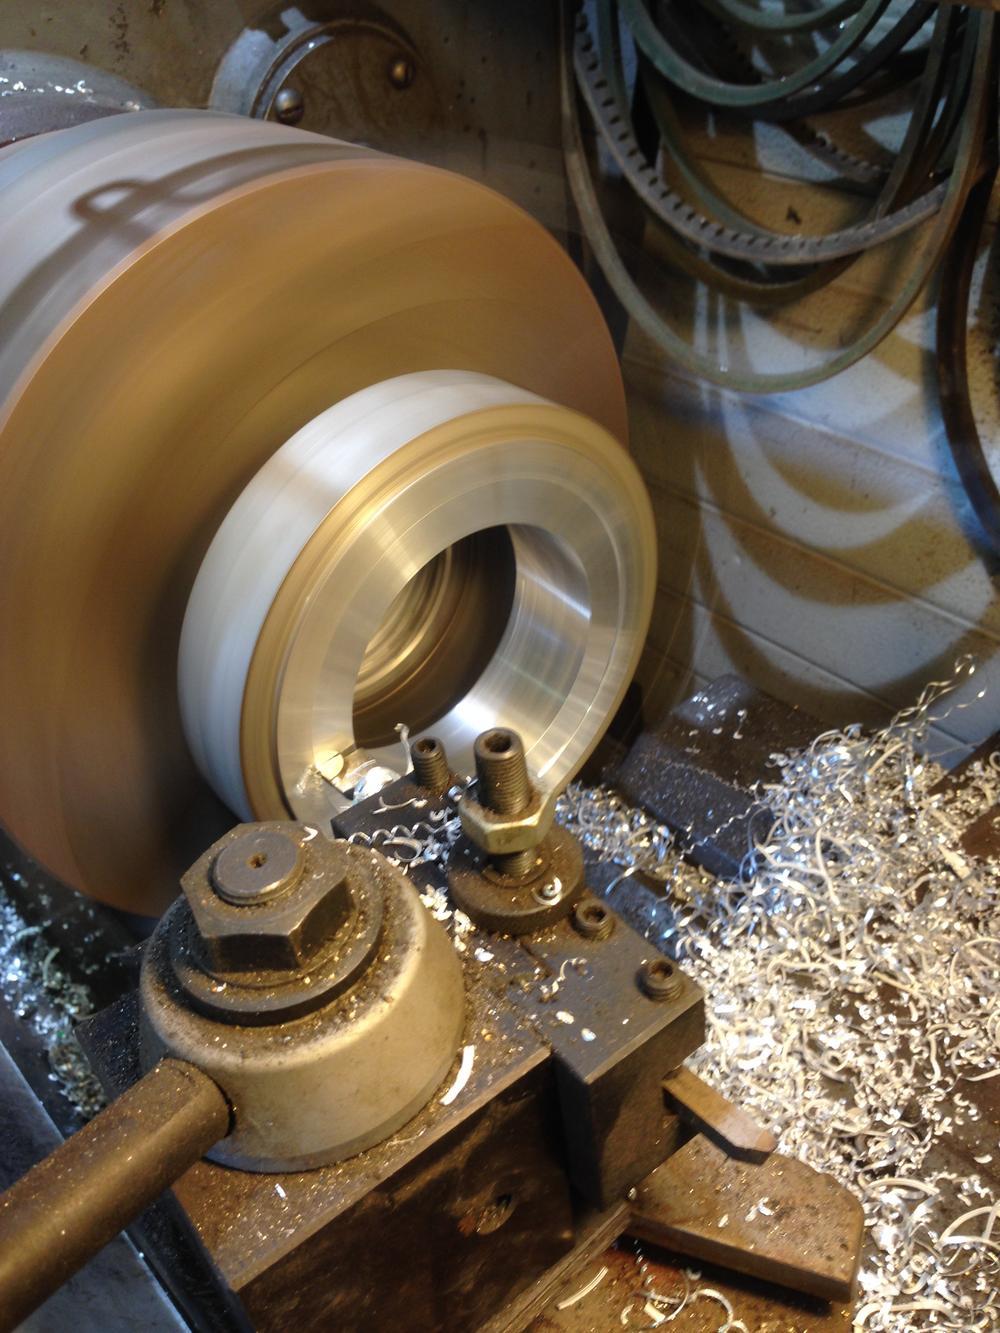
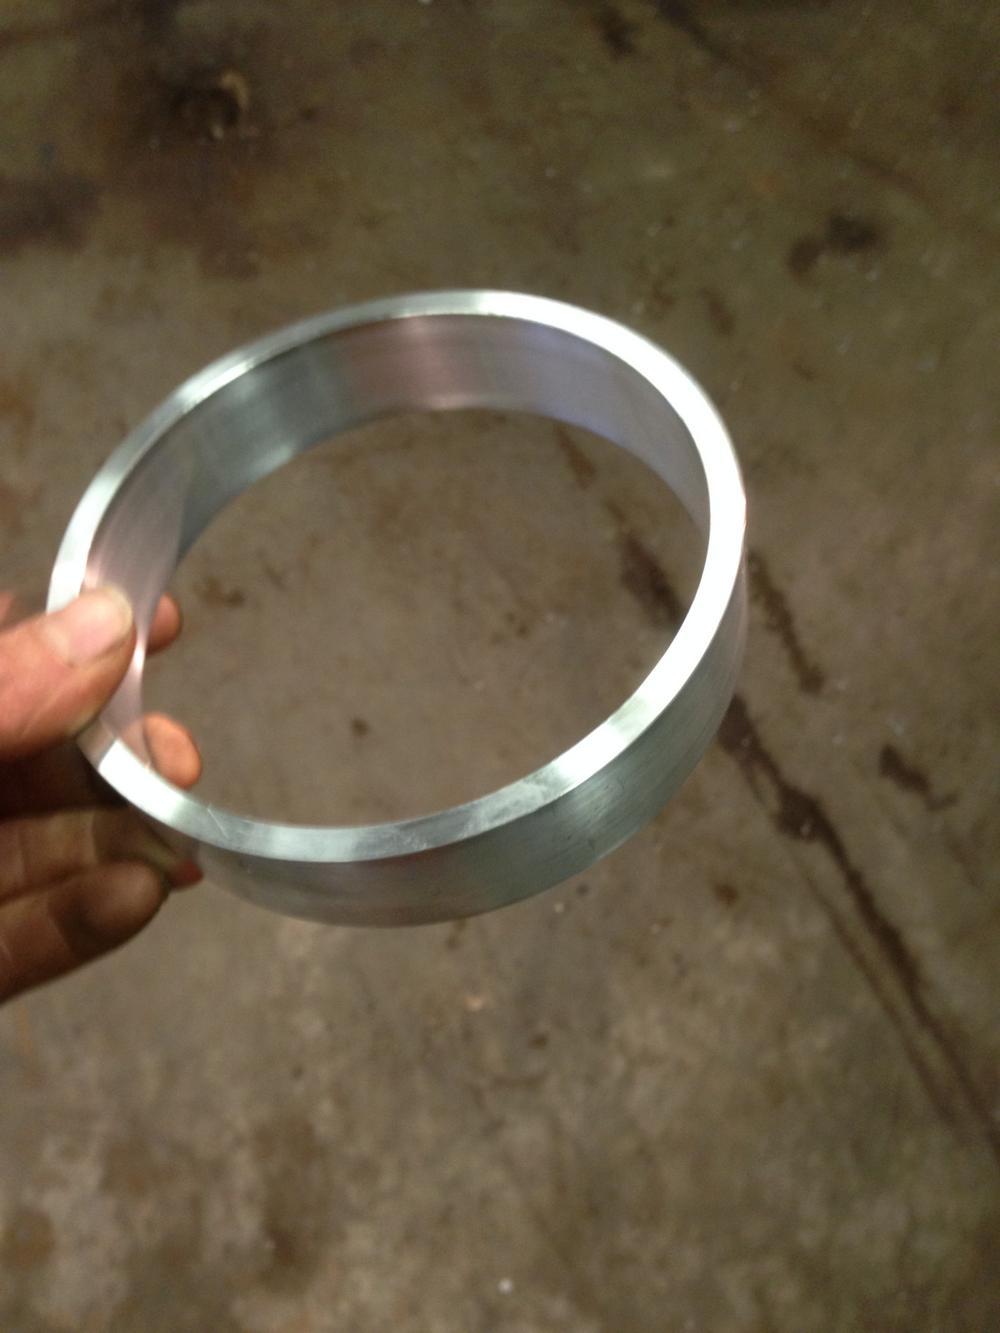
Turning the adapter ring
Adapter ring
Adapter ring + dodge bellhousing
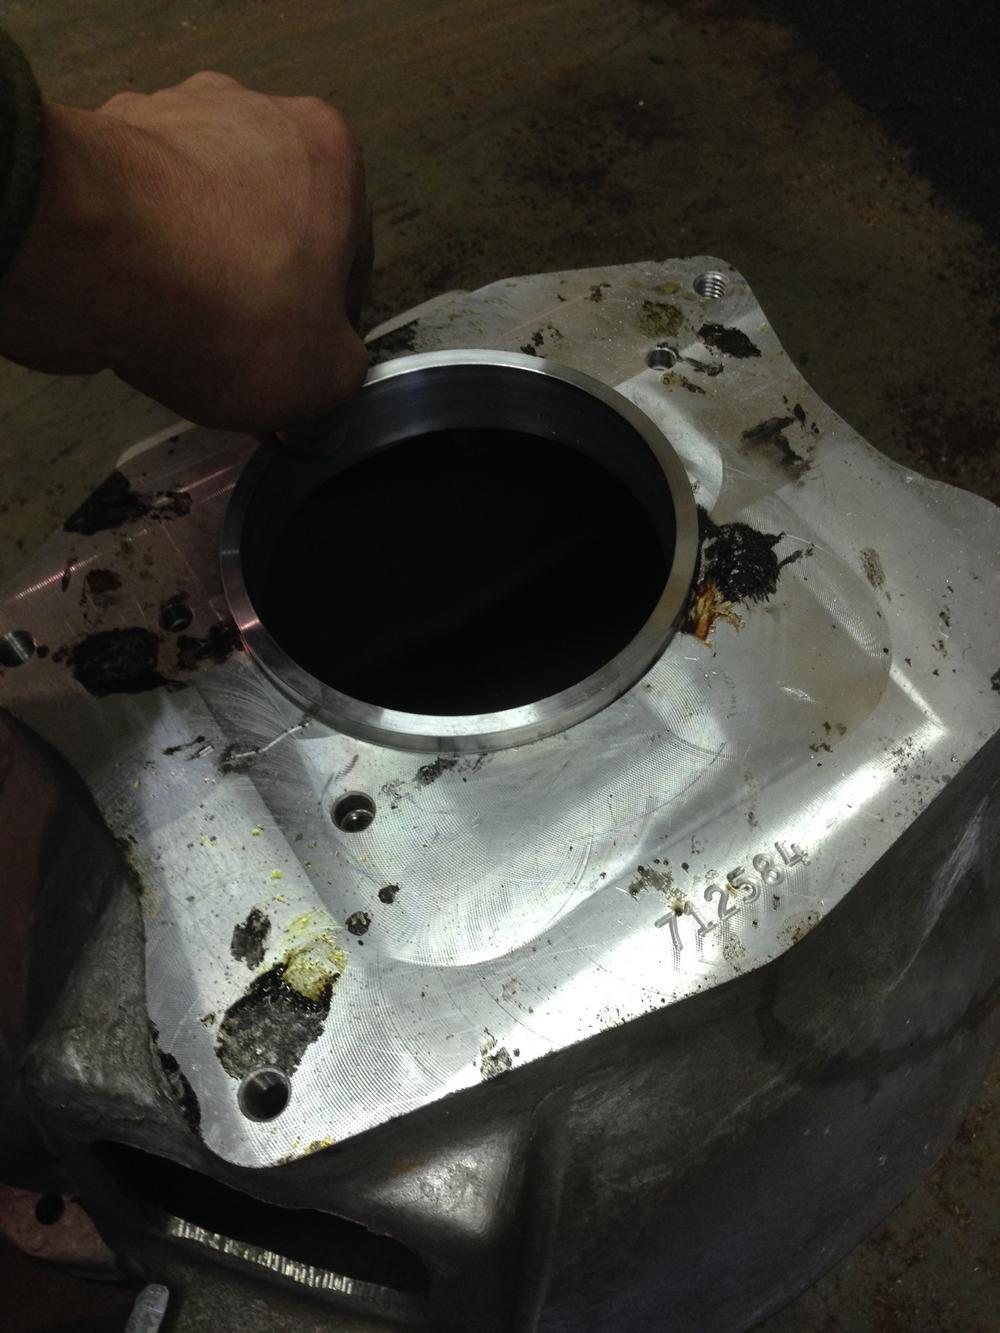
Adapter ring + adapter plate
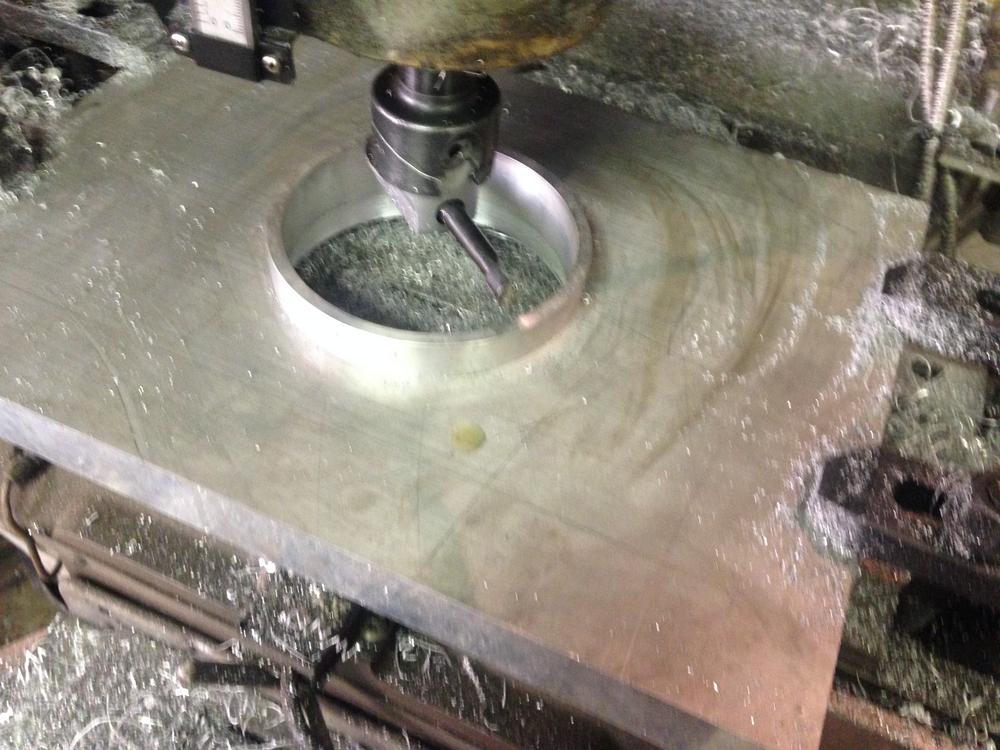
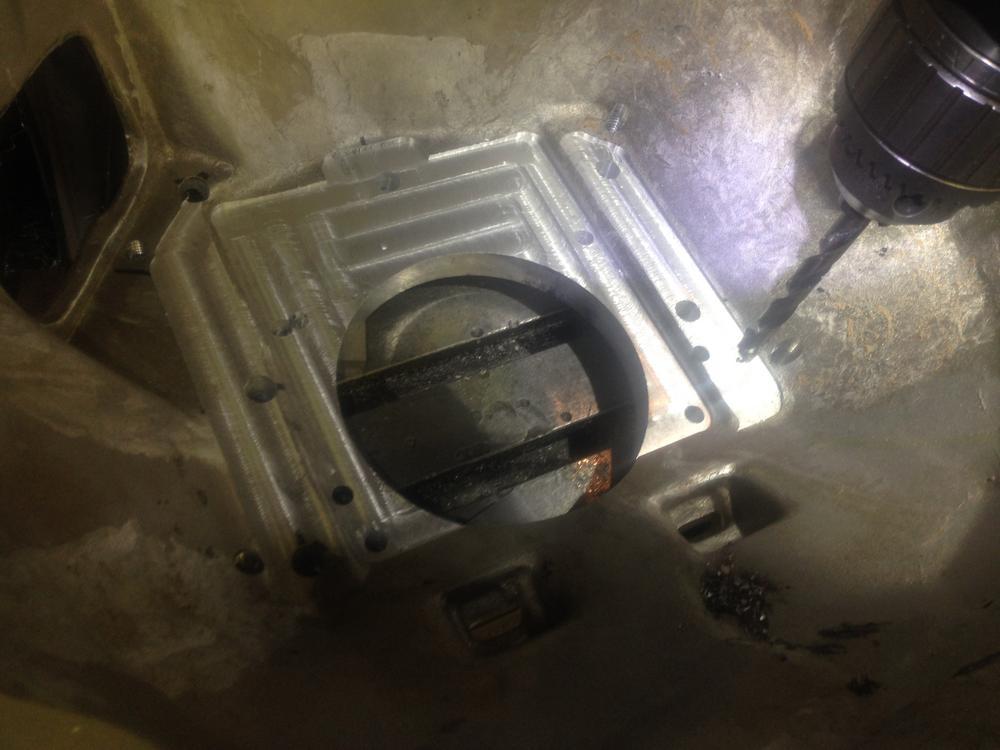
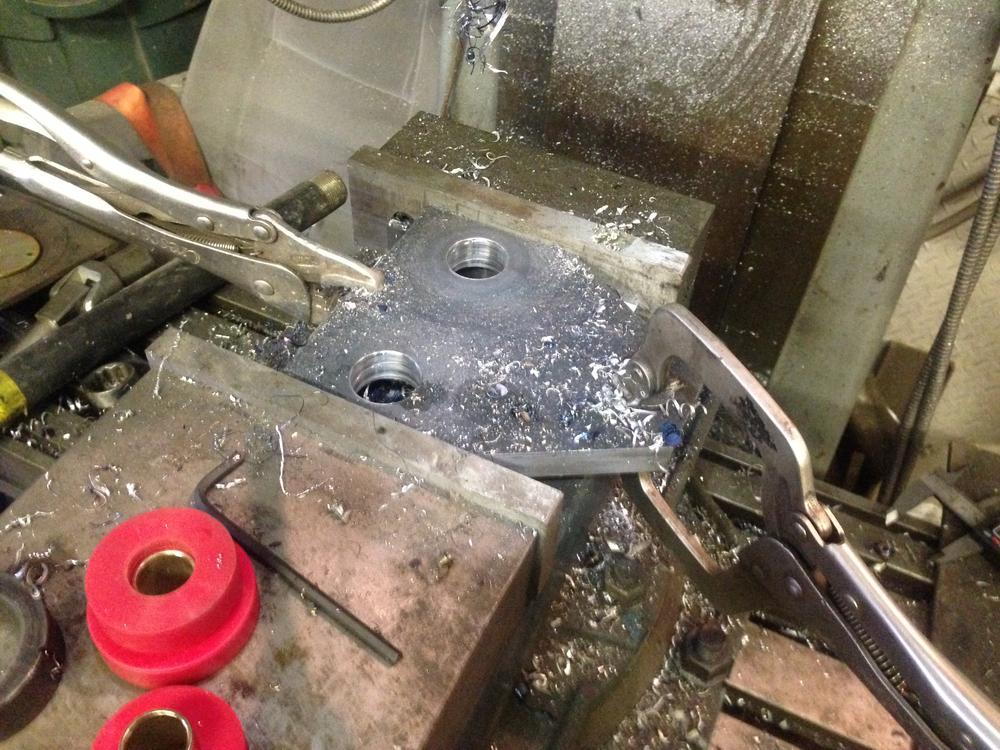
Step bored pockets for the twin countershafts in the back of the adapter plate
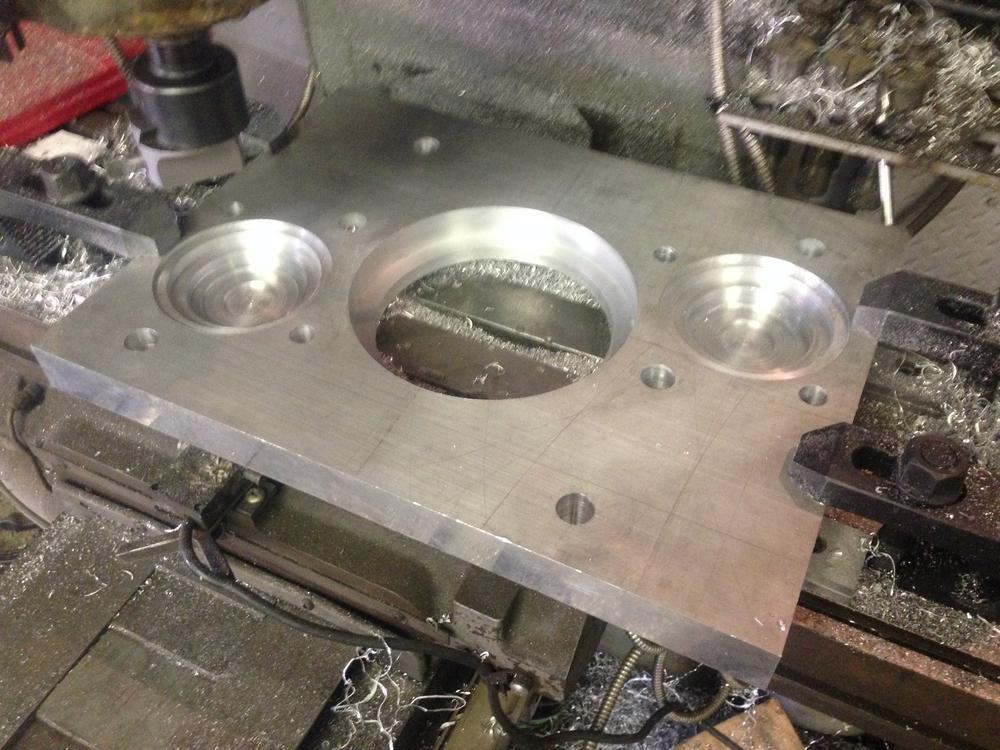
Front of adapter plate
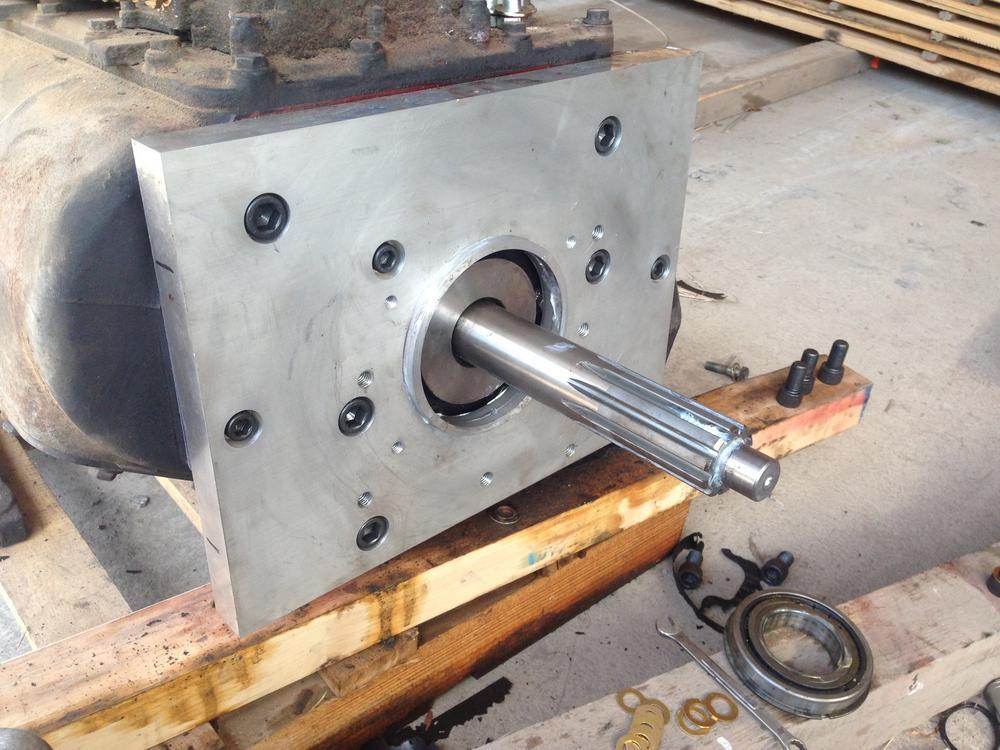
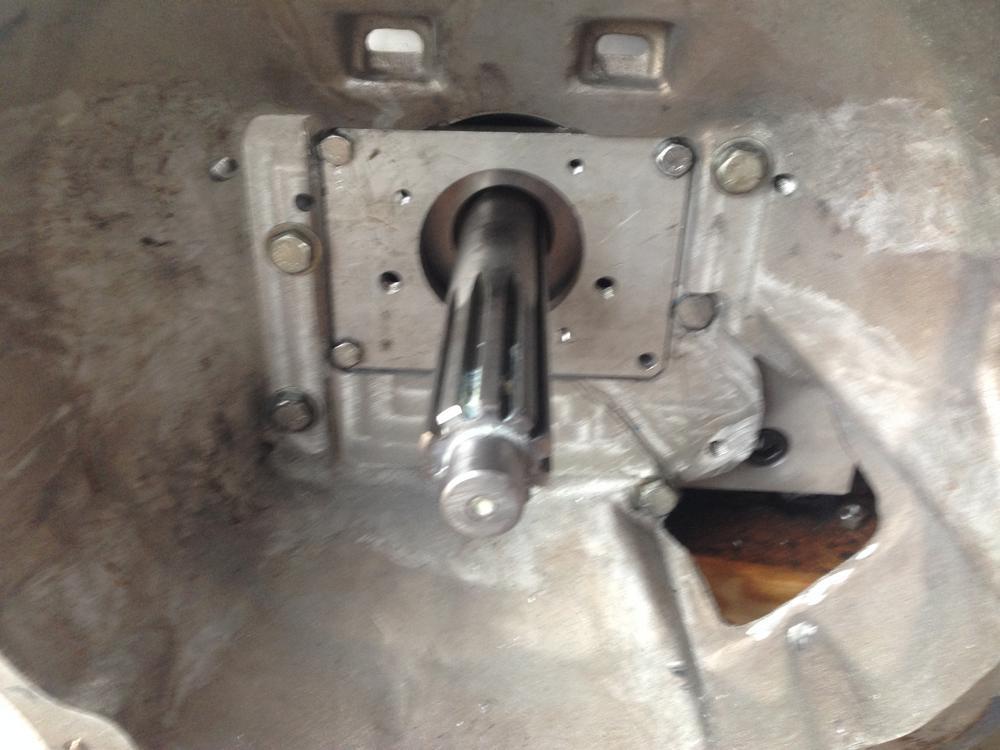
Adapter plate installed
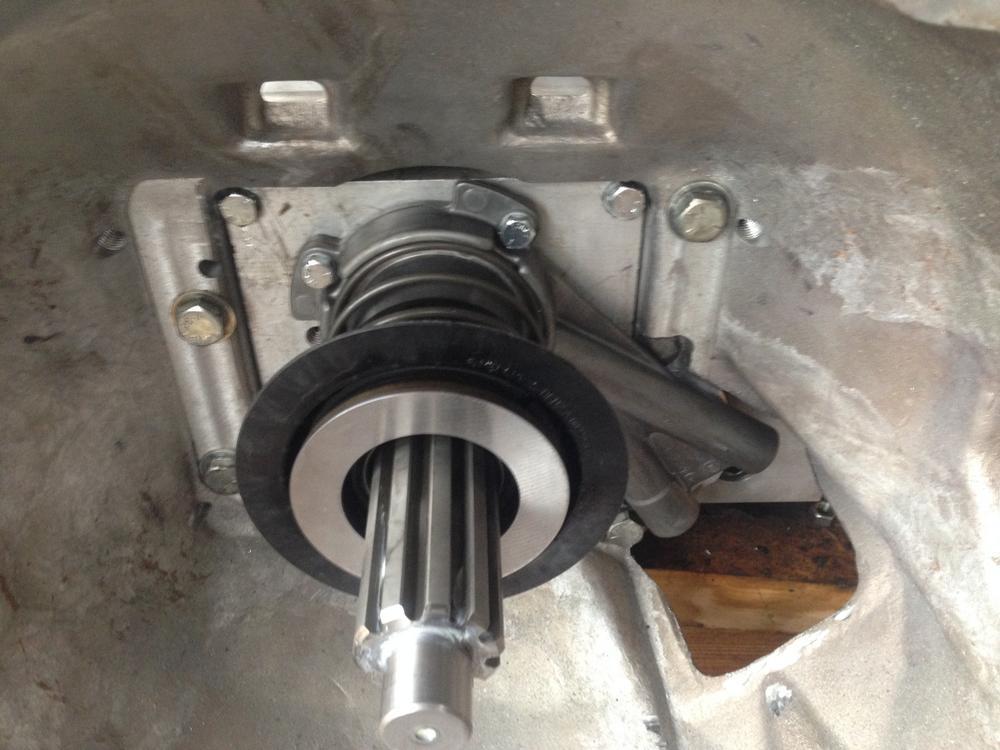
Adapter plate + adapter ring installed
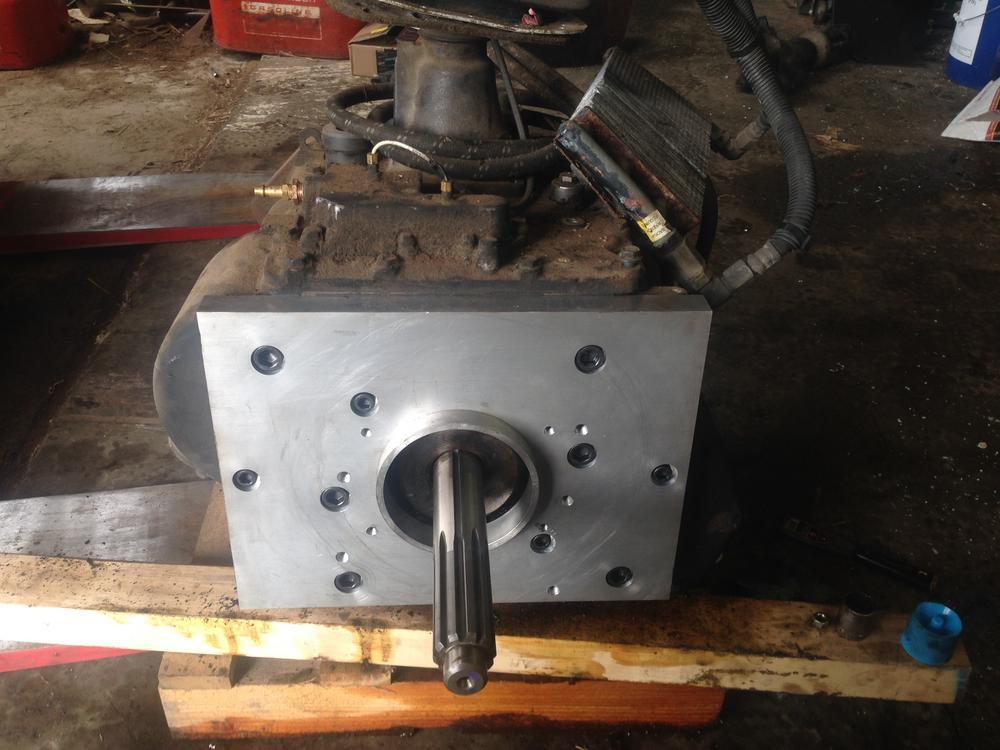
Adapter plate + adapter ring installed
Milling the dodge bellhousing
Milling the dodge bellhousing
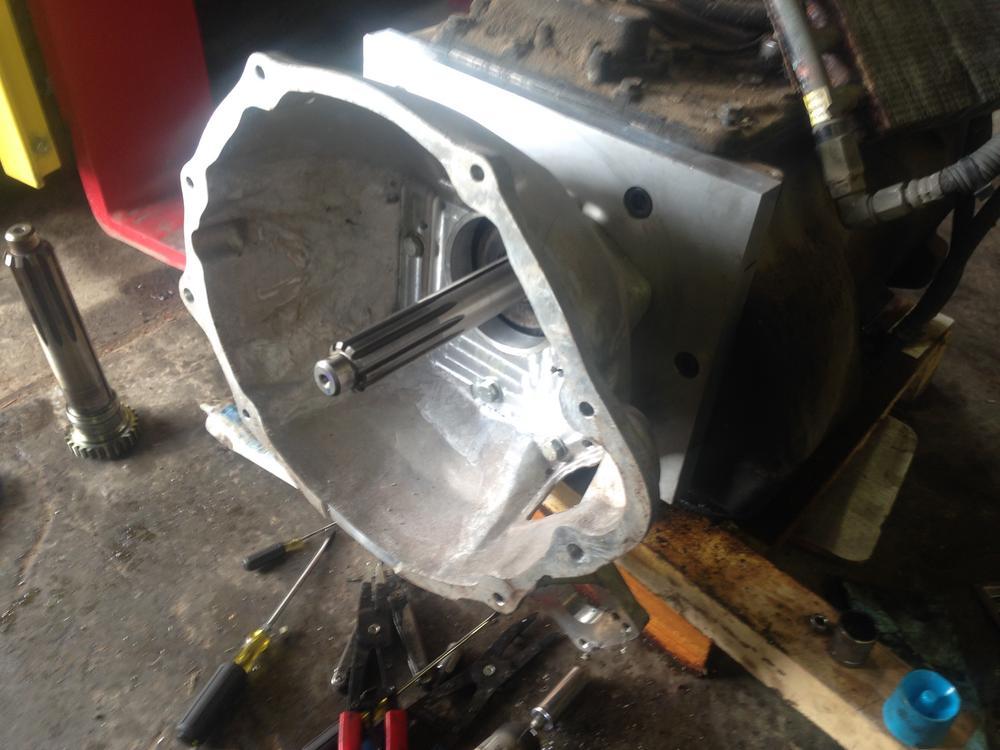
Dodge bellhousing installed
I bought a nv4500 bellhousing from advanced adapters for the project
Concentric slave cylinder mount
Turning concentric slave cylinder mount
Concentric slave cylinder mount
Concentric slave cylinder mounted
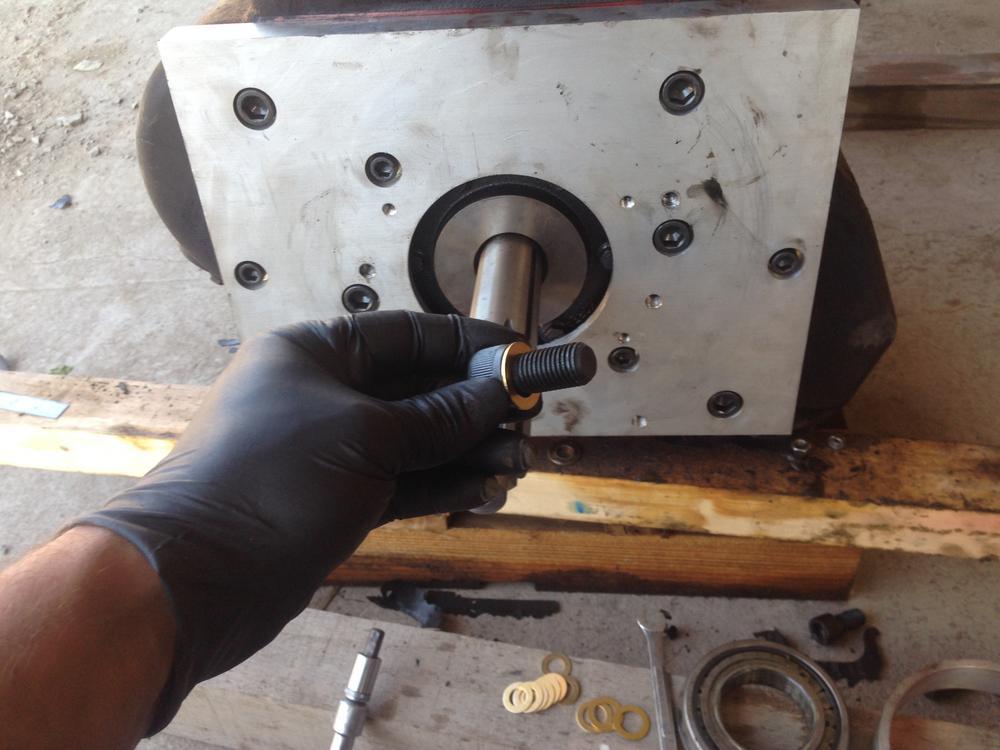
I had to do a lot of research to find this slave cylinder, but it really simplified this conversion. It's out of a Mercedes Atego. I found an 1.750” input shaft for this transmission and had one of the techs at South Bend Clutch send me new set of clutch disks with 1.750” hubs in them. The input shaft had to be shortened, and I had to machine the flywheel to fit a larger pilot bearing.
I was really impressed with the service from South Bend.
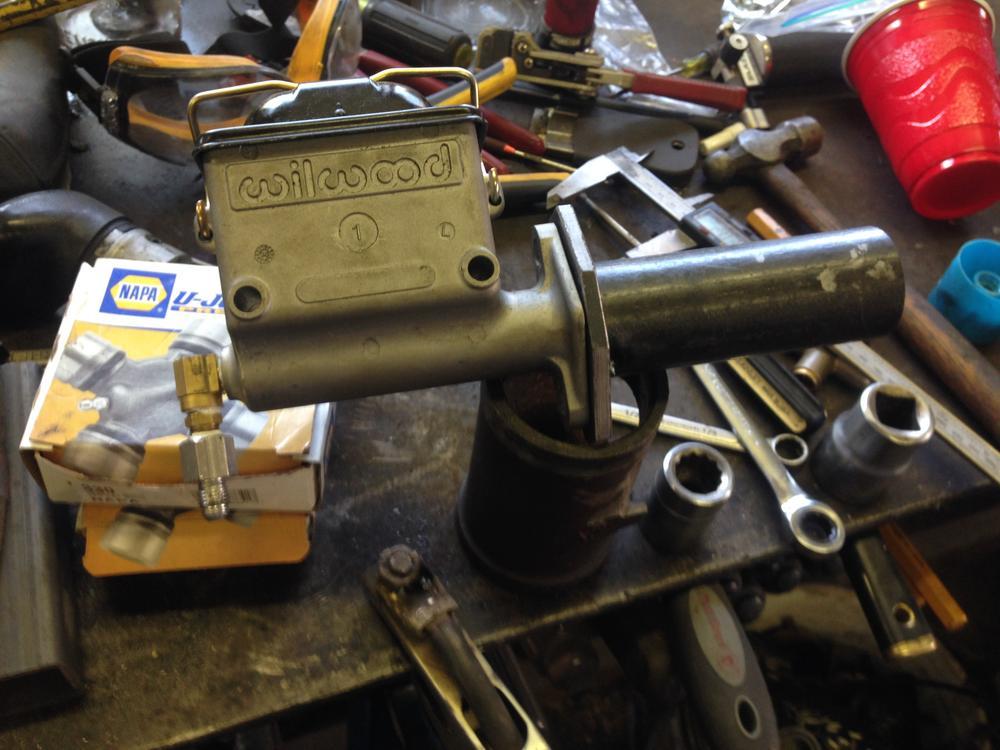
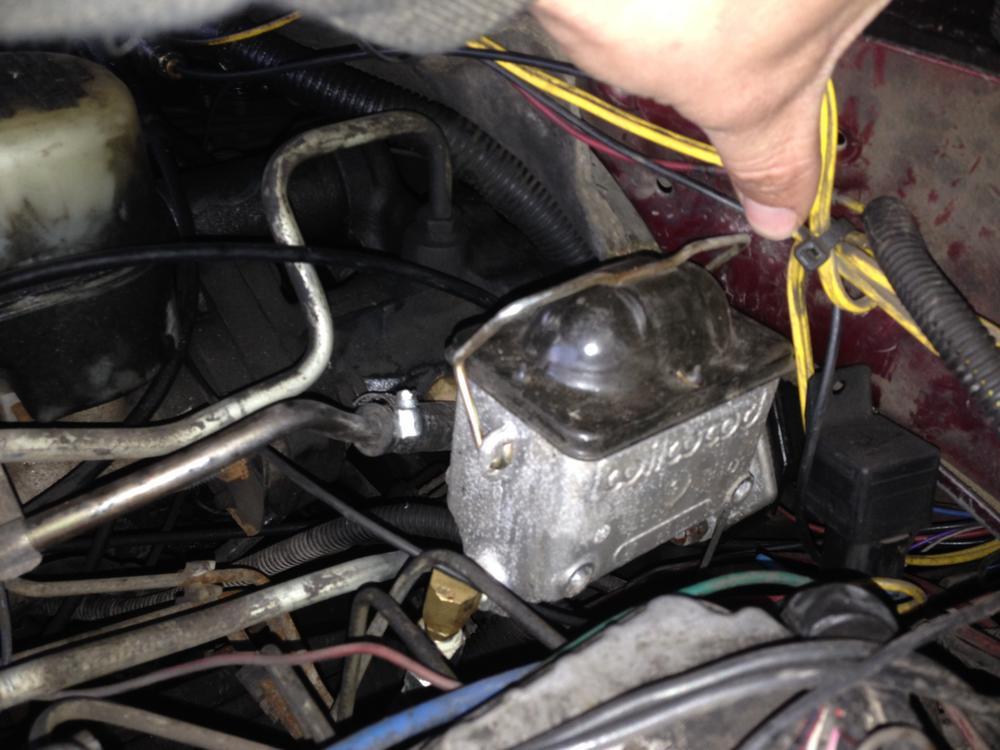
When I got the slave cylinder I had to test it with different master cylinders to make sure that it had enough throw. The stock dodge, Mercedes Atego, and high capacity tilton master cylinders all failed. The only one that I could find that put out enough fluid was the high capacity Wilwood, but it didn't fit on the firewall where the old one was so I had to make some modifications.
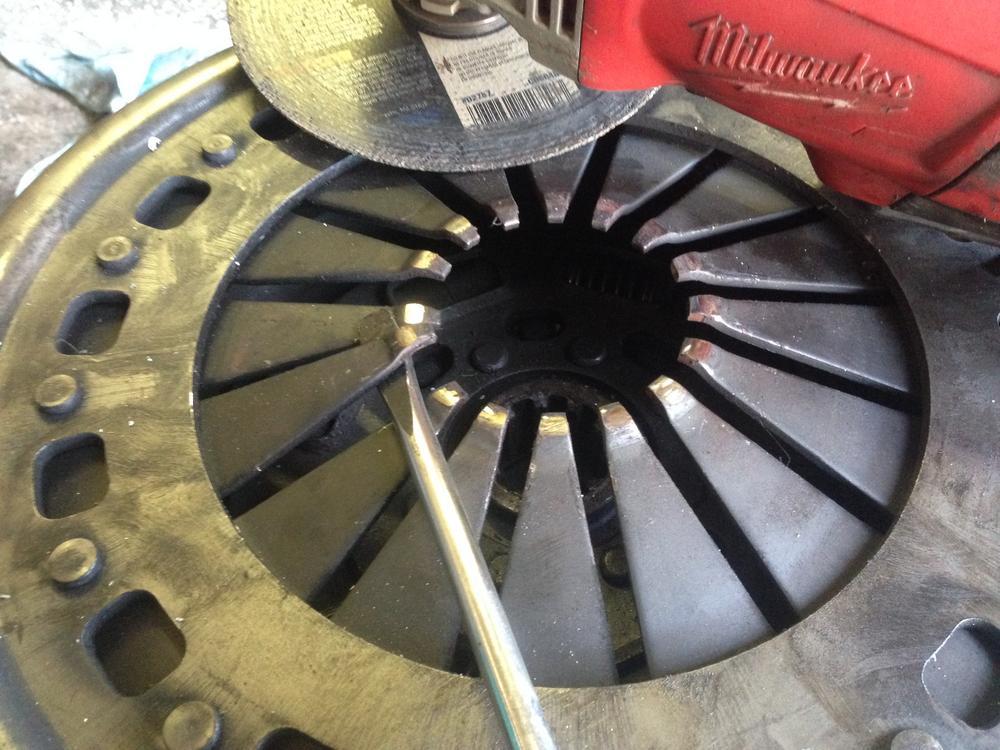
I had to take about 0.125” off of each of the fingers of the clutch diaphragm to make enough space for the input shaft.
Master cylinder adapter
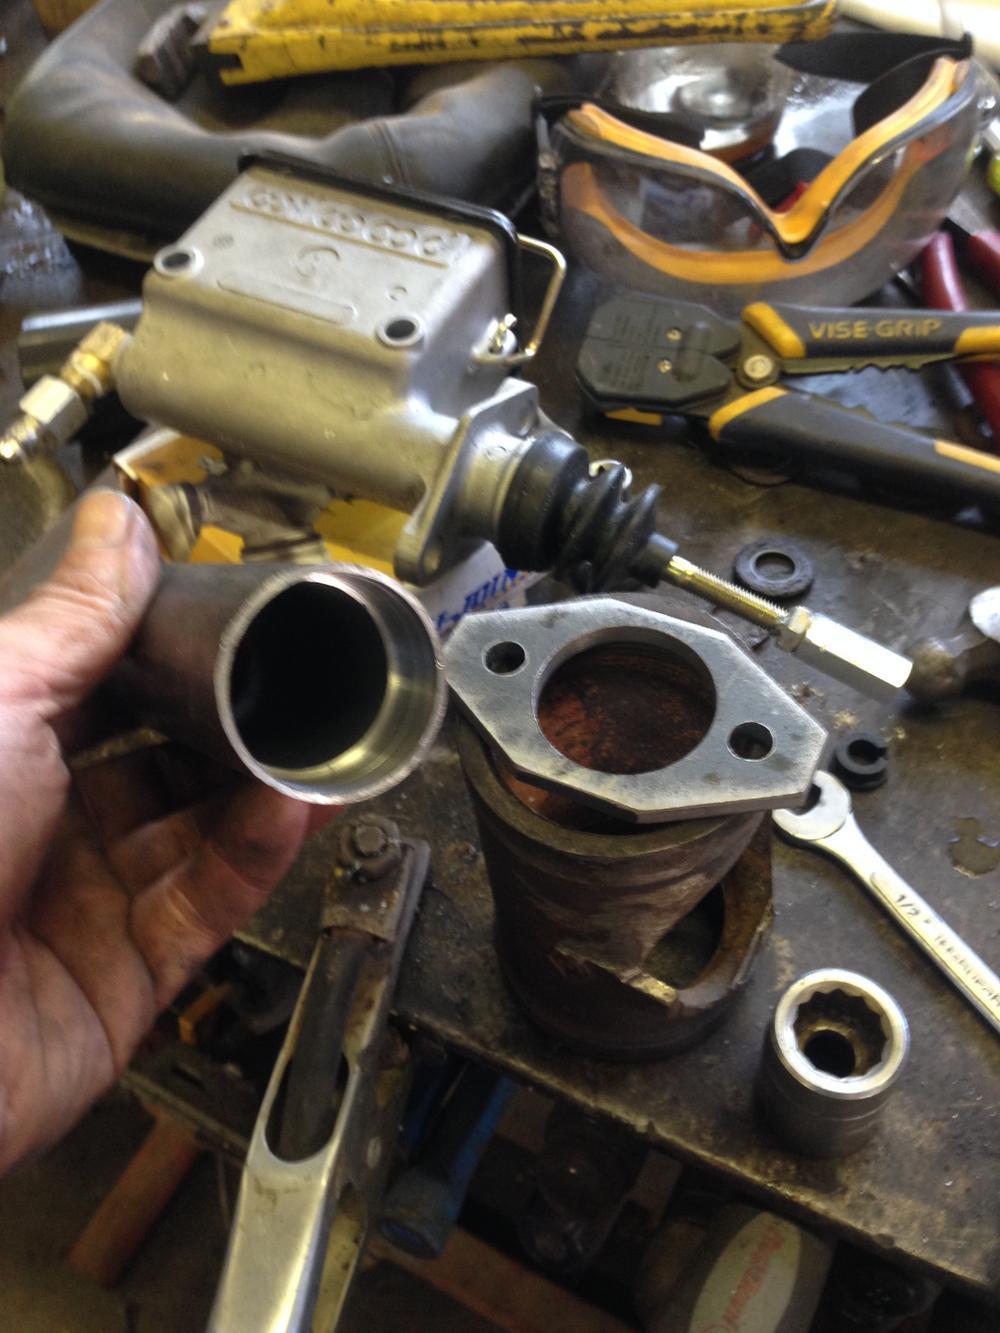
Master cylinder adapter
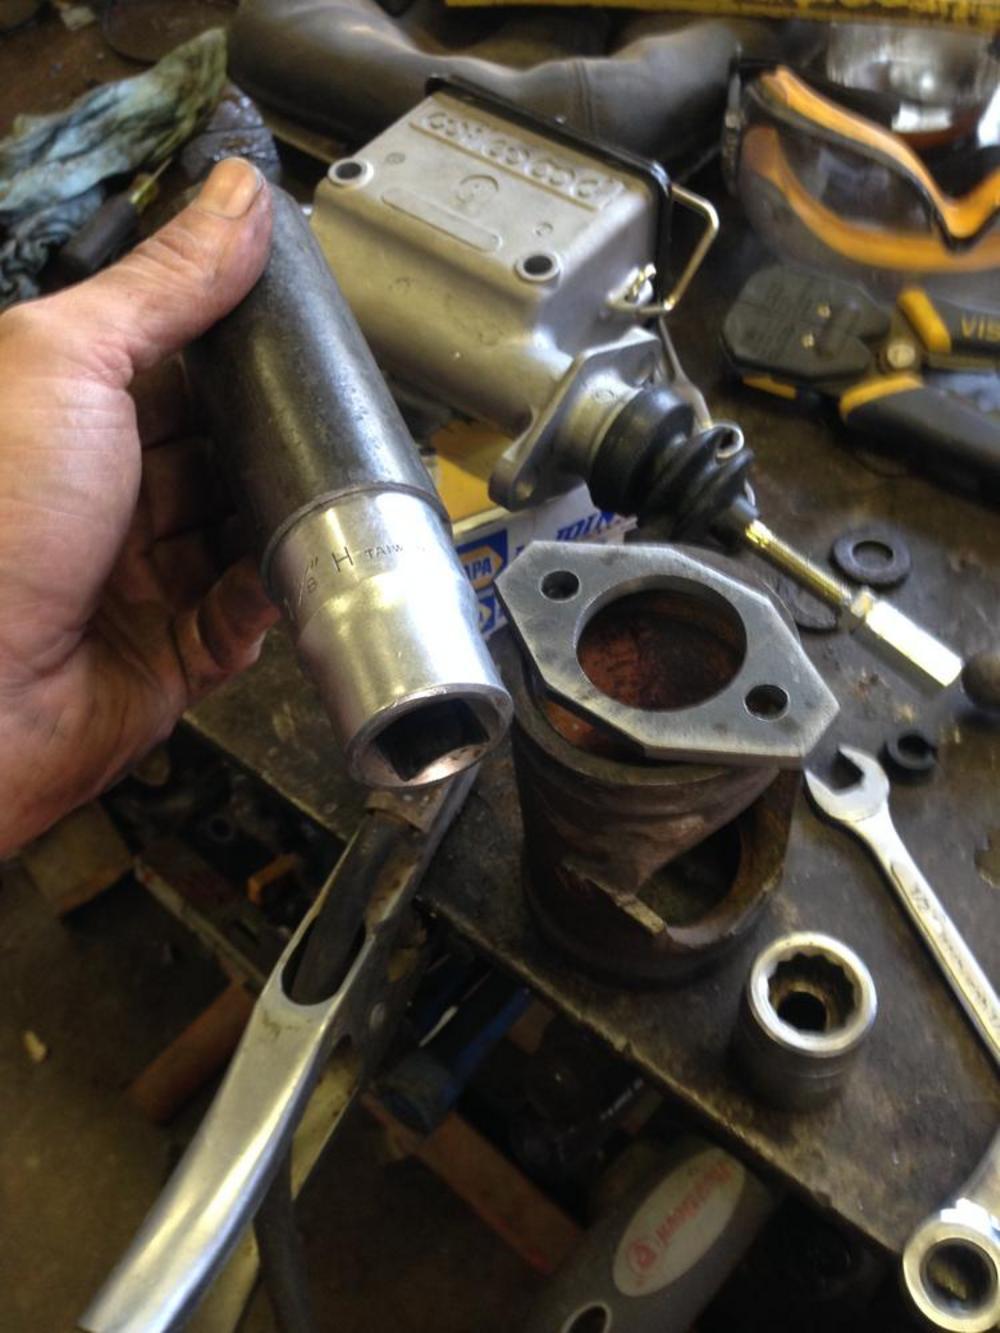
Master cylinder adapter
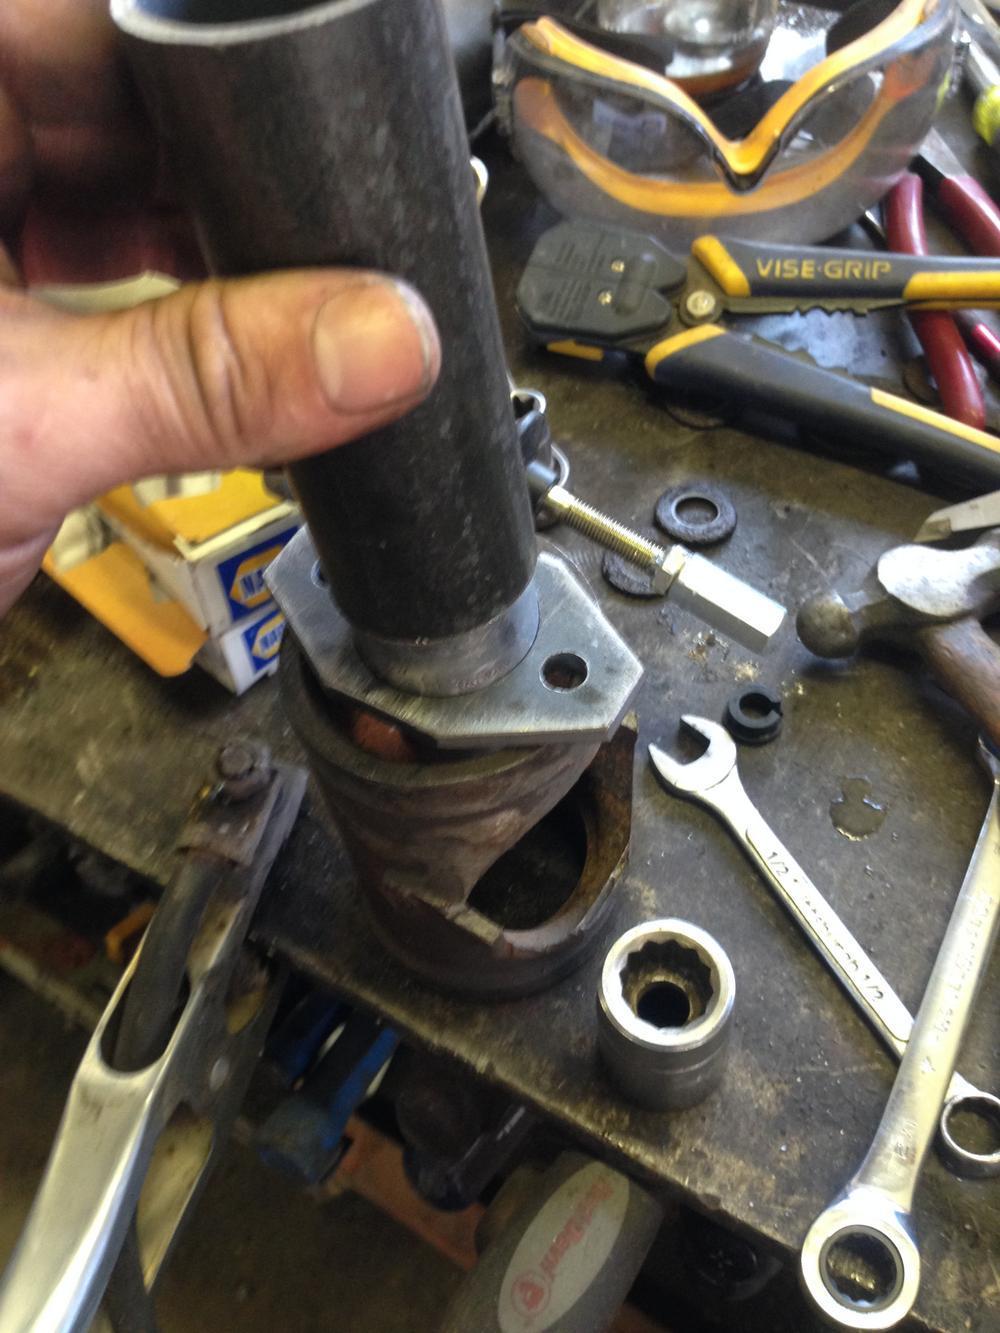
Master cylinder adapter
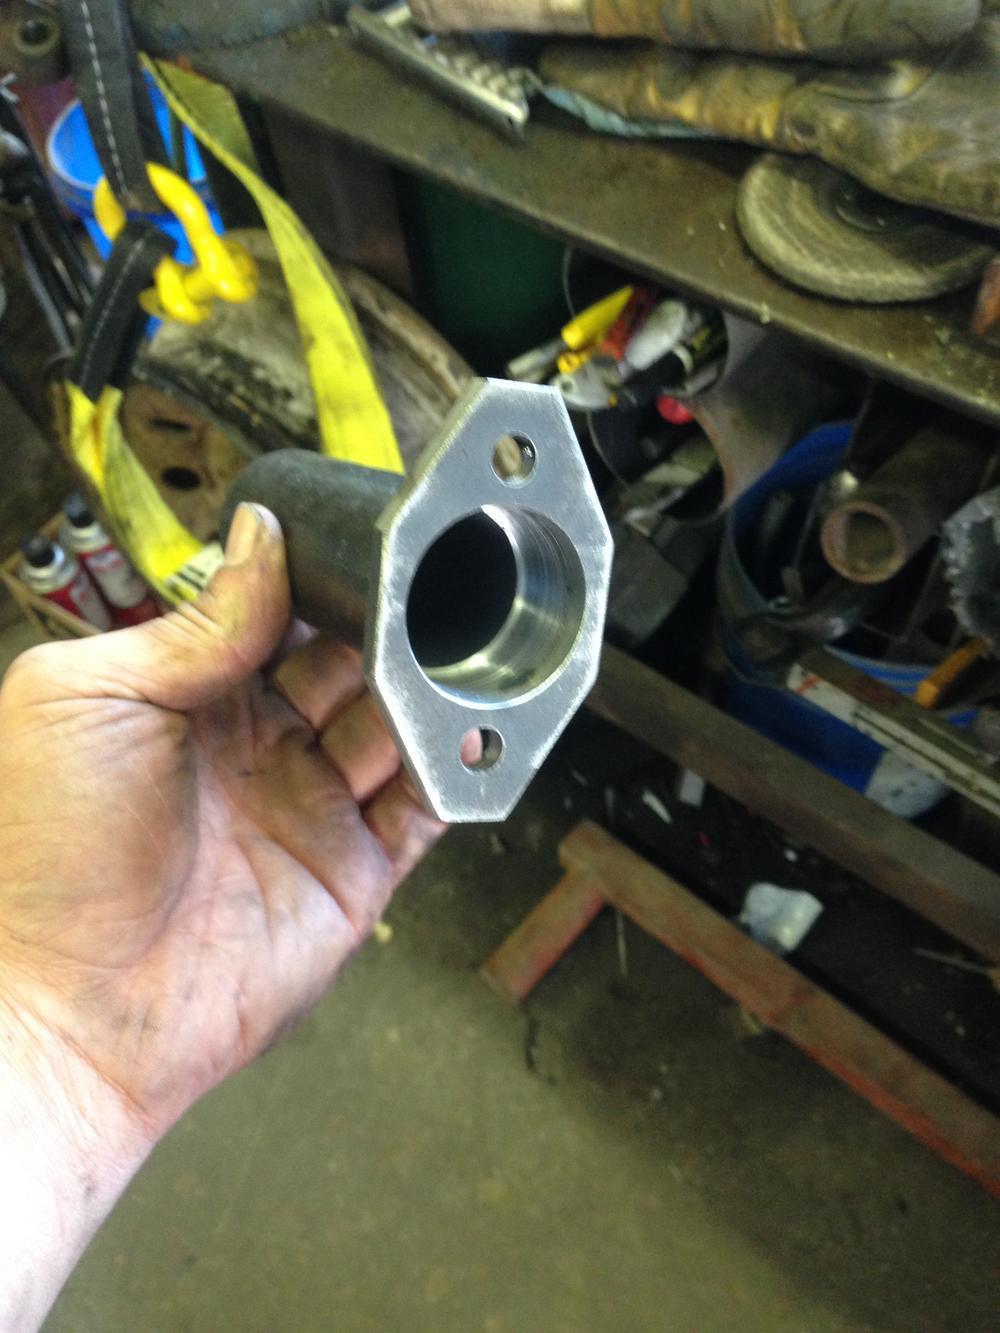
Master cylinder adapter
Master cylinder adapter
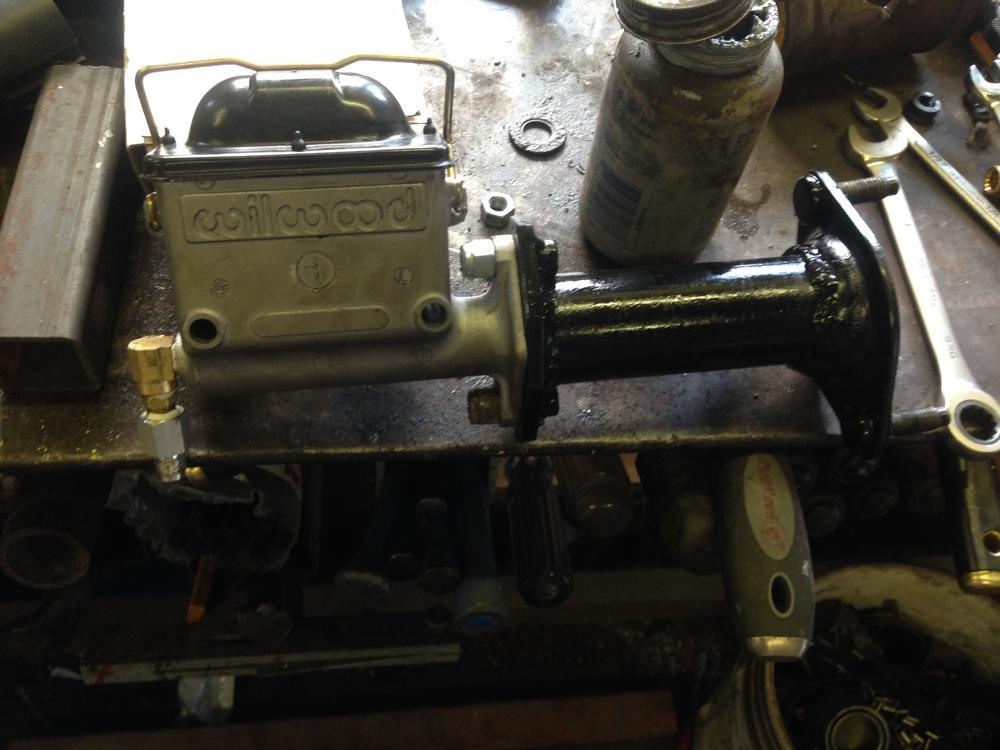
Master cylinder installed
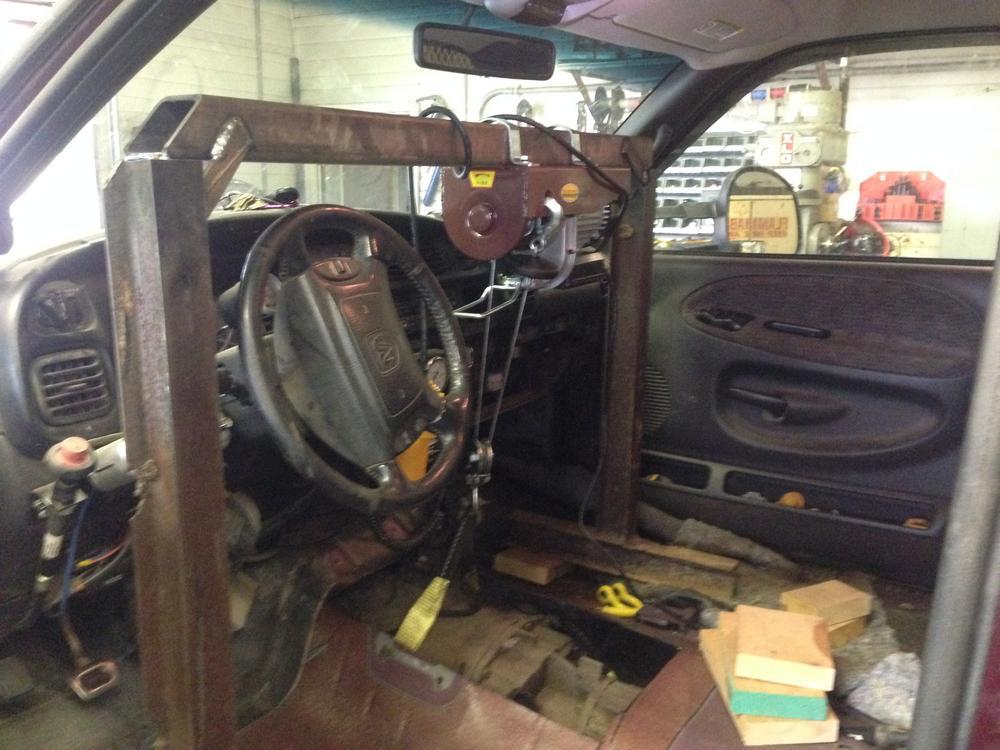
Removing old transmission
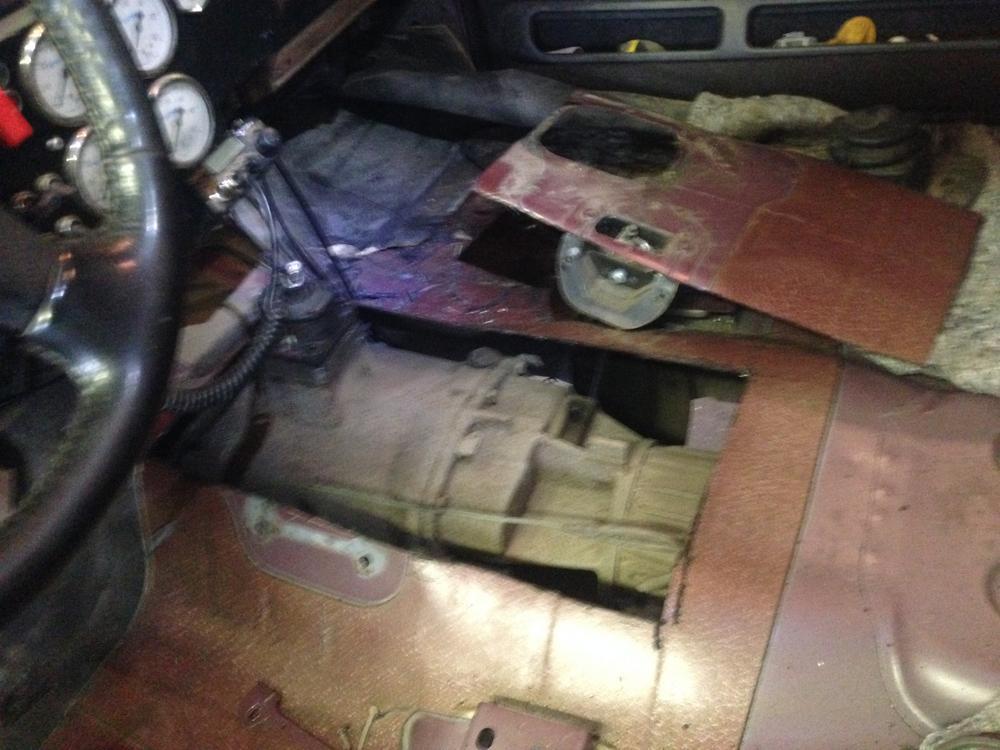
Removing old transmission
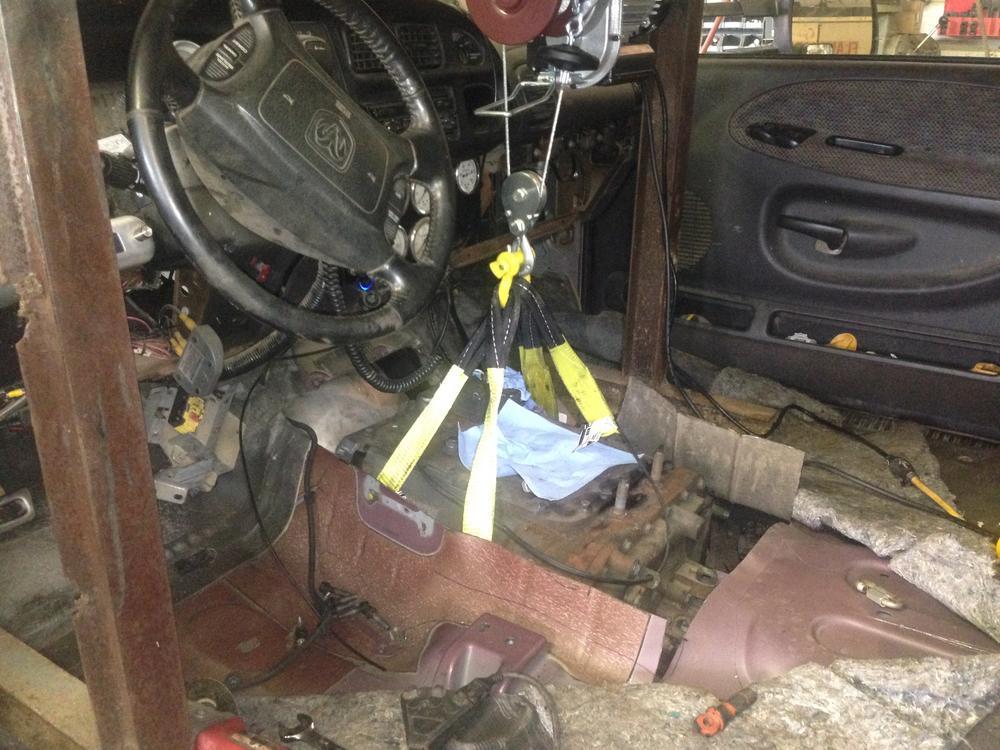
Installing RR Transmission
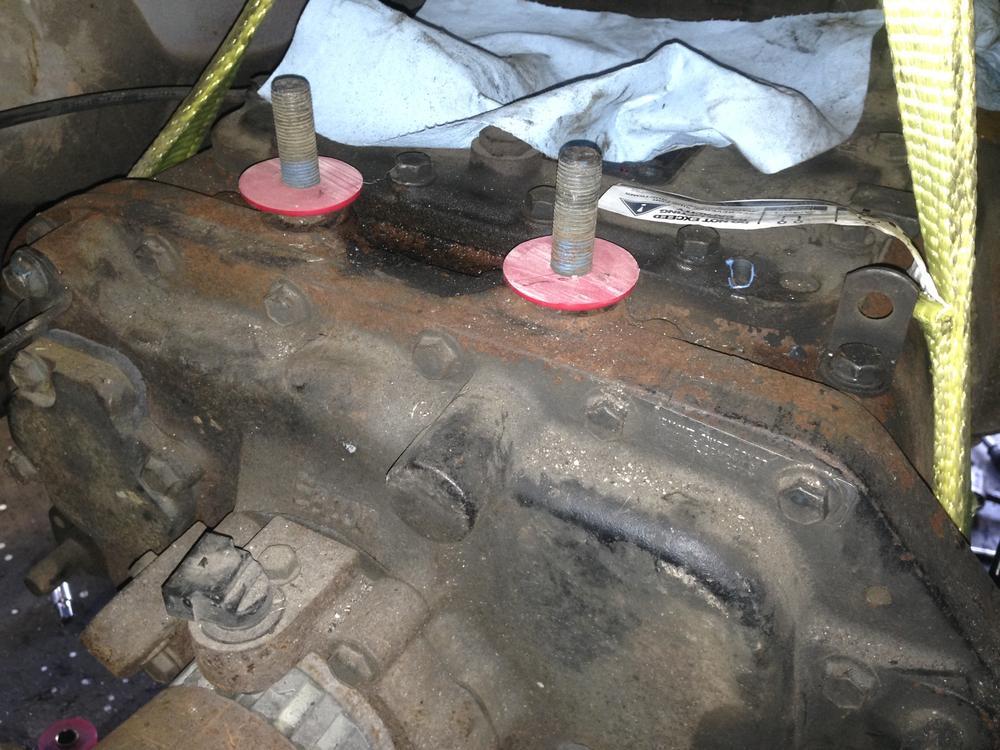
Transmission mounts
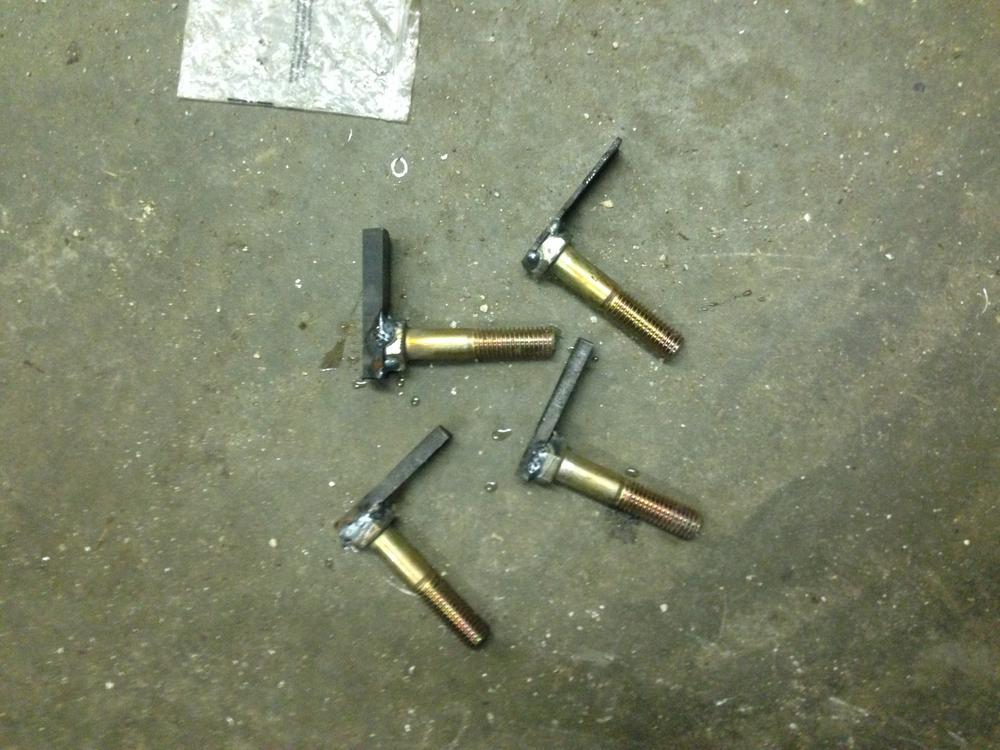
Transmission mounting bolts
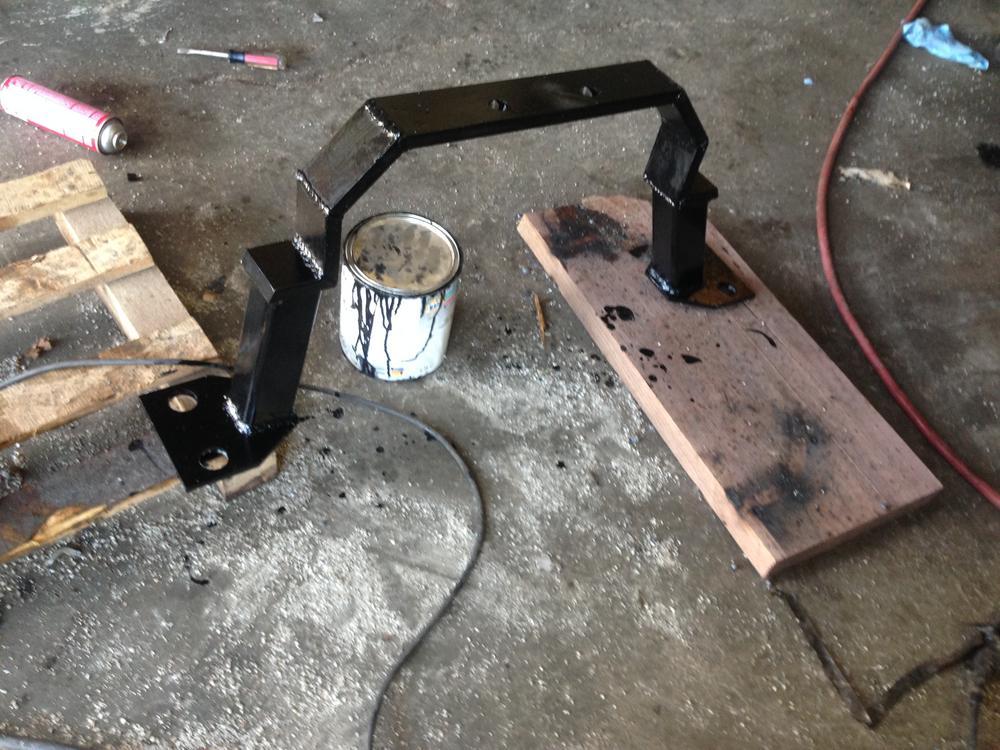
Transmission cross member
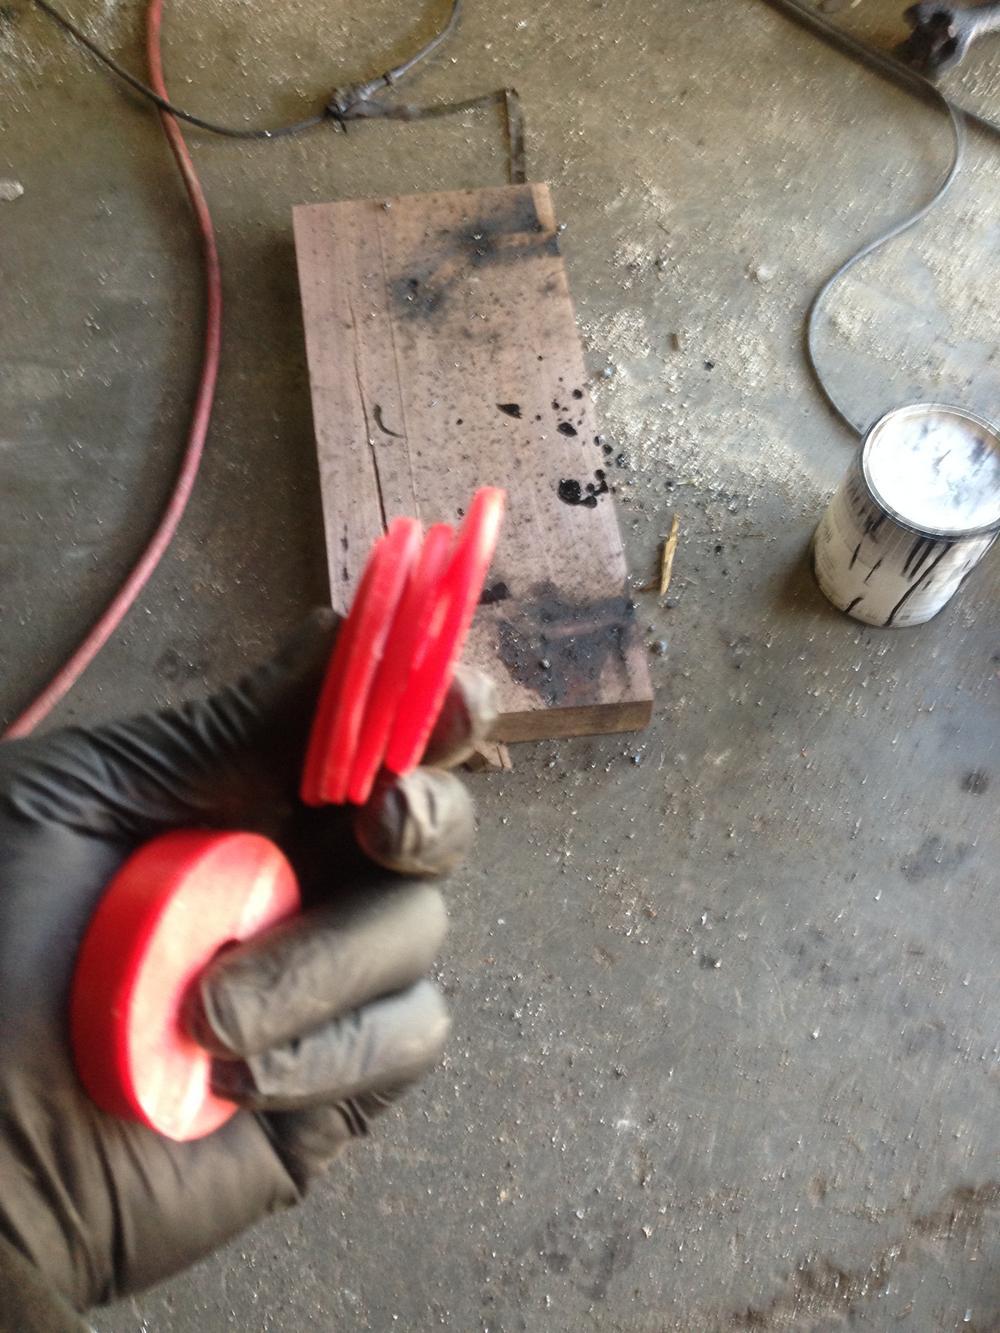
Rubber washers cut on bandsaw
Transmission mounts
Transmission mounted
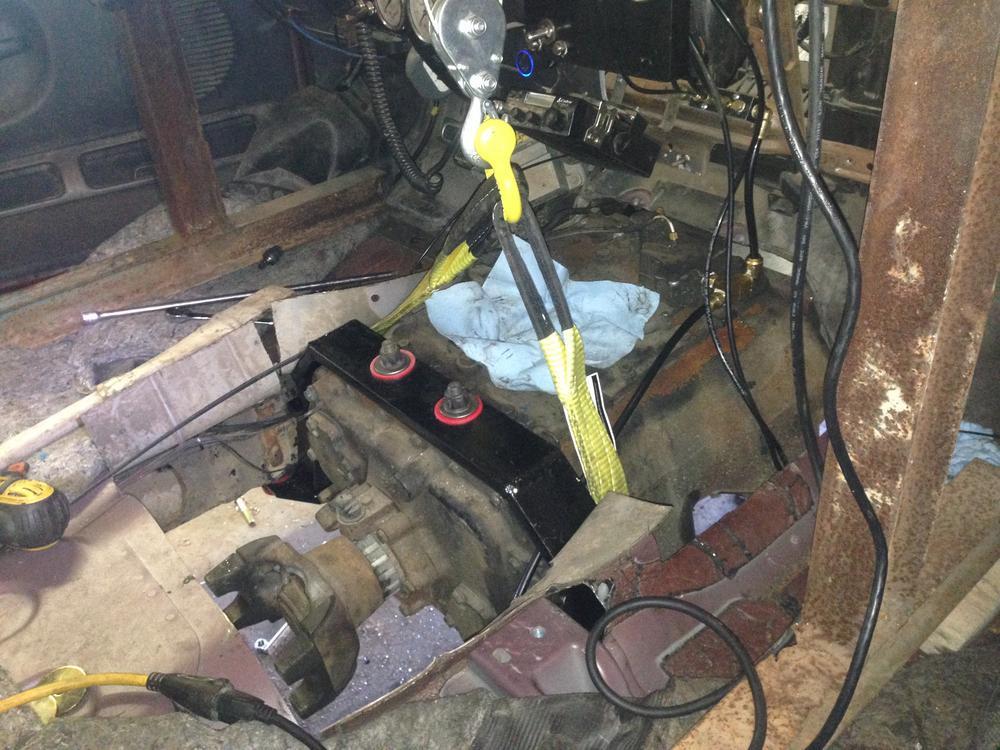
The transmission mount goes over the transmission, so that I dont have to remove it when I take the transmission out, and it's on less thing to have hanging down under my truck. Plus, it seemed like the best attachment point for the transmission. There was little clearance on the top of the transmission, so I placed the cushioned mounts between the cross member and the frame.
Transmission mounted
Rebuilding the np205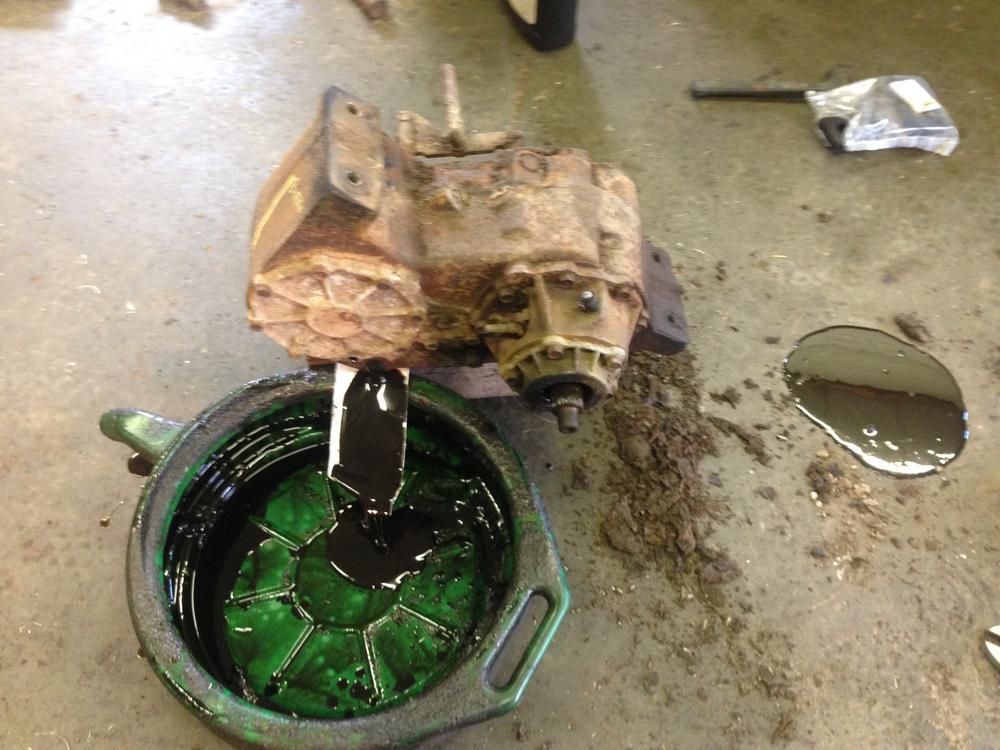
Rebuilding the np205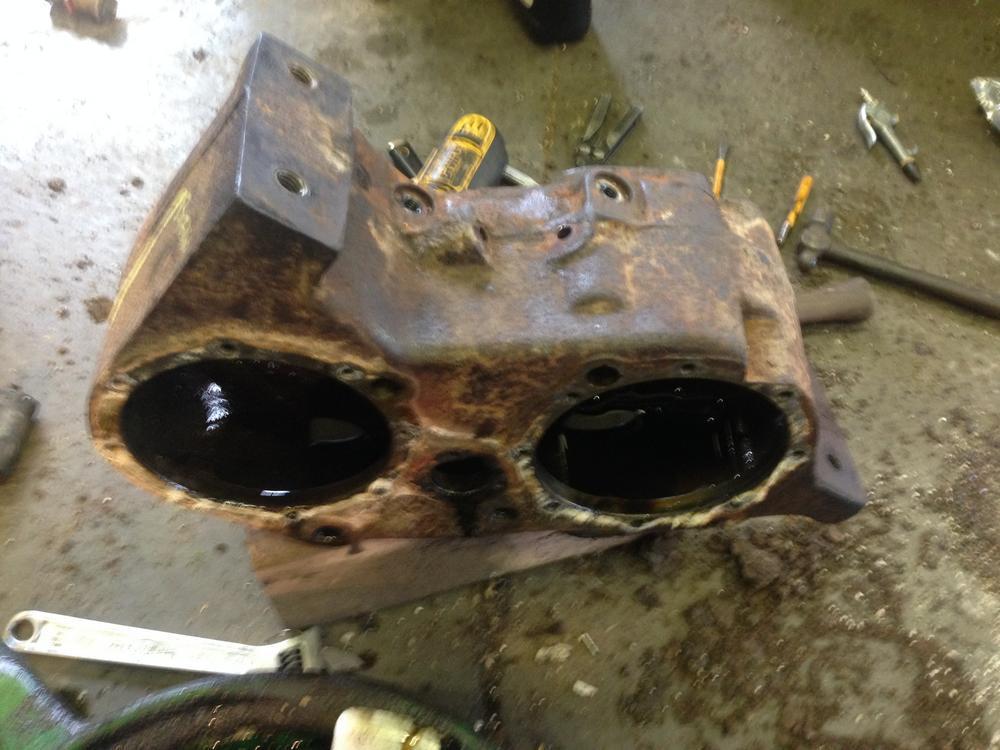
Rebuilding the np205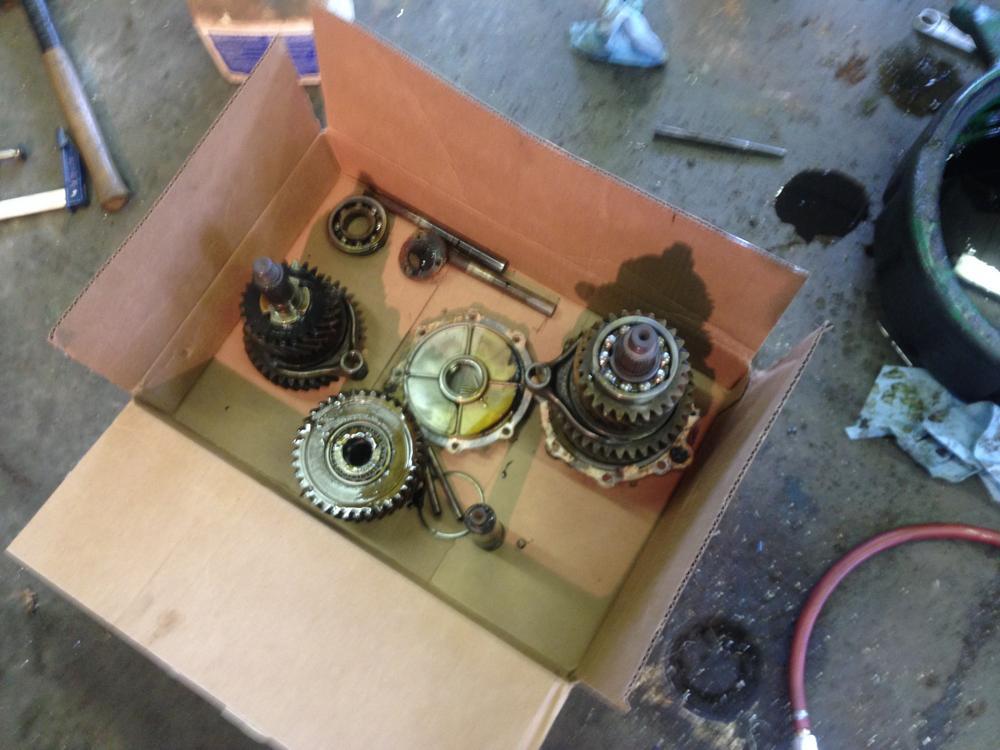
Np205 rebuilt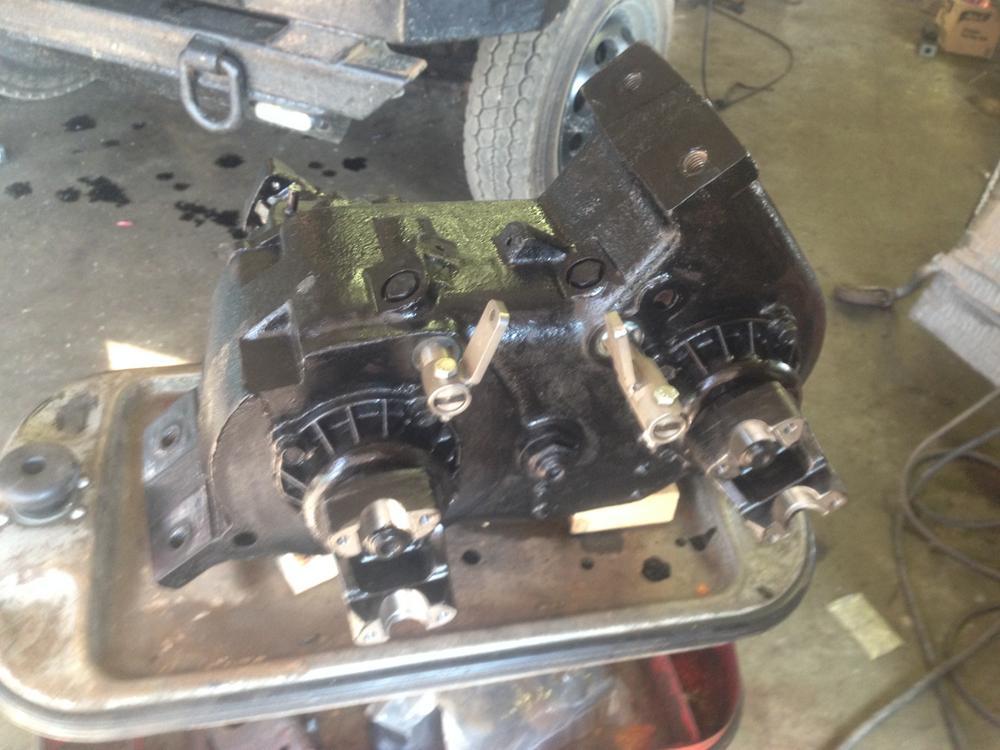
Twin stick shifter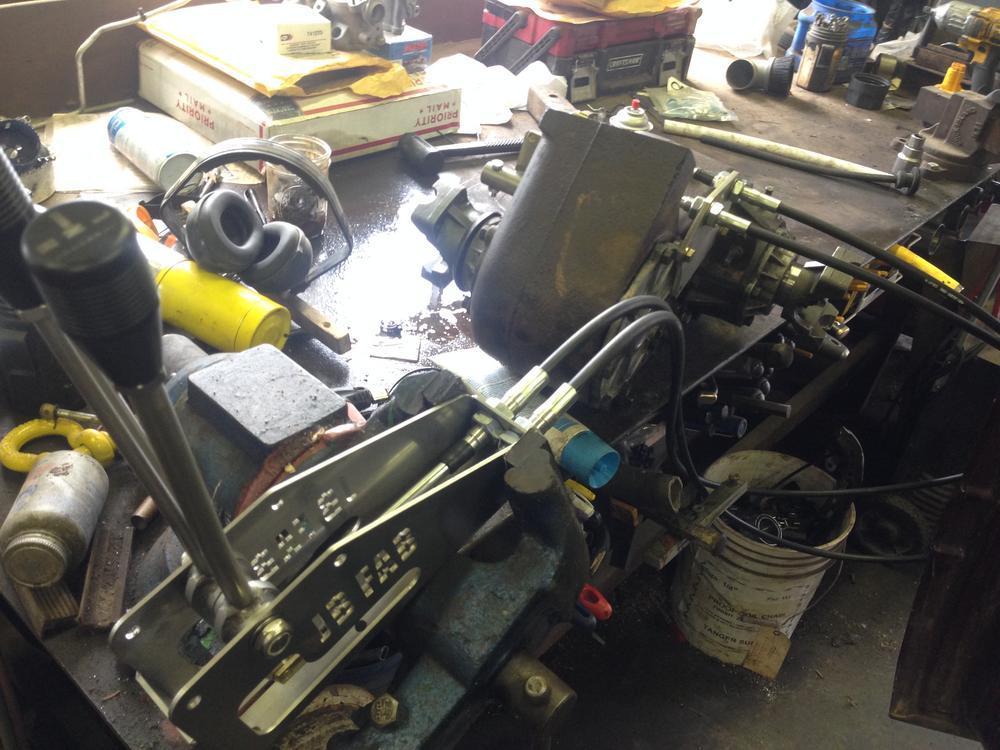
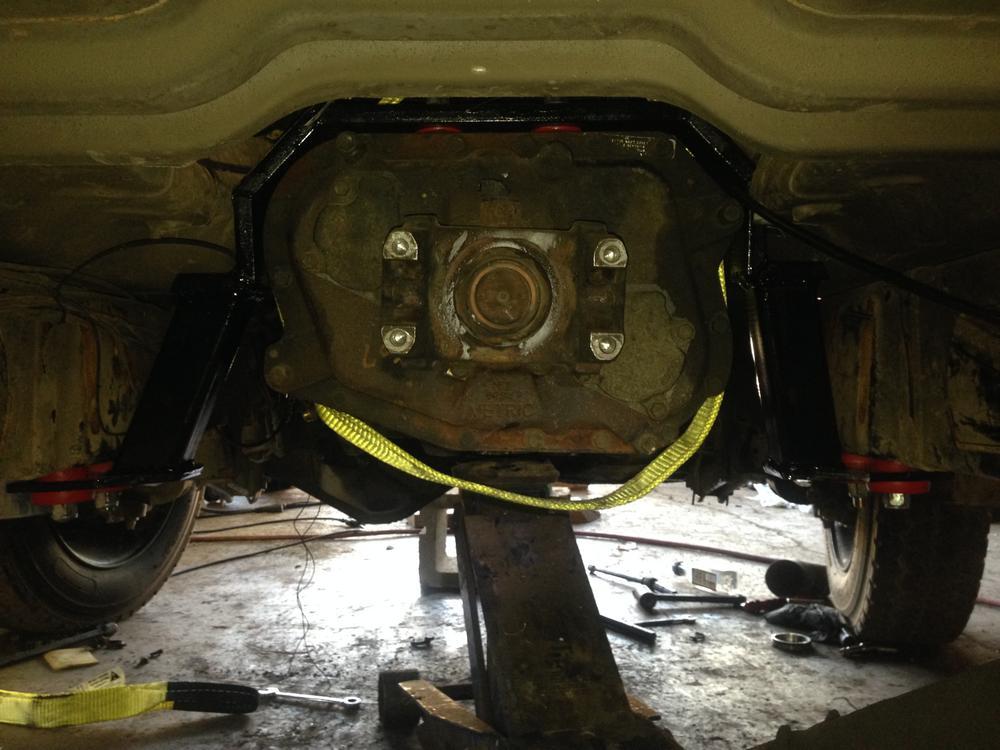
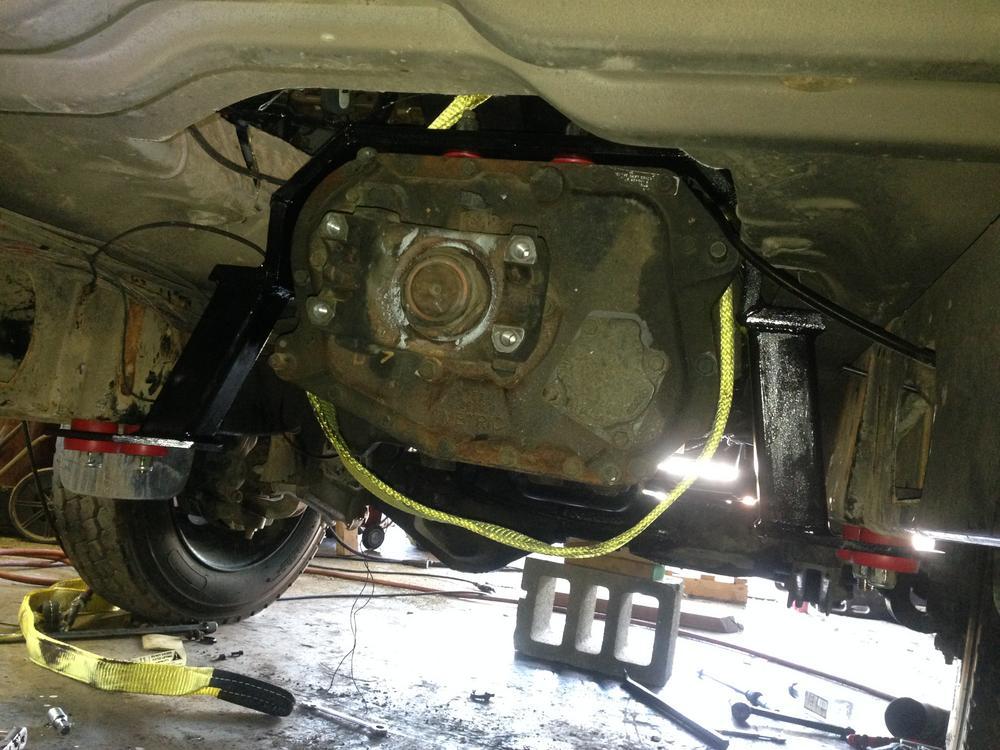
Np205 mount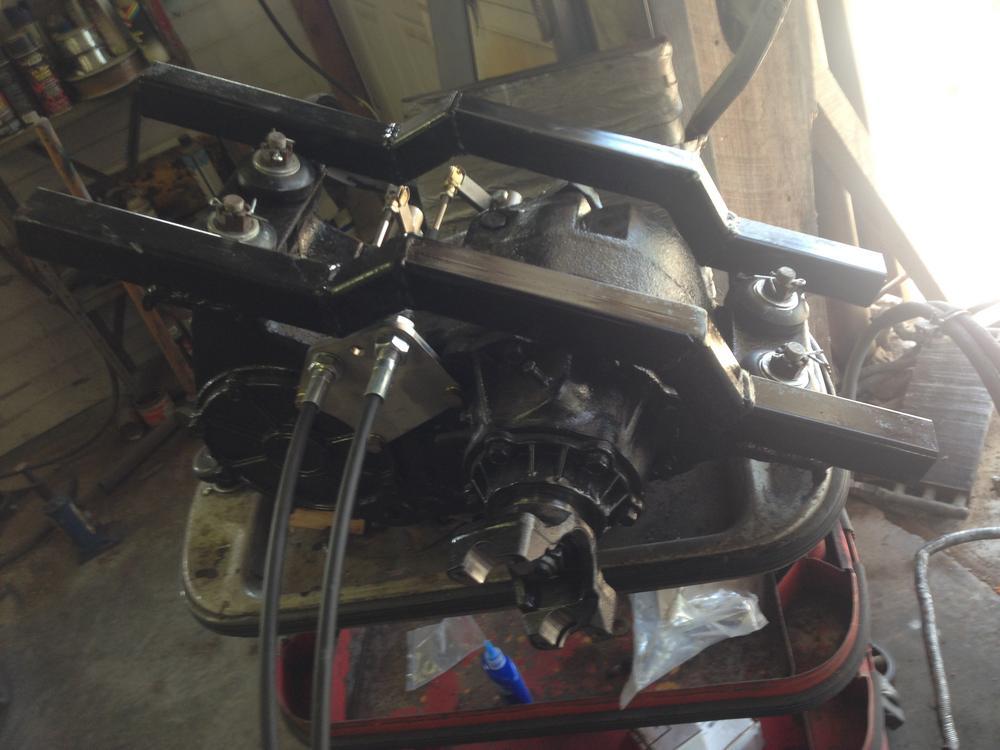
Np205 mount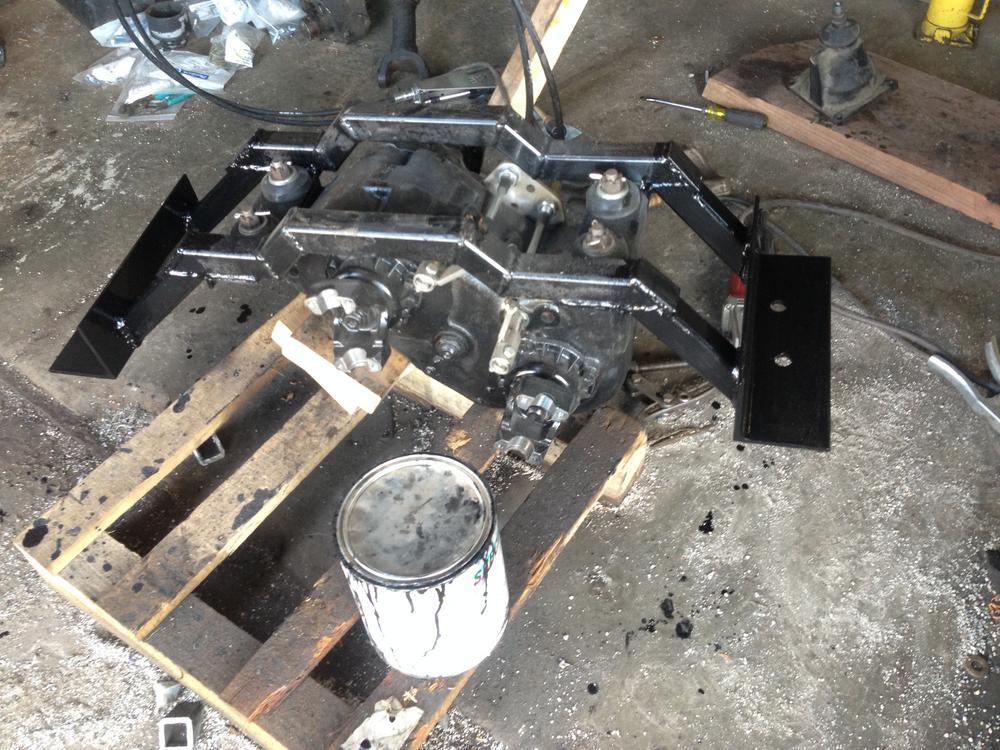
Np205 mounted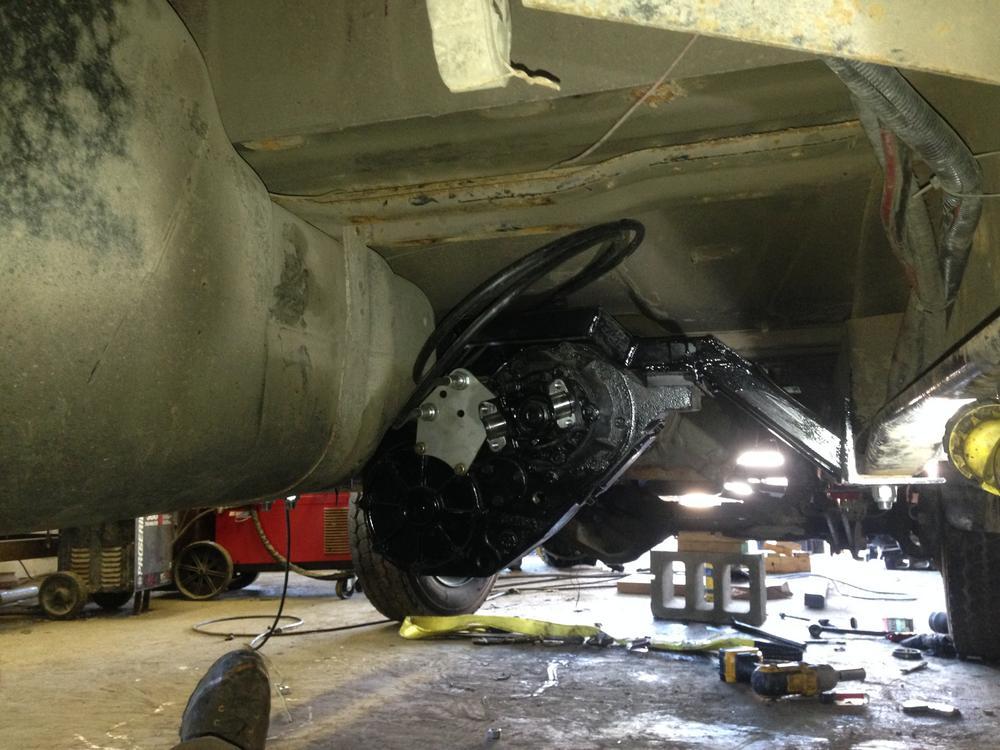
Building driveshafts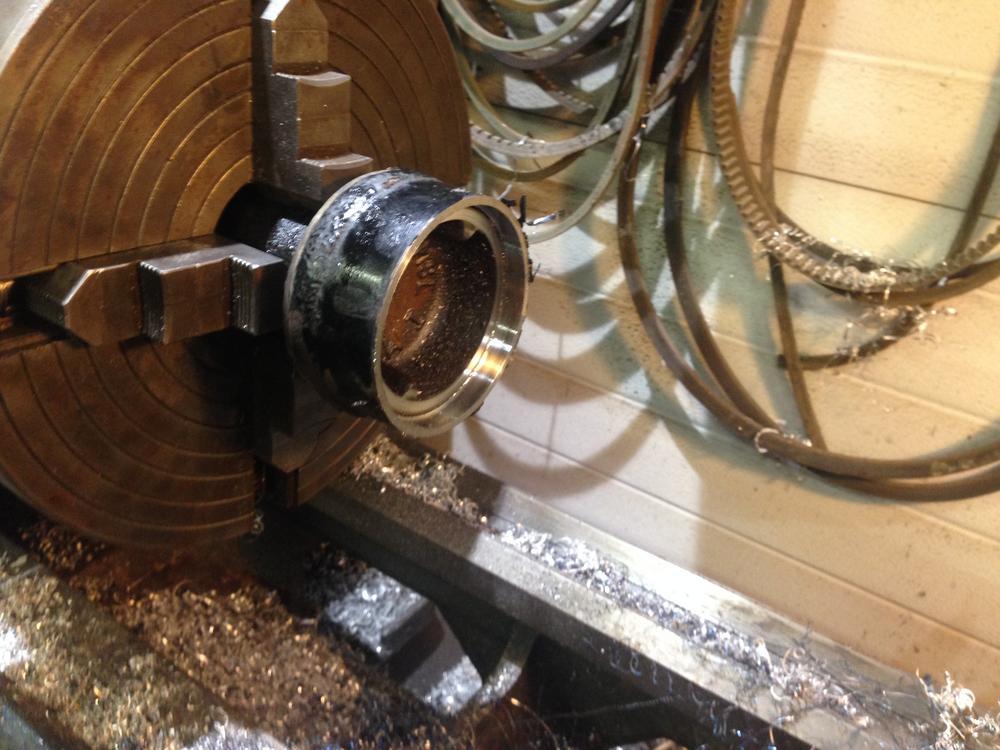
Building driveshafts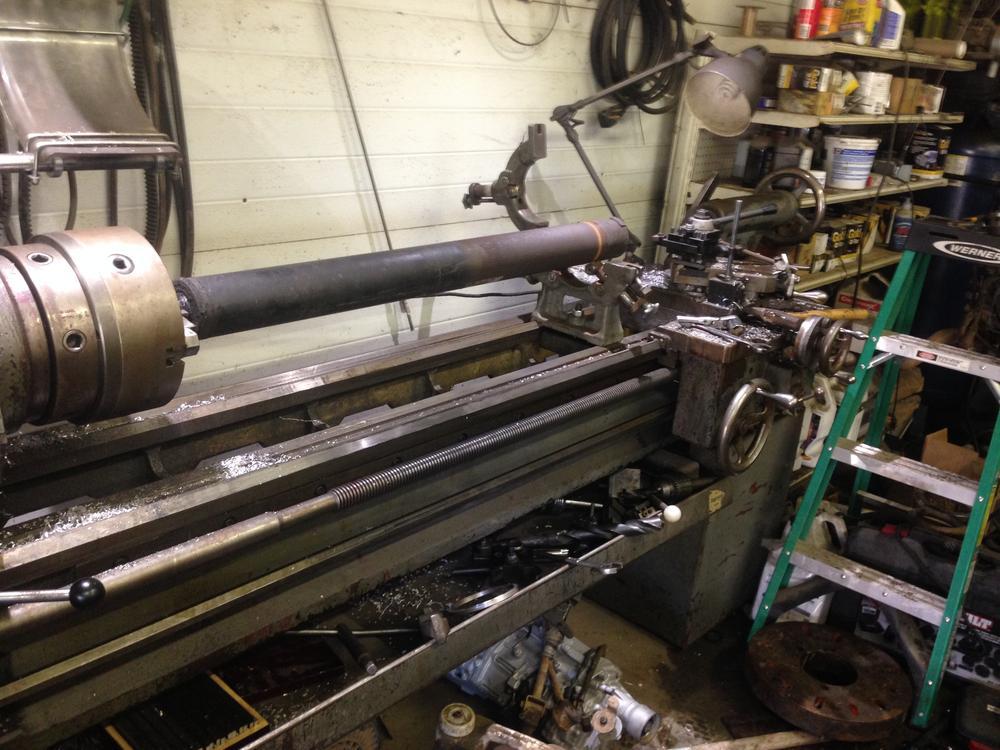
Driveshafts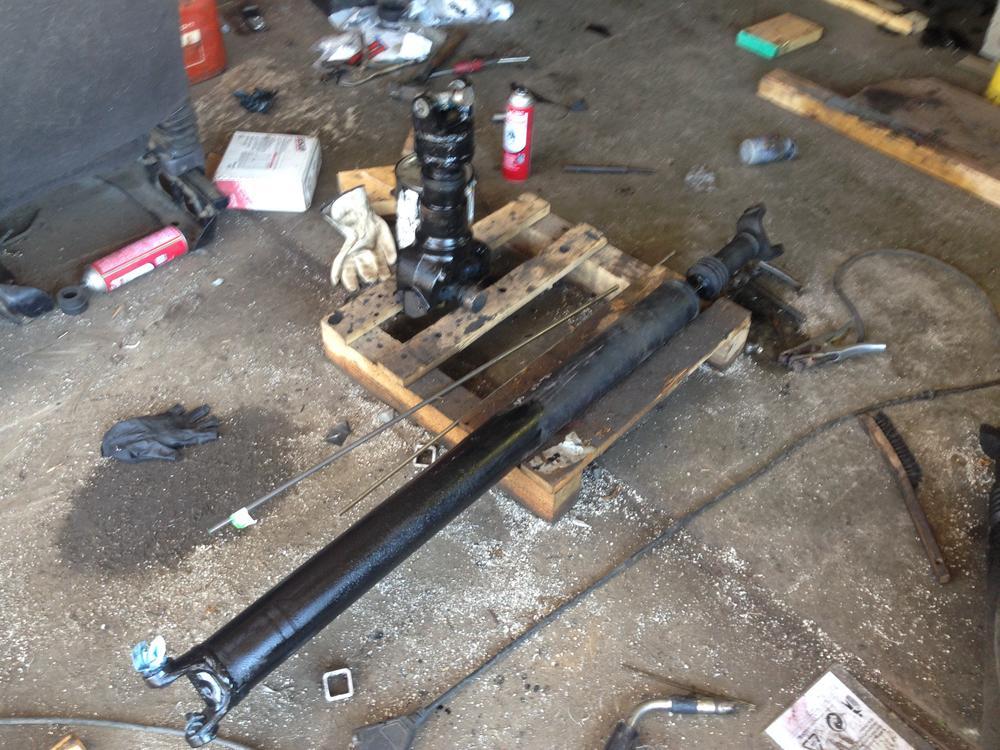
Transmission to transfer case driveshaft installed.
I used the driveshaft from the semi, shortened it down, and welded a 1410 weldable yoke on the transfer case end. I got the weldable end yokes for this project from DennysDriveshafts.com. They have a great selection of driveshaft parts, and everything is well organized.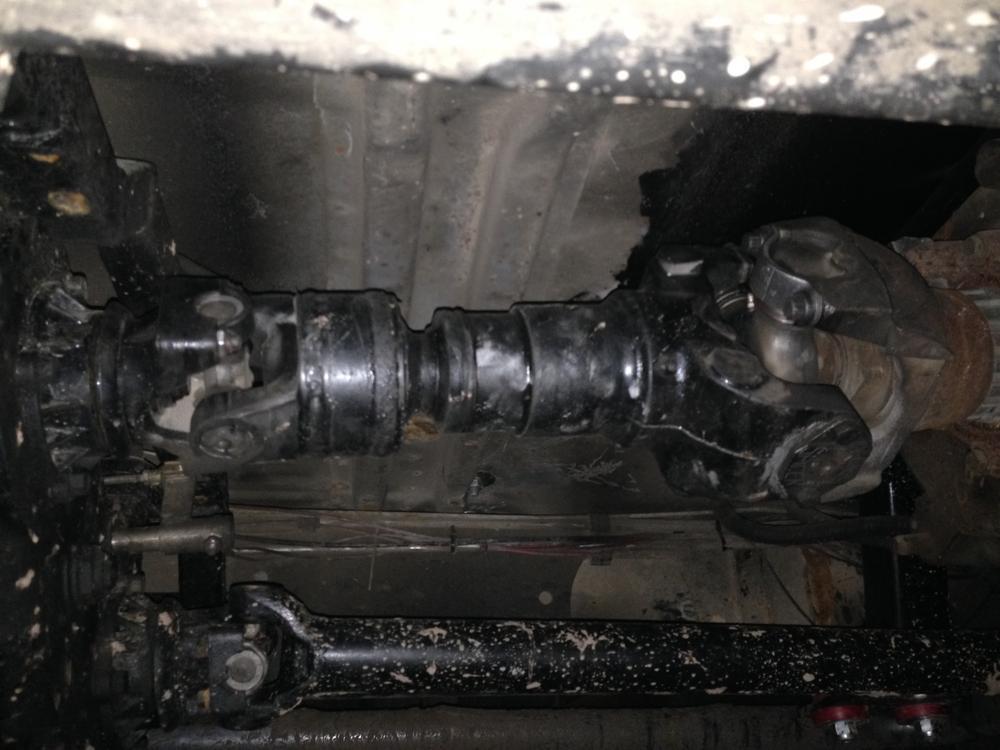
Transmission oil cooler from the semi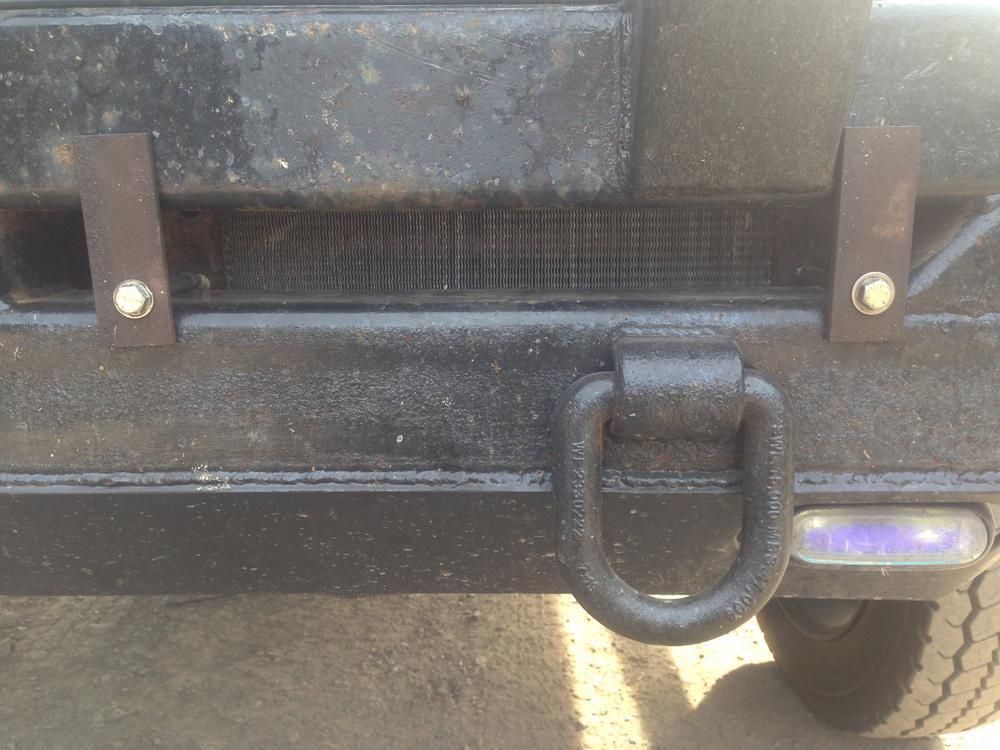
Transmission oil cooler from the semi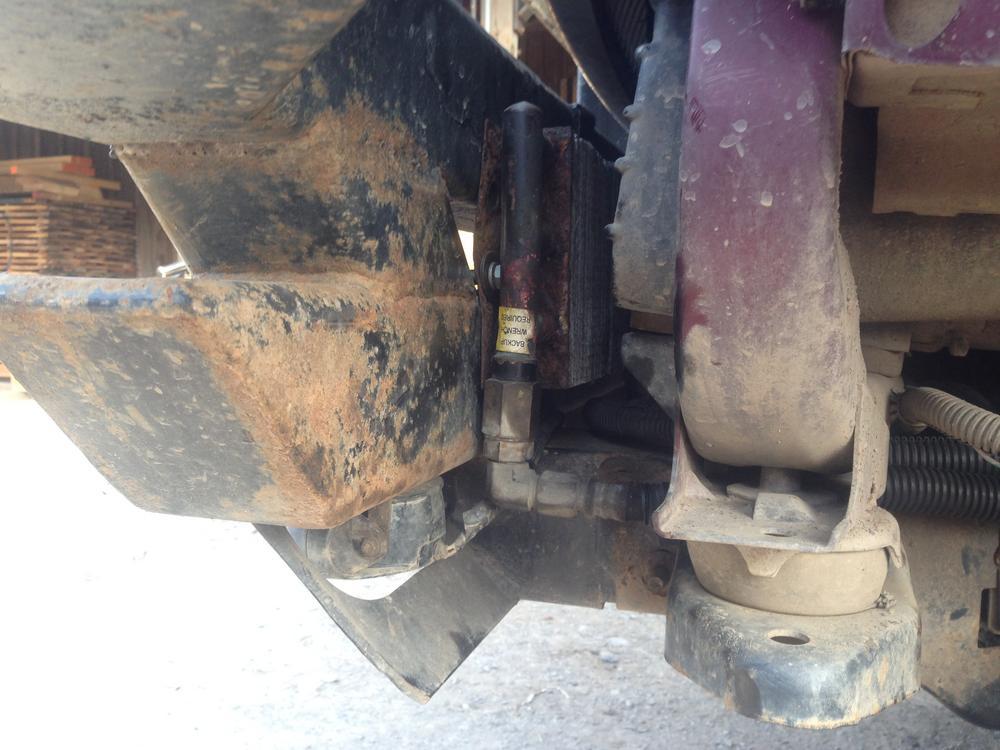
Modified tunnel before cover is installed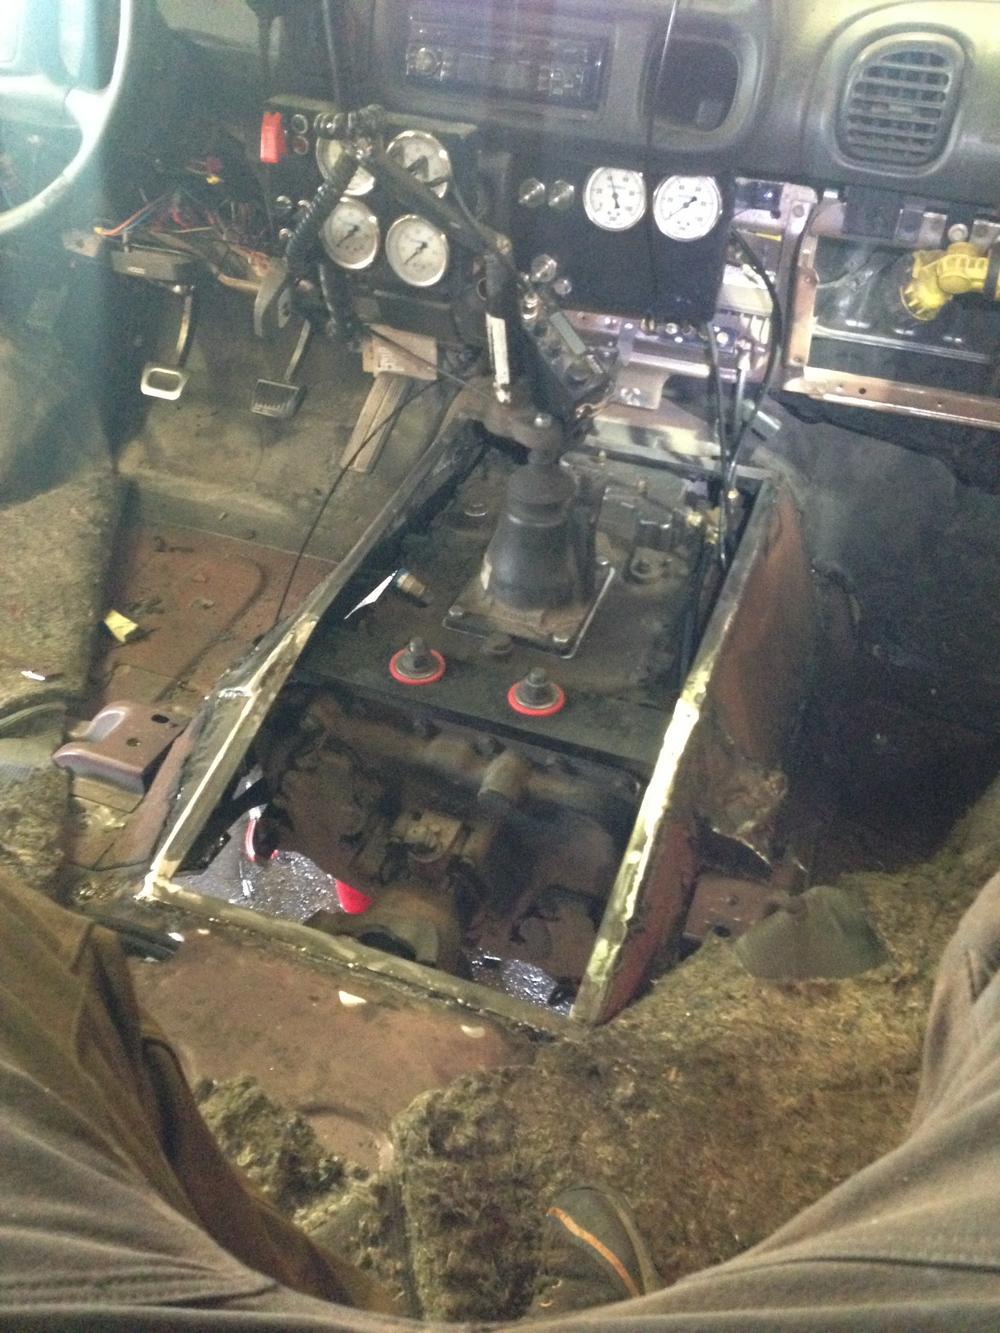
Air seat, cover and twin stick shifter installed
Everything installed + mud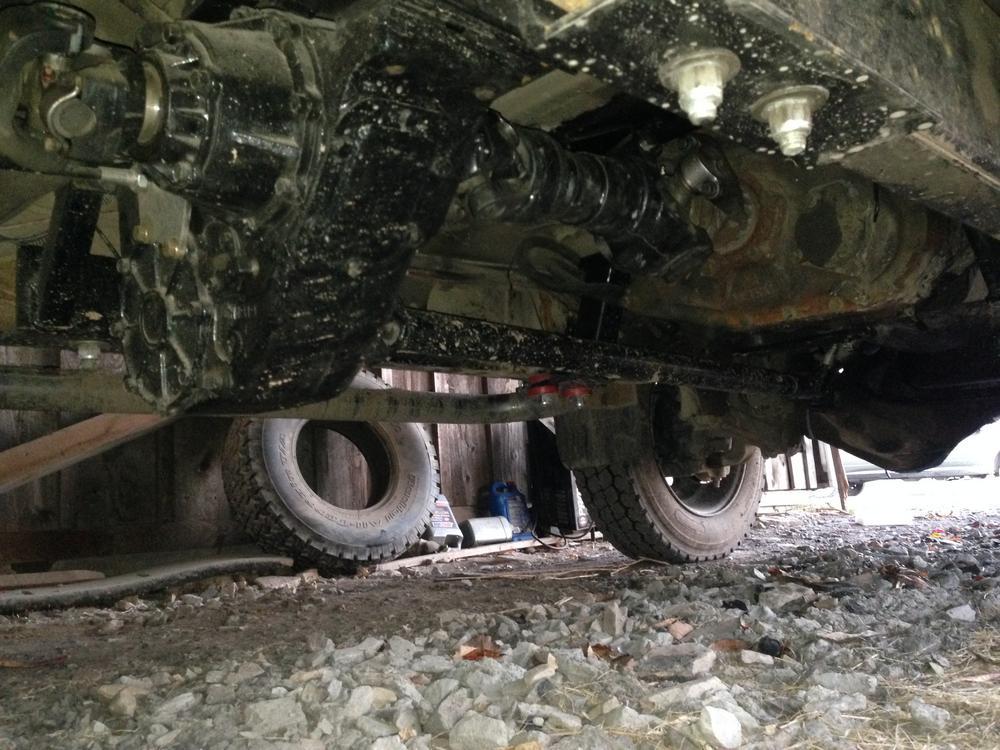
I've been running the transmission for the last month and a half hauling some heavy loads, and it's work flawlessly. I'm very pleased with the results.
I hope this information is useful to somebody. I read a lot on this forum and don't post very often, so here's giving back.
-
 5
5
-
 2
2