

Ubuntu 24.04 LTS Rust Game Server and playing Rust locally! - Entertainment
- Replies 4
- Views 503
- Created
- Last Reply
Top Posters In This Topic
-
Mopar1973Man 2 posts
-
cliffaxle5 2 posts


Popular Days
Most Popular Posts
-
That’s a solid starter setup, especially keeping it LAN-only first. One thing I’d add for beginners: if the server PC is running a firewall, make sure UDP 28015 is allowed locally, otherwise the serve
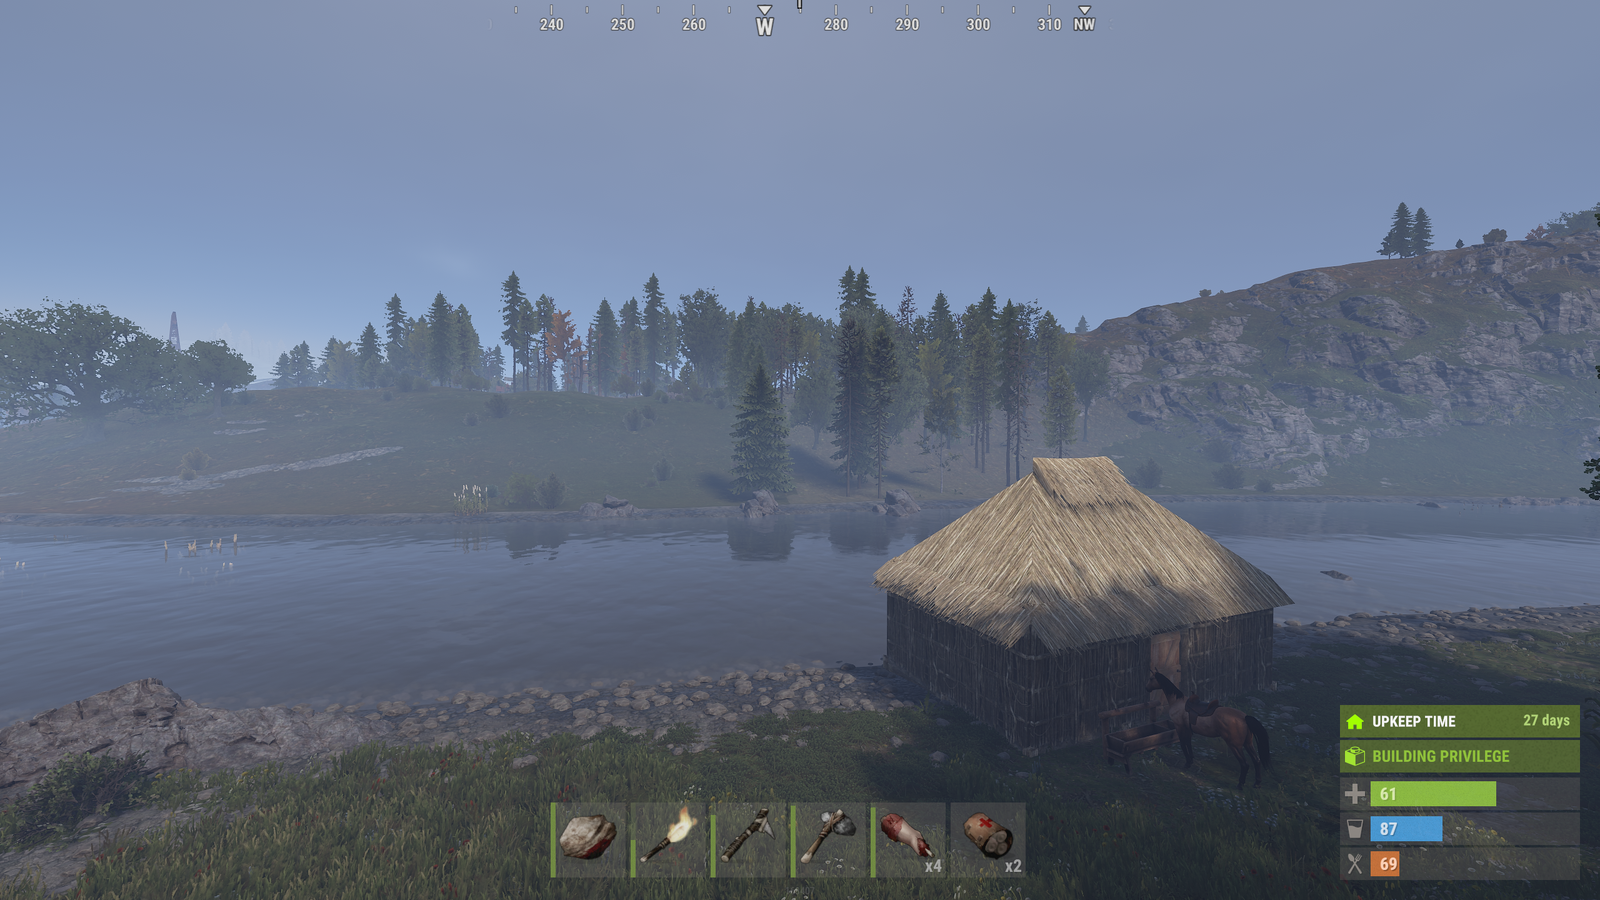
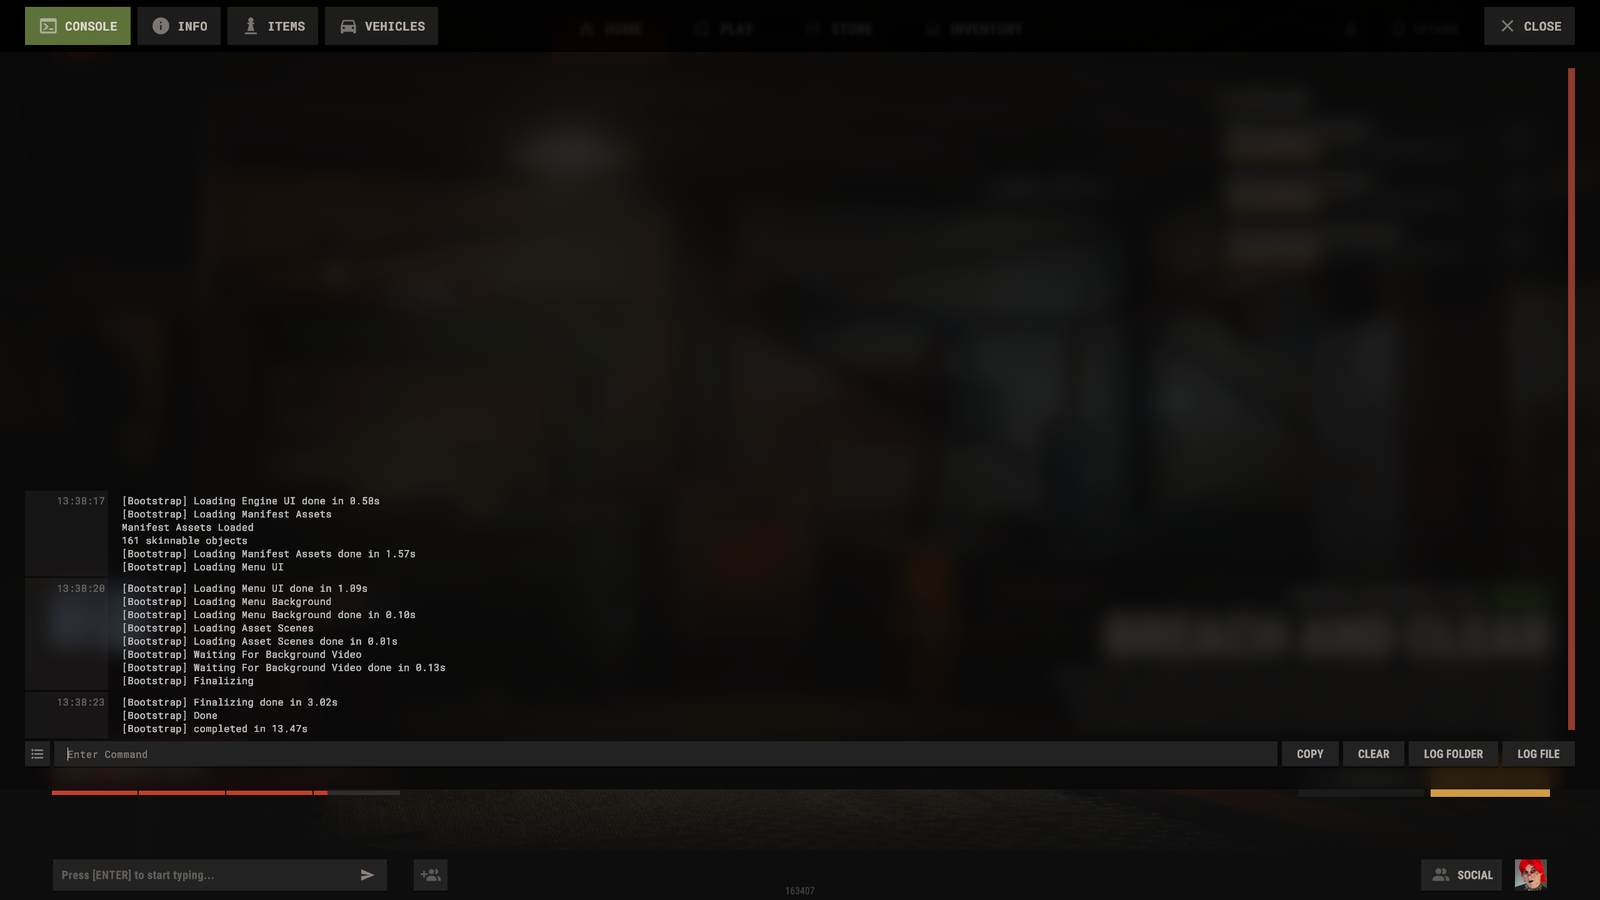
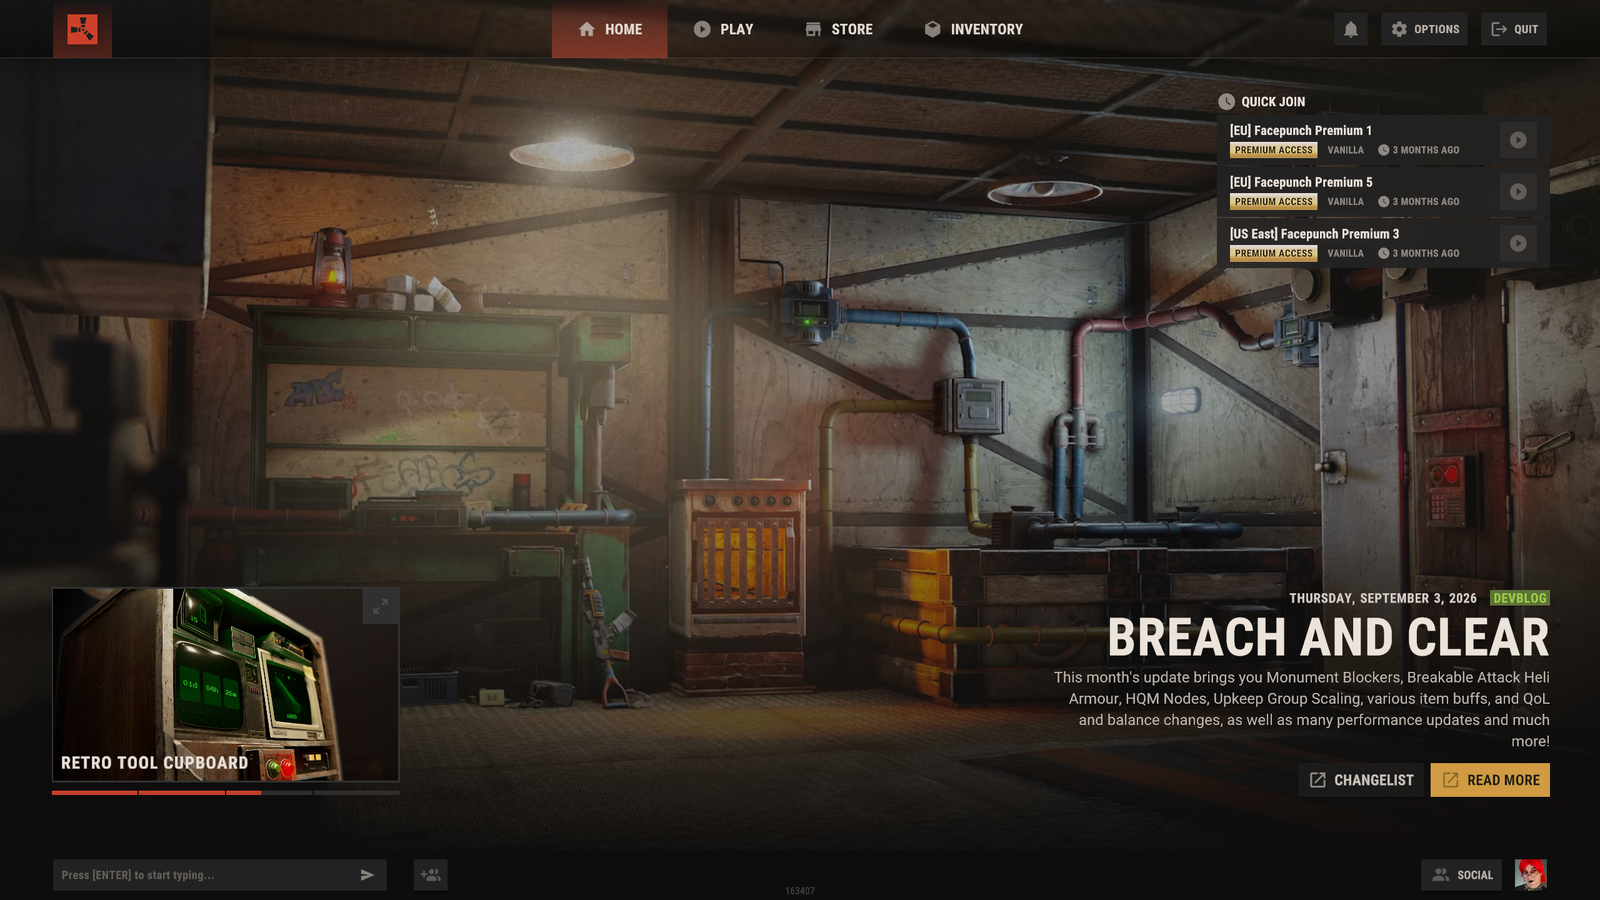
Your First Rust Server: Hosting It on Your Home Server and Playing From Two PCs
If you've never set up a game server before, this is the beginner version — no anti-cheat rabbit holes, no plugin frameworks, just enough to get a private Rust server running on a Linux box at home and get two PCs connected to it so you can actually play. Once this works, you can grow into the more advanced stuff later.
What you need
A Linux machine on your home network to act as the server (this can be a spare PC, or a home server if you've already got one running)
Two gaming PCs on the same local network, each with Rust installed through Steam
That's it — for a small private server with just the two of you, you don't need anything fancy. A modest amount of RAM (8–16GB is plenty to start) and some free disk space will get you going. You can always upgrade later if the map feels sluggish.
Step 1: Install SteamCMD on the server
SteamCMD is the tool that downloads and updates the actual Rust server files. On most Linux distributions you can install it from your package manager, or download it directly from Valve. Once it's installed, create a folder for your server, for example:
Step 2: Download the Rust dedicated server files
From inside SteamCMD, you tell it to grab the Rust dedicated server app and install it into that folder:
That app ID (
258550) is Rust's dedicated server on Steam — the anonymous login works fine since it's a public server download, no account needed. This step can take a while the first time since it's pulling down the full server package.Step 3: Write a simple start script
You don't need a complicated configuration for a first server. A small startup script with the basics is enough. Create a file called
start.shin your server folder:A quick note on what matters here for a beginner:
server.worldsizecontrols how big the map is (3000 is small and generates fast — good for testing),server.maxplayersis your player cap, andserver.secure 0turns off anti-cheat enforcement. That last one sounds scary, but for a private server with just you and one other person on your own network, it's completely fine — anti-cheat exists to stop strangers from cheating on public servers, which doesn't apply here.Make the script runnable and start it:
The first time it runs, it'll generate the map, which can take a few minutes depending on the world size. Once you see it settle and start printing regular status lines in the console, it's up and waiting for players.
Step 4: Find your server's local IP address
Since both PCs are on the same home network, you just need the server machine's local IP — you don't need to mess with port forwarding on your router for this. On the server, run:
and look for the address on your local network (usually something like
192.168.x.x). That, plus the port from your start script (28015), is what each PC will connect to.Step 5: Connect from each gaming PC
On each Windows PC, launch Rust through Steam like normal. Once you're at the main menu:
Press F1 to open the console
Type
client.connect 192.168.x.x:28015, using your server's actual local IPPress Enter
Do this on both PCs and you should both land in the same world. If a connection doesn't go through, double check that the server is actually up and printing normal console output, and that both machines are genuinely on the same local network (same router/subnet).
A couple of things to expect
Wipes — nothing wipes your map automatically unless you tell it to. For a private server, you decide when to start fresh; just stop the server, delete the save files, and restart it.
Performance — a small worldsize like 3000 with two players will run comfortably on modest hardware. If you later want a bigger map or more players, that's when RAM and CPU start to matter more.
Plugins — none of this setup includes plugin support (Oxide/Carbon). That's a good next step once the basics feel comfortable, but it's not needed to just get two people playing together.
That's genuinely all it takes to get a private Rust server running for two people on your own network. Once you're comfortable with this, the earlier post on the full production-style setup (hardware planning, LinuxGSM, plugin frameworks, and the EAC workaround for a public-facing server) is the natural next step.