rotohead
Unpaid Member
-
Joined
-
Last visited
Everything posted by rotohead
-
Thanks
-
Yeah, kinda new after the mod the fuse would be useless unless you connected something to that post but just puzzling why C would design/install it in the first place. I also wonder it there is any benefit to running a additional wire (after doing the mod direct to the passenger battery) from the battery over the top of the radiator to the drivers side battery from the alternator. Thoughts?
-
Thanks for that. I'm doing that mod this weekend so that info is great to have. Makes me wonder what the 140 amp fuse in the PDC box is suppose to do. Either way I like this mod.
-
So I have a question for those that have modified the charge wire from the ALT going straight to the passenger battery. You aren't using any type of fuse circuit breaker? Just running it from the positive post on the ALT straight to the positive post on the pass battery correct? This is not going to fry the ALT?
-
Been using a 3rd gen bar and adapter plate for over ten years. Just replaced the 3rd gen bar for the first time. bushing was starting to seperate from the bar. A couple things to watch for. Some (Synergy, etc) bars won't fit if you have a MagHytec front diff cover. Early 2nd gen trucks may have trouble fitting the adjustable length bars into the passenger side perch. Most installs are easier if the tie rod is removed.
-
https://www.circletracksupply.com/egr-brakes-rear-proportioning-valve-eliminator-hose-98-99-dodge-2500.html
-
After a couple beers last night I remembered the name of the vendor. Here ya go. I'd buy the longer line just to make sure when the axle is hanging from the frame on a lift you aren't pulling on the line or maybe you have a lift. https://www.circletracksupply.com/egr-brakes-rear-proportioning-valve-eliminator-hose-98-99-dodge-2500.html
-
I'll be back from fishing on Monday and have the vendor box in my garage. I'll post the source as soon as I can. I think it's worth the money as the valve is more restrictive even when ty wraped open. I took mine apart and it was small passages and corroded.
-
There is a seller on ebay that has braided replacement line in different lengths that clips in on one end and threads on the other.
-
Thanks, I've got that. But there was mention somewhere along this issue of a treatment of the passenger side black/tan ground wire that comes out of the harness below the PCM, goes under the intake box along the passenger fender and connects to the same ground wire the other one with the grey plug. I don't know if it was just shortening it up or what. Since I've got it all tore apart I figured now was as good a time as any to address it. Might not be that big a deal. Thanks anyway. Maybe I just dreamt this up...increasingly possible as I approach 70 years and running. Thanks again for this great fix for the lock/unlock condition.
-
Just cleaning up my rewire job of W-T's genius redo and now I can't find the info on the way to redo the passenger side PCM ground wire coming out of the harness below the PCM going to the passenger side negative battery. It's the one with another of those suspect grey plugs and it use to splice into the cable that included the poor design ground wire coming in from of the engine and over the top of the alt from the 4 wire splice of PCM/ECU/VP44/PDC. What was his recommendation on fixing that other PCM ground? I've looked everywhere and can't find it now. Thanks. I'll be so glad when this is all done.
-
Great. Thanks for the reply. It looks like that bonds to the chrome very well. I'm jacked to do this to my truck this winter. Did you have to do any primer or prep to the chrome? Thanks again.
-
Like what you did with the front bumper. Is that bed liner?
-
Yes I have a kit that comes with a template and I've had the headliner down before so no big deal there. Thanks for the tips.
-
Thanks to the OP for this thread. I'm getting all necessary items together to do this project in the winter. Not real excited to drill that first hole. I'm going to use a product called Sugru.com to seal the holes. It's a mouldable rubber that cures overnight. This will help insure no water leaks. I'll post when I'm done.
-
My 1998.5 was number 431 to roll off the St Louis plant at the start of the 24 valve series so it had the T style steering from the beginning. About 10 years ago I was sick and couldn't work on my truck. It needed ball joints and a number of things done so my friend took it to a shop for me to get the work done. The shop screwed up and stuck a Y style pitman arm on it. It steered like dog poo and I noticed this awhile ago. It took me a long time to find the correct arm. Rockauto, eBay and others would always send me the y arm. Finally got the right one.
-
I don't disagree that a alignment shop can get it to spec. Since I have fairly new tires on and the opportunity over the next month to drive in a variety of conditions (empty, towing light, towing heavy, etc) Im experimenting around and I think I'm making progress. On my truck I've determined a 120 degree turn in the adjusting sleeve on the tie rod is around a 1/16th so I've been taking my wrenches with me and tweaking it ever so slightly and I've been happy with the results. I do notice a big difference from empty to towing. It's such a quick simple adjustment I think I'll make a habit to stick slightly more toe-in when towing heavy. I have multiple fishing trips coming up to try this out.
-
Going to try to adjust my toe-in DIY. What is the preferred, slightly in, slightly out or completely neutral?
-
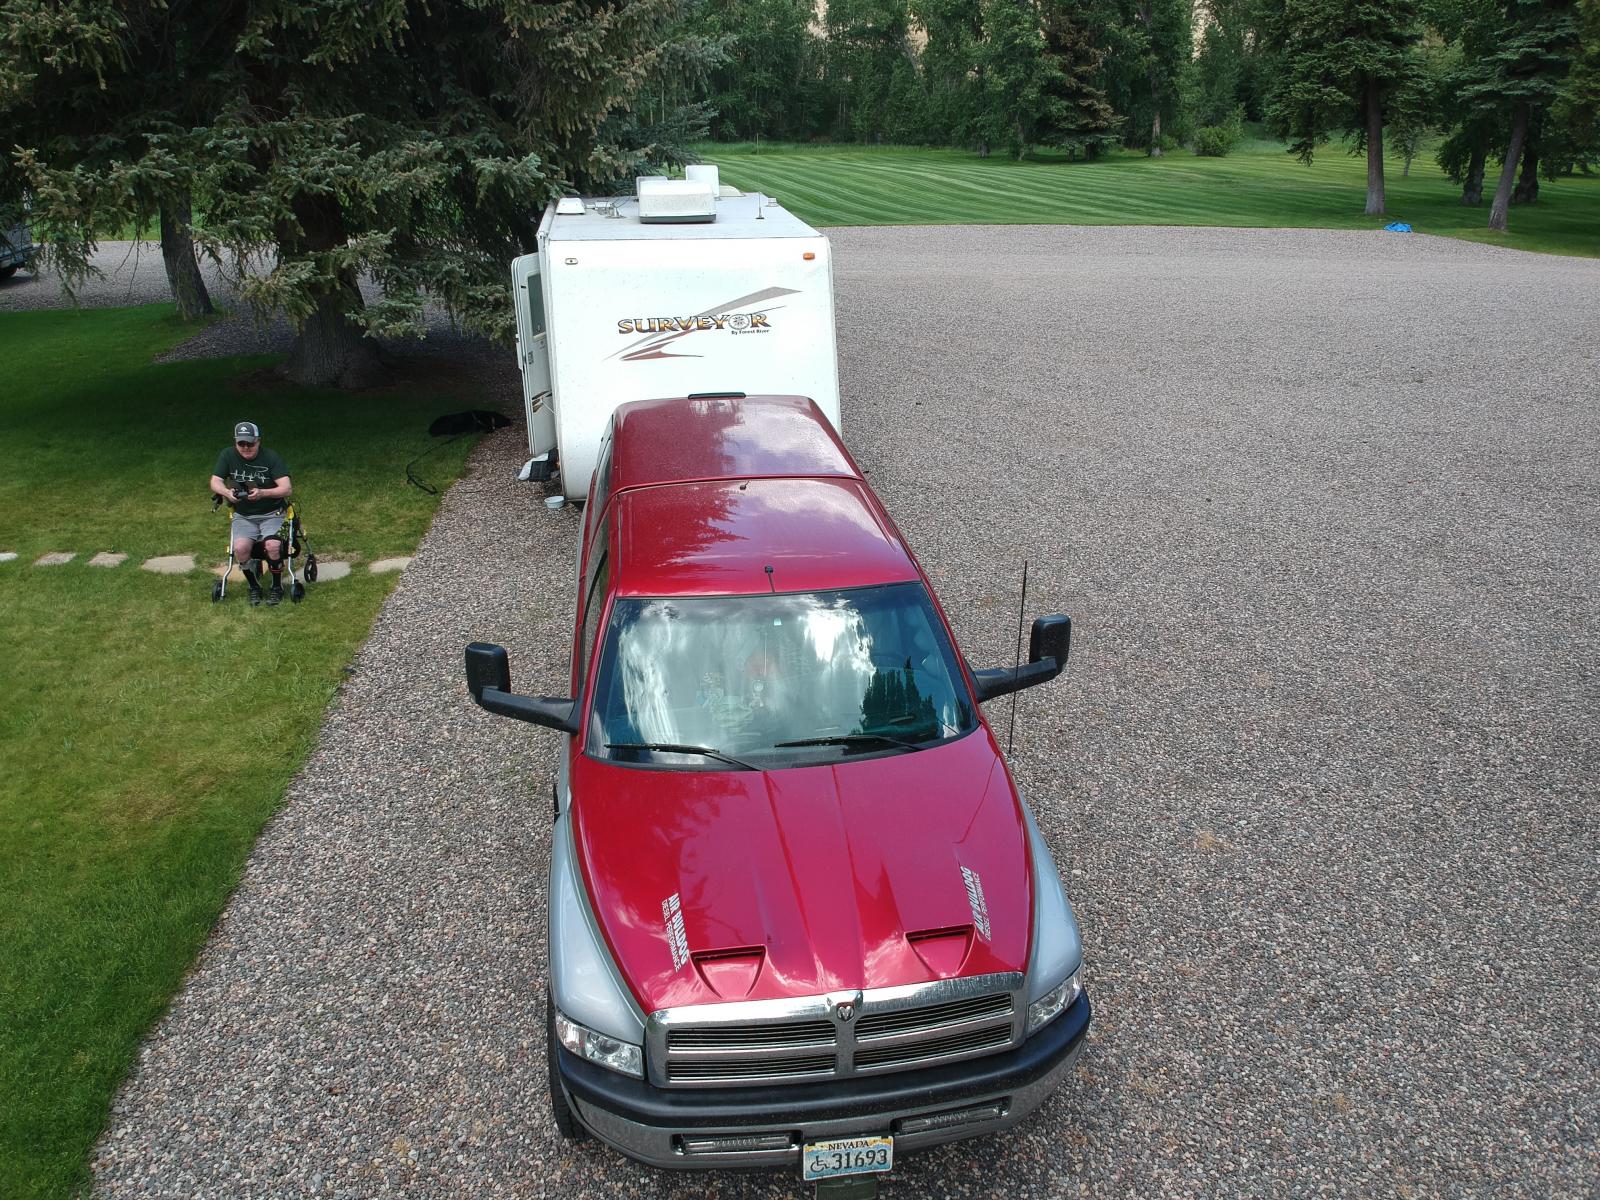
Fishing in Colorado and photo taken with a drone.
-
Took the pic with the truck offset slightly to the left. When both are straight the tailgate has about 2". That area of Utah near the WY border is full of places just like that. A wonderful place to hang out and enjoy the scenery.
-
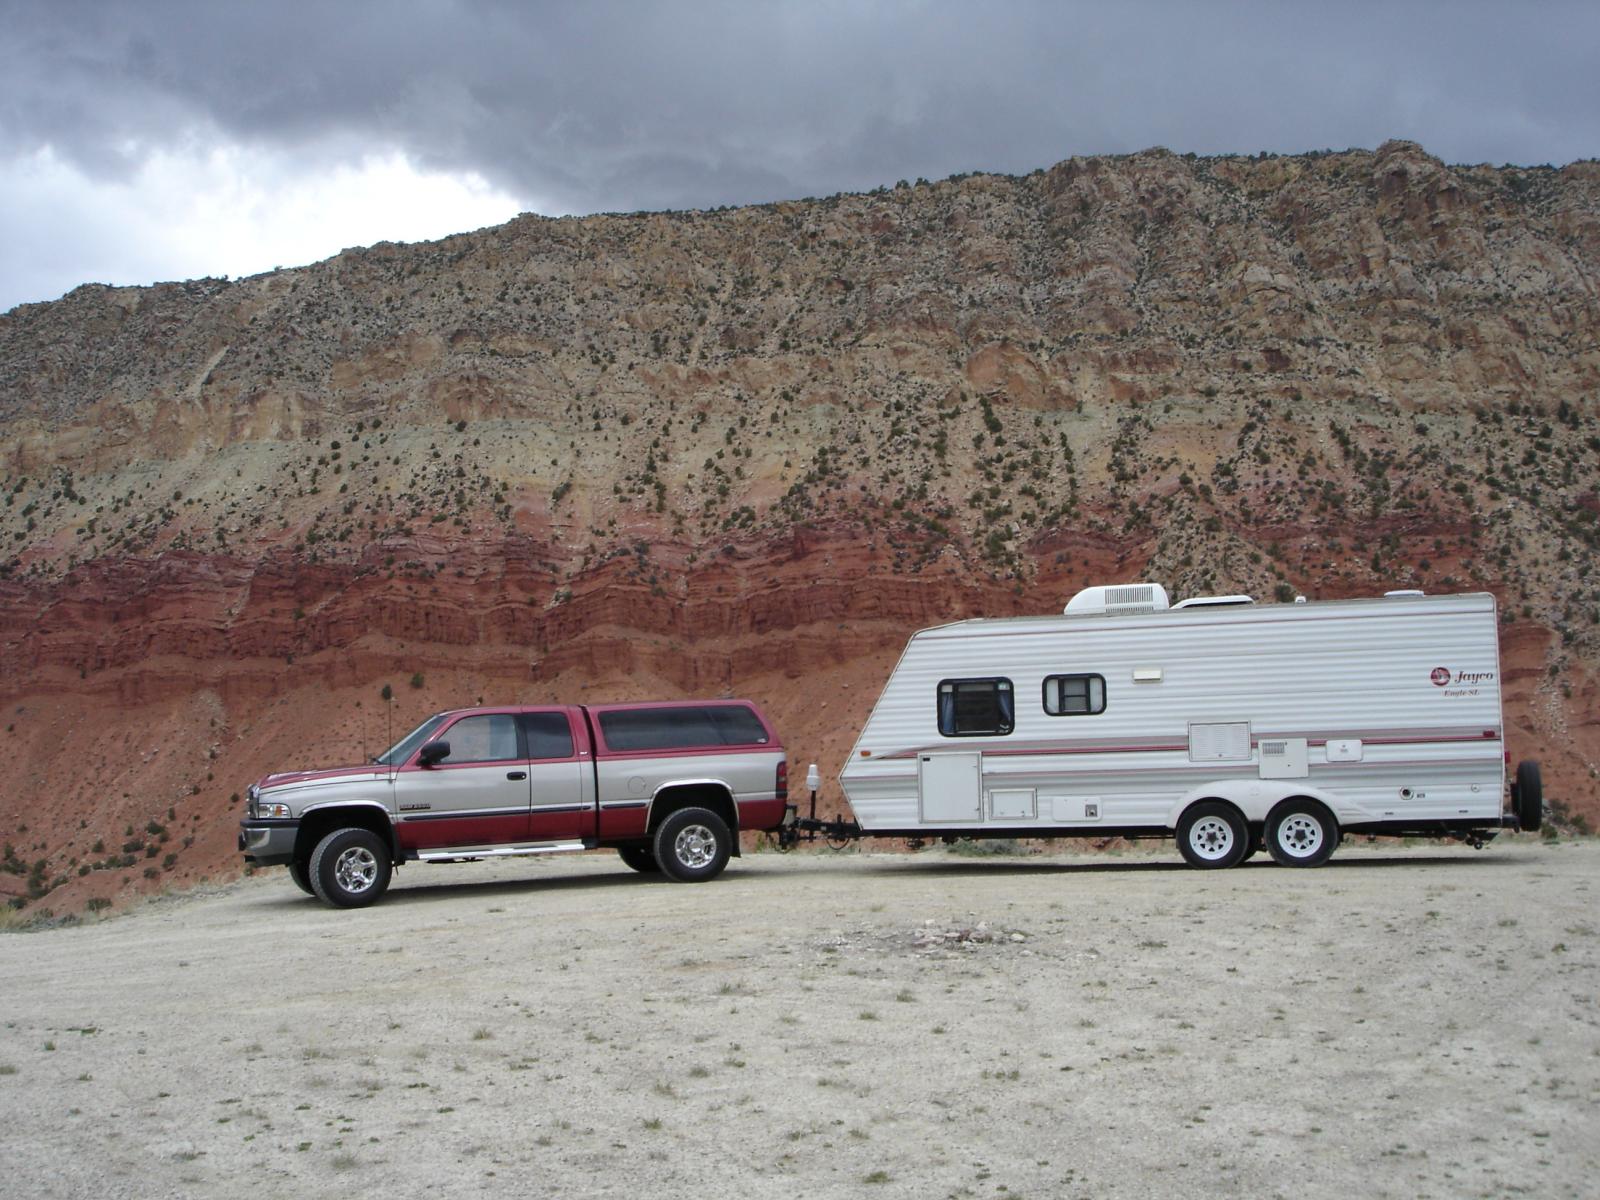
Going fly fishing Green River, UT spring 2008
-
Shouldn't the TC unlock when you take your foot off the accelerator pedal? While at a steady speed above 48 mph and TC locked, when I let the engine go to idle (or try to) my TC is staying locked unless I tap on the brakes fairly hard. I do have a modified VB and 3disc converter but I don't think that should matter, right?
-
Thanks, that's exactly what I've got for bleed container. What do you think about the combination valve bleeding? Seems to me when you bleed the system the differential valve will be displaced to a side when bleeding a front or rear caliper. Maybe bleed a front AND rear caliper simultaneously? There's supposedly a plug you can buy to temporarily replace the switch to keep the valve centered. I'm just looking for anything. I'm not on tweeter. The excess pedal travel initially seems to be a indicator that is part of the problem. How to bleed combination valve? is there a rear ABS valve in 4 wheel ABS systems?
-
So I'm back looking for more suggestions. I replaced front hubs, rotors, calipers, pads, sensors and still get abs/brake light after driving a distance of more then 5 miles (I'm guessing). Had a shop scan for codes and do the ABS fsm procedure to bleed the abs system. Get the code 78, foundation brake which could mean anything from what I read. Differential switch as mentioned above has been replaced with new unit. First brake press seems to travel more then normal. If I brake every block or so (like driving through a residential area) no light get on a road and travel a distance (4-6 miles is my quess) and light will come on. Soft pedal. Then with light on pedal feels more normal. Pressure bled so many times and also run tubing from each caliper to BMC and bled with the brake pedal. No air to be found. This is driving me crazy. This differential/combination valve seems a possible issue. How should it be bled? Indicators would make you think there is air in the system but I'm 99% sure that is not the case. It's mentioned about a rear ABS valve. I can't find that anywhere on my truck. I'll try anything at this point. I've at least got a new set of brakes and rotors. NICE!! Thanks for any help.
-
When installing my Retro shop units I stumbled onto a way to position the units in place w/o the need to move the bumper. You need to remove the black plastic top and then it takes sliding the old units out forward and sideways without tilting the unit much. There's a very narrow path to get the majority of the housing out from the fender then out sideways. I did it once then took me an hour to replicate it again. I should've videoed it. Hopefully I don't need to do it again.