PilotHouse2500
Yearly Subscription
-
Joined
-
Last visited
Everything posted by PilotHouse2500
-
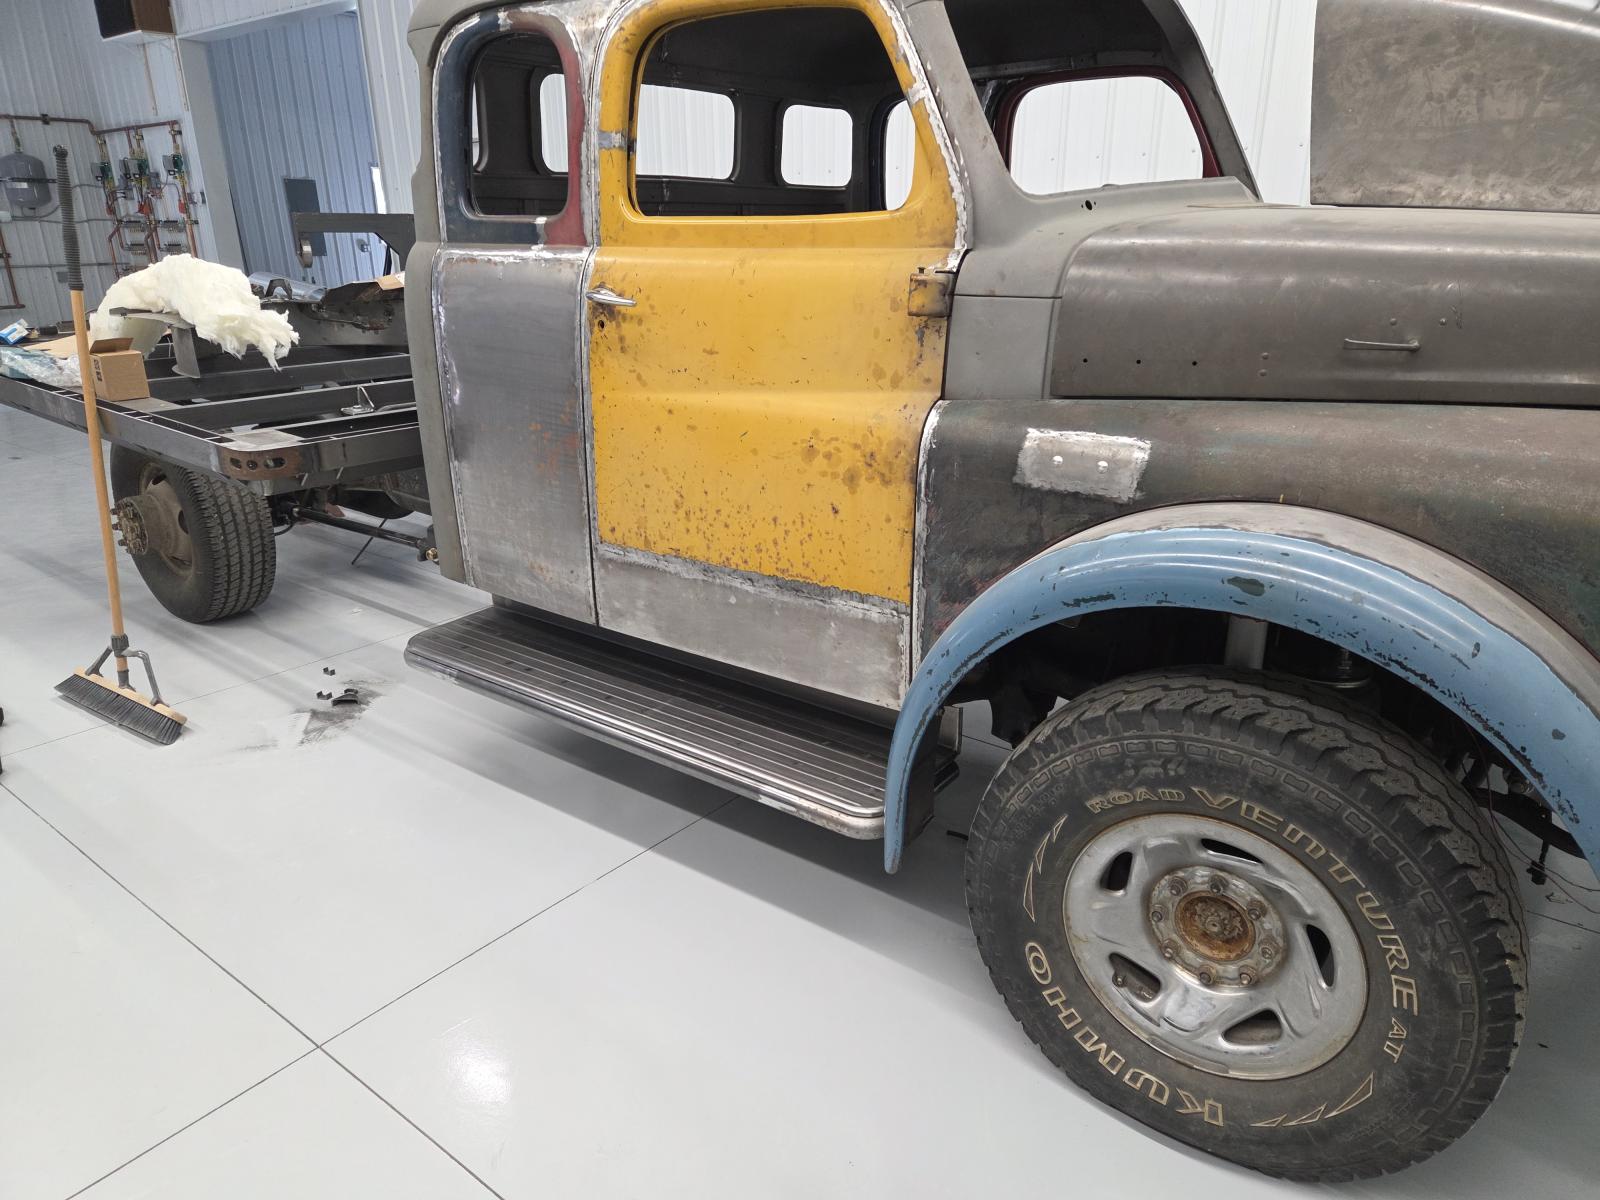
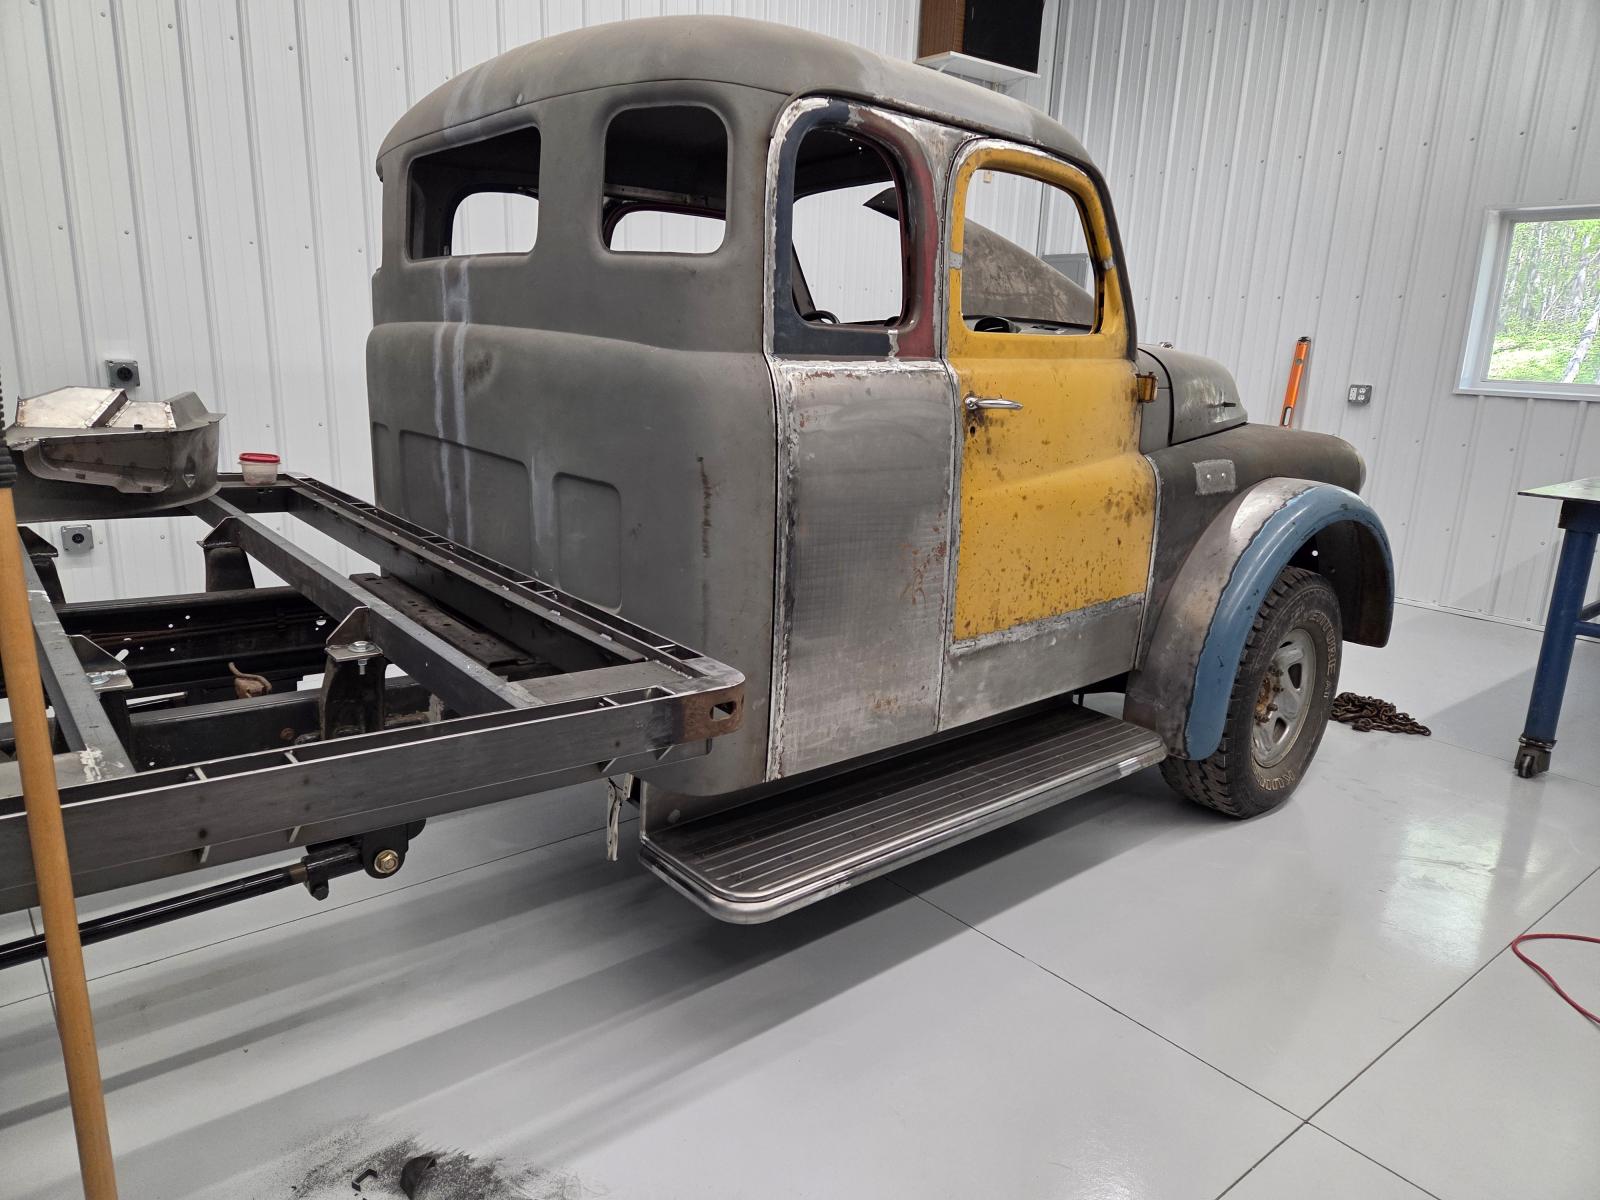
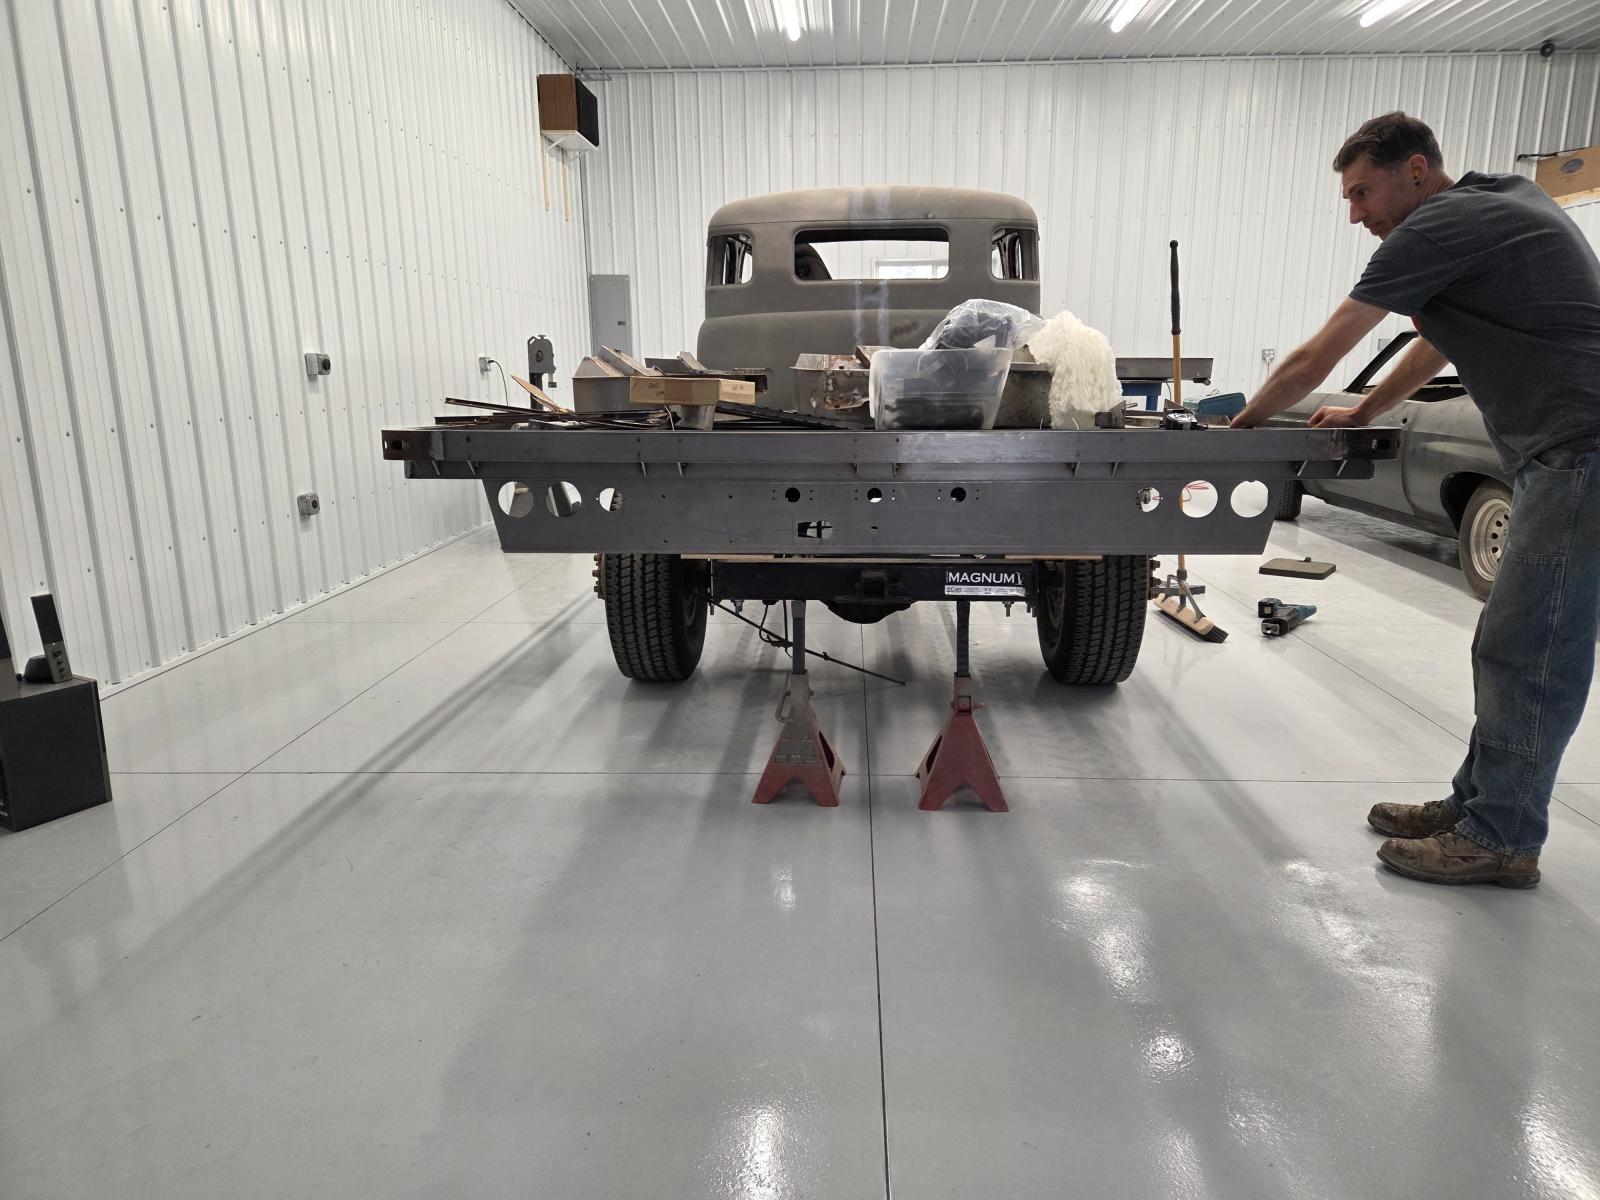
Stopped out yesterday to drill holes in the bed frame for the "fuel tank" mounts and D ring tie down plates. All he has left to prep before blasting is the back of the cab. Blaster is about a month out for open slots. All gaps set, doors happy for "shape", hood/front clip all prepped and actually off to the side ready to go. "Soon" can't get here fast enough :) !
-
Dropped off my rear bumper this weekend and talked to my guy "Tony" about what's going on. He is going to be at the stage quickly to send off for blasting. He's done a phenominal job in cleaning up the things I couldn't do (making the door skins crown properly, etc). He said I did a good job in most of what I did and that is made it easier for him in the long run compared to some other jobs he's done. So, in short, another quick trip out to drill a few holes in the bed frame here in the next 2 weeks and I should be well on the way to paint soon. I just need to pick some colors!
-
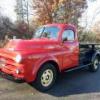
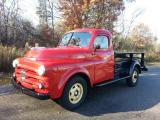
Main color cab will be a dark blue, accent color of black. Tilt frame for hood will be a dark gun metal as will wheels. Engine Cumins red. Its been a long wait...but now the $$ starts to flow....OUT....
-
Good news! Paint guy is starting work on TOOD on Monday!
-
Answered my own question: asked a work buddy at the engine plant and he says you CAN, but not recommended....too much going on in the 24V to make it work right.....unless someone here knows a workaround
-
FWIW is a 2002 engine.
-
Quick question: for my next project truck I have an option to get a 24V 6bt w/ a 6 speed trans....is there a way to push this back to a mechanical system and not have to have an ECM? Swap the pump for a p-pump is all that is needed, what else maybe?
-
Progress
.jpg.afdc611531fd79a7d6356c8edbc183c6.jpg)
-
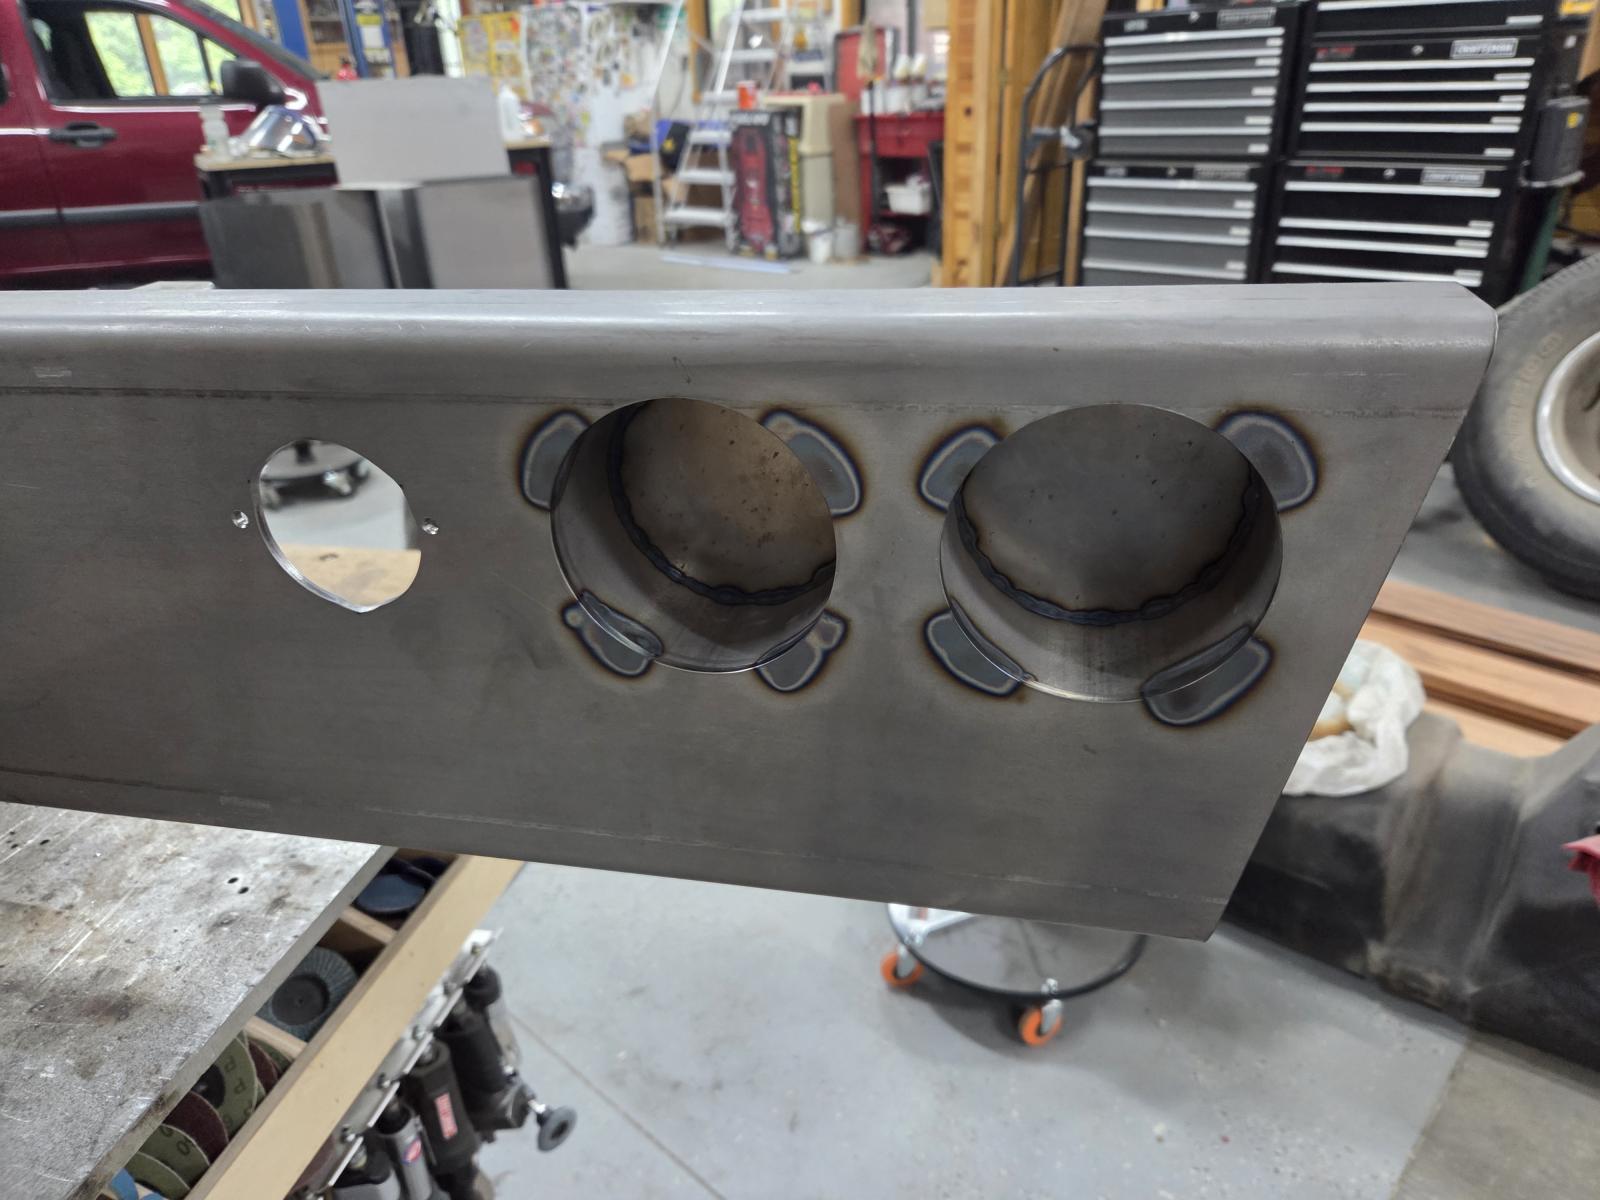
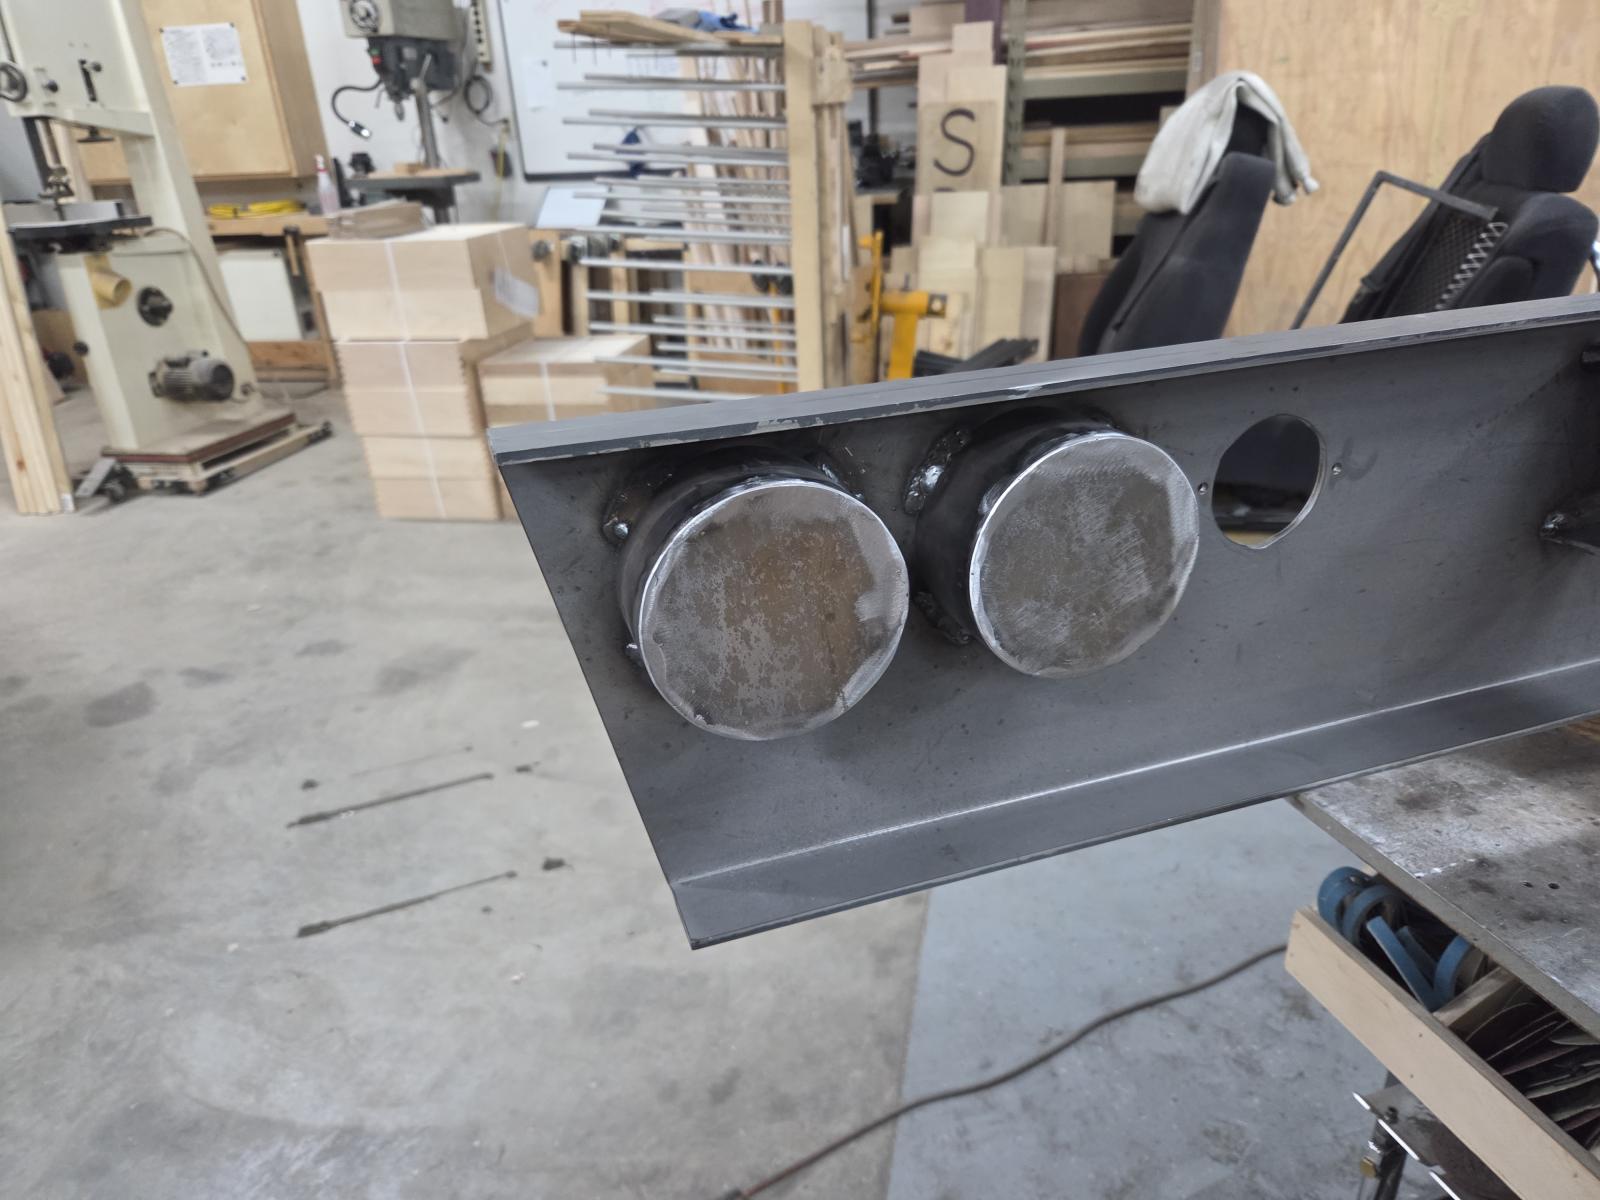
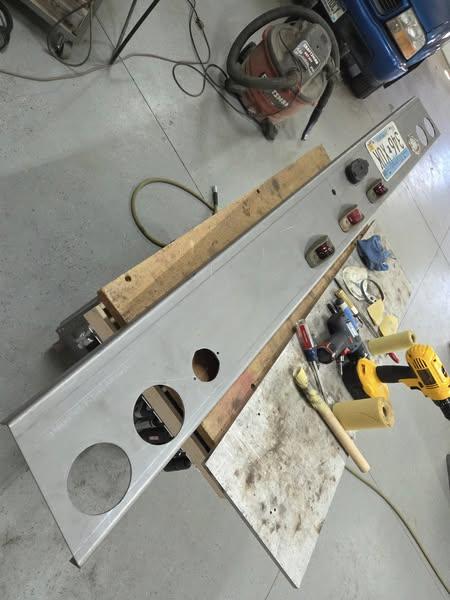
Tail light buckets
-
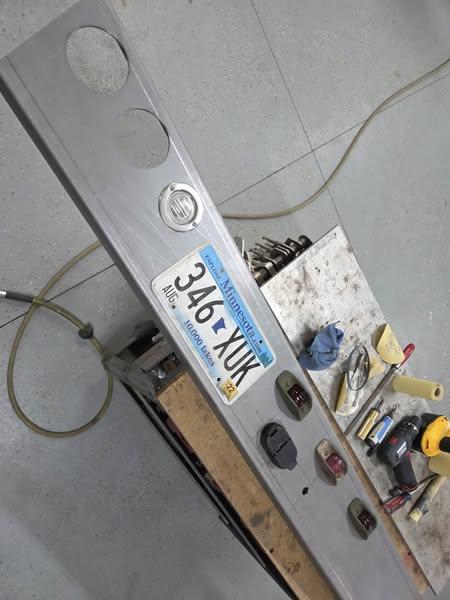
Rear "bumper" work progress: fab'd and welded on mounts machined areas down for the backup camera and trailer connection pod so they "click" in place dropped tubing off at my buddies to have him part off pieces on his lathe for my tailight buckets

-
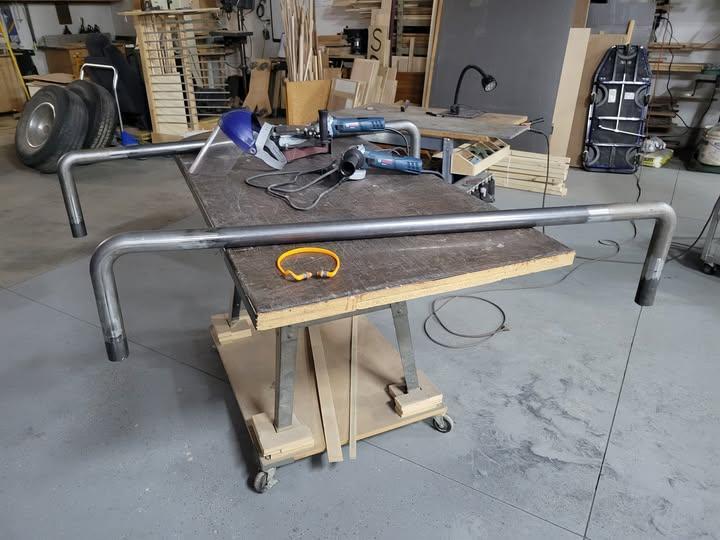
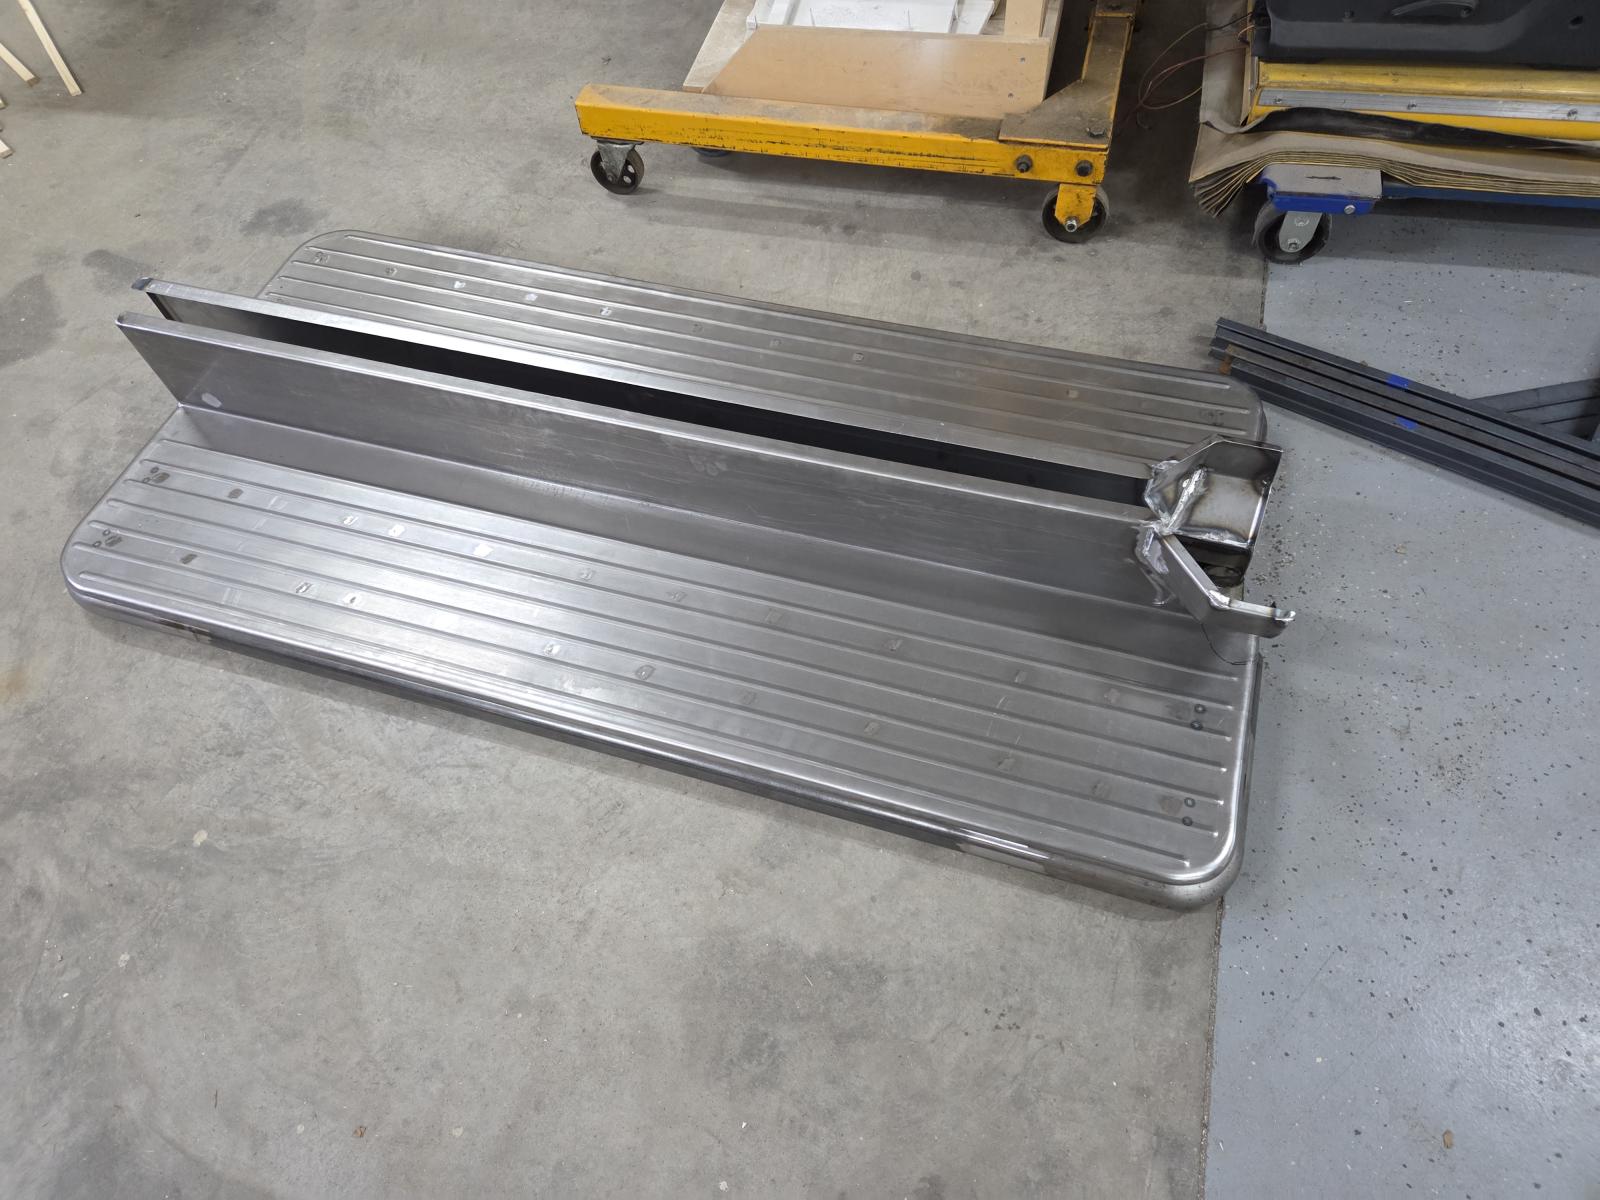
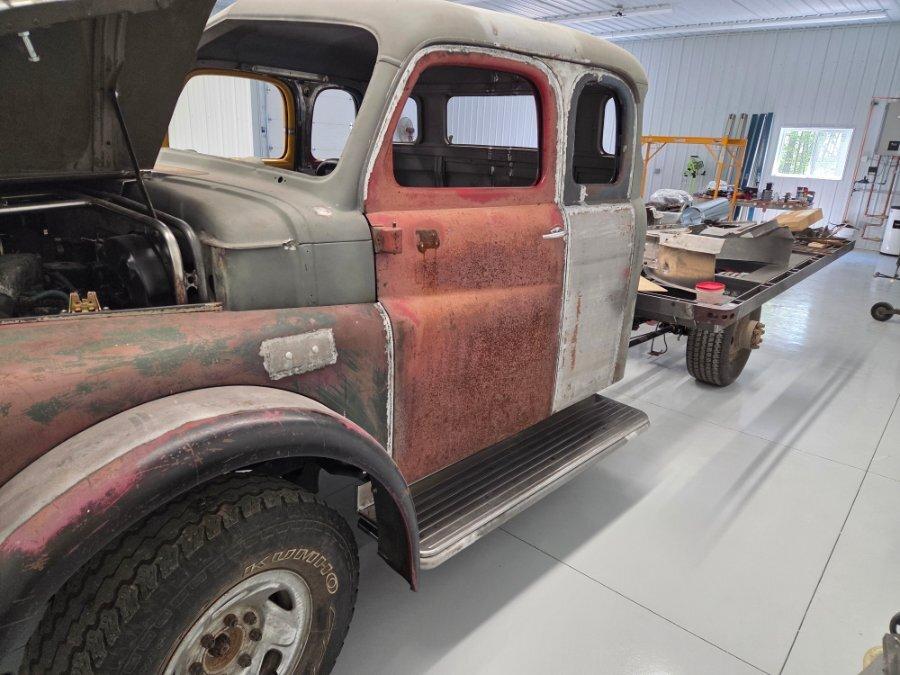
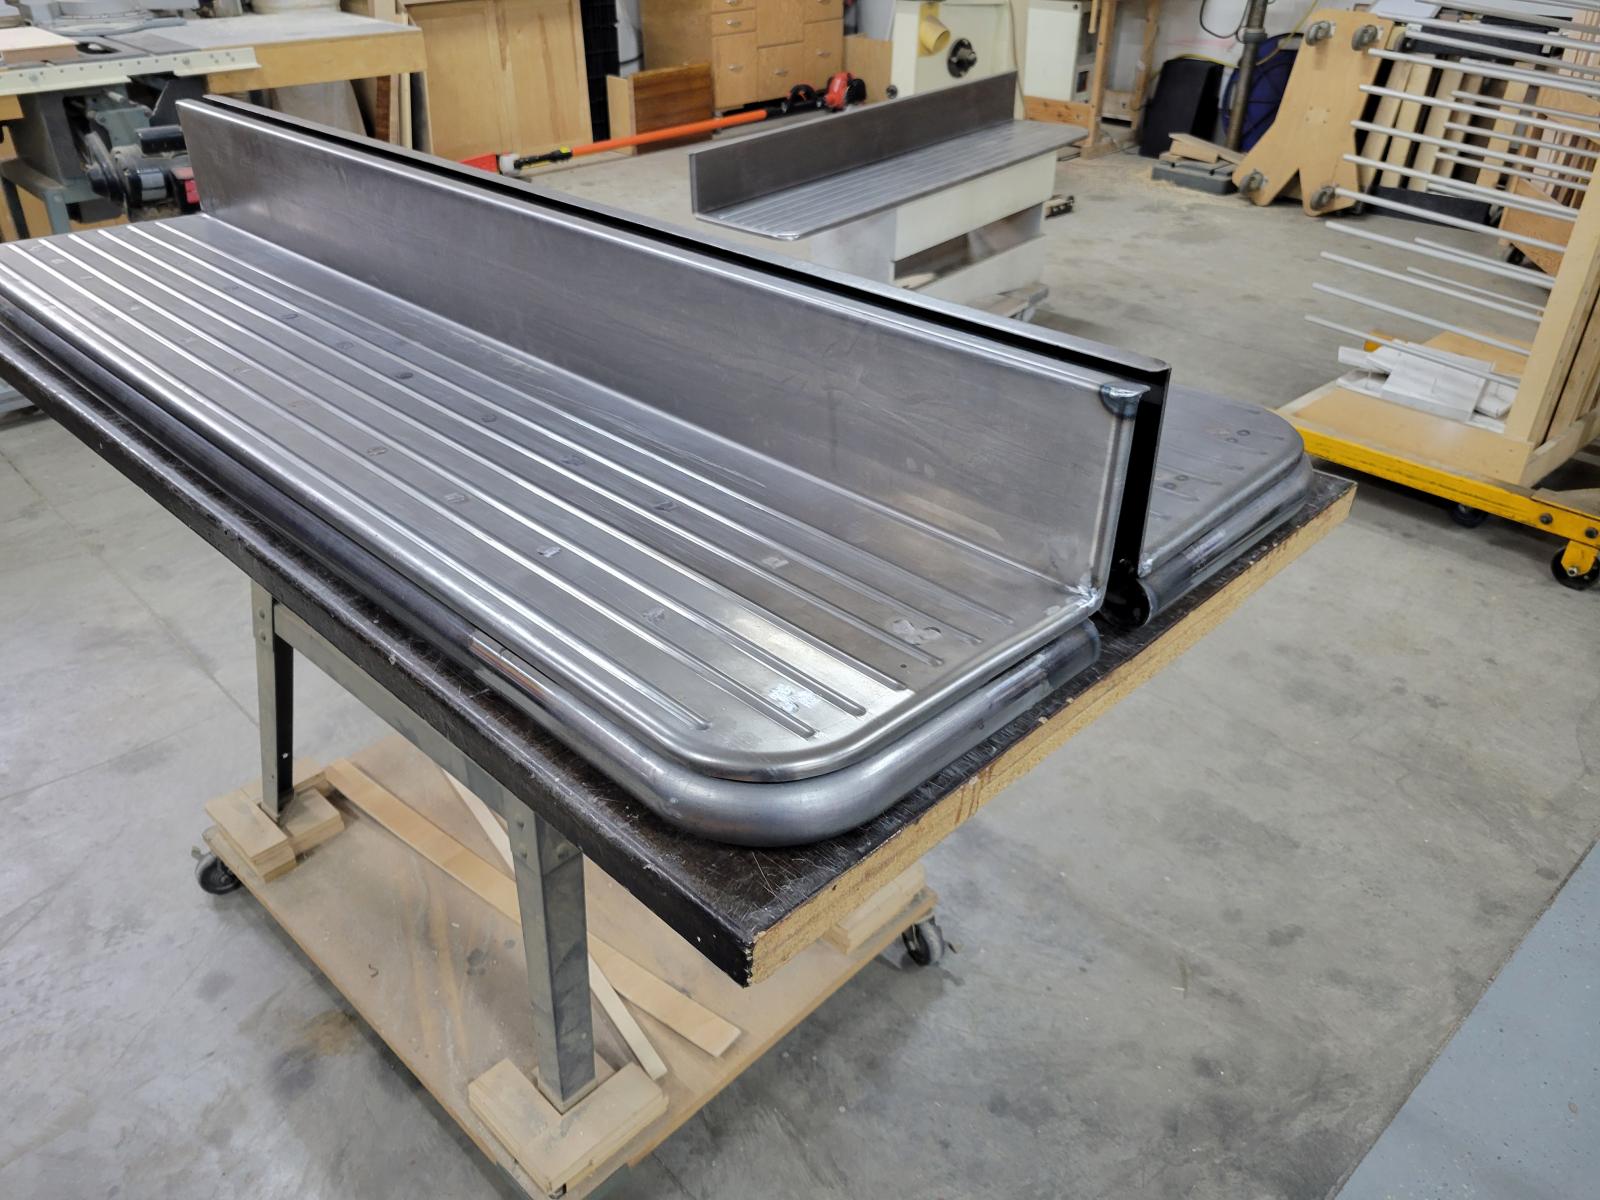
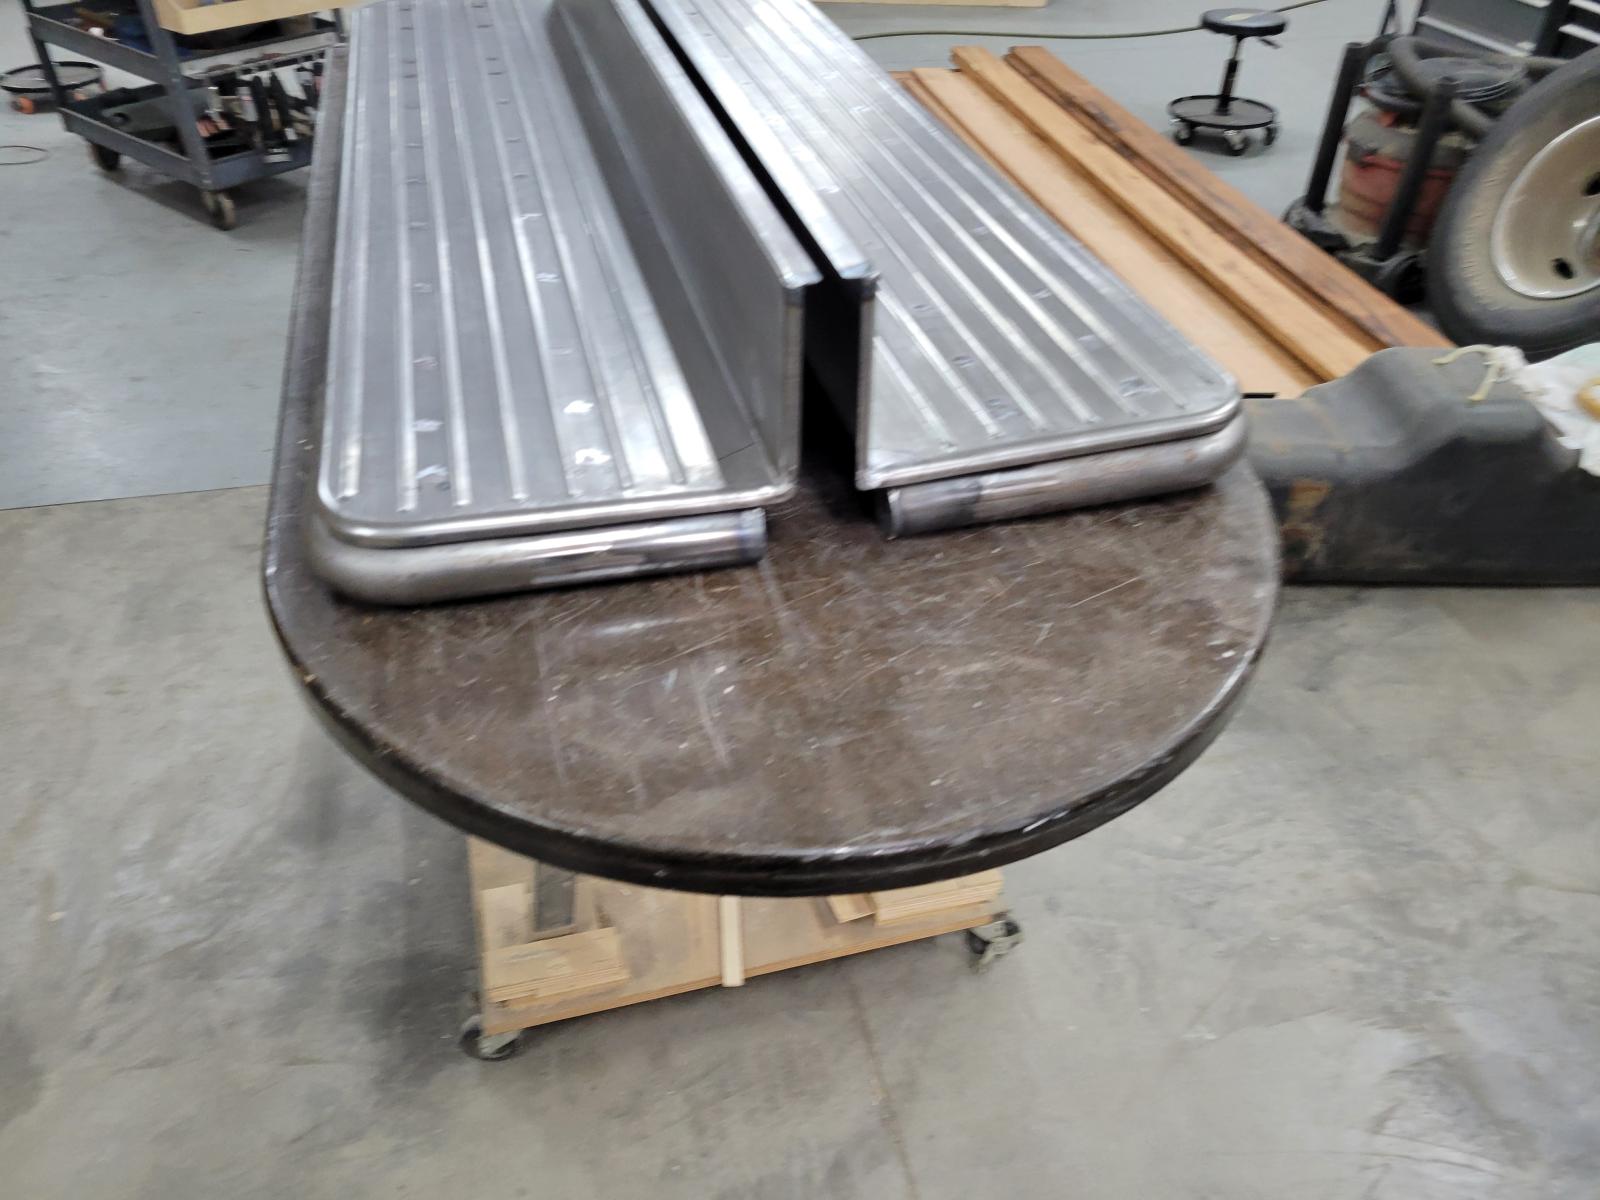
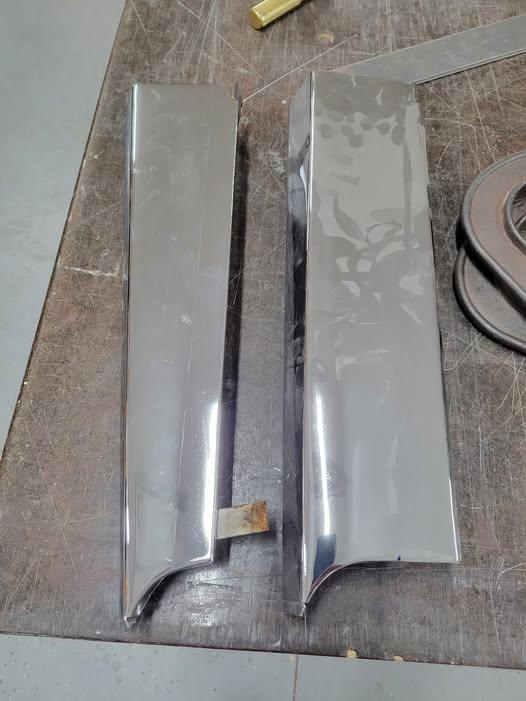
Running boards DONE! Bump outs added for cab mounts.
-
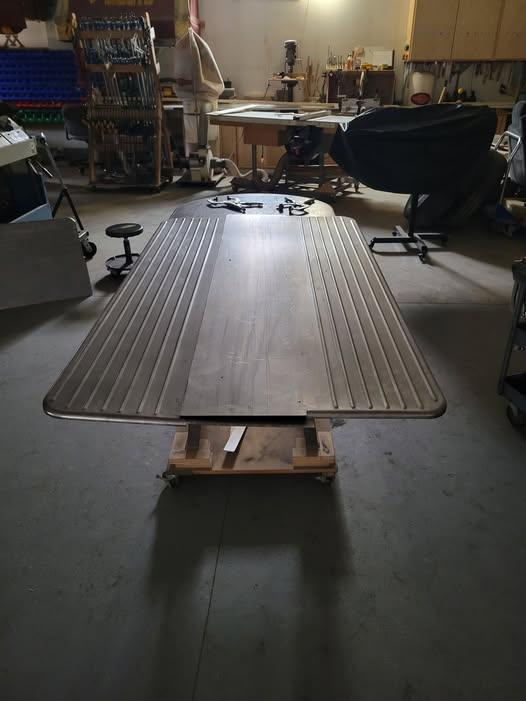
Running boards and bumper dry fit
-
Going to his place today to dry fit the ribs and bumper. No paint yet.....maybe june....sigh
-
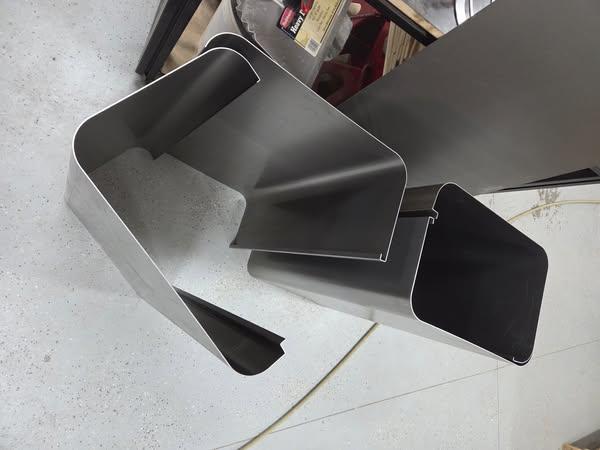
Continuing to work (slowly) on the rear bumper and got my sheet metal bent for the "fuel tank" storage.
-
Running boards ready for dry fit. I know I have notch something for the cab mounts.
-
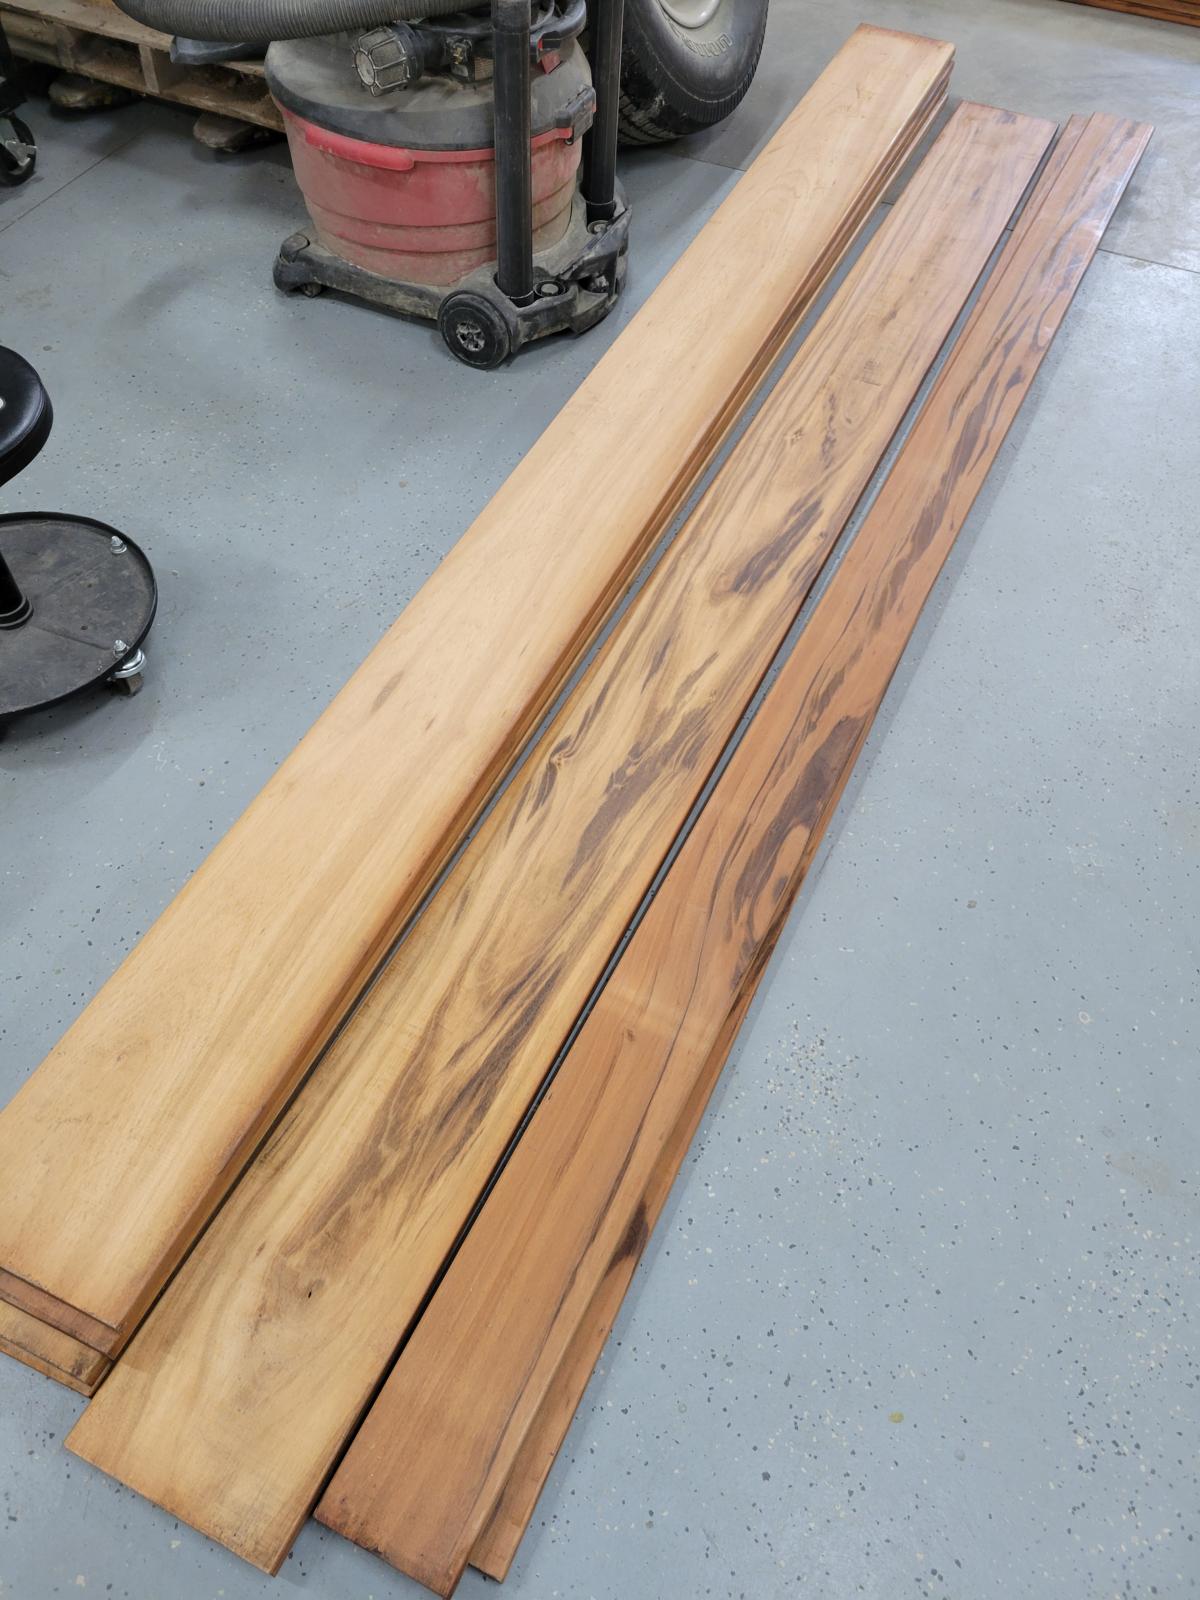
Thanks....it's "tigerwood" out of Brazil....super hard and dense. 30 year ground contact (not that is will see the ground). Quick wipe with an oil and good to go! Sadly no, my painter is STILL working on getting his building inspected/approved. I think he's gonna start here in April...will keep you informed.
-
Bed wood showed up today
-
Keep working the issues! I know there are several new sleep apnea options out there that are way less of a PITA than the standard old school options were.
-
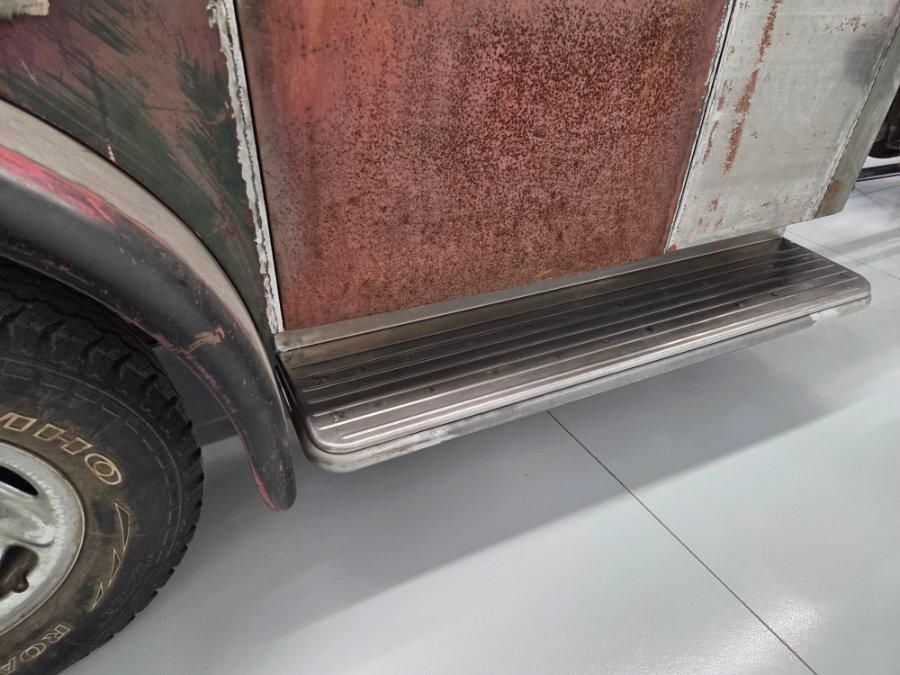
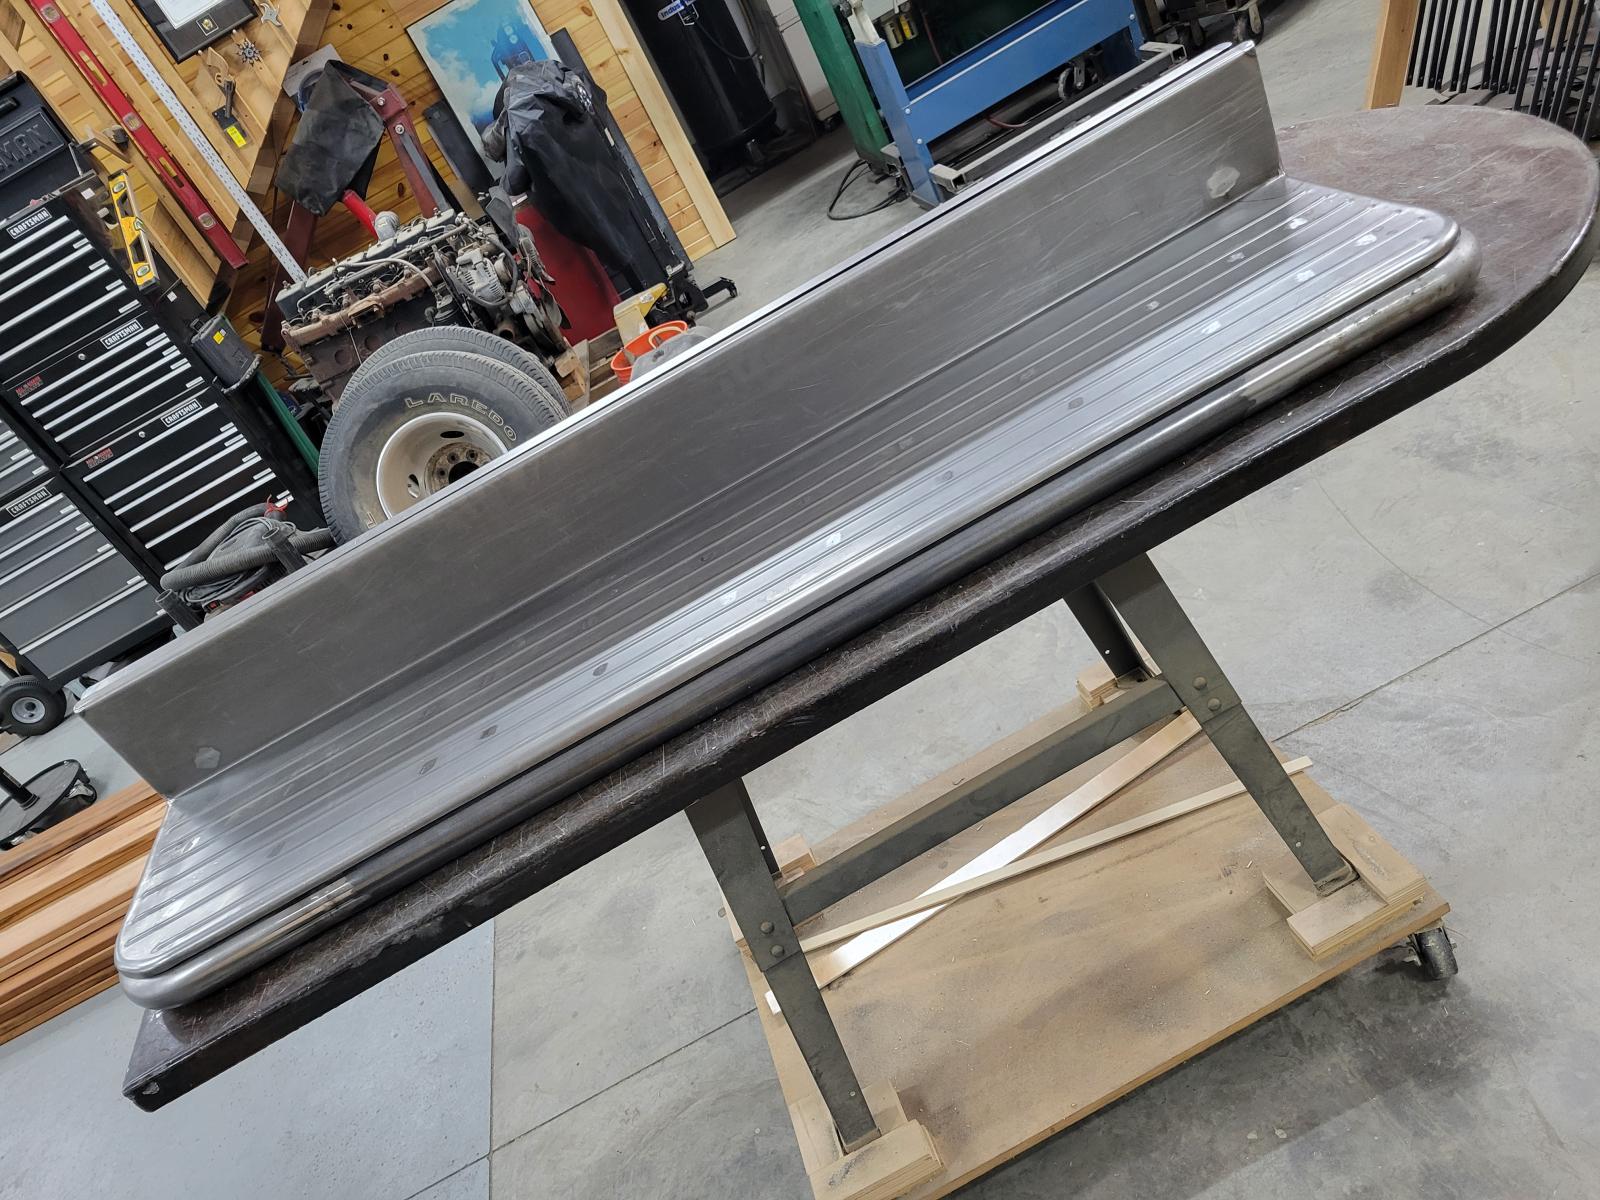
My OCD decided I needed to redo the first running board to be "nicer"....so I did! And I started to trim the grill bars so they fit right by the intercooler.
-
Passenger side done. As typical it went better and looks better. I figured a way to jig the bead rolls so it went much better.


-
One step closer


-
....so am I...so am I....
-
I went for it yesterday on the first running board top skin. Those long beads are tough to try and keep straight. Did I? Mostly.....at least its gonna be Rino Lined and not gloss back!


-
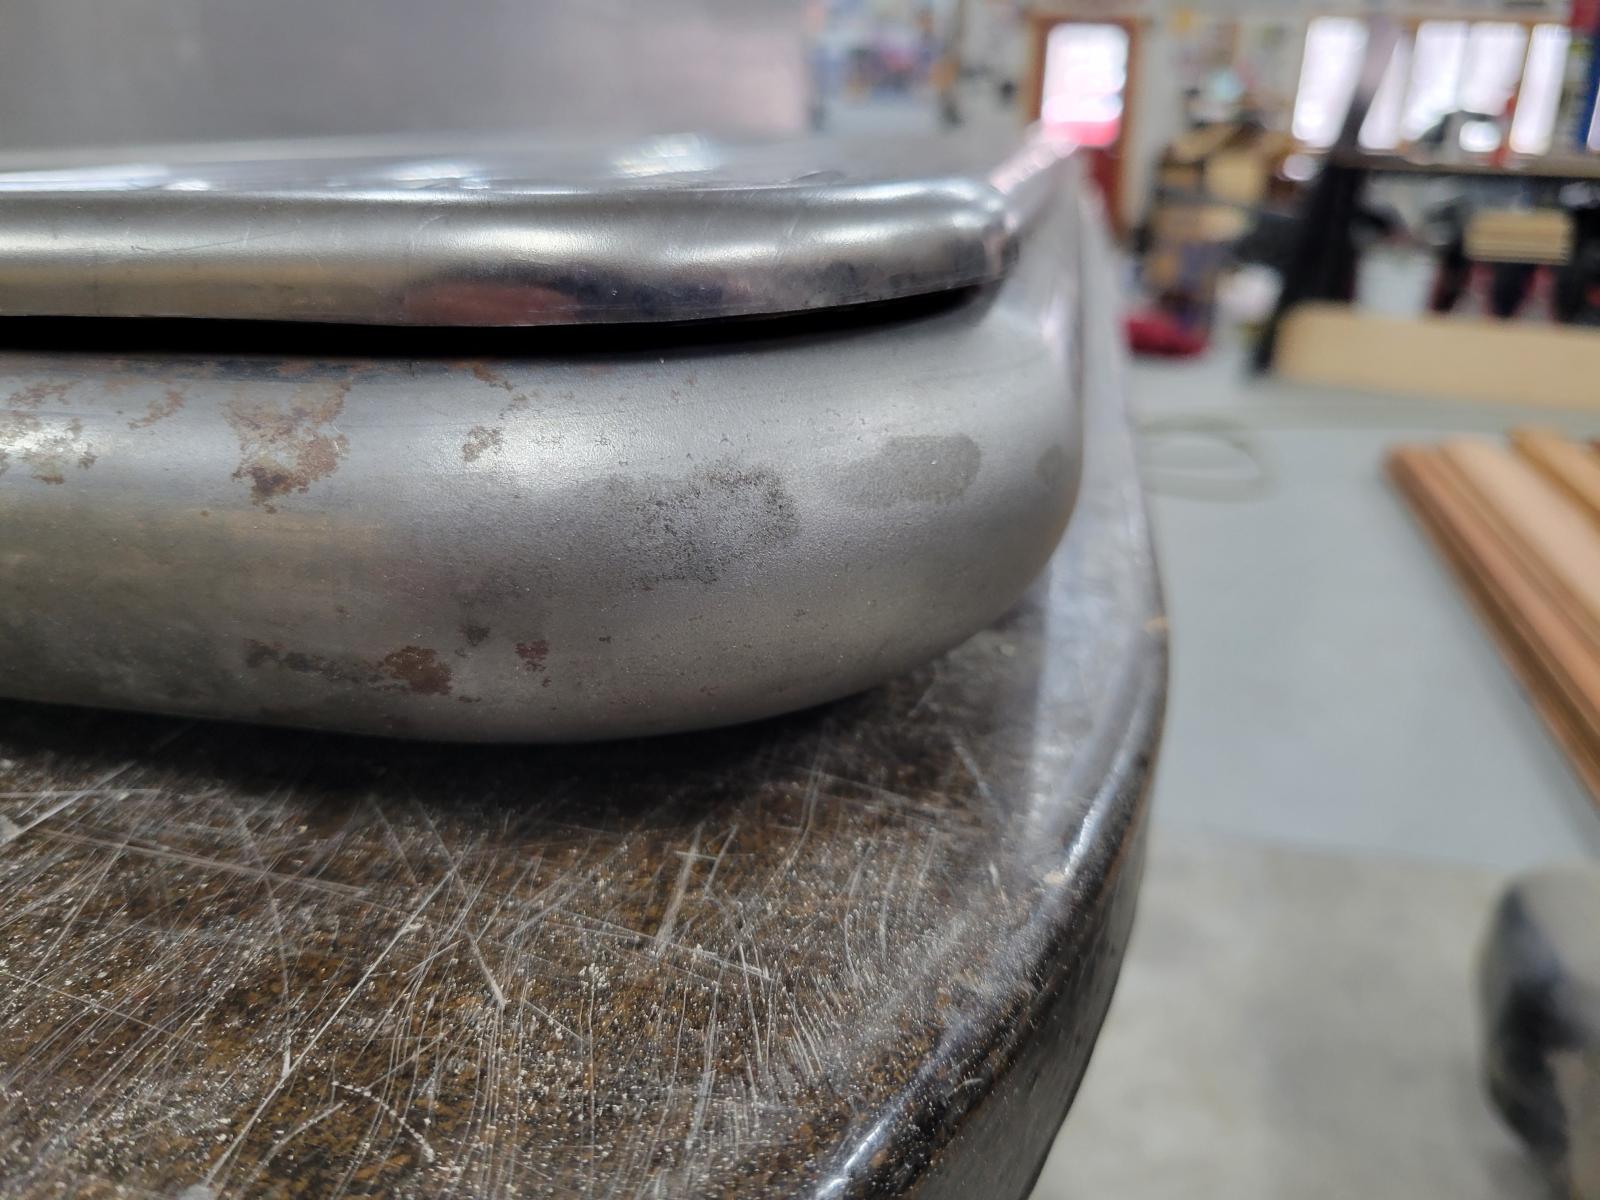
Formed edge

-
Start of running boards, and a test panel.