PilotHouse2500
Yearly Subscription
-
Joined
-
Last visited
Everything posted by PilotHouse2500
-
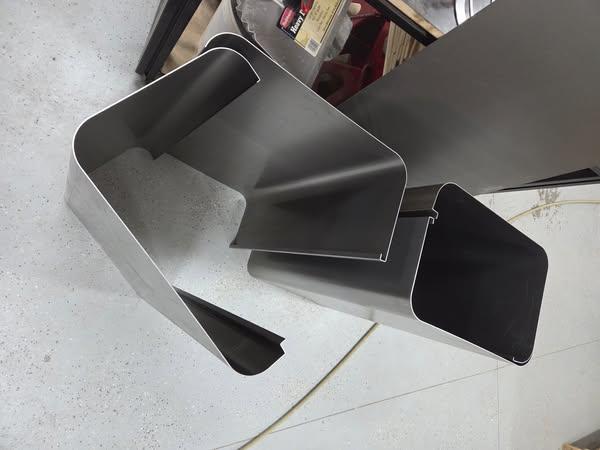
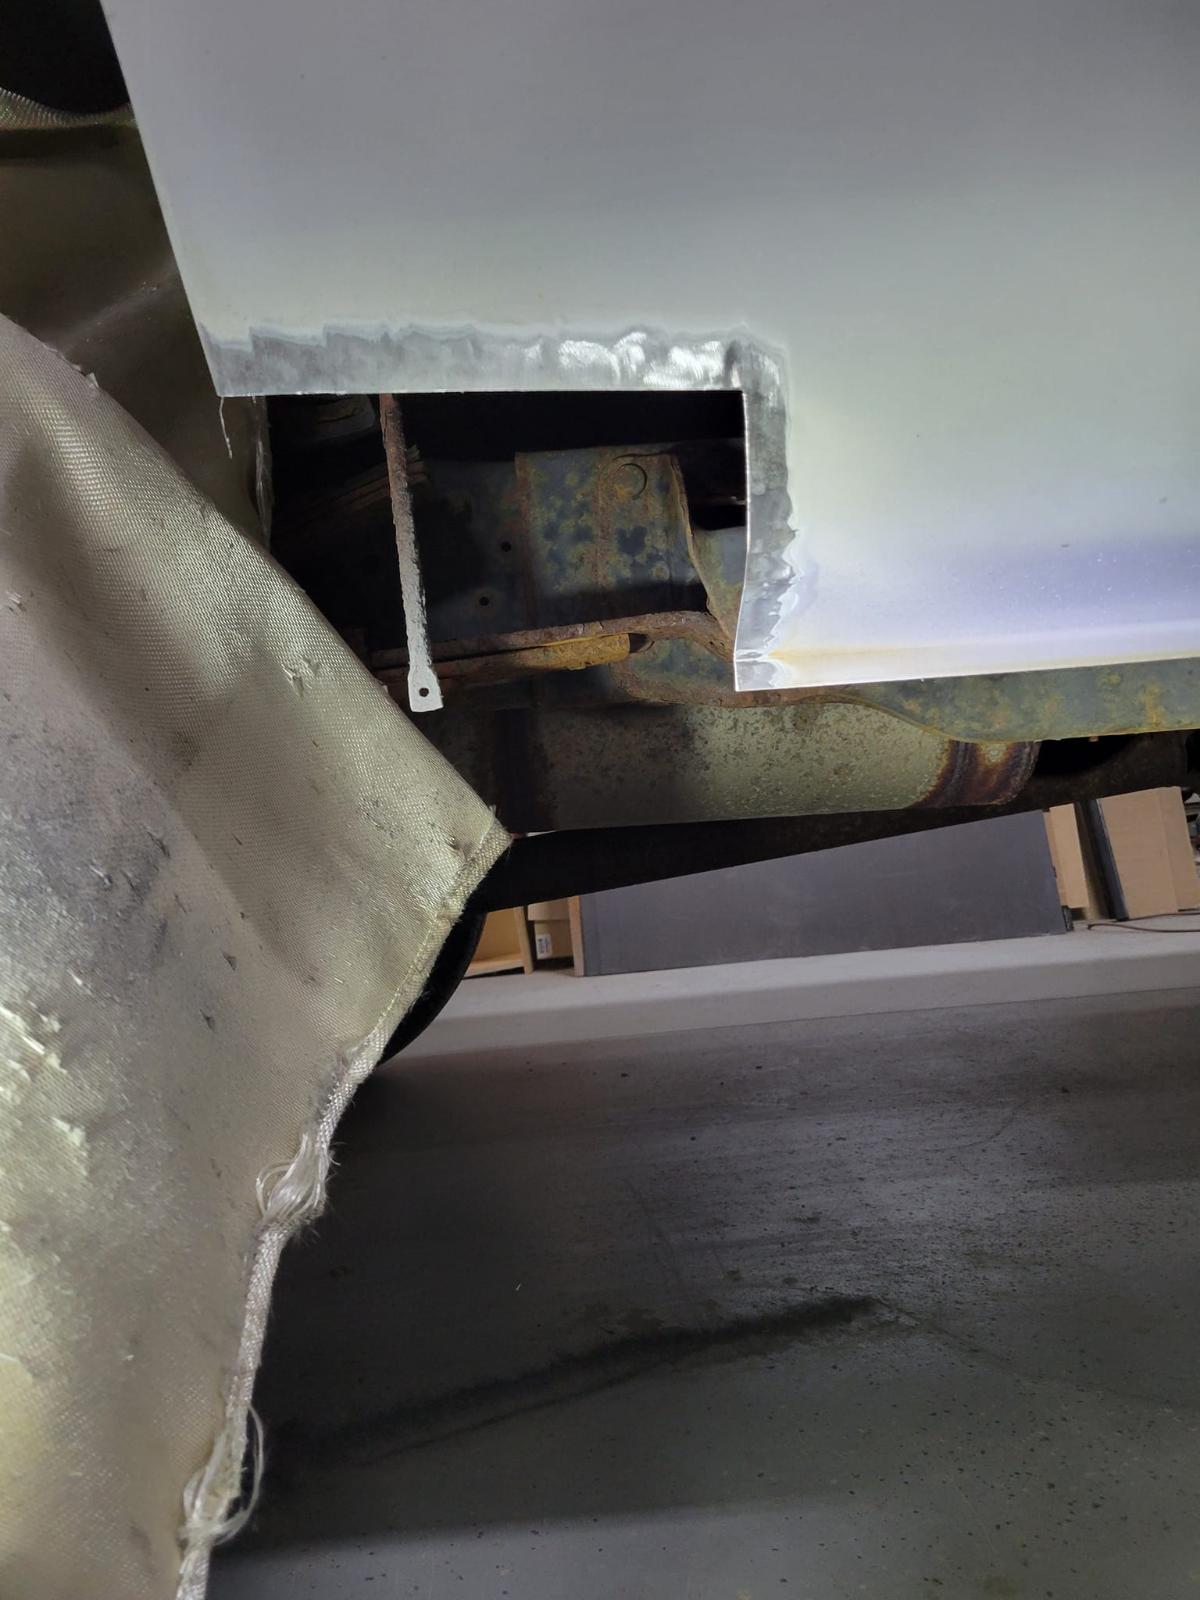
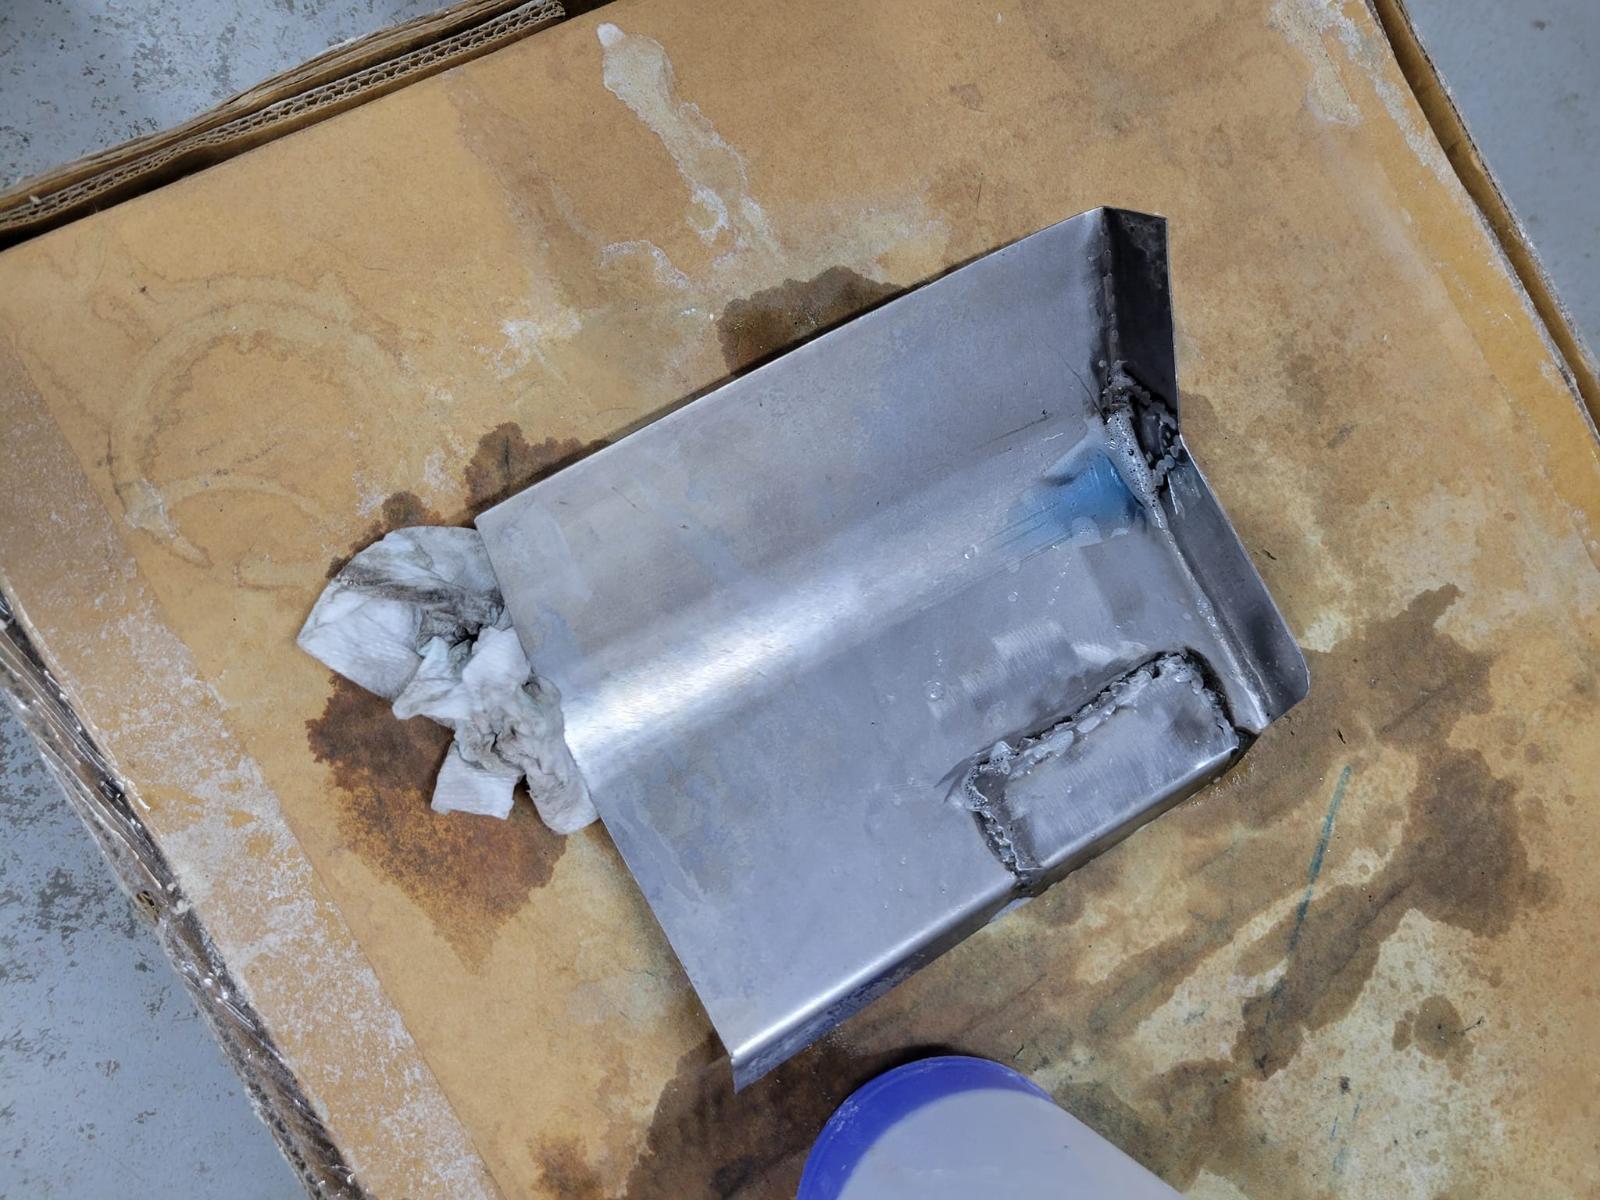
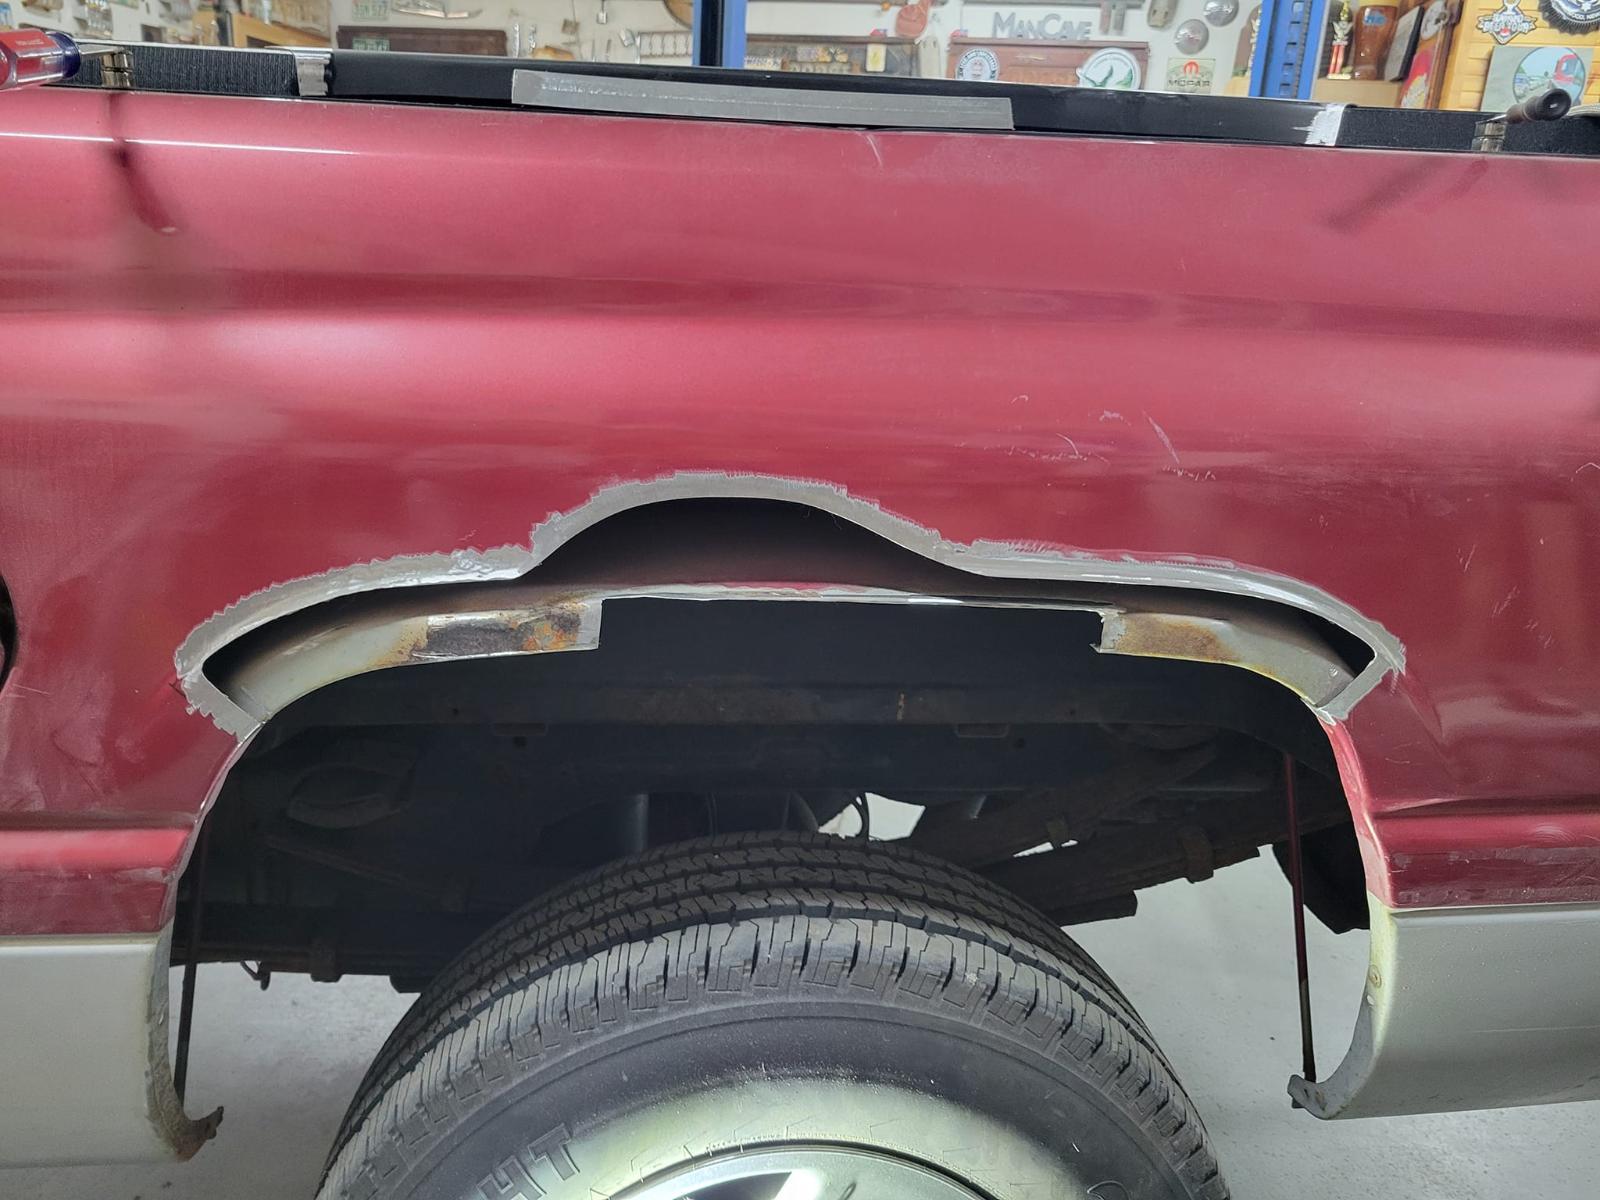
Continuing to work (slowly) on the rear bumper and got my sheet metal bent for the "fuel tank" storage.
-
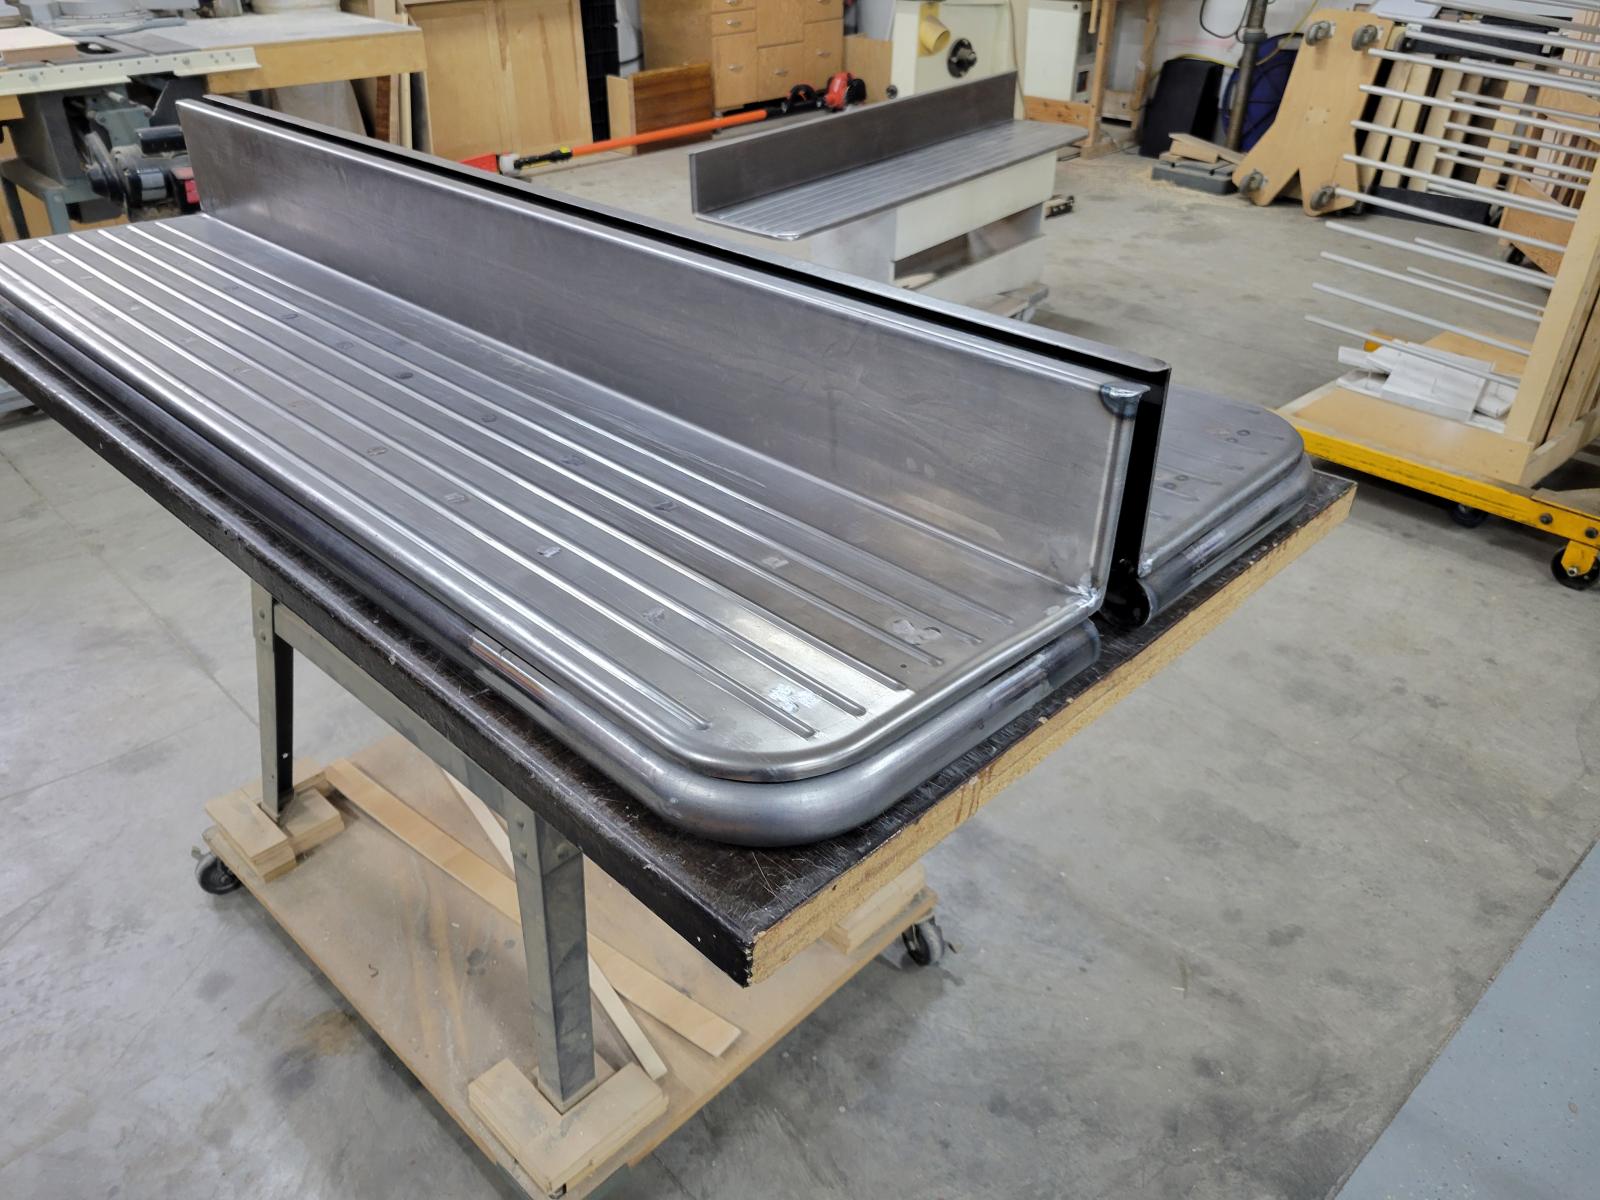
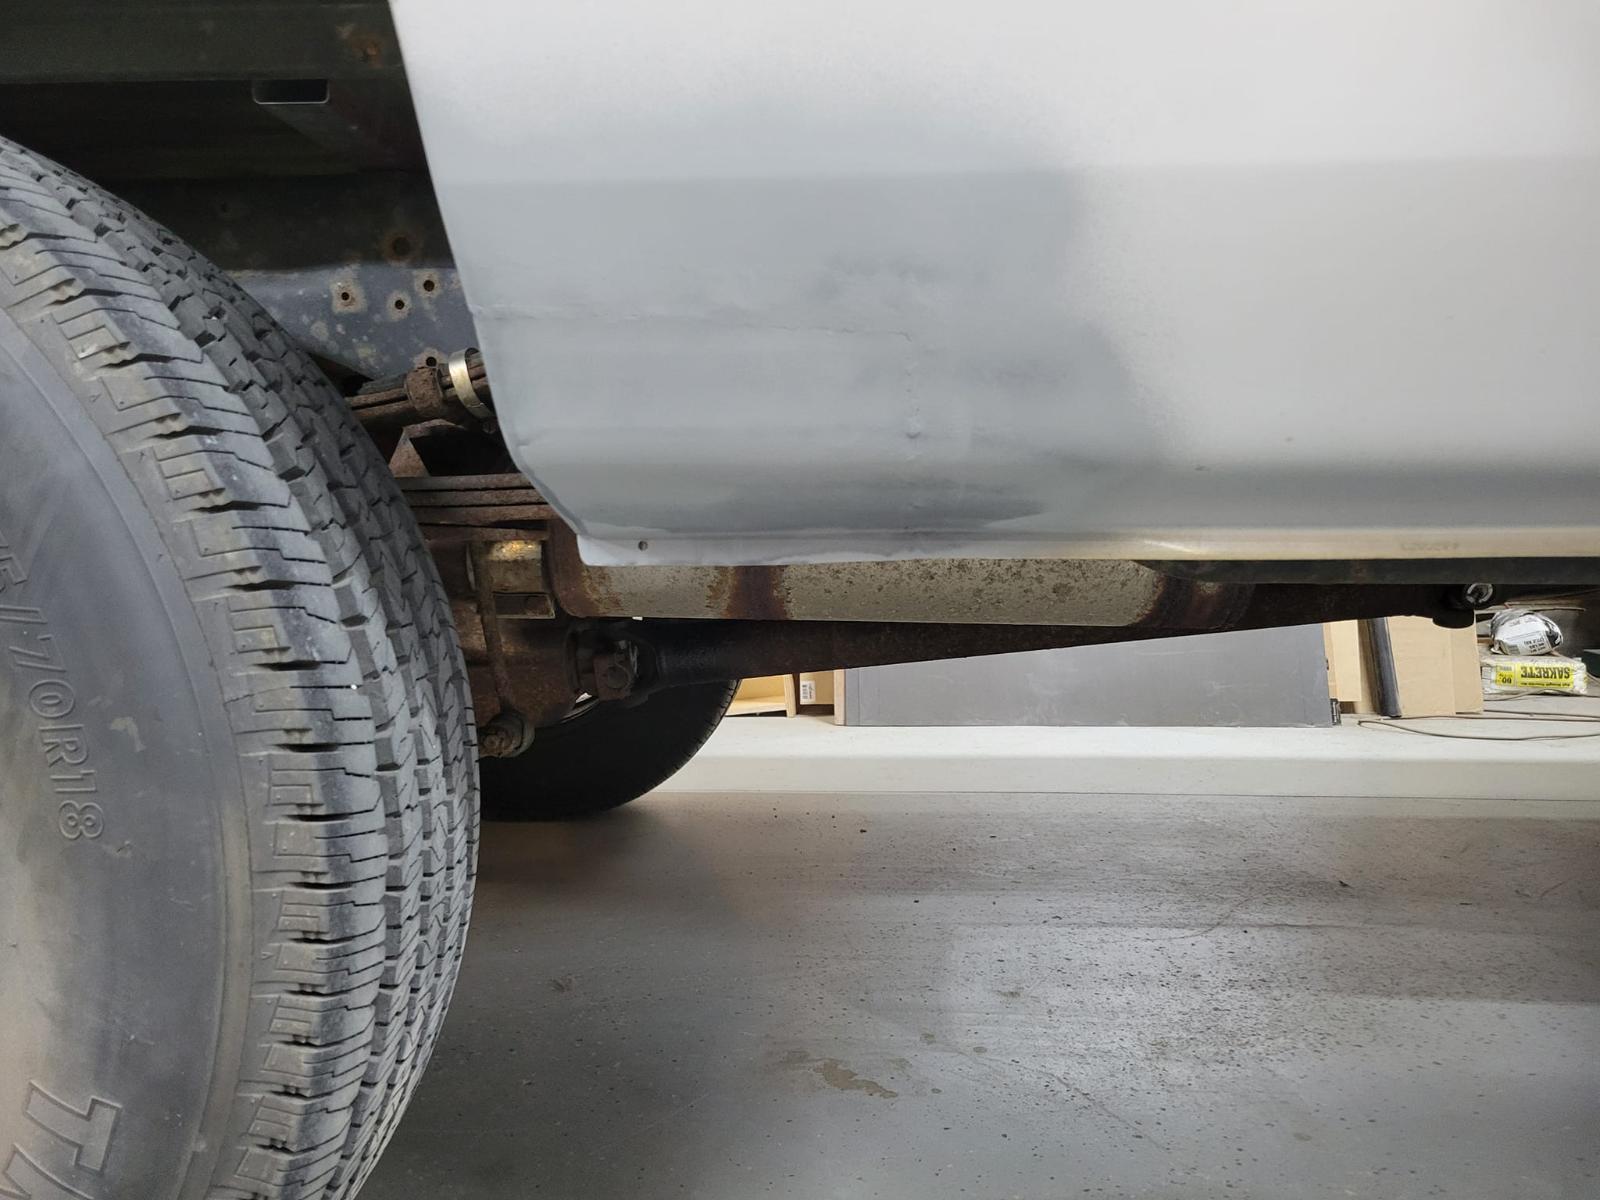
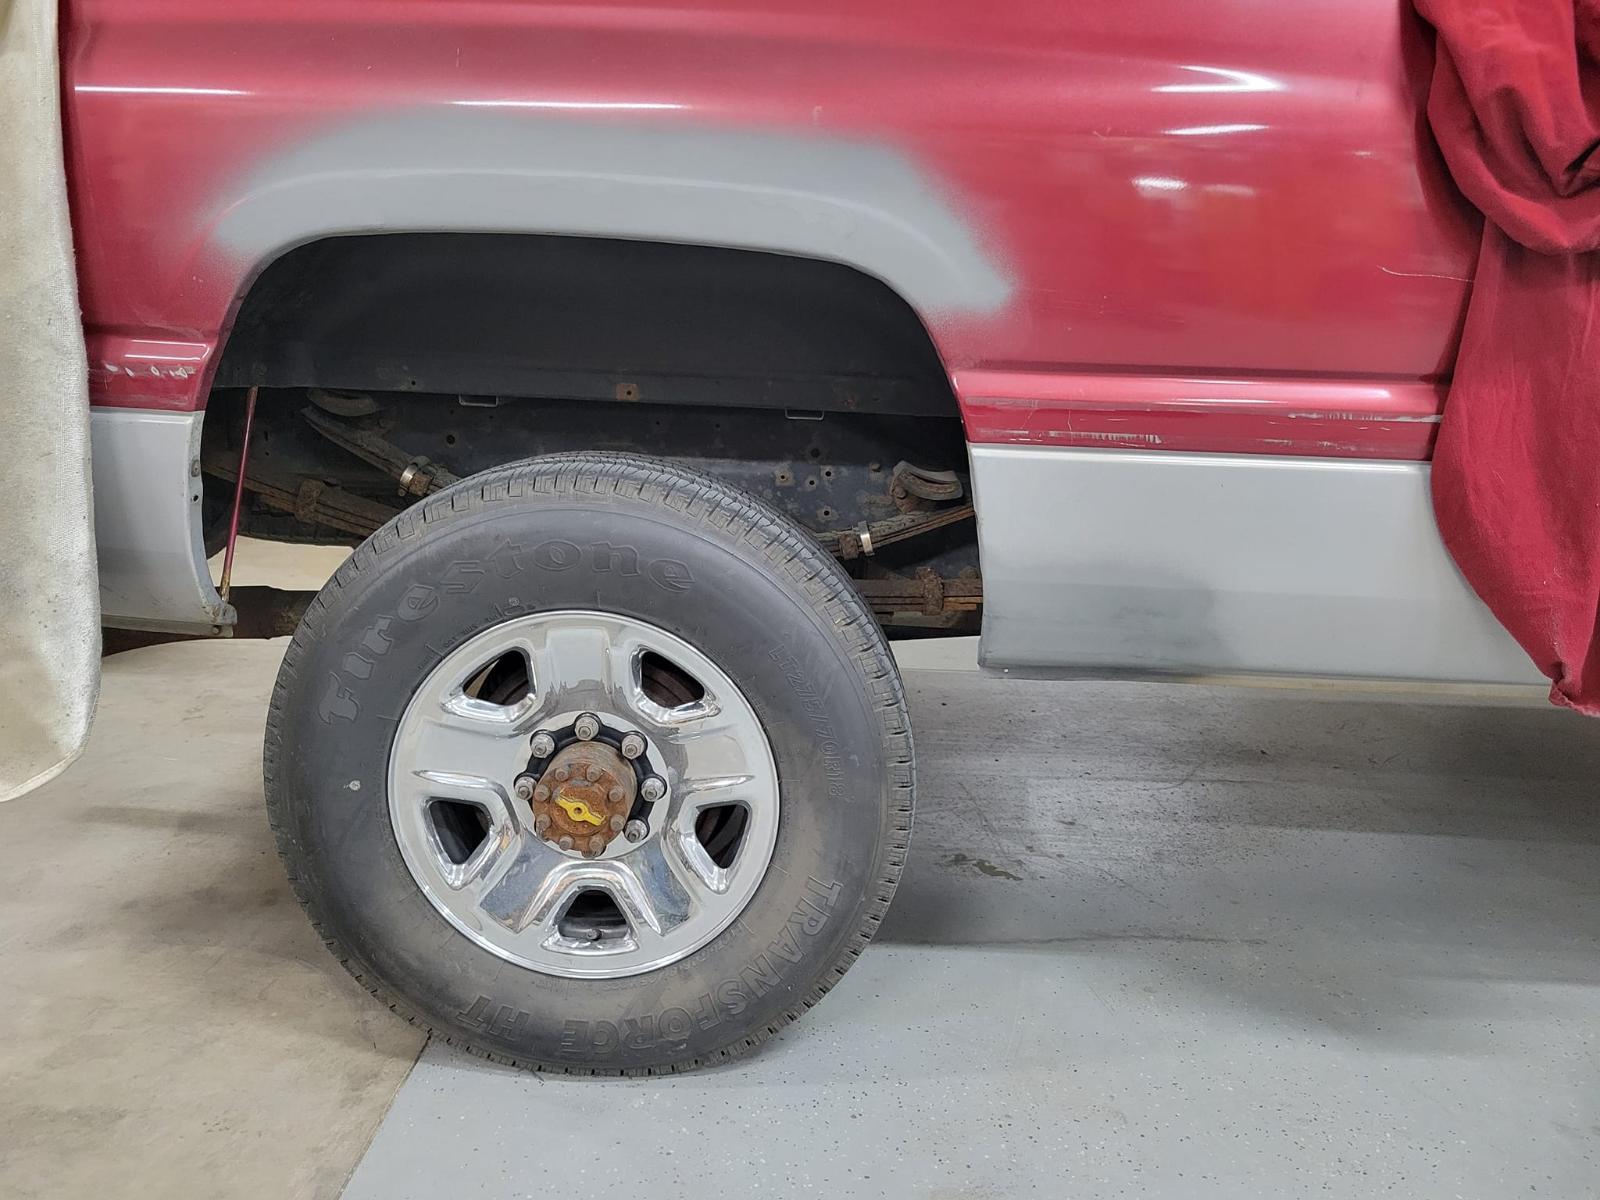
Running boards ready for dry fit. I know I have notch something for the cab mounts.
-
Thanks....it's "tigerwood" out of Brazil....super hard and dense. 30 year ground contact (not that is will see the ground). Quick wipe with an oil and good to go! Sadly no, my painter is STILL working on getting his building inspected/approved. I think he's gonna start here in April...will keep you informed.
-
Bed wood showed up today
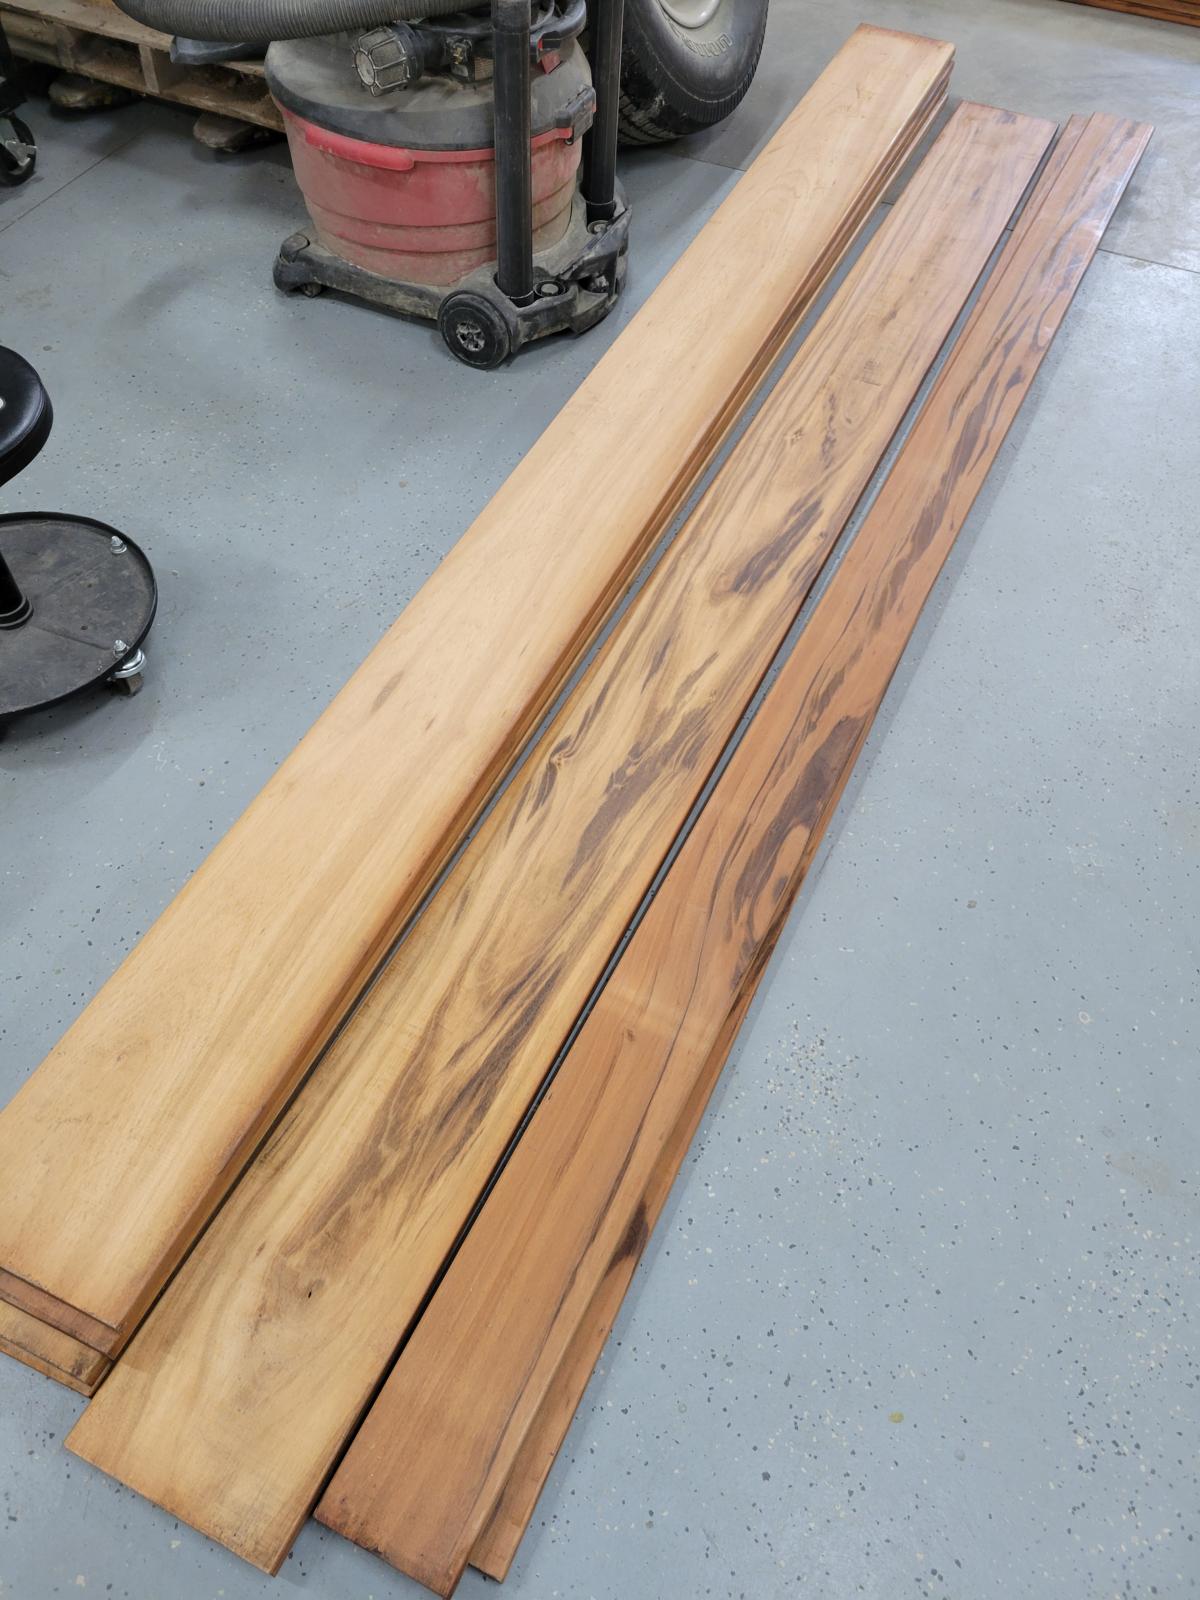
-
Keep working the issues! I know there are several new sleep apnea options out there that are way less of a PITA than the standard old school options were.
-
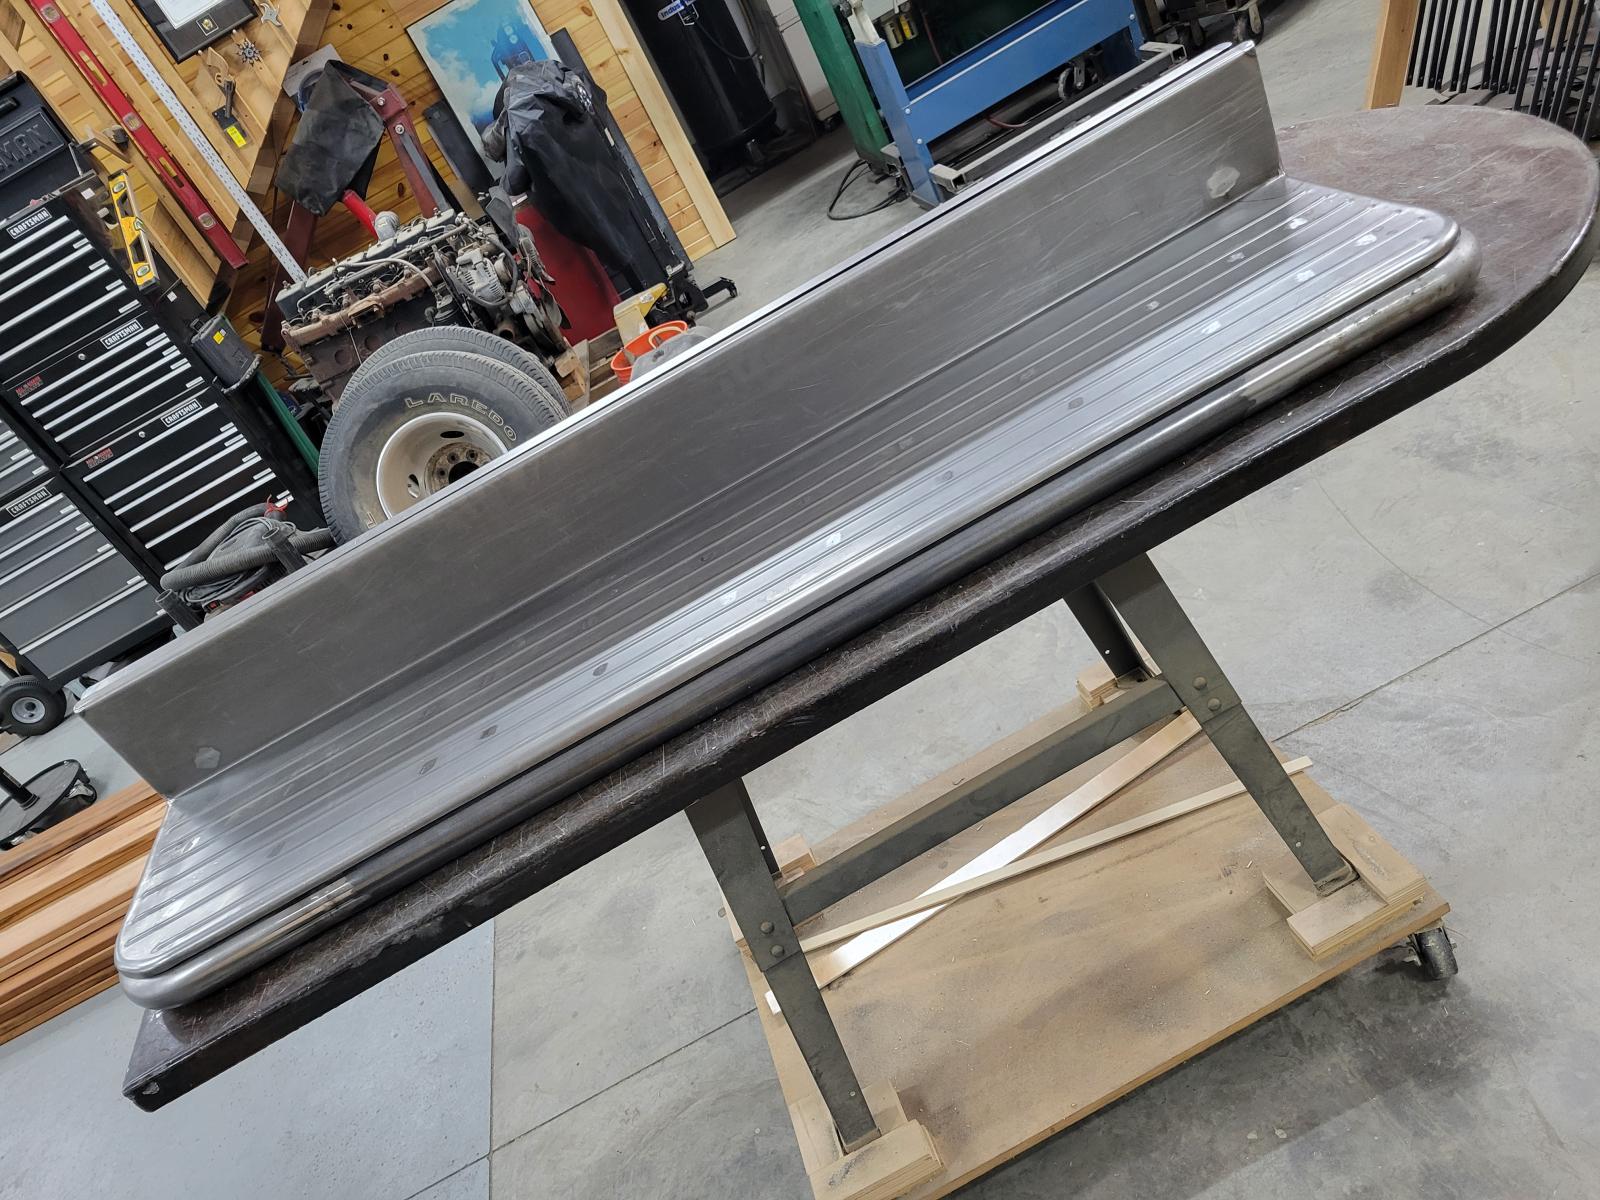
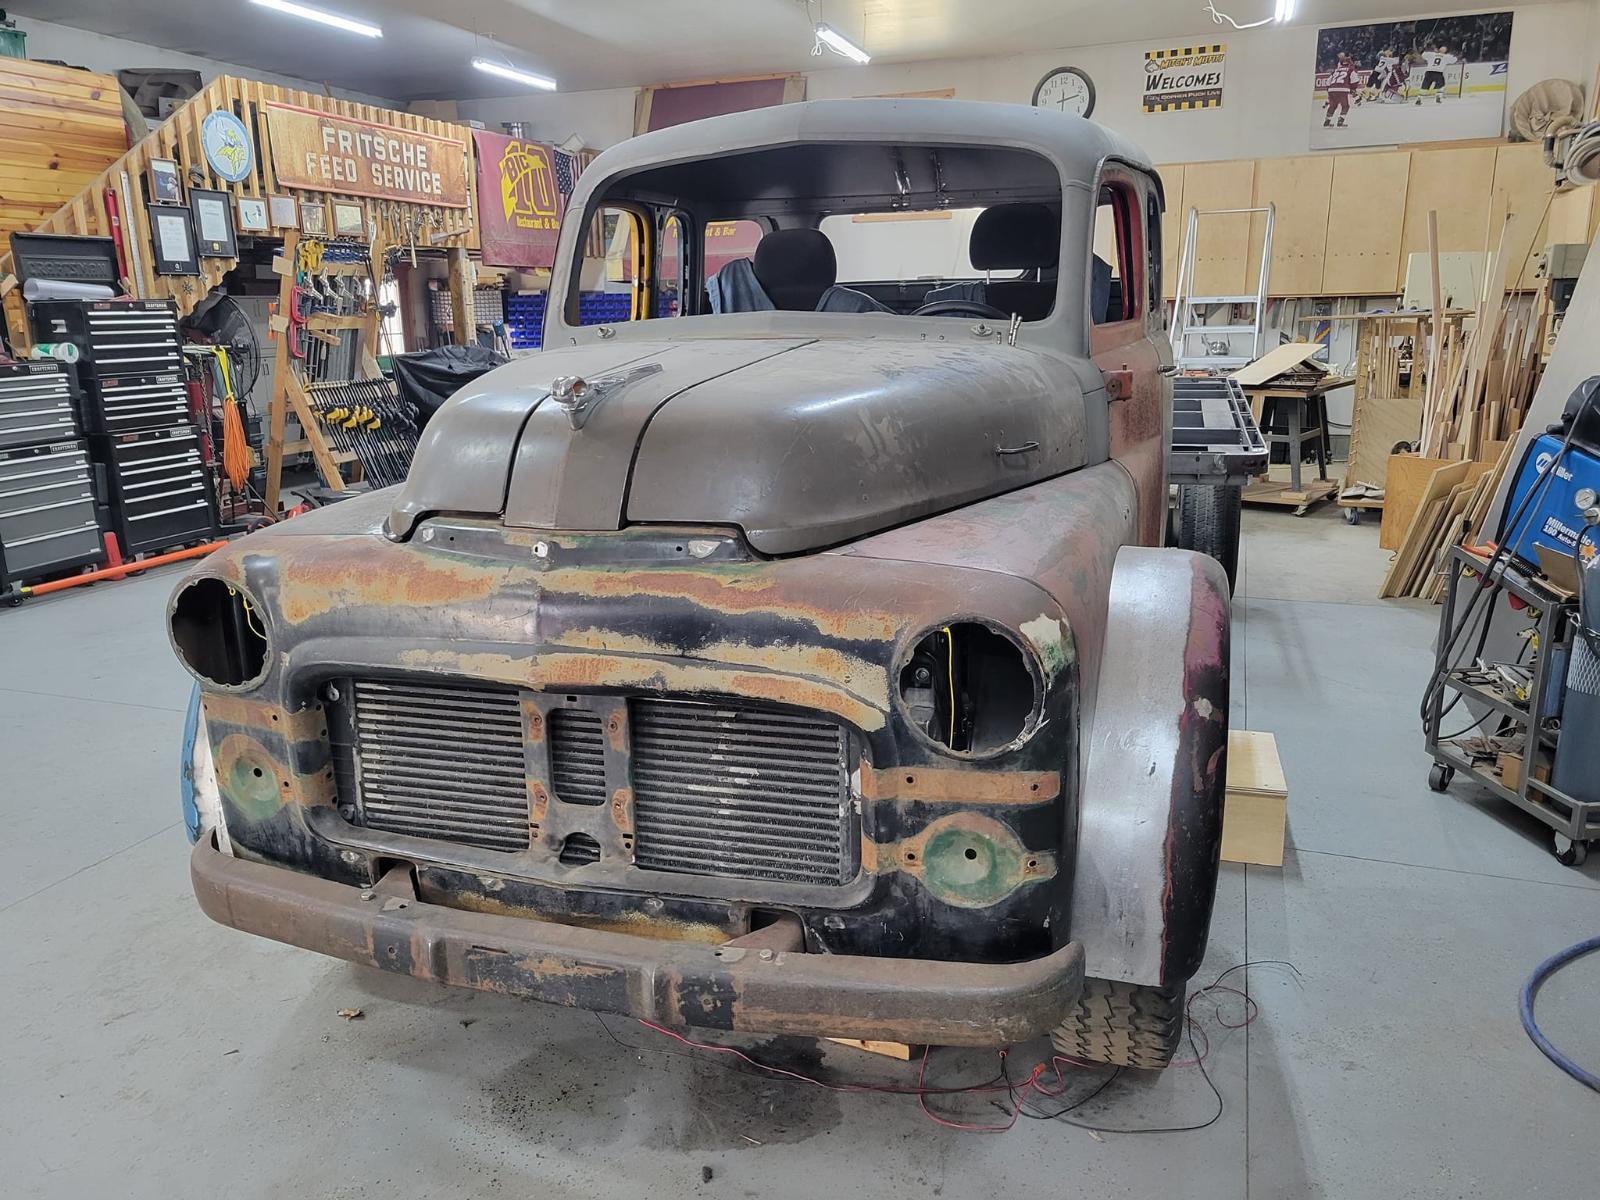
My OCD decided I needed to redo the first running board to be "nicer"....so I did! And I started to trim the grill bars so they fit right by the intercooler.
-
Passenger side done. As typical it went better and looks better. I figured a way to jig the bead rolls so it went much better.


-
One step closer


-
....so am I...so am I....
-
I went for it yesterday on the first running board top skin. Those long beads are tough to try and keep straight. Did I? Mostly.....at least its gonna be Rino Lined and not gloss back!


-
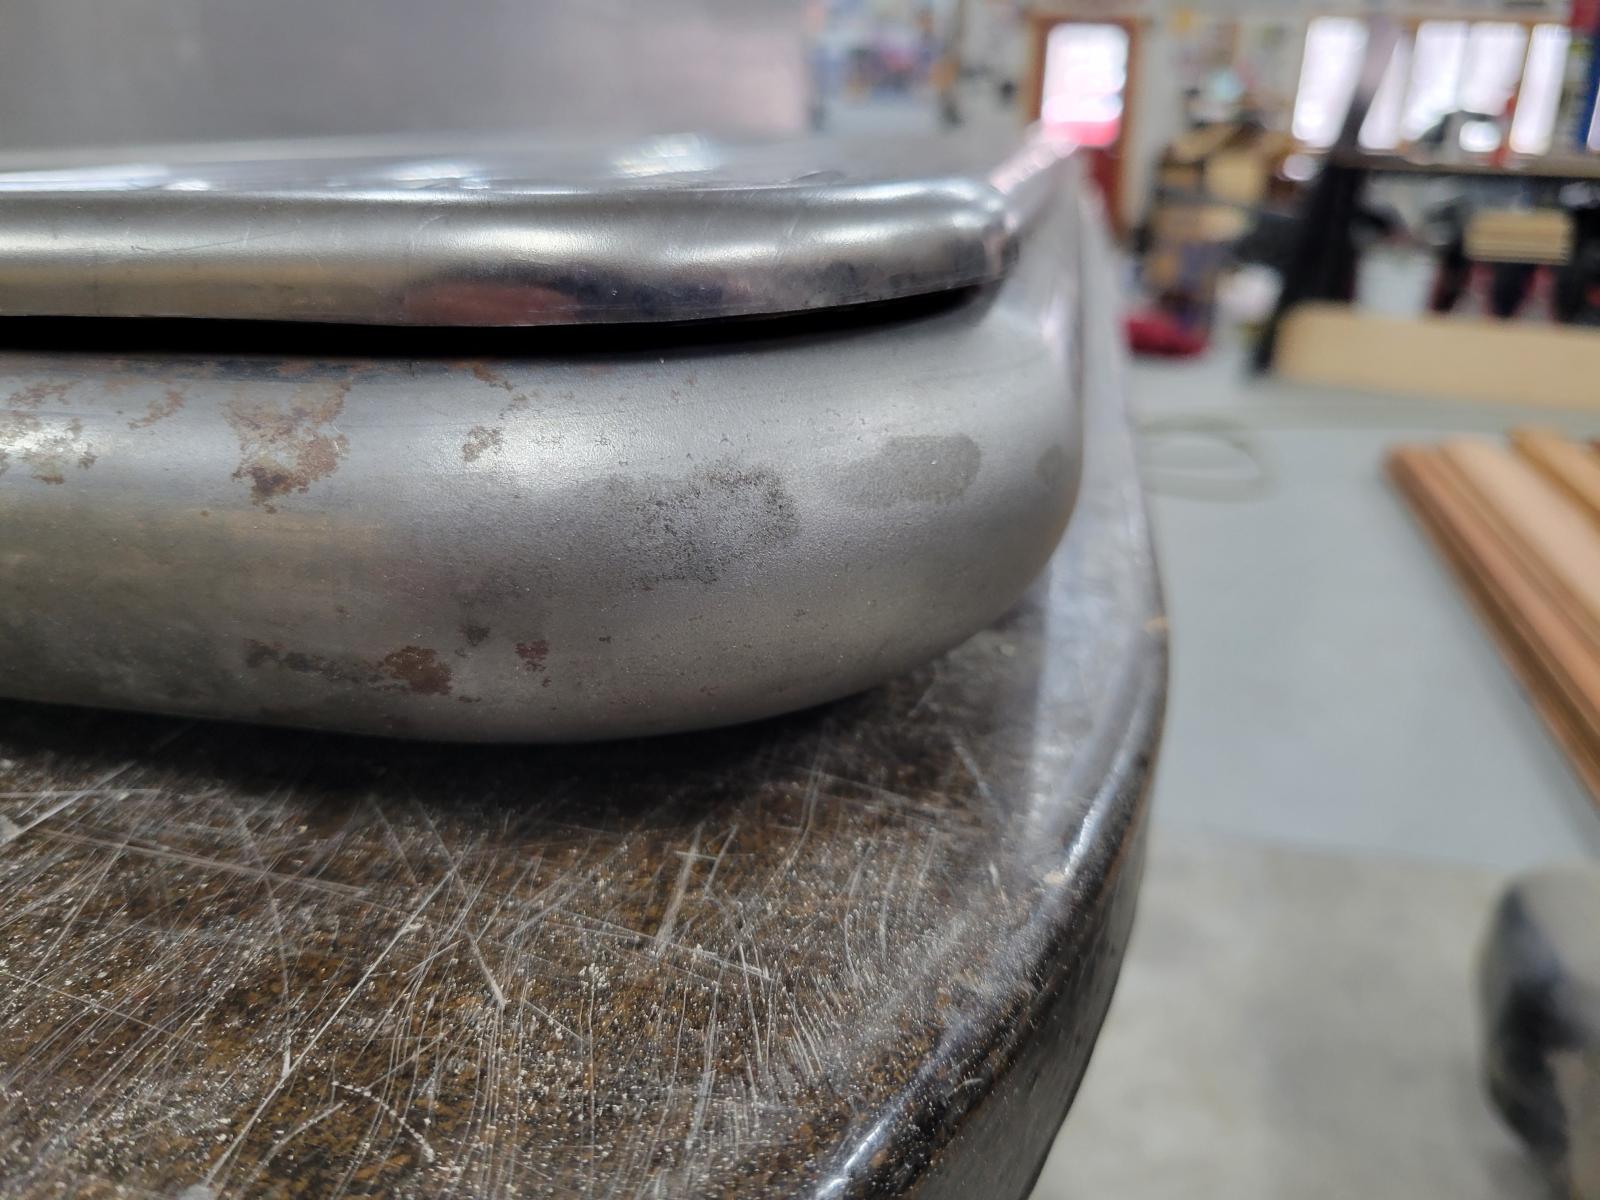
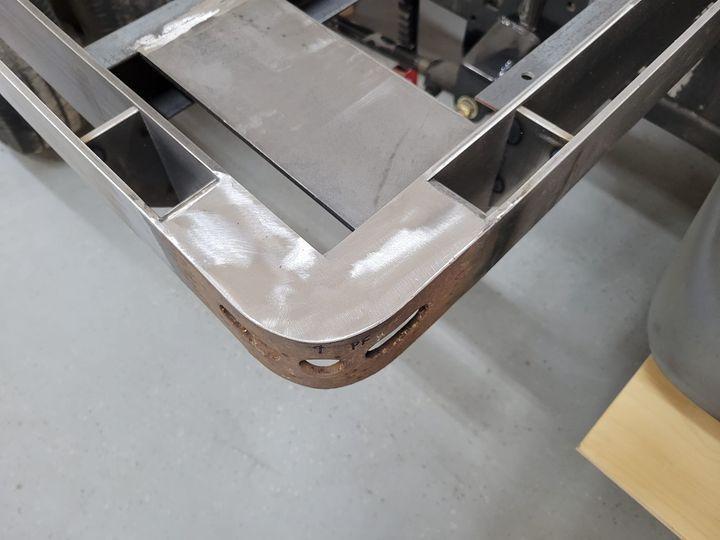
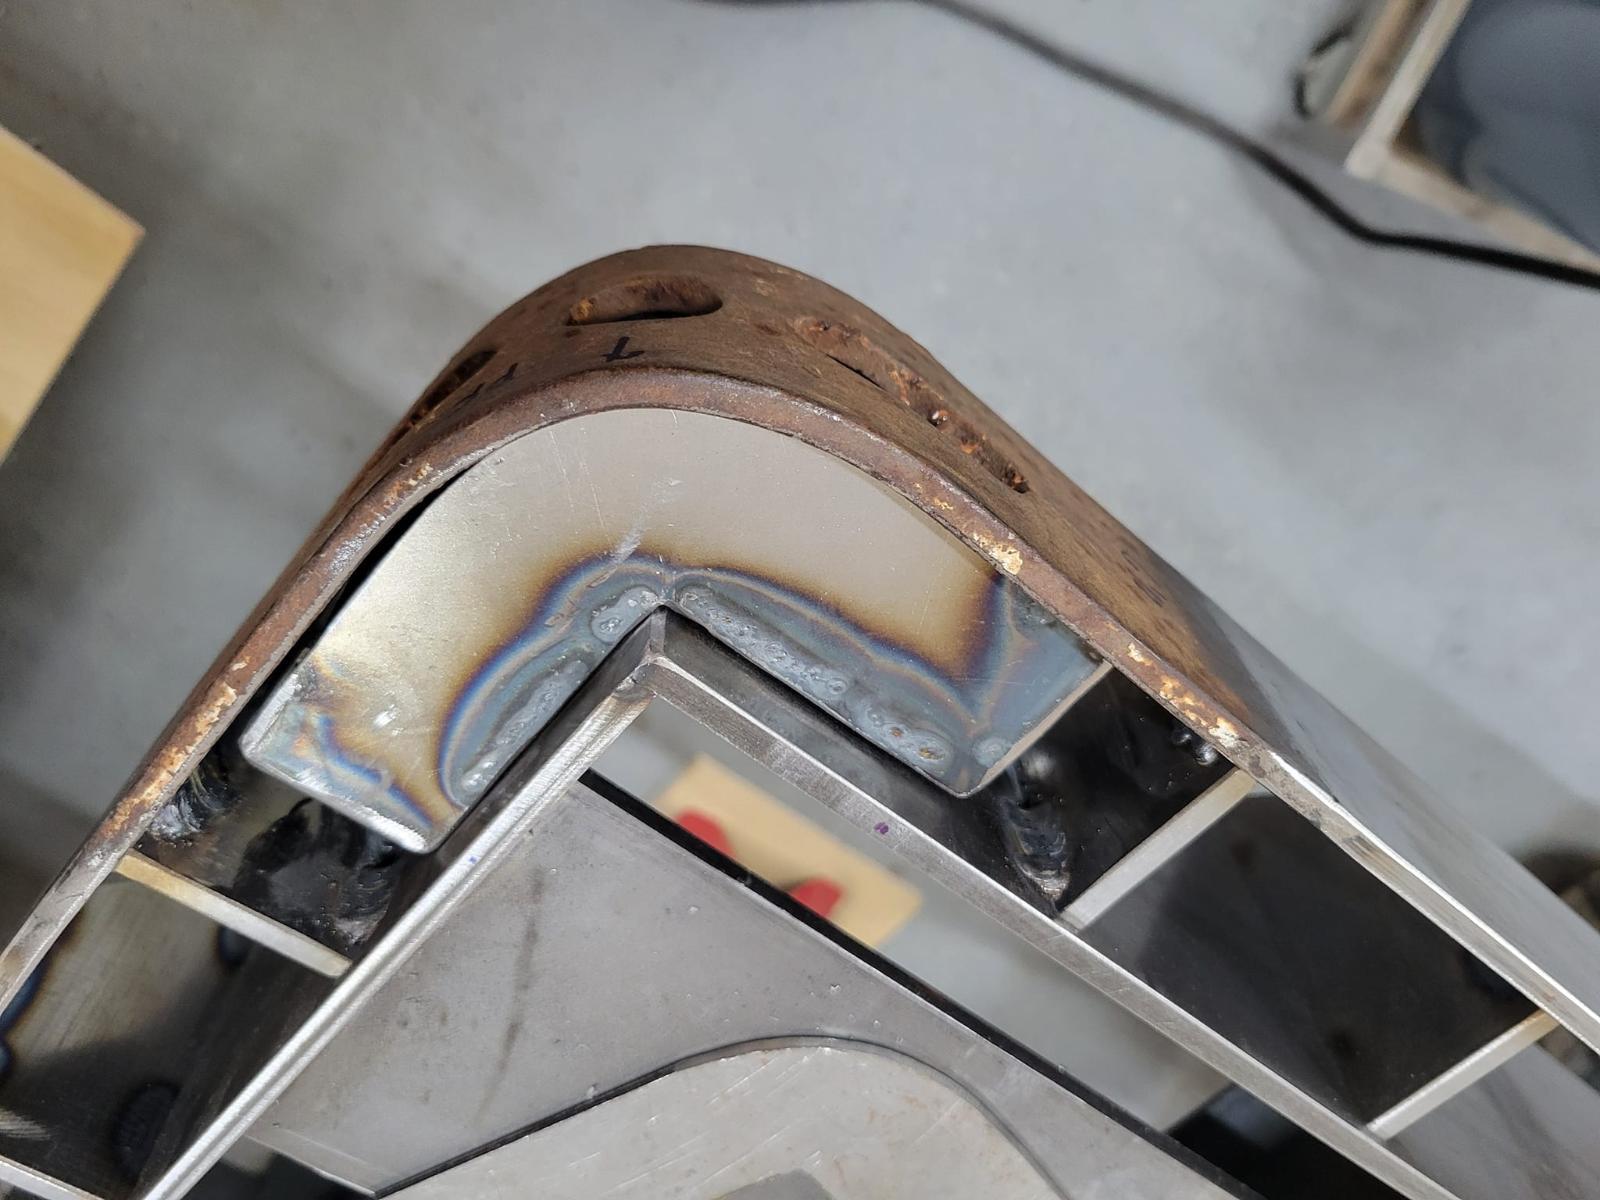
Formed edge

-
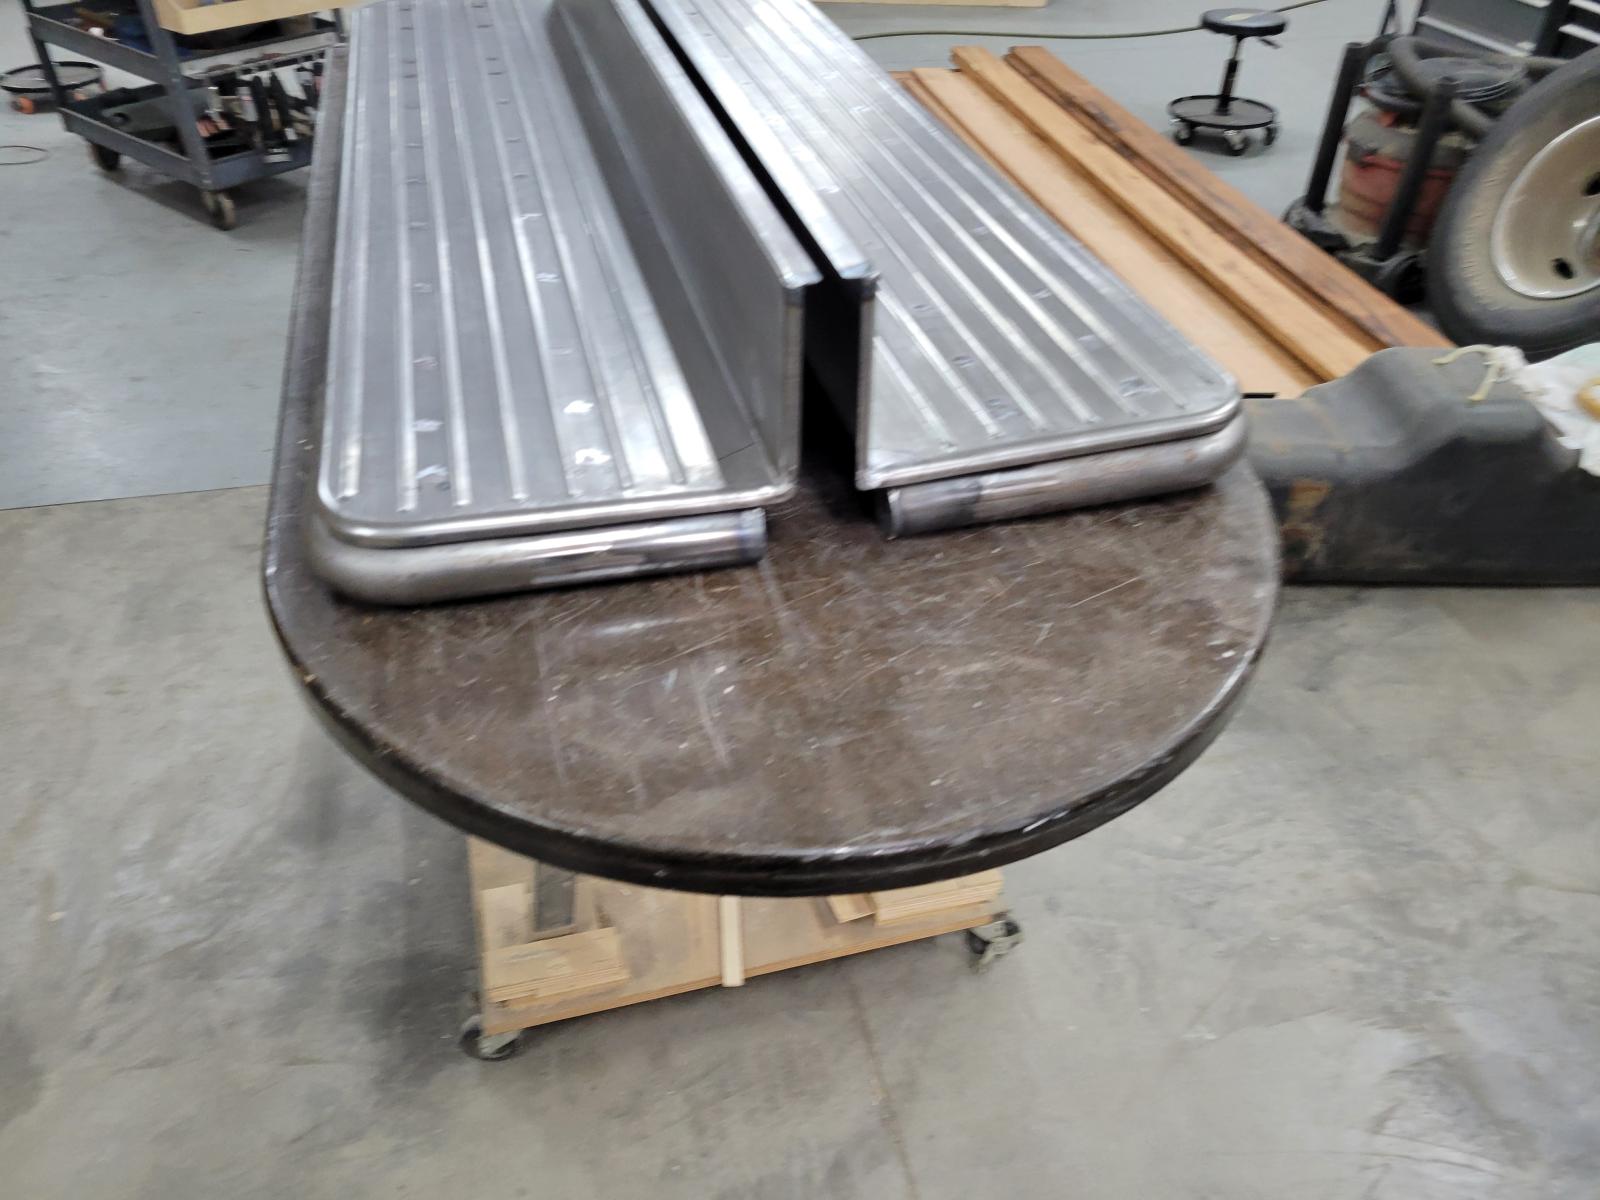
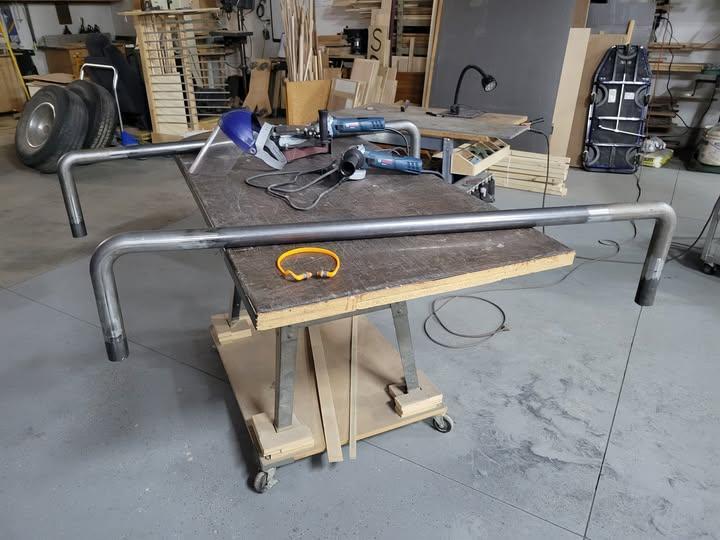
Start of running boards, and a test panel.

-
Keep plugging away! When life gets "odd", I always think of this motivational poster:

-
I'm guessing it'll be in Jan when he can start. He needs to get his building finsihed and inspected prior to starting to actually work in it.
-
In the new space for body/paint at "my guys" place.

-
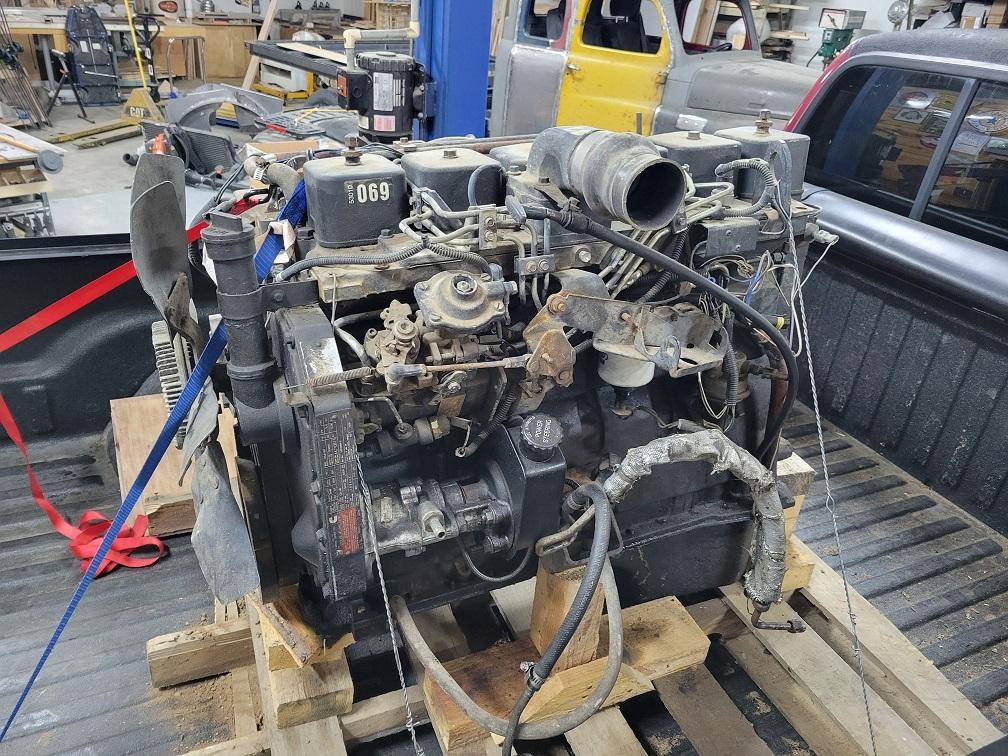
My buddy traded me a first gen 6bt to do some body work for him on his truck. So several patch panels later I got a "free" engine.


-
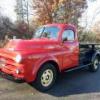
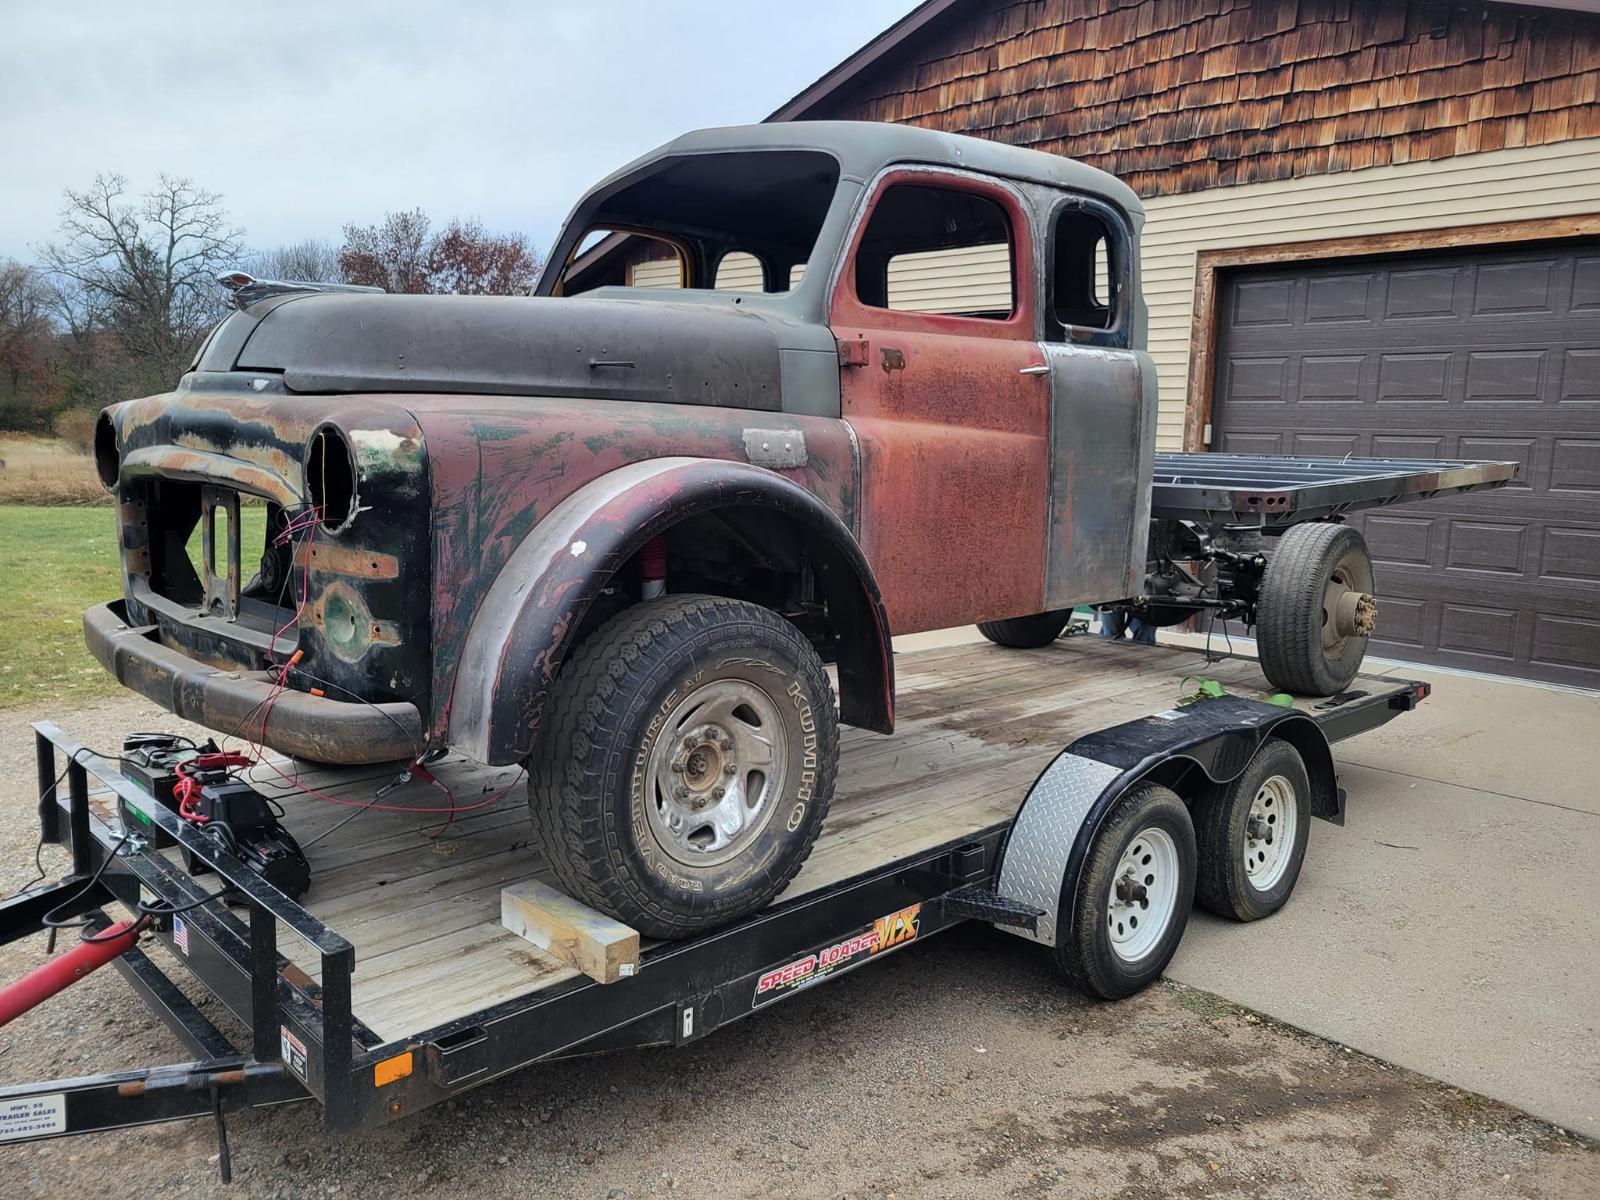
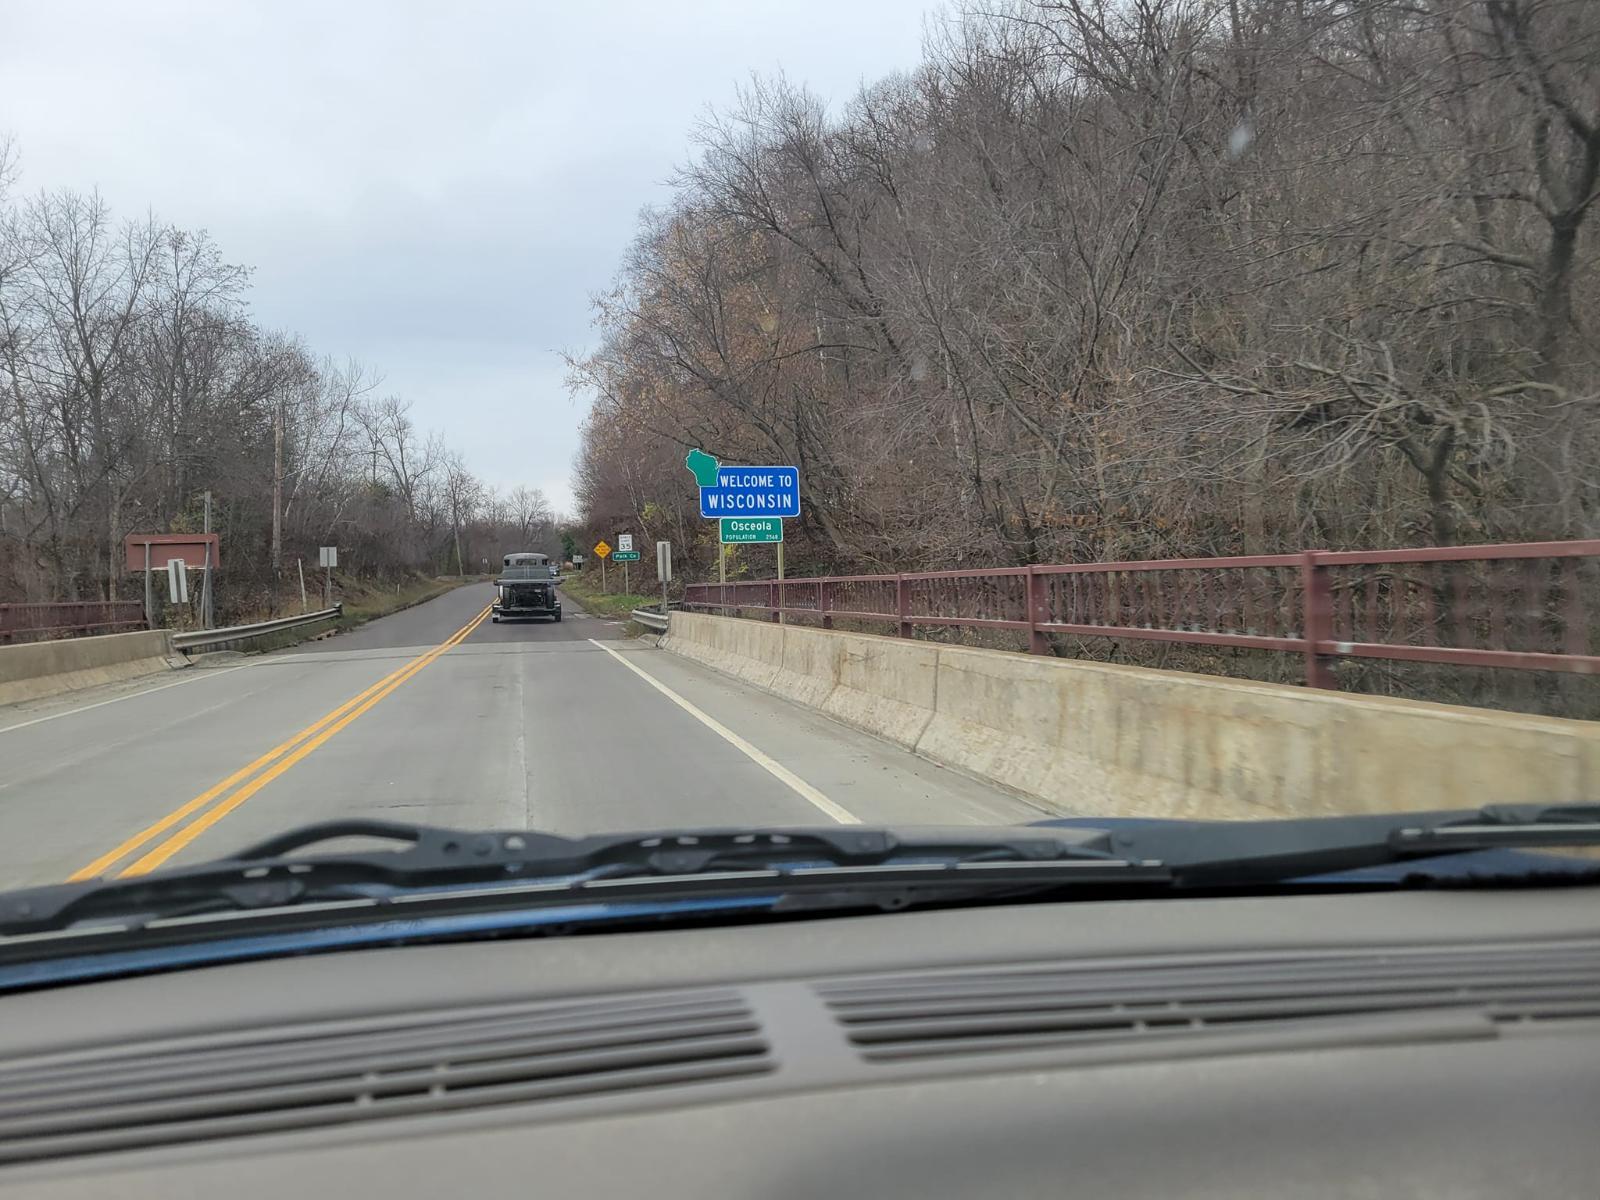
Well, Elvis (TODD) has left the building...off to paint!
-
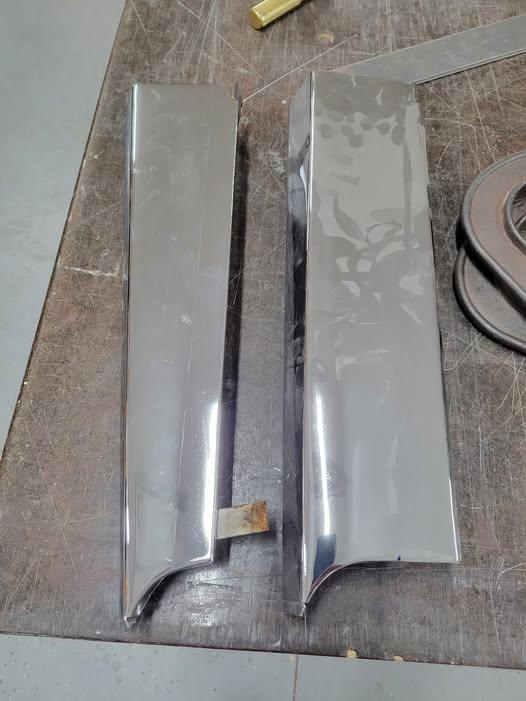
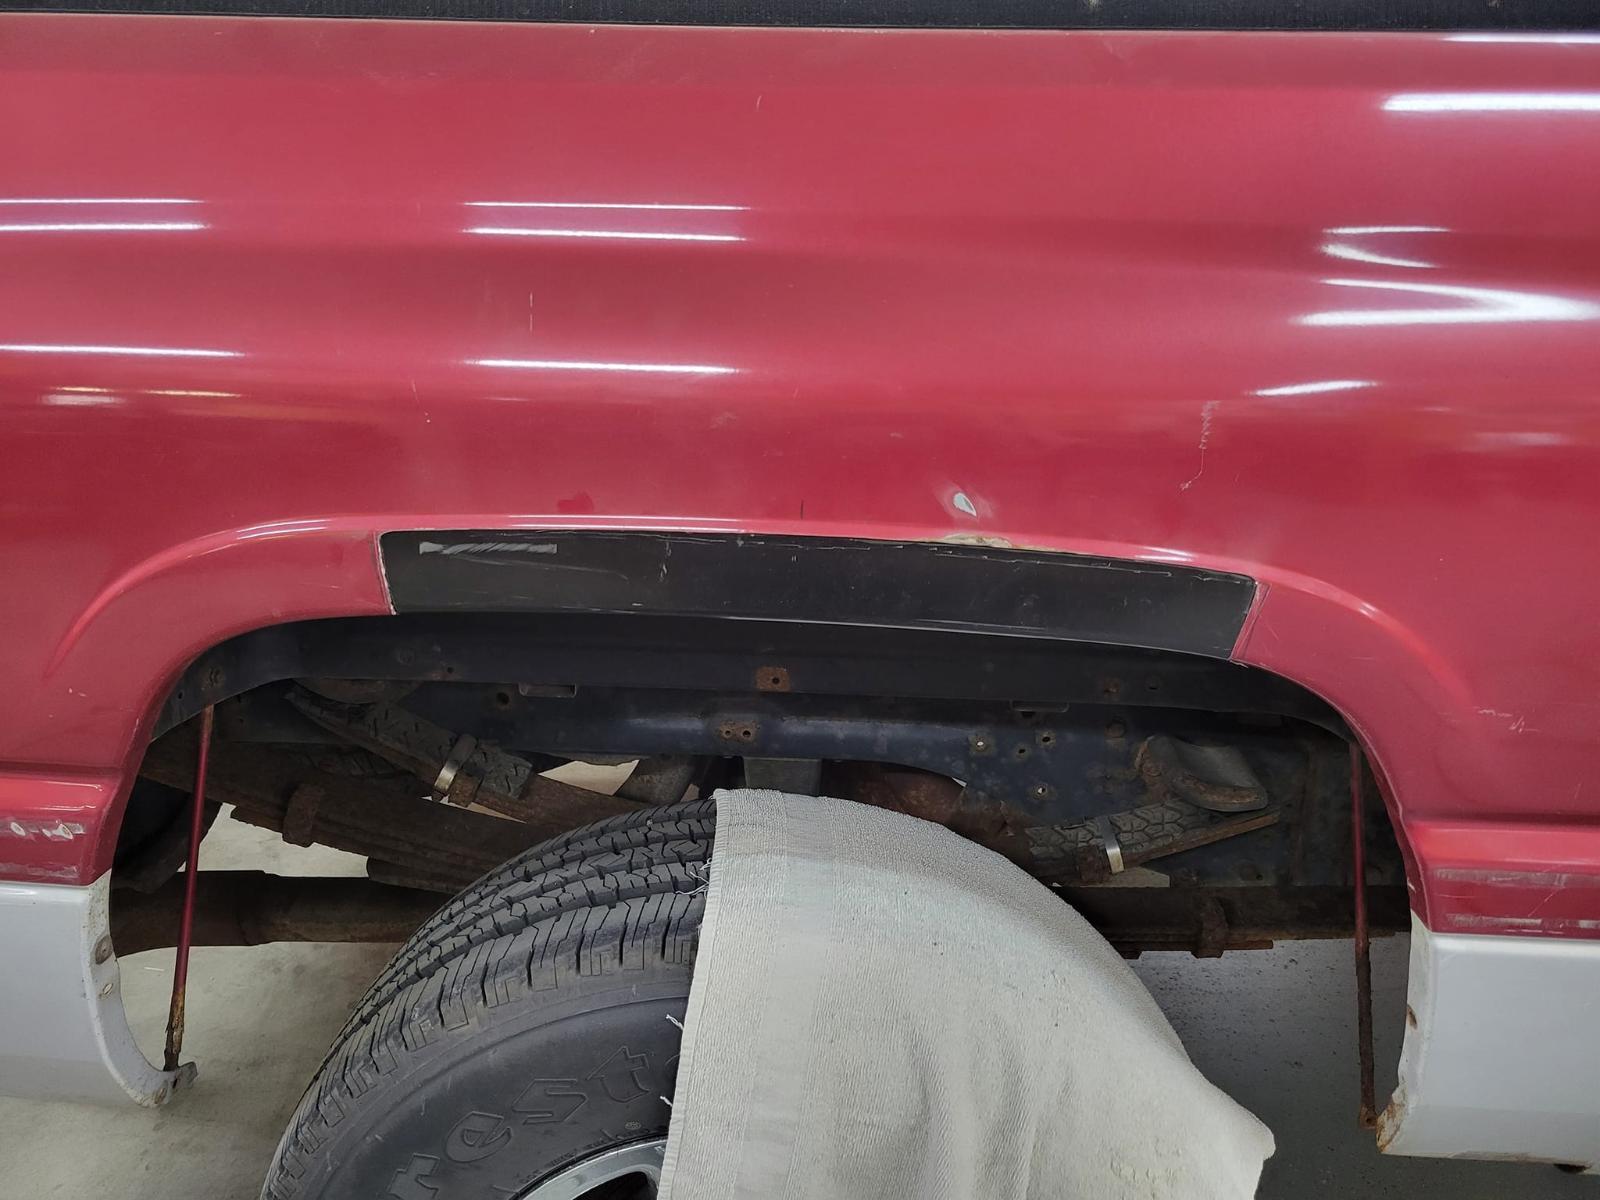
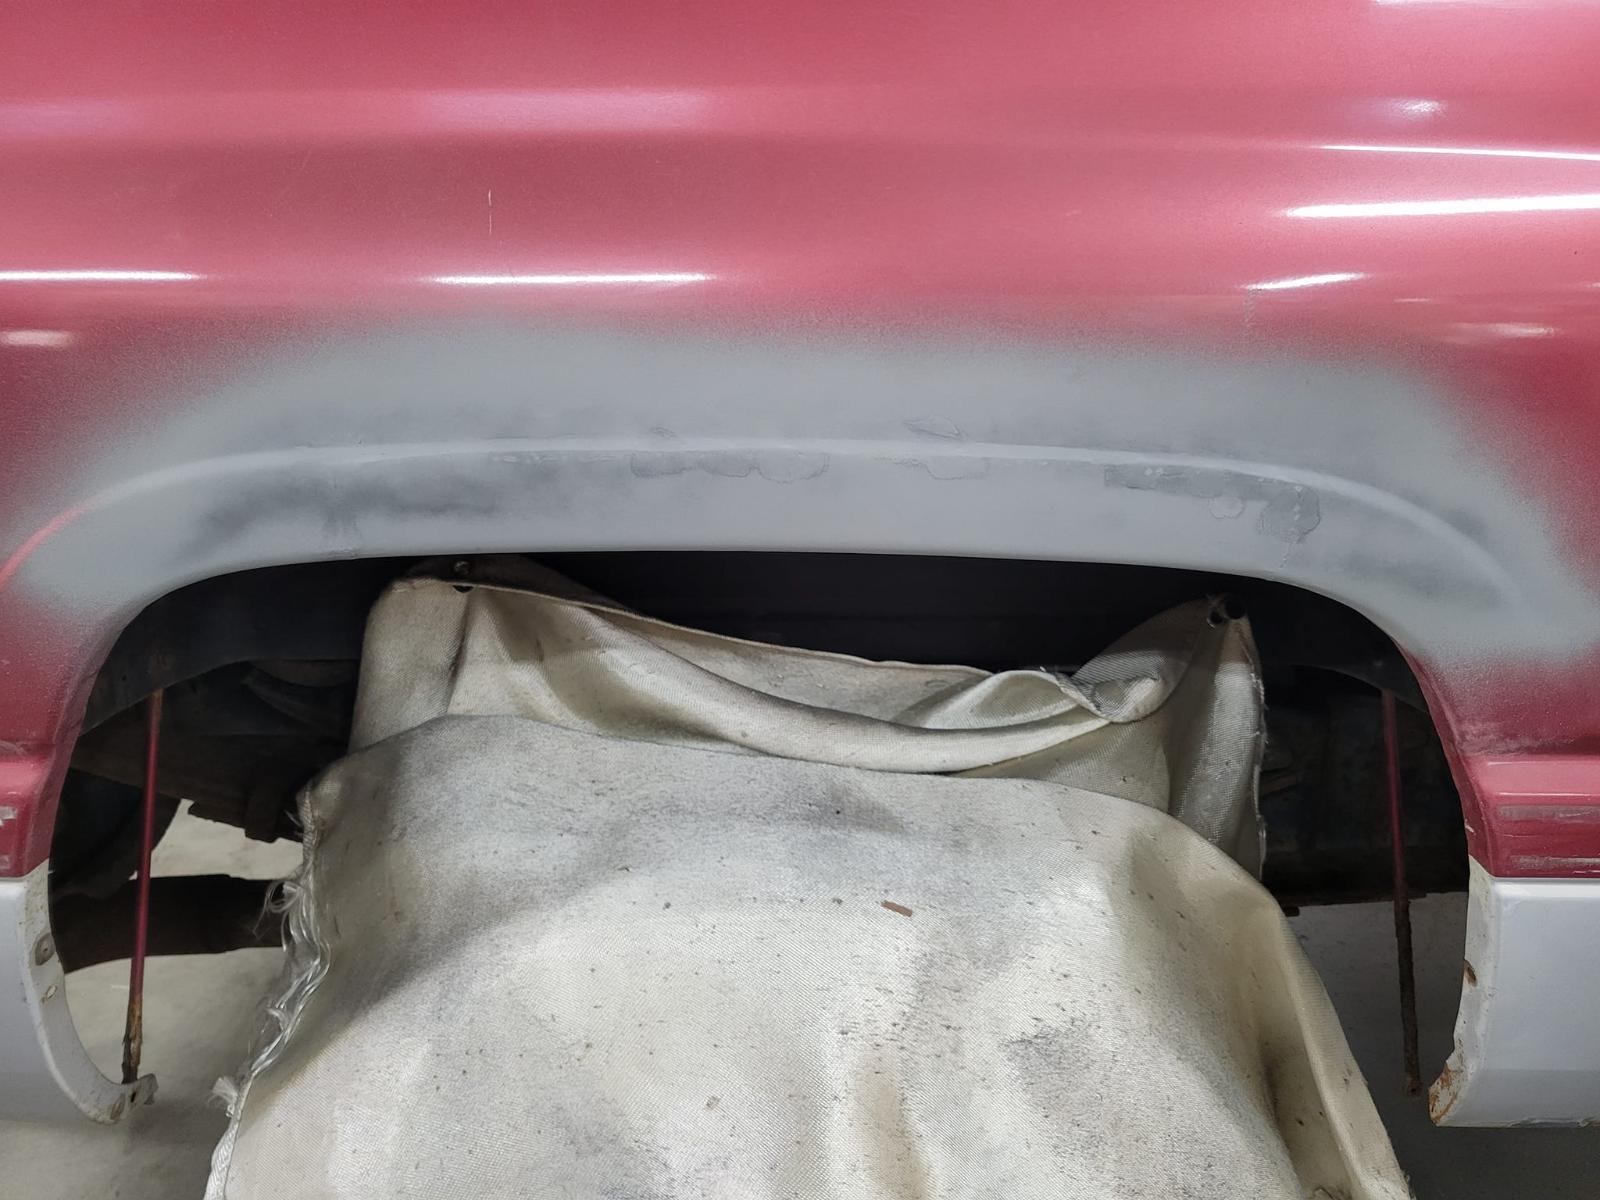
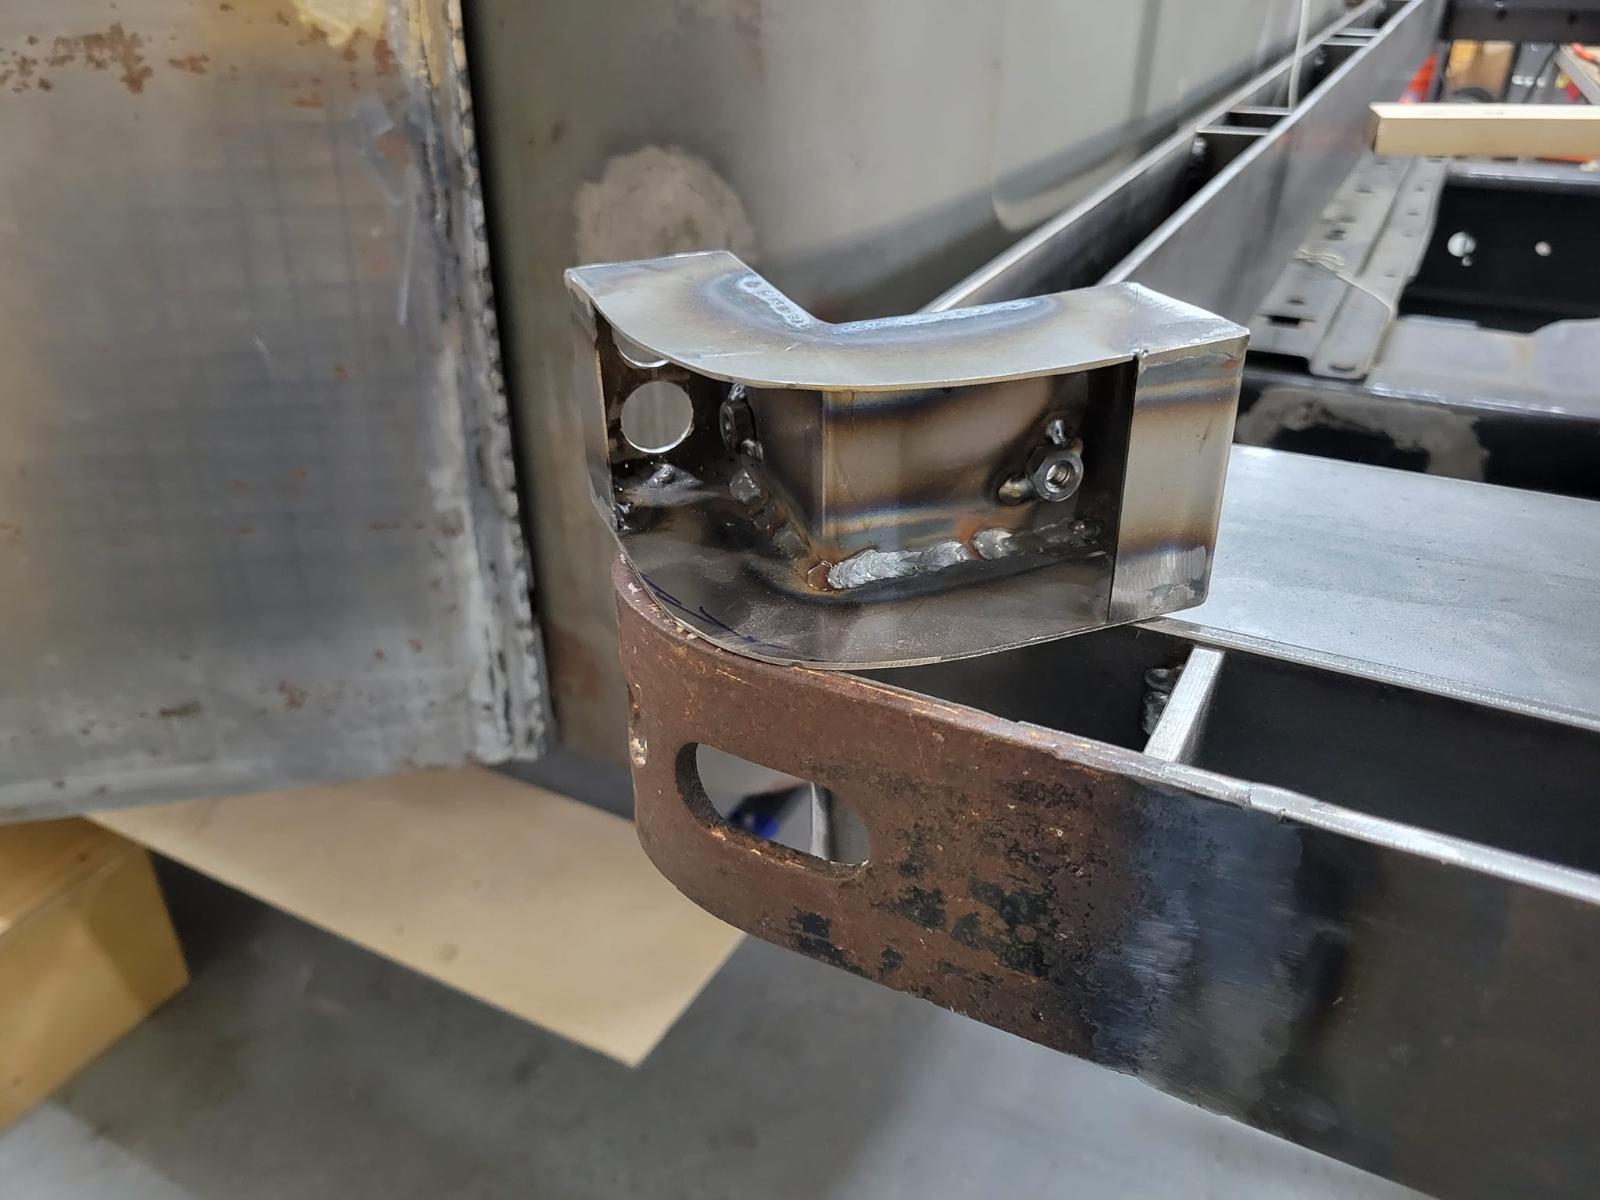
Corners done and ready for paint....
-
and now the parts are metal.
-
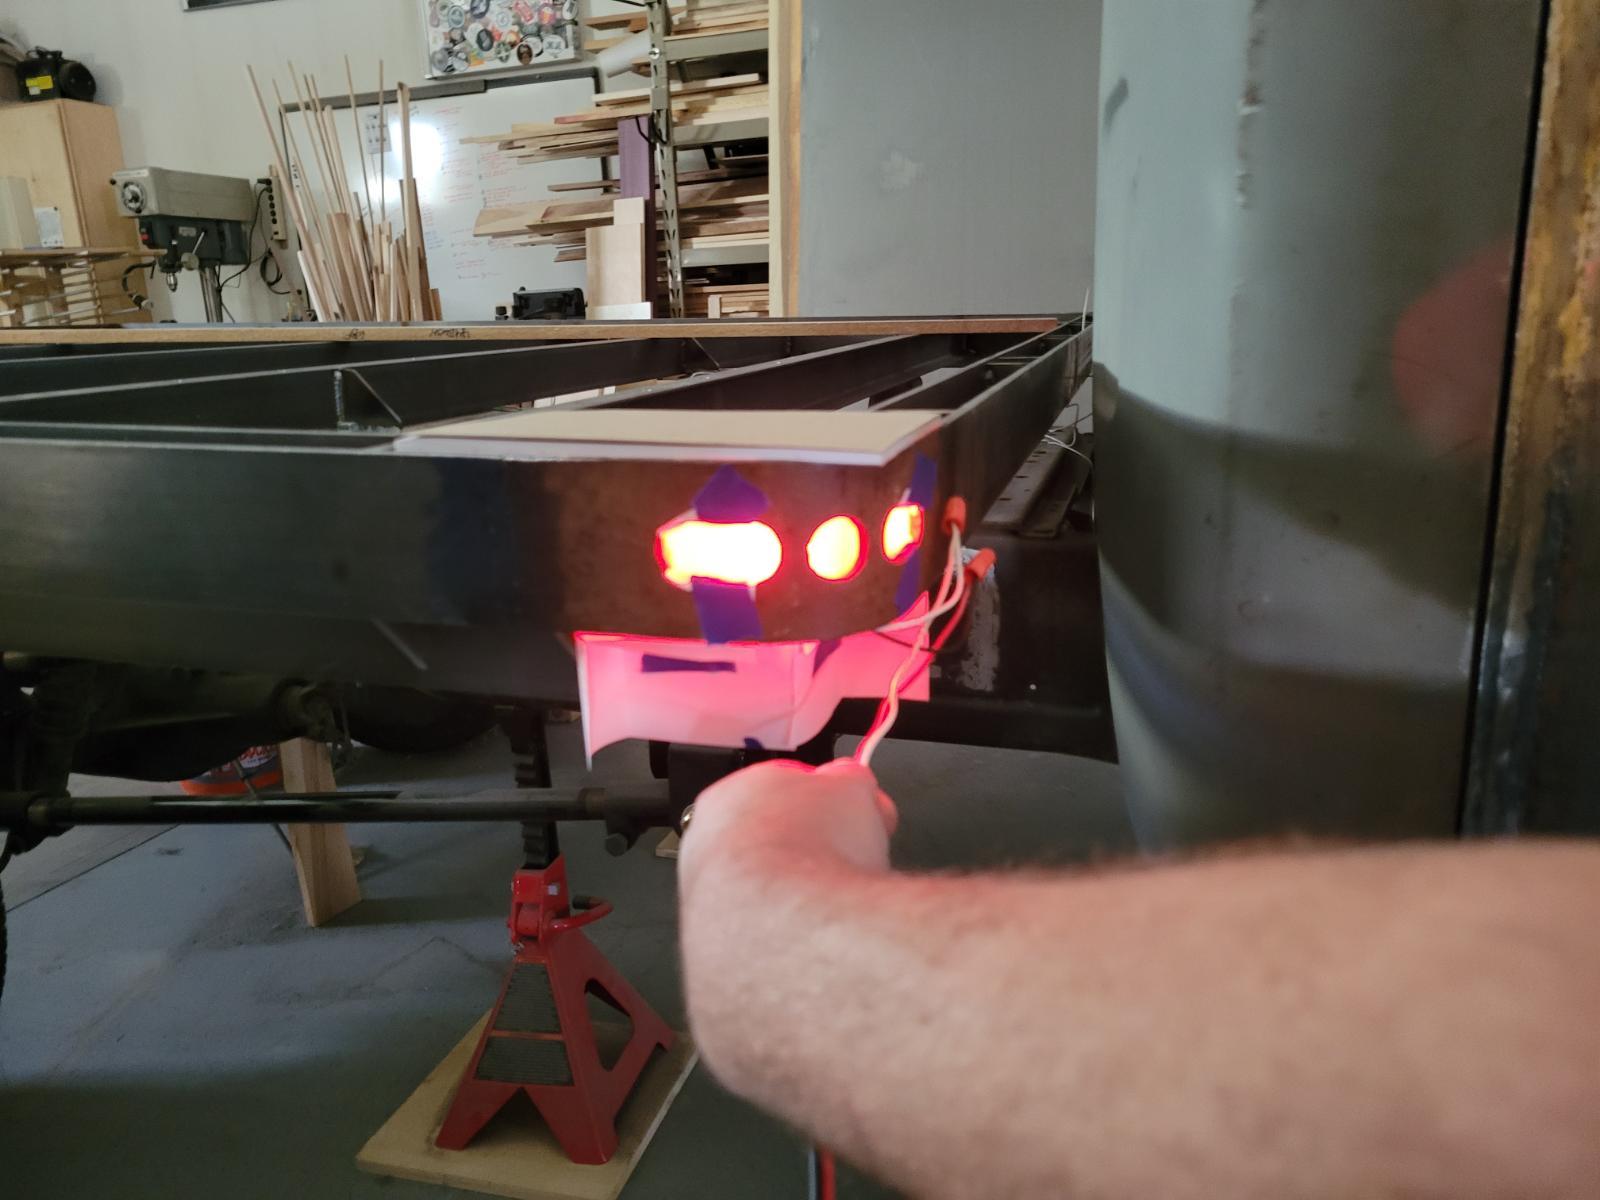
Ya, I just spaced out "evenly" the pockets...there will never be a stake panel in there and it's more for looks than anything. Center rear three will be on the "bumper", and I mocked up what I'm now going to do on the corners for marker lights. TBD if I will do side marker/turn signals....
-
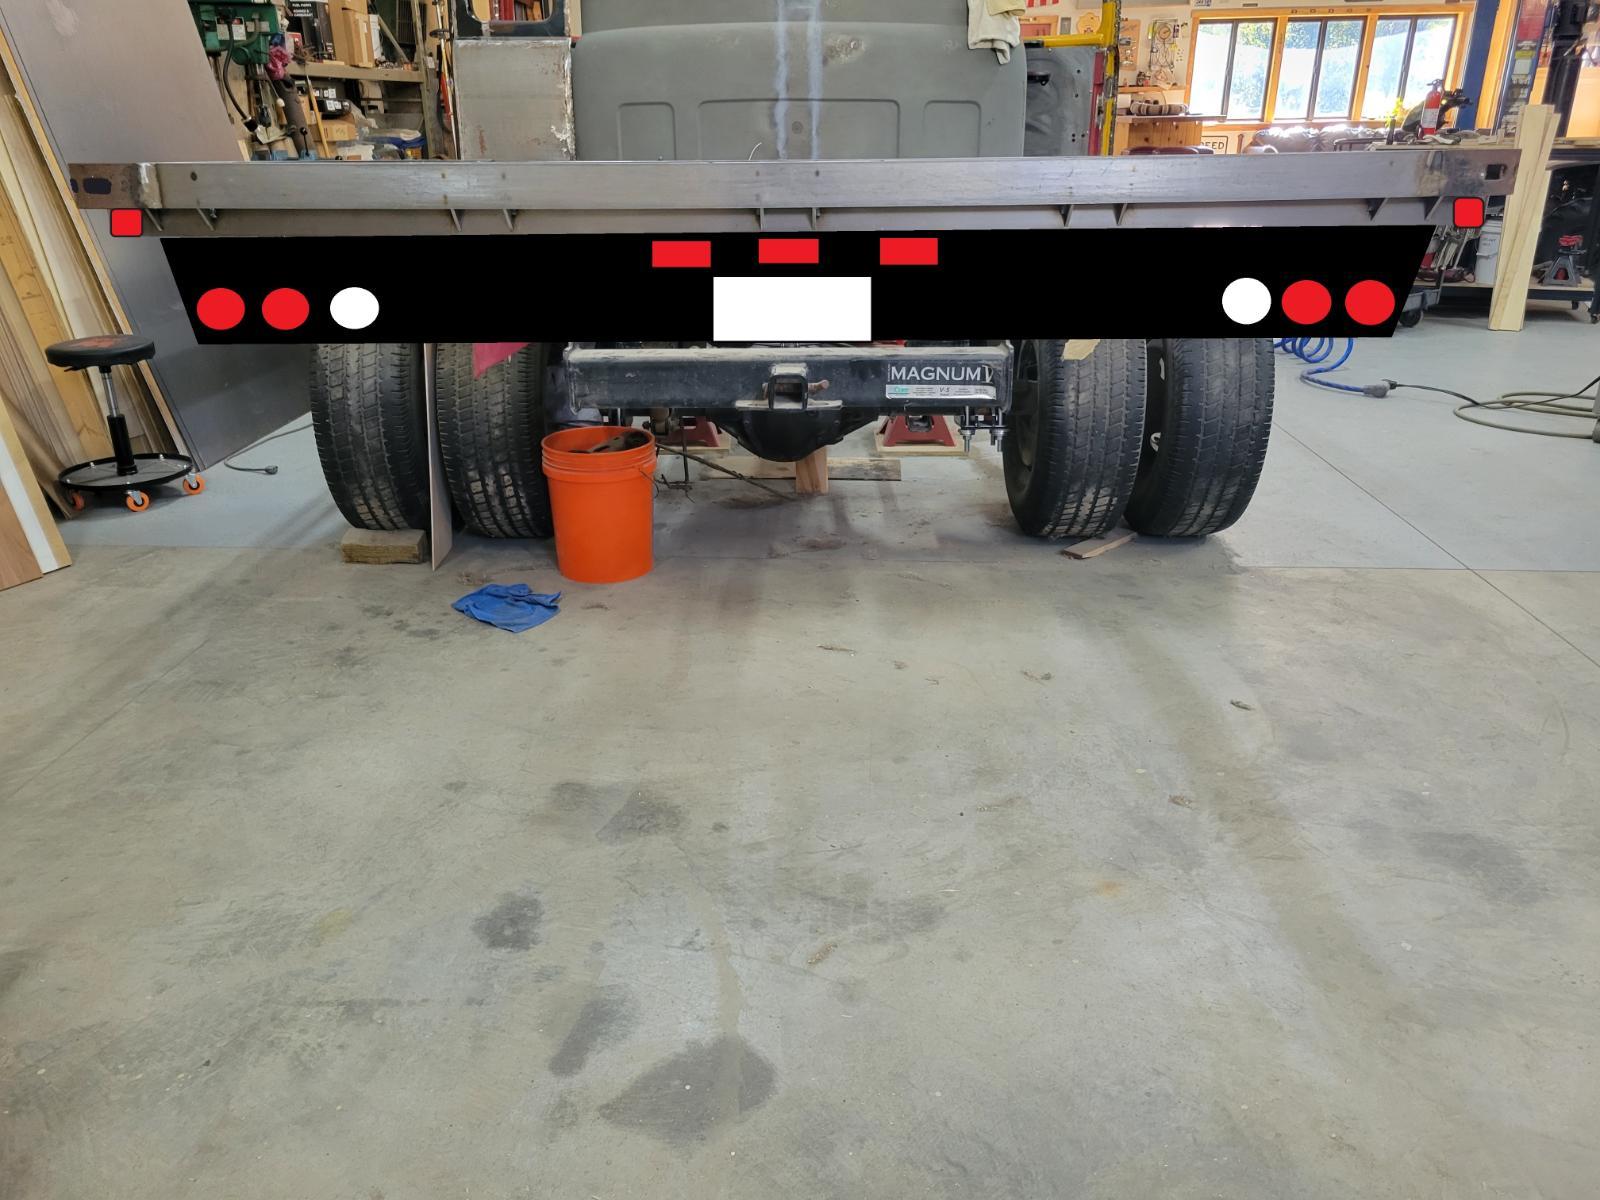
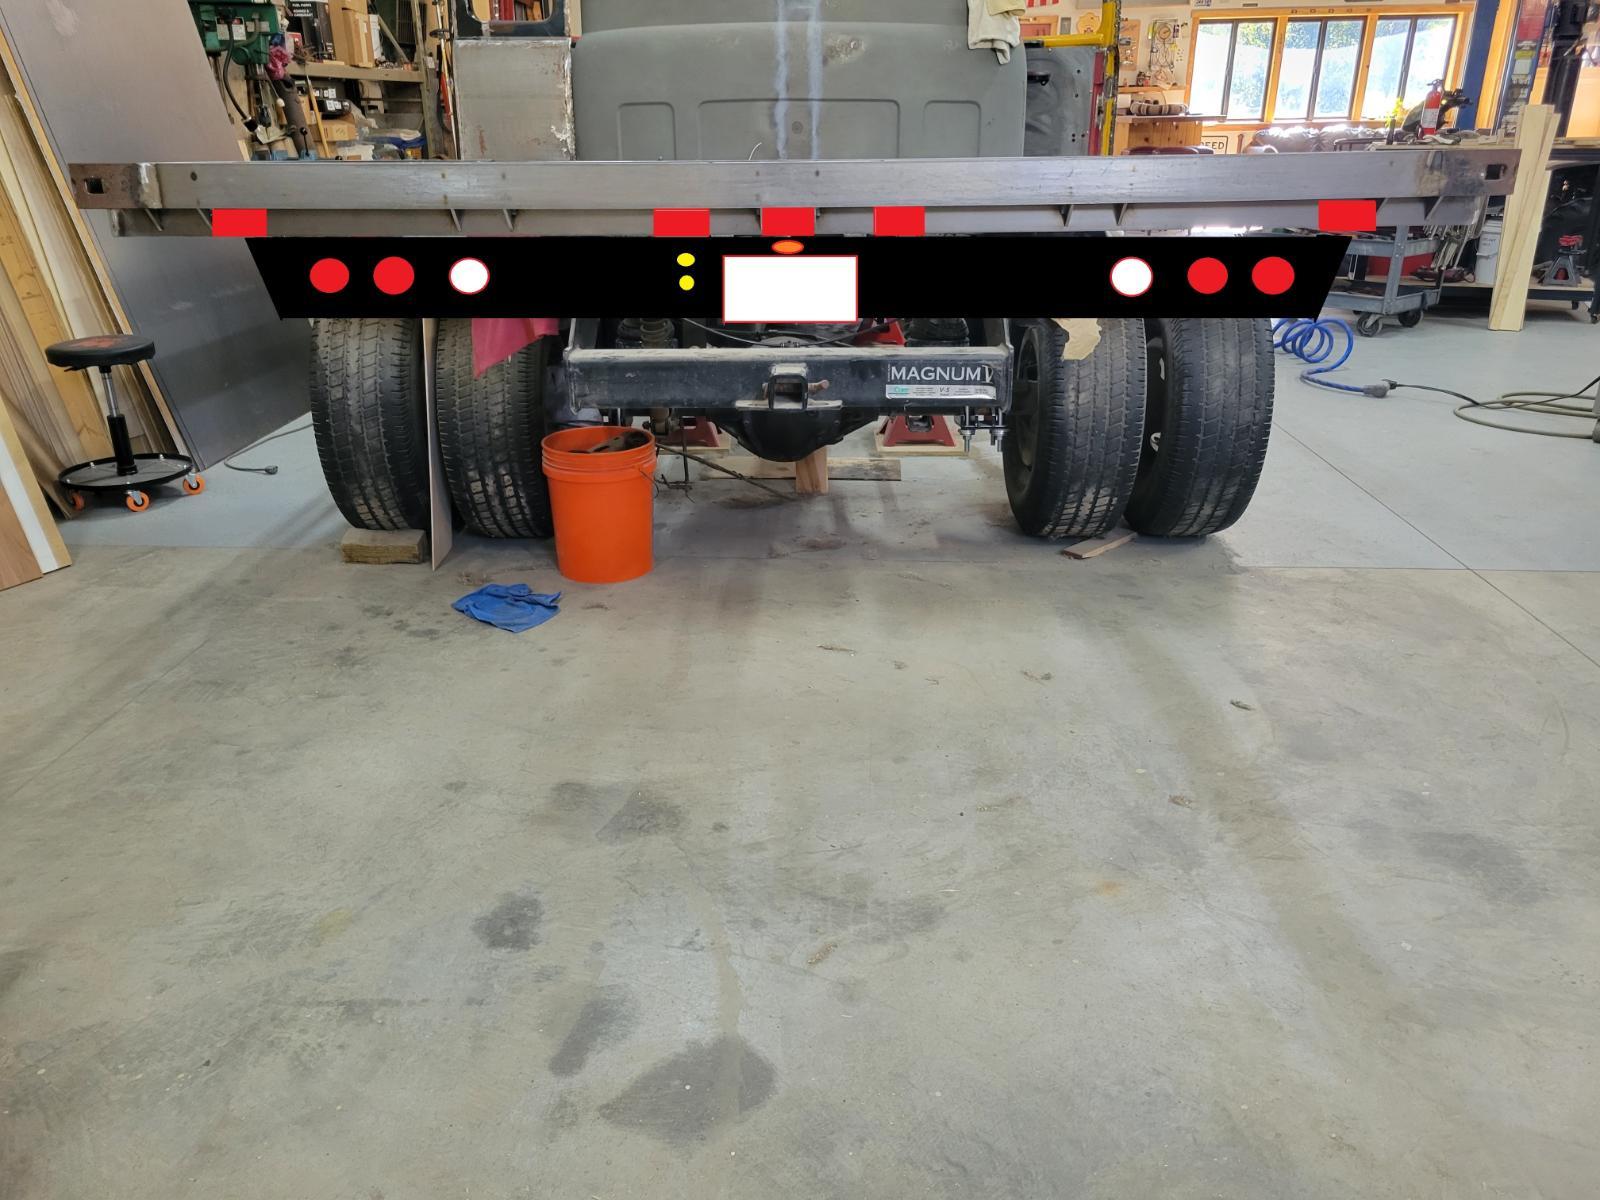
I did this to see how it looks. Use the corners to be the lights. or this: mod the lower corner to be 45° and mount a single light to be side AND rear.

-
originally yes....now....I dont know...I'm waffeling on what to do and how to do it.
-
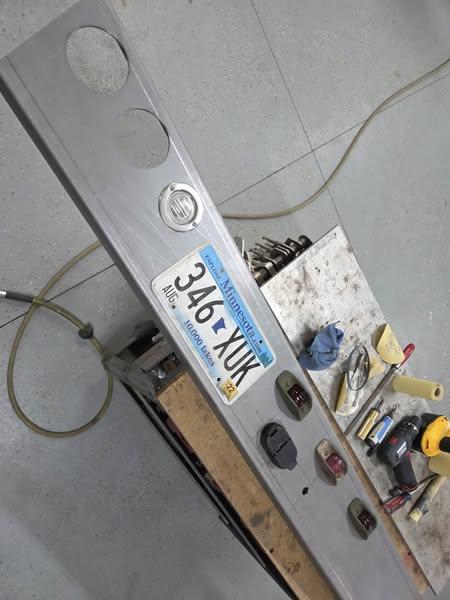
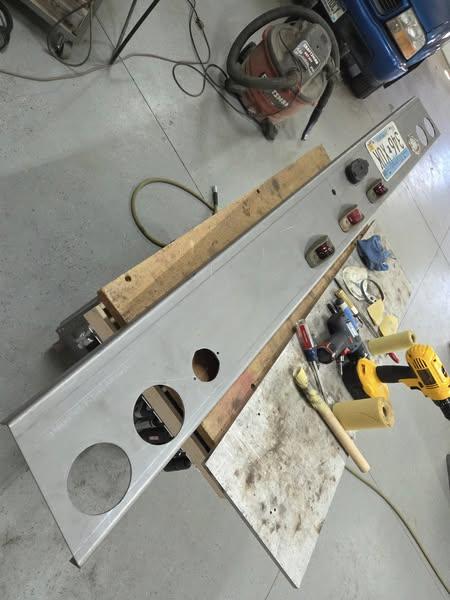
Spent the day yesterday SLOWLY drilling the bed strip holes...60 in total thru structural U channel....all while under the influence of my shingles booster shot....but I got it done. Here is my "favorite" version of the back plate (for all intents and purposes legally read that as "bumper"). orange dot is camera, yellow is trailer connections. I just don't know if the marker lights are "out" far enough or not. I might need to trim my stake pocket bits a bit to push them out further.
-
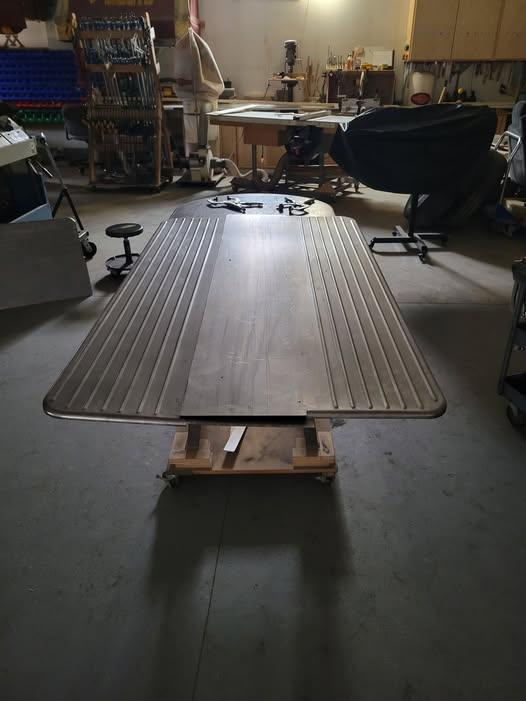
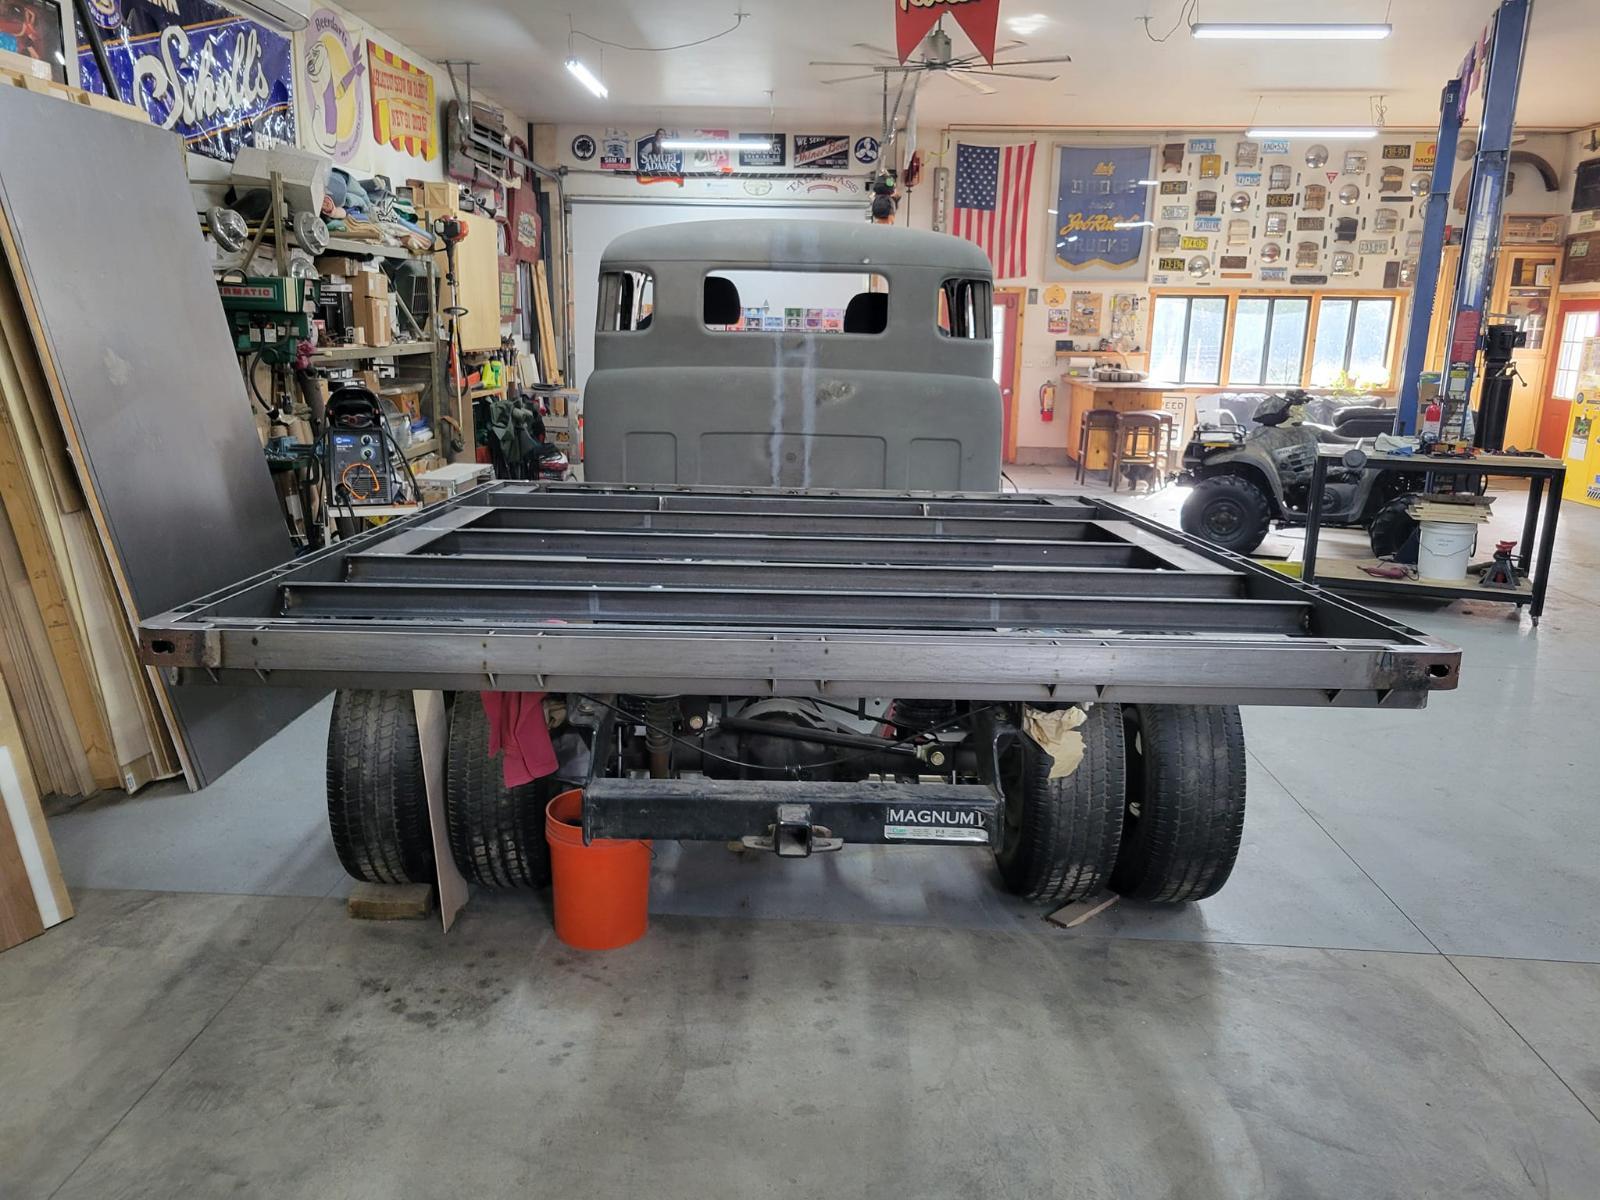
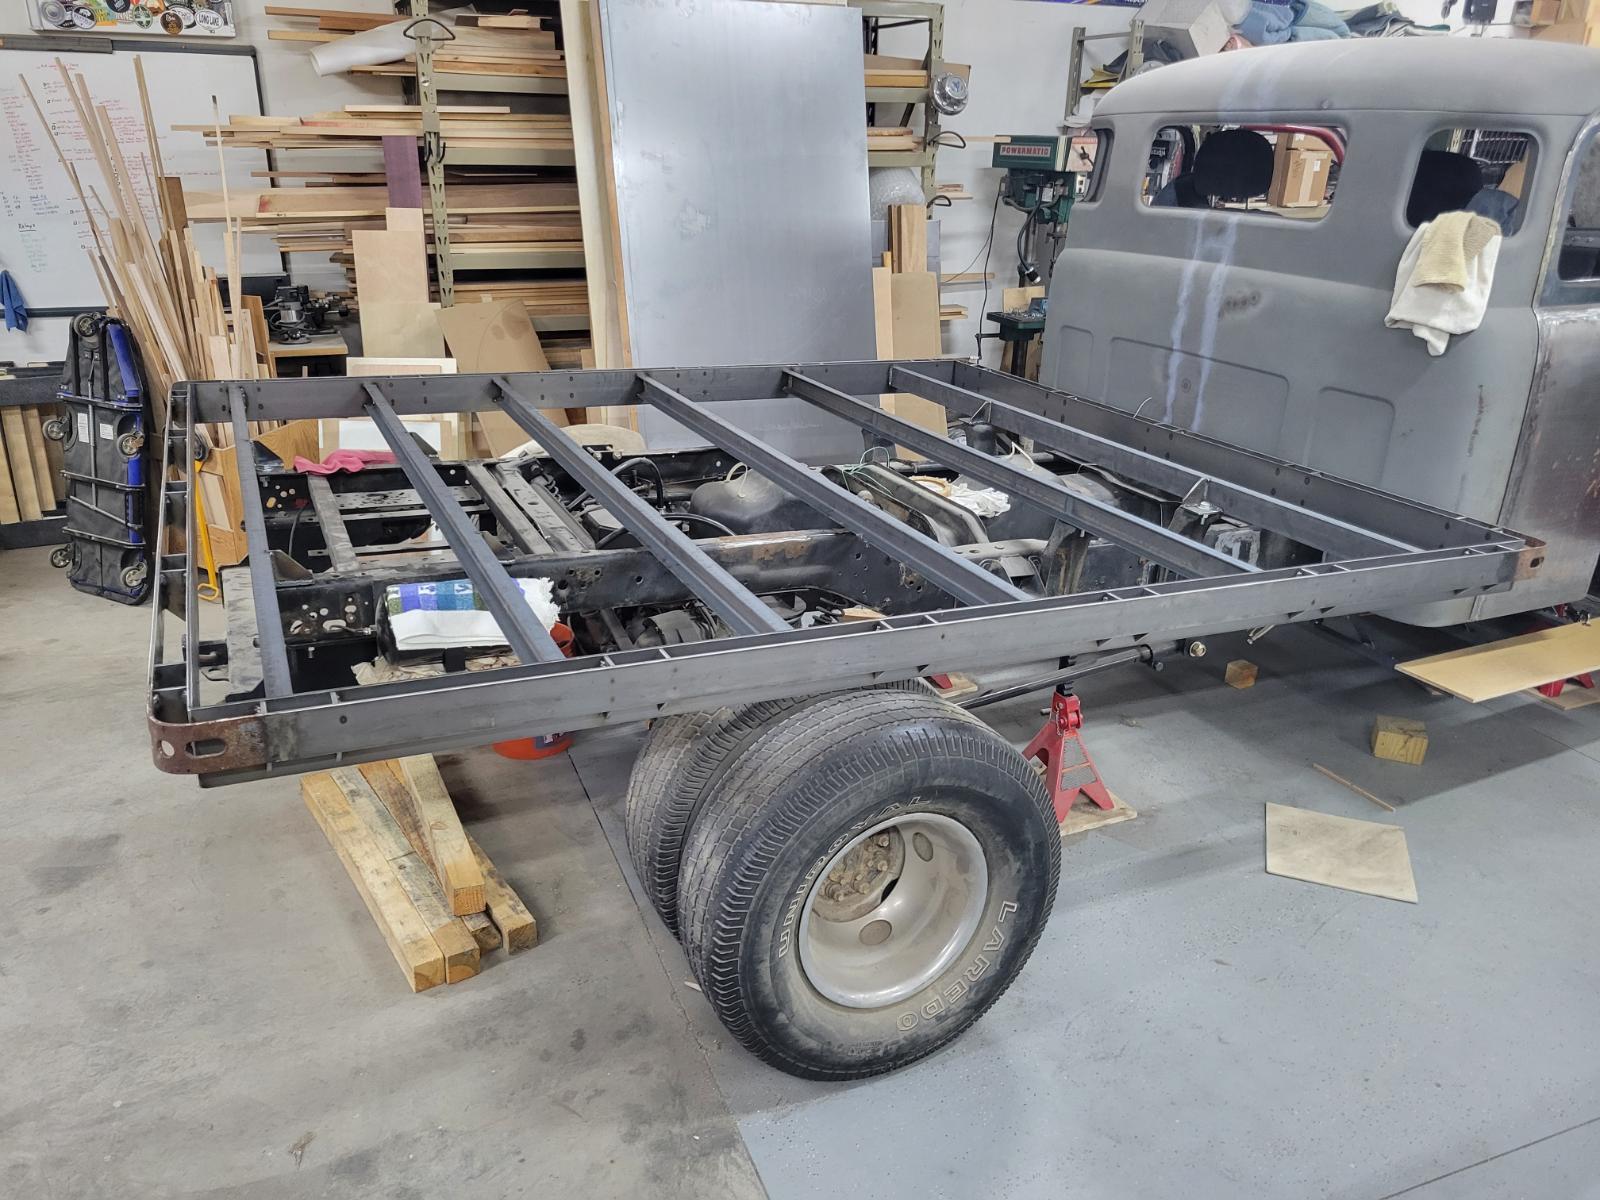
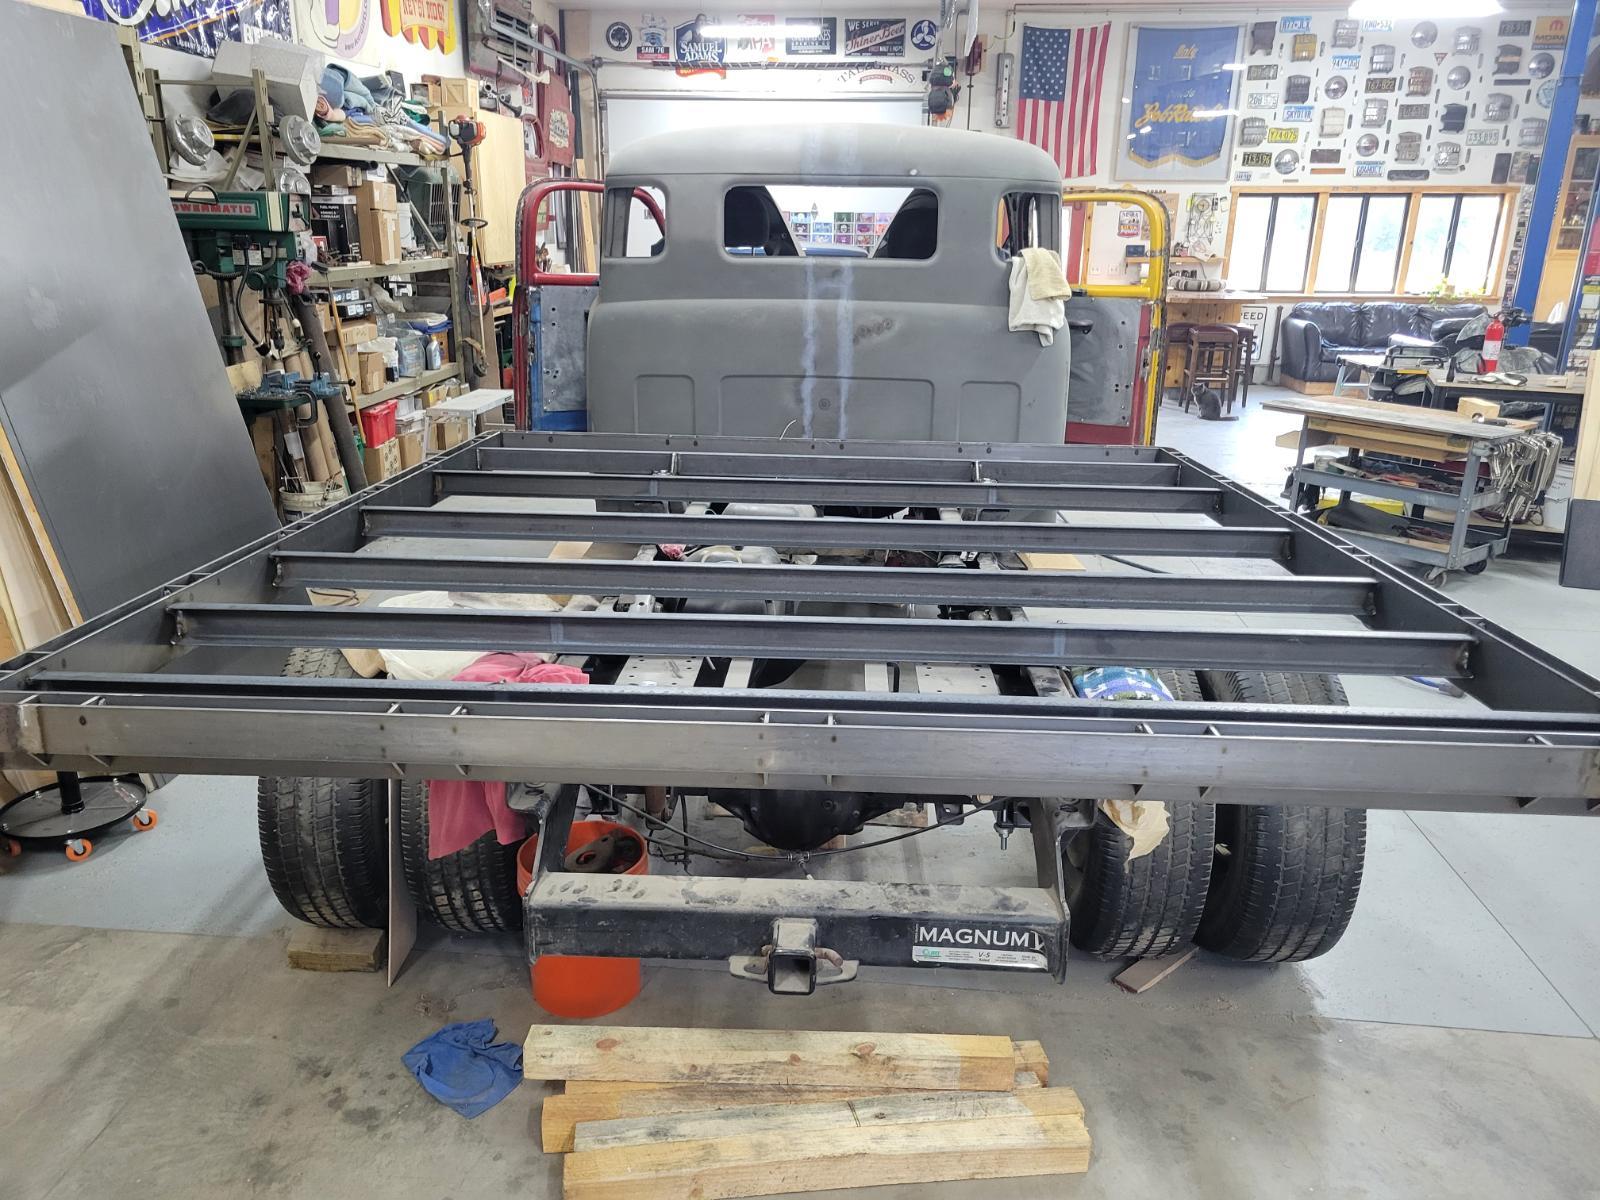
I have a bed... Things left: 1. Fuel fill bracket 2. Tie down backers 3. Drill holes for bed strips 4. Drill holes for marker lights 5. Make bed tail plate for turn, brake, back up, plates,back up camera and trailer power
-
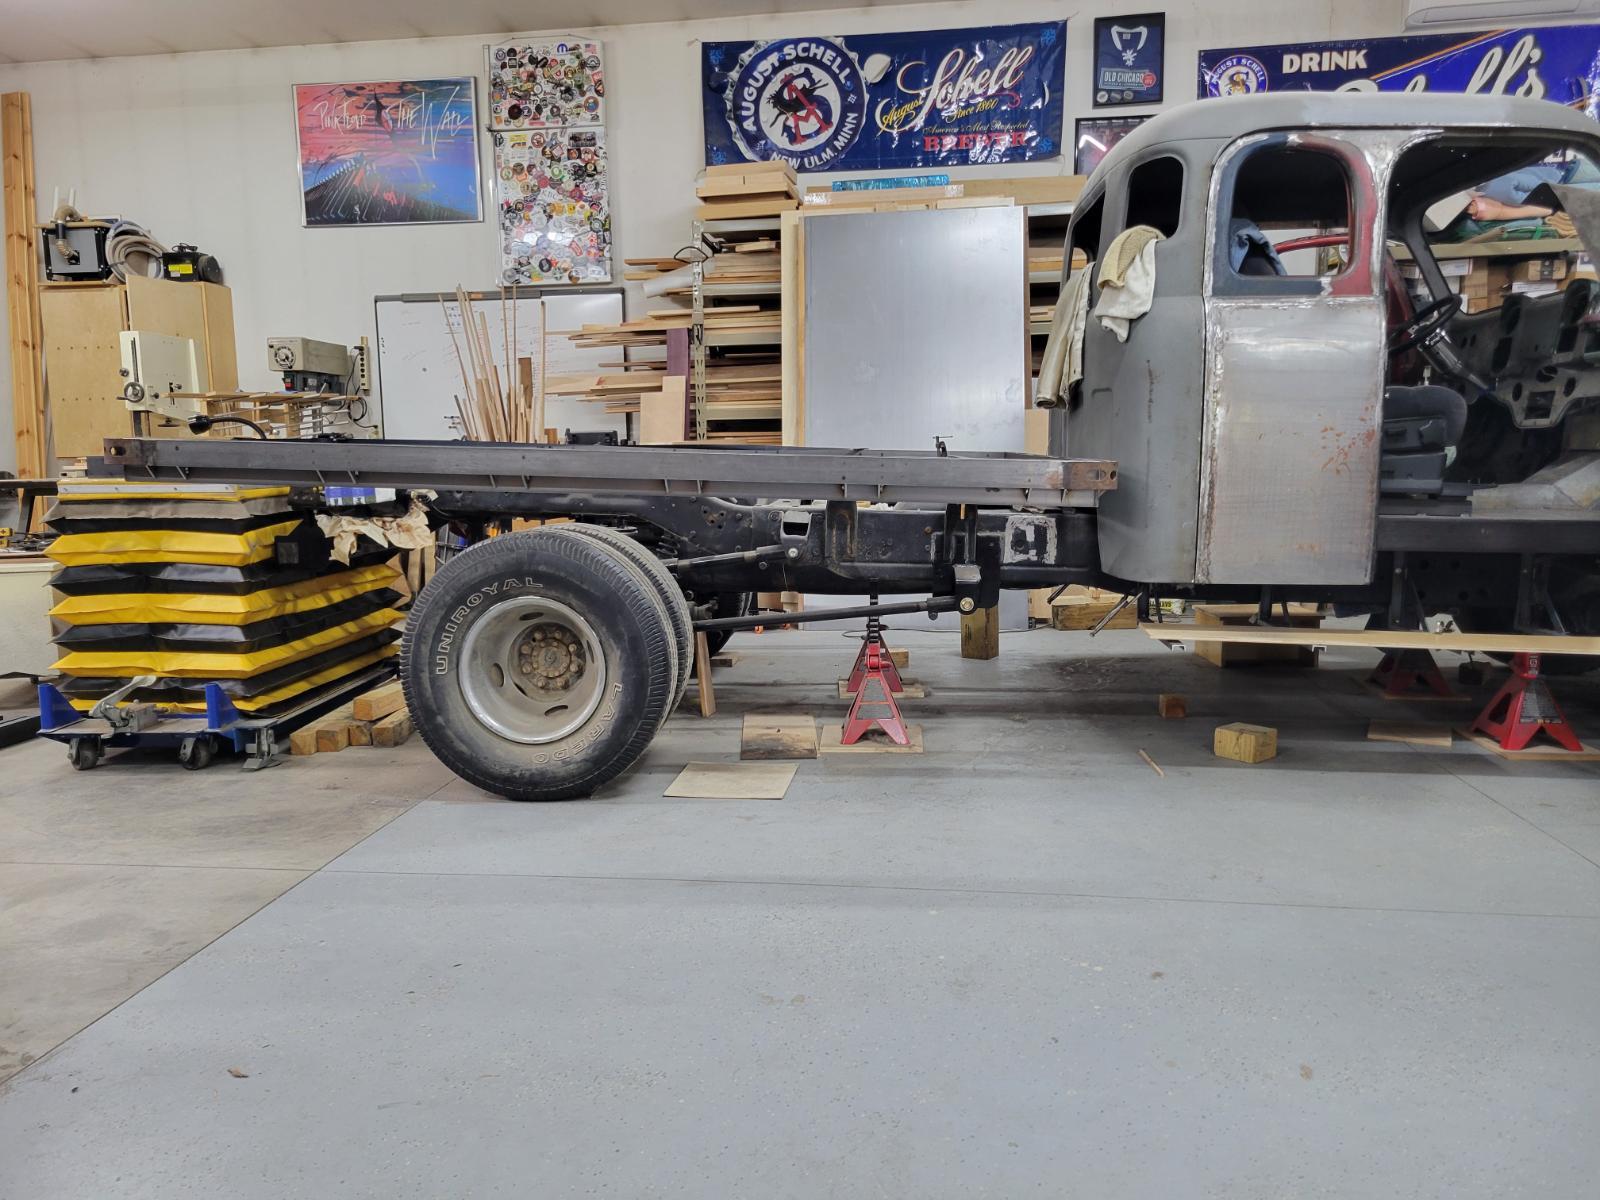
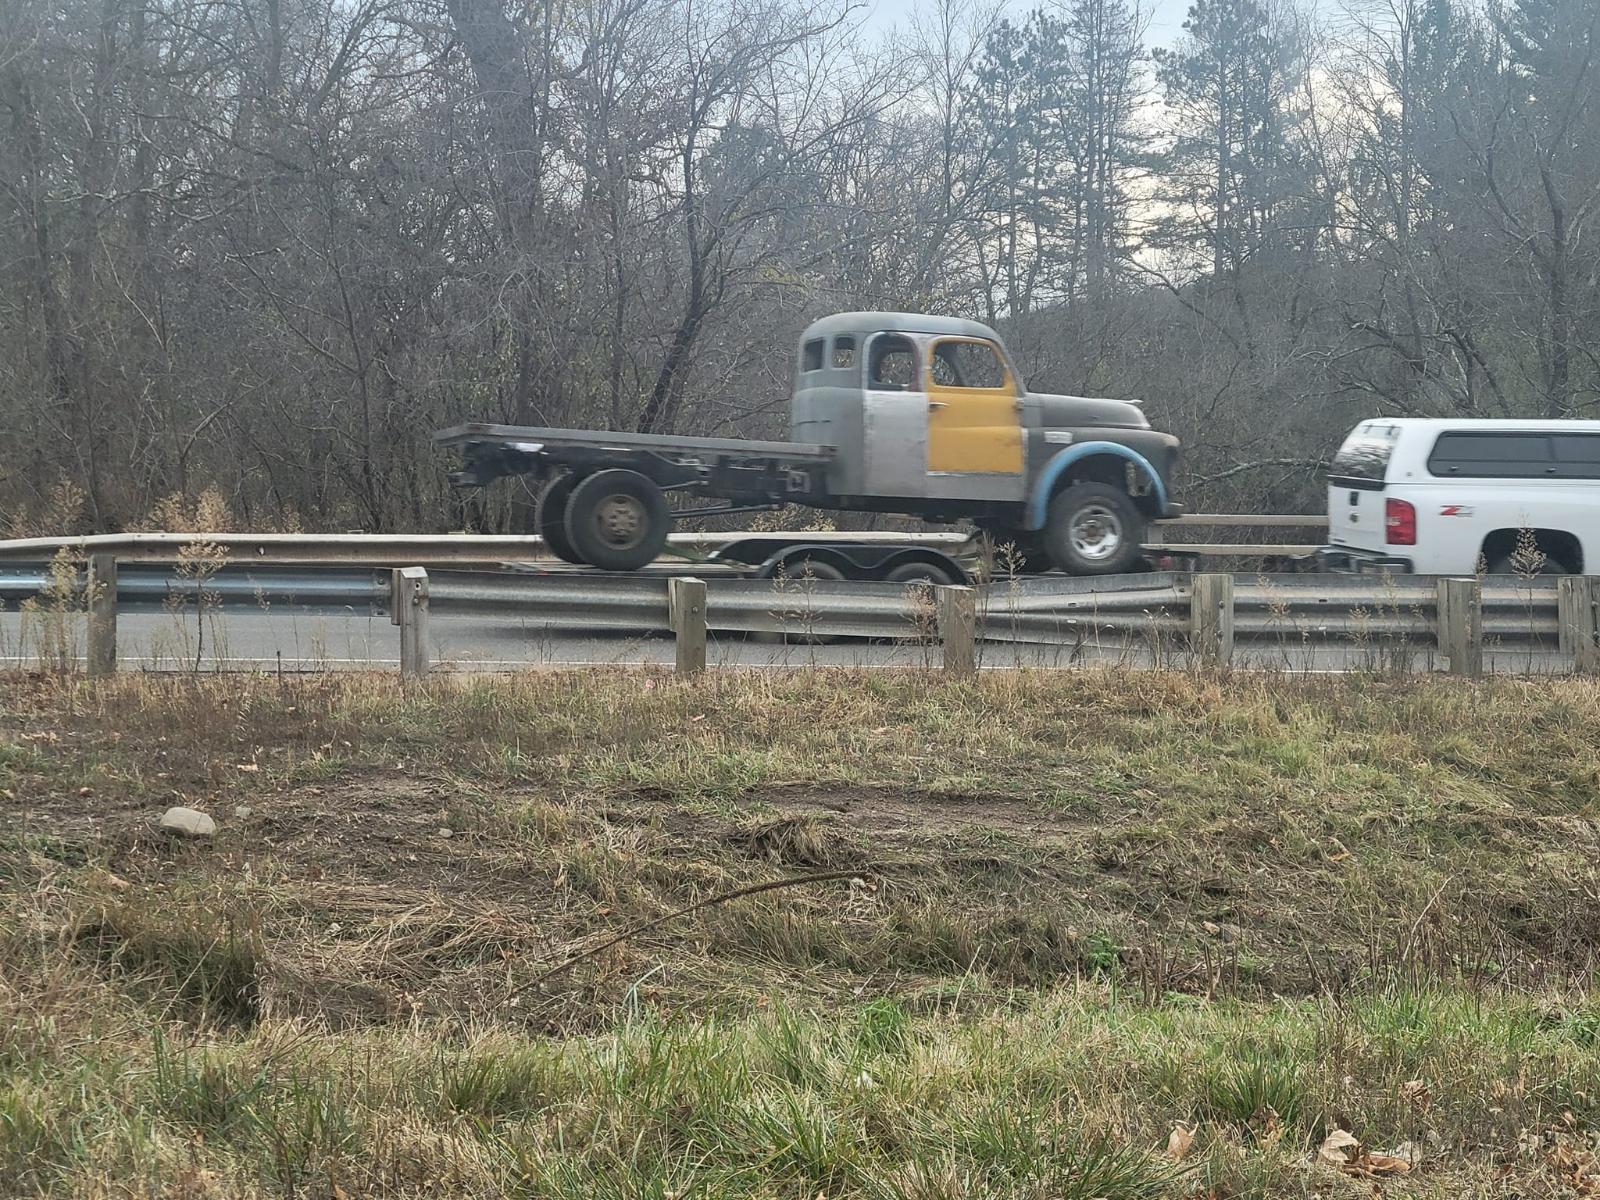
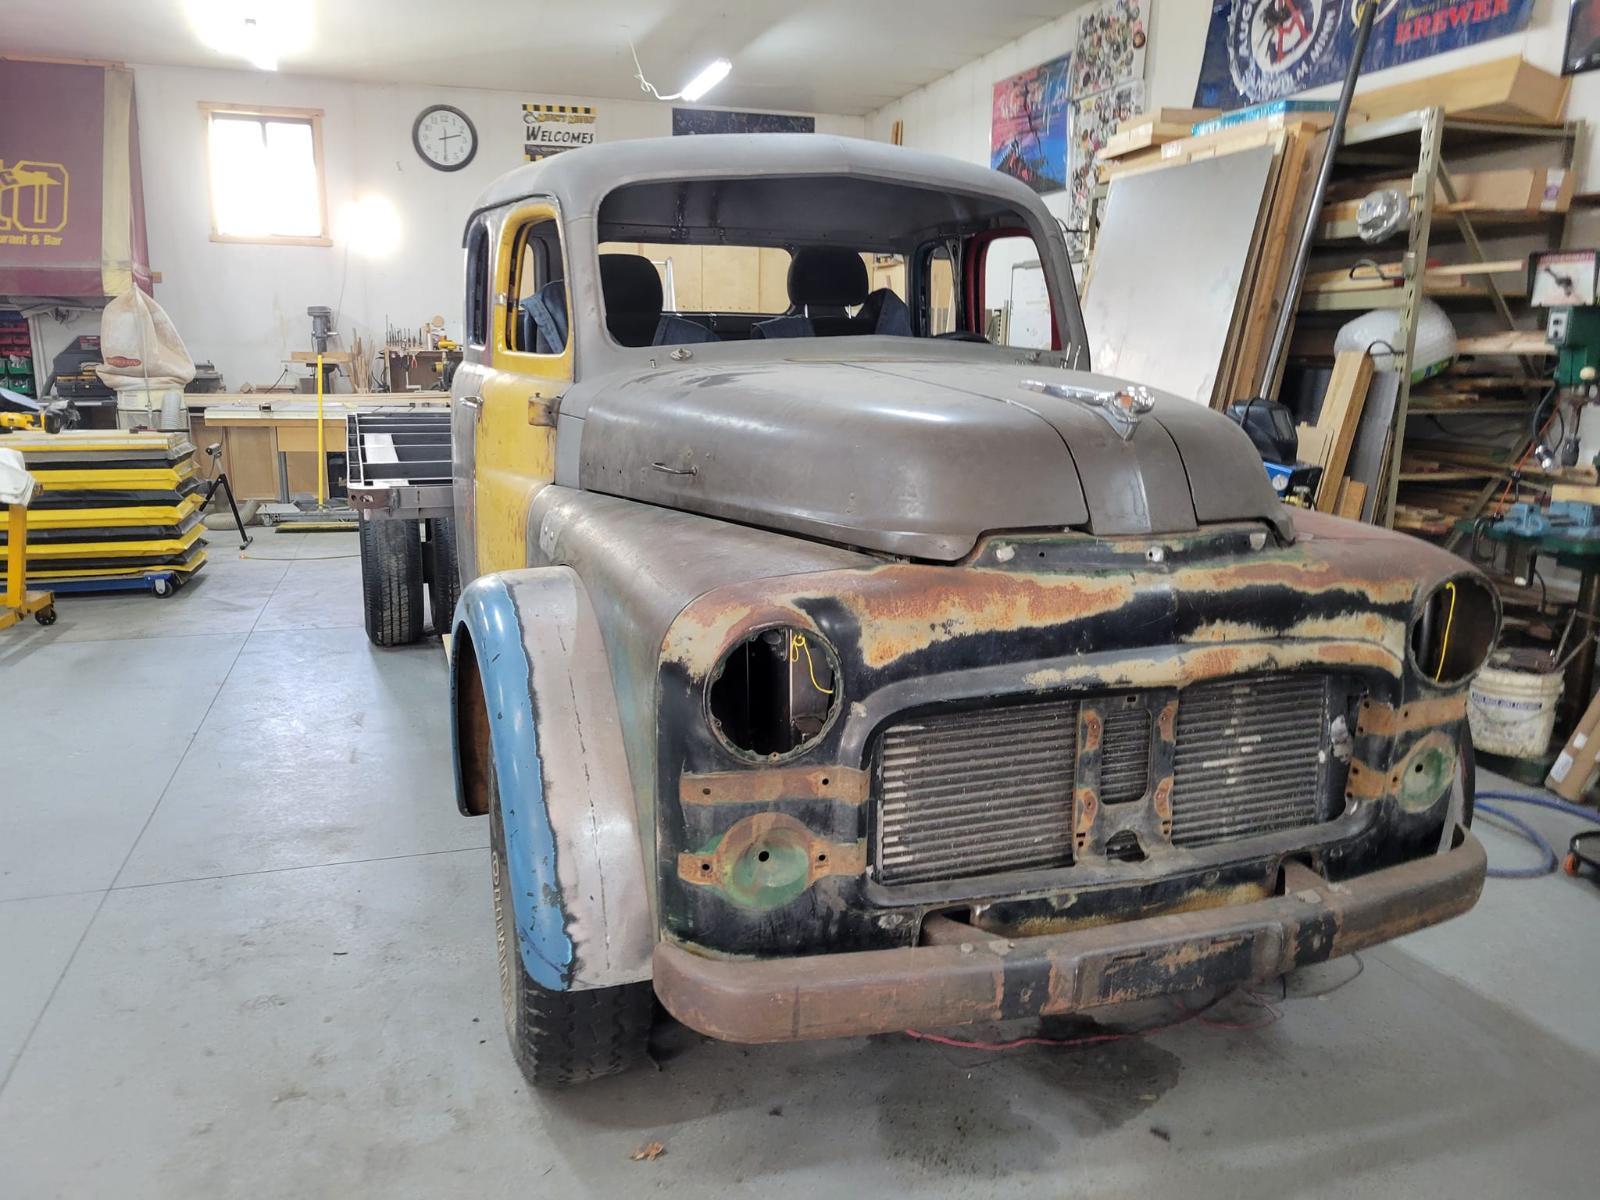
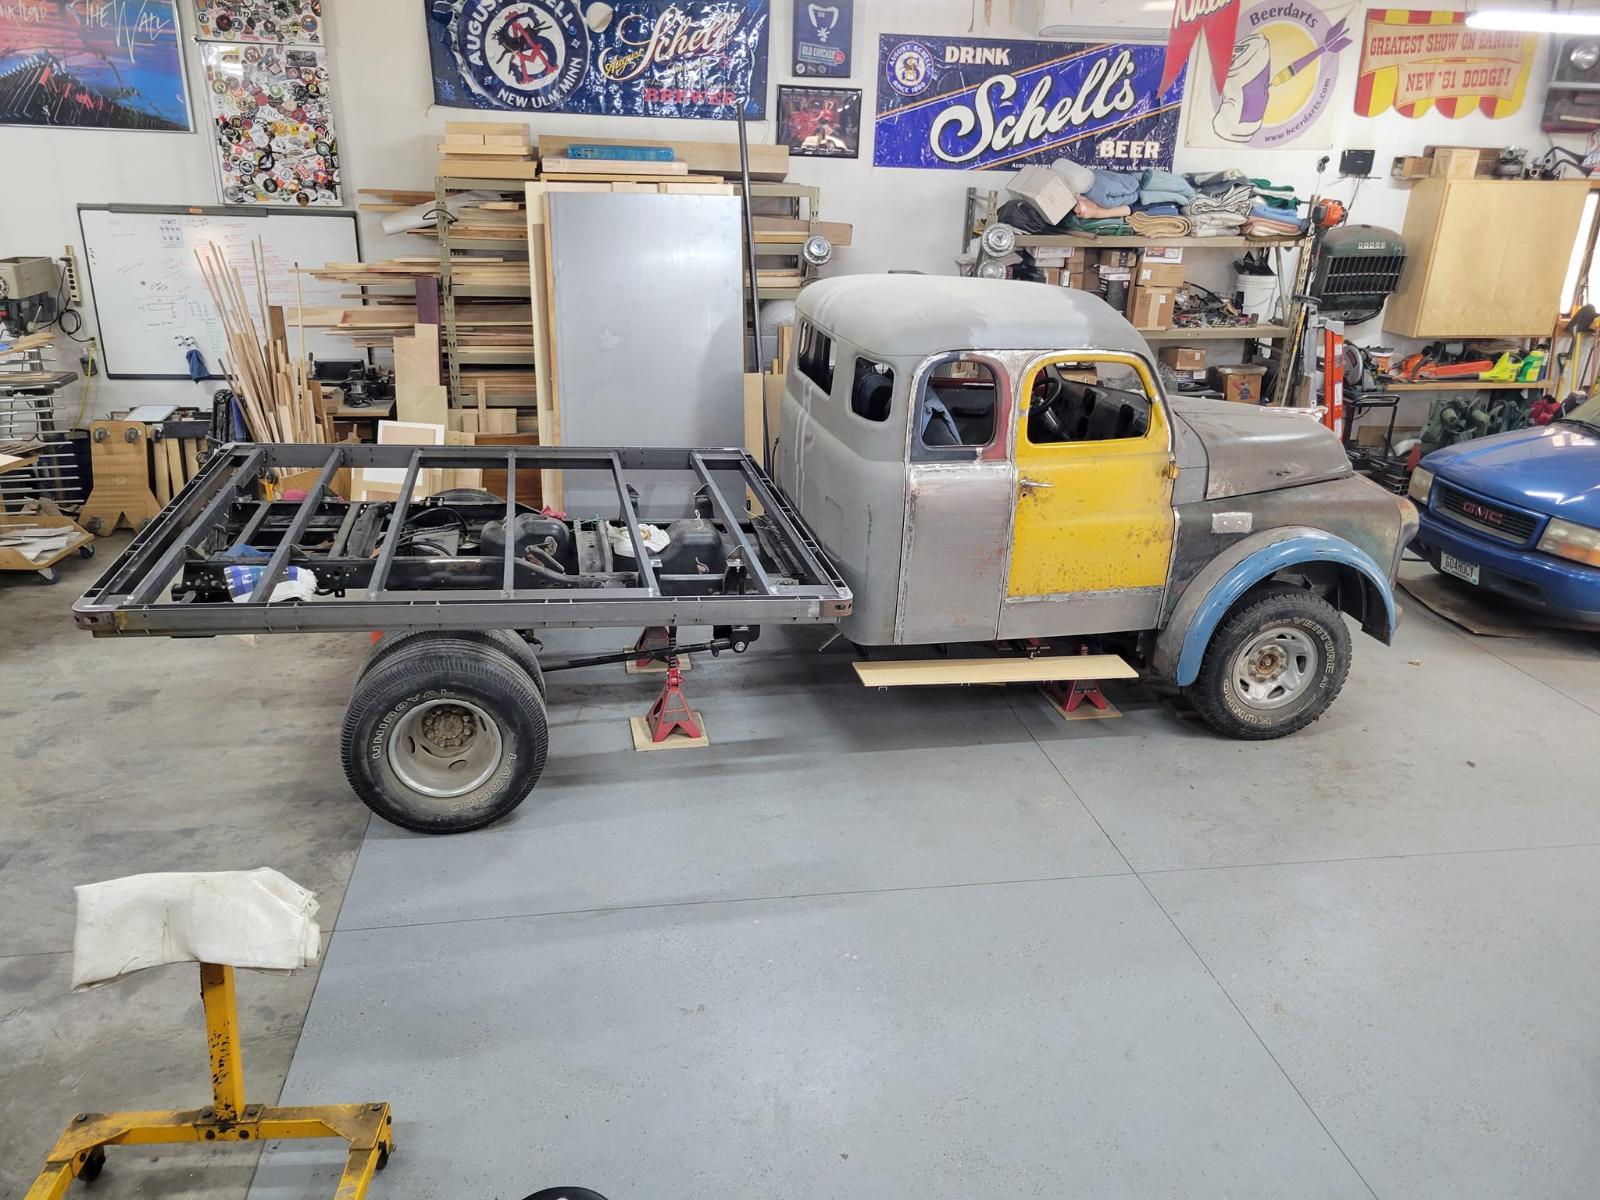
Front sitting on a cross member, rear set correct with cart.