
Alexio Auditore
Unpaid Member
-
Joined
-
Last visited
Everything posted by Alexio Auditore
-
Hey @JAG1, were you able to run your charge wire back to the drivers side battery? Curious if you saw a change in AC readings.
-
Did you run a new charge cable to passenger battery or driver? Just curious.
-
He mentioned doing an additional ground strap at the very least. I upgraded to the 180 amp, and did a 1/0 strap ground to ground. At the very least, this isn't a hard thing to do. It was maybe 30 bucks for all I needed, cable, ends, heat shrink, loom. I dont know if this is enough for a higher amp alternator, but at least its a start. And if I recall correctly, wasn't @W-T's alternator like a 280amp? A lot more power there for sure. How difficult would it be running the battery temp sensor from driver to auxilary? @JAG1, id be interested in seeing if your ac noise changes or stays the same running a (bigger) wire back to the drivers side battery.
-
Here is my experience. Please note that I'm no electrical guru, but still did and am doing the mod, and have seen the results. ... Besides alternator problems that result in high ac noise, I believe the charging cable has something to do with it. I would be curious if somebody changed there 6 guage wire running across the front with a new 6 or 4 guage while still running across the front, to see if the noise would still drop. Theory being that possibly the cable has aged and doesn't properly carry current like it should.(again, my theory, but im kinda retarded so don't put trust in that 100%, or 50% for that matter ) But, I have done the charging cable half of the mod only so far, running a new cable (4guage) with fuse inline to passenger battery. And the drop in ac was very noticable. I have also run 1/0 ground from battery to battery(i did this first before charging cable) I have not done the ground mod yet. I believe that part helps ground your important components quickly without dragging it across the the whole engine compartment just because of poor design. So do a new charge cable, and you should see ac drop. You can see what the difference is on the wt mod article on the last page. I was seeing as high .08 at one point, .06-.07 being the average. And it dropped alot.
-
So sitting in the truck, I can get it rockin pretty good. When I said slow recovery, I meant it bounces back and forth a lot before it stops. It definitely bounces quickly left and right. Ill try the sitting on the bumper to one side. Do they make stock height springs for the truck? Most I see is like 2 or 3 inch, which I think levels the front end right? I talked to a guy last week to set up alignment, and he told me the 5100s might be to light duty for this truck.... unless I'm missing something here, I believe these are built for this truck just fine.
-
Sorry for the misdirection, I meant that the side to side recovery is slow, not stiff. If I hit a bumb or jump on the bumper, the up and down recovery is fast, it bounces once. But if I hit a speed bump, say one tire at a time, where the truck rocks side to side, the side to side recovery is much slower. Sometimes two or 3 bounces back and forth. This initially lead me to getting the new shocks. The old one were bad. I mean, wow. The tie rod ends look OK, same with the bushings, don't look like they're loose or moving excessively, but they could be old as well. I dont know if previous owner replaced them or not. Springs aren't cracked, but not sure how else to tell if they're shot.
-
a few months ago, I replaced my shocks all the way around on my truck. They were shot, replaced them with bilstein 5100. It definitely helped the up and down recover, but the truck still bounces side to side a lot more. What I mean is if I hit a speed bump one tire at a time, the truck rocks side to side much more than I remeber it doing originally. Looked at the sway bar links, and don't see any kind of wear on it, even when I bounce it manually. So maybe the coils are tired? How can you tell? What other causes might there be? Up and down is fine, so I don't think its the shocks.
-
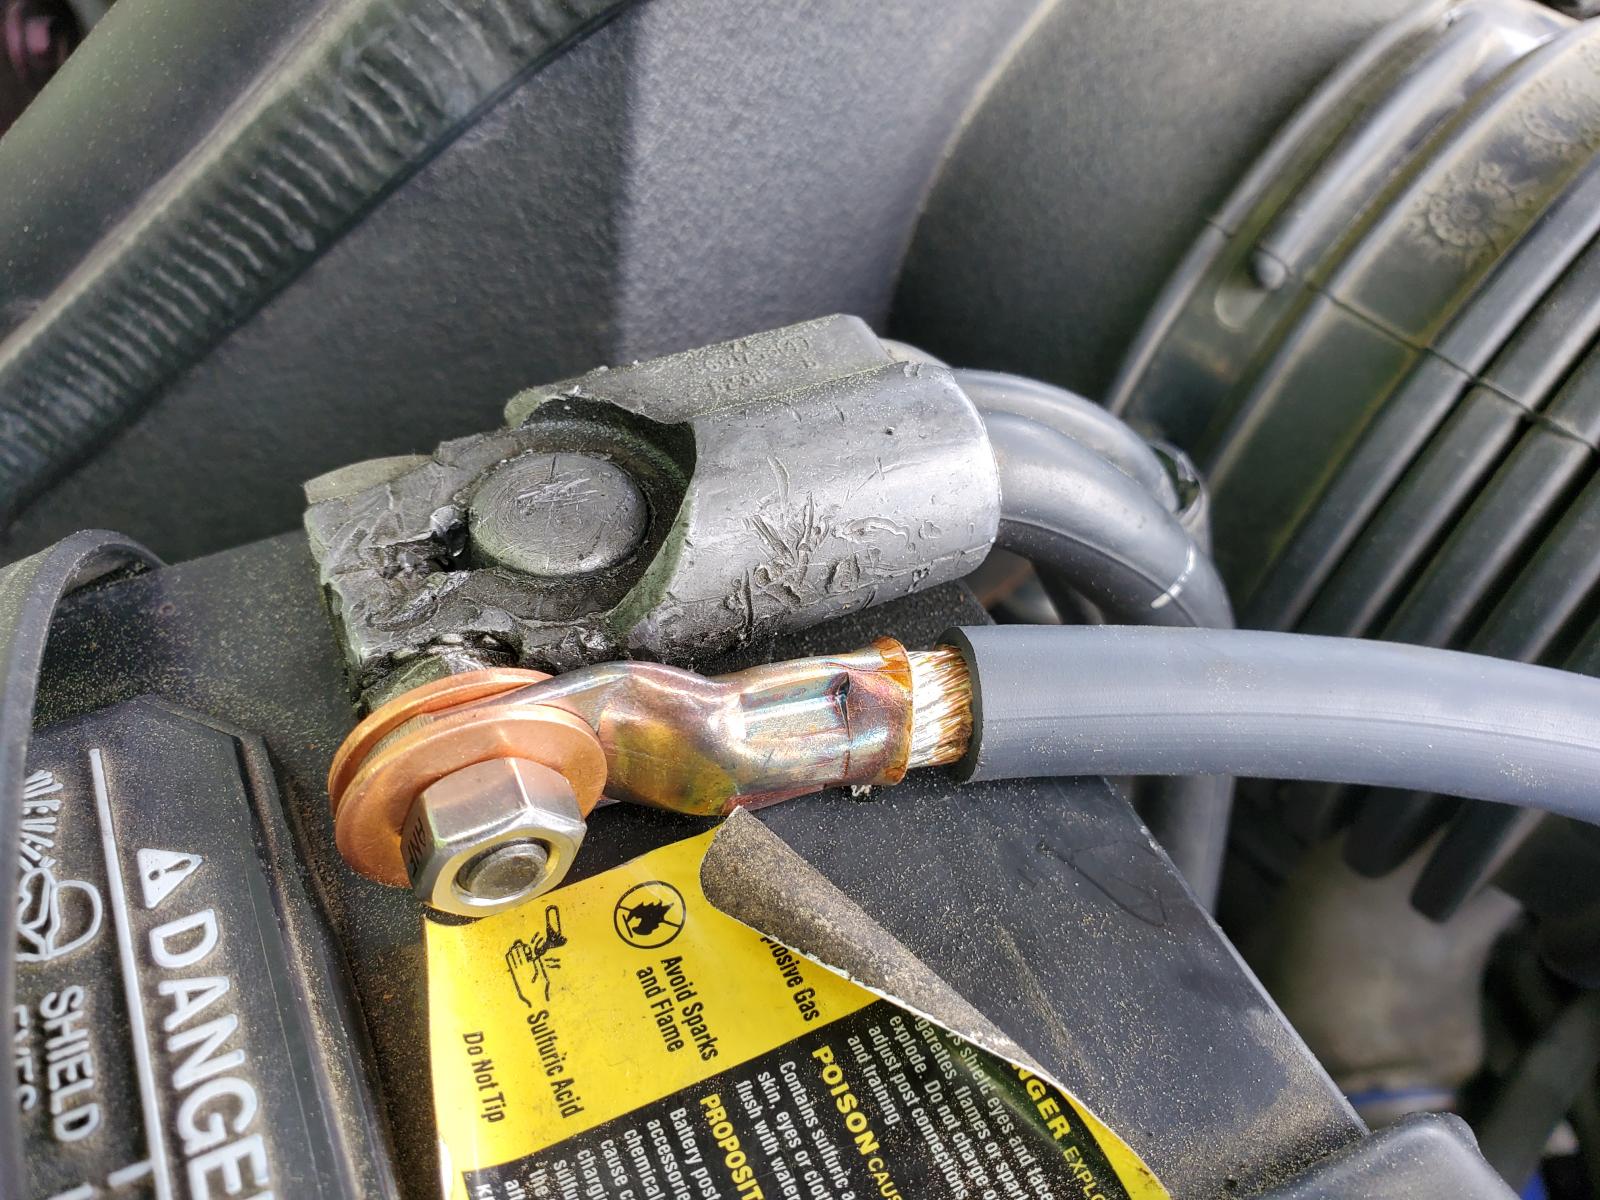
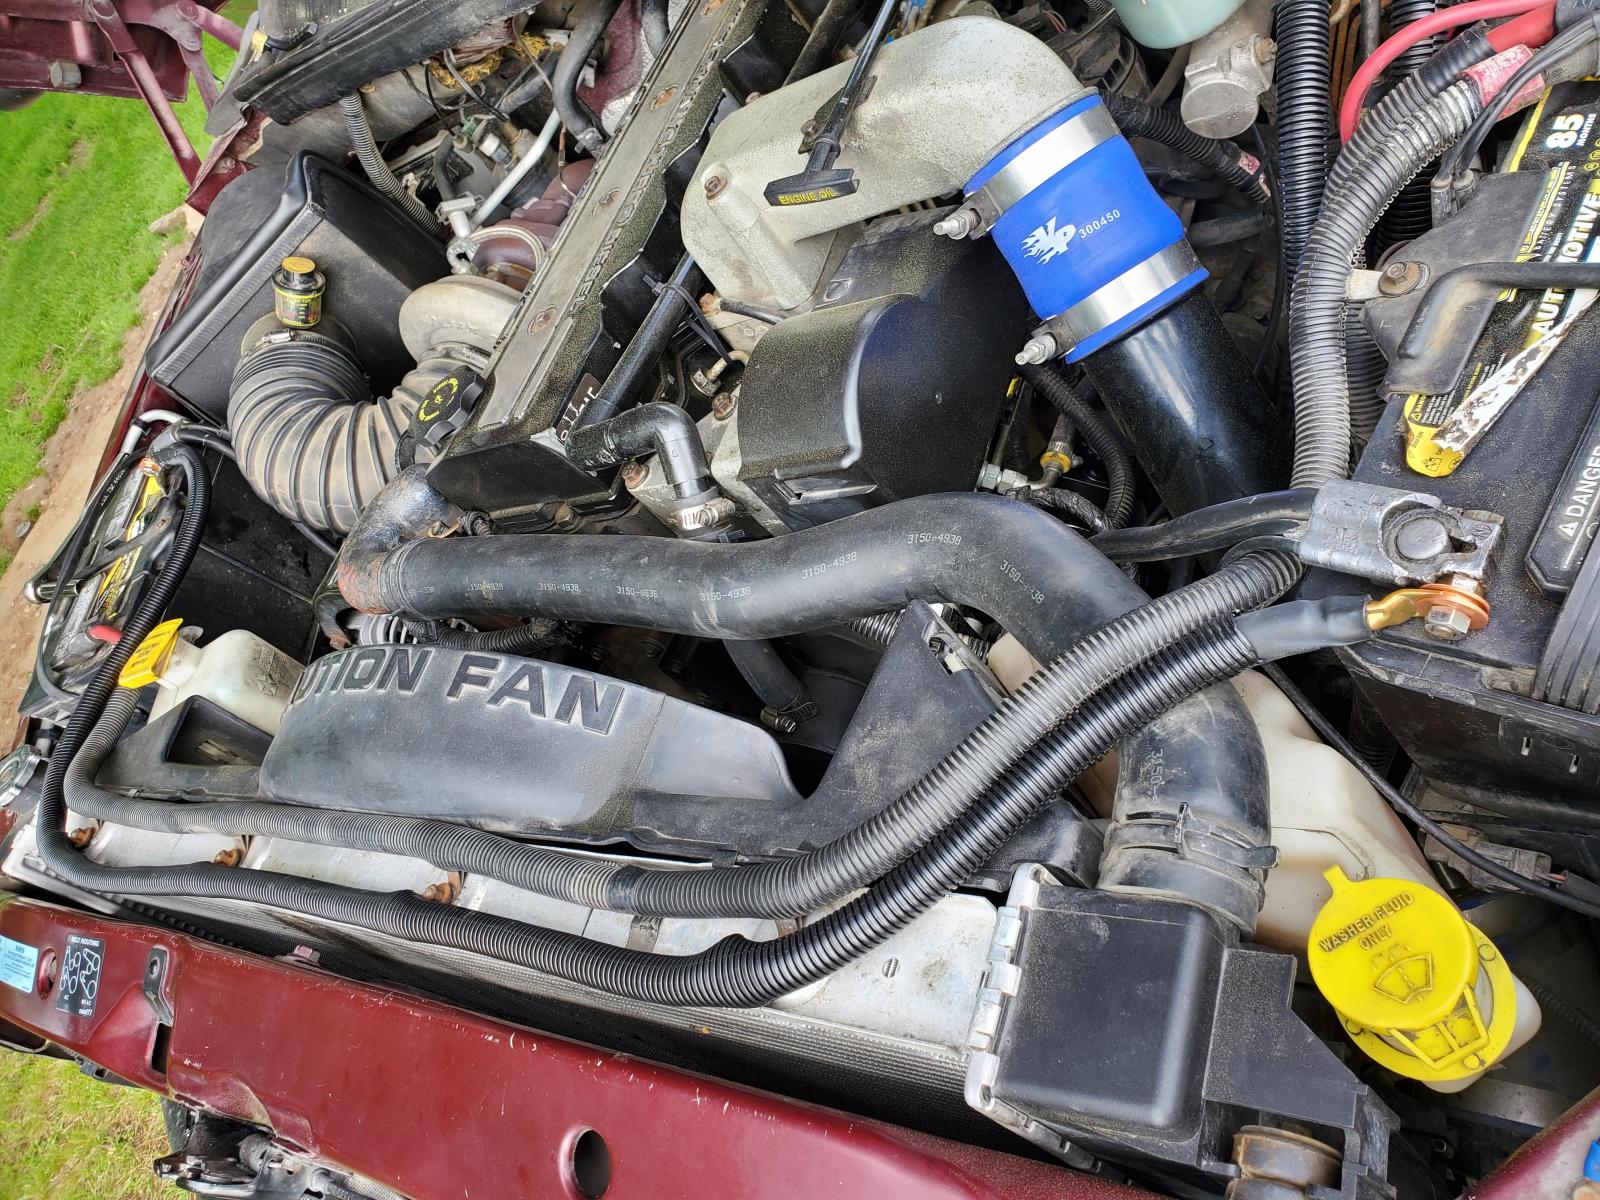
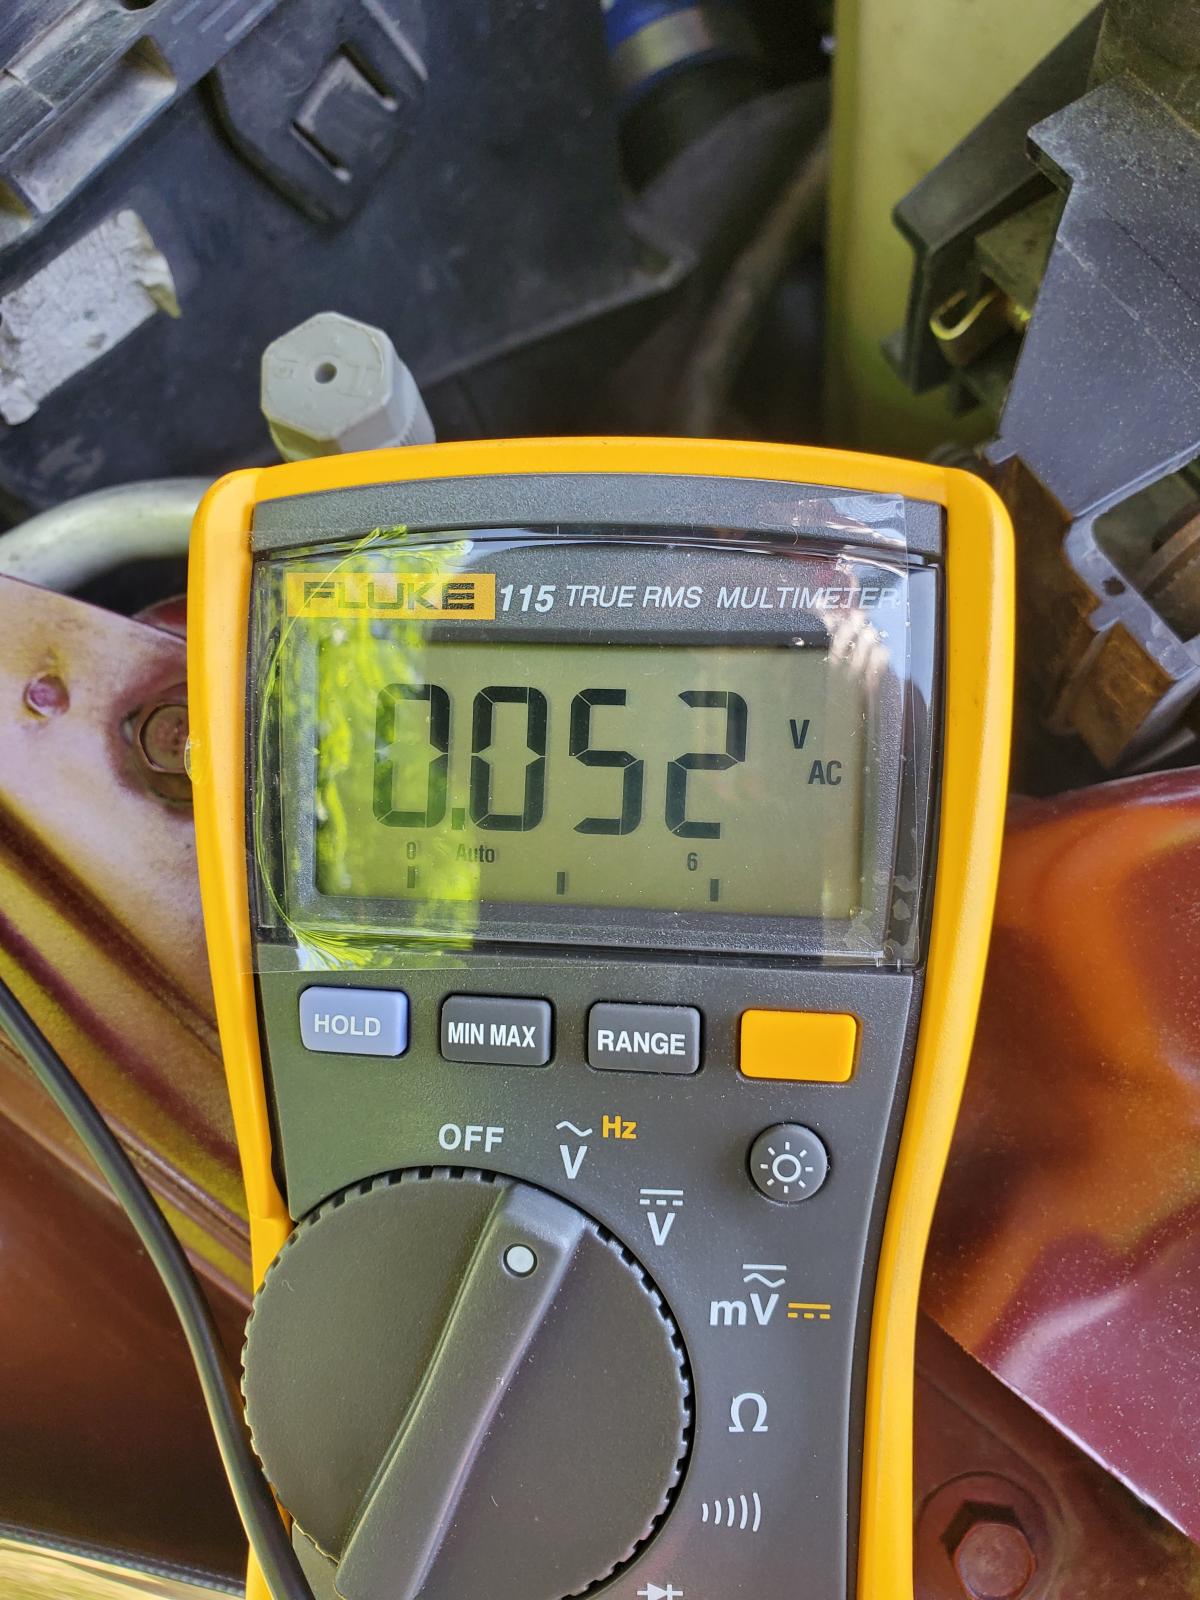
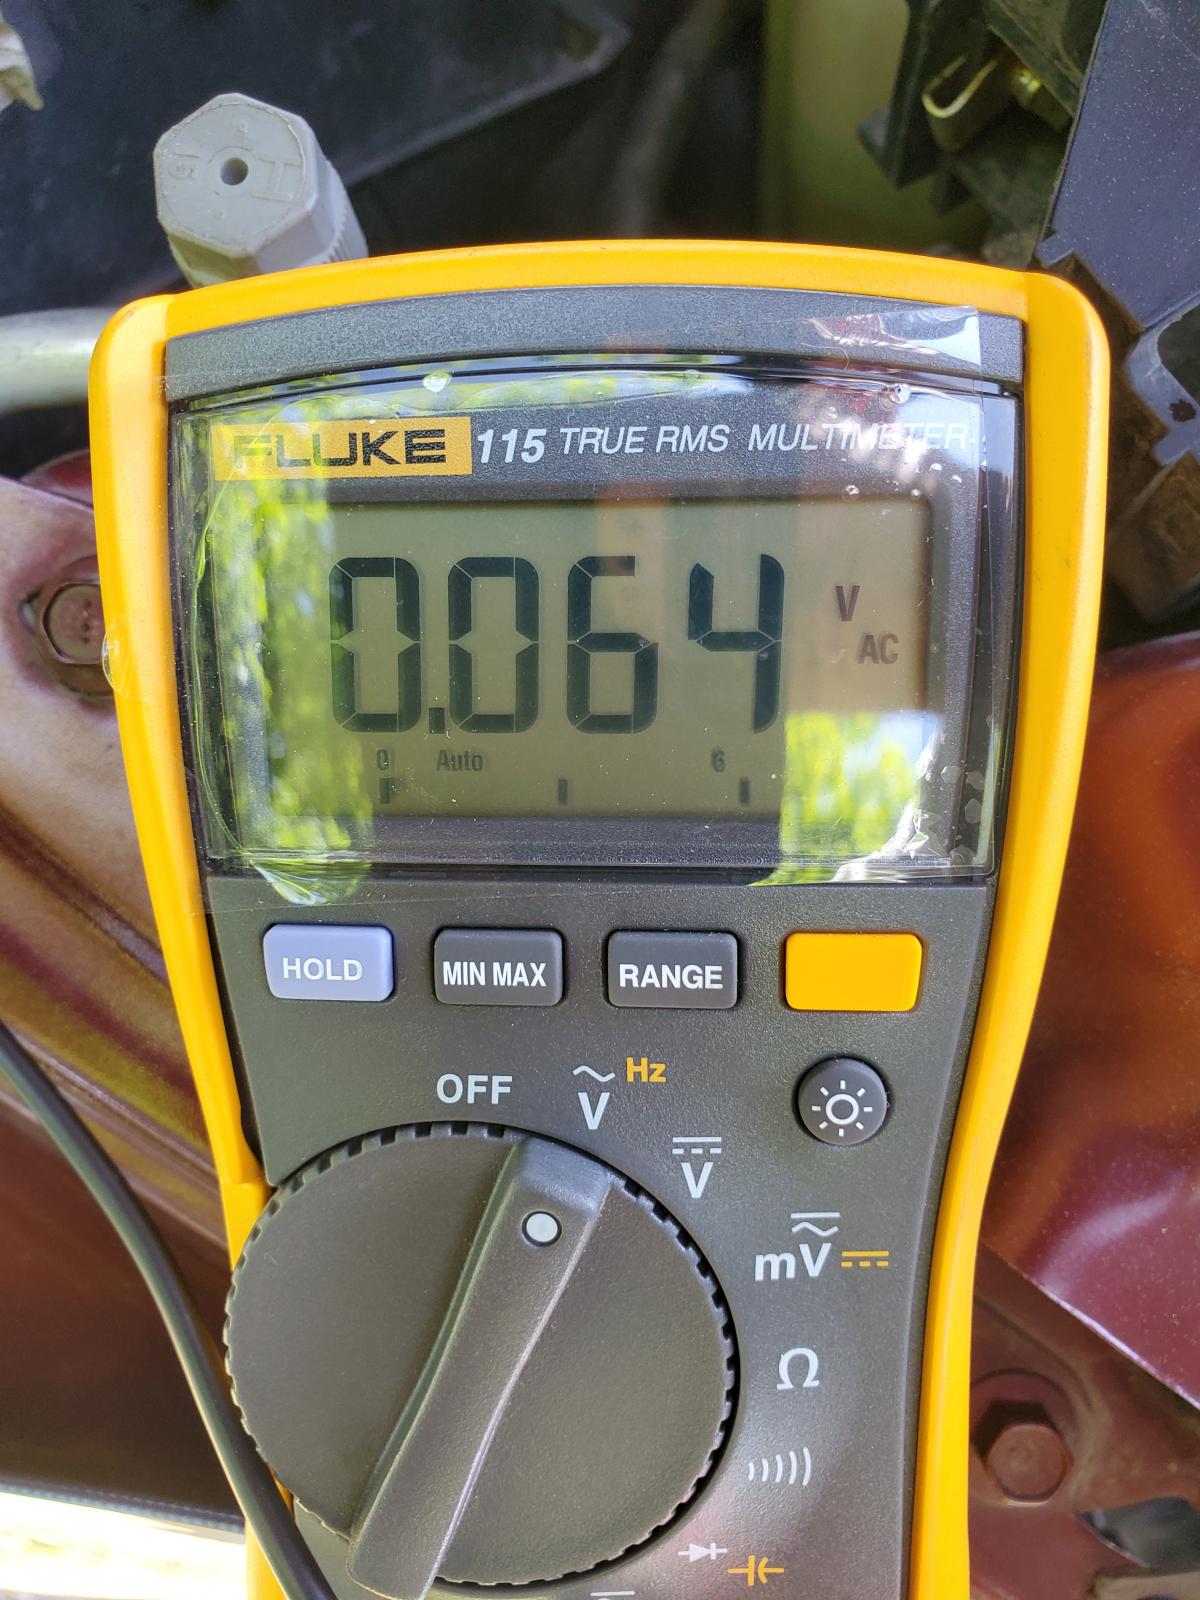
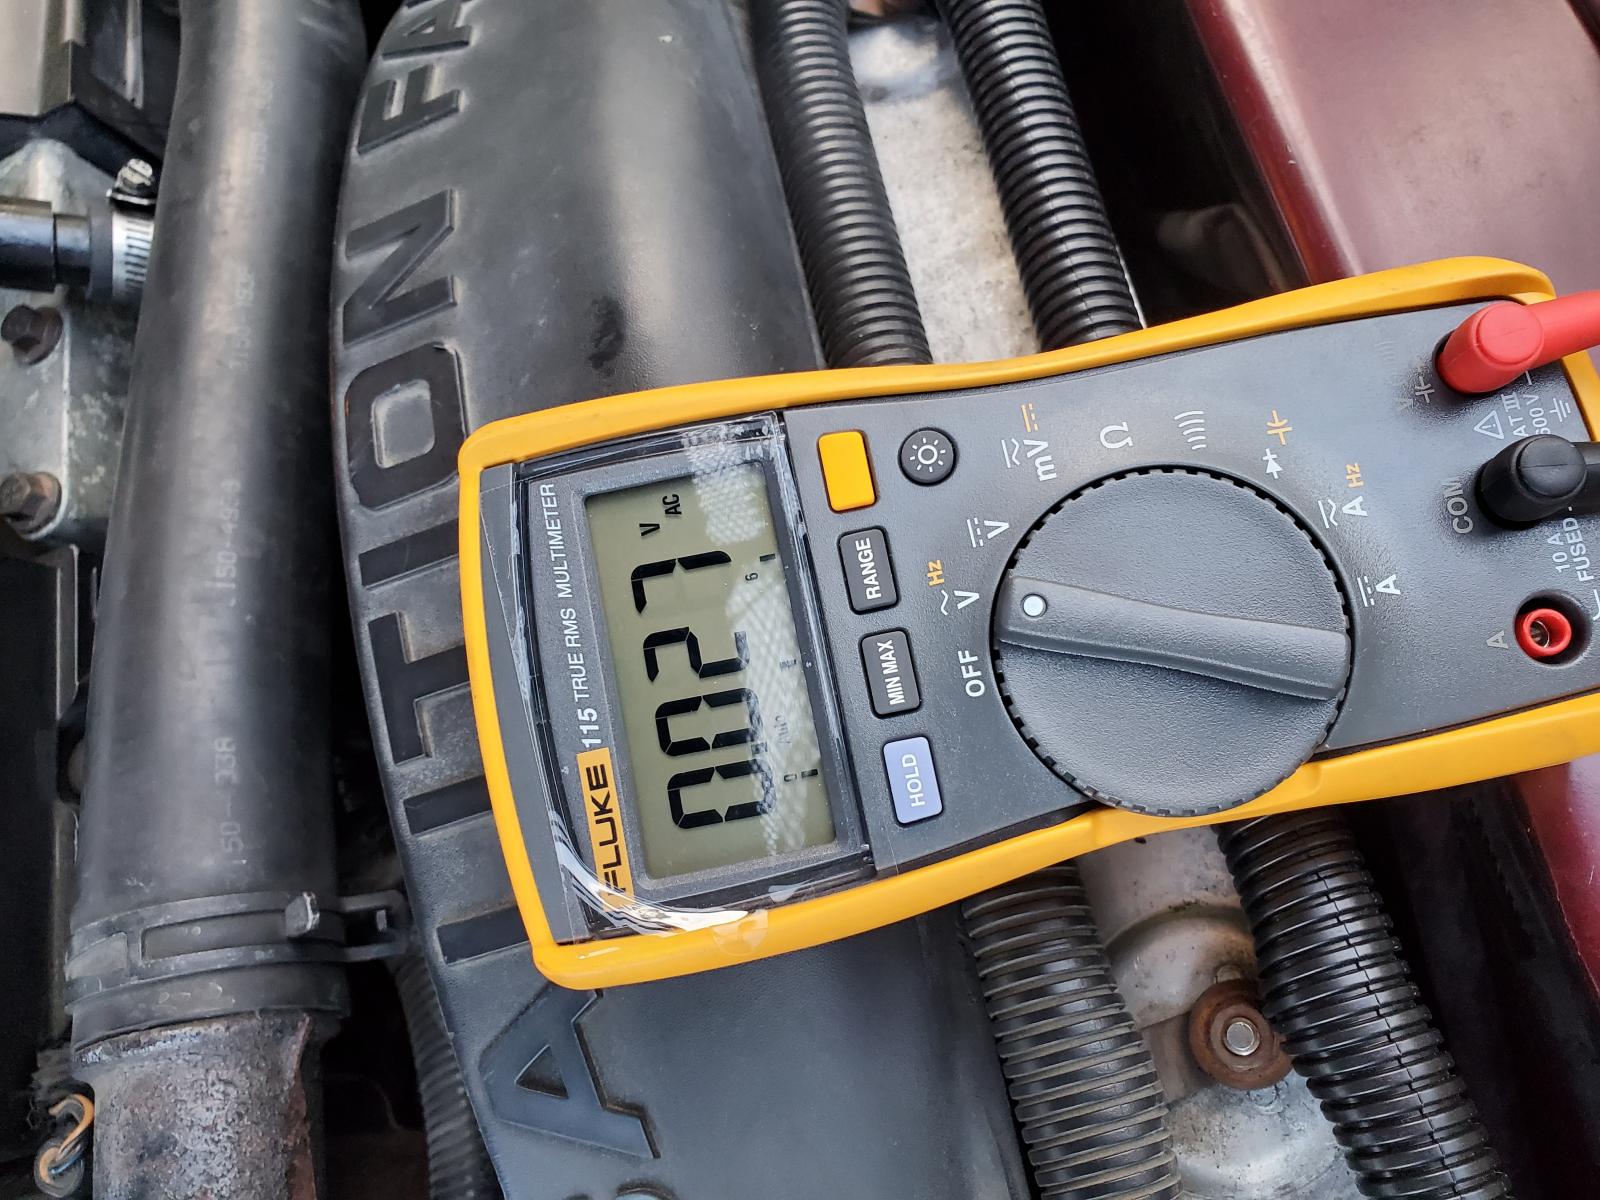
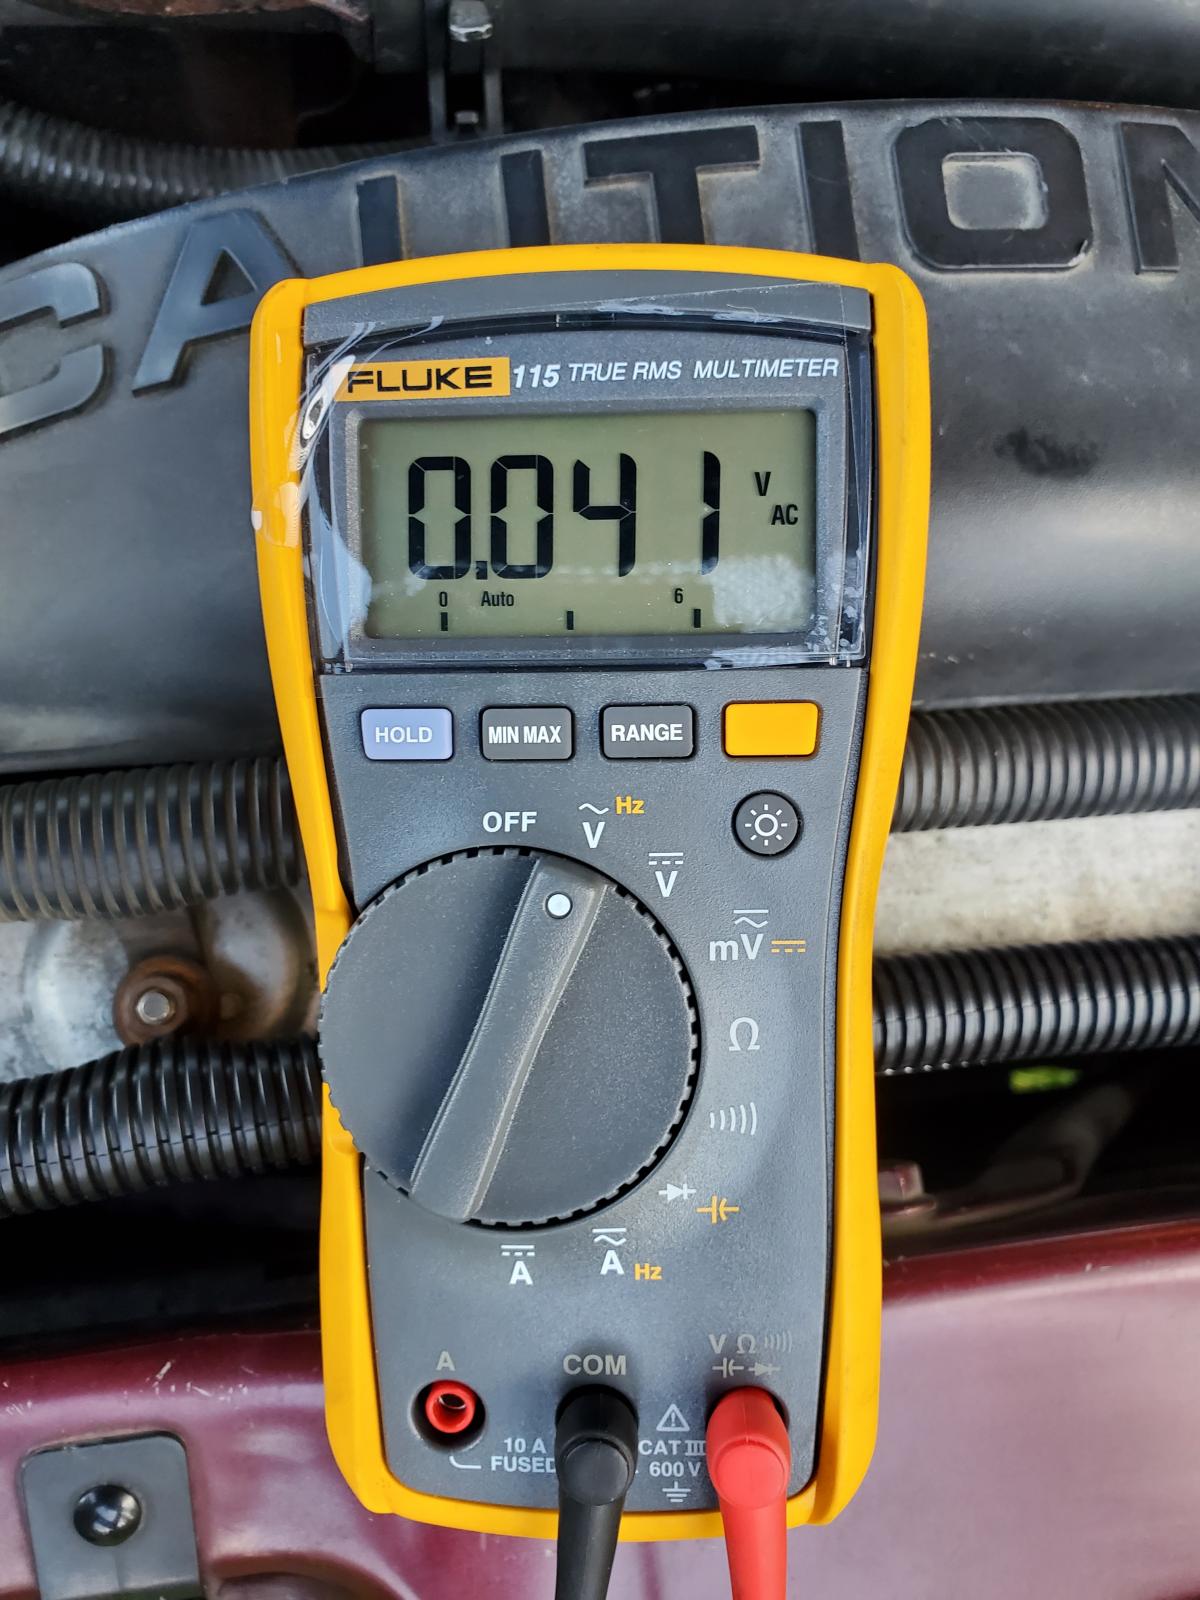
Thanks dripley. Thought I'd just give my experience so far. I did the extra ground strap, turned out pretty clean and nice. Used clips to hold the new cable along the same route the positive cable went. Crimped, soldered, and heat shrinked the ends. Sexy! ? That was yesterday. Today, I got around to changing the charge cable, moving it to the auxilary battery. Here is the before numbers on the ac noise.... With electronics, lights, and heater off.... With lights, radio, ac full blast on, all after driving around. I want to say that these numbers are lower than what i first recorded a few days ago, it was closer to .073. This reading above is with the new battery ground strap 1/0.(maybe it helped lower the ac noise as well? Who knows, couldve just been happenstance.) And here is after re-routing the charge cable to the auxiliary battery, through a 200 amp fuse. With everything off..... With everything on! After a drive to bring up to operating temp. Highest reading was .045. What a difference for sure. I still have to do the w-t mod for the grounds and rip out the old charging wire. But so far, so good. I still have to heat shrink the charge wire, the parts store gave me heat shrink that was waaaaayy bigger than 4 guage cable, saying it would would shrink. It did, but not nicely or tightly on the ends. I would like to get a water proof fuse holder, I haven't come across one yet. I used a 2.5 x5 inch aluminum plate to hold the fuse holder to the battery tray.....holder.....hmmmm... This took a lot for me to work myself up to it, and it seriously has been pretty easy and straight forward. I made sure to practice some soldering with extra wire and lugs, and also a couple practice crimps. The wires aren't going anywhere... Next is the important grounding fix and the nations 180amp alternator! By the way, is there something you guys would recommend putting on the copper lugs to prevent corrosion?
-
Quick question: the wire running from driver positive battery terminal to the pdc, do we disconnect it or leave it? Do we leave the fuse in there as well?
-
Even to me, this makes sense. Stupid design on dodges part...but. I thought running the extra cable battery to battery helps balance the charge between the 2, keeping them parallel, since the charge cable is now to the auxiliary battery? This is my understanding: you do this in the absence of a temp sensor on the passenger battery because you have the charge wire now going to said battery, so that in the case of a bad, failing auxiliary battery, the extra cables you ran between the 2 batteries keeps them charging roughly the same, balanced, and as the one heats up, the other should too(letting the one with the sensor detect the rise in heat) to at least let you know you have a issue and not over work and fry your alternator and PCM. which is what i believe @JAG1 was pointing out, and experienced too. Again, this is what I'm understanding, it makes sense, but I wouldn't doubt if im wrong somewhere, again im not a electrical savvy person. (I literally have read and re read the wt mod and this thread over and over just to understand it, even though it is relatively simple.) I want to just make sure to do this right, with the added protection of a more likely "what if" situation, like the pcm fuse install(not that you can predict all "what ifs") Most everything is still stock on my truck, battery cables and all, still looking in good shape I'll still be running the 6 gauge ground from driver battery to block where the wt mod pointed out.
-
Ok. I bought a 1/0 cable to run negative to negative..(apparently no 0 guage? Electrical incompetence is showing here) if I did add an extra positive, should it be the same size as the one currently going across? I've been working myself up for a year to do this, been practicing my soldering and crimping skills(harbor freight hydraulic crimp is pretty awesome btw.) When I read through this again last night I discovered the fuse protection for pcm, but also saw the caution of running a charge wire to auxiliary battery when it doesnt have the temp sensor for added protection. I just don't want something bad to happen, which is kinda why I thought of maybe running the new charge cable directly to the passenger battery. I'm probably over thinking this, but my electrical experience and confidence is small, so I just want to be smart and careful.
-
This is from the pcm failure thread, talking about installing a 7.5 amp fuse on the blue wire for protection of pcm. Glad I saw this, ill throw that in while I'm at it. But I have a concern to what JAG1 has mentioned above. I'm am about to do this mod tomorrow, but reading this makes me reconsider the charge wire from alternator to aux. battery. Without strapping 4 more cables across your truck, or moving the battery temp sensor to auxiliary battery, is it better to just run the charge wire over to the driver battery with the inline fuse? 180amp nations alternator On the way, 200amp fuse. I wouldn't want to have the alternator overheat like mentioned in the quoted text because of a bad battery. Re-reading some of @W-T information on page 2 of his article mentions the importance of at least adding another ground cable between both batteries since it is now charging the auxiliary first, especially with a bigger alternator installed. What size wire would be good?
-
For the charge wire, if I upgrade to a 180 nation's amp, should I use a 4awg or 2awg? Forced to do this now that alternator is pushing higher ac, and the case where it bolts to the bracket has worn a hole through it. .08 ac noise currently. I may do the mod, then check with the old alternator to see how much ac noise dropped, the put nations on.
-
Dreams crushed.... maybe. Should do a vin check to see any work done from p.o. As far as dampners go, thanks for the info. Ill stick with stock, appreciate images as well.
-
@dripley did you notice a difference in anything with the new compared to the old? I'm glad i was told about the mechanical pump issue with the bigger dampner. If and when my raptor decides to die, I'll be goin mechanical. I'm hoping to have the vp last a while, especially if it is stock. Maybe set a record lol. But I just did an ac test on my alternator yesterday, and its jumped up to. 07-.08, up from .03 a year or so ago... Plus the ear where it bolts to the bracket is broke, so it need done. Seems to be a fix one thing, 2 more things pop up kind of deal. What do you mean about the photo with a tick mark for a weight and center line up?
-
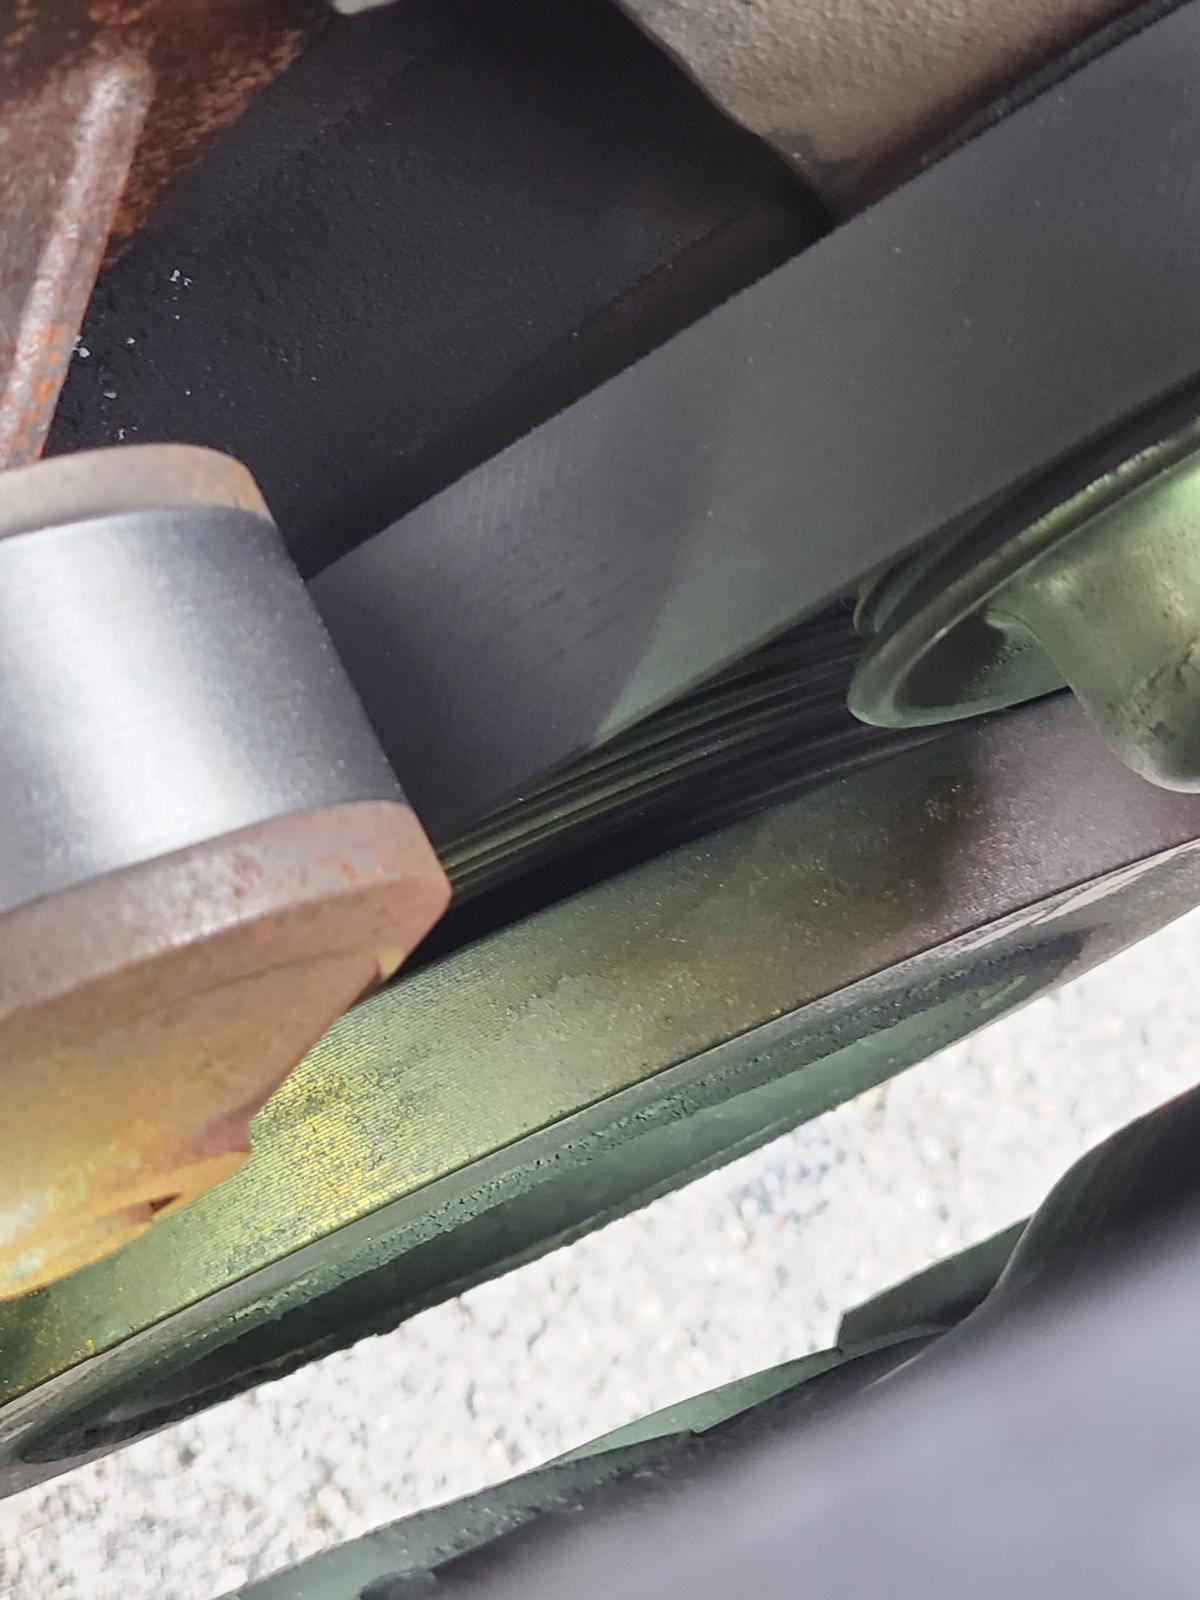
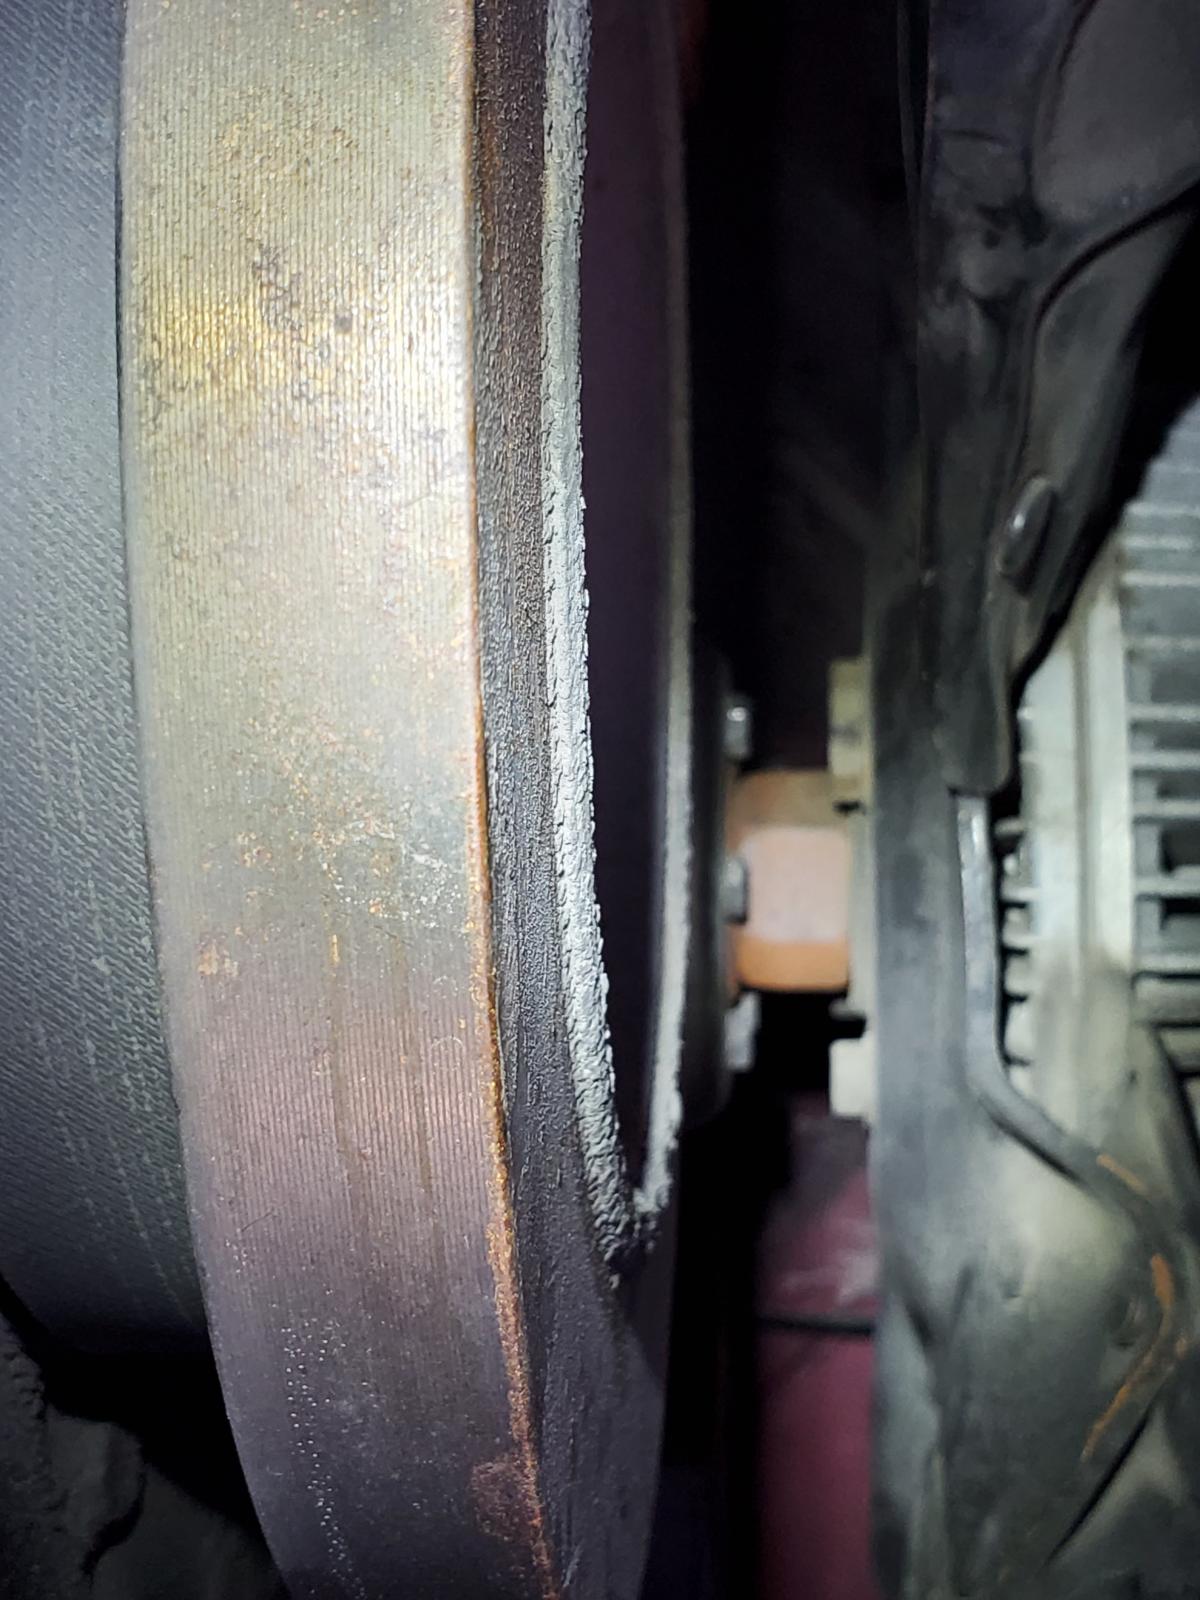
I was reading the same thing..I dont know what the previous owner put into my truck technically, but he said something like 60 horse injectors, I've put the edge ez in, so the truck definitely gets up and goes, but I've never noticed anything odd in reference to the harmonic dampner. 7 years ago, I took it to hunting for horsepower here in coeur d alene, and it came in at 400 hp! I have my doubts, but a few years later I did it again for kicks, it was closer to 360. So I figure in between these numbers. Again, never noticed anything with dampner issues. I know the fluidampr weighs a bit more than stock and is a bit bigger in size too. @Dieselfuture, as far as I've read up, its just a bolt in and go application. The harmonic dampner I believe has nothing to do with balance of the motor as much as dampening vibration through out. I think theyre internally balanced.. (correct me if im wrong, this is just the research I've seen thus far, I could be totally mislead, but I hope not) Last picture is a top view of dampner. Its pretty even the way the rubber is buldging out, but definitely cracked... just a quick off subject question, is there a way to tell if the vp44 is stock? I'm curious about mine, it would be pretty awesome to have a stock one still lol
-
I see what you mean. Ill try to get a better look at it today. I'm thinking of either just the oem replacement or maybe the fluifampr one, but that's a bit more expensive.
-
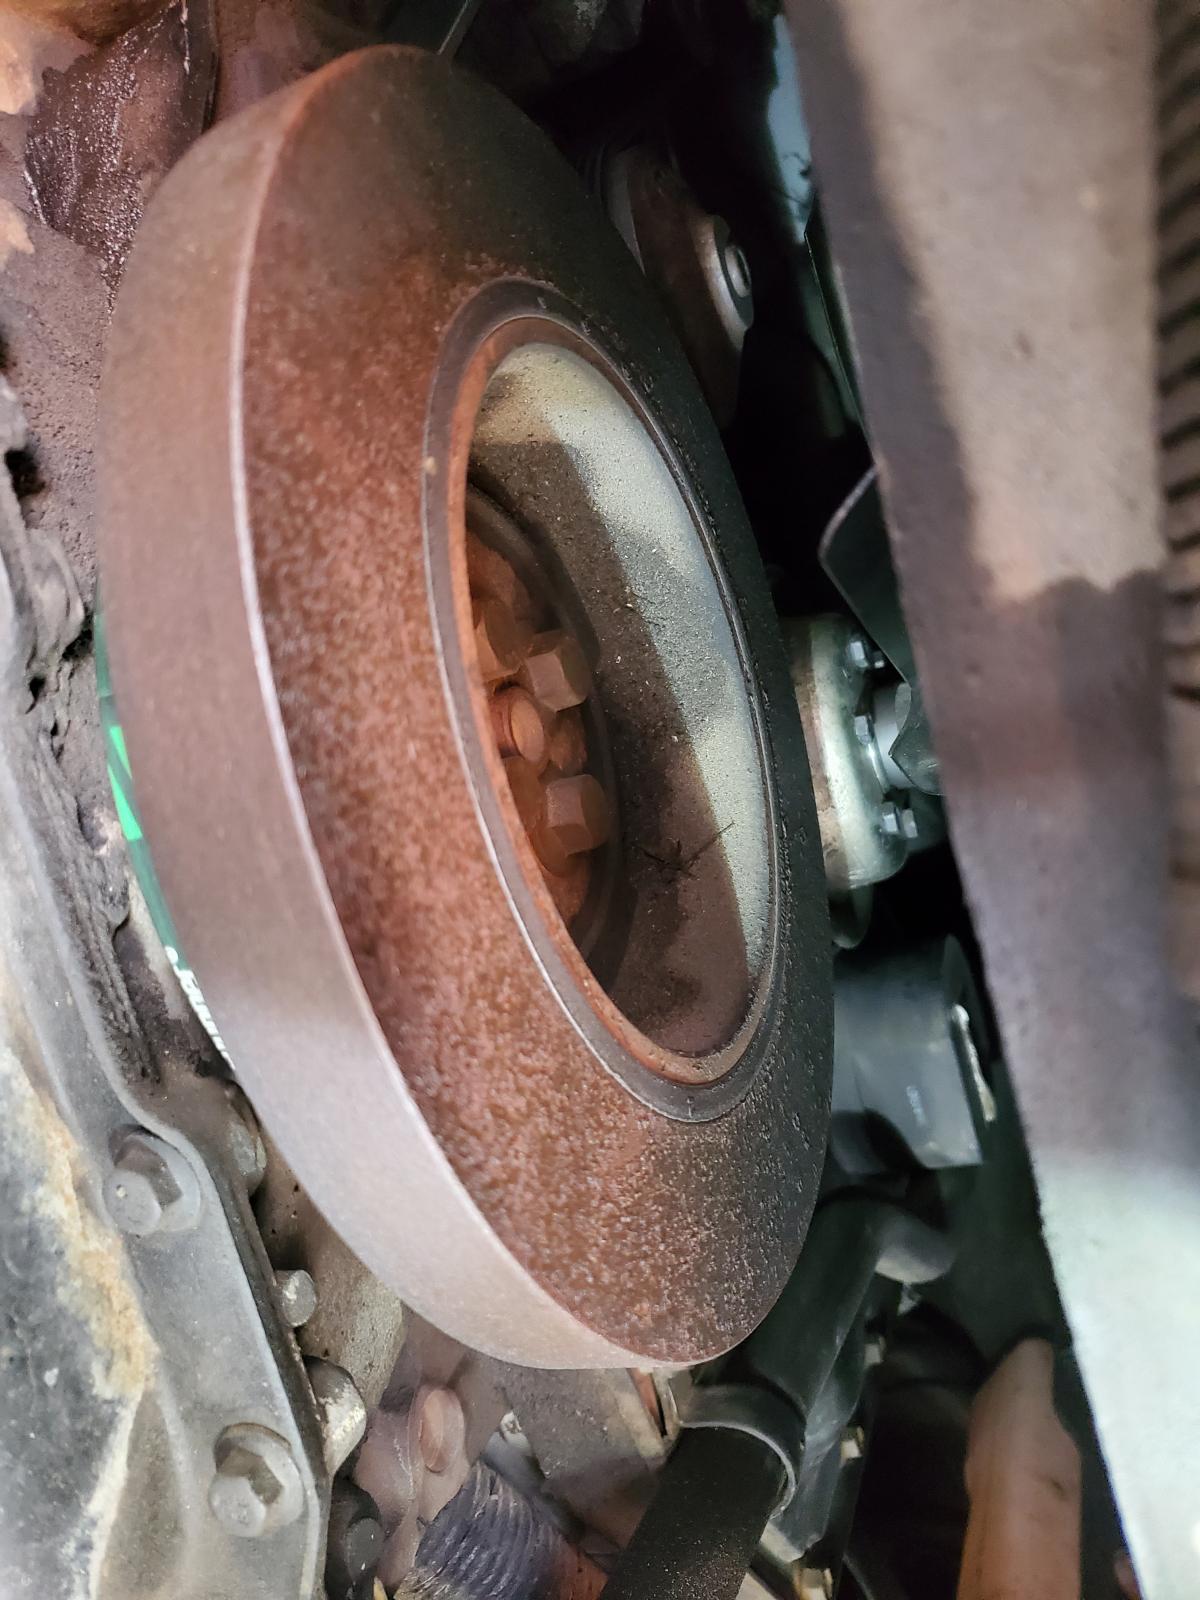
hey guys. So I was scrolling through a Genos catalog and came across the dampner for our trucks. I got to thinking about what the signs of failure were, and did a little research. Looking at mine, I see the rubber has been squeezing its way forward and looks to be getting old, 260k miles, but when idling, it doesnt wobble off balance at all. By comparison, my dads 99 looks really good, almost newish. I don't know if it was replaced at some point, but he's had the truck since 02 I believe and hasn't replaced it himself. As they fail, I've heard you get more vibration through out the motor, but sometimes its real gradual that you may not notice it over time. If the rubber is squeezing out, is that another good sign of needing replacement soon? To be honest, I think this is sometimes an over looked part that should be inspected when you do the occasional rounds of inspection on your motors, i know I haven't checked it enough. The first picture is mine, the other two are my dads. You can still read the numbers on his.

-
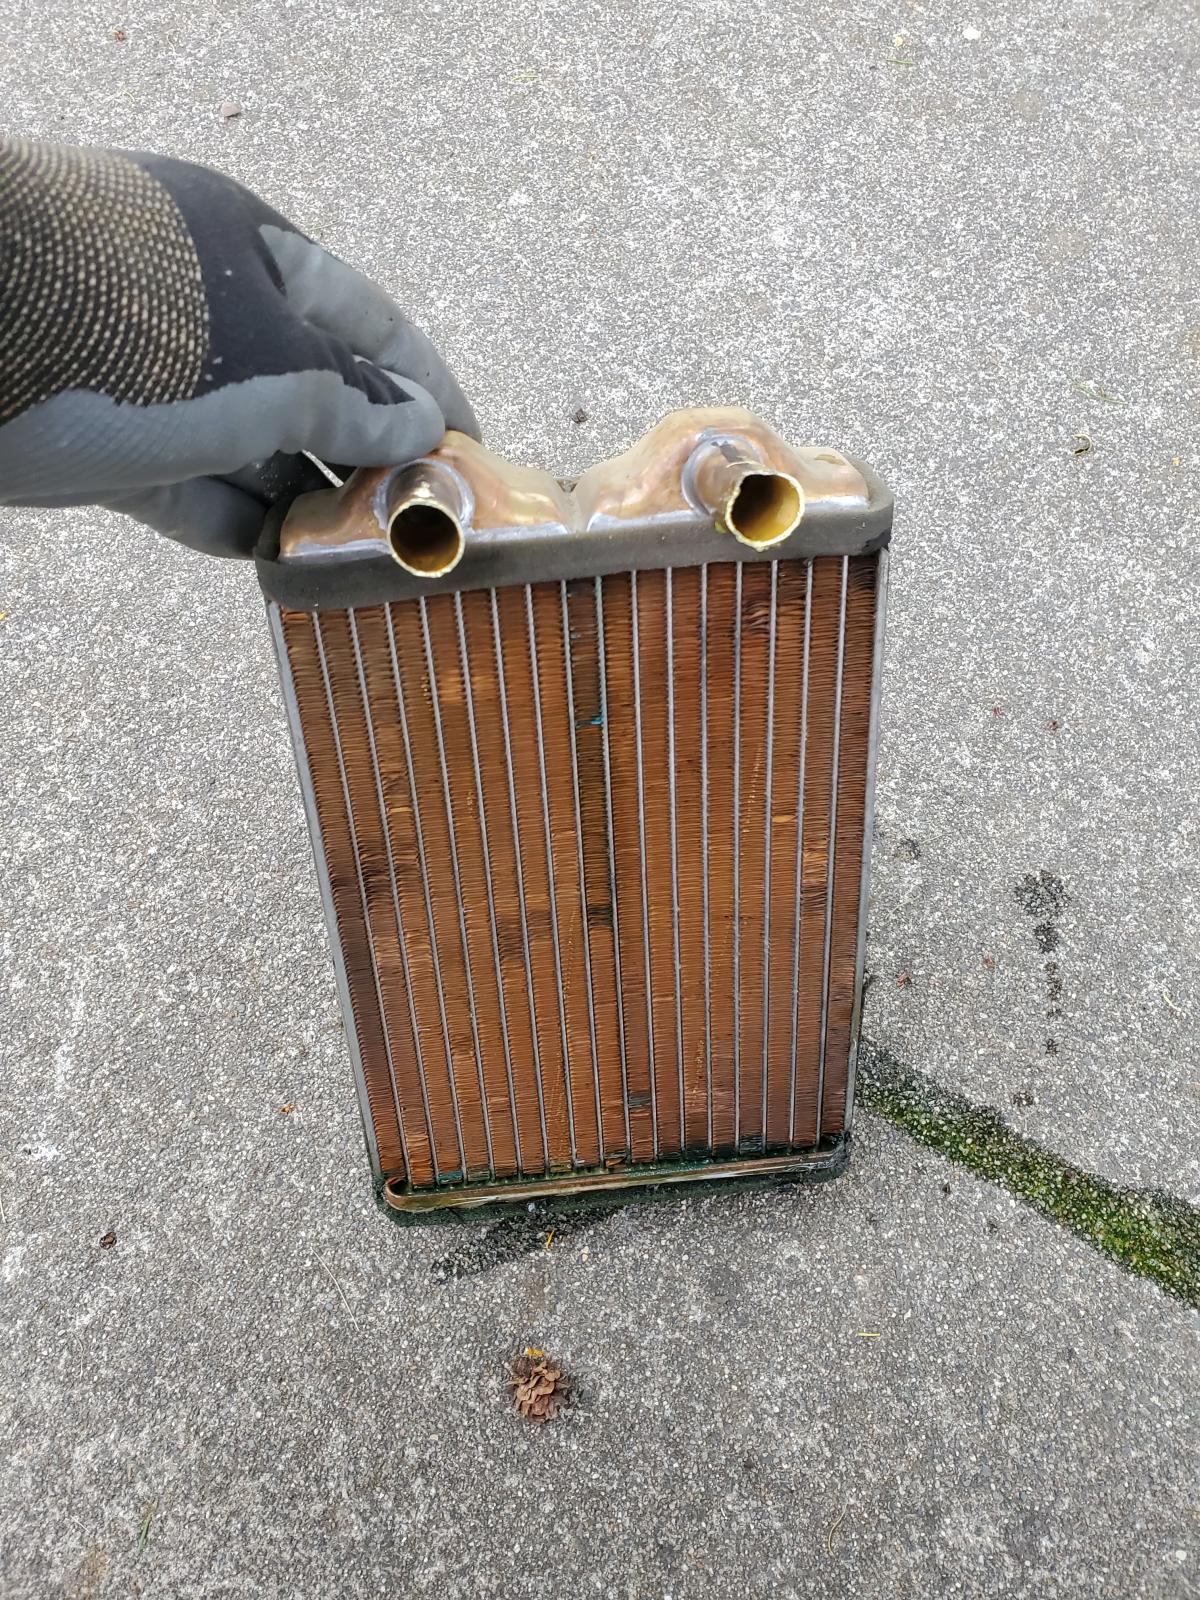
My heater hadn't been putting out adequate heat for a couple years now. Been meaning to change it, but recently I had my windows fogging up and wasn't sure what the deal was. This last time my wife and I were driving home and I got a wife of coolant, and knew I had an issue. Had a small puddle of coolant in there when I pulled it out, but wasn't loosing a lot of coolant. Just did this on Monday.

-
This is an everyday thing for me, but im 28... not sure what my excuse is Walk to the truck to get a tool when I'm working, then stare into the tool box wondering what the heck i needed to grab to begin with. I get so mad at myself too, like come on stupid, think harder lol
-
Thanks for the replies. Ill give it a little time to get the remaining air out of the system. I didn't get it up to operating temp, so I'll give it a week or so and let you know if something changes or not. Next is the heater core....yaaaaaay. shouldn't be to bad. I'm excited to just get things checked off the list.
-
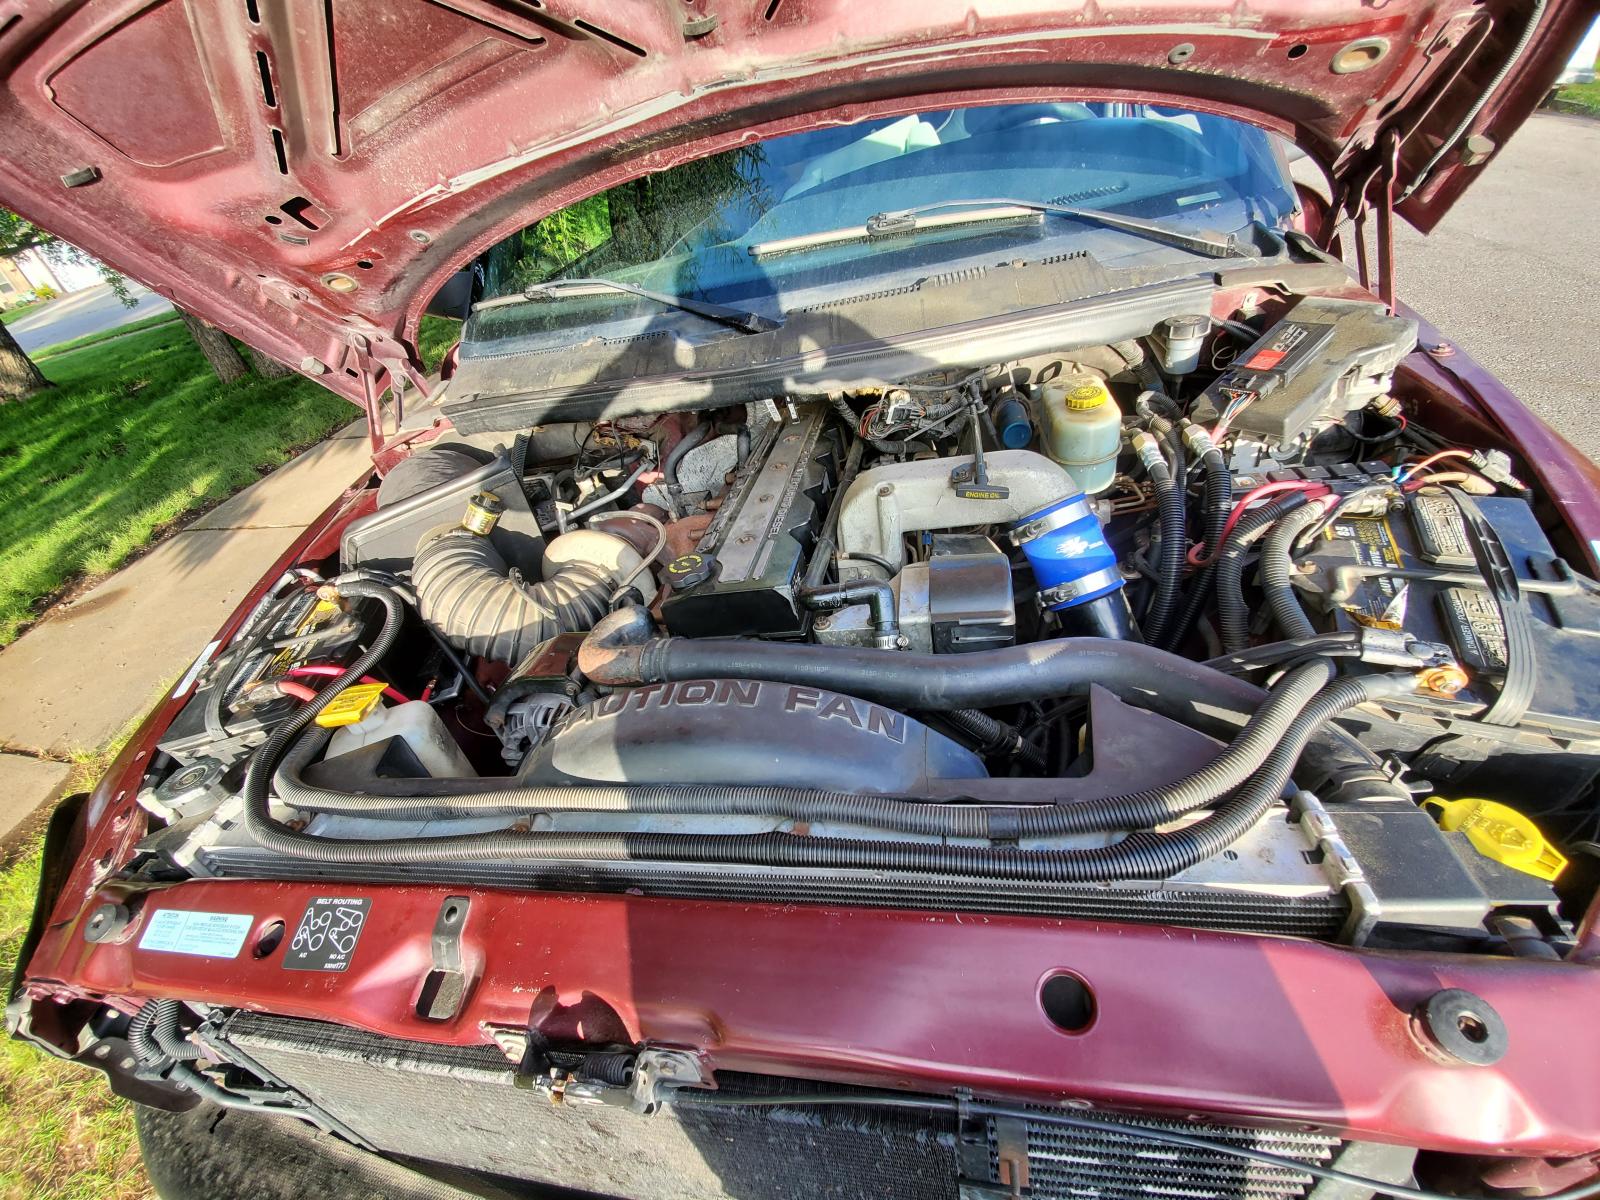
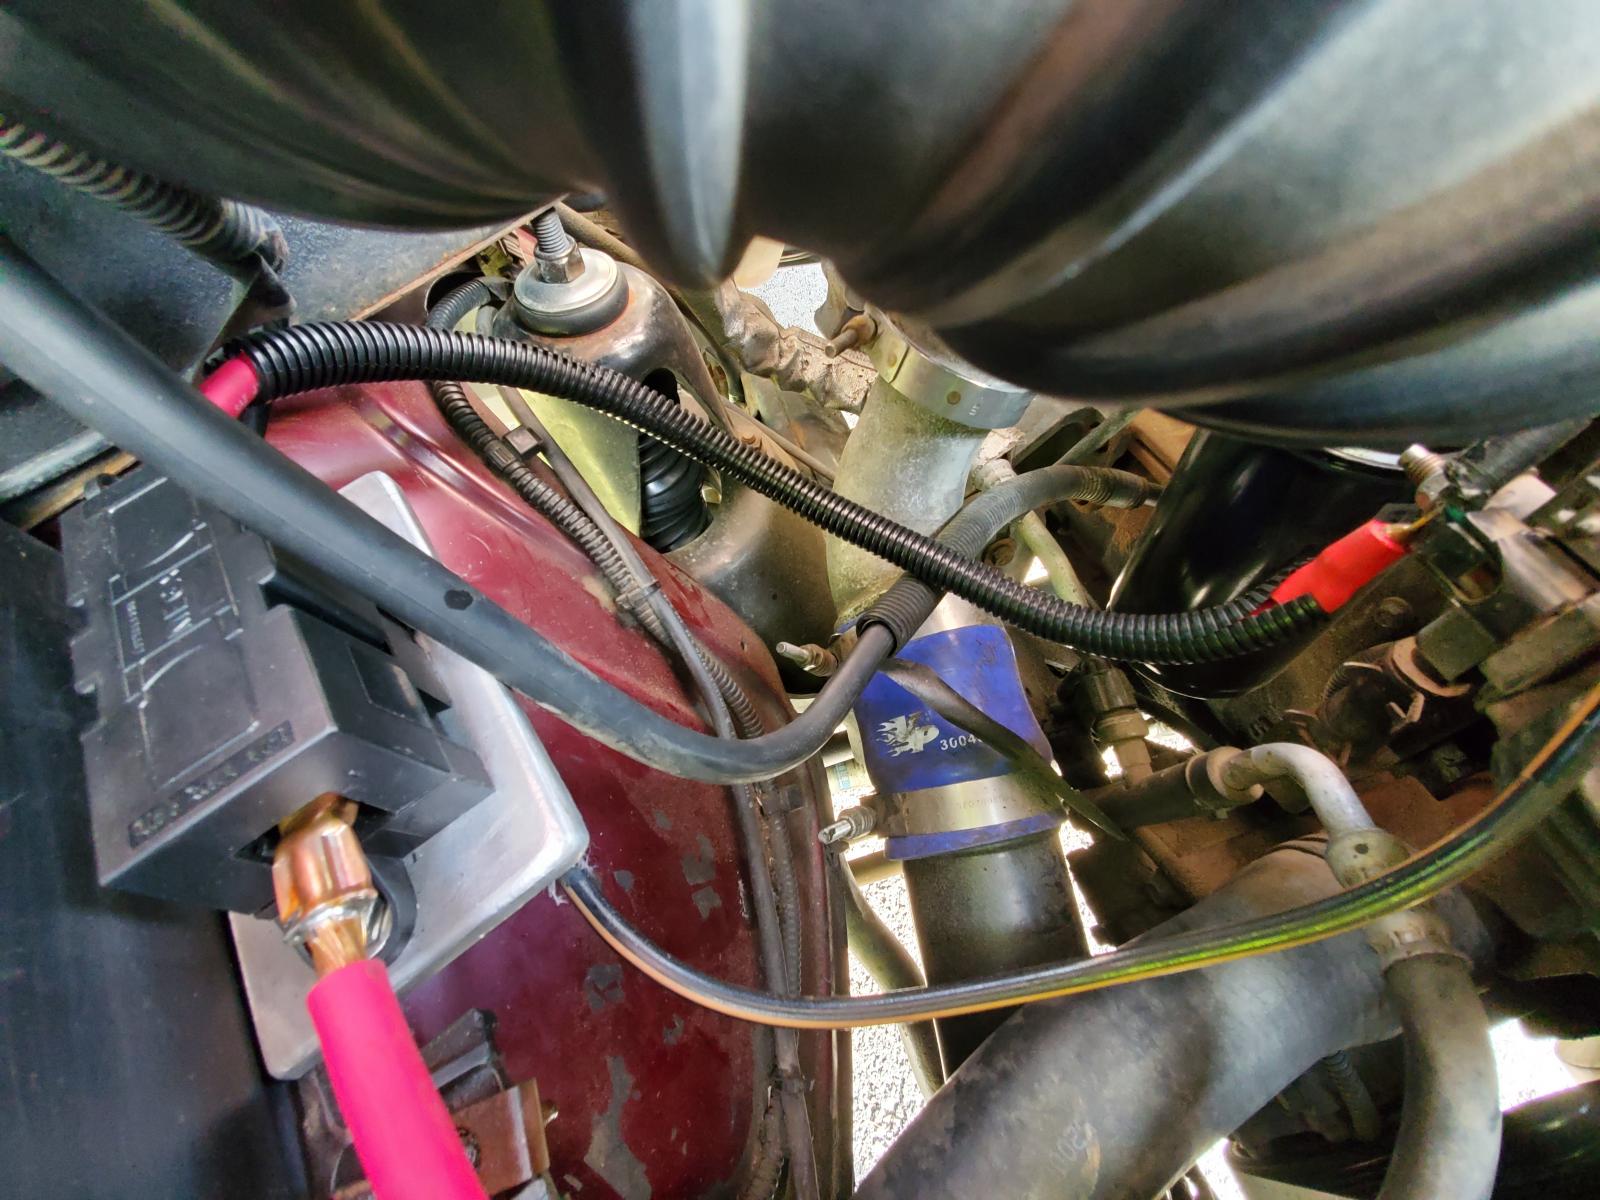
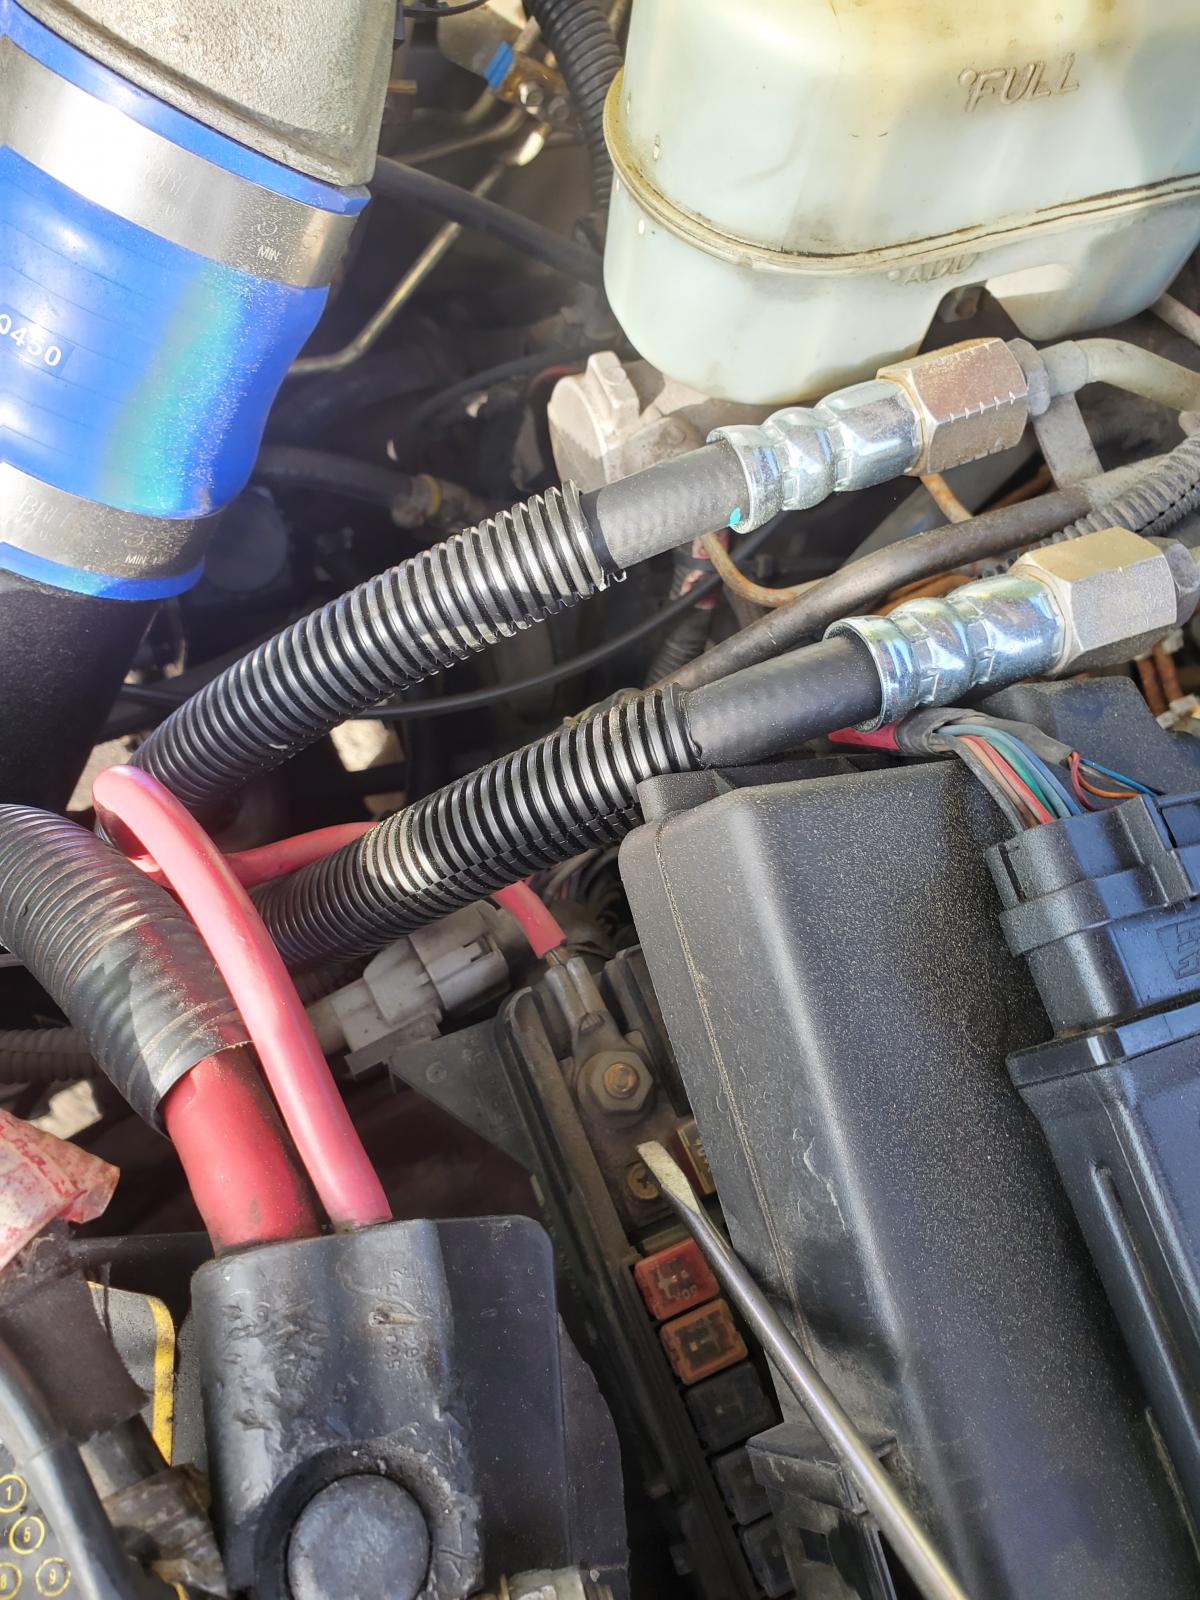
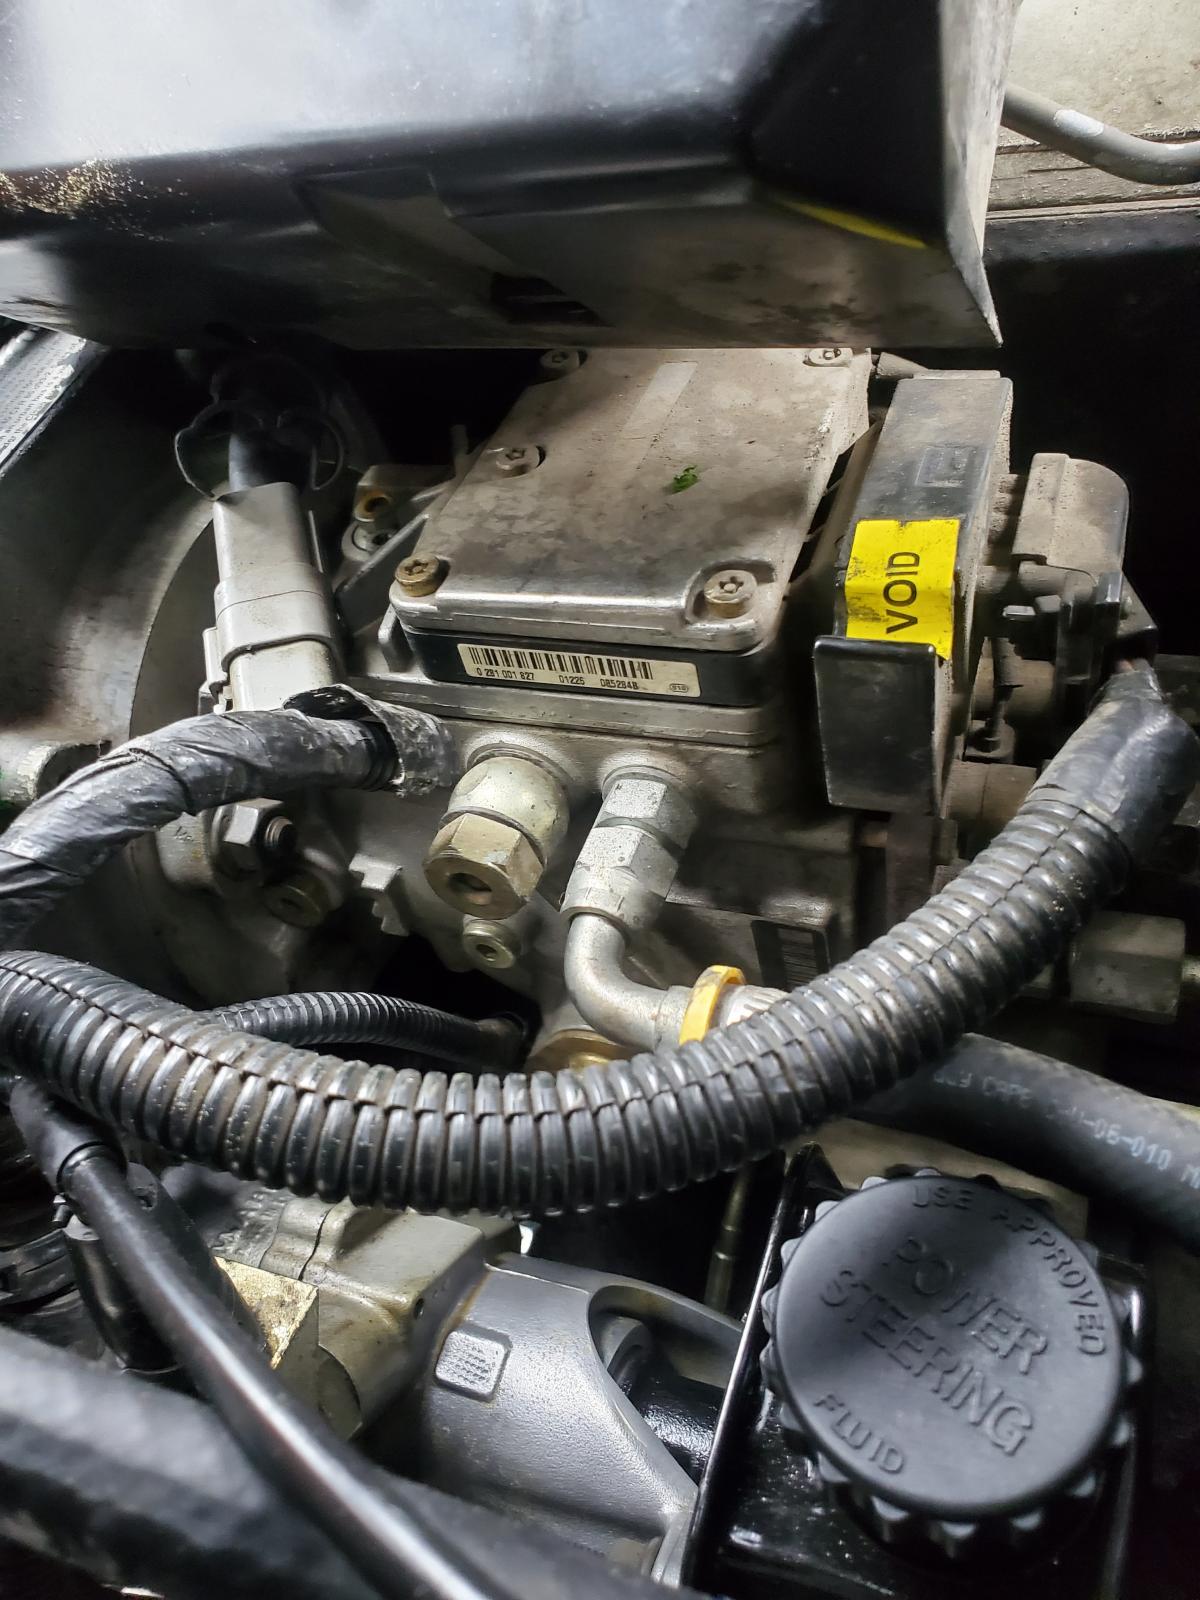
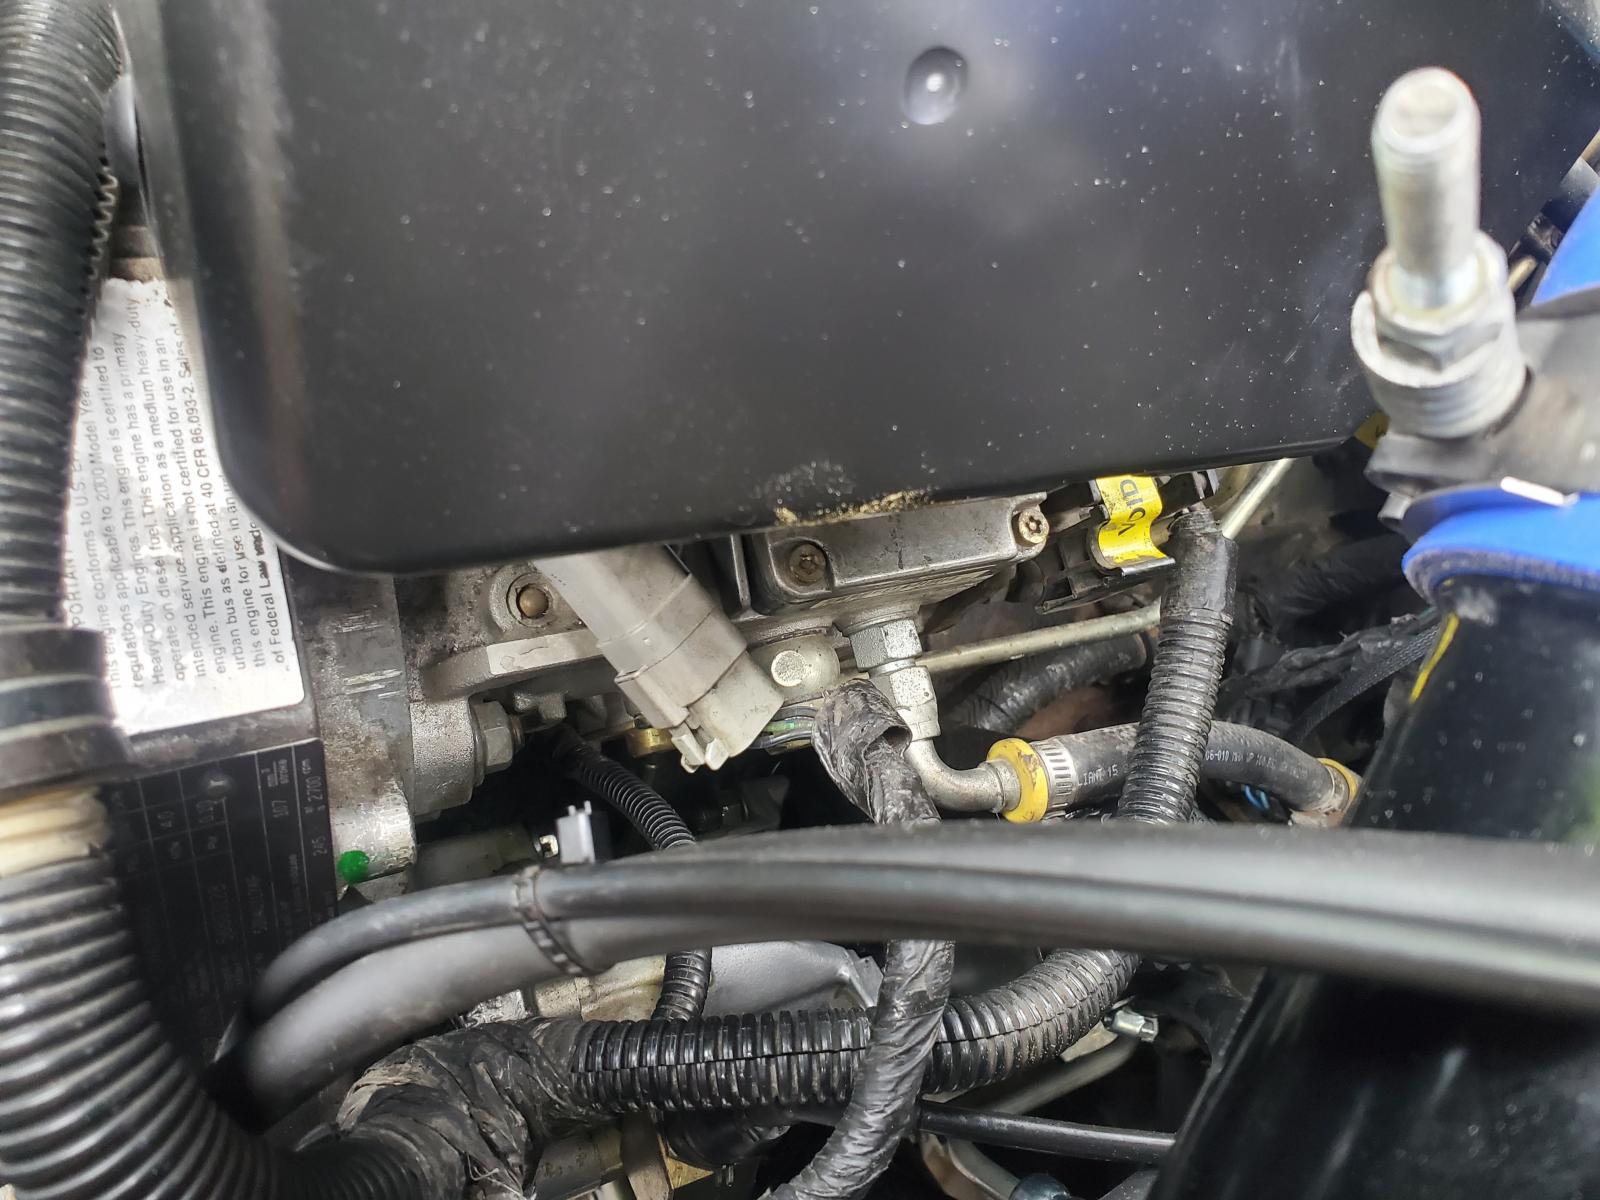
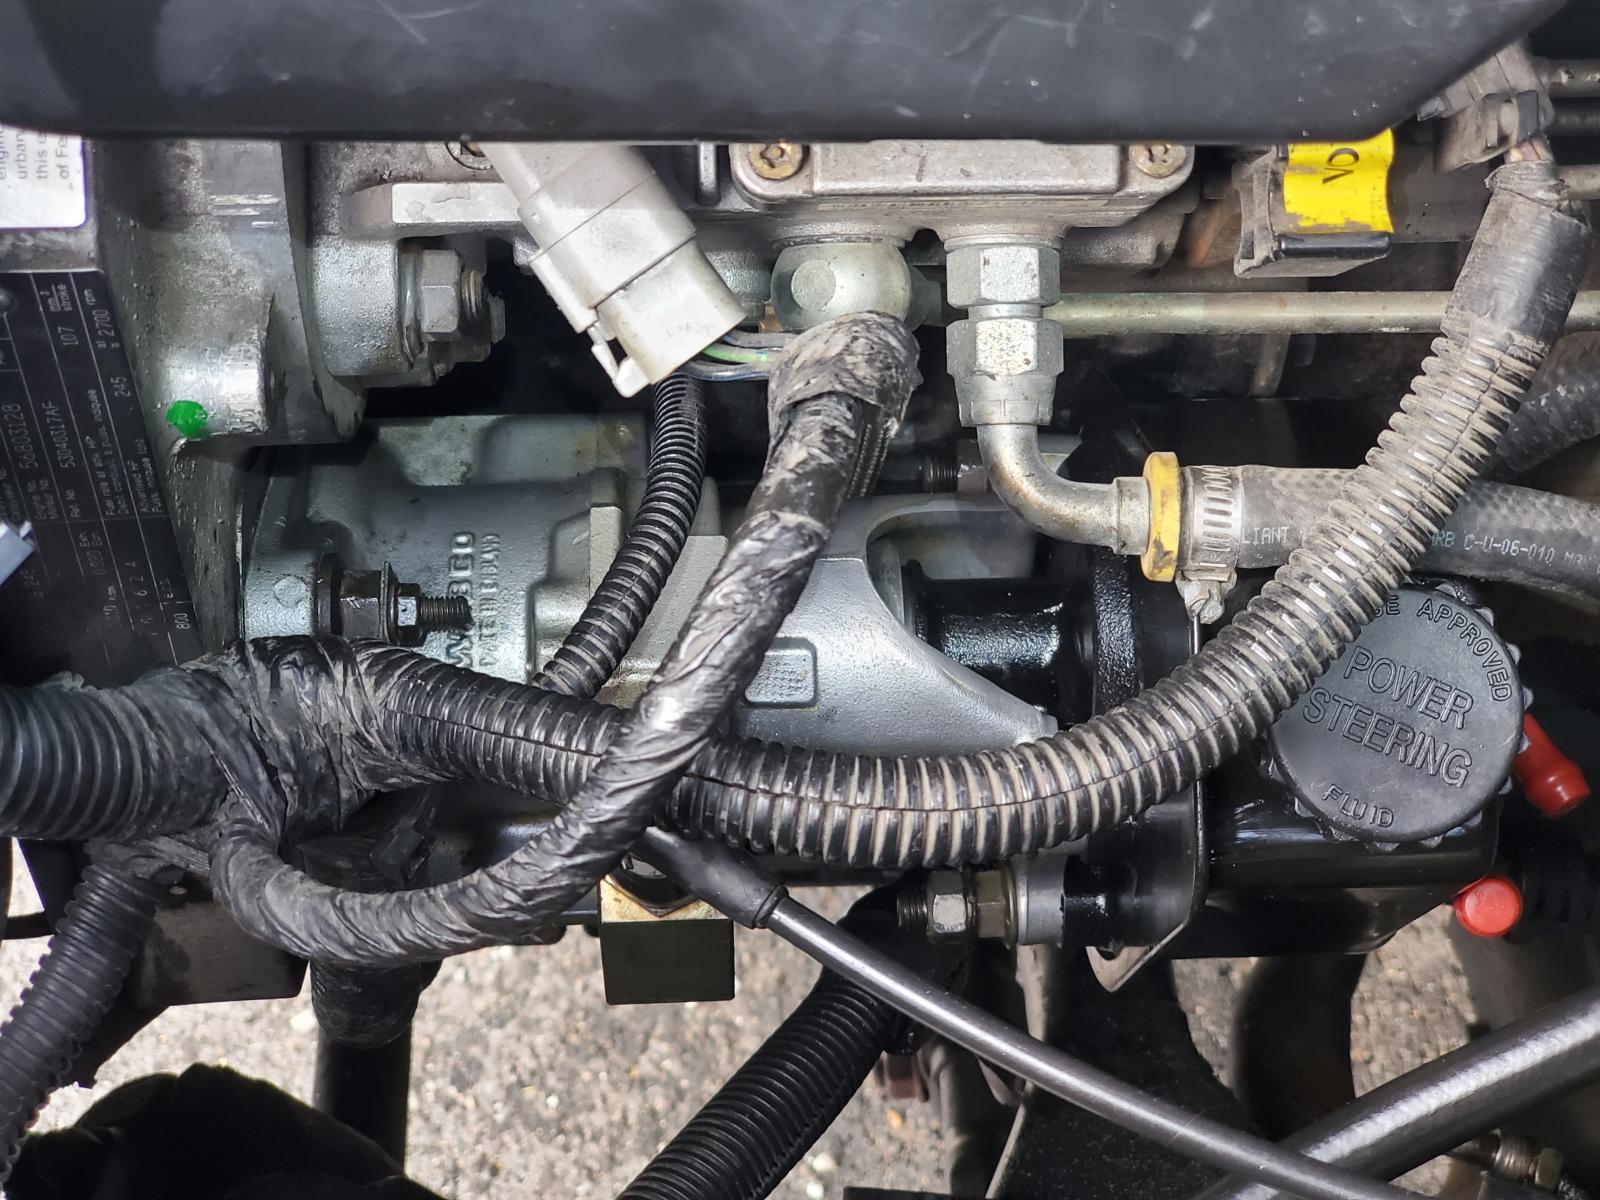
Power Steering pump changed, new lines, and vacuum pump re-sealed! It was not bad, just intimidating to start. A little tight getting to things too, but all and all, it was pretty simple and straightforward. Looks nice and clean too... So I have a question, I went for a drive, and the powersteering seems a bit on the weak side... and it groans a bit on turns too. This is a brand spanking new borgeson pump from genos garage. And I bled the crap out of the lines with the old pump, using 3 quarts or more of new fluid getting the old out. And new lines plus bleeding put a little more before reconnecting the return line from steering box to pump. After buttoning up everything, had it on stands and got air bubbles out of the system and.... Yada yada yada. ... should I give it some time to see if maybe there's a little air still trapped in the lines? How difficult should it be to turn the wheels just sitting on the ground not moving? I just want to make sure that this pump is not a problem from the get go ya know?
-
Mopar1973man, I'm not trying to undercut what you advise and do here. If anything, I'm just asking and showed that hey, maybe you don't have to tear your whole box out this time around, maybe it can go another 5, 10, or 15 years more before its time to a full tear down. Then again, I could tear my whole box apart, clean the inside, maybe do the heater treater, inspect the evap and clean it put it all back, and a month later, my evap starts leaking. But by just taking the blower out, using your phone to inspect the fins on your evap can at least give you the idea of how dirty it is, and go from there. And as for a work truck, I may not use it to pull a trailer or for farming,(couple times for getting hay for some friends) but I have darn sure worked her hard. Been a couple times carrying stone to the job with well over 4000 pounds sitting in her, countless times carrying over a ton with masonry mud and rock to go with. I may not live out in the country, but I'd sure like to some day. I'm where the work is, and you'd be disgusted at the price of houses here in North Idaho, weather in the city or trying to own property outside of it. At this point, its a pipe dream for my wife and I, unless we move out into the middle of nowhere that is. Like @KATOOM said of his truck, i do my best to take care of mine I'm one of those guys who despite having a fading paint job and some with some scratches to go with, it pains me when I come across a new dent or mark. it might be old, but she's still mine and bought with my hard earned money. My boss is one of those guys who drives his hard and doesn't maintain it. Sometimes it can get real nasty lookin, both inside and out. Its hard for me to not clean it up when I'm driving his truck for some jobs lol. Anyway, I appreciate the advice from everyone. Heater is on my to do list for next week, currently taking the powersteering and vacuum out now. She's getting there....
-
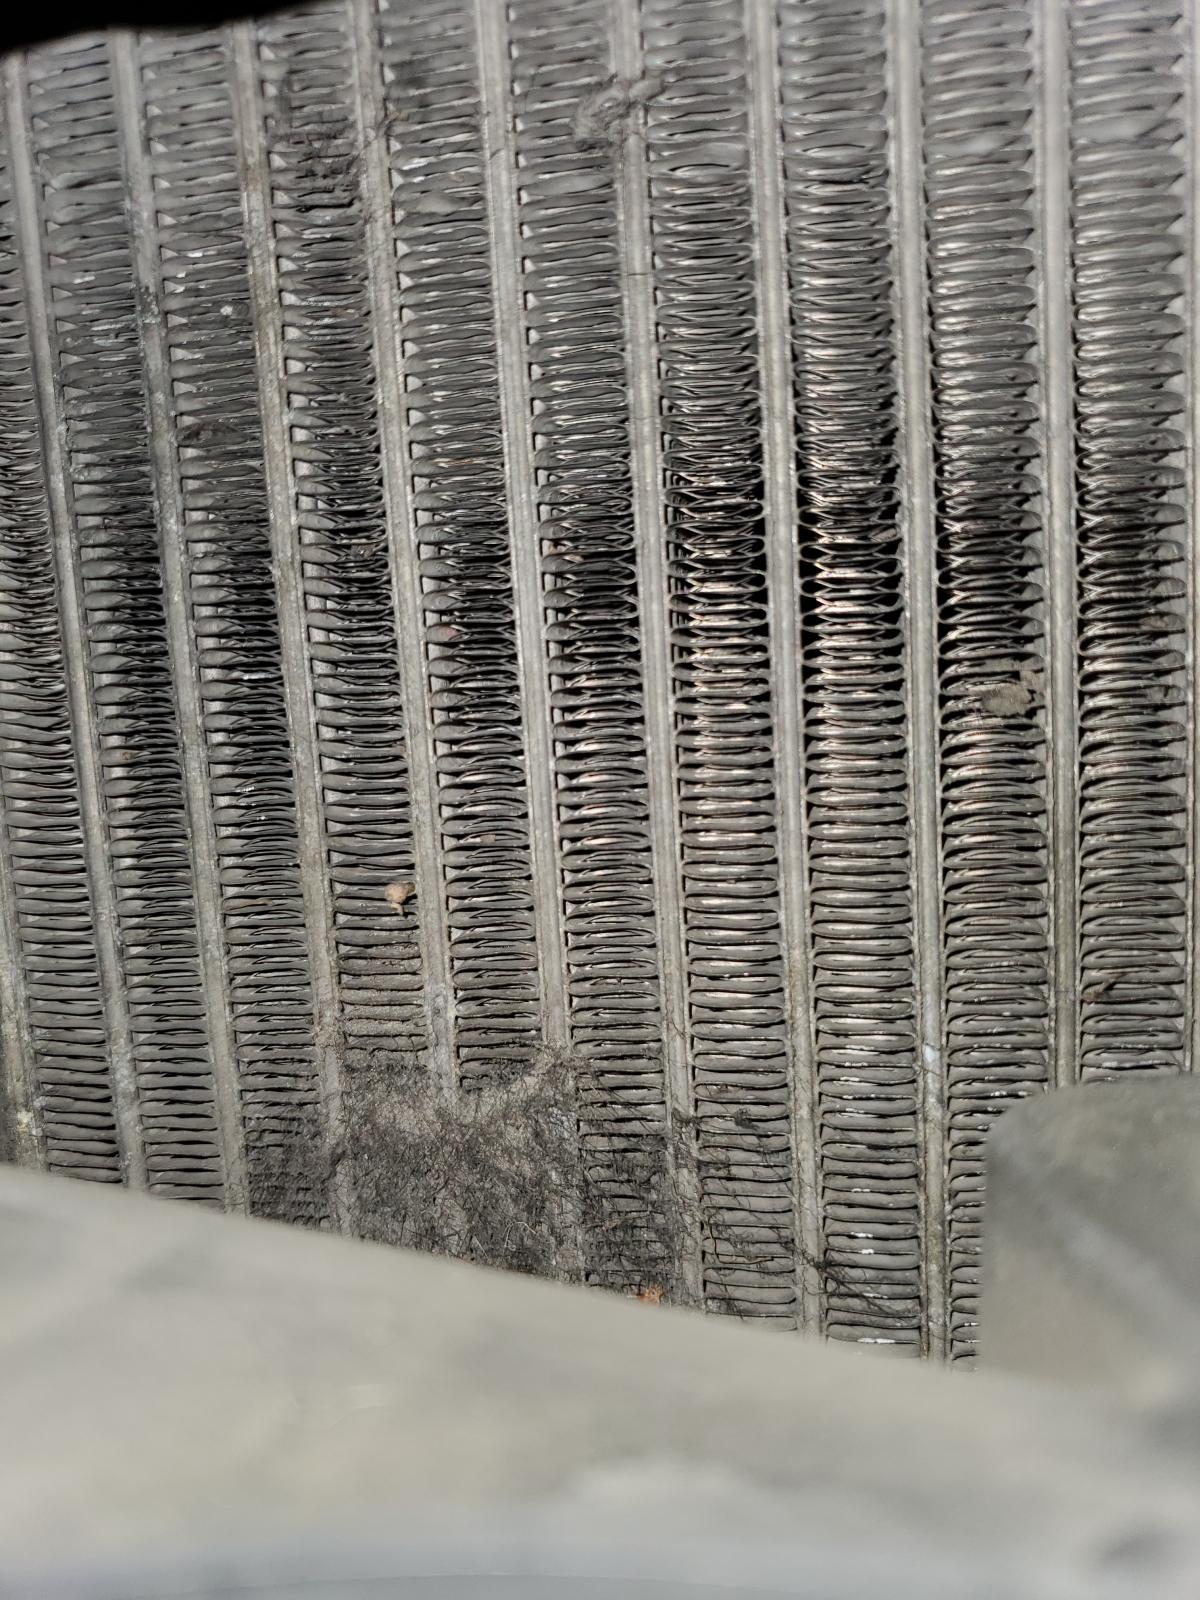
So just to confirm, you can get an idea of how clogged your evap is through the hole of the blower motor. Use the camera on your phone to see it. This is what i found in mine. Im obviously going to get the loose stuff up, but as far as backed up, what are your guys thoughts? Tried my best with video quality, both vids are pretty similar. 20200504_131151.mp4 20200504_131326.mp4
-
Is there a way to inspect the evaporator to see if it's blocked up while its still in the truck? Like removing the blower motor and blades to look up through there? Maybe an inspection camera?