

Welcome To Mopar1973Man.Com LLC
We are privately owned, with access to a professional Diesel Mechanic, who can provide additional support for Dodge Ram Cummins Diesel vehicles. Many detailed information is FREE and available to read. However, in order to interact directly with our Diesel Mechanic, Michael, by phone, via zoom, or as the web-based option, Subscription Plans are offered that will enable these and other features. Go to the Subscription Page and Select a desired plan. At any time you wish to cancel the Subscription, click Subscription Page, select the 'Cancel' button, and it will be canceled. For your convenience, all subscriptions are on auto-renewal.
- Replies 5
- Views 3.7k
- Created
- Last Reply
Top Posters In This Topic
-
 Mopar1973Man 2 posts
 -
 2000Ram2500 2 posts
 -
 dripley 1 post
Popular Days
Posted Images

Featured Replies
Did This Forum Post Help You?
Show the author some love by liking their post!
Welcome To Mopar1973Man.Com LLC
We are privately owned, with access to a professional Diesel Mechanic, who can provide additional support for Dodge Ram Cummins Diesel vehicles. Many detailed information is FREE and available to read. However, in order to interact directly with our Diesel Mechanic, Michael, by phone, via zoom, or as the web-based option, Subscription Plans are offered that will enable these and other features. Go to the Subscription Page and Select a desired plan. At any time you wish to cancel the Subscription, click Subscription Page, select the 'Cancel' button, and it will be canceled. For your convenience, all subscriptions are on auto-renewal.
Pictures will come later as they are buried in my phone but its really simple. As a disclaimer, use common sense, see what other things i've got done to my truck and take that into consideration before you do this. I am not responsible or liable for anything that happens.
For what its worth i am working with a stock truck. No "real" mods or upgrades..
You will need-
1- Eye bolt (with 2 nuts and 1 washer) (i think 1/4 inch is what fits through the old wastegate holes) home depot for less than 5 bucks
1- extension spring from napa part# 7704099 (balkamp) about 2 or 3 dollars
1- 1/8 pipe plug to plug hole in turbo compressor housing left over from factory wastegate air line - oreillys has them but they are pricey at about 5 bucks
So i was able to this fairly easily. I learned the hard way that you cannot remove the wastegate with the circlip attaching it to the wastegate lever.
First get that stupid circlip off. I used a flat screwdriver with about a 1/4 inch blade and from underneath the truck i pushed up carefully and was actually able to keep that clip on the blade of the screwdriver and not have it go flying down the driveway. You have to reach way up there to get to it.
Next take the wastegate off by removing the 2 nuts and its air line. I found this to be rather difficult. My air line was really stuck to the wastegate and fought it for a while.
With all the old wastegate parts out of the way you should now plug your old air line port with the 1/8 pipe plug (i actually stripped the fitting and still cannot remove it from my turbo so i have been running with a bolt in the hose with a hose clamp squeezing it in place, verified good up to about 28 psi)
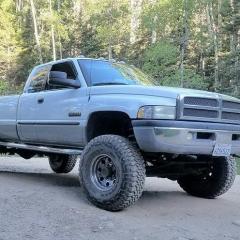
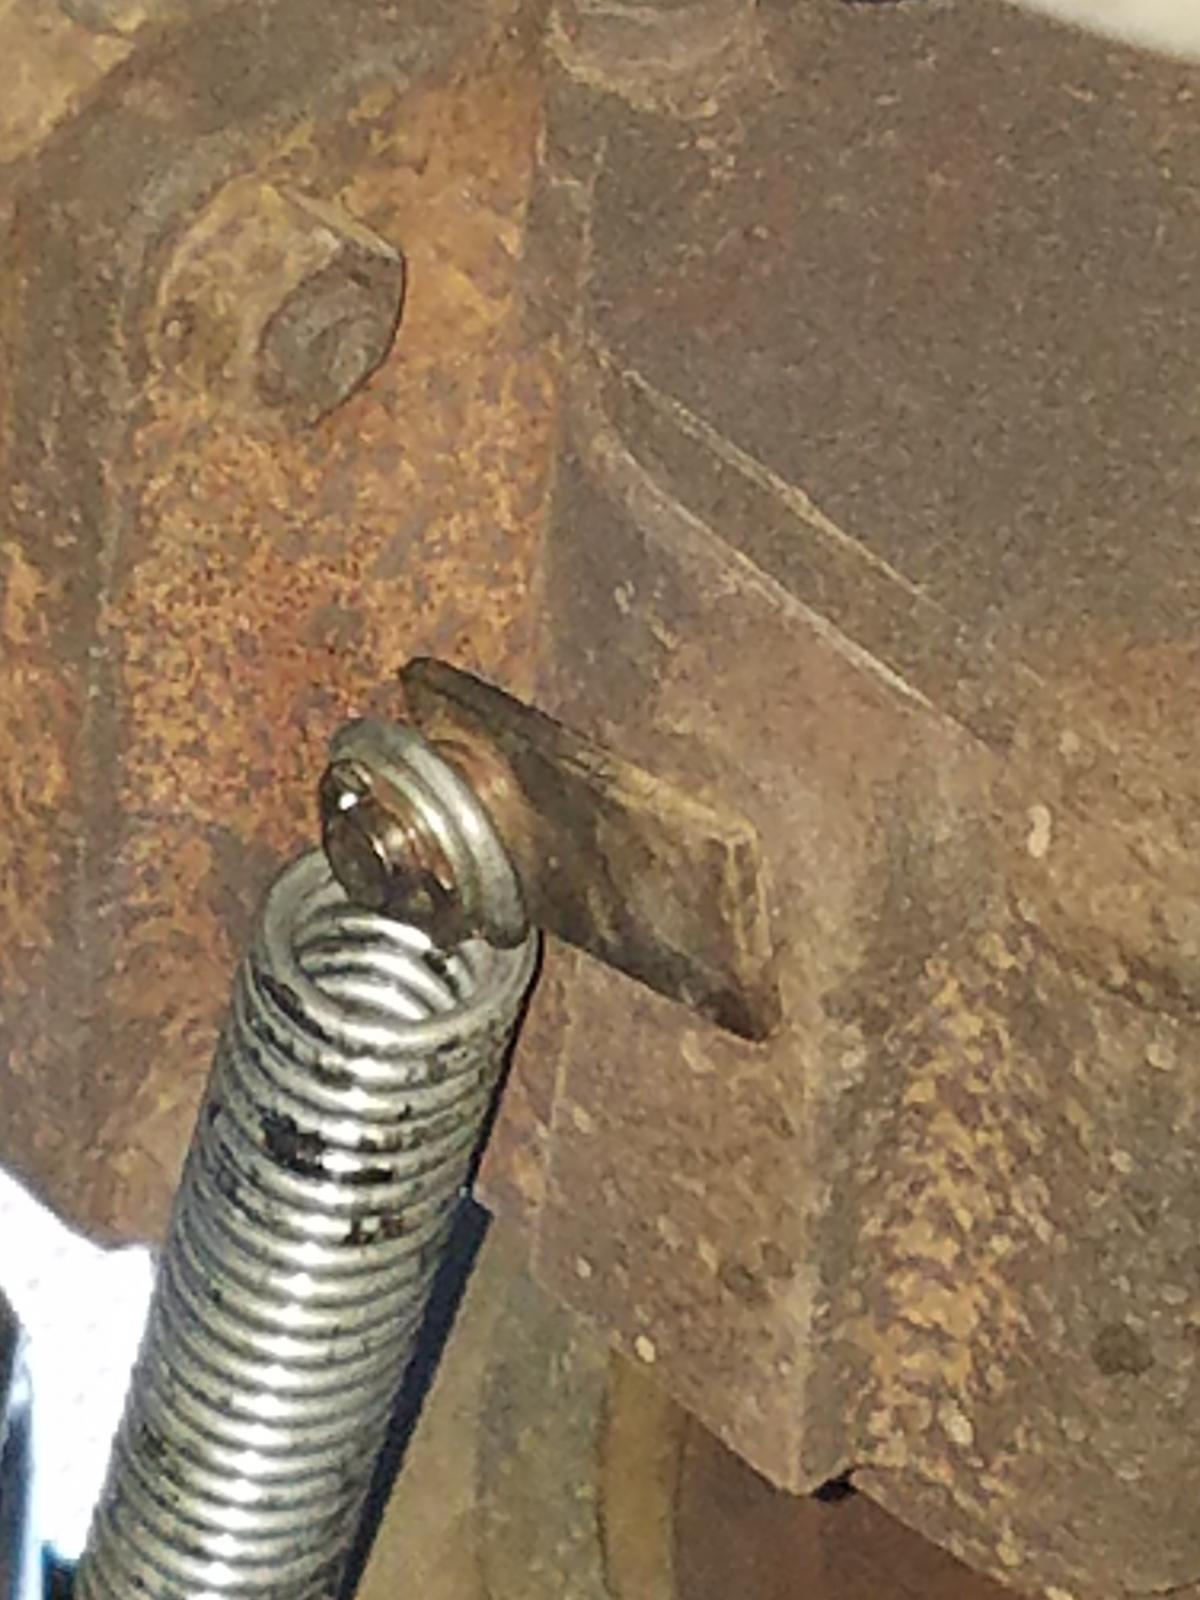
This is where i had a really hard time, getting the spring to stay hooked onto the wastegate lever. I tried combinations with washers and ultimately i dont remember what i ended up using as a final solution but when i go to get a finished picture and update the post i guess we will know. But i had a very difficult time with that bit there.
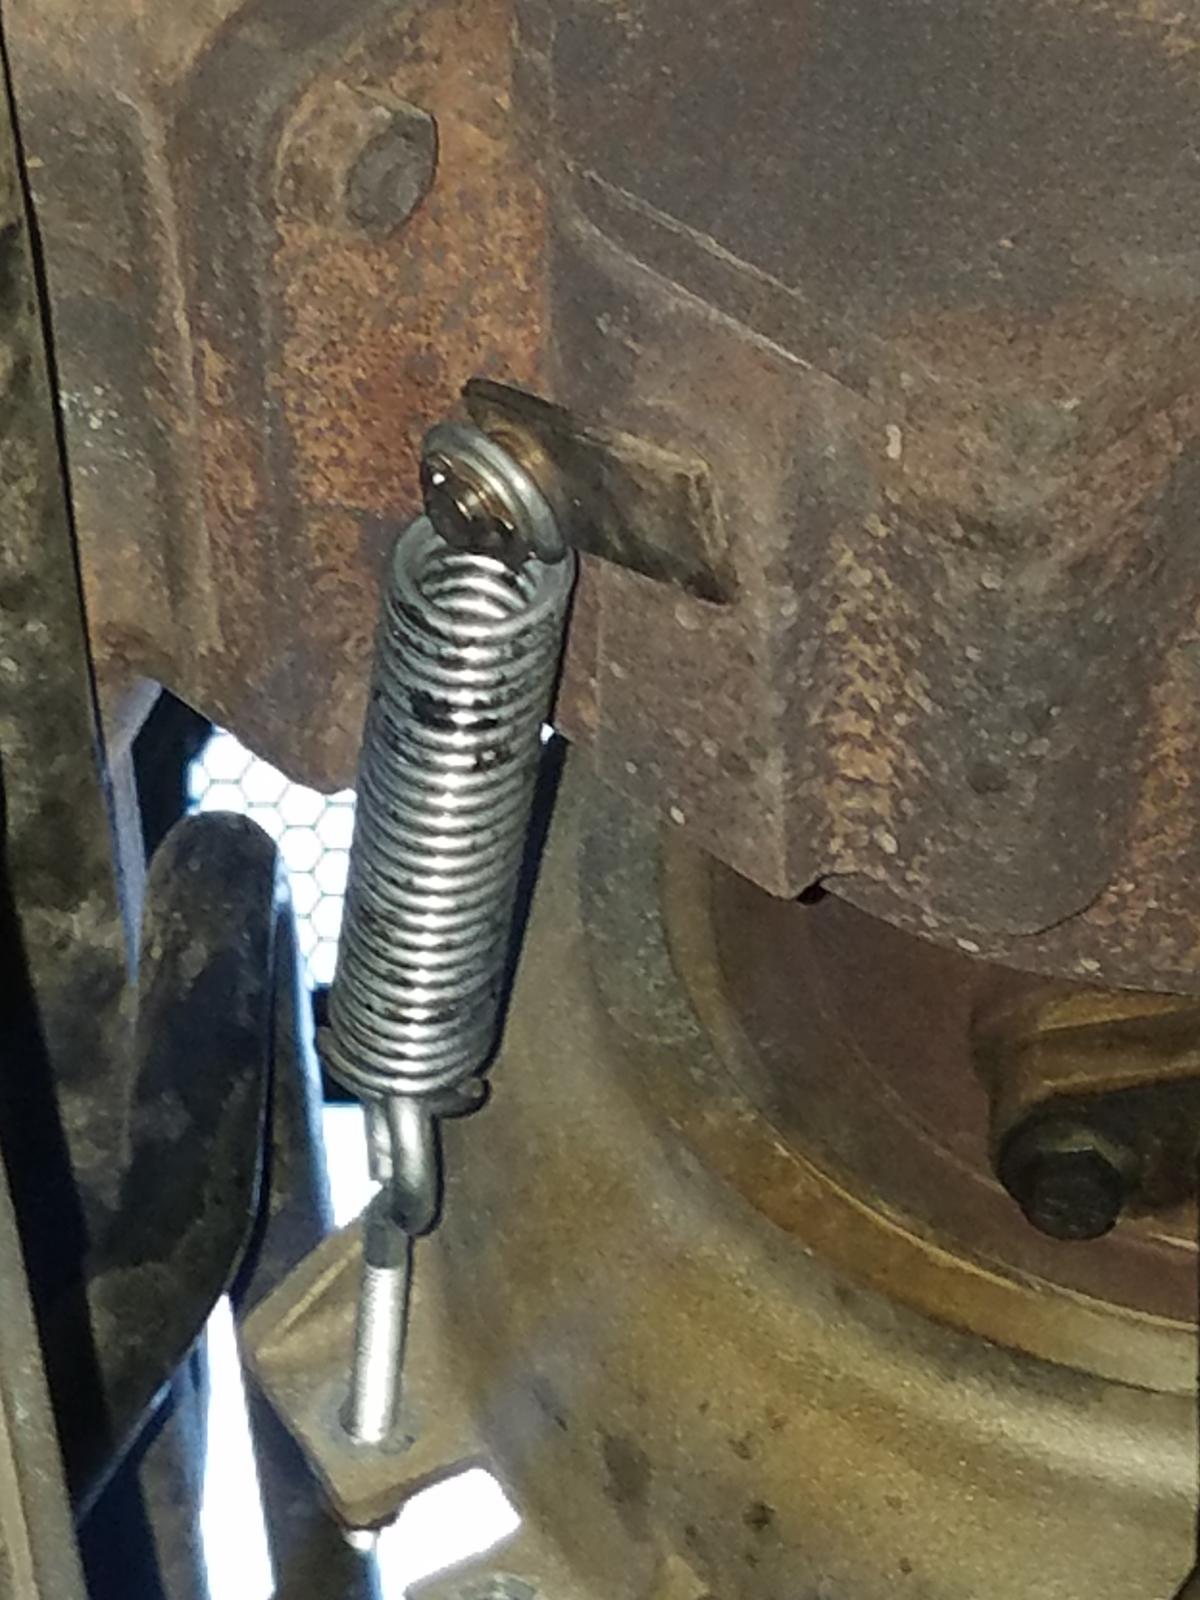
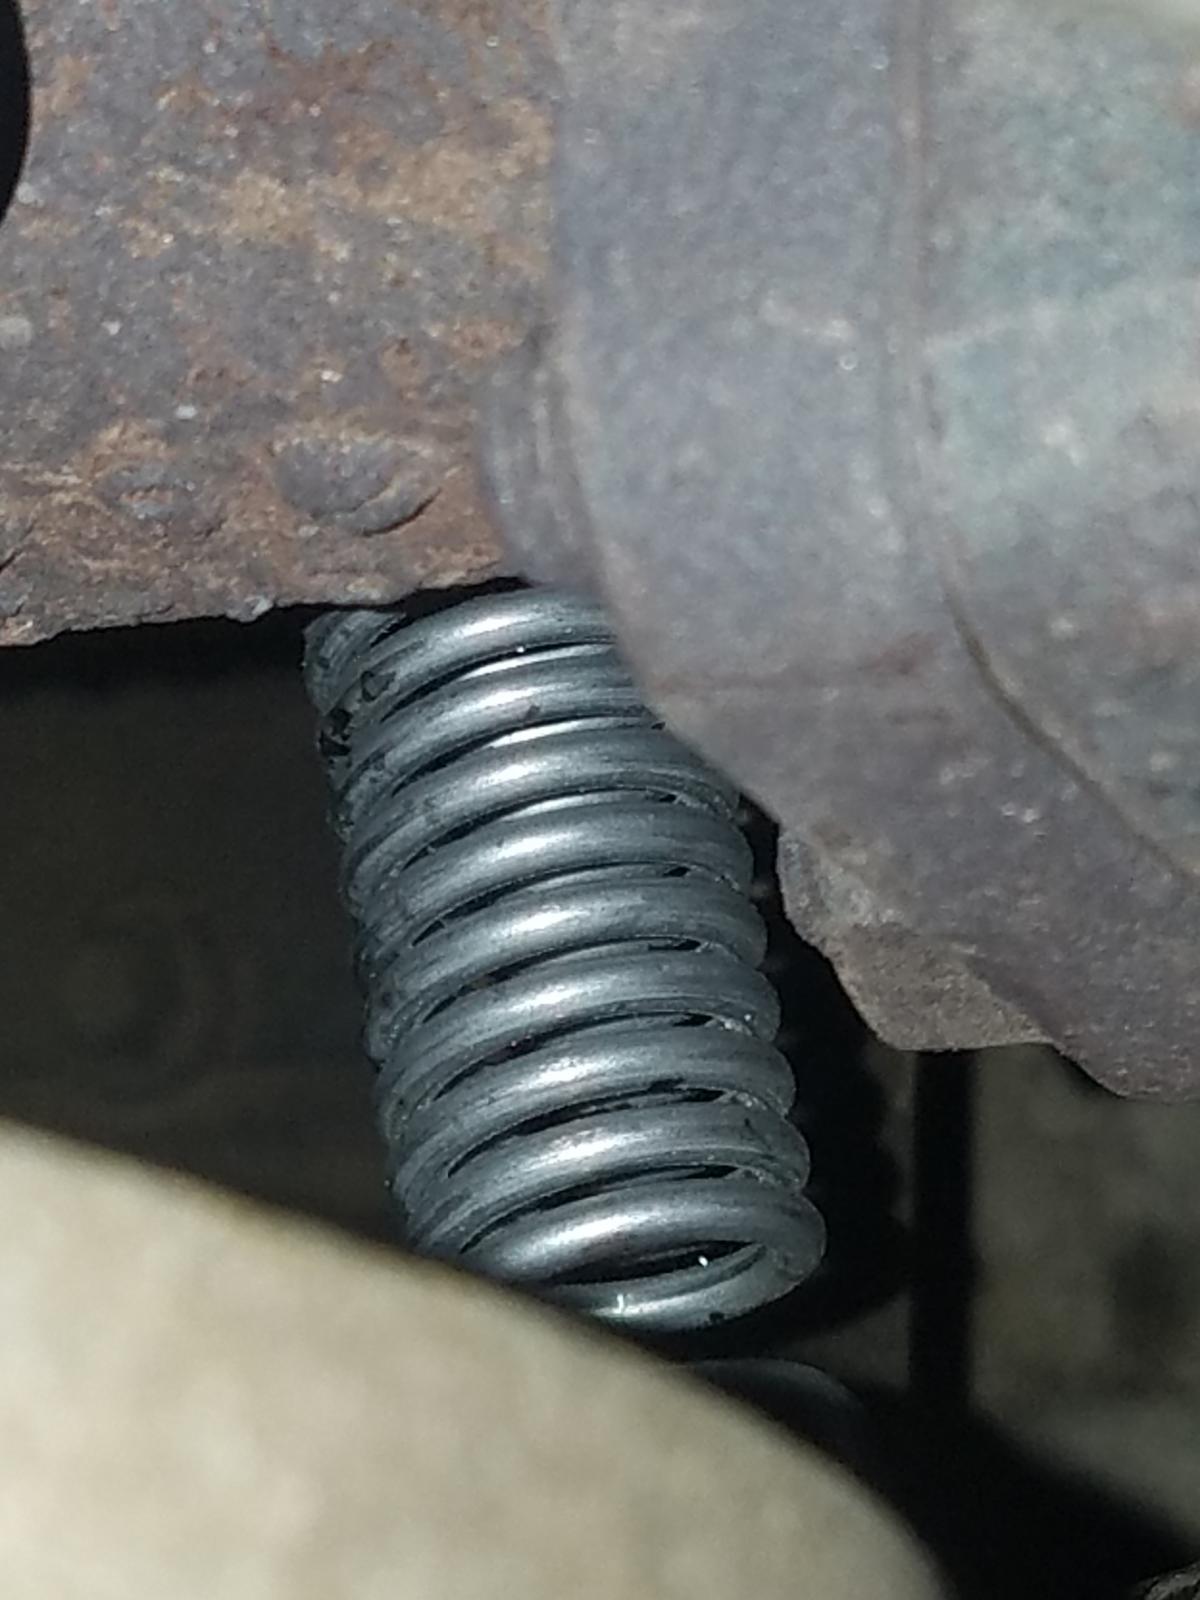
The final step is to apply tension to your brand new wastegate. I did not get scientific by any means at all. I havent the faintest idea how much tension is on that spring. All i can say is really well snugged up and stretched out. I did double nut the eye bolt to prevent it from loosening over time with your typical road scenarios ie: vibration/heat. But i took into consideration that it was about a 40lb spring when i did this.
Now i will say i have not adjusted mine at all. I put this together back in May and havent really touched it since. I took it for a test run on a freeway onramp near my house and saw my gauge read 29 psi and at that exact moment i lost an intercooler boot. Fortunately i just had about 20 years of oily residue built up and every last one of my boot clamps was LOOSE.
Since May I have maintained about 27 psi as a peak at the current spring setting which hasnt changed since i put this together. Reliability seems excellent. Have had zero issues with it aside from the intercooler boot popping off. This includes several trips to Phoenix from the az mountains as well as 2 trips to california. I have yet to really tow with it but i have moved my enclosed across town a few times since then and it hasnt affected it at all. I thought heat would soften it up and lower my boost but no changes even after several hours in the heat (driving across the 10 down to hwy 8 gets hot even at night in august its 100). The wastegate flutters pretty good with a spring on it vs the boost pressure style and your working with drive pressure solely and not boost pressure which changes things.
Overall i would say for those in my position (broke, bought a second hand edge that did not come with any of the boost mod parts, needed more air) it is definitely a worth while mod and its cheap and super easy all things considered. I was able to increase my combined average mileage from 12/13 mpg to 17 based on the trucks computer and my commute/driving style (half highway,half city. 5200 ft to 5800 ft elevation). The trucks computer its about 1 mpg over what im actually getting when i do the real math. If you spend more than a day doing this project than your getting distracted or something is wrong. Actual time working was about an hour or two if im being honest.
Fit and finish is far below what i would consider professional, clean, bad, etc. Its ugly but functional.
Hope this helps (i will tag those who were asking about this)