thanks to @TFaoro
Here I'm going to try to go through everything I did to put an he351cw off of a 2005 CR Cummins onto my 2002 24valve Cummins.
There may be some redundant pictures in here, so bear with me!
I started by buying the parts I knew I would need.
2 turbo mounting studs from Cummins (I bought the stock length for an 05) These screwed into the bottom of the manifold. The other two were plenty long.
2 longer oil return tube mounting bolts
2 90degree exhaust elbows from Litz Auto (I think they measured 3x3 in length)
1 HE351cw wastegate plug from DAP.http://www.dieselautopower.com/product-p/he351%20solenoid%20cap%20tapped.htm
T3 turbo manifold gasket. http://www.dieselautopower.com/product-p/he351%20t3%20gasket%203949530.htm
Oil return Gasket. http://www.dieselautopower.com/product-p/turbo%20oil%20gasket%203937706.htm
Charge pipe if you dont want to make it http://www.stainlessdiesel.com/index.php?route=product/product&product_id=176
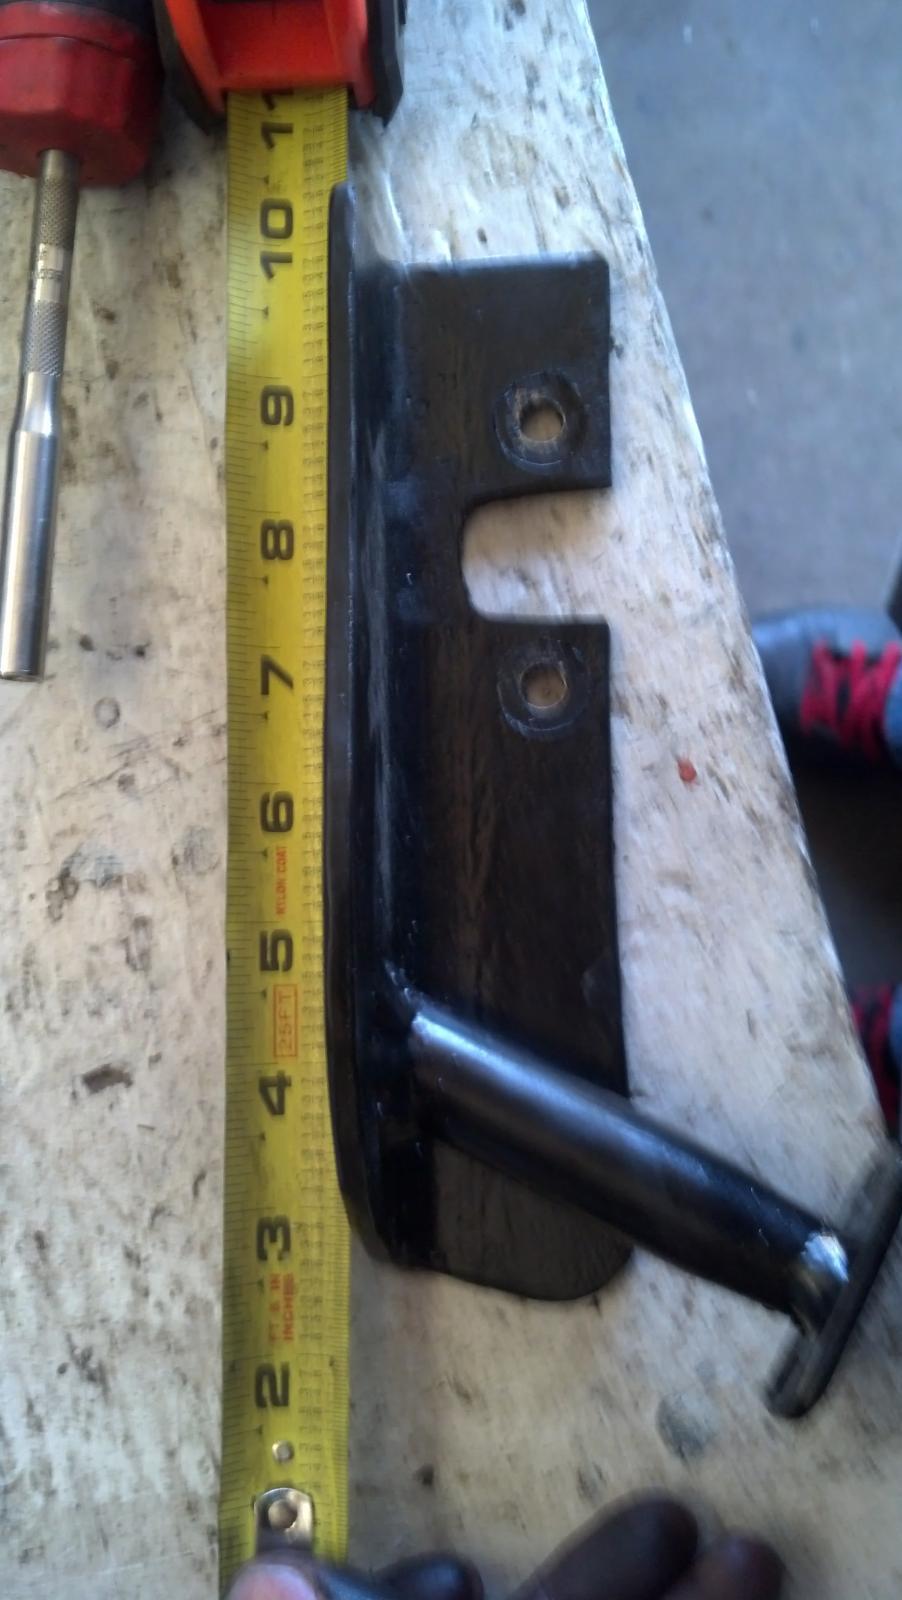
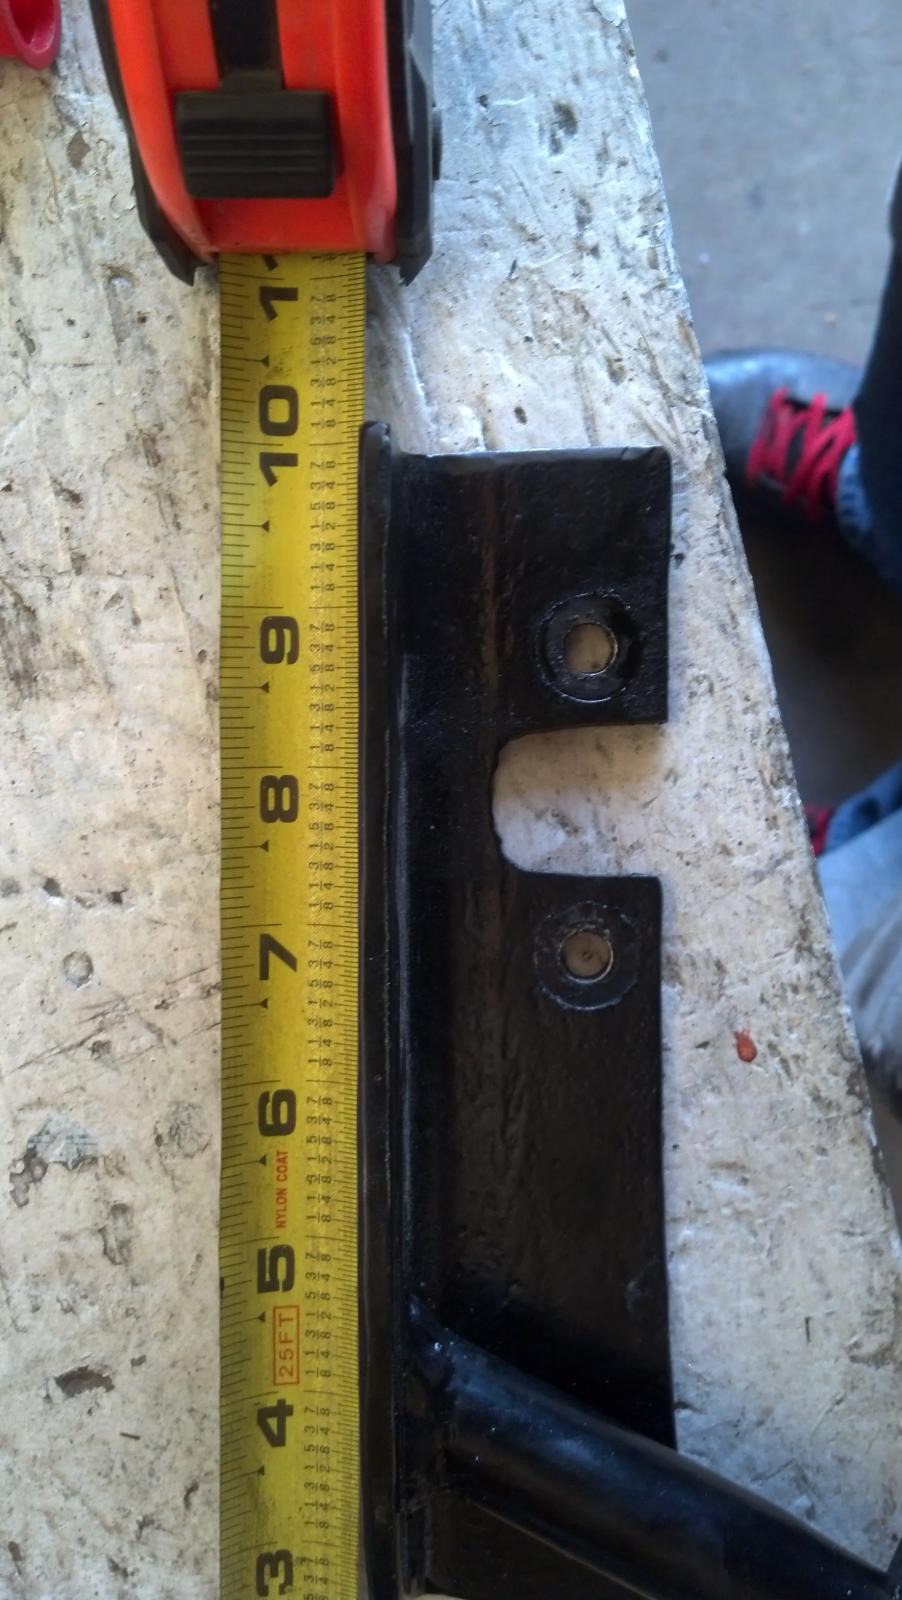
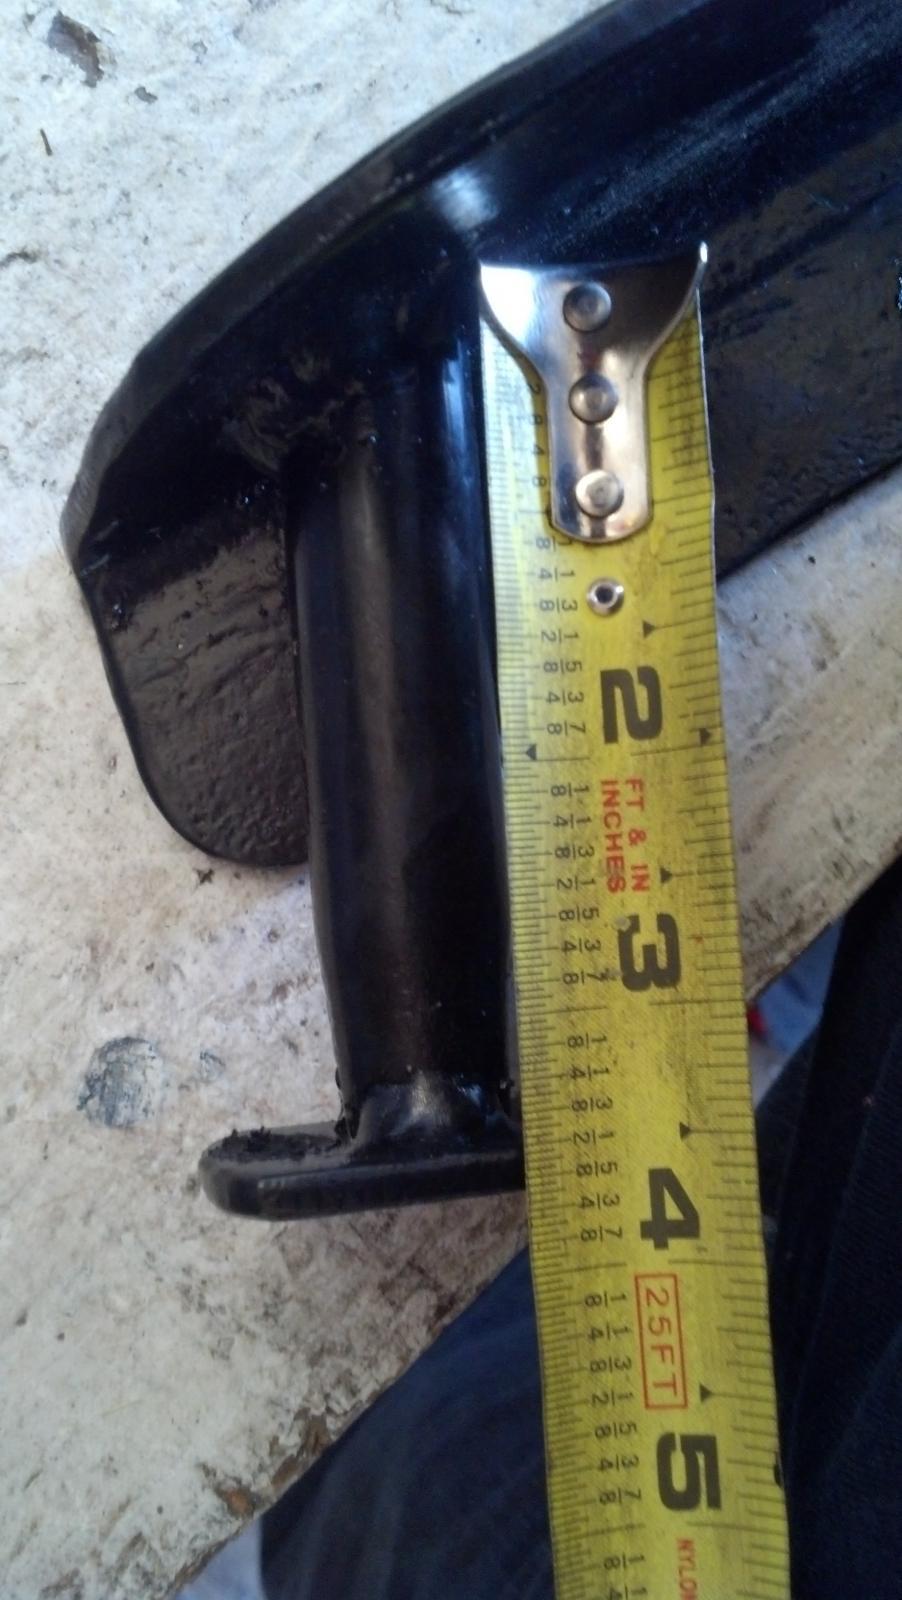
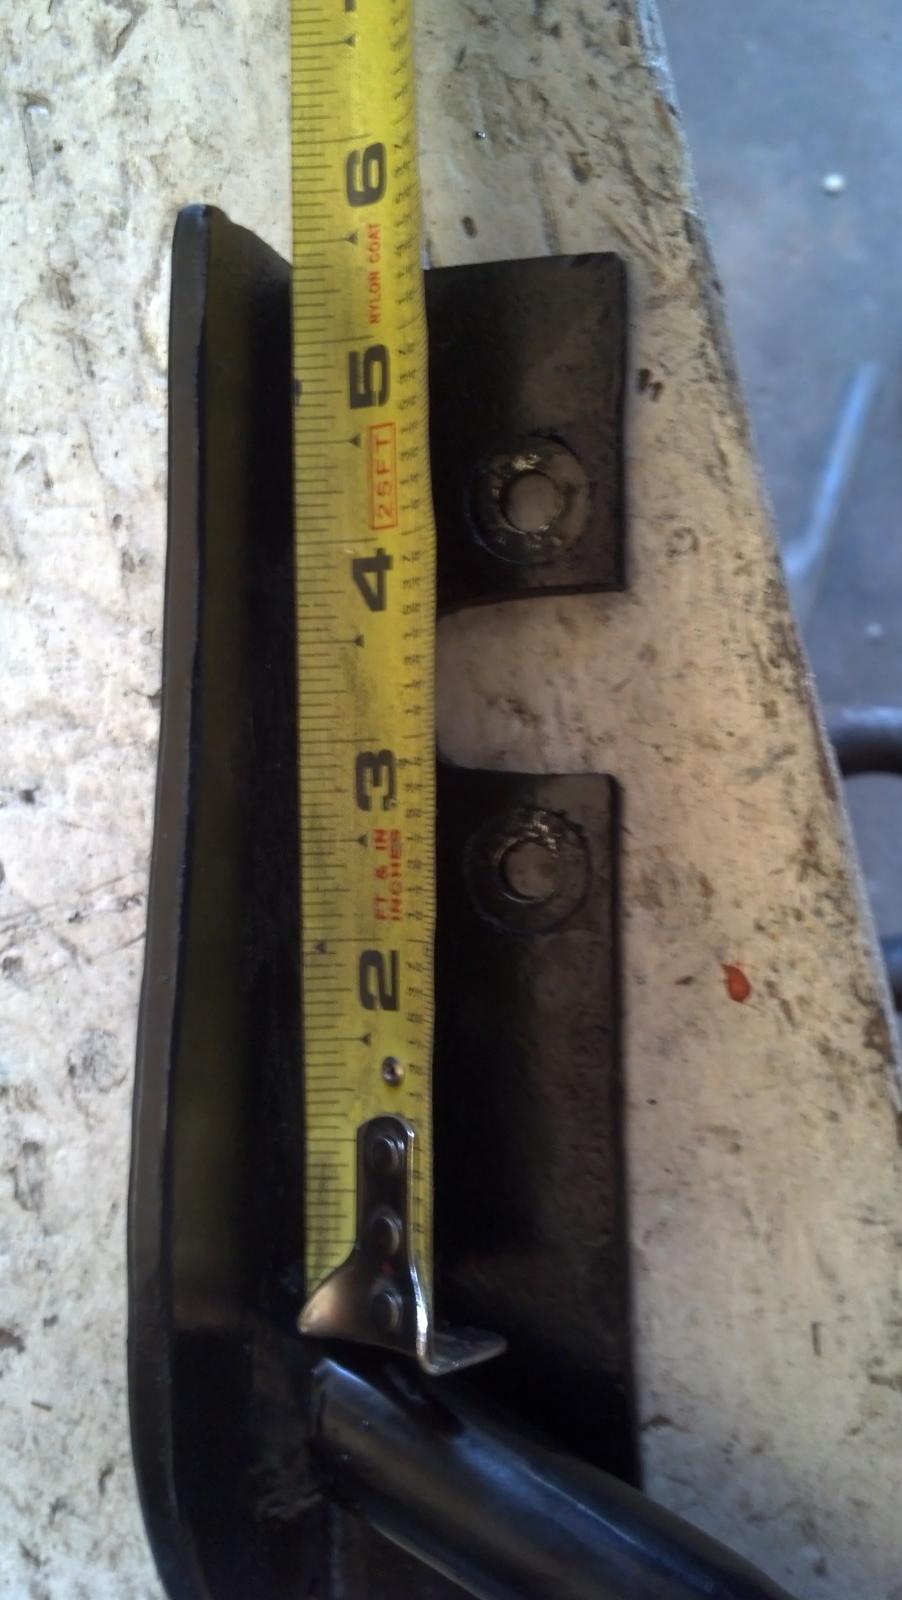
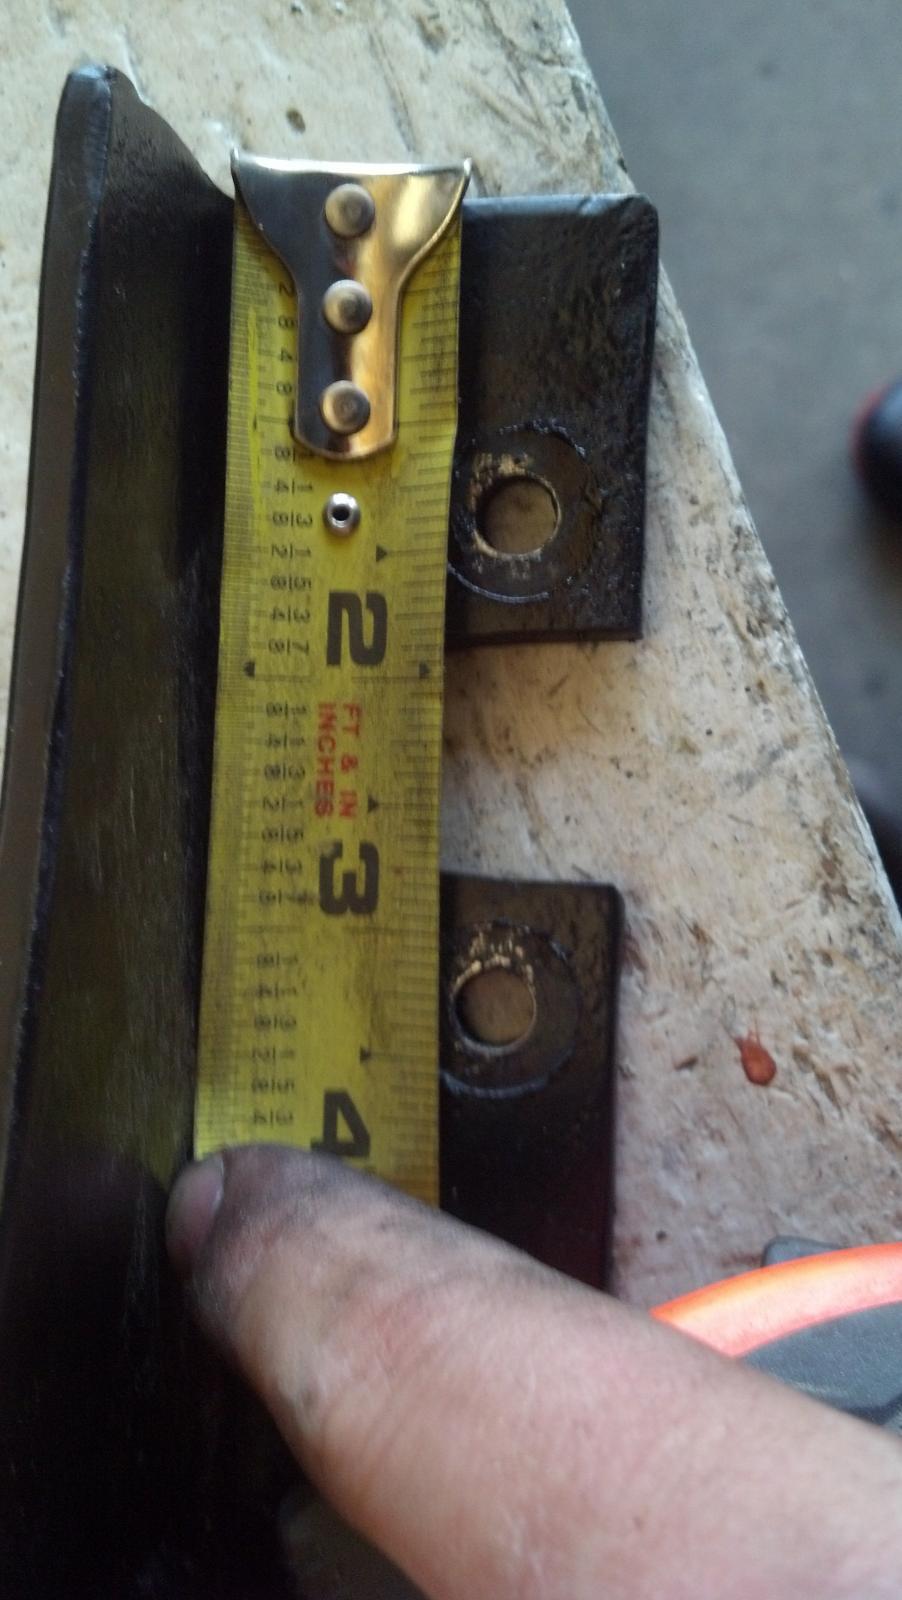
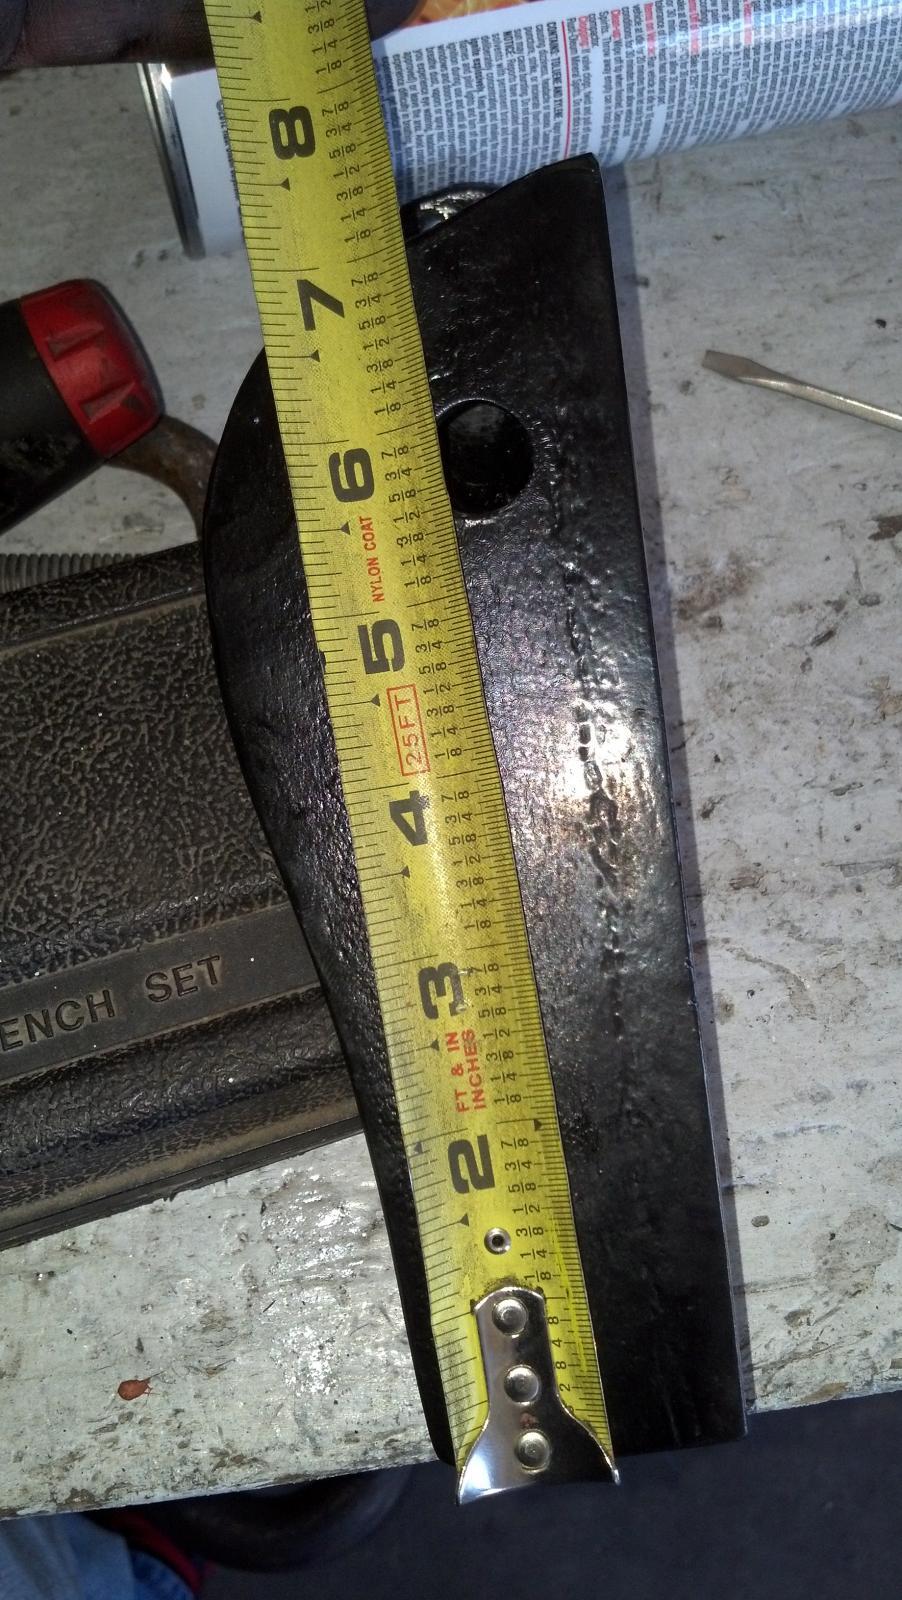
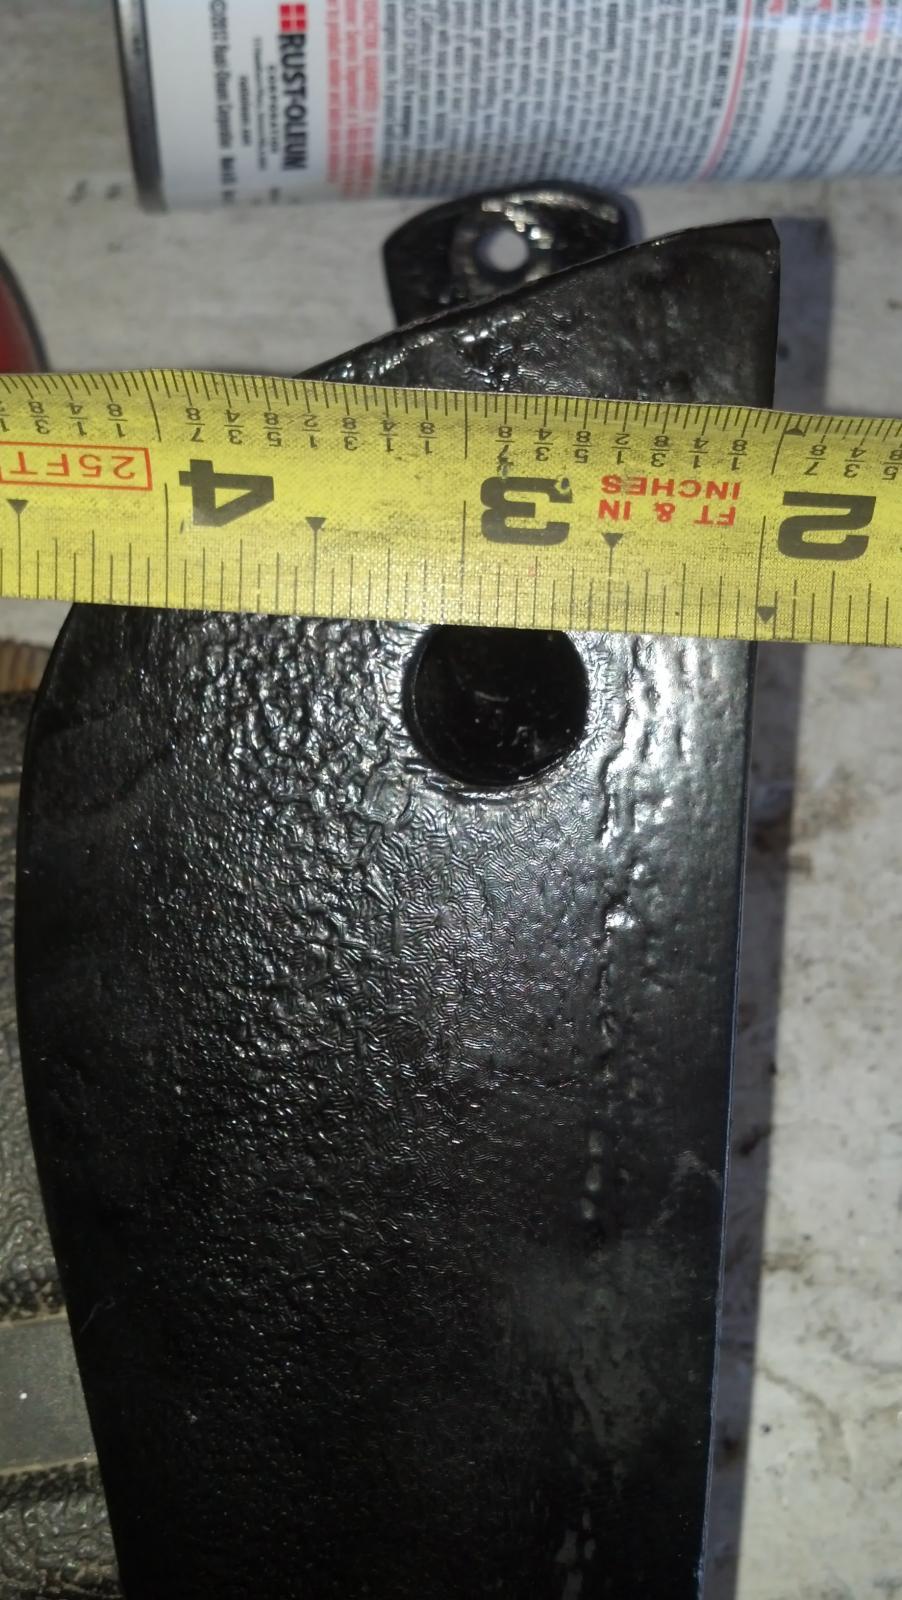
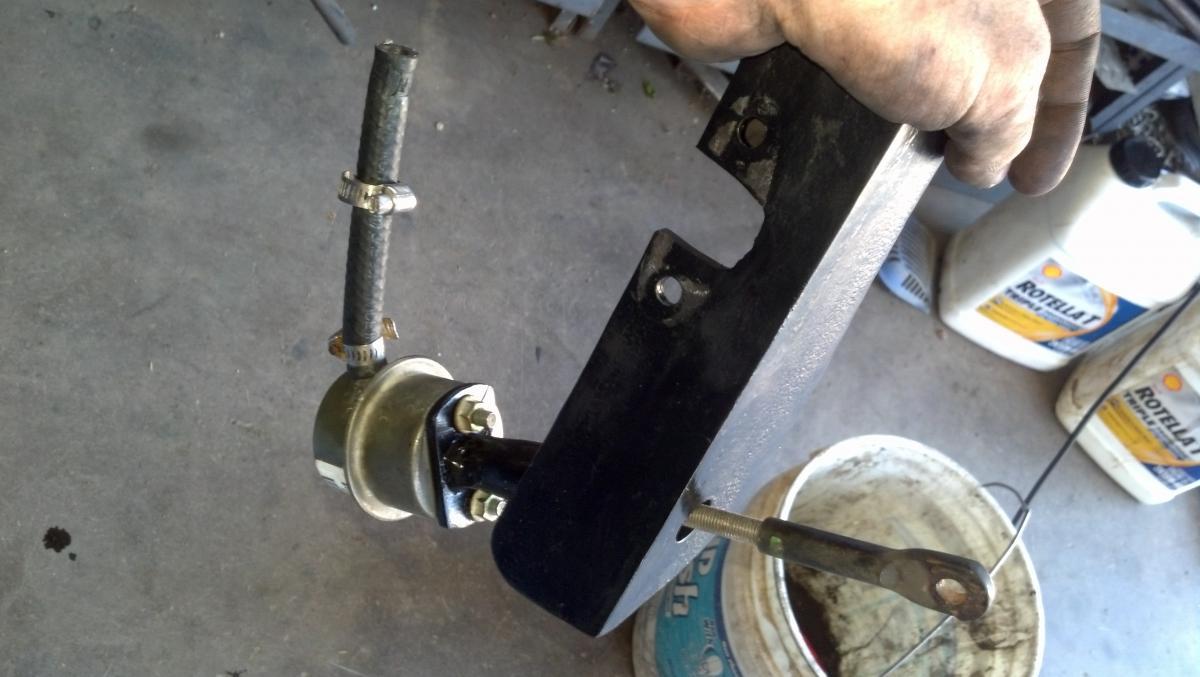
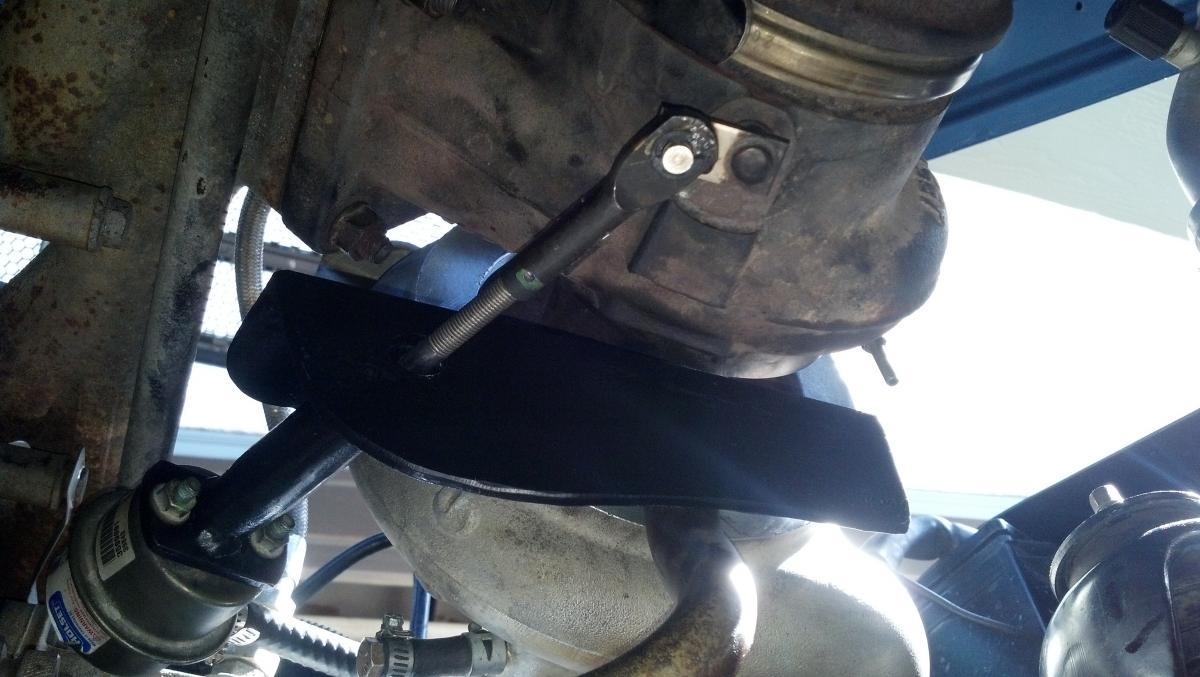
Next I fabbed up the wastegate holder. I chose to use the stock wastegate actuator and build a bracket that mounted off of the oil return bolts.
I don't remember the size of the angle iron I used, but it really doesn't matter as long as there is room to bolt and weld everything up.
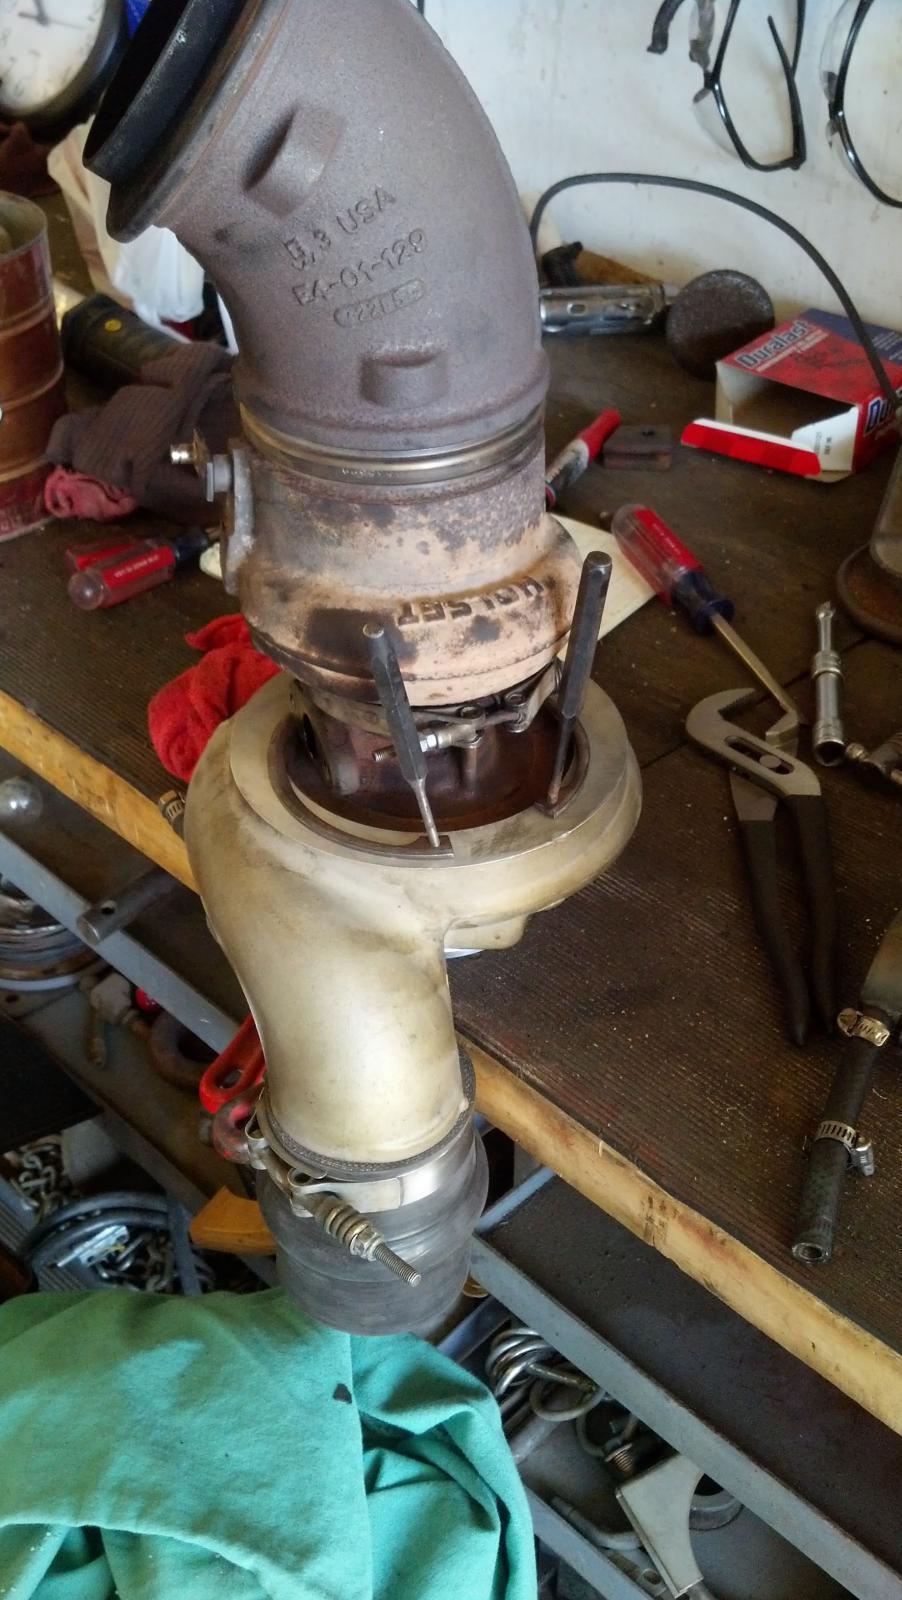
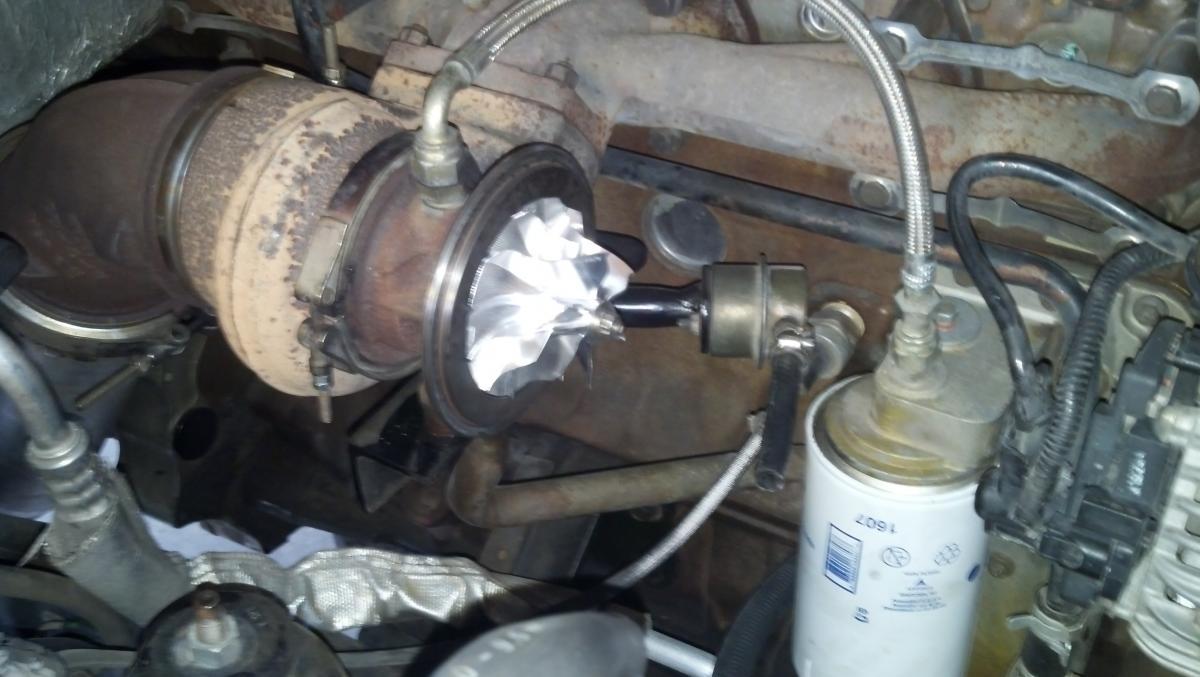
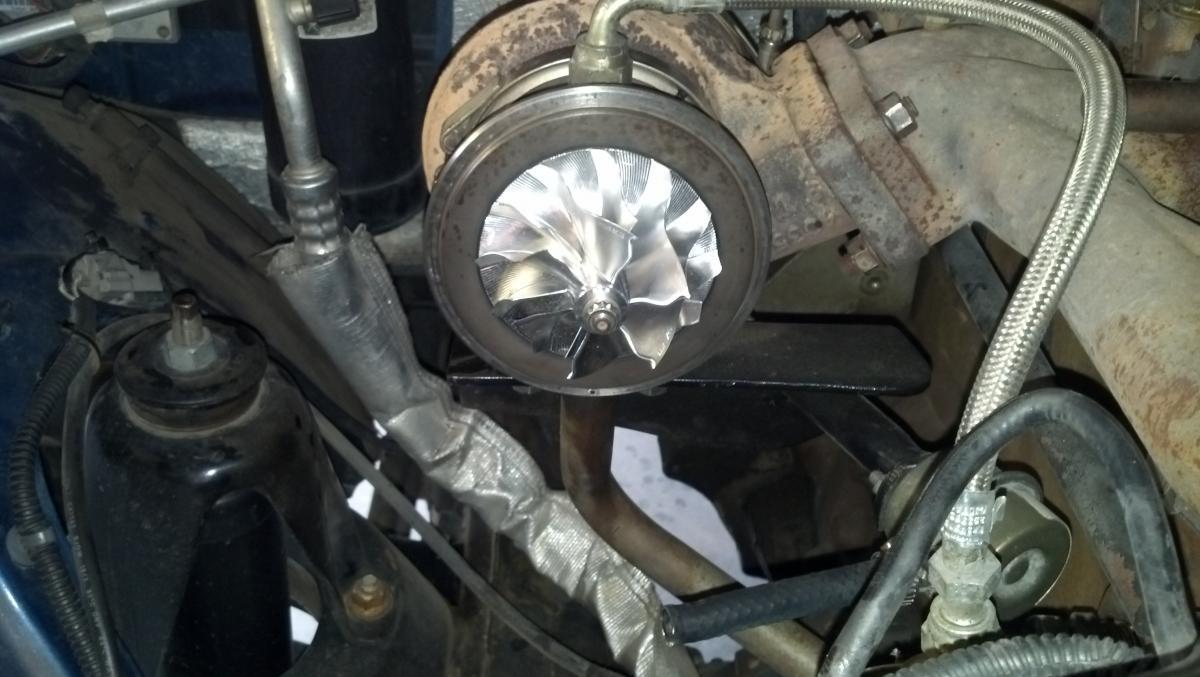
Next I clocked the turbo. I did this by using two small punches and channel lock pliers. It isn't fun, but it's doable!
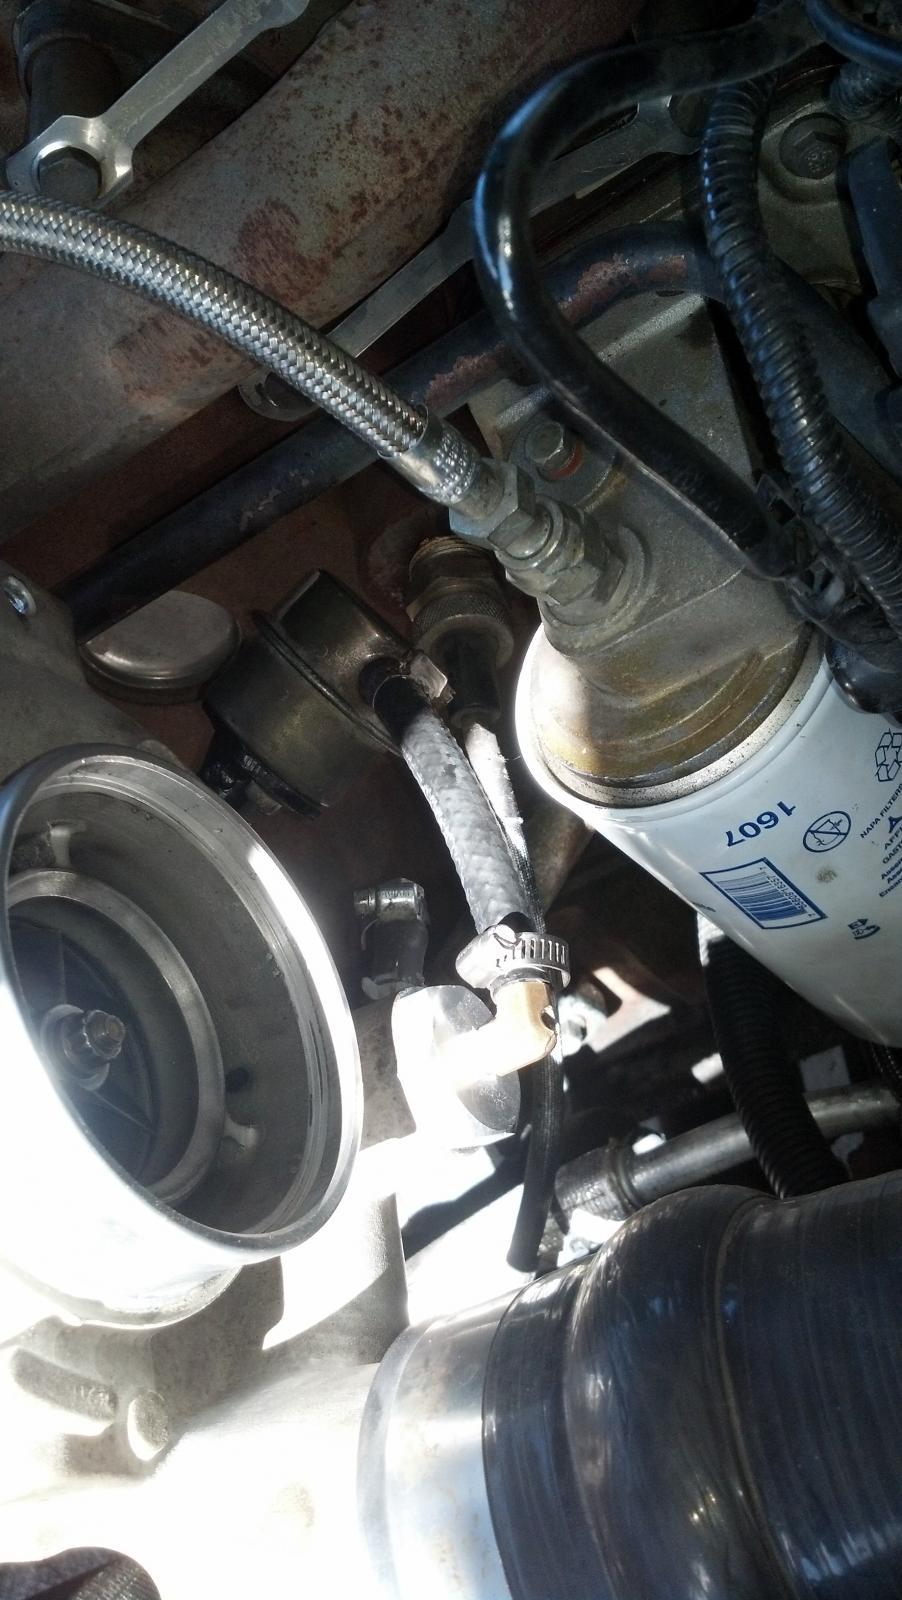
Here are some pictures with the turbo mounted, clocked, and the actuator hooked up.
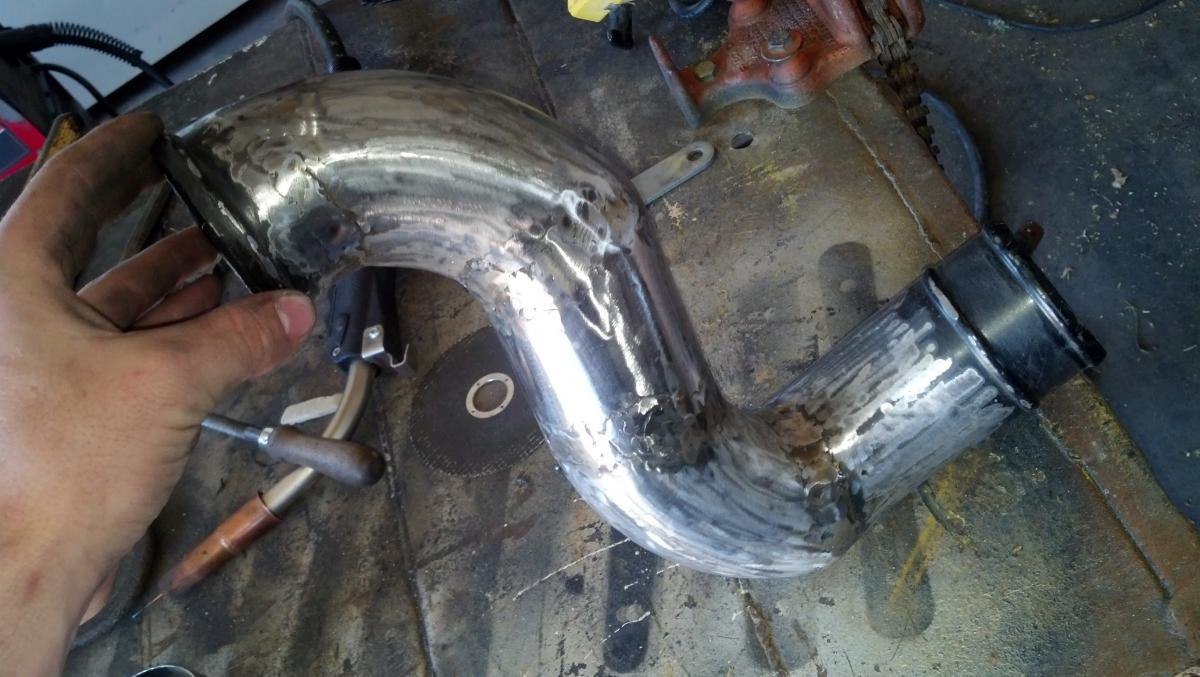
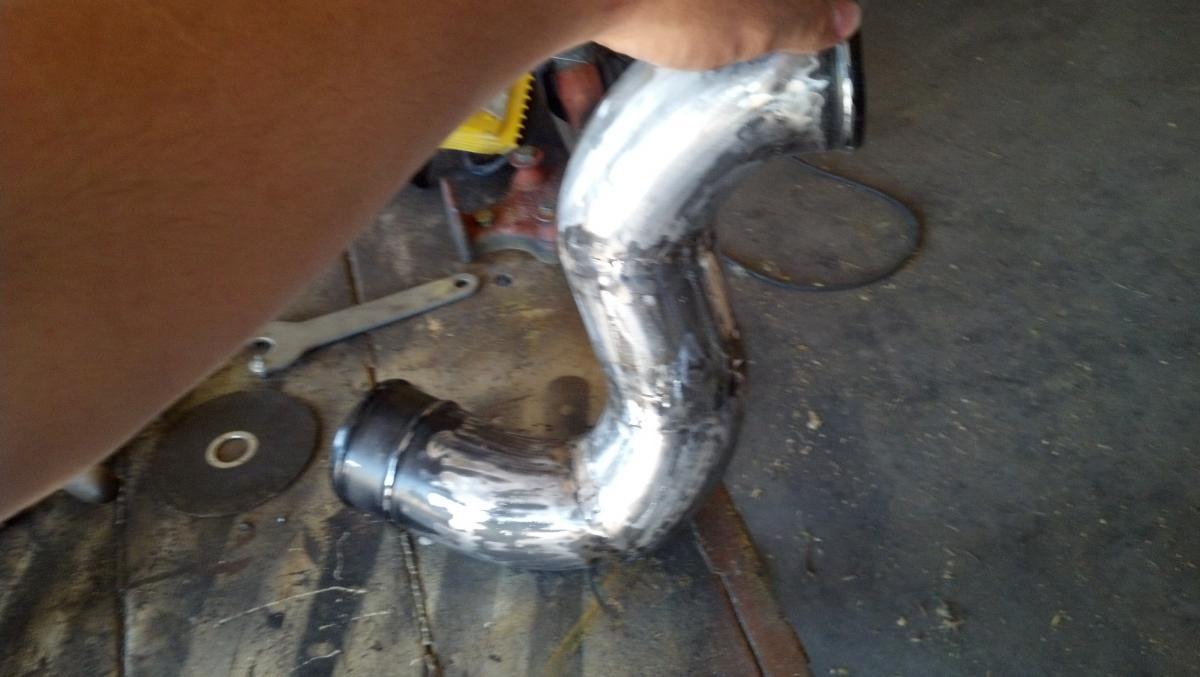
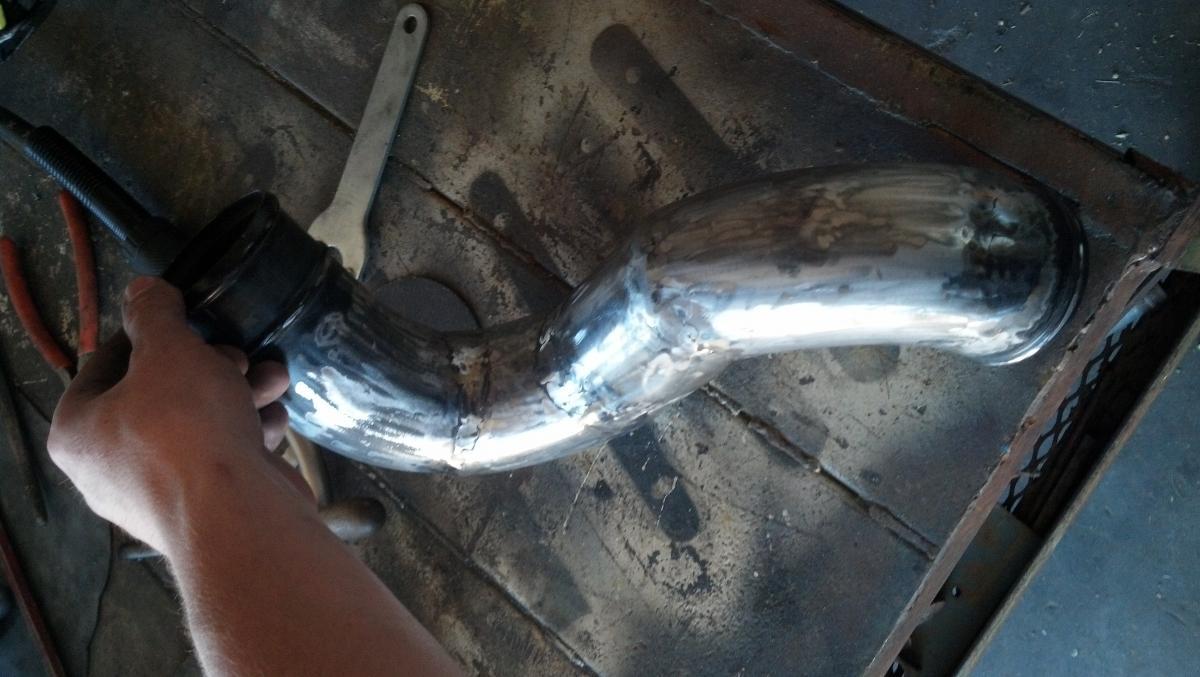
Next I made the charge pipe. If you are doing this just go buy the one from DAP! It'll make your install 1000 times easier!
I made mine, and it took a ton of time. I chopped off the end of my stock pipe where it connected to the turbo. I attached that to a 90degree piece of 3 inch exhaust piping from Litz Auto. (They were expensive too) I then made a short piece extending down and attached another 90degree piece of exhaust piping. I then cut the stock pipe coming out of the intercooler, and spent an hour or two tacking, twisting and grinding before finding the perfect fit. Here are some pics.
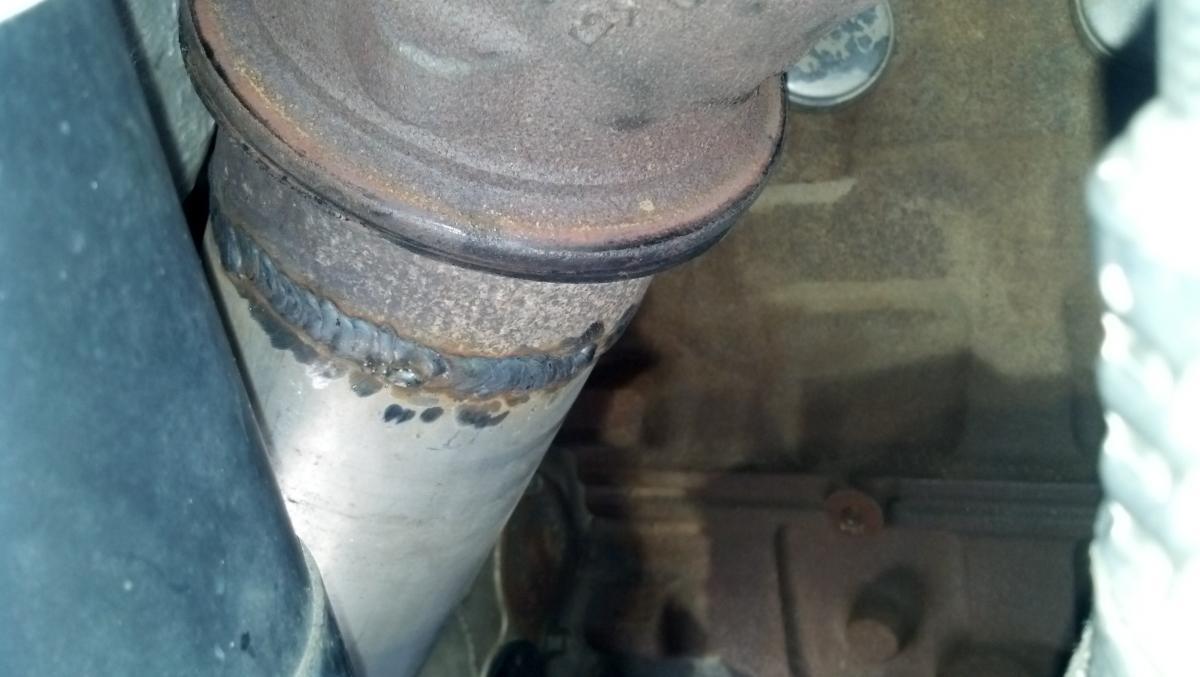
I attached the exhaust using the 05 stock elbow, and an hx40 downpipe that I cut the end off of.
Here are a few pictures of when I put a Batmo wheel on
I have more pictures to provide if anyone is interested. If you are doing the swap and would like some advice or help with something don't hesitate to PM me!


