


Crankcase Vent Modification for 24V Dodge Cummins Trucks
People been asking for me to redo this article so here it is.
Supplies you'll need...
- 1 stick of 1/2" PVC pipe (minimum of 57" long)
- 3 - 1/2" PVC elbows slip to slip
- 1 - 1/2" PVC elbow slip to NPT (male or female)
- 1 - 1/2" PVC straight connector slip to NPT (male or female)
- 3" piece of 3/4" heater hose
- 2 hose clamps
- 1 Small can of PVC glue
- Hacksaw
- Sharpie black marker
- Tape measure
- Can of spray paint
- 1 Zip tie 6" long
Cut measurements
- 3" Heater hose
- 4 1/2" front down pipe
- 2 1/4" front cross pipe
- 24" long pipe
- 5" rear cross pipe
- 20 1/2" rear down pipe
NOTE: These measure are my final cut measurements. I suggest cutting a tad long and adjusting as you see fit for your truck.
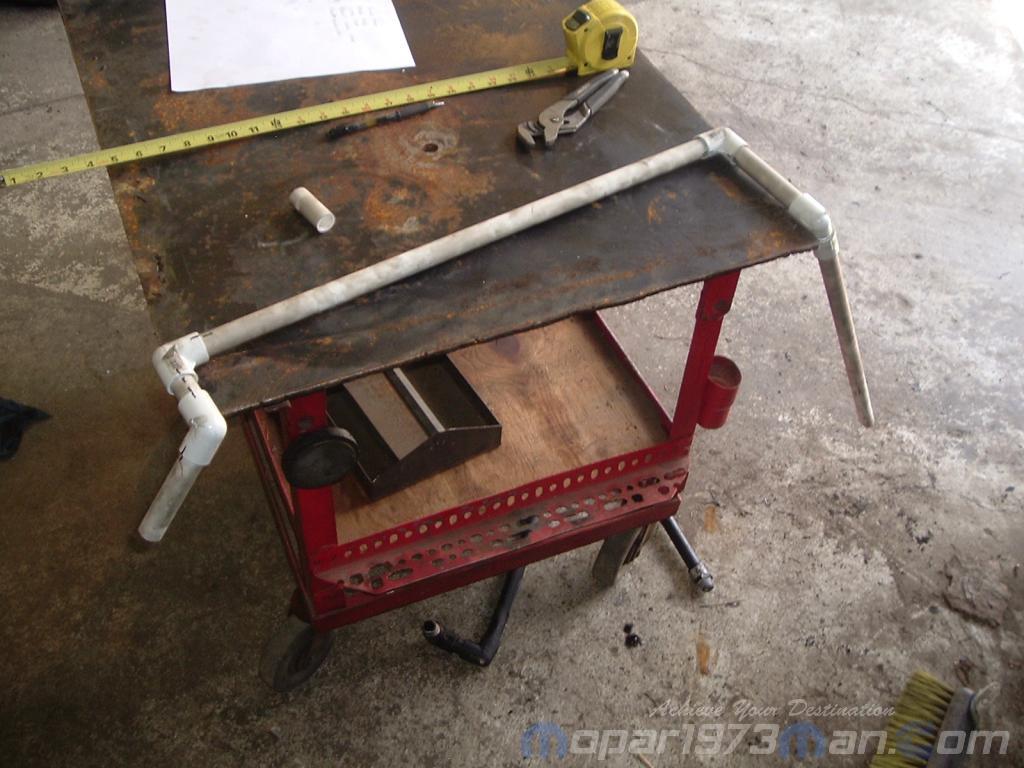
So at this point you should have all your materials to assemble. You should assembly your cut pipe and fittings dry without glue and test fit everything. While test fitting be sure to remove all plastic cuttings from the ends of the pipes. Also when test fitting be sure to bottom out all pipes into the fittings. In the supply list I list PVC elbow and a straight connector (male or female) this is totally up to you. You can do either way as long as you have a male and female connection in the end.
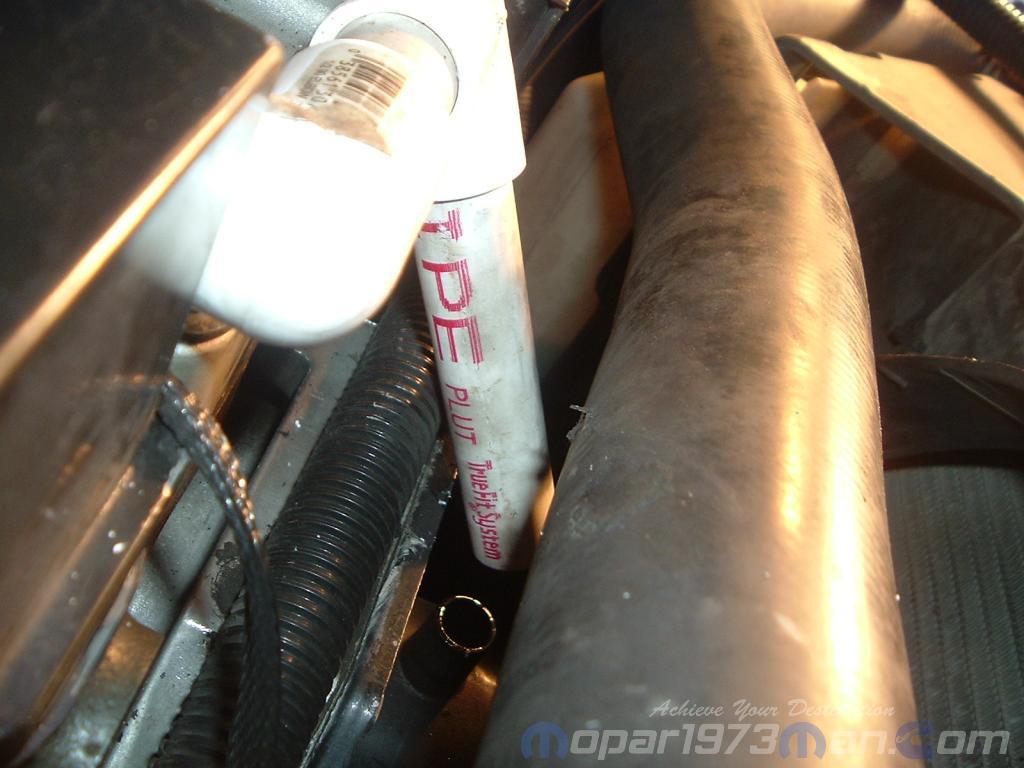
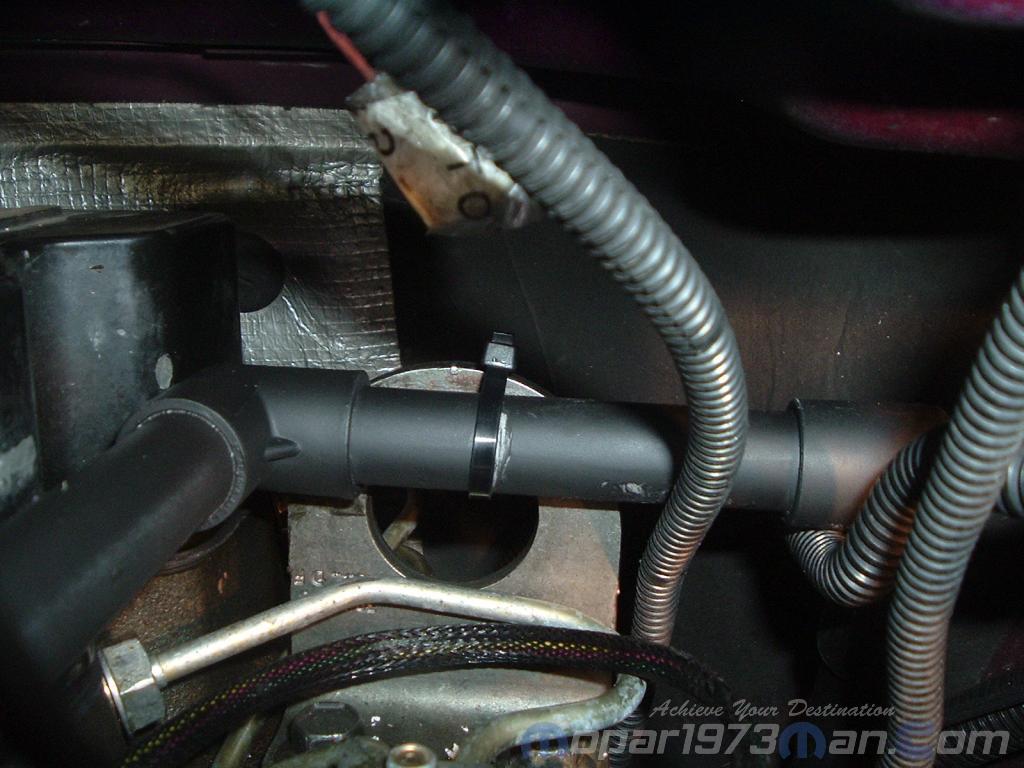
Now during my test fitting I was very careful to get the front section of pie back far enough so its not in contact with the upper radiator hose.
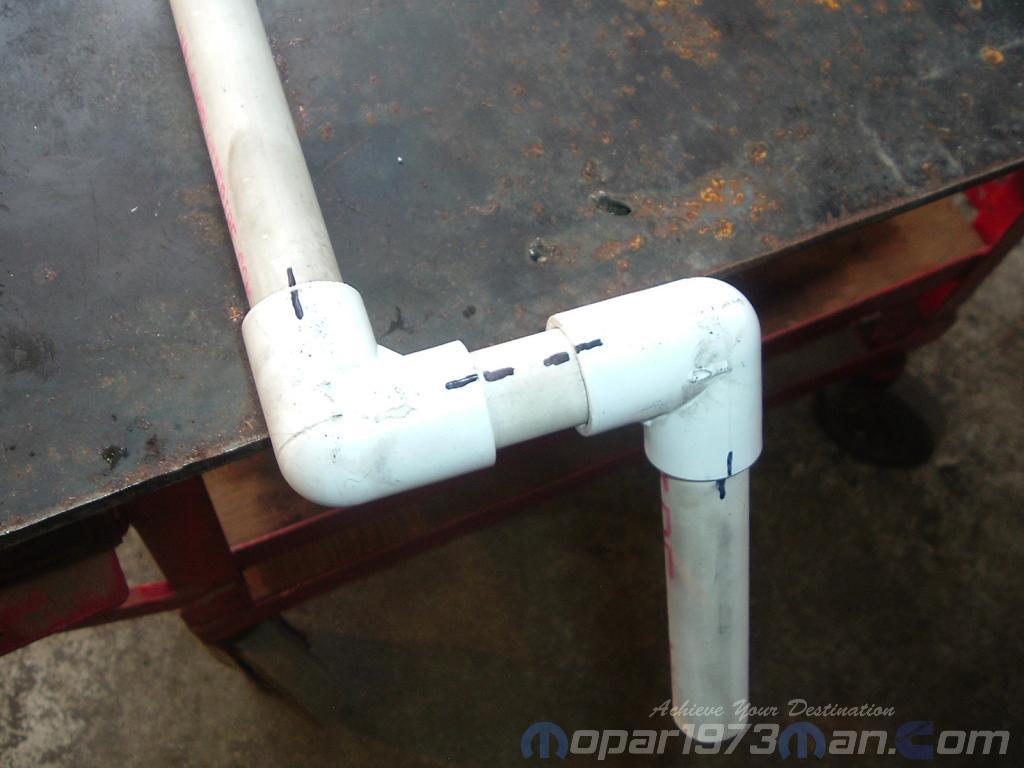
On the rear section you have to be careful of the angle of your down pipe. I've got mine resting on the very tip of the bellhousing. Now that you fairly happy with your fit. Take a Sharpie marker and mark all the elbow positions with a fine line from the elbow to the pipe to note position. This way you can glue the pieces back together in the proper angles. When gluing all the pieces together be sure once again to bottom out all your pipes into the fittings.
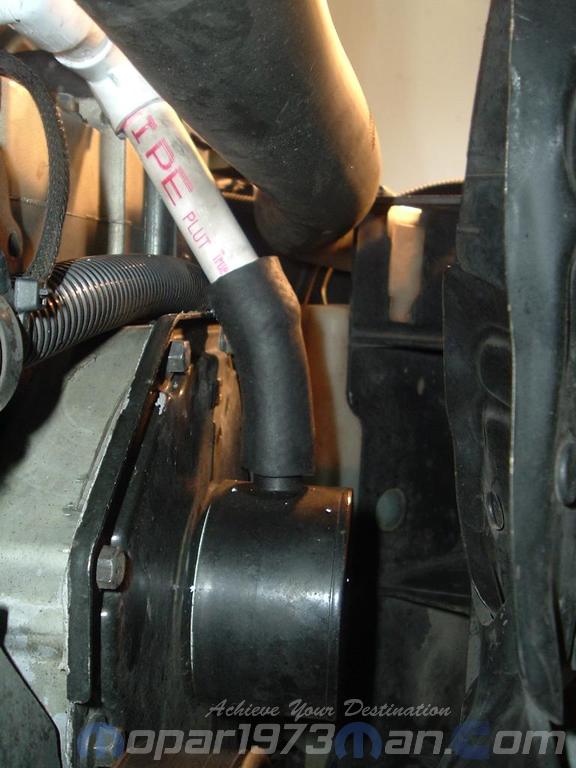
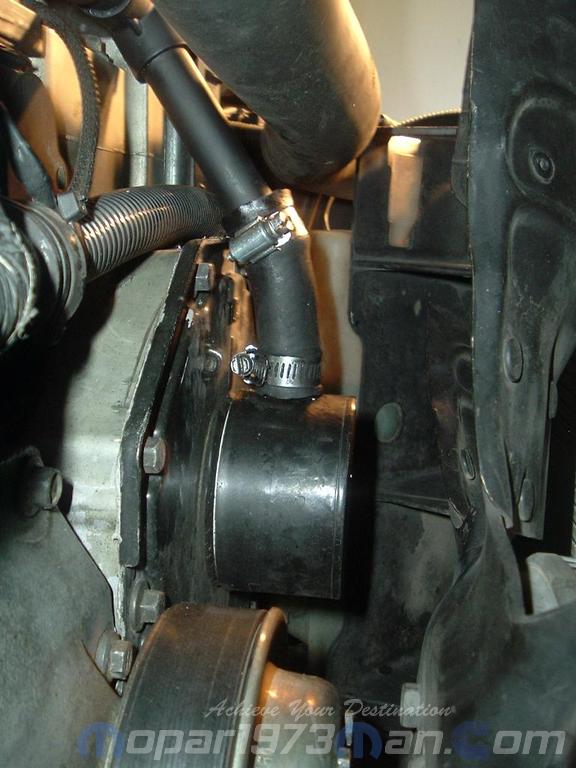
At this point you will want to stuff your 3" piece of heater hose on the front pipe. Need at least 1" of heater hose on the PVC pipe for clamping.
Now take a rag and a bit of paint thinner or lacquer thinner and wipe all the oil and grime off the pipe assembly. Now take a can of spray paint of the wanted color. It's best to get a spray paint that is chemically correct for plastics.
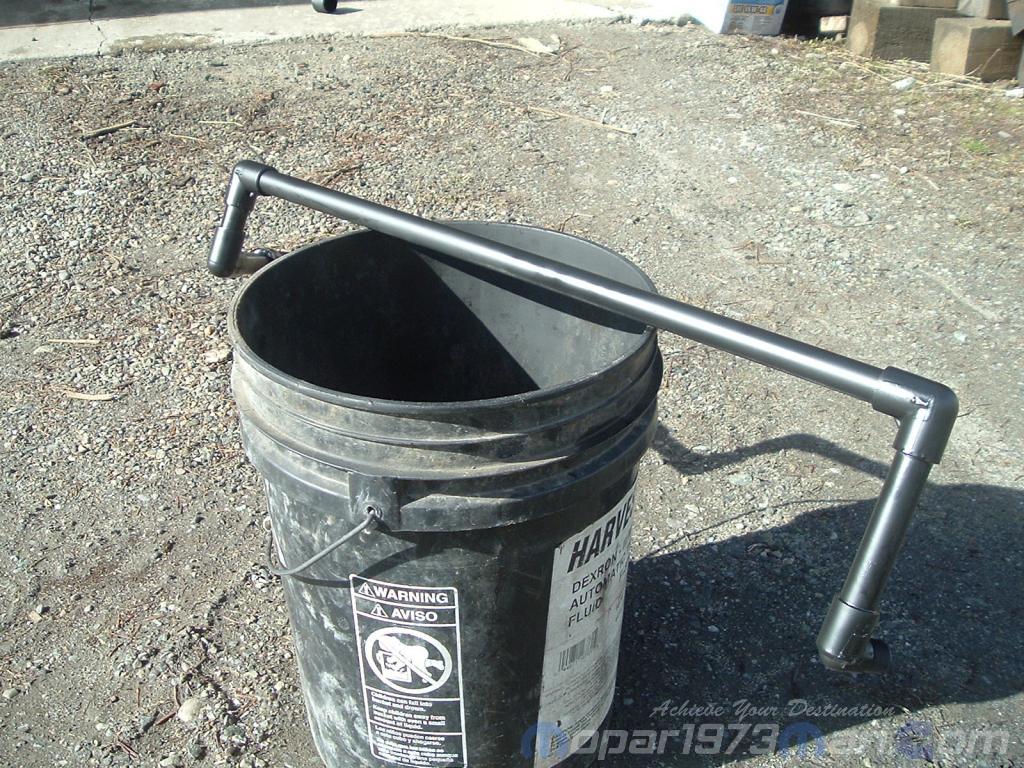
So you should have a completed Crankcase vent pipe for your truck now. All you have to do is lay it back up on top. Make sure you have your 2 hose clamps on before installing. Slip the heater hose over the crankcase vent nipple. Using the one zip tie tie the rear cross pipe to the top of the hoist ring. Carefully slide the down pipe down and screw on to the rear fitting.
Opps. the Paint was completely cured.
-
 8
8