

- Replies 44
- Views 15.1k
- Created
- Last Reply
Top Posters In This Topic
-
 Tractorman 14 posts
 -
 pepsi71ocean 13 posts
 -
 Mopar1973Man 5 posts
 -
 Dieselfuture 4 posts
Most Popular Posts
-
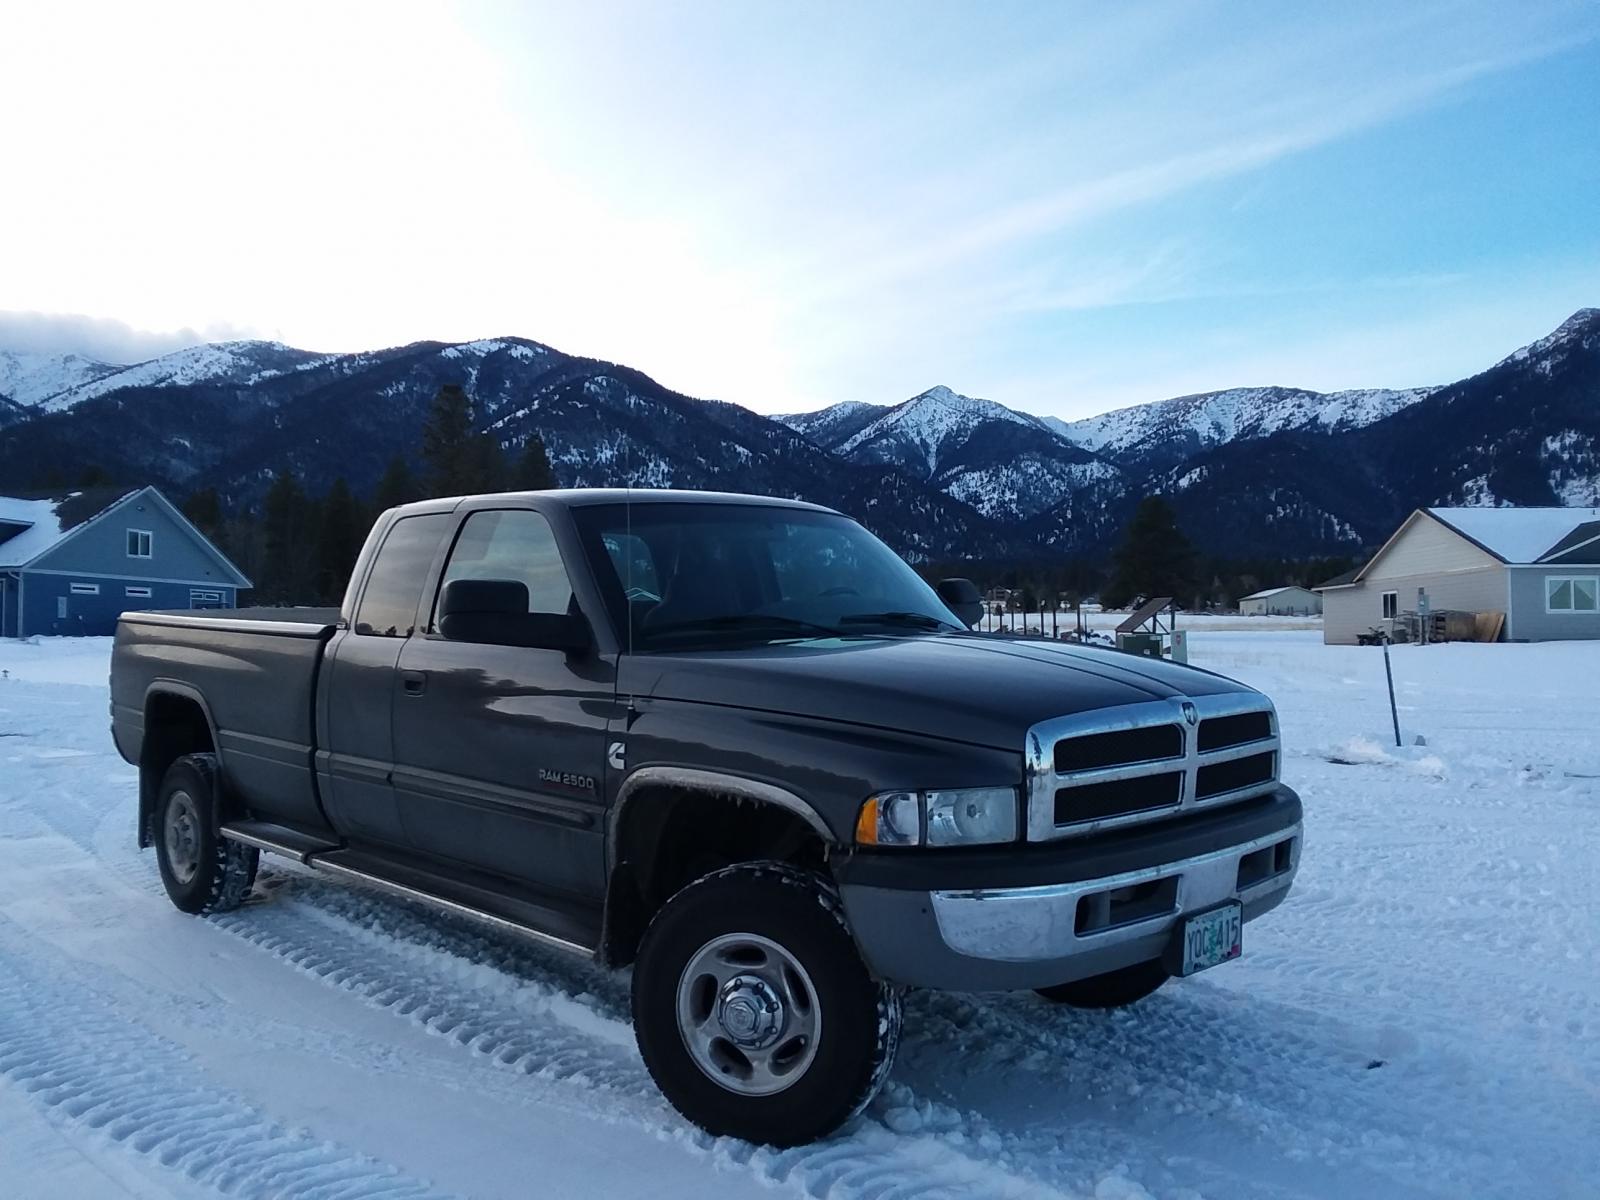
I am back home from the round trip to Baker City and back to Scotts Mills (near Salem). The truck weighed in at 8,100 lbs. I set the Smarty to the fuel economy program SW1 TM-6, T-default, D-defaul
-
Well I wrote out a big response, the laptop crashed and I decided to post up my article. Its a little early but this is my rough and uncompleted Smarty article. Its unfinished and missing summaries an
-
My speed varied a lot. Maximum was 65 mph, but mostly 60 mph where there was no snow pack on the road. About 250 miles of driving was on snow pack - 30 to 50 mph. Overall, I am very happ
.jpg.565ae7ce62ce7a4cdd5afc62bcd979ac.jpg)
.jpg.7e6787d709fd89d1270ea2098568bcd1.jpg)
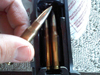
I bought 6 new Bosch RV275 injectors one year ago (the price was right - $425 for the set) and finally installed them last Friday. The original injectors operated for 303,000 miles and had never been removed. They were still performing well – as in smooth idle, good power, and good fuel economy. I didn’t want to push a good thing too far. The job went smoothly with the help of this site. All of the old injector tips were clean considering the miles and years on them.
I did notice however, that there is a black coating of something kind of oily / powdery (not sure what it is) in the intake area just below the grid heaters. It is not present in the air horn and the hose from the intercooler – they are very clean. I wonder if worn valve guides combined with lots of exhaust brake usage could be the cause. Maybe someone who has had experience with this can shed some light. The marks are from me using a scraper.
I am having a problem with a very small leak with #1 injector line at the injector. When I removed the injector lines, I did it in groups of three, but I left all of the blue clamping points tight. When I put everything back together, the connection at the #1 injector showed signs of leaking (wetness on the head around the fitting) on a 5 mile test run.
So, I loosened the #1 injector line at the injector and loosened the blue clamp nearest the injector and then tightened the injector line followed by tightening the blue clamp. No evidence of a leak on a 5 mile test run. However, after a 50 mile trip the head is slightly damp around the injector connection. I will try again, but this time I think I will loosen the clamps and the mounts and repeat the procedure to get the leak stopped. If anyone has any tips, please speak up.
I like the performance of the RV275’s. I immediately dialed the Smarty tune back a setting.
OEM injectors: SW5 – Torque Management 5, Timing 1, Duration 5
RV275 injectors : SW3 – Torque Management 4, Timing 2, Duration 2.
Smarty Settings:
Torque Management (1-6) Each higher number incrementally reduces torque management at low engine rpm’s. Example: TM-6 equal zero torque management and allows for high torque at low rpm’s.
Timing (1-4): Each higher number incrementally advances ignition timing . (#1 is stock, #2 is stock with after market injectors)
Fuel Duration (1-5): Each higher number incrementally increases fuel duration. (#1 is stock)
The RV275 injectors definitely deliver more fuel. So far, the tune I am using with these injectors is performing well, lots of torque on the low end easy to drive without smoke. I am setting the tune as to how I drive with a manual 6 speed transmission and operating engine rpm’s between the 1500 to 2000 rpm range for almost all driving conditions.
I will post more information as I get some miles on the new injectors and let you know which tune I end up with.
- John