notlimah
Unpaid Member
-
Joined
-
Last visited
Everything posted by notlimah
-
:drool: That sounds REALLY good! Thanks for putting that up! Do you remember how long your install took? Mine should be here tomorrow!
-
hmmm, there's been a couple times where it said upload failed but it actually DID upload for me, so maybe check that. Otherwise, maybe it's just a problem on YouTube's end?
-
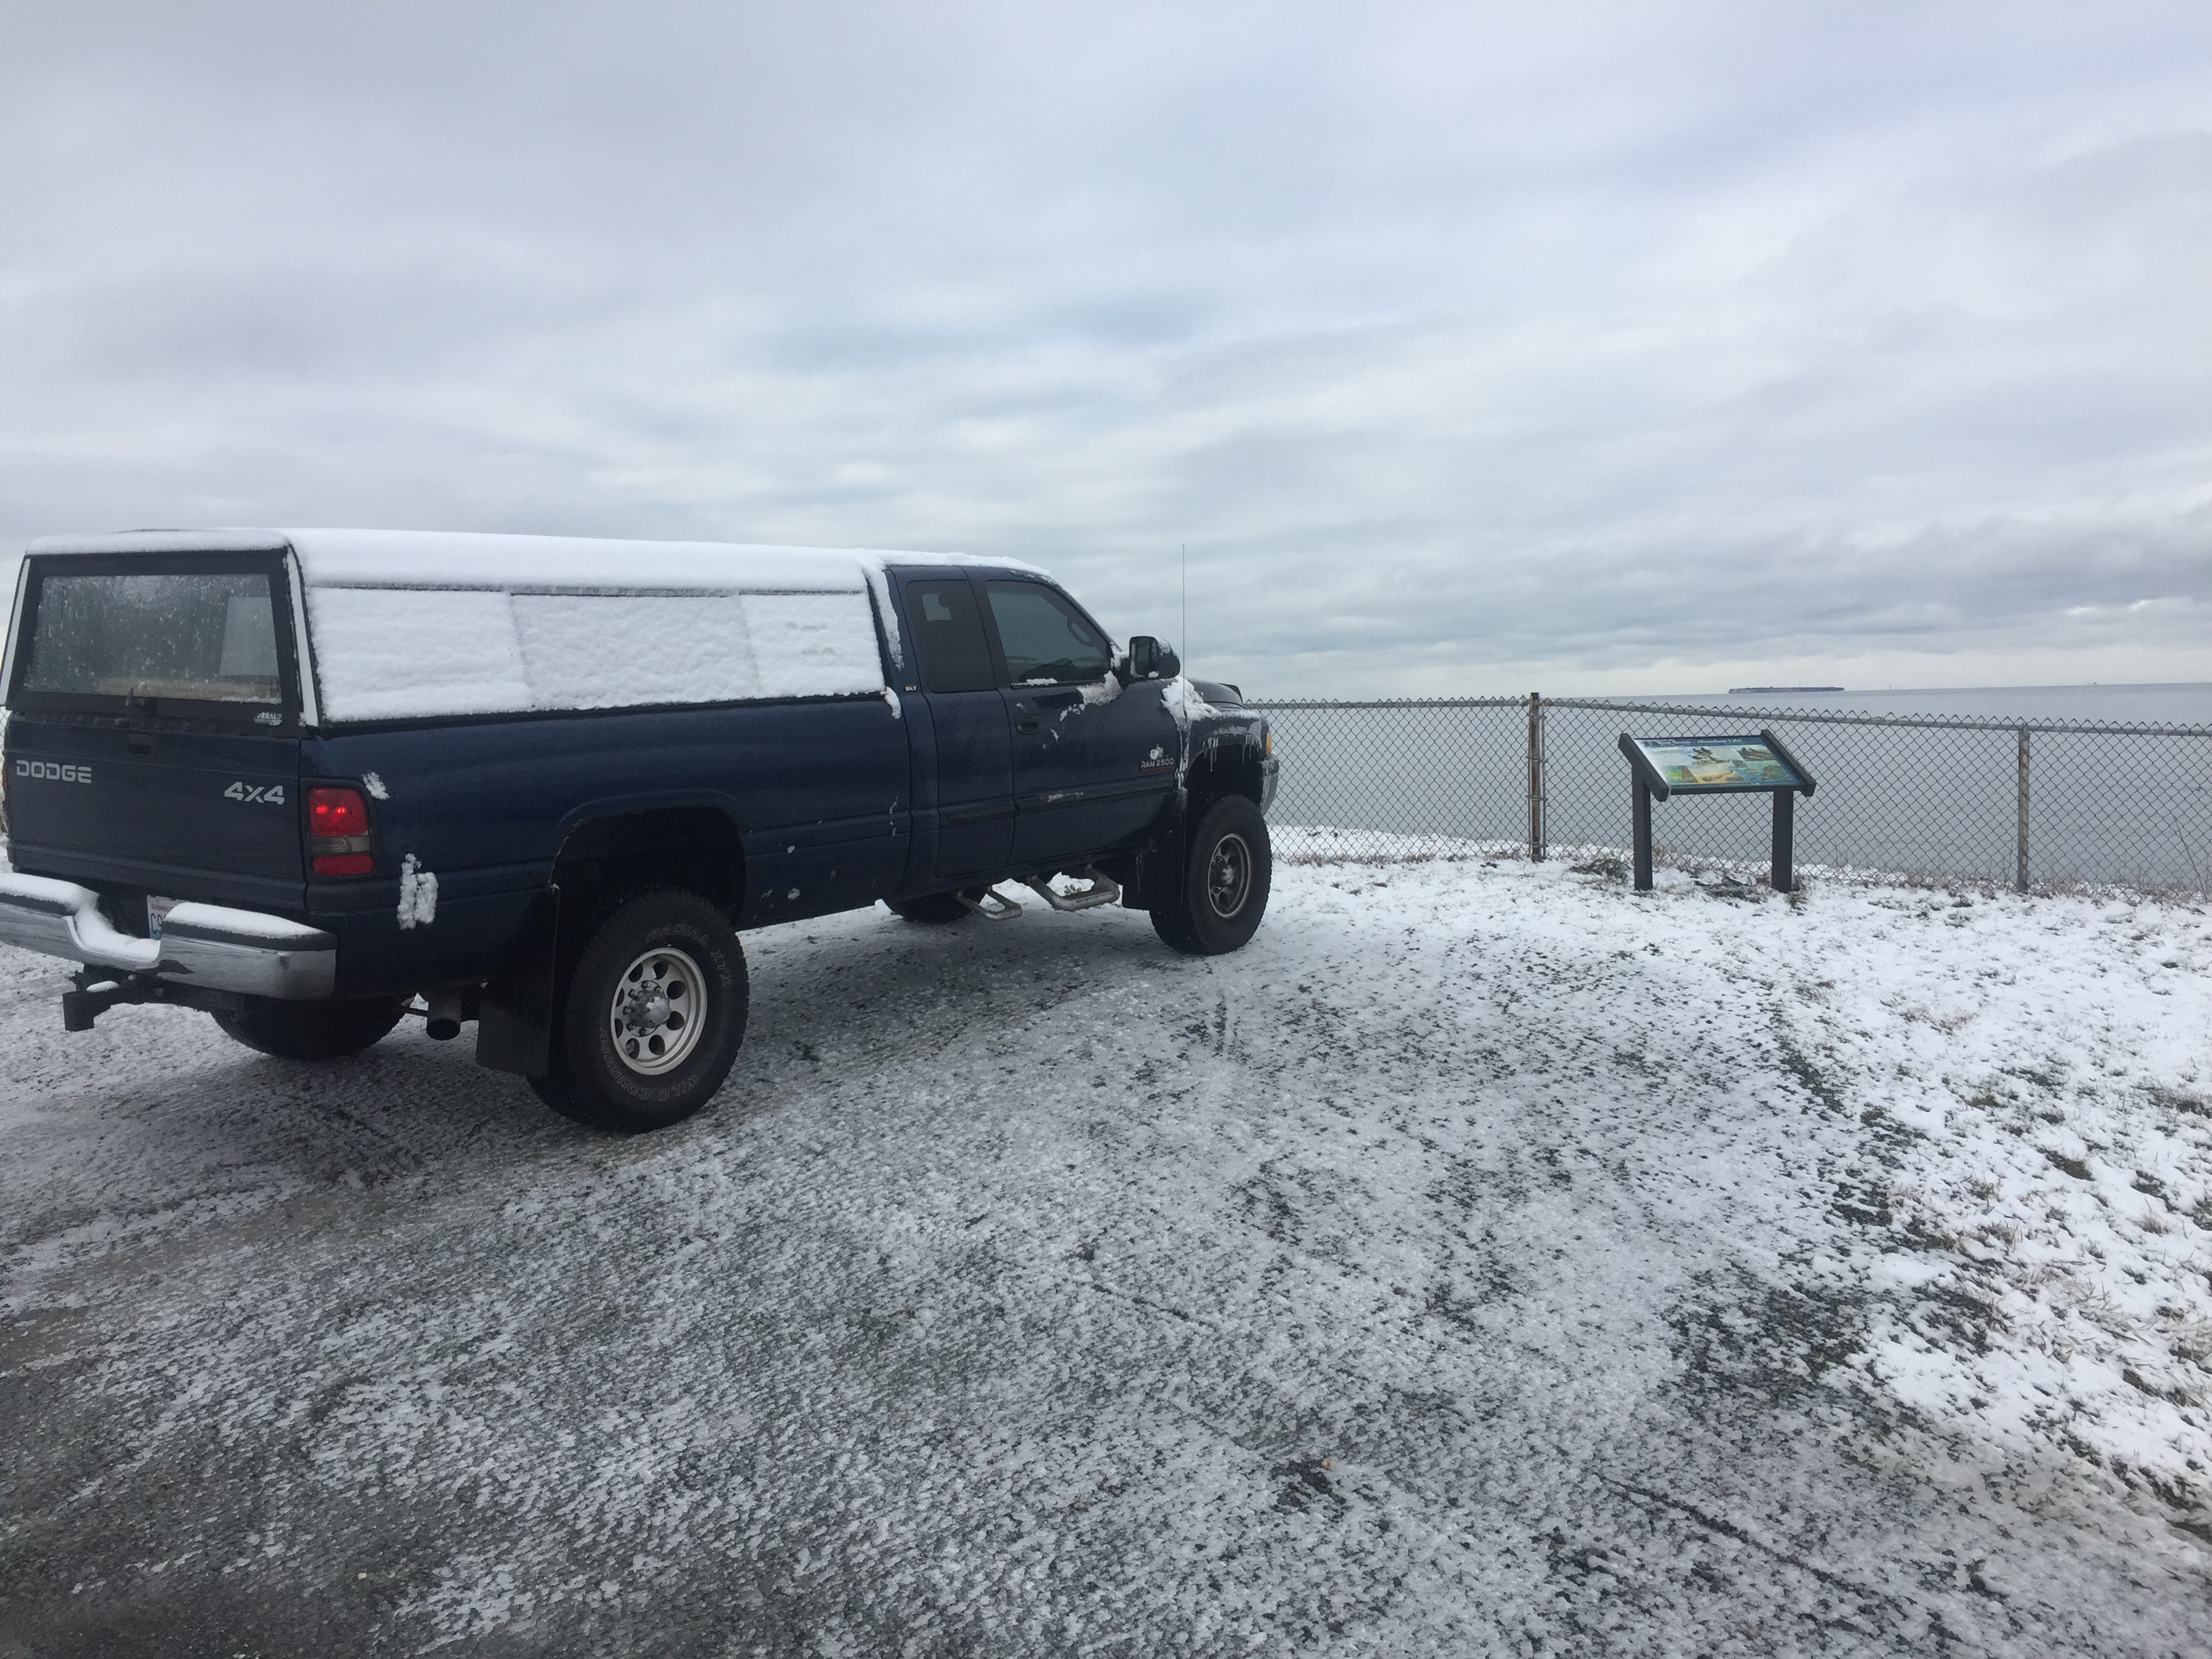
So my other truck (read: the wife's) is a 2014 GMC Sierra and it will double as our 'family vehicle' as I refuse to drive a mini-van! I'm looking into the option of a softopper as apposed to the fiberglass option. Mainly looking for something that I can use when it's raining or cold out and be able to keep things dry back there, or throw the dog back there, but also be able to retract and still use the truck bed if needed. It's also a LOT cheaper then the fiberglass options! It seems that the softopper is capable of doing all this, just looking to see if anyone here has one, or any experience with them? http://www.softopper.com/ Matt
-
I don't have a reason to think I have a boost leak but I may do it just as a precaution
-
It's one of those things where, yea it's only 1/64th but does that make or break it. I figured that Eric wouldn't of sent me the bit unless it was the right one, unless it was just a mistake. I'd rather not take off to much and have to tap the hole to far. I may just swing by and get a 21/64th, I have a 1/8th tap so I should be good to get there.
-
So does the RTV go on the threads or on the top of the bolt?
-
What sort of sealant did you use?So for all you guys using a 21/64, were these bits you had before hand or did you get specifically with your EGT kit? I'm asking because I purchased my gauges from Vulcan and ordered the drill and tap as well since I didn't have any. I noticed that my drill bit says 11/32's. Is that going to work? I saw this CHART and it obviously there's a small difference in size. Will that matter at all?Brian, Looking forward to the video when you get the chance to get it uploaded! I just got an email notifying me that my exhaust had shipped so I'm planning on putting together a comparison video. I did a couple quick clips while driving today so I have the before, I want to get one clip of it sitting idle and then I'll do the same once I get the diamond eye installed.Hey Ed, What bolts are you referring too? All the ones that screw into the manifold? Or are there bolts that need it and bolts that dont?So just to post some numbers from my test drive... On initial start up it was 63 degrees out and my idle psi was right around 17.5psi, almost 18psi at times. Once it warmed up at bit I was seeing 18.5psi at idle but all the way down to 11.5psi at WOT. Thermostat was reading 175-185 degrees around this time. Pulled over on a side road to re-adjusted my psi. After that I was seeing 20-20.5psi at idle and 14psi at WOT. Thermostat readings were the same ranging from 175-185 degrees. Typically seeing 15-17psi for normal driving. So, even though I'd ideally like to see a 2-3psi spread, given the fact that I'm still on the FRRP I think my limits, as long as they stay where they are now, are going to have to be acceptable until the raptor can be a backup.Yea, sad part is I knew how much Vulcan charged prior, I just didn't think NAPA would be that outrageous! I found out as I was in the check out line, but at that point I just figured I'd have to wait until tues/wed next week before I'd even get the needle valve from Vulcan so I just bit the bullet.Well here's my new setup! Pretty straight forward install, pretty much followed the install from the article that's already here. Some things I learned... - When using these type of hose connectors, dont over tighten! Luckily I had one extra otherwise I would have had to make another trip to NAPA - I'd assume if you were installing this your gauge would be out of the cluster like mine was, so once all your plumbing is good, place your gauge facing the front of the truck, that way when you start it and go to crack open the needle valve you can look under the hood up on the dash and be able to do it yourself and don't need a second person. Just dont forget to route the hose THROUGH the gauge cluster hole! - At first I had a minor leak coming from the bolt that when tight keeps your needle valve from moving, but once tightened down, it didn't leak. - When I first opened the needle valve, it BARELY turned and I got pressure. Then I remembered Mike had a video showing this so I went back to watch that and it made me realize that mine could be opened a little more so I'd have a slightly more responsive gauge. Either way that's an easy adjustment, just something to think about! - Buy your needle valve from Vulcan!! NAPA now charges 30 bucks for that little guy!! All in all, it was pretty easy to ditch the isolator and I don't feel as weirded out having fuel into the cab as I originally thought I would. I haven't been out for a drive yet so I'll update you guys with that info later! ***EDIT*** Just wanted to add the actual part numbers I used from NAPA as it took me quite a while to find them in store. Male tube connector part # 68x2 located HERE Female tube connector part # 66x2 located HERE Air brake tubing part # D1020401 located HERE Needle valve link is a few lines up!Nice! Doesn't seem to difficult and cures all the little noises! Did you just vacum out all the little bits and pieces that fell into the manifold? I typically drive around with no radio on just so I can listen for new sounds that weren't there before. There's nothing more annoying then hearing something that rattle's/shake's/whistle's without you wanting it too!Mike, I haven't been here very long, but in that short time it's pretty obvious how important and awesome this site is. You just don't find forums like this everywhere, especially for something that could be considered a niche market, primarily due to the heavy focus on gen2 trucks. Maybe an idea that could help would be able to merge the passion of our gen2's with some more of the newer gen guys, if anything just to get more people flowing through the site and more willing to pitch in! I'm not 100% on how to accomplish that, but there's something to be said about a forum that's as focused and clear cut as this one. Theres a sense of family here that's not in the 'other forums' and maybe people just aren't aware of this forum exists! Unfortunately, I think a lot of people are completely fine with showing up, getting what they needed from a forum, and then never coming back to support others or even offering a 'thank you for the help' donation. I'm afraid that mentality of 'it's just the right thing to do' is slowly fading away. I came to this forum, had very little knowledge of what I was attempting to wrench on and got clear, correct info and that was that. No forum bullying, rude comments or anything, just help and encouragement which in turn makes me want to do the same for others and add to the site in some way. That's why it was a no brainer for me to donate. It's very clear this site is run out of the passion and enjoyment of these vehicles and in one way or another, if you were brought to this site, then clearly it means something to you too! Other then that I'd personally rock a forum t-shirt or sticker for the back window, and I am NOT a sticker guy! Anyways, just sharing my input as a new guy, so take it for what you will! I know this is primarily a passion put in forum, but the lights got to stay in somehow! But Mike, you got a good thing going here and it doesn't take much to see that! I do appreciate all the hard work that goes unseen as well! I'll do what I can to help support this site and its cause!Thanks Ed! I have my fingers crossed it's not the pump as well! I'll post back here when I get my new plumbing all set up.Crap!Yea, I'm still on the FRRP. It has less then 500 miles on it, and I've shown pretty steady pressure before I tried re-bleeding my anti-freeze line so for now I'm still leaning towards air in the line/running an isolator as the problem. I'm going to stop by NAPA on the way home and get some parts to replace the isolator. I figure it's the easier way to go right now and I'll see if that clears the issue up. If not then it's probably the damn raptor! Still not sure how to set needle valve to delay the needle riseHow do I set the delay? Is that just cracking it open just enough to get pressure? I need to get this done! Even after bleading the lines a couple times and making sure the isolator bladder was pushed all the way back I'm getting a huge psi spread. I just want solid pressure!Ok so I was doing some thinking on this. If I just took out the fitting with the red arrow/oval and installed a needle valve there would that work?Ok dumb question I know, but I'm not entirely sure what all those brass fittings are! I assume that you loosen the fitting on the gauge when the truck was running right? I'm just wondering how the fuel pressure reading isn't affected by air in the line like it is with the isolator?Mike do you have part numbers for all of the pieces on the mechanical gauge setup? Also, once I get the gauge running without the isolator, how do you bleed the line? I saw your video where after the truck is running you slowly crack open the needle valve but what about all the air in the line?Gotcha! I wasn't sure if they were both needed or not but I figured it couldn't hurt! I'll probably just order up the push lock and needle valve. Now since I'm using the same tubing to the gauge that had antifreeze in it prior, if I just drain it as best I can and then hook it up it should be fine right? I just want to avoid pulling it back through the firewall just to clean it then reinstalling it haha In the meantime I'm going to bleed the isolator and line and see it that fixes it for now.Would those fit a 2wd?!