

- Replies 93
- Views 17k
- Created
- Last Reply
Top Posters In This Topic
-
 JOHNFAK 44 posts
 -
 Mopar1973Man 13 posts
 -
 Wild and Free 13 posts
 -
 mrtowman4u 8 posts
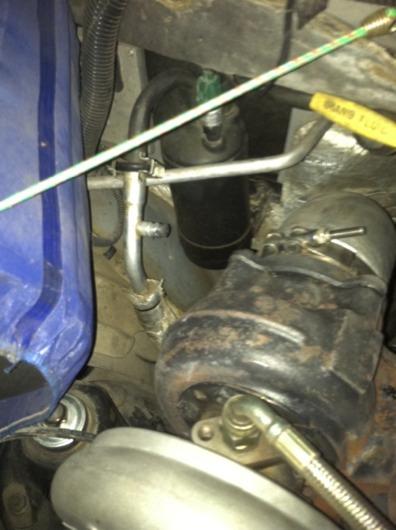
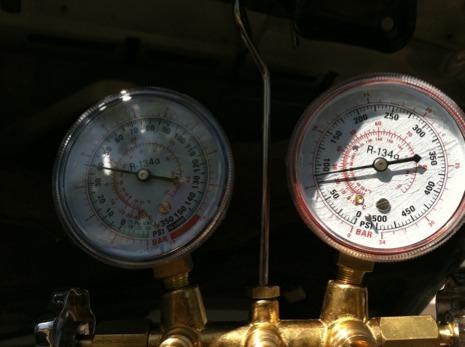
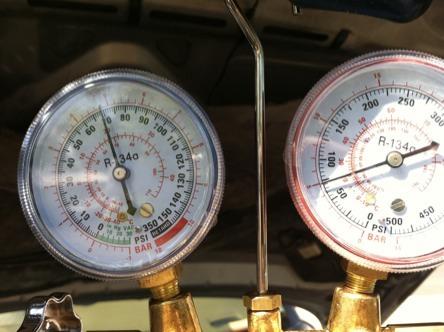
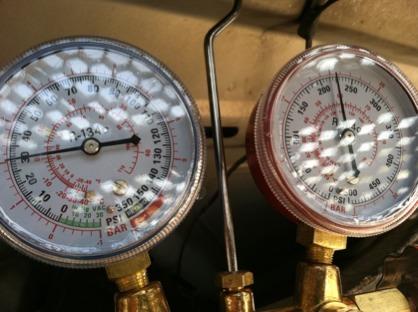
Going to be vacuuming down my ac system soon ... And then recharge ... Any hints ?? Have the gear but not done before ,... ;)