Jump to content

Welcome To Mopar1973Man.Com LLC

We are privately owned, with access to a professional Diesel Mechanic, who can provide additional support for Dodge Ram Cummins Diesel vehicles. Many detailed information is FREE and available to read. However, in order to interact directly with our Diesel Mechanic, Michael, by phone, via zoom, or as the web-based option, Subscription Plans are offered that will enable these and other features.  Go to the Subscription Page and Select a desired plan. At any time you wish to cancel the Subscription, click Subscription Page, select the 'Cancel' button, and it will be canceled. For your convenience, all subscriptions are on auto-renewal.

Posted

Spring has sprung here in Minnesota, so in a few weeks I'll be able to haul my '94 to the shed to get working on it.  I posted WAY back when I first found this forum on my build plans.  I'll start here again to bring everyone back up to speed.   


First off, is this the right part of the forum to post a "build" thread?  If not please direct me to the correct location.  thanks


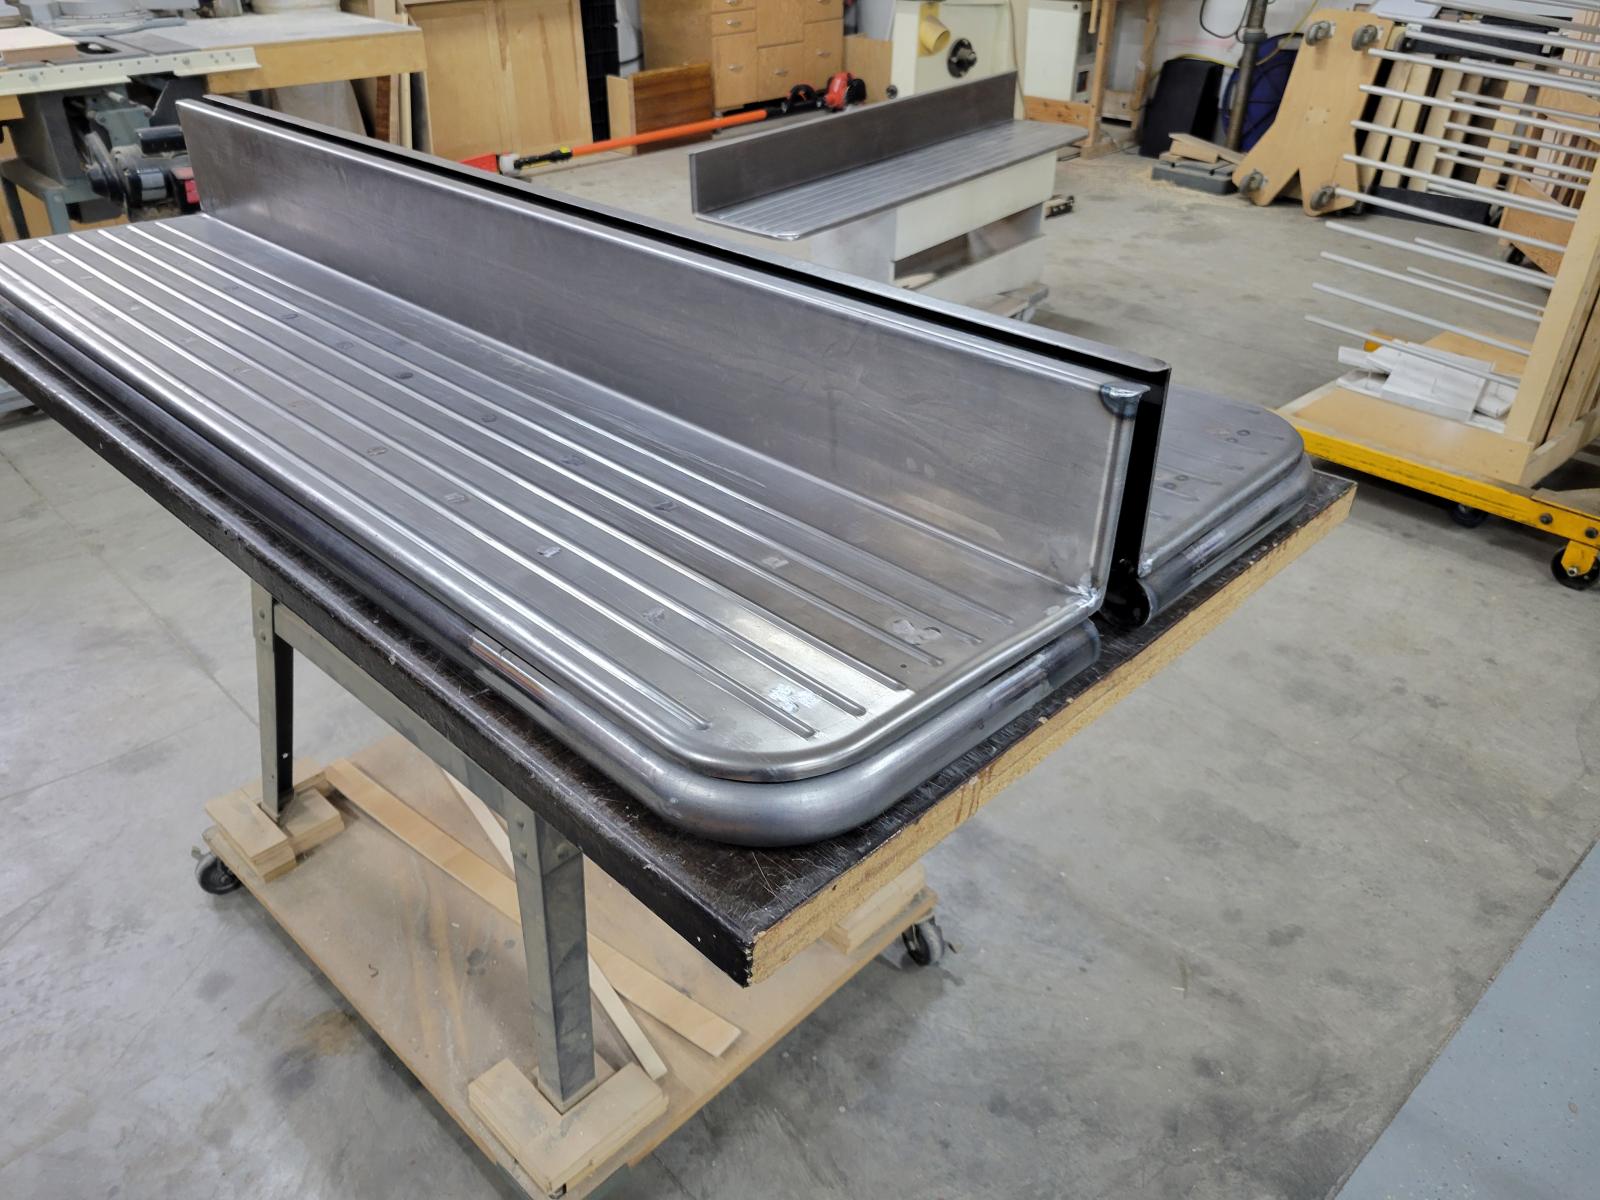
I restored a '51 Pilothouse B3D truck that was my great grandfathers truck.  I seem to have a disease now, lots of old truck parts in my house, garage and at friend's sheds.  I decided a few years back I was going to take a modern powertrain and graft on a Pilothouse cab/front clip as a daily driver.  This truck will be a stretched 3 door cab flat bed stake side hauler style truck.  I've got all the old Pilothouse cabs and doors to cut apart and re-weld up to the stretched cab.  As well as all the doors I could need to make the 3rd door and fill the space behind the passenger side door.


The '94 has a fresh rebuilt tranny and about 150K on the engine.  I've been thinking that since it will all be available to work on, going thru the engine and rear end would be a good idea right now.  Before I start to tear things off, any thoughts or suggestions would be greatly appreciated.


Plans include air ride, saddle fuel tanks, rear duals and a tip up front end like a semi for engine work.  


thanks, I look forward to keeping this thread moving over the course of the spring/summer while things start under way.

Edited by PilotHouse2500

  • Replies 545
  • Views 194.4k
  • Created
  • Last Reply

Top Posters In This Topic

Most Popular Posts

Posted Images

Featured Replies

  • Author

Put the new wiper motor in this weekend, complete with twisty mounting bracket.


315585273_508547851314160_8809226886131577382_n.jpg


313972000_508547924647486_6121578650252454889_n.jpg

Edited by PilotHouse2500

  • 3 weeks later...
  • Author

Evap unit mounted.  Sadly with the FW wart I had to move from a center location to the pass foot well.  Driver doesn't need heat anyway...right?  I'll make a duct.


317522565_520638850105060_409568396599255415_n.jpg


317340760_520638903438388_8309892750396969436_n.jpg

Edited by PilotHouse2500

happy wife happy life?   lol heat her feet first.

I'm new to following this thread but man talk about motivating. I was putting some things off on my own projects (nowhere this magnitude) and even contemplating outsourcing some work but I think I've changed my mind thanks to this! Keep going man! 

  • Staff
On 12/1/2022 at 6:09 AM, Me78569 said:

happy wife happy life?   lol heat her feet first.

Must be dang cold up there! :lol:

Edited by JAG1

  • Author
1 hour ago, JAG1 said:

Must be dang cold up there! :lol:


well, I DO live in MinneSNOWta....

  • Author

AC condenser "mostly" in....likley I will weld the Z brackets to the frame to avoid the bolt plates I had made to get it all mounted to the frame rail tho....might wait for that till the cab is off next time.


318331955_525314516304160_4668669330469573119_n.jpg


318344846_525314542970824_6146003541575232853_n.jpg


318336746_525314579637487_4551160292180302671_n.jpg


318519479_525314616304150_2136146617919167230_n.jpg


318218650_525314642970814_8523714085059372622_n.jpg

Edited by PilotHouse2500

  • Author

Fan shroud.  I'm thinking 2 pullers (16" and 14") should keep him cool enough.


319545403_528963285939283_9129171060616699569_n.jpg

  • Author

Dropped the rad/fan assy in last night.  OOOO boy is it tight!  But clearance....is clearance.  I have about 1/4" on the passenger side.  I will modify the mounts to allow me to loosen and tip the assembly forward for serpentine replacement (thank you middle of the night engineer brain).


319729590_593304055897599_7951502884656634506_n.jpg.4ce62903c0fc88cbca7f4f0b124823a4.jpg


319676676_843153040349195_8742916094017020630_n.jpg.5323557de042c29fb927d8e772da92c7.jpg


319668209_5867014690028564_830145598086845411_n.jpg.05a153f92a2ccdbd37a64c8de9ab981d.jpg


319183502_1216760332262012_4012401261587767806_n.jpg.2f477b3864ddc3310e0edee8d0c3275f.jpg

Edited by PilotHouse2500

wow close fit, but looks good!

  • Author

Last day of vacation burned, but I got the passenger side drip rail fab'd and welded in.  Being the back half fo the cab is a B1, the rail is different so I carried that thru to the front as well.  Also allows me to get some seam sealer in there when the time comes to keep the rust monsters at bay.


321077297_614026967147090_3179925397683598151_n.jpg

318183528_1500704633747481_6386596965135540655_n.jpg

Edited by PilotHouse2500

  • Author

Driver side done now as well.  Puma supervised, sadly she is pretty much deaf so the grinding dind't hurt her ears.  :(


320666655_1584902861969916_6774923544136903024_n.jpg

320444063_3056793437953316_1273480794174618355_n.jpg

  • Staff

Nice job. Going to take a bit of time to get it perfect but, looks like you your on track for it. :thumb1:

  • 2 weeks later...
  • Author

Well, as usual I didn't get as much done as I wanted, but here is the dump of the week off of work I did.  I didn't take pictures of me standing there scratching my head for a few hours each day.    Also, sadly I lost a coworker over the break, my car club buddies dad passed and I got some concerning news over a good friend.


First off, modification of the new brake booster to match the mock up of the old one to fit in the engine bay/behind the engine

321788874_649108093617352_7242877398547444162_n.jpg


319845833_1295505557684176_5830471038658548875_n.jpg


Next up was removing the old extra cab mounts I don't need and welding on the front mounts for the 4 bar linkage.

322113016_604581805002650_8667445035904971705_n.jpg


320370894_670111061461925_4101863525526952629_n.jpg


320333044_600744622060885_3325427663023233226_n.jpg


321548369_1311338203055071_7166167152944616696_n.jpg


321468174_855073859030905_4644854844634410939_n.jpg


Next we have the old and new rear suspension

322003984_928508004733488_1924147379626986377_n.jpg


320567809_738861854238261_7105036942549028219_n.jpg


323133928_715576793220897_7020489311243634292_n.jpg


322180161_839778237081194_4766662849843102814_n.jpg


Finally there is the hood wings back on with prop arms!

321245567_679795777133320_8418032075165496102_n.jpg


320930663_677426277444884_7615205115877010272_n.jpg


322011586_692239642314356_6349995825354464726_n.jpg


322017753_1848599228851007_3099202930026799264_n.jpg


Final good news is my wife is now happy with 2 new familiy members to spoil!

323619968_837093094248130_4128891617818233387_n.jpg

Edited by PilotHouse2500

as always awesome pictures.  sorry to hear about you friends

  • Author

ON AIR!  And the mods for the fabd air ride control hardware.

323445503_5862048950539111_5300599528165530395_n.jpg

321728922_1705051786563734_6202830355169423182_n.jpg

323343800_3515848765310943_4623155921202523722_n.jpg

324099979_579085827385761_312316257884007869_n.jpg

  • 3 weeks later...
  • Author

After much angst and time and thought and putting it off....the front clip finally has it's home on all the new mounting points.


323896284_5820552217990637_8745159098072947751_n.jpg

325926252_588440409764317_6880205781069851257_n.jpg

323633627_561069912365753_985521112954301894_n.jpg

323697639_1399533317522642_8386315231105499500_n.jpg

326796567_865655338040706_8756026511539033318_n.jpg

326502255_1909542952725496_7192569613999699039_n.jpg

  • Staff

@PilotHouse2500, forgive me I do not know what a front 'clip' is. Those look like some sort of pivot. Is that so the entire front opens up around the engine? Like on a big rig where the hood and fenders are all one and lift up out of the way?

Did This Forum Post Help You?

Show the author some love by liking their post!

Welcome To Mopar1973Man.Com LLC

We are privately owned, with access to a professional Diesel Mechanic, who can provide additional support for Dodge Ram Cummins Diesel vehicles. Many detailed information is FREE and available to read. However, in order to interact directly with our Diesel Mechanic, Michael, by phone, via zoom, or as the web-based option, Subscription Plans are offered that will enable these and other features.  Go to the Subscription Page and Select a desired plan. At any time you wish to cancel the Subscription, click Subscription Page, select the 'Cancel' button, and it will be canceled. For your convenience, all subscriptions are on auto-renewal.