


Mopar1973Man
Owner
-
Joined
-
Last visited
Everything posted by Mopar1973Man
-
Kind of like dropping gasoline in diesel or waste oil. Still it chemical altered but you can still measure the API gravity change. Really common for WEO and WVO running that are chemical altering fuel to meet the needs fo the season and you can still measure a chemical altered fuel with a API gravity. Hence API gravity goes up the BTU's go down. Still if you can measure API change then there a cetane difference. If there is no API gravity change then cetane didn't change.
-
Never seen this before. When you change the cetane of the fuel your basically changing the API gravity of the fuel and making it lighter. Which is going to move the vertical axis to the right as high cetane. When you look at the scale provided by ASTM labs it rather difficult to keep high BTU content at the same time of having high cetane levels. The horizontal axis is the cloud point of the fuel and how soon it will gell up. I just don't see it possible to chemically alter the cetane and BTU value high. impossible to change the API gravity of a fuel and have if both heavy and light at the same time. Just for point of reference right around 115k BTU is where super unleaded starts.
-
Someday we need to sit down and chat on the phone. I can fill your head with a ton of info on these truck and it would make your head spin on why did they do this and that.
-
Yeah, I found the MP3 file in the server and figured I'd be crazy and change from the old chime. I found the Cummins revving sound on a phone notification sound site (zedge.com) and swap it in place and worked rather well.
-
I changed the notification sound if you leave you browser going it will rev every time there is now stuff.
-
I would look at getting a good gauge with 0 to 30 psi realm and not oil pressure gauge. The accuracy isn't as good.
-
Here is the wiring diagram. Here is the article for the seat belt controller.
-
LOL. Actually, ITD (Idaho Transportation Dept.) had to put up 3 LED message boards stating to keep moving no stopping. Yes, we had tons of people out looky looing, shooting photos, and videos of the fire. The other problem is drones being flown in a fire area is ILLEGAL! 3 different people managed to stop all fire air traffic 3 different days. Then you have search and rescue being stationed roads to keep looky loo'ers out and keep people from looting homes in critical areas. You still have food trucks, fuel trucks, supply truck, man crews coming and going. The only thing they did out here is enforced a 45 MPH speed zone through the active fire area. Roads remained open. The number of people freaked out and scared to death that their homes would be lost. In the Rattlesnake fire not ONE home was lost or even damaged. Our fire dept worked longer hours than USFS till 1am to 2am protecting homes and making sure that the fire couldn't reach the homes or structures in any way. This is a major game difference to us and USFS as soon as the sun goes down USFS is GONE! We worked on through the nights protecting homes and keeping people safe and calming down people scared to even sleep. Typically our fire department was back on duty before USFS got done with breakfast at camp. We never left the scene unless we were absolutely sure the fire posed no danger to anyone! Salmon River Rural Fire Dept is the largest fire district in the state of Idaho. It happens to be the 5th largest district in the United States for land coverage. Make you think...
-
??? ??? It only seems that California has that problem. I lived through 4 big fires and continued to drive back and forth to Ontario, OR for MoparMom's dialysis. Why is it that California makes the new channel of all the idiots waiting to the last second to jump on the I5 and try to run. Stupid... Absolutely stupid...There is more than one road. Emergency planner should of been closing off areas way before all this was critical. Then you look at the fact US95 is the ONLY north to south highway in Idaho. Rattlesnake fire happened right in the middle of this only highway and never had a single traffic jam.
-
I'm going to speak against USFS. The problem I see is the USFS playing the Back Fire Bob Game. Like I found out USFS is the only agency in the world that fights fires in the daylight hours. All the other countries fight fires at night when its the quietest and laying down because of conditions. USFS will pull out at dusk and go to ICP for the night. Then after all the red tape, morning meeting, breakfast, stocking there trucks, etc. Then they travel back to the fire and go to work as the fire is becoming active again. Funny part as for being with the local fire dept for over 13 years now. It doesn't matter what time of day or night we bail right out there and fight fire. We don't take a passive stance and wait for daylight we get in and kick the fire and put it back to bed again. Even the Rattlesnake fire here was a waste. Instead of taking full advantage of backcountry road systems and natural fire breaks they let it get out of hand because it wasn't a "clean burn". So they go in and light backfires trying to clean it up. Opps... It got away and ran south to Pollock lookout. Ended up threaten more homes. Then USFS even screwed up again called out full evacuation orders for the entire canyon even though it was supposed to be only Hillman Basin Road. I touch on the backcountry road system. Here is another sore subject. Locally USFS has been gating and closing roads for years. There is a trick to this USFS gets X amount of dollars for their district to maintain roads. If they close off a road and no list that it's closed then they continue to get the full sum of monies for road maintenance. Now these roads would provide access to different areas and aid in fire suppression but of course, the road hasn't been kept up, and you can travel to make use of the road system to fight the fire. Now in regards to our own fire dept, they have created more and more rules preventing our fire dept aiding in fire fighting or working with USFS any longer. For years we were automatically hired for water supply and aid. Now there pull rules out stating you need to have a "Truck Boss" in the group to work with them. Our fire Chief has been working for YEARS attempting to meet their requirement and always hit with another rules and roadblock preventing our fire dept reaching these goals. Remember USFS is NOT a structure fire dept they WILL NOT attempt to fight a house fire. USFS will not call for structure protection of a structure till its too late. Seen this way too many times before. Yes, I know all the dirty little secrets of USFS and the wasted money they perform every year on fires.
-
I'm going to bet either off the DRBIII tool or the CCD Network tool. Hoping for the CCD network tool to have this added. 361k miles and rolling head for 362k miles quickly.
-
What is your 2k RPM timing at cruise set for?
-
Me personally, I just stopped in at my local NAPA store and picked up a set of wheel joints and went to install. Be aware that thing can be rusted pretty badly and might take a lot of beating to free them up. Like mine lasted 350k miles. One side I beat on for over 4 hours to replace. Then the driver side I could move at all. required a press to even get the bearing caps to move and when they did it was a violent explosive movement. I opted for greaseable joints. Every oil change I can just reach up there and push in new grease. I tend to drive a lot of flooded roads and lots of salt covered highways. I would rather be able to keep grease fresh and from this point on I'll just change them out every 100k miles and be done. I'm not going to repeat that stretch for longevity that just plain crazy.
-
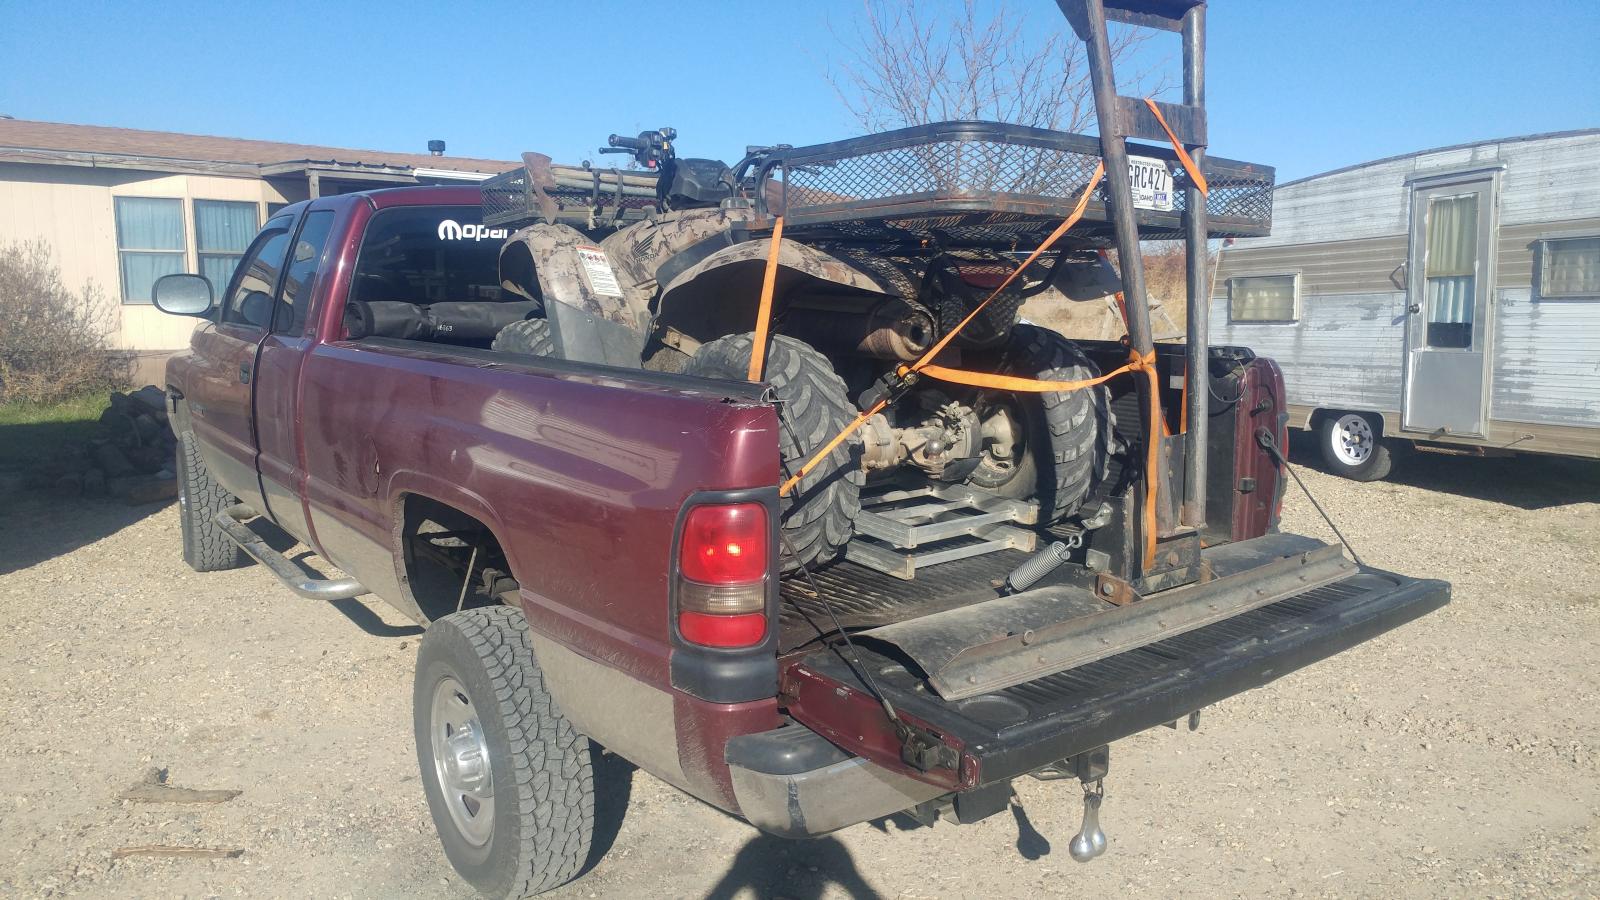
As of yesterday... I had to work for the day with the ATV plowing up all the weeds and brush between a friend in-laws trailers for him. Gary got a wonderful tractor but just too big for between the buildings so I volunteered to do the work for him. No pavement princess here its a work truck I continue to haul stuff, work with it.
-
As for jacks and usage... As for changing flat tires. Myself I've still got the factory Mitchellin tire under the back and it looks brand new. It got less than 100 miles on it. For flat tire usage, I just use the factory bottle jack being it's EXTREMELY rare for me to even have a flat tire. Now as for shop usage and jacking up the truck for service. Any old jack will work bottle jack, floor jack as long as the jack rating is above the total weight you plan on lifting. Beyond that point I do not do any service on a truck typically that is resting on a jack. I've got four 6-ton jack stands. I'll lift the truck and jack stand for safety. Then this frees the jack for other tasks possibly. It just a safety thing to me that I never work on a vehicle that is resting solely on the jack. Doesn't take much pushing and pulling you could knock it off the jack and seen it done. Even if its something quick I still put a jack stand under the truck and rest the weight on the stand and leave the jack in place lightly holding. Just less chance of getting hurt this way. As for jacks, any jack will do the job as long as its rated to lift more than your load.
-
IAT really isn't even much a factor for cold weather in the when IAT is floating the 60's degree range. Even with my thermostat at 180°F and intake temperature been fair consistent at 62°F in the morning. EGT's haven't changed really. With the cetane rising up in Idaho and winterized diesel fuel for sure in full swing now the BTU's content are at the there absolute lowest point. The ASTM Standard Specification for Diesel Fuel Oils (D-975) states, "The cetane number requirements depend on engine design, size, nature of speed and load variations, and on starting and atmospheric conditions. Increase in cetane number over values actually required does not materially improve engine performance. Accordingly, the cetane number specified should be as low as possible to ensure maximum fuel availability." Basically, cetane makes the fuel capable of igniting in colder temperature with little heat. Then the stock ECM we found out jumps +3° to +4° advancement of timing when the temperature falls below +80°F which is why the winter MPG on our truck is rather poor. Timing should slightly retard allowing the fuel to do its job properly. Now after thinking about it this is what my MPG mode of the switch does is trick the ECM to believing its 143*F in the intake. This prevented the timing advancement from occurring and promoted better MPG's with winterized fuels. Now back to the Quadzilla you going to want to retard your timing at least 1° to 2° worth. Test and watch your MPG numbers. All these years trying to keep MPG numbers up through the winter and using trickery or foolers to keep things on track. Now doing the study work to find out Mopar1973Man MPG mode will still aid in warm-up timing and keep the ECM down where it belongs. Once the Quadzilla takes over you tune should cover these changes. I highly suggest you create a "Winter Tune". Like I'm set up for 170°F warm-up mode on the Quadzilla so the MPG switch still keeps the ECM in check during this warm-up phase. The high idle feature works great in kicking in when firing up after a shortstop like breakfast in the morning. The 17.6 MPG was with 20.8° to 21° of timing at 2k RPM cruise state. The 19.6 MPG is now at 18.7° to 19.0° timing at 2k RPM cruise state. Also shifted down -1° on my MAX timing across the board.

-
I did a theme in Cummins Red but most of my staff didn't like it so I ditched it. This one is based from the Mopar blue. That is my main focus in my setup. Like myself, MoparMom life depends on my two trucks to stay running. Without the two trucks her ability to get to dialysis is at risk and her life depends on it. Thank you for the kind comments and words!
-
The batteries got ruined last fall in my RV. I stopped into the RV in Parma, ID fired up the furnace and set up the laptop on went to work. 3 hours later I packed up and left. Forgot all about the furnace being on. Of course, it ran till the propane was consumed and the blower continued to run attempting to heat without fuel. Something happened to my cord and lost city power. The blower ran to the batteries where dead. I mean ZERO volt dead. Even though now the RV is back home and plugged in the batteries charged up again I know their lifespan is ruined just like the ones in my truck. I know the next batch I'm going to 6V batteries.
-
Quadzilla can adjust timing but at idling and startup, ECM is in direct control. Quadzilla doesn't come online till past 1,000 RPM and some sort of APPS signal change. At idle the ECM is in control. The problem I'm seeing as cetane rises the ignition quality rises as well so less timing is needed with winterized diesel fuel. The summer fuel when cetane falls then the timing has to be added. On diesel, they will actually create what's known as "negative torque" which is the point the diesel fuel was ignited too early on the before TDC so as the fuel is still burning it's pulling some negative torque then as it passes over TDC then the power comes out. Typically you see a slight rise to the engine load as you continue to advance. Cetane is a bigger factor than IAT temperature. Even with morning temperature now in the 10°F realm and seeing 62°F in intake temperature then running 180°F thermostat it made a very little impact to the MPG performance and all the cold air I can stuff in this beast. 19.5 MPG last trip. On a side note. My 1996 Dodge 5.9L V8 Magnum is pulling 40° of timing at about 1,600 RPM. Requires 91 octane to keep from breaking the piston rings out of it. Yeah, I've got a Mopar Performance PCM on that little beast but it now in the high 17's MPG.
-
The fuel I've been picking up finally went to winterized diesel and the cetane really jumped in the last few tanks. Found that you have to retard timing a wee bit to gain the edge again. A lot of people consider the air temp like I did too thinking cold air will take more timing to ignite the fuel. Actually the cetane has more weight that air temperature. Even though my morning run is at about +10°F my IAT is about 62°F. I tried advancing timing found the MPG dropped hard to 17.6 MPG. Now after retarding jumped back to 19.5 MPG. This follows the same rules that the MPG of the Mopar1973Man High Idle. Just I'm programming a tune to take advantage optimal timing. Still the MPG switch helps for during your warm up mode till the Quadzilla goes into full run mode.
-
My Ranchos still dampen the bounce because the oil was still there. But... The gas was long gone.
-
I bought a 3 ton from my local hardware store. I love this thing a single pump and the Jack makes contact.
-
Upgrade to Quadzilla V2 tuning and you can control fuel way better. I've got a tune for towing I can stand on the throttle never reach 1,200F on a grade.
-
Like @Taz just replaced his front factory shocks that were shot. Then he went to a KYB Gas A Just and I liked how it rode. Still fairly firm ride but not overly bouncy ride. Being I came from Rancho shock were pretty good and served well for 200k miles. I've got to say I like @Stormin08 suggestions too.
-
Holy chit man! I'm driving the wheels off this beast trying to catch up with you an extra 100k miles ahead of me. With me driving out to Brogan, OR doing fuel solenoid on a 97 Dodge and then find out it doesn't work. So another trip with my test light to find out the solenoid is bad. So now waiting for the new solenoid and then install it for the guy. I'm still averaging 100 miles minimum per day. Max of about 350 miles per day. Saddle getting rather worn out.

