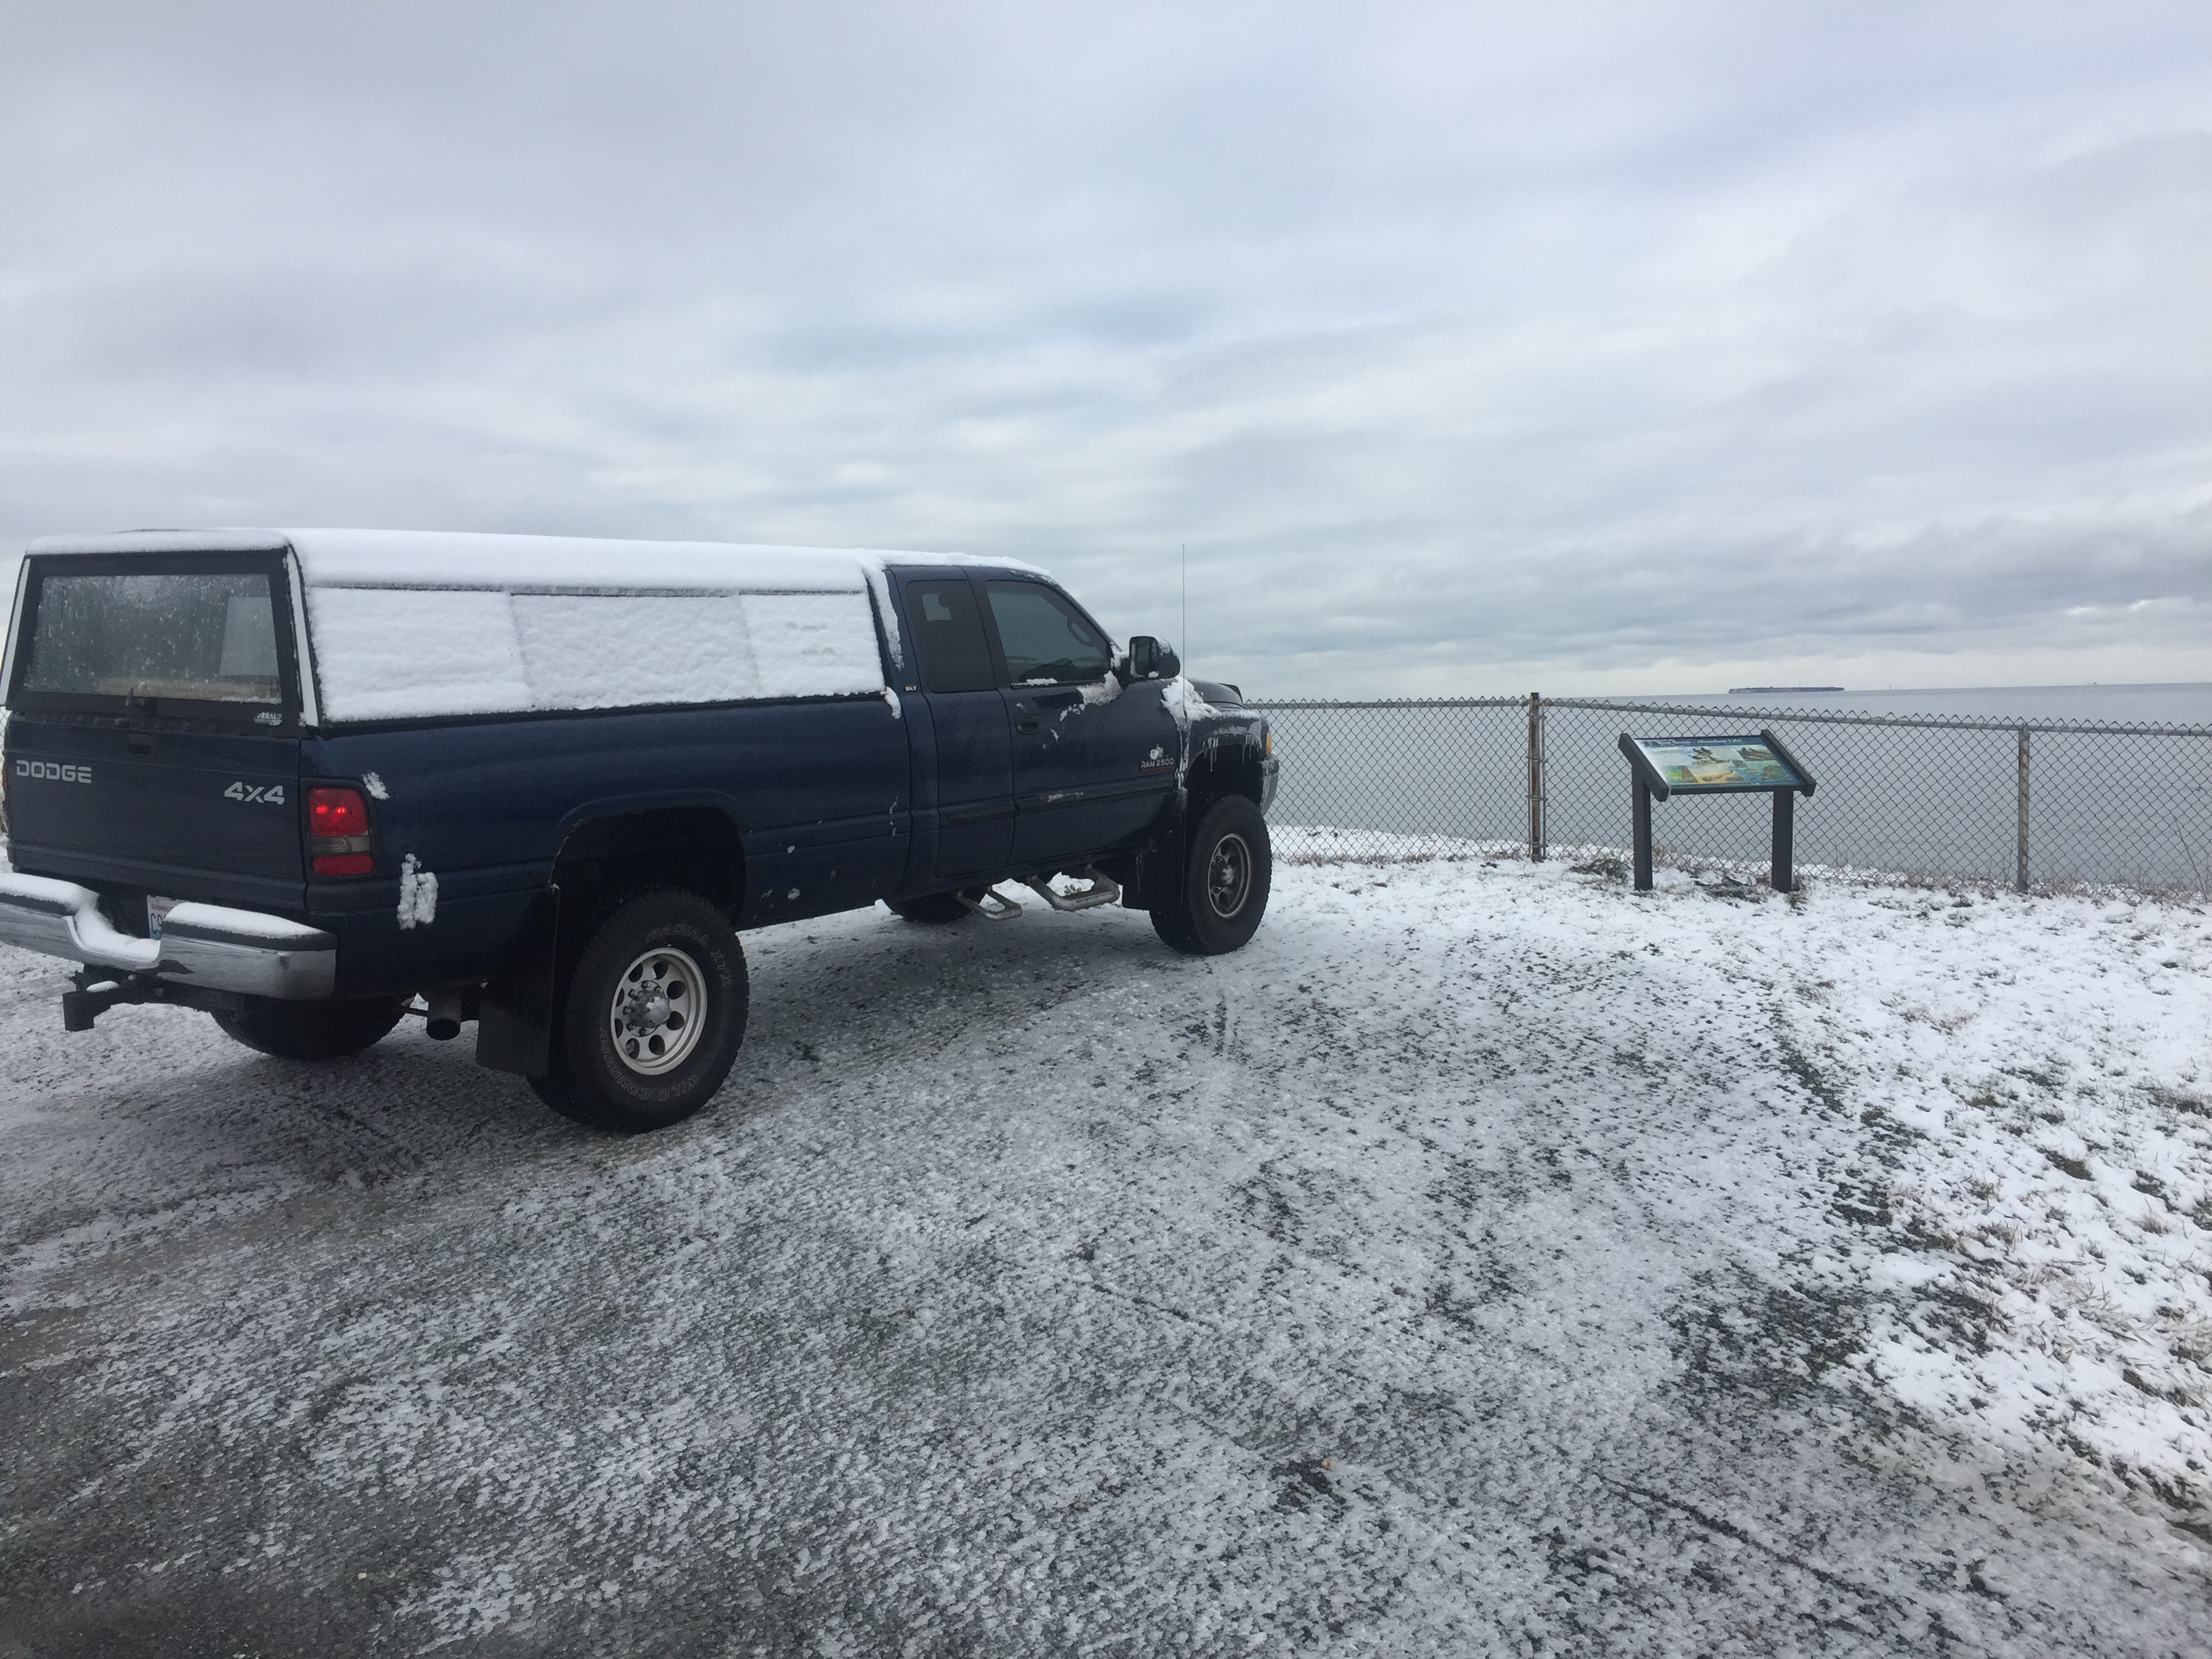
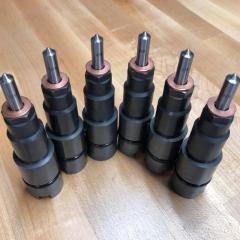
Just putting an article together to document my experience with installing my Drawstraw 5 with a retrofitted in tank lift pump already installed.
I want to emphasis that I am by no means an expert in this area, and a lot of what I have written is based on direct phone conversations with Eric @Vulcan. He's a great help and I couldn't of completed this install without his guidance.
So to start you are going to have to drop your tank. Now, having more then one person will certainly help, but it's possible to do with by yourself, as I did. It's a fairly straight forward process. BEFORE YOU DO ANYTHING ELSE, disconnect all your fuel lines, the electrical plug from the top of the fuel module and your filler and vent tubes. The fuel lines are a bit tough to get undone. They need to be pinched both on the top and bottom so some skinny needle nose pliers would help here. There's two bolts hold your tank straps down and you'll need a deep socket (15mm) and a good sized extension to get to the forward most tank strap bolt. I ran straps I use to hold the dirt bike down in the truck bed around the tank and a frame rail to help hold it up while I was still under it, and then lowered it down. You may need to loosen the bolts for the carrier bearing bracket in order to get the forward most tank strap off.
From there I drug it into my garage to keep it in a cleaner environment. Plus I like to take my time on things so leaving it out in the driveway wasn't a real option.
Use a 2x4 or equivalent to gently loosen the fuel module. Once that's completely loosened you can remove your fuel module. BE EXTRA CAREFUL WHEN REMOVING TO NOT DAMAGE YOUR FLOAT. Once removed you'll have this.
Keep in mind this is with the in tank pump that was installed by the dealership so yours could be laid out slightly different.
From here you're going to start the modification process. I started by removing the wiring from the harness at the top of the fuel module, and the connectors at the bottom. Next you clip the OEM hose down where the yellow plastic forms an 'H' shape. You should end up with a piece that looks like this.
Now you should be able to separate the bottom bucket portion from the top to make working on it a little easier. I didn't take any pics of this, but it's a fairly straight forward process, just be careful not to force things to much since this plastic can be brittle.
Now you'll have to decide how you are going to modify the top of your fuel module. If you are just going to be installing the drawstraw 5, then this process is a little more straight forward an easier. If that is the case then your best bet it to just shave out the section that the black rubber cap is in. This will leave you with a hole that you can just expand out to the appropriate size and be done from there. In my case, I was adding the 1/2in drawstraw as well as a 1/2in return line so I needed to make a little more room. Make sure you use a step drill for this to avoid cracking the brittle plastic.
***A couple things I didn't mention and should be considered. Don't cut into that lip that circles the outside of the top of the fuel module. Make sure that your two fittings are far enough apart to fit the 15/16ths bolts that need to go under to hold your fittings down.
As you can see, I miss calculated my drill center for the left hole and caught an extra bulge. The extra bulge is where you would drill your SINGLE hole if it were just the drawstraw. Well since I did that I added some JB weld for plastic.
I put a piece of duct tape underneath and rolled another piece to keep the shape as close as possible to fill the hole. Once it dried it came out pretty good.
Just use some fine grit sand paper to get it to fit nicely. This also applies to all the other modification around the top.
I had already done some fitting checks to make sure everything would work out. This is what it would look like from the top.
So all the fittings look good with the holes where they are. From here the next hurdle is the bolts and washers underneath. You will more then likely need to grind down the washers to make them fit underneath. I just used a sharpie to mark where the two washers overlapped and ground them down on a bench grinder. Mine came out like this.
From here you can install your bolts that secure the fittings down.
You can stick a screwdriver down the top of the fittings to help counteract you tightening down the bolt from underneath. That works much better then using vise grips!
Next you want to move on to the bottom of the fuel module. You will need to remove the stock in tank lift pump which is secured by the black plastic tab that was shown in previous pics. It has 3 pinch points so the way that worked for me was to get 3 small screwdrivers, shove 2 in to completely break the pump free of those tabs, hold onto those 2 and insert the 3rd screw driver in and use that one to pry it out. It sounds so much easier, even typing this out, unfortunately it wasn't as easy for me. Big thanks to Eric again for walking me through this one. The bottom of my fuel module was fairly dirty so I sprayed it out with a hose and then took the air hose too it and let it dry overnight.
Be careful not to damage or remove the small reddish plug that you'll find in the bottom. Mine could move around a bit, but I would've have to try and remove it.
You should end up with this piece once everything's cleaned up. This will not go back into the fuel module.
*************************************
You should also pop off the screen ^^^ on the very bottom of the bucket to make sure it's not clogged. ***Make sure you reinstall this piece.
Now you should drill a 1/2in hole 2-3in from the bottom of the bucket. It doesn't really matter where you put it, but Vulcan's instructions give you an area to do it so I copied that as best I could.
Now re-install the top and bottom portions of the fuel module. Your end result should look similar.
The red fitting is attached to my drawstraw 5 which is fitted into where the old lift pump was. The silver fitting is my new return line. From here you can snip the larger of the 4 wires on the connector as they no longer has a spot to be plugged in. They're the black and yellow wires. LEAVE THE BLUE WIRES ALONE. I also decided to plug the OEM supply hose since it would no longer be needed. This is what my final product looked like.
Make sure your wiring harness is plugged in!!
This is the way I came up with a way to plug the old supply line so nothing can sneak down in there and get dirt in your tank. I found a rubber screw cap and filled it with jb weld and slid it over the return line like this.
Once that's done you should be good to put your module back in the tank and put the tank back in the truck!
An extra note here, if you had to loosen the carrier bearing bracket bolts, you might want to grind down the forward most tank strap to help avoid that if you ever need to drop the tank again. This is how mine turned out.
I probably still could've ground down the sides a little more because I still needed to use a small pry-bar to get the holes lined up but it worked for me.
Hope this helps, if you have questions feel free to ask and I'll do my best to help out.


