The_Hammer
Unpaid Member
-
Joined
-
Last visited
Everything posted by The_Hammer
-
@JAG1 My steering was pretty well wore out and needed to be replaced. The "T" steering conversion was about the same cost as the crappy "Y" so it was literally a no brainer. There are a lot of issues with newer vehicles these days. Take the active fuel management garbage on the GM 5.3 trucks like my wife has. Christmas before last an AFM lifter collapsed and started bouncing around off the camshaft. These lifters will compress in on themselves when in 4 cylinder mode and stay locked in V8 mode. The problem is that sometimes they hang up and have to be replaced. To get to a lifter on these trucks (this one is an 09') requires the cylinder head to be removed. After replacing the lifter all was well for 6 months when it started again. I did some research and found an device that plugged in to the diagnostic port and would disable the AFM. An AFM lifter in it's static state is a solid lifter and requires oil pressure to move a spring loaded pin for it to be able to compress. If the AFM is disabled the PCM will no longer activate the solenoids that direct oil pressure to the lifters and releasing the pins. It's been over 6 months now and all is well. I talked to a couple of shops just for grins and no one would have touched it for under $2k. So, had I not done it myself both times it would have cost $4k. Newer trucks aren't all they're cracked up to be sometimes. @dripley My truck didn't drive this good when the stock steering was still nice and tight. Since your current steeering is still good I wouldn't rush out and replace it, but when the time comes I damn sure would install the T over the Y. @Mopar1973Man No. Why would I need to?
-
Got the new steering on, man what a difference that made! I'm not running a steering dampener at the moment and honestly I don't think it needs one. It drives like a completely different truck now, all wandering is gone and there is zero bump steer. It was a complete bolt on affair, no modifications needed. I'll be working on a writeup shortly (already have part of it done) and will submit it for review as soon as it's finished. For around $315 shipped it's the best thing you can do to improve your steering.
-
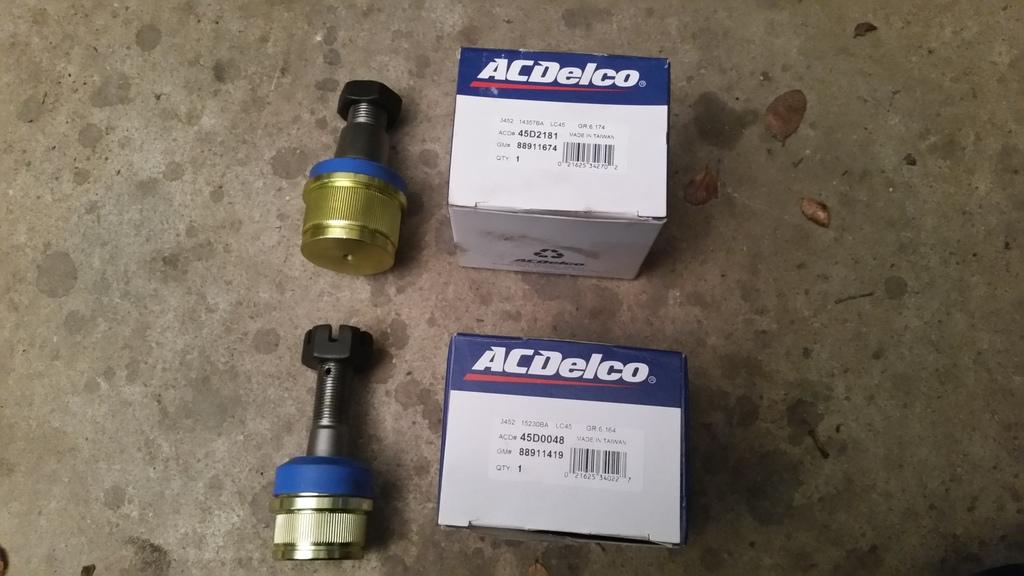
I ordered these from RockAuto, they are in fact relabeled Raybestos Professional joints. The boxes are labeled "Made in Taiwan" but the joints seem to be high quality and don't have that typical "cheap" feel to them. They are TIGHT, I couldn't move them with my bare hands whatsoever. They are also greasable, though there isn't enough room to leave a zerk in the top joint due to it contacting the axle u-joint. My main concern was with the knurling, which I knew they had when I purchased them. I decided to mic the old smooth body joints and compare them to the new ones, the results are listed below. Old Upper: 1.748” New Upper: 1.748" Old Lower: 1.974" New Lower: 1.975" So, with these joints at least, the knurling won't enlarge the bore diameter and limit you to only using knurled joints. I've read good things about the Raybestos Pro joints, time will tell how they hold up but so far I'm happy with the quality. Below are the RockAuto part numbers and prices. Upper #45D0048 - $32.89 Lower #45D2181 - $50.79 The same joints can be at found at NAPA and rebranded as NAPA parts. Upper #NCP 2601248 - $56.49 Lower #NCP 2601395 - $86.49
-
The AC Delco Professional ball joints are relabeled Raybestos Professional joints and are what I just installed on my truck. I'll post some more information shortly.
-
@Wild and Free I was a heavy equipment mechanic for years until I started getting burnt out on pulling wrenches. I lost all interest in working on my own stuff so I completely understand where your coming. When I got off work the last thing I wanted to see was a wrench lol.
-
It depends on what you want, how mechanically inclined you are, and if you enjoy wrenching on your truck. I've done a LOT of work to my truck and while there were times I wanted to pull my hair out I still enjoyed it. Here's what I've done so far: New tires and rims (truck had 16.5's on it) Fully built transmission New billet triple disk converter Two new batteries Replaced timing cover seal Replaced tappet cover gasket Set pump timing New belt tensioner New unit bearing New front brakes New rear brake drums, shoes, and upgraded wheel cylinders New lift pump Had the injectors cleaned, pop tested, and shimmed New headlight switch New headlight bulbs New wastegate actuator New heater and evaporator core New DOR adjustable track bar New Bilstein 5100 shocks I'm currently in the middle of replacing the ball joints on the passenger side and upgrading the steering. I'm recovering my head liner whenever it warms up and dries out a bit. Next on the list are new sway bar end links and a dash. I'm also building a shackle reversal for the rear and new set of extended control arms for the front. Down the road will be bigger injectors and turbo. Keep in mind that my truck has 300k miles on it and the previous owners didn't have the slightest idea what maintenance was. Right now I have a little over $8k in to the truck including the trans, tires, and rims. Regular maintenance parts haven't been bad, it's the upgrades that really hurt the pocket book. All said and done I'll have about $20k in this truck after paint. A lot of that will be uupgraded parts like the trans, injectors, turbo, head studs, ect. All in all I'll end up with a nice looking rig that makes lots of power and will be built by myself. Bottom line is that general maintenance doesn't cost too much if your able to do it yourself. Having to pay someone else to do these things will drastically increases the cost of ownership. If you enjoy working on your truck then keep it. If the thought of tackling these things yourself makes you cringe, sell it.
-
Finally got my new ball joints installed on the knuckle, what a SOB that turned out to be. First the 1 11/16" nut was stuck something fierce but finally broke free after using a 3/4" breaker bar and a jack. Then the only place that had a press and adapters in stock was O'reilly. Well, the adapters weren't long enough to fully press out the lower ball joint so I had to cut the shaft off with a cutoff wheel so the adapter wouldn't bottom out. Then, the bottom cup of the press was too small to allow the new lower ball joint to fully seat. After cutting down a piece of sch 80 pvc pipe and using one of my AR500 armor plates I finally got it pressed in. The top joint was easy as pie, pressed out the old one and pressed in the new one. Tomorrow I'm replacing the passenger side axle seal, bolting the knuckle back on, then installing the new steering.
-
What year truck? Would you happen to know the BOM number?
-
FedEx brought the rest of my parts earlier. Seems Raybestos/AC Delco Pro parts are manufactured in a variety of locations. USA, Canada, and Taiwan. Honestly I can tell the difference between l them. The ball joints are made in Taiwan but are VERY tight. I just picked up a ball joint press and adapters from O'riely auto parts along with an axle seal from NAPA. I'll be getting this party started soon!
-
It's cloudy, raining, and 44° today, perfect conditions to replace ball joints under the carport lol.
-
No problem. I'm starting the write up on my HD steering upgrade tonight. Would you mind if I sent you a sample of it for critiquing?
-
Didn't know I could do that. I'll head over there right now ETA: Done, awaiting approval.
-
It took me a couple of hours but I finally found an exploded parts diagram of the Dana 60/248 Front Disconnect axles found in the 94-98.5 2500/3500 trucks. Dana_Dodge60_2.pdf
-
It's 46°, cloudy, with some drizzle here today. We'll be heading to the in-laws here in a bit to roast some hotdogs and relax. Tomorrow I should have my new steering parts in as well as the new ball joints. I'm also replacing a leaking inner axle seal while it's apart.
-
Happy New Year!
-
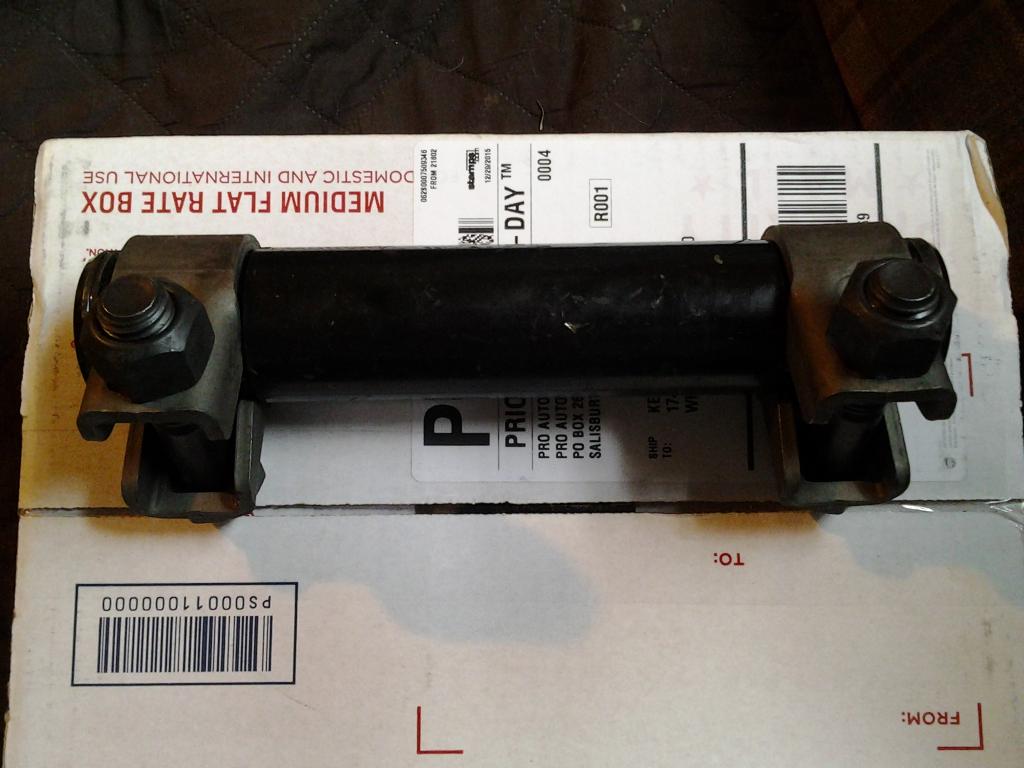
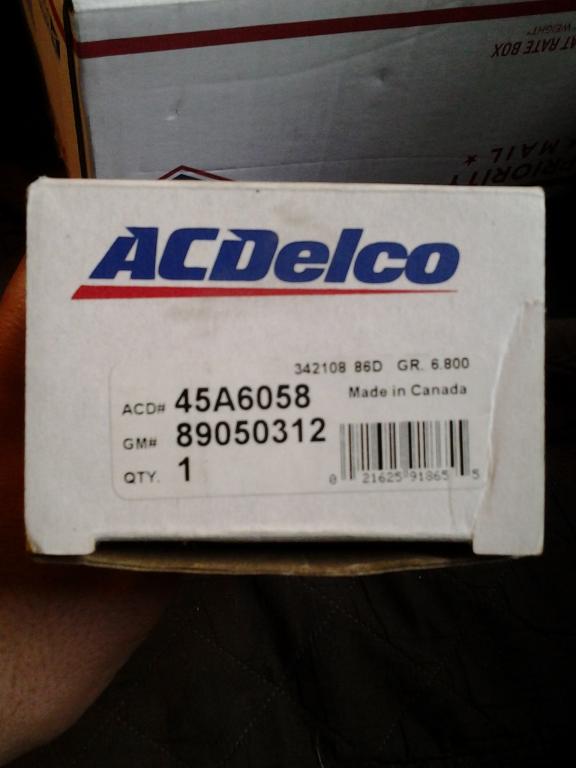
Just got the adjuster sleeve that I ordered from Amazon, it was the one part RockAuto didn't have. The seller is Pro Autoparts World located in Salisbury MD. I placed the order Monday evening, it shipped Tuesday morning, and received it today . As you can see the box says "Made in Canada". I'll see what all the boxes are labeled from RockAuto on Saturday.
-
I hope it all works out. Taking a chance on a shop you've never used before is always unnerving.
-
No problem. NAPA carries Raybestos Professional under their own name for roughly 50% more than Amazon or RockAuto. CarQuest also carries Raybestos Professional but they are just as high as NAPA. I could have bought my Raybestos Professional steering conversion parts from the CarQuest here in town for almost $600. I paid $315 shipped for the exact same parts through RockAuto instead. I'm all for supporting my local businesses when I can but I'm not paying double to do it. I've heard of people having issues with shock warehouse. I was going to get my 5100's from them but ended up going with Streetside Auto since they had good reviews and the best price.
-
Are these it? http://www.amazon.com/Raybestos-500-1117-Professional-Grade-Suspension/dp/B001QVA6TW/ref=au_as_r?_encoding=UTF8&Make=Dodge|40&Model=Ram 2500|2780&Year=2004|2004&ie=UTF8&n=15684181&newVehicle=1&s=automotive&vehicleId=3&vehicleType=automotive http://www.amazon.com/Raybestos-505-1311-Professional-Grade-Suspension/dp/B001QVBUYW/ref=sr_1_2?s=automotive&ie=UTF8&qid=1451503540&sr=1-2&keywords=500-1117 Here's the same thing but under the AC Delco Pro name. http://www.rockauto.com/catalog/raframecatalog.php?catalog=345&partnum=45D0117&a=www.google.com%2BSearch%2Bfor%2BACDELCO%2B45D0117&blanktemplate=true http://www.rockauto.com/catalog/raframecatalog.php?catalog=345&partnum=45D2311&a=www.google.com%2BSearch%2Bfor%2BACDELCO%2B45D2311&blanktemplate=true
-
How many miles are on your truck? I'm sitting at 300k right now.
-
Yeah the grill guard on mine can be a pita too.
-
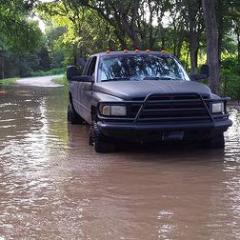
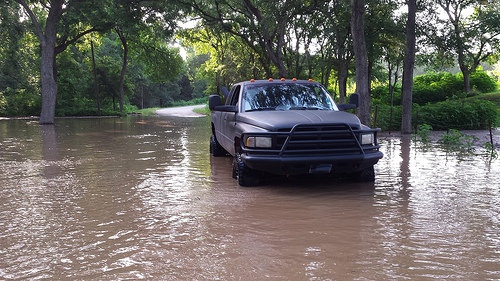
I'm surprised my truck would even stay on the road with everything that was wore out lol. Track bar was shot and my body would move around over the axle like yours, shocks were completely trashed, have a ball joint out, swaybar end links are shot, and every ball joint on the tie rod and drag link have play. All that will be left after I get this shipment of parts in will be the swaybar end links.
-
That's pretty slick man! I'm going to try that after I get the new tie rod and drag link on. I'm always open to new and better ways of geting the job done. Something I've always said is that the day you think you know it all is the day you have truly become a fool.
-
I've never made a how-to video before, sounds like it could be fun. It's sounds like a lot of work but it actually only takes about 10 minutes to get your measurements. I thought you posted a video showing how you do an alignment but I can't remember where I saw it. Would you mind posting a link?
-
This is how my dad taught me to do it. Jack the vehicle up making certain that it's level. Find the middle of the tire and make a mark. Using a piece of chalk or greese stick hold it to the mark you just made while slowly spinning the tire until you have a line around the entire circumference. Roughly find the center of the tire and make a small horizontal mark across the middle mark on both the front and back of the tire. Repeat the process on the other tire with one exception, your going to copy the center measurements of the first tire and use it on the second. You want both tires to have equal center marks, it doesn't matter if they aren't exactly the center of the tires just so long as they are both the same. Say for example you measured 15" as the center of one of the tires. Your going to use that 15" measurement on BOTH tires so that they are both marked in the same place. Measure the distance between the tires on the front side using the middle mark. Make sure the tape is level by using the horizontal center marks. Repeat on the back side. Compare both measurements. Example 1: Say the front measurement was 70" and the back measurement was 69.50". This indicates that the tires are toed outward. To correct your going to shorten the tie rod adjustment 1/4" and measure again. You should now have 69.75" on both the front and back of the tires. Example 2: If the front measurement was 69.50" and the rear measurement was 70" this would indicate the tires are toed in. To correct your going to lengthen the tie rod adjustment 1/4" and measure again. You should now have 69.75" on both the front and back of the tires. Remember that whatever the difference is between measurements your going to half it, then either lengthen or shorten the tie tod that amount.