Everything posted by mr.mindless
-
Head Bolts "N" Studs
I'm but a minor datatpoint but I retorqued my 110-130k stock bolts on my 24v to 130# and the felt "right." Better than the 12v stockers did going back in for use #2 did to stock 90#+90* I think it was. I'm boosting to 40is now with static timing around 17* (18.5-19 minus popoff pressure retard) and no issues yet pulling heavy. I'm nervous about it, and I get warm with a 3" exhaust and hx35, but so far so good. I plan to retorque to 130 every 20k along with valve lash adjustments and go until something feels stretched. I have spare 12v stock bolts to throw in while I wait for an ARP order in that case :)BTW - I'm a tow rig. 20-24k gross usually.
-
Damm Dodge Diverter door!
And just to clarify this fix is for the temperature not for vent selection? It feels like I might e reading about two things here. I ask since my temperature selection has always had a tight range of adjustment as described by the OP, and yesterday it stuck itself at full hot.
-
Backup lights
I came home from work the other day to my truck in the driveway with the backup lights on.I unplugged my trailer - no short there, they stayed on. I played with my override switch and my shifter, they didn't turn off.I pull the backup light fuse and they stayed on.It seems that the hot side must be shorted to voltage somewhere after the switch on the trans. Anyone have any ideas on common bad splices or pinch points? I've got no guesses on likely areas myself, thought I'd throw it out there and see if this was any sort of "common problem" that I'd just never stumbled across.
-
Pulling Eng.
I'm sure you're all set now JL, but just for the sake of future searching, the 24v is a little taller than the 12v. I'd say about 1". 3/4 of that is in the head, the rest is a slightly taller valve cover.I cheated my 12v out oil pan and all, it was nearly impossible and I had to do all sorts of massaging of the cowl to do it.I put the 24v in panless, and it was pretty easy to then get the oil pickup and pan mounted up. Well, easy relative to lifting the cab or massaging the cowl an extra inch, at any rate....
-
Prist
I'm surprised you guys have to look so hard for kerosine. Seems like every other rural fuel station here has it. More common than diesel fuel! And usually about the same price here ($3.50ish now)On the other hand, I've never seen #1 diesel for sale.I don't worry about gelling here, it never gets cold enough to worry. -5 or -10 is the absolute coldest and that's very rare. When I go home to MN if it's going to get cold, I run Howe's diesel treat. Have never had an issue.
-
Howdy from western NY
Got this sweet nasty beast dismantled in a little over 3 hours.The bad teeth on the ring gear were stripped by a shot starter. Bushing/ bearing on the snout of the bendix was gone and slop ensued. DB Electrical will get a call Monday, along with the clutch's & flywheel's visit to Rochestr Clutch & Brake. Going to see if I can get a little more holding power without breaking the bank while they take care of the bad ring gear.I think I'll see if I can find a starter locally so I have someone to beat about the head and shoulders with it if it fails miserably in 10,000 miles again.
-
Howdy from western NY
SAE #2 14" - stock on something with a B series, but sure not a Ram!
-
Howdy from western NY
an update on "it hates me." broke a couple teeth on the flywheel ring gear. time to pull the trans again! at least it stranded me in my driveway, after another flawless Virginia turnaround. It clearly hates me, but not that much
-
Custom Quad Headlights w/ HID Bi-xenon Projectors
Sorry to hear of your troubles. Subscribing for future updates. I have a floppy light now and found this thread looking for sport light swap info. I've got bulbs and sockets, just need housings and brackets. I was thinking they'd be a good housing candidate for a projector swap later since they have a clear lens already.Good luck, I'll be paying attention!
-
HX35 wastegate control - overboosting issue
the gauge doesn't peg until 5-7psi past the 35 mark, and it'll peg hard if I let it. It's not 36, it's 40+ without a doubt. And even if it was only 36 that's 3-5 more than I want :)No boost elbow - I have a 1/4" NPT to 5/16 inverted flare screwed into my intake, running 5/16 brake line right to the WG controller. No restriction or bleed off. And no change from when I had a different hunk of 1/4" brake line making that same run - it's all been removed, inspected, and reinstalled. Twice now since it was just off doing my injection line swap.I'll get some shop air on it next week and see if something went haywire with the WG control. Making a trip to VA tomorrow.... I'll be home Sunday and caring much more about my broken cruise :banghead:
-
Chevy/Cummins with a 10 speed
that's all in the thread linked in my sig. ratios, fitting, etc etc I should merge that and my 24v swap into a build thread on my '97 here sometime... maybe when I'm not terribly busy hauling stuff around myself
-
HX35 wastegate control - overboosting issue
Before I mucked around under the hood, I used to get 33psi with my 12v reliably and repeatably. Never spiked, never buried the gauge as long as the boost line was hooked up to the wastegate control. I've now swapped in a P-pumped 24v and I'm overboosting at and near WOT when under load. I only have a 35psi gauge and it'll pin it - probably getting to 45+psi. Stock gasket and retorqued stock bolts to 130# with roughly 17˚ effective timing; I can't boost that far safely. I'd like to be back to 30ish psi peak boost. I'm still giving manifold pressure to the wastegate, and I actually just stepped up line size from 1/4" to 5/16" but it didn't make a difference. What I changed: - nothing at all on the turbo side. same turbo, same wastegate actuator, nothing dropped nothing adjusted nothing intentionally tweaked... - the boost line is now about 2' longer since it needs to run around the one piece valve cover instead of between #3 and #4. - manifold pressure source and routing changed. before: 1/8" NPT port in head to boost gauge 1/8" NPT port in head to tee, unrestricted to 1/4" line to wastegate; restricted port to AFC now: 1/4" NPT port in intake horn to 5/16" line to wastegate 1/8" NPT port in intake horn to tee, unrestricted to boost gauge and to AFC One other difference is I have lost smoke - it used to smoke badly off the line until 1300-1400, and now it does not at all, but timing is at least a little different now.... I didn't open the AFC during the swap so star wheel, idle screw and fuel plate (#100 home ground) settings should all match. Only difference should be 1-2˚_timing. It now acts exactly as it should with a well tuned AFC: no smoke off the line, and it doesn't start to overfuel until about 2500rpm and WOT. I think I actually need to move my fuel plate back a little as it'll get hot up there, but I need to get the overboost taken care of before I can tune the top end. How can I restrict my boost?
-
Howdy from western NY
oversize tires and an Atlas skid plate took care of my concerns. Metalnerd used to make 1, 1.5 and 2" lift kits - I bet he still does. You could just make something to space down the upper strut mounts too. The rear is easy with some spacers on the springs and longer shocks.
-
boost?
so about that wastegate control....I used to get 33psi with my 12v.I only have a 35psi gauge and I can bury it now with the 24v. I'm still giving manifold pressure to the wastegate, and I actually just stepped up line size from 1/4" to 5/16" but it didn't make a difference.There was a small orifice fitting in the stock boost line configuration but I was pretty sure that was on the line to the AFC. That's gone and my fueling is spot on.Any clues? Maybe I should start a new thread but it seemed to fit here.
-
Chevy/Cummins with a 10 speed
Took me about 6 days from start to test drive to get my 13sp in, and 2 more days to make the doghouse and get it sealed up.it just bolts in, what's the big deal?
-
Howdy from western NY
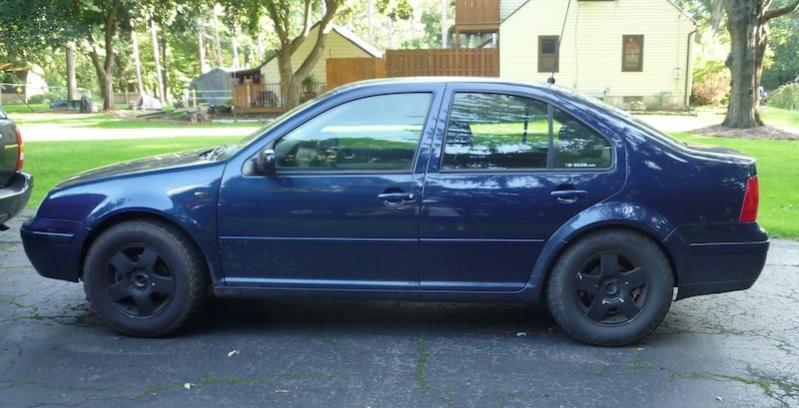
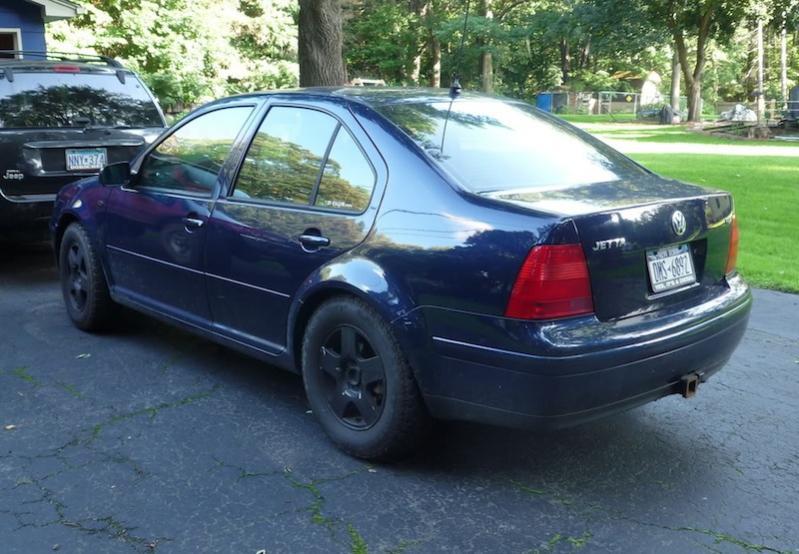
Volkswagen - I just cut the ball joint end off and welded a bushing tube to it, and welded a couple tabs to the frame.The first time I did it, I screwed up and the bolt hit the diff under full compression. I had to take it apart, cut off the back tab, narrow the bushing 3/8" or so and weld a new rear tab on.What's with the screen name? I traded an '02 TDI Jetta even up for this Cummins a bit over a year ago. I miss that car....it had all sorts of goodies aside from the obvious 27" General Grabber ATs. hitch, CB, nozzles, chip, traction control, short shift, big rear swaybar...
-
Howdy from western NY
what was your wheeling rig out there?
-
What's with my cruise control?
Thanks!
-
Howdy from western NY
I don't know a damn thing, I just fake it well actually - I DO know one thing. those O rings on the delivery valve holders? not just to keep dust out Day I picked it up; day before the front brake hard crossover line blew and I gently rearended a CRV - Dakota still in tow 225/70r19.5s on bread van wheels with the centers bored to 4.77" Love them to pieces. close to 20k on them now, well over 50% tread. Expecting an easy 70k from them. little squirmy for the first 1000 miles or so but worth it. 15% tint on all 4 side windows and 5% on the back untinted glass. 15+factory is a perfect match to the 5. I've got a guy who beats the pick 2 rule: he's good fast and cheap. I decided to go bold and redo it at 25 and 15 if I wasn't happy. I kept it. Did all 5 windows for $125 - if you're nearby I'd be happy to send you his way. and some bed corner rearanging thanks to a bad hill, bad spotting, and my gooseneck picked up a little (used '02 36' 14k rated, 19.5s on it as well) trailer to match the little truck. usually it's recreational towing to rock crawling but I do side work as well for a friend who runs an auto parts store fleet. loads like this MAY have contributed to the NV4500's repeated demise. This might be the heaviest I've ever been, I didn't scale. 13sp. it fits. I <3 it. build thread Borrowed my buddy's common rail. I'd intended to just borrow his little trailer that my truck is on for an errand I was running for him, but my 12v block had other ideas at 268,000 miles. I thought it was a head gasket, so I wasted the effort of changing it before coming to this point. on the left, crusty rusty rotten CHEAP 2001 ISB205 schoolbus motor. supposedly 110-130,000 on it, "drove to the crash". It was a gamble! On the right, a sure thing: 1997 B5.9 (215) paperweight from my truck lots of teardown and cleanup - just a few progress shots. I did no build thread on the swap but took enough photos I probably could. that about does it for the dually. I've got a Banks Brake to put on it and need to build a 4" exhaust to match that. A fuel line broke today and that needs to be replaced, and I can't seem to park my trailer in the winter without getting stuck since I did the 13sp. Something about not putting a transfer case back in I've got a divorced 205, but it needs 1410 yokes, needs to be gone through, and I've done nothing yet for mounts under the truck, and then of course there's the shaft work. I'm also planning to put Ford outers on the front 60 when I loose a unit bearing or ball joint or brakes, etc - but all of the above were fresh about 50k ago. Though that track bar has already gone bad. I welded a bushing to it, no more ball joint end and no more on that. I did find a temporary trailer parking solution though. usually that's here instead and finally, if you're wondering about the 571 decals, 571 is this. I codrive. It's an Ultra4 class car, built for King of the Hammers type racing. We run at Rausch Creek in Tremont, PA and are planning on running some of the Line Mountain races this coming season. http://ultra4racing.com/ too many pics?
-
What's with my cruise control?
I'll try the percussive maintenance routine. I haven't sworn at it or threatened its family yet either. Then there's the great fallback of take it apart and put it back together.I see there's some wiring diagrams for my truck posted, maybe I'll just have to pony up a couple bucks and rush along that trial period thing.
-
Howdy from western NY
stupid question: I assume I can't edit my account details (avatar, sig specifically) until I graduate from being a limited member? --- Update to the previous post... nevermind - found it
-
Howdy from western NY
I've got a cute little bone stock '97 dually, thought I'd stop in and say hi. :lol:Bought it last november with a fresh head gasket and 242k on the clock. Never got the cooling system clean and it would still make coolant once in a while (oil to coolant, never the other way around). 5 speed NV4500 with a "fixed" nut failed a week later.put in a rebuild NV4500 and dual disk south bend... that lasted 18,000 miles - broke teeth on 5th. input shaft was slightly twisted.Spent a week putting an Eaton RTOO9513 in it. The .68 top gear is like swapping my 4.10s for 3.55s, I love it. Lost my transfer case though of course. I've got a divorced NP205 to put in but it needs a rebuild and bigger yokes, etc...which brings me to Haloween time this year and the block cracking. Scored a complete 24v from a school bus for $440. Swapped over my P-pump junk and it's back up and running. Took about a month. I do crazy projects, what can I say?
-
What's with my cruise control?
Does anyone know a bench test procedure for the cruise module? I think my '97 controls are different than all 24v (94-97 have the buttons across the bottom of the wheel with no 'cancel', 98-up 2nd gens have the buttons on each side and no indicator light...) but the cruise module looks the same. It's not listed on RockAuto so I can't easily check applications.My cruise just started acting up on a long trip Friday night. The first symptom was that when I tapped the brakes, the cruise indicator light would go out and stay out - if I recall, the light shouldn't go out at all. Then the on/off button no longer did anything - it wouldn't turn back on. It would come back and work fine again after a key cycle, but if it was on and I hit the brakes it wouldn't come back. My brake lights work correctly.Then it finally failed. The indicator light still behaves the same way, but it won't do anything no matter how much I play with the buttons. vacuum line is connected.I have a broken fuel line to repair first, and a diesel soaked engine bay to wash up, but wondered if anyone knew the pinout on that connector. I fear an ECU issue, hoping it's just the cruise module though.


