Jump to content
Posted
  • Staff

How does everyone feel about our future...... I feel a large degree of uncertainty, how about you?


BTW, hijacking on this thread is not only allowed, it's also welcomed. :stirthepot:          I notice a lot less postings lately, wonder what's going on with everyone.

Edited by JAG1

  • Replies 67
  • Views 6.5k
  • Created
  • Last Reply

Top Posters In This Topic

Most Popular Posts

  • Doubletrouble
    Doubletrouble

    I'll be returning to work Monday night. Been off since November 22nd. It's been a while. I'm both looking forward to it but at the same time I'm not. It doesn't help that we are expecting snow that da

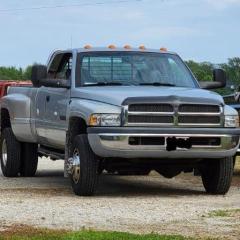
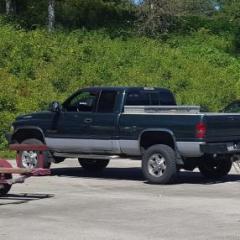
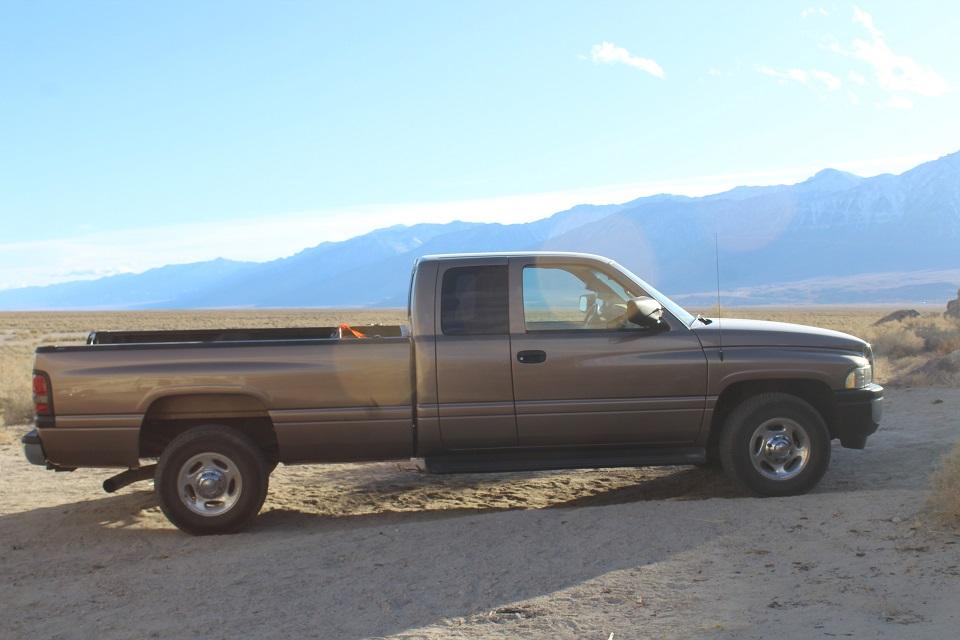
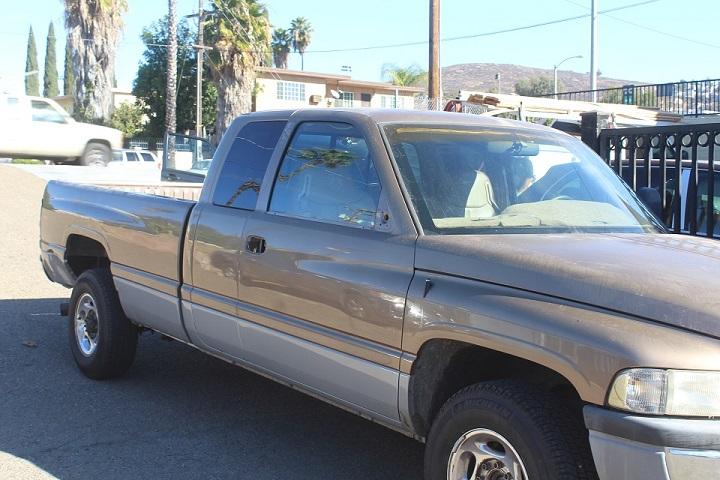
  • Here is before body work and paint with the damage to the right rear quarter panel      This picture shows the bad clear coat and paint on the hood and roof.     

Posted Images

Featured Replies

  • Staff
  • Popular Post
2 hours ago, JAG1 said:

Does anyone know where @IBMobilenew paint job pictures are?

Here is before body work and paint with the damage to the right rear quarter panel 

IMG_7254.JPG.eb80bb434ca61be82ea5a4e62a04cc58.JPG


This picture shows the bad clear coat and paint on the hood and roof. 

IMG_7261.JPG.9621a1df246bc0ddc5d64d1c8ceb6222.JPG


I took the grill, badges, moldings, trim, weather striping, seals, antenna, mirrors, running boards, 5th wheel mounting, bed liner, tail lights, all door panels, door and tail gate handles off before the body shop took it in.  The body shop took the hood and bed off the truck, repaired every dent, ding, and scratch.  Before painting they removed the windshield, rear window, and rear side windows, Then painted separately the cab and fenders, the hood, the bed and tailgate.  When they finished a new windshield was installed.


When I got it home I installed a new LMC dash cover, grill and stereo amp.   All the black trim was treated with Cerakote ceramic coating and the running boards, antenna, and wiper arms were painted with SEM 39143 trim black.

This is cover three months later

IMG_7322.JPG.e35cb279881daa2bfe3d0d04cd21c9db.JPG


IMG_7325.JPG.357c06a45e37c975069903bbf22aca74.JPG


IMG_7327.JPG.8d63bc8ddd4e9fb37a2459b96f001bdf.JPG


  • Author
  • Staff

Hey that 12 inch bubble that was on the RV roof after I put new roof on, it is gone. I vowed never to tell you about it being your a short guy and can't see up there anyhow. :whistle2:


Truck is beautiful, especially the pic sitting in the sunlight. :thumb1:

Edited by JAG1

  • Staff
1 minute ago, JAG1 said:

I vowed never to tell you about it

Looks like you broke your vow not to tell me.  By the way, those two pebbles you left are still there. 

  • Author
  • Staff

That's my signature on it, ya know......:punish:


What do you expect from 'Flintstone RV Repair' on Pebble Road. :lol:


Oh it's so nice BTW, to have A/C last summer. I found every excuse in the book to go get stuff all summer long. :)

Edited by JAG1

  • Author
  • Staff
27 minutes ago, Royal Squire said:

Had hoped to see some photos of the RV roof replacement. @IBMobilethe truck looks great. 

It came out good and the two little pebbles he is talking about came off my shoes. It got sticky fairly fast and the OSB plywood being like camo, you couldn't see the two 1/8th inch pieces of gravel stuck there until the membrane got laid over. It was at the end with not anywhere to stand without standing on the adhesive.


You had to work kind of fast so your adhesive did not get too dry, it's not an easy job with most of the work in the preparation.


There where places in the roof where the insulation was not there and some not cut very snug. We really helped his RV a lot with that as we opened up the front and removed all the vents. 

Edited by JAG1

  • Staff
1 hour ago, JAG1 said:

Had hoped to see some photos of the RV roof replacement

Sadly, I failed to take pictures of the work in progress.  I was glad to have JAG there for his carpentry skills.  He replaced water damaged wood in the front two feet of the roof and added plywood fillers when the sky light over the tub and the antenna were removed.  When the OSB was removed you could see the poor quality of workmanship at the factory level.  Staples that hold down the OSB missed the roof/ceiling rafters, insulation missing, and saw dust everywhere.   


The most work after the roof repair was prep,  Removing the staples and cleaning the old butyl tape off the roof trim molding and four side of the trailer.  After the new roof material was laid down two layers of new butyl tape installed; one between the siding and roofing material and the other layer between the roofing material and molding, lastly a bead of sealant between the siding and material.  The installation of the AC unit, new roof vents, and adding a bead of sealant around all the vents and termination bars at the both end of the trailer.


All this work took over a week since I don't start working till 9 AM and being in Oregon it rained a lot and work would have to stop for the day when it did.   I would cover the trailer with two large tarps at the end of the day for water protection and I was living in it while work was going on.