


Mopar1973Man
Owner
-
Joined
-
Last visited
Everything posted by Mopar1973Man
-
Sorry level one is Valet mode. Valet mode locks to the setting on the setting page and doesn't provide any additional fuel. I'm not sure you get any timing while on level 1. You should be on Level 2 which is stock fuel with timing. Level 2 caps out the fuel table to just 100% so no additional fuel above 100% will be given.
-
Yeah, Tomorrow I'm going to be getting back to web work and shop work again.
-
All the way in with the shaft and the bolt must line up with the rounded groove.
-
Hang in there you'll get there... I know the feeling I'm trying to get all the dig work done here with limited time on my rental of the mini-track hoe I've got and I've got 2 days left. Ugh!
-
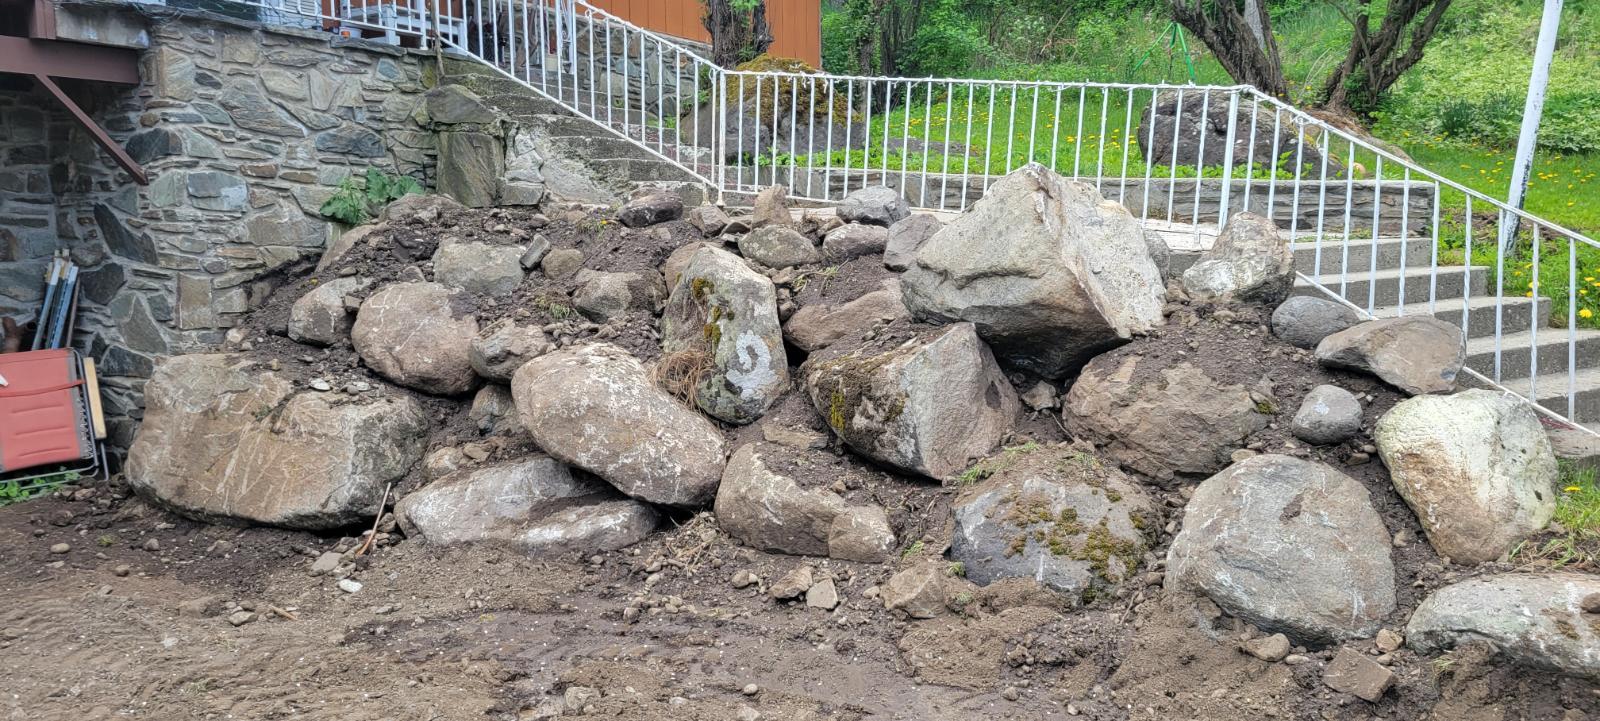
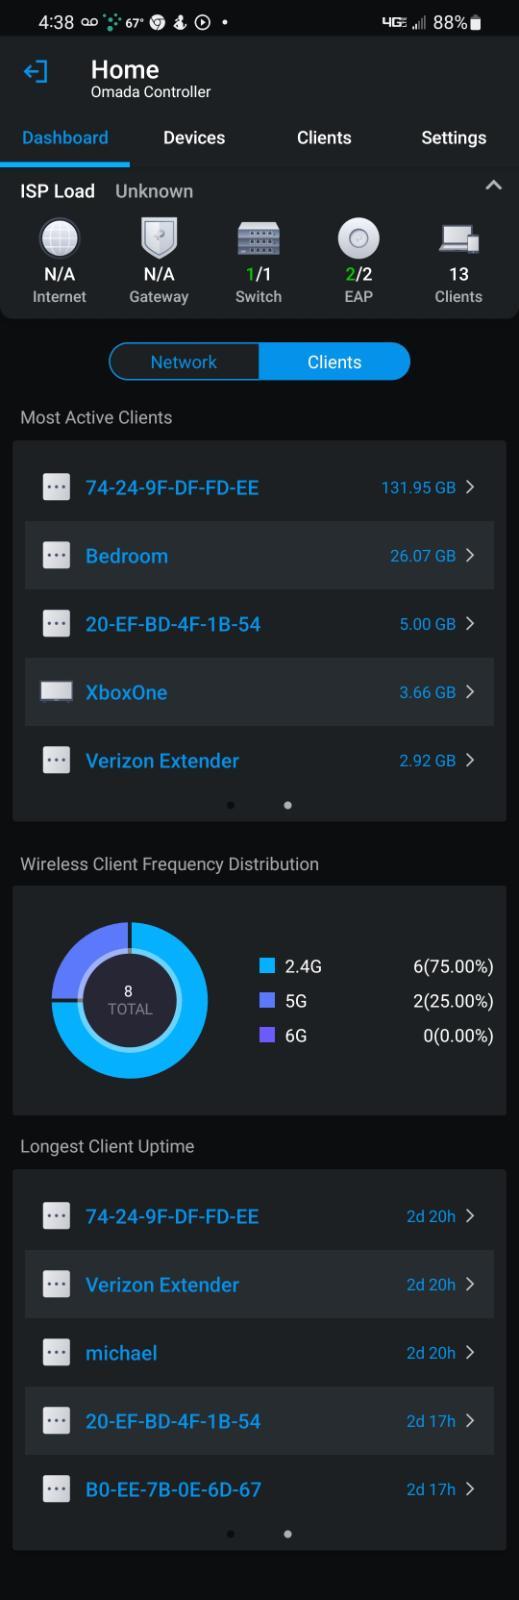
Yeah I'm in Idaho again. When we were picked up from the Airport we went to pick up a track hoe and hauled it home. We already tore down my cinder block wall and rebuiltit with rock. That project is done. Now I'm building a RV spot out back with full hook ups. This is still in progress. I finally got my WiFi heads for both house and got them temporarily hooked up. Really nice to be on a call and not drop walking between buildings. I've got to hook up my two cameras for the property. Still have setup the software yet too. Funny part i dont have to be home and can check my network and Starlink from anywhere with my cellphone. I'm really happy with my 28 port managed switch. I can see everyone who is using the internet or network. Then I can control bandwidth to devices as needed. Then we are still in progress of new flooring throughout the upper level. The two bedrooms and bathroom are done. Still got to finish the living room. Just add more I've got to replace my cook stove being its a 2 burner with grill. I'm having issues with the large burner the ceramic plug broke and barely holding together. I'll be ordering a new stove here soon. Yeah I've even got software to upgrade here on the website both the forum and the store. Even got tunes to build for members yet. Then ive got locals asking for A/C work which I need to get done but my local supplier is out and should have more by tomorrow. Yeah I've been busy but I'm home.

-
No you can't. The PSG must be calibrated to the pump. Swap the entire unit. This is why the price is that high it takes 3 hour of the test stand to calibrate one VP44.
-
Yeah you should remove all lines which is fairly quick. Then the plate is a snap. Lines are in groups of 3 so you don't have to remove the isolator blocks.
-
I've heard of guys just upgrading to the late 2nd Gens to get the non electronic seats which is easier. It was only 98.5 and 99 that had issues with this module and lock solenoids on the seat belts.
-
That is awesome. I'm jealous.
-
NO THREAD SEALANT. Must have a clean ground for accurate temperature. Brass fittings and sensors are typically self sealing and don't require sealants or tape. I used mine for engine oil temperature.
-
I had to go back and look at the photos at the beginning of the post. At least you got a complete door for the passenger side. Paint can be done later. I was wondering about the roof damage and how bad it is. Being it right near the rear door upper latch. You might want to call a body shop and see if they can provide a measurement chart of the door opening so you can properly realign the body to fit the doors properly. If you can get the headliner out and the door trims removed can you post photos I'm curious about the damage?
-
Well I'm running out of time here. Tomorrow it's recharge day and packing up. Friday heading home. Being ive got so much to catch up on I'm going to work my weekend to play catch up.
-
I agree that I eould rather keep the electronic timing versus having a static timing of a p-pump. I don't see these trucks going away any time soon. I will admit that I've done some research on software deletes on CR truck 5.9 and 6.7L yeah you can buy tuners but delete tunes are going underground. As for us less headaches and no emissions junk.
-
If you grab the FSM from the download section it will list the ground locations. Also don't over board with grinding paint off everything. A rusty surface can be worse than a painted surface.
-
Yeah sad but true. Seems like nothing moves without me. Between all I'm doing at home building a network and then split on a vacations I noticed things slowed down. I have to say that I needed a break and now it getting time to get back on track. I've got plenty piling up. I just did two phone calls to the east coast helping members out with tech info and spent about 2 hours on the phone dealing with missed calls just today. Friday I will be heading back for home and have to hit the deck running WOT.
-
Exactly. @Great work! is right on the money. All the computers or electronics have limp modes to keep you rolling to get home. So sadly your going to need to replace that VP44 soon.
-
P1688 code is more or less the checksum of the PSG is no longer matching so the code is being thrown. This is showing there is a software issues internally.
-
Check the interior ground in the driver side kick panel. Then the ECM and PCM grounds are on the passenger side battery.
-
Awesome looking RV. Let's see interior photos.
-
First thought is injectors. Have them tested for excessive return flow. I just had Thor's injectors sent back for excessive return flow. Possible a bad nozzle maybe?
-
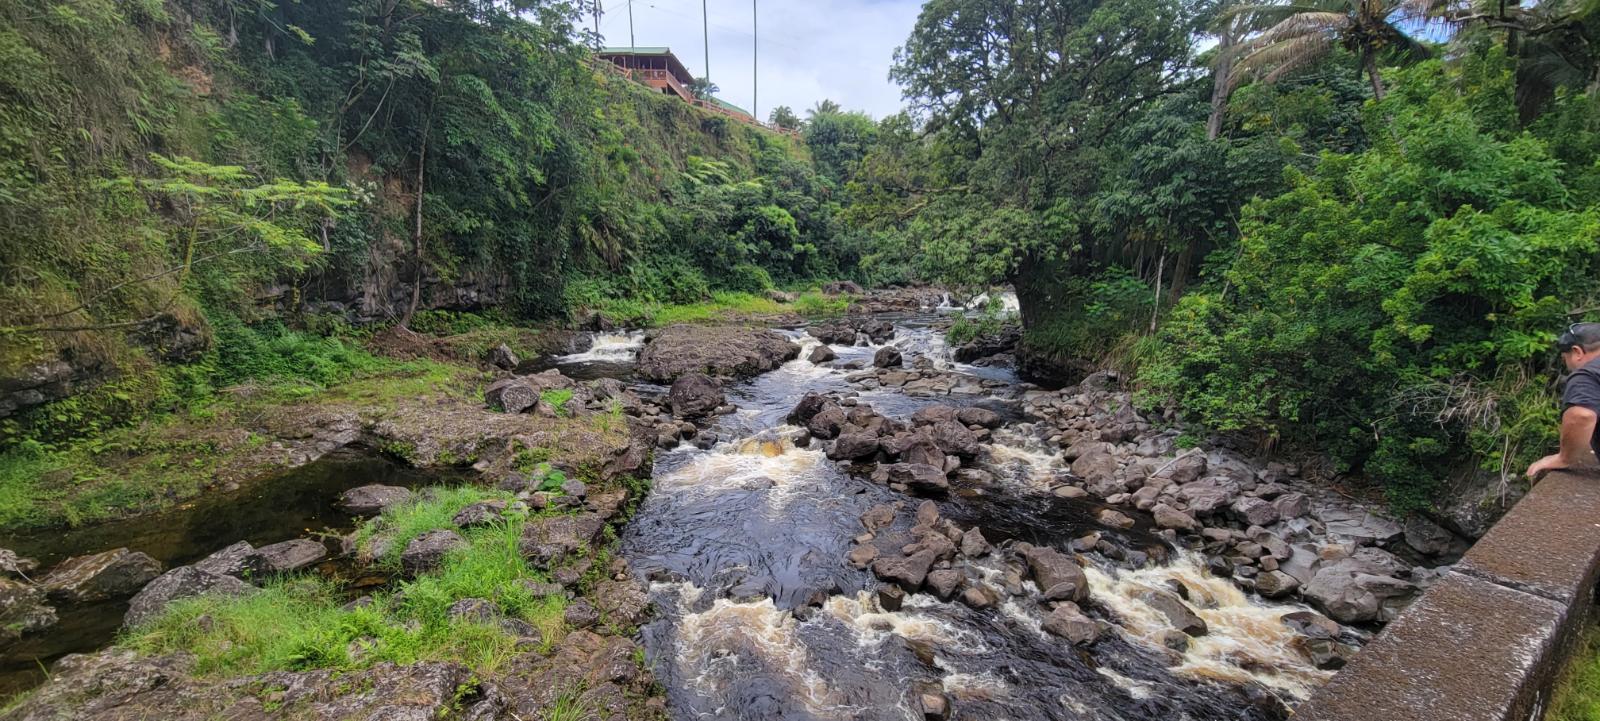
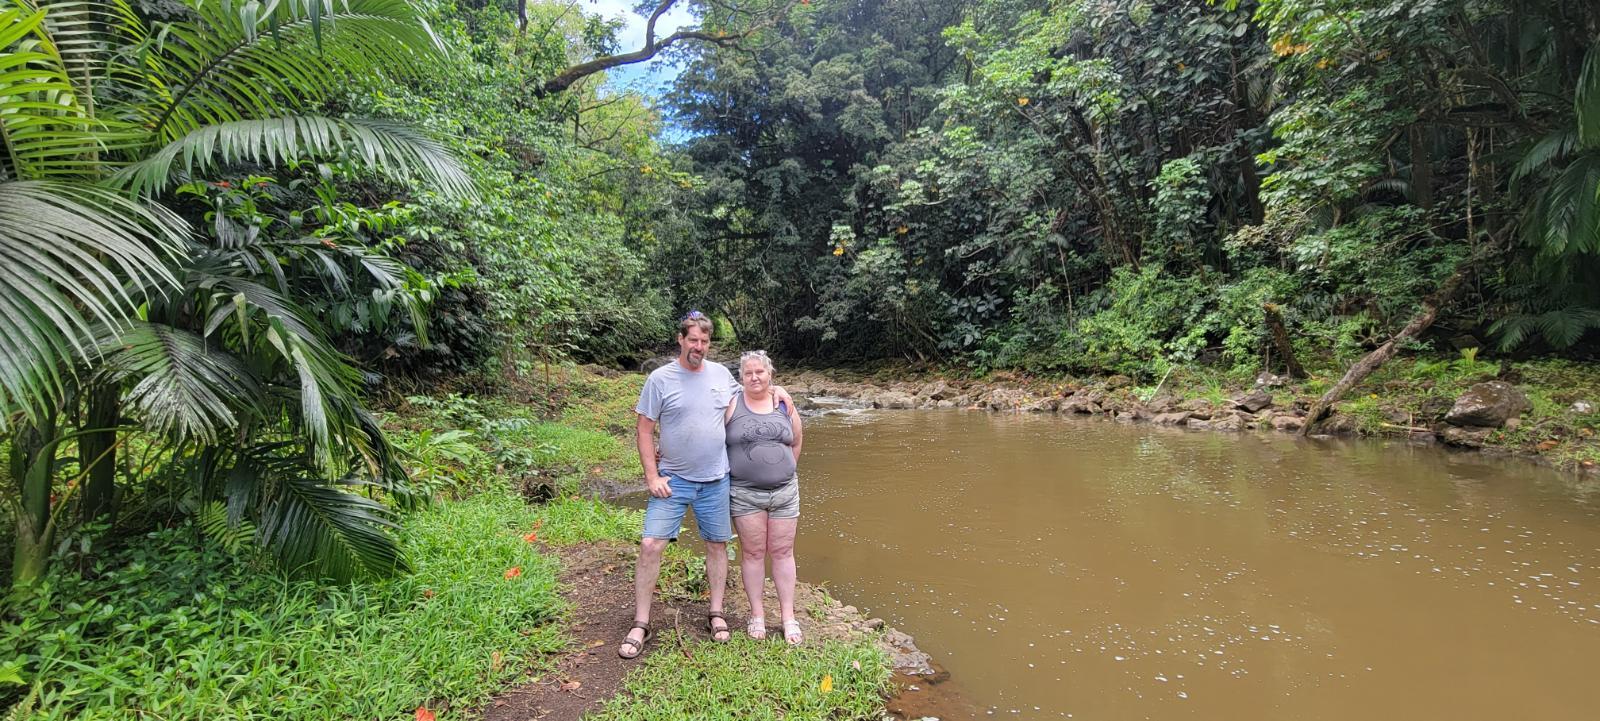
More to show... @Honey Badger and myself at a waterfall park. Another water way. All the creeks are from rainfall not a spring. It's that wet over here.


-
What a storage locker find.
-
My 2002 (Beast). I can cross the entire state of Washington just a 1/4 tank. I'm running 150 HP injectors on a stock HX35W turbo with a 5 speed. I've been build custom tunes for last 8 years. Something Smarty or Edge can't do. https://www.tiktok.com/t/ZTRwpTsgc/
-
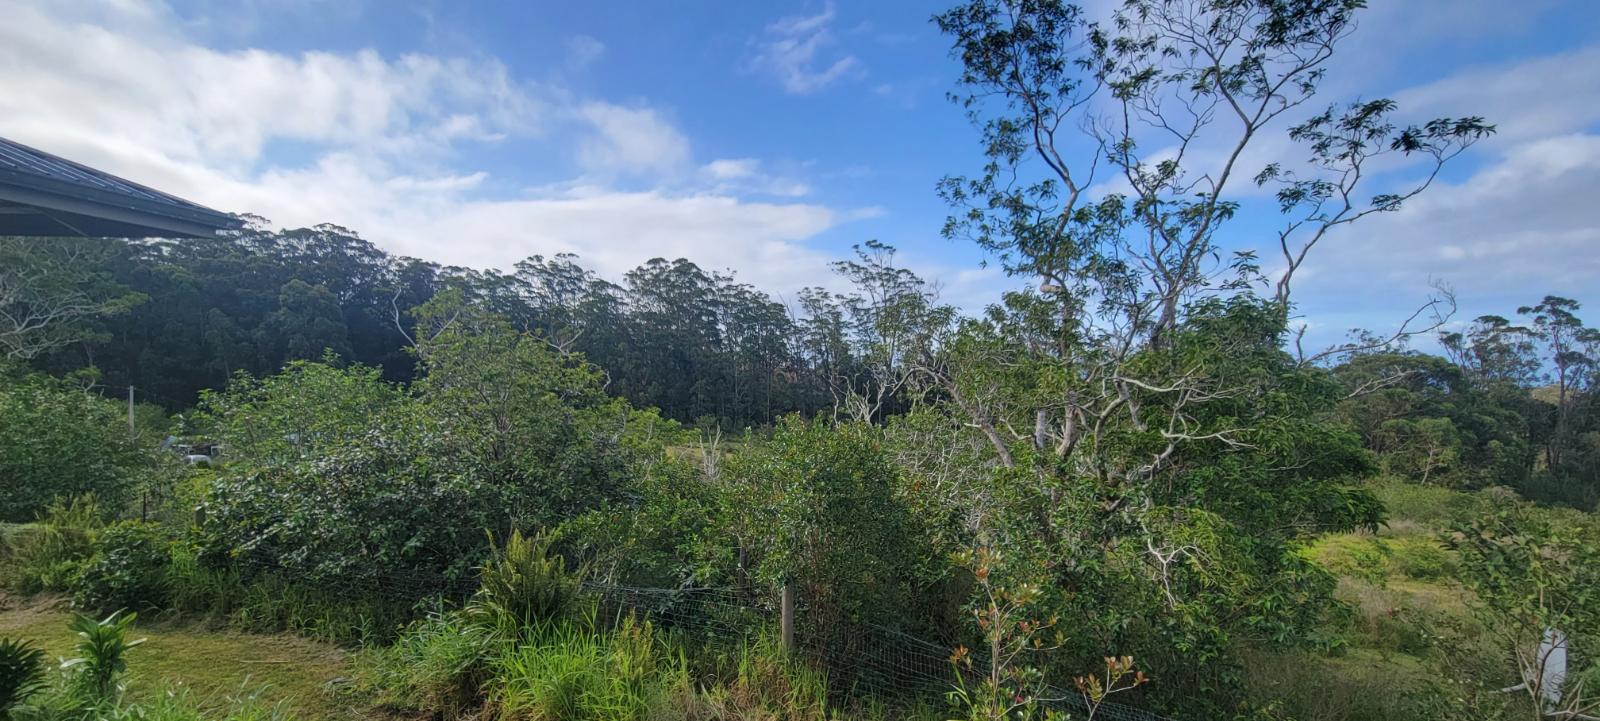
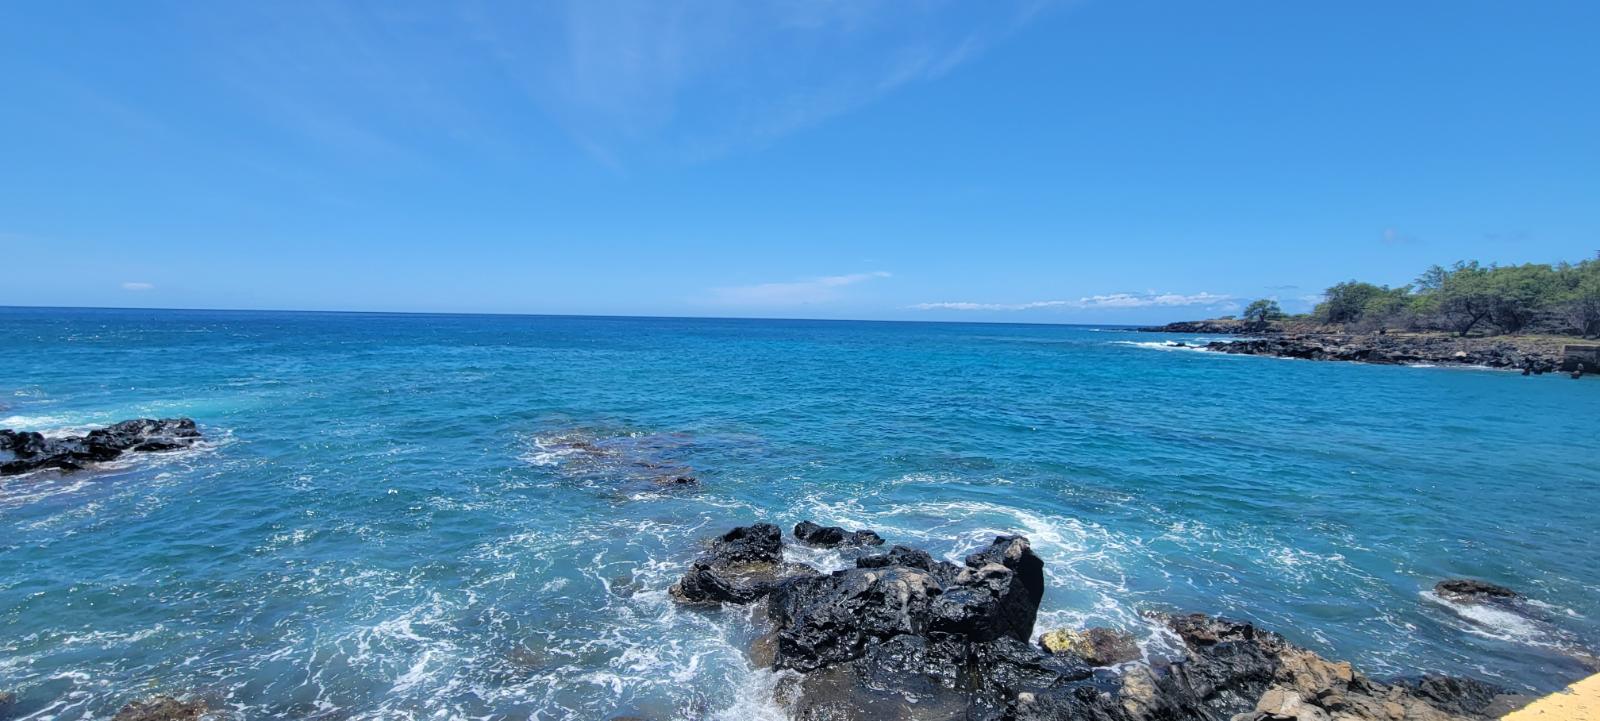
Yeah my secret is out. Yeah I'm in Hawaii enjoying a 2 week vacation. I couldn't turn it down being all I needed was air fare and bit of spending cash. @Honey Badger brother lives over here on the main island. We didn't need a hotel nor a rental car. That saves a bunch right there. First two days we gathered food and munchies for us and more or less just rested here at the house. But I did get few photos to share for now. This is looking off the back deck towards the ocean. We did a bit of wondering and looking around. Yup got to get close to the water but not in it yet. More to come. Just like today I've got a appointment for pedicures for both of us at 4pm. We might go wonder around with Katie's brother truck before the appointment. Saturday and Sunday going to be on the beach soaking it up. Weather here is very mild lows of 60s the high of 70s. It tends to rain a little every day on the wet side of the island.

-
Actually I run the Quadzilla reverse I run timing with cut fuel better for MPGs. Running 24 to 25 degrees at 2k RPM but my low boost pulls the fuel down hence running timing but cut fuel to 60%. I've already hit 28.2 MPG breaking my old high mark from Edge Comp.

