Mopar1973Man
Owner
-
Joined
-
Last visited
Everything posted by Mopar1973Man
-
Hey gang, Time to put your little 2WD cars and get your 4WD trucks out. Already just had a 2 car slide off just south of home. Then everyone is driving super slow. Huge pile up of traffic and slow vehicles are not pulling off. Hate to admit but had to pass 5 vehicles traveling 30 MPH in less than a inch of snow. Kept trucking along at 45 to 55 MPH.
-
CO2 isn't any issue. Being any forest fire up here produces CO2 way more than any diesel vehicle in its life time. How about 747 Boeing it holds 63,xxx gallons of JET-A burning at of 5 gallons of JET-A fuel for every ONE MILE of air flight. Now let's look at how many jets are in the air and how much more CO2 the produce of diesel vehicles. How about fright ships, burning thousands of gallons to transport goods from China to the US.
-
https://www.tiktok.com/t/ZTRCAHMWA/ More about lithium batteries. You might not want to get them wet.
-
@JAG1 here you go showing that small generators are not enough. It will charge but the generator has to run 24/7. https://www.tiktok.com/t/ZTRCrQtTT/
-
All I'm saying is the Govt should not force us to buy EVs currently. Then Govt shouldn't force to pay high fuel prices which is causing the inflation. Kick Biden out and ditch the forced idea of a green new deal. Heck it's 6.479 for diesel here.
-
Another Telsa fire for Thanksgiving. https://www.tiktok.com/t/ZTRC2hfty/
-
Just remember those quote distance of run is a single 150 pound driver, no cargo, no A/C or heat running, no lights on. Real life people are much heavier, Like myself 230 pounds, I carry around a few hundred pounds of stuff in my vehicles. I do run heater and A/C. For safety in several places out here I run headlights. Now those quoted distance numbers will decrease quite a bit. 1. I know for a fact Idaho Power already told me they are already at 90% capacity and couldn't tolerate the added load if everyone bought EV's. 2. Batteries are always suffer when forced to charge as high rates, causing overheating and cell damage. Batteries have never been able to fast charge and it a physics limitation. Its a chemical change that takes time. 3. Just like a fuel tank bigger the battery the longer it will take to charge up. Doing it right would would use the slowest charging rate to reduce cell damage and battery heating but who has time for that? 4. Thank You Biden he's already put a limit on copper mining here in the US I found out. Then running out of nickle. Lithium is super toxic to produce, dispose of and there is no current plan for recycling of disposal of lithium batteries. What do you do with these toxic batteries? Did you know out here in Idaho Telsa have been in more slide off accidents than any other AWD vehicle? They are considered one of the worse vehicles to drive in the snow. Just consider my trip to Texas and back... EV vehicle would of cost me way more in power costs, then motel stays every time I had to charge up. We rented a Kia Forte brand new car it was getting 45 to 53 MPG. Every time I stopped for fuel at around a 1/2 tank it was like $20 to $25 dollars to go the next 300 to 400 miles down the road. If I was driving a Ford Lightning it would take 15 days to make the trip not counting charging time. I made the trip in 4 days from Dallas / Fort Worth to Home. I would have to buy a motel room every 120 miles, allow the truck to charge 8 to 12 hours depending on the charger and speed. Anyone can show me where a EV can do it for less money I'd love to see it.
-
No because a 2 kw generator is way to small... Has to be minimum of 11 kw diesel generator so it would charge fast enough so she go home in about 8 hours. Also that is one of the main causes of these EV fires is that people are always in a hurry and don't have time to wait so they use high speed chargers that over heat the battery and it also shortens its life span. Rule of thumb is you take and amp/hour rating of a battery divide by 20 that is your maximum charge rate that gives the best life span and not overheating batteries. Remember again who has 8 to 12 hours to wait for a car to charge up? I can fill my 2002 or 2006 Cummins in just under 5 minutes? Why would I buy a EV so I can drive to Boise and have to get a motel room for the next day so I can wait for the EV to charge up so I can drive home? Pollution all your doing is moving it to where the power plant is. Then driving a rolling fire trap that could bust into flames at anytime while driving or parked. You will lose the entire car and insurance company are not replacing the entire value of the car. So you stuck buying a car again that might burn up next month or next week. I've never had a vehicle fire yet in all the miles I've drove and worked on vehicles. Fire dept are having issues even putting the cars out and having the battery later re-ignite the car again. EV fires require a lot of water to cool and put out the fires. Oh just for fun I looked up a battery for a Telsa the replacement battery is right at $25,000 if the car doesn't burn down first. I still think its stupid of Ford to release a EV truck made for towing but only got a range 120 miles EMPTY, then lose 66% of the capacity to haul a 10k pound trailer barely 10 miles and dropped the battery down quick. Then even if you get 60 miles you have to plug in for a mere 8 to 12 hours. I still ask people... Basically drive it for 1 hour at 60 MPH and have to park and wait for the batteries to recharge the average time for a Ford Lightning is about 12 hours just for 120 miles! How many months would it take to tow a 10k trailer across the US (Coast to Coast) with a Ford Lightning?
-
Just consider that I'll never buy a EV. At least I can get 5 gallons of fuel and get home. EVs have long recharge times 8 to 12 hours. I can fill my vehicles in under 5 minutes and drive 600 miles minimum.
-
Here check this out... https://www.tiktok.com/t/ZTRCFFYsh/ This is a gal over in UK and feeling the pinch of electric cars.
-
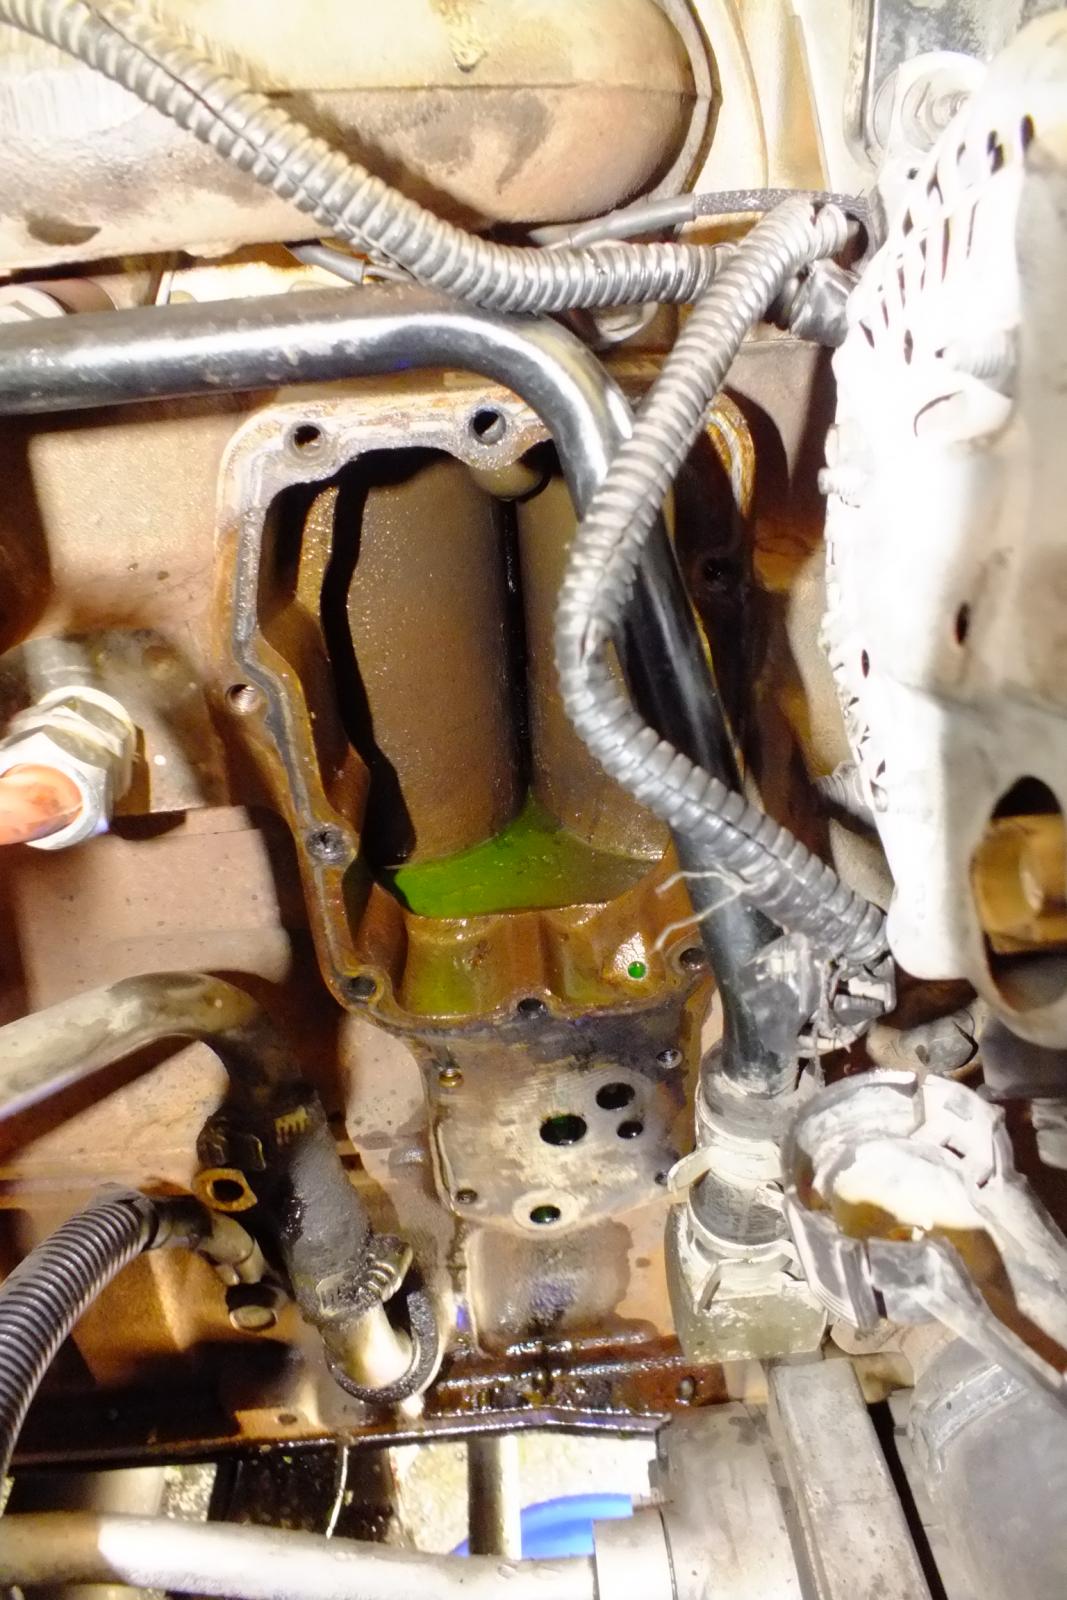
Umm that's about 183*F to 185*F on the gauge too cold. The needle should be just past the 190*F mark normal operation on a 190*F thermostat. So if the heat is poor pull the blower down and inspect the evaporator face for debris. Then check the temperature of both hoses one should be considerably cooler if the heater core is working good. If both equally hot then the heater core is not exchanging heat into the cab because of poor flow of coolant. I've got a 2014 Ram to look at soon for the same problem weak heat from the vents. Most likely a plugged heater core being the coolant has not been changed since new on that truck. REMEMBER - Coolant should be changed on a regular basis. Max of 3-4 year period. Do not attempt to reach 100k miles on these extended life coolants. More times out of ten the coolant has broke down and the pH level is acidic and eating everything. This is what causes the scale blooms in the radiators and heater core because the metal is in solution it will solidify as it cools hence the build up. This is not from using city water, etc. I debunked that long ago since my truck has 454k miles and ZERO blooms in the heater or radiator even using CREEK WATER and WELL WATER! I've never used distilled water ever. It about keeping the coolant fresh and pH level correct! 385K miles no scale build up or rust.
-
Same thing out here road deicers and salt. Trees along the highway are dying too. Also the weed spraying and chemical weed control out here is killing trees. Go out on the back roads you don't see it either here. Blame your local government for thinking they know best on keeping the highways weed free or deiced. Its NOT the vehicle emissions. If it was vehicle emissions it would impact all roads and highways.
-
No longer a battle between gas and diesel vehicles... It a war to keep petroleum vehicles vs electric. Just like the COVID Vax I didn't get, just like I'm not going to buy a electric vehicle.
-
Some things to look at about Biden's green new deal. https://www.tiktok.com/t/ZTRCd7HXD/ https://www.tiktok.com/t/ZTRCdtARq/ https://www.tiktok.com/t/ZTRCdpxXu/ https://www.tiktok.com/t/ZTRCdcv1X/ So far there is bigger issues with the green new deal. So let's look how politicians travel by air and nothing said about jet pollution. Let's start with a look at the most famous of jets, the Boeing 747. The Boeing website states that this model, with a gas tank capacity of 63,500 gallons, may burn five gallons of jet fuel per mile of flight. A 4,000-mile flight, then, requires 20,000 gallons of fuel. Sep 26, 2016. Let's consider that there is no enough power to deal with just the EVs in California and lake Mead is almost dry main supply of California's power. Even that California's power is being rationed. https://www.tiktok.com/t/ZTRCR5LFQ/ Then just consider all the forest fires the USFS is lighting up calling them a prescribed burn, also allowing fires to get out of hand. Huge pollution of CO2 here in the northwest. Then consider all the EV fires. https://www.tiktok.com/t/ZTRCRrpTM/ EVs are not going to solve any issues. Just consider the amount of fires EVs have had. Just consider the Ford Lightning. How long would it take to tow 10k trailer 2,000 miles? https://www.tiktok.com/t/ZTRCR5pms/
-
He doesn't have a shop name just private guy that is capable.
-
Might have to actually do a search for local manual transmission shop near you. Sad part is most of my transmission work for my manual is either Weller truck or a guy I used last time in Washington that did an awesome job.
-
There is a local kid that got pinned to the wall about broke both legs because a missing clutch safety. The dent in the duct work of the heater is still there today.
-
https://www.tiktok.com/t/ZTRQpoPsh/
-
@Tatted Hemi Colton He's going to be bringing in the Mopar Hemi's to the website. This gent has a bad boy Hemi... I'll leave it up to him to add more but Welcome him to the staff family.
-
Cable production doubled in price since the last batch produced. More than likely if I had the funds it would be roughly 300 a unit jumping nearly double from the old 150 price. Like @Me78569 said it only covers 98.5 to 02 trucks, if I dump thousands of dollars into production is it possible to sell all 100 units at about 300 a unit?
-
Just ran to Boise, ID as I type this this morning it's +10°F and helped quite a bit keeping the IAT above 80°F through most of my travels.
-
Just remember headlight are backwards. Take notice the headlights are powered positive on the common contact of the bulb. Then the hi and lo are on the ground leg.

-
Just pull the carpet back and pull the blend door motor. Now you can see the the shaft coupler. You can manually move the blend door shaft. You don't need to worry I've done this for clients until the kit comes.
-
Yup its a small shop it is wood heated. That's a reason I wear scrub top shirts they normally don't stain.
-
Yup. I totally get it. Your cool and fine yet but I've been putting my foot down about the negative comments. Hi jack is over... Now find a place for to meet you in Oregon or Washington. I'll bring the hair and enjoy the camp fire and friends.