MoparFreak1988
Unpaid Member
-
Joined
-
Last visited
Everything posted by MoparFreak1988
-
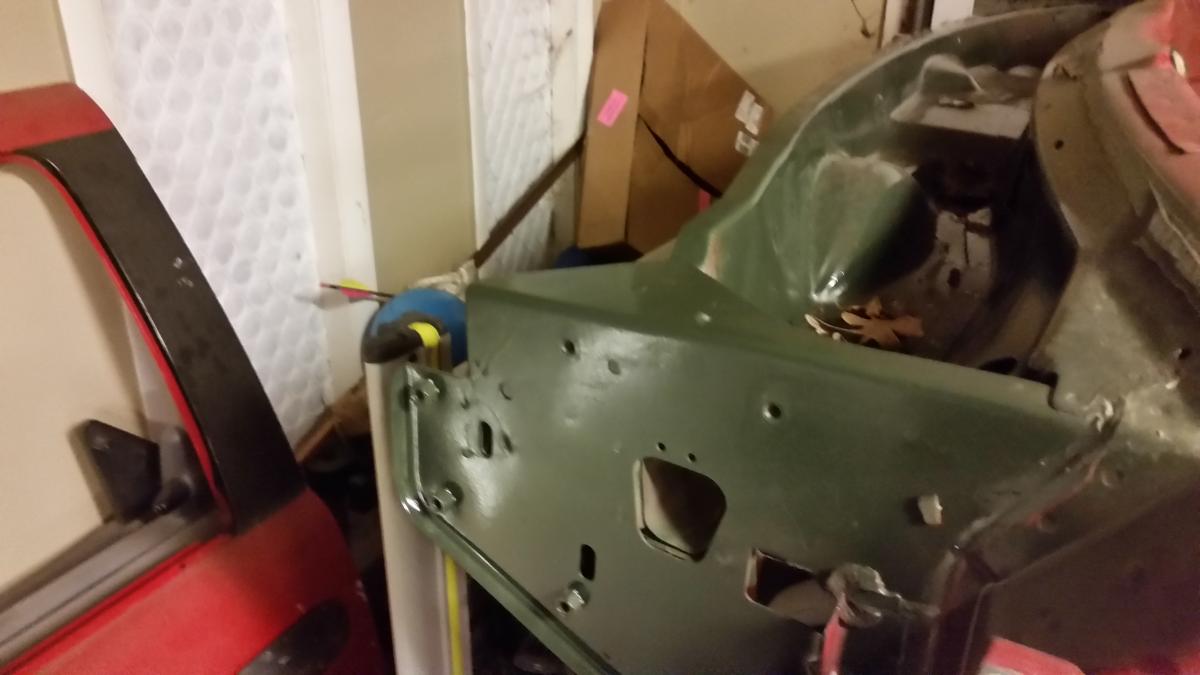
I was trying to get it ready for it appointment with the painter and forgot a few things like ordering the new bushings in time at this point there are only 5 installed as one was seized/bent from the crash and had to be persuaded out with a gas ax, I have new ones on order. they are pretty much rusted out and dry rotted, I refer to the metal sleeve in the center is badly rusted. they will be an easy swap when it comes back from paint my other whoops moment is you can see the engine bay is painted well I forgot to get the fender extensions painted. they tie the fender and cab together, until I get those back from paint I'm dead in the water . side note be careful when ordering the bushing as a lot of aftermarket are poly and with our diesel's and vibration I think that would be a really bad idea
-
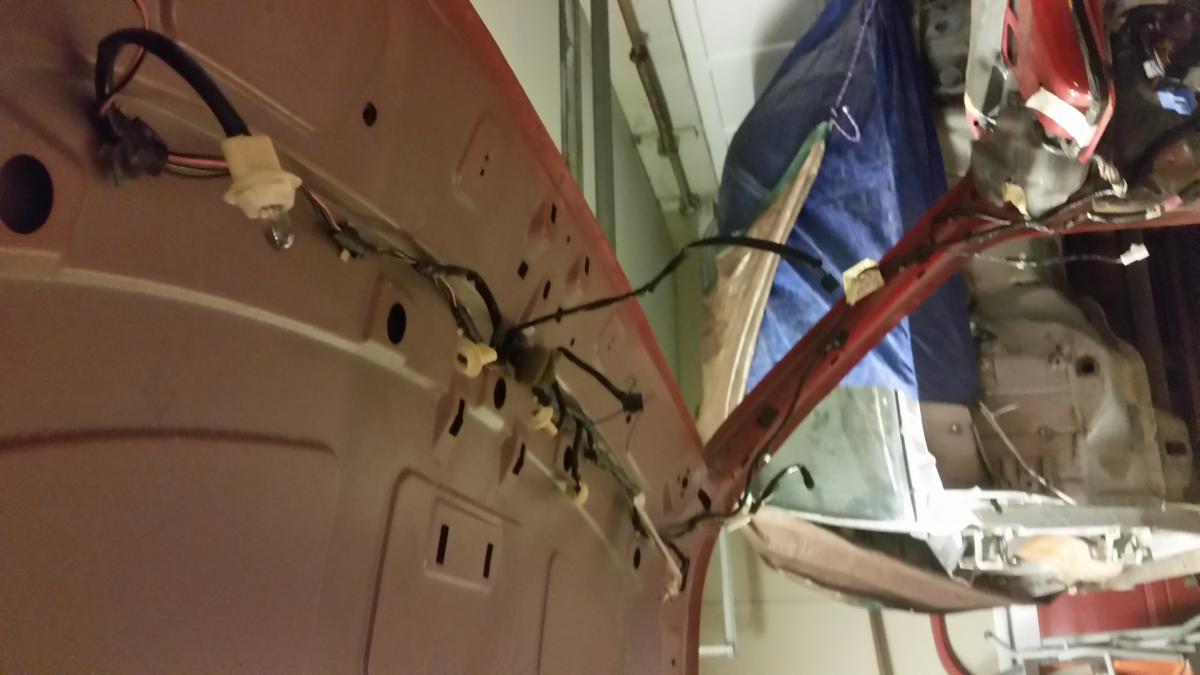
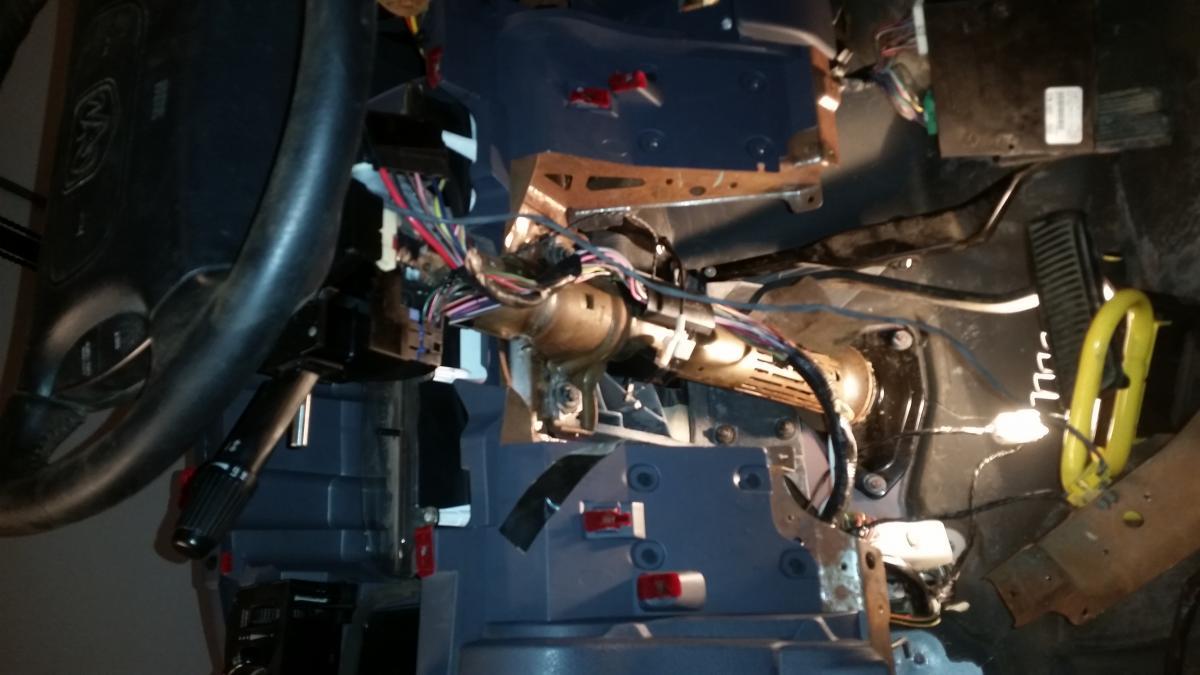
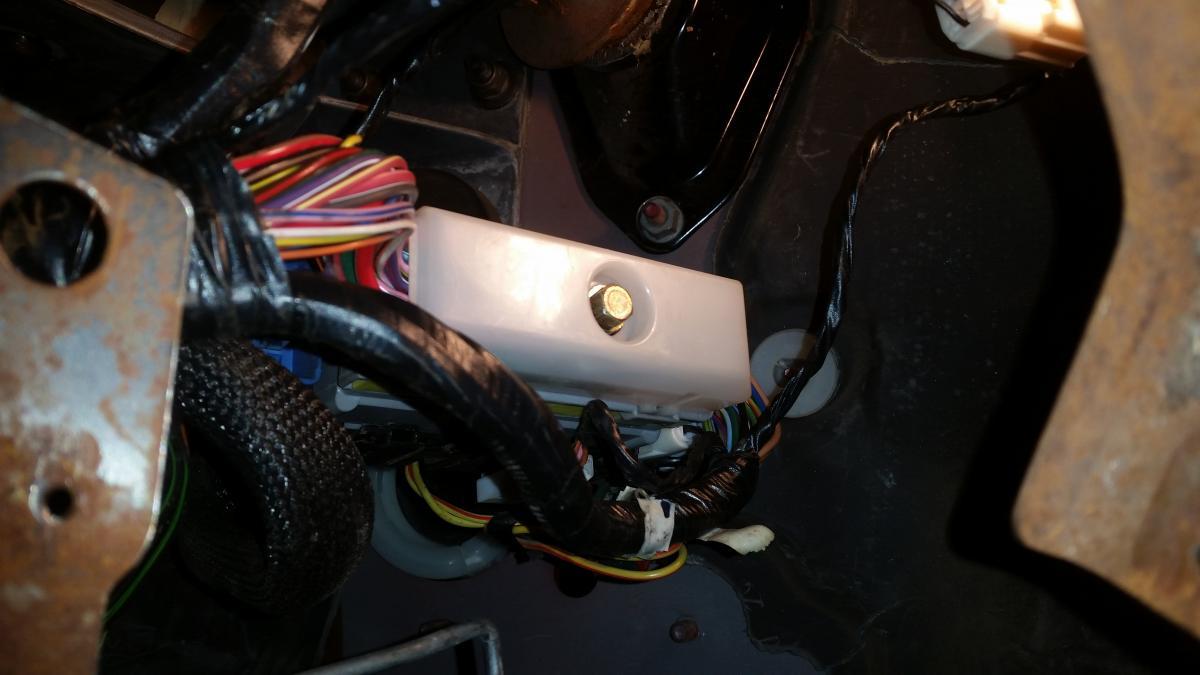
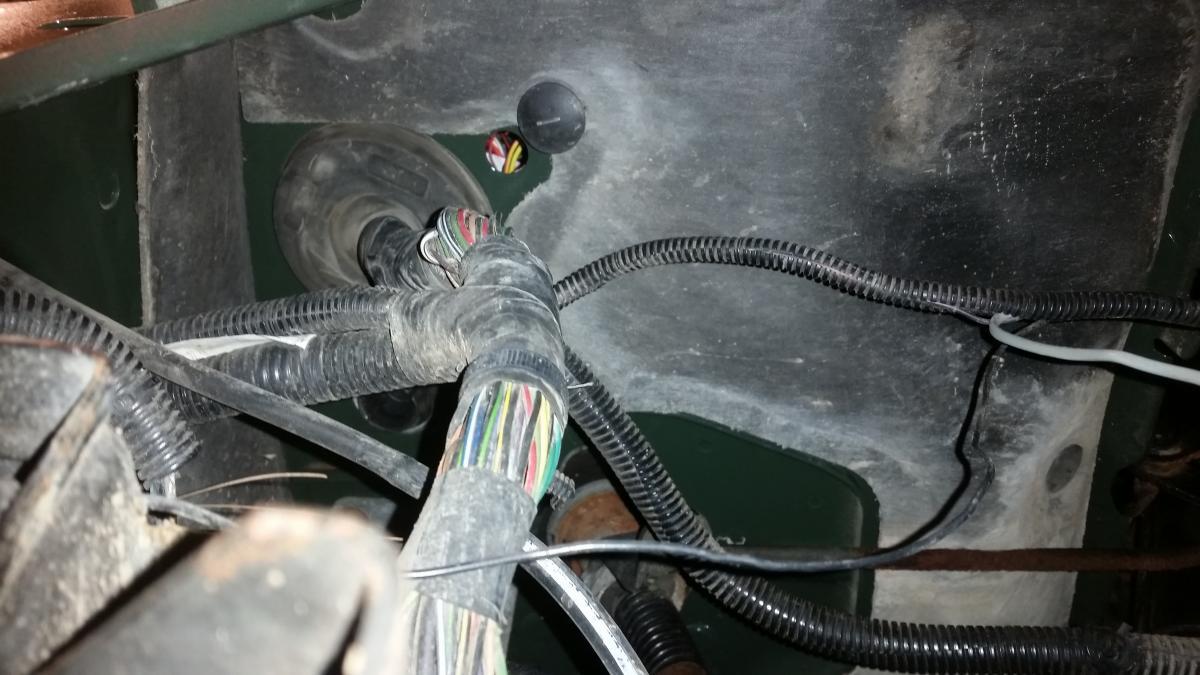
Its not to bad once the interior is gutted down to the dash there are 7 major systems preventing the separation of cab and chassis I'll go through what I did pictures will be at the bottom detailing the systems steering column: this comes out as one unit steering wheel and automatic shift lever attached, there are 6 mount bolt one set screw for the steering shaft collar and a pop pin that holds the automatic linkage together. there is a trim panel with t15 screws in them and a cross member that need to come out two screws hold the member in place Dash: 6- 8 if you include the column screws that hold steering column and dash 3 hvac connections and about six main electrical connections I removed the gauge cluster as well I don't think that is required HVAC box 5 maybe 6 mounting screws 3 or 4 are on the fire wall you will need an A/C line quick connect removal two of multiple sixes I think 5/8 7/8 and 3/8 are needed you must remove the computer and mounting plate to access these screws. the wiring harness this has two parts one part is engine side one is cab side, cab side must be separated from engine side and engine side must be fed through the firewall. this is a plug and play connection, everything is color coded so you cant screw it up. I must say labeling the harness was a big help 6 body bolts: easy self explanatory BTW if you have a rust belt truck OIL OIL OIL AND OIL SOME MORE if its a bolt and it needs to come out oil it up in advance like overnight and your hands and head will thank you 2 fenders the passenger side is easy as pie, drivers side on the other hand has a few things going on other than a battery mount we have rwal or 4 wheel abs mounted there fuse box and some solenoids. It's all easy and pretty self explanatory hood: easy as pie That should cover most of it things I did to make my life easier Fenders off first Remove hood Oil the sh*!t out of everything pictures and labeling should be neat, thorough, organized and make sense to you or your buddys that are helping you As stated above if you have multiple people working on it be organized and Know what everyone is doing, and make sure they understand each other's process.
-
Here is a picture of what monsterliner looks like when used as a undercoating sorry for the delay been super busy. Something we wouldn't expect was the need to re drill holes that the monster liner flowed into and the self drilling metal screws that hold wire looms down wouldn't go through the monster liner for sh*%t

-
Pictures and update dash will be in tomorrow we will be mounting the fenders and maybe try for a first fire, if not tomorrow it will be next weekend there are more pictures got tired hopefully I will have them up today


-
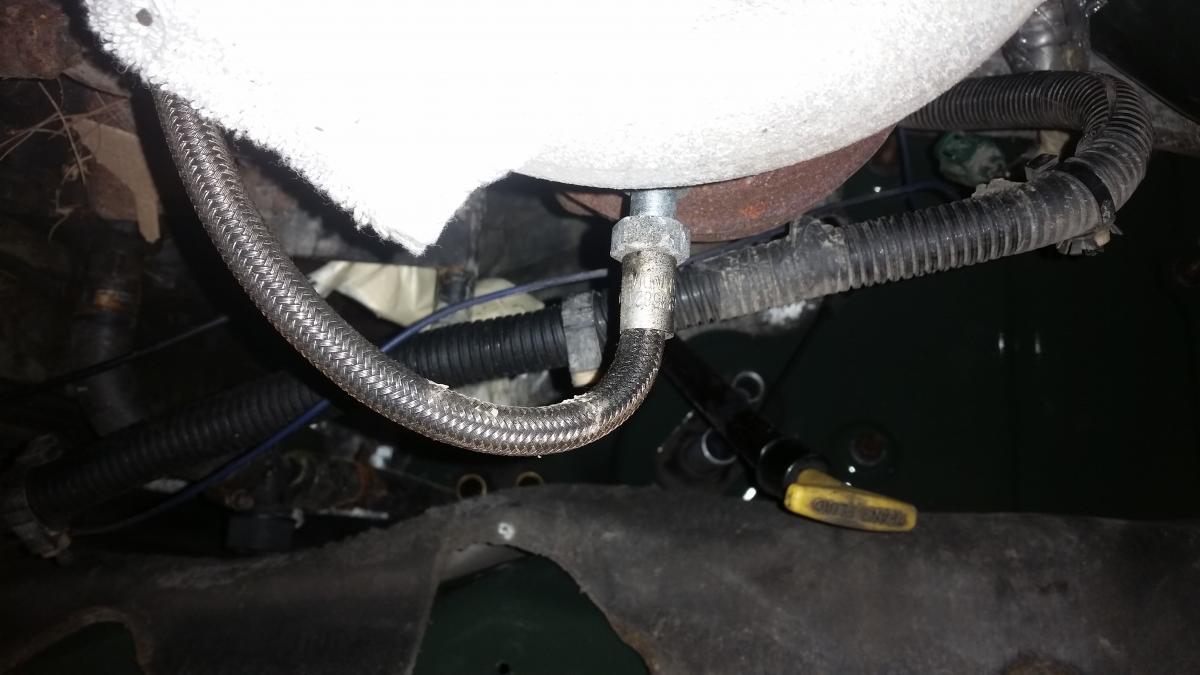
If you want the most reliable and probably the most expensive is this: find a hydraulic line shop that makes lines for anything and everything the group I used was call hyquip I spent about 300 for every single cooler line to be made out of a product called blue braided- basically material what you would find on a cat front end loader. Install and don't look back. I know it is probably overkill but my reasons where simple I spent one year hauling equipment from Wisconsin to North Dakota one time I blew a cooler line 400 miles from home around ST Paul. I was stuck in a hotel for three days with my truck trailer and a brand new transmission with less than 5000 miles on it paranoid I screwed it up I had the shop that did the work tow it to a shop of there's in Lacrosse. They fixed the lines and I preceded to drive home, except I didn't make it about 150 miles from home the other line next to the first one that goes to the water to oil cooler on the block blew. Stranded again it was towed all the way to there shop and fixed this time with copper lines hoping flexibility would win. if you guessed I'd blow those in no time you would be correct they lasted two months, so I went to the Dodge dealer and said WTF and my friend who works there recommended me to hyquip and said his charger and all his buddy classic Mopars get plumbed by these guys went there with my fittings and lengths of hoses needed and they were done in a day As far as the transmission shop Dunhams they then installed these lines for me free of charge as well as covered all other costs on everything else down to the rental car that I drove home great shop in my opinion Sucks I just put the cab back on otherwise I could have gotten better pictures I will post in an hour or so
-
Thanks guy I think it will be started and run for a bit then I will change the oil.... Should I drive it down to the end of the driveway and back to get the gears turning then change all drive-train fluids at once or do you think the transfer case, tranny, and diff not matter as much since they got fresh fluid before storage?
-
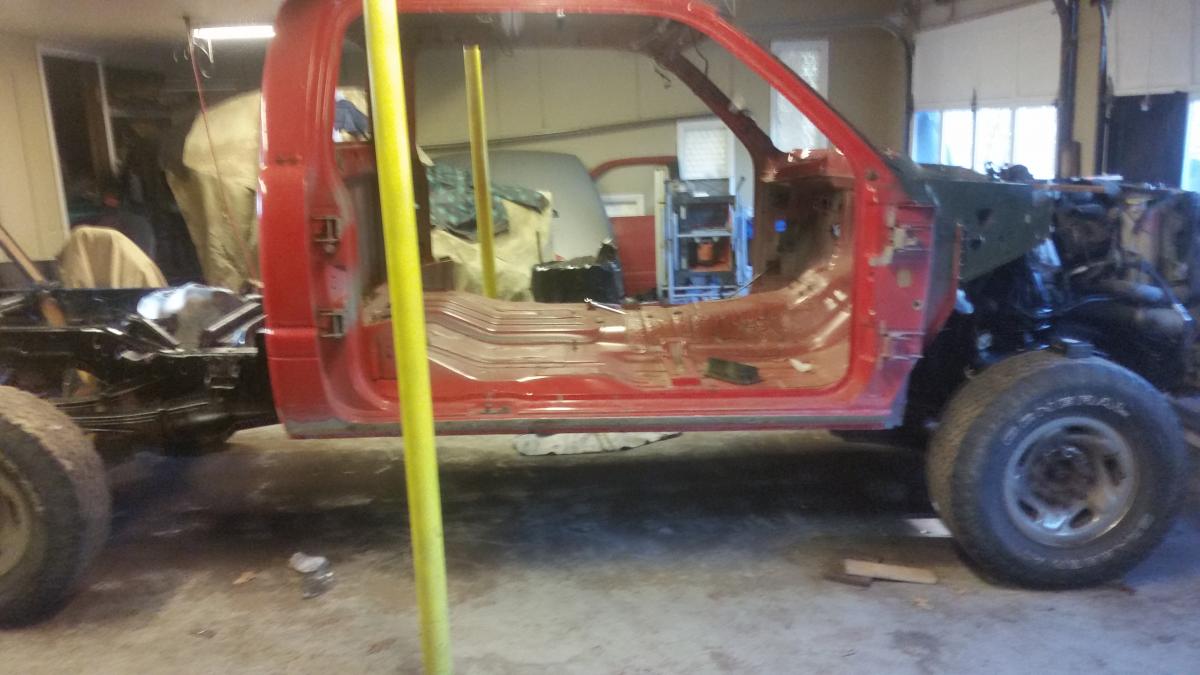
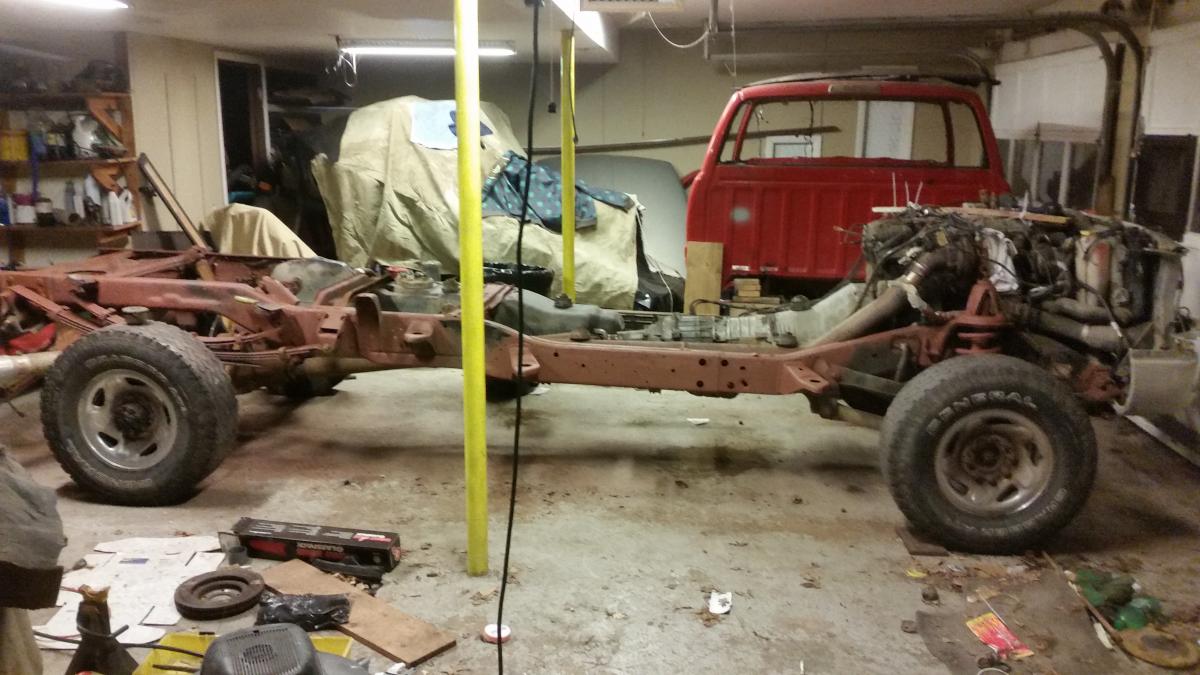
Cab is on and bolted down one picture for now more to come later. for now its back out to the garage to continue the thrash

-
Title says it my truck was properly stored in a heated garage and hasn't started in about a year and a half. referring to the 99 ram in my signature Concerns are traditional v8's you would change and then prime the oil system on fresh rebuild or long storage obviously an oil change is in order do I need to prime the oil system? I have a brand new turbo with 3k miles on it that is the highest point of the pressured oiling system do I have anything to worry about Fuel system, filters will be changed and system primed anything special with injectors or the vp44? I think that about covers it, the cab is going back on today so first start won't be for about a week yet but I want to have my ducks in a row first
-
So it's a short notice but apparently we are a little short handed and could use a couple extra bodies since some friends are working the weekend shift. So if you want a free meal and some refreshments and are in the area around Oconomowoc we could use some help
-
Chassis is all painted up got the hole in the floor and now I need bodies, because the cab is going on today in about two hours then we will be putting the wiring in along with the factory gray dash, we are doing it this way to speed things up a bit and will finish interior work after it comes back from paint. Pictures to come
-
Yes that should be the case now I'll throw a wrench out there how bout older trucks meaning 96 to I believe 2000-2001 where the rotor was bolted on the hub from the back. can we physically upgrade these years of truck without changing the axle? or does the bolted on rotor not matter? Edit: apologies not to hijack just hoping to add clarification on this upgrade
-
I wondered that also or using something like http://www.homedepot.com/p/Frost-King-12-ft-Water-Pipe-Heat-Cable-HC12A/100032792 rundown the frame over the fuel lines and insulated and then around the tank wire it up so when you plug your truck in at night it keeps the fuel warm My other thought which may sound stupid is most fuel tanks on trucks I have seen in my day have some form of forward and lower skid pan or are double wall, well maybe mine is special but I don't have one and I think that could make a difference. merely because at 50 mph wind is now hitting the tank and radiating to the fuel directly where as with a skid plate you have the air gap now once its all warmed up that air gap may be crucial to held keeping fuel warm The theory is simple why would you put plastic over your windows in your home in winter to help keep it warm? because once its warm that air gap makes for added insulation. I have never gelled up but I also use Diesel 911 in my truck every third fill up versus the standard treatment every fill up, this is how our fire department has doe it for over 30 years without a problem yet and those trucks have idled at below zero for days in the past Not to hijack but do you guys think you would have the same problem with lets say a mechanical fuel pump (assassin) call me crazy but thats my
-
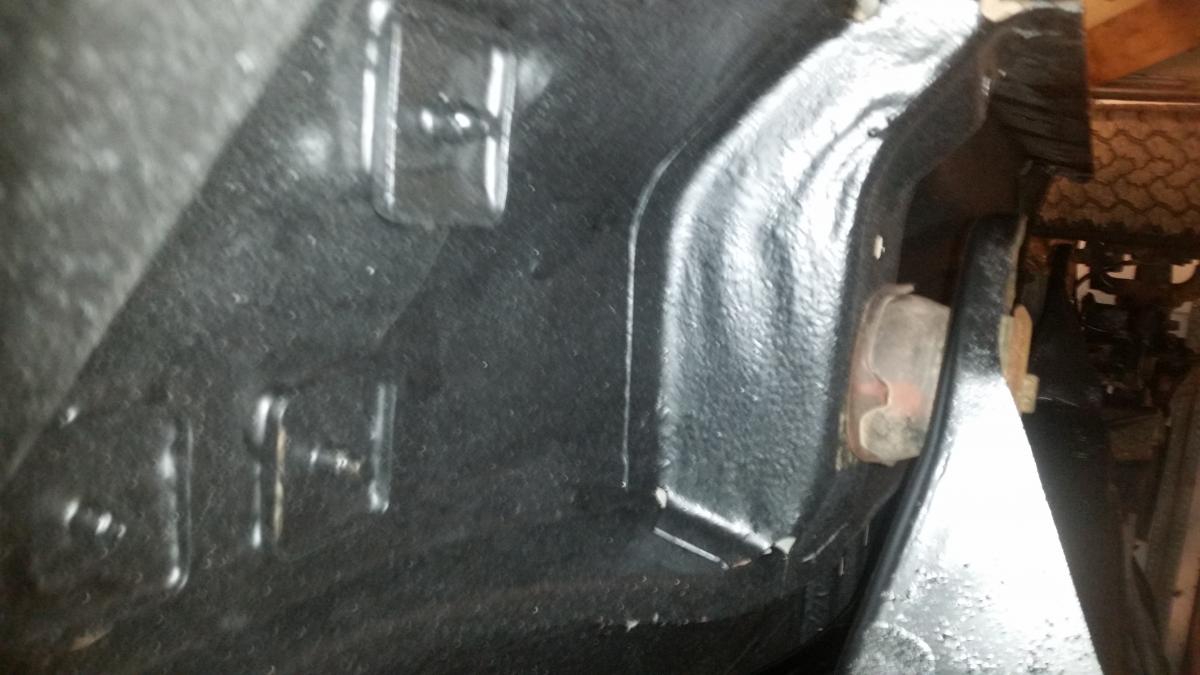
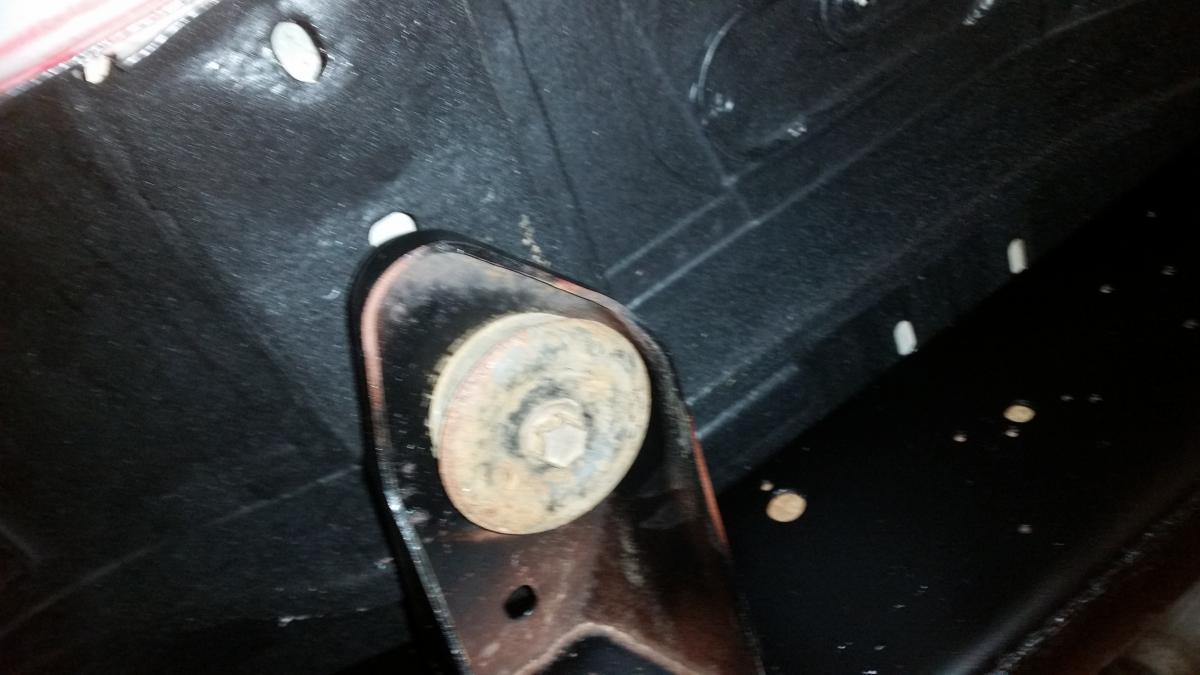
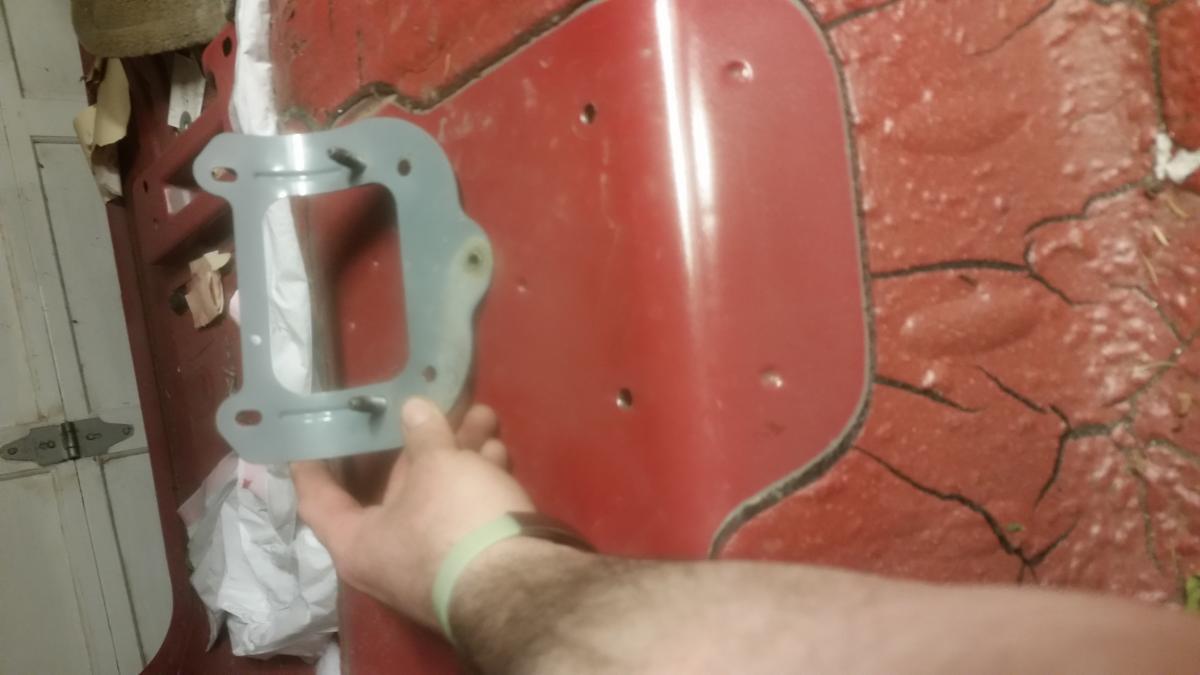
So I thought I would post this picture since I have a 4wd truck and bought a 1500 2wd sport cab what is cool is the only modification you will need for the swap to work is a hole for the t-case handle at first it seems like it could be a pain measuring it all out, but Dodge did you a favor gave you a template and even put dimples as to where to drill holes to mount the plate Paint is about to fly so I'll have to hold off on the last holes and the actual hole for the handle till after the last coat goes on the chassis. The other nice thing about the setup is the weather tight cup on the bottom of the body where the handle comes through the body, makes it so you can cut out the full open rectangle area of the silver plate in the picture and it will still be weather tight or you can cut a precise hole which is what I plan to do
-
Ya full four doors would be nice but I've got my hands full as is being a small 3 car garage and the other features I'm working on. What I speak of is how it seems the norm is (I can here the screams coming) "murdering out" your truck, now it's not that it looks bad I particularly don't mind it though, I like to be unique and have my own style. So I'm going green and polished metal(wheels bumpers) with a black accent here and there. Now I personally hate the factory bumpers and that stands for almost all the generations of ram as well as I believe the ranch hand, ali arc and road armour bumpers are to should I say 90's. I plan to build custom front, rear bumpers and matching side steps that second as rock sliders. I plan for theses pieces to accent the truck as well as add much needed protection in key area I believe the will be aluminium bumpers stainless sliders. I have a close friends and relative that co own a cnc shop so these parts will be made mostly by someone else based on their knowledge of metallurgy and my weight restrictions. The front bumper will be a winch bumper that will be streamlined as much as possible with a fully sealed winch box to prevent rust belt assault on a expensive winch. I was told to permanent mount over mobile because in recovery situations where you are not pulling in a straight line it is very hard on receiver mount set ups being how heavy our trucks are. thoughts? I'm hoping the aluminum will keep the weight down enough to where it does not affect the front suspension very much... Curious to hear what you guys think about how much weight can be added before serious re-engineering has to occur to save wheel bearings, ball joints and sway bar end links from premature failure.
-
forgotten picture
-
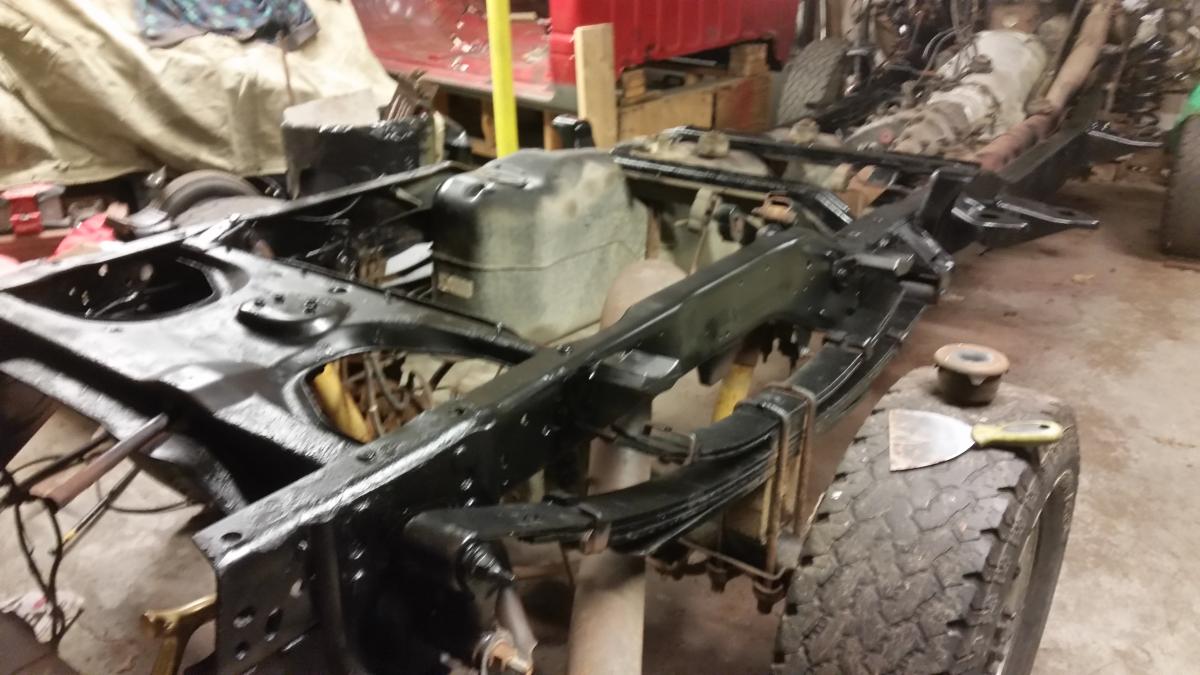
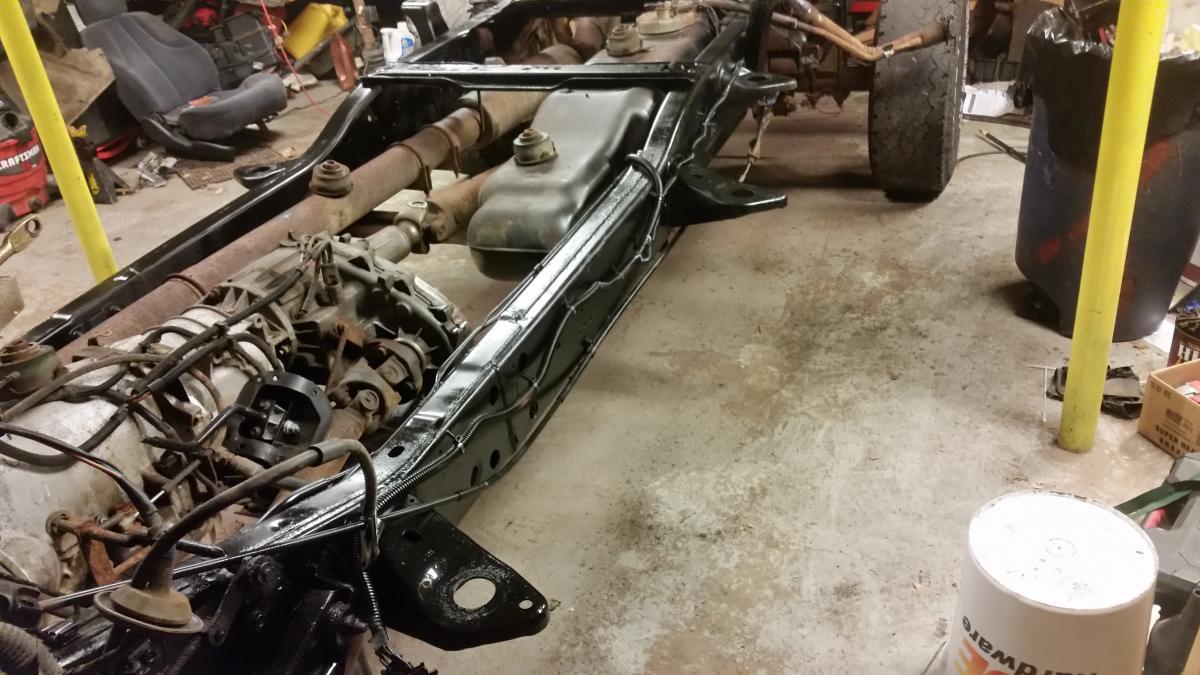
Today we got some black paint on the frame and its finally one color again only two more coats to go... As far as the process and materials used I went simple since it was a frame. We knocked down all the heavy scale which was minimal less than a square foot of scale rust and less than 2 square feet of surface rust. I hit bad areas with chassis saver then scuffed rest of frame, remove all surface rust and rattle can primer 4 cans worth then I used up my 4 cans of xo rust enamel I also have a quart of xo rust that should be compatible left around so it will be top coated with a spray gun. Ya I'm sure I could have coated it with something more expensive but I believe prep is what counts and rattle can can last just as long if prepped right... That being said it will be going to a professional body shop for paint on the body panels, at this rate it should be there by Christmas,... best present in years saying I was learning to walk again this time last year. how do you guy think I should dress out the interior? I have 1 complete gray interior(that's what was in there) then 90% of the tan interior that came out of the red cab in the pictures and 90% of the black interior donor truck. I am thinking using tan dash with black top and black/wood trimmed instrument panel bezel, tan seats with black trim, tan carpet, black A pillars, dark headliner (maybe camo)?... at that point I'm stumped on the door cards as well as what would be the rear cab trim or C post cover. Or should I stick to gray I'm sorry its confusing but the truck will be a dark green so I'm not sure on the gray interior...


-
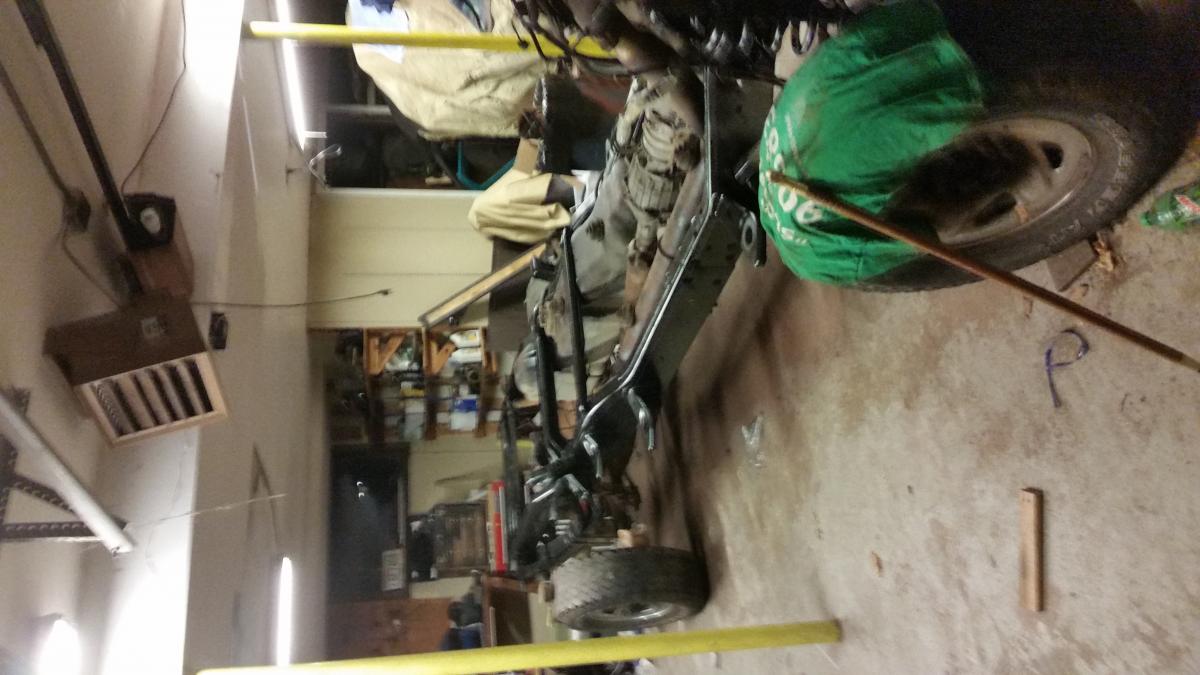
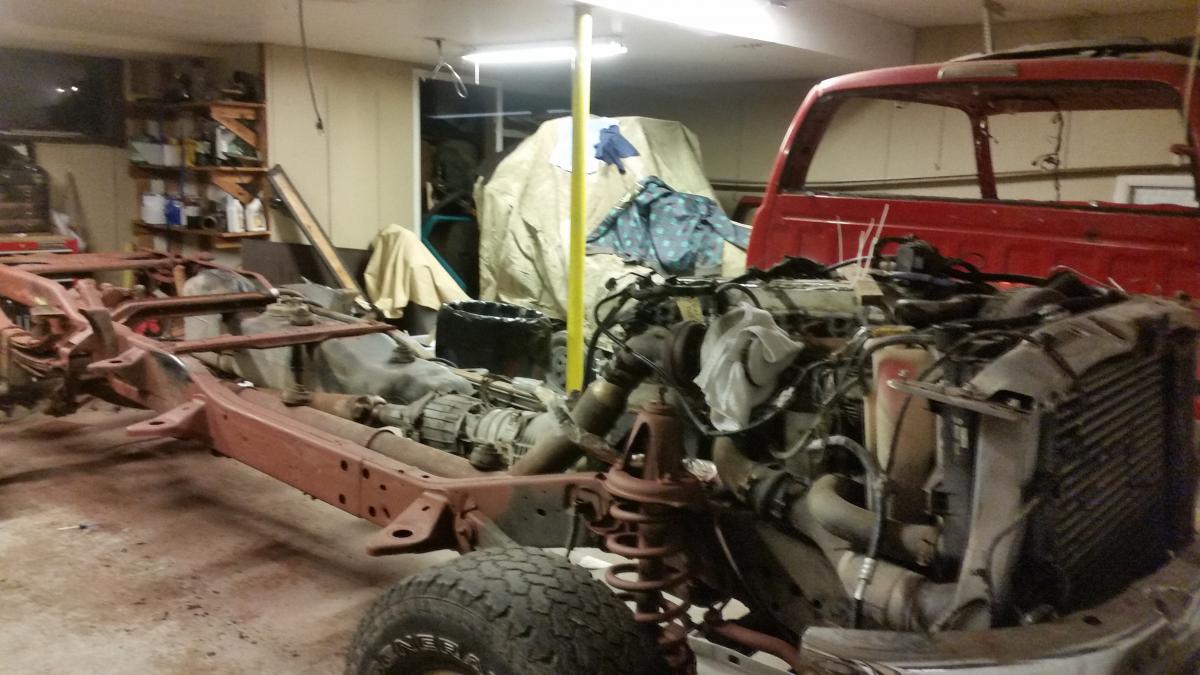
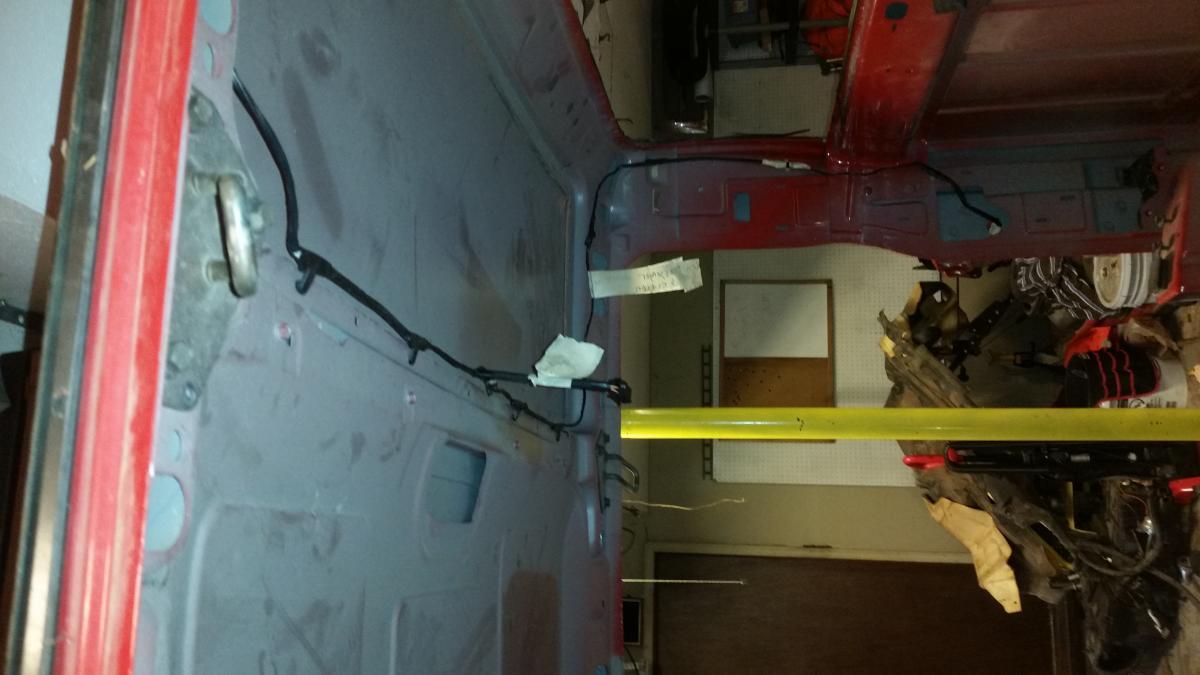
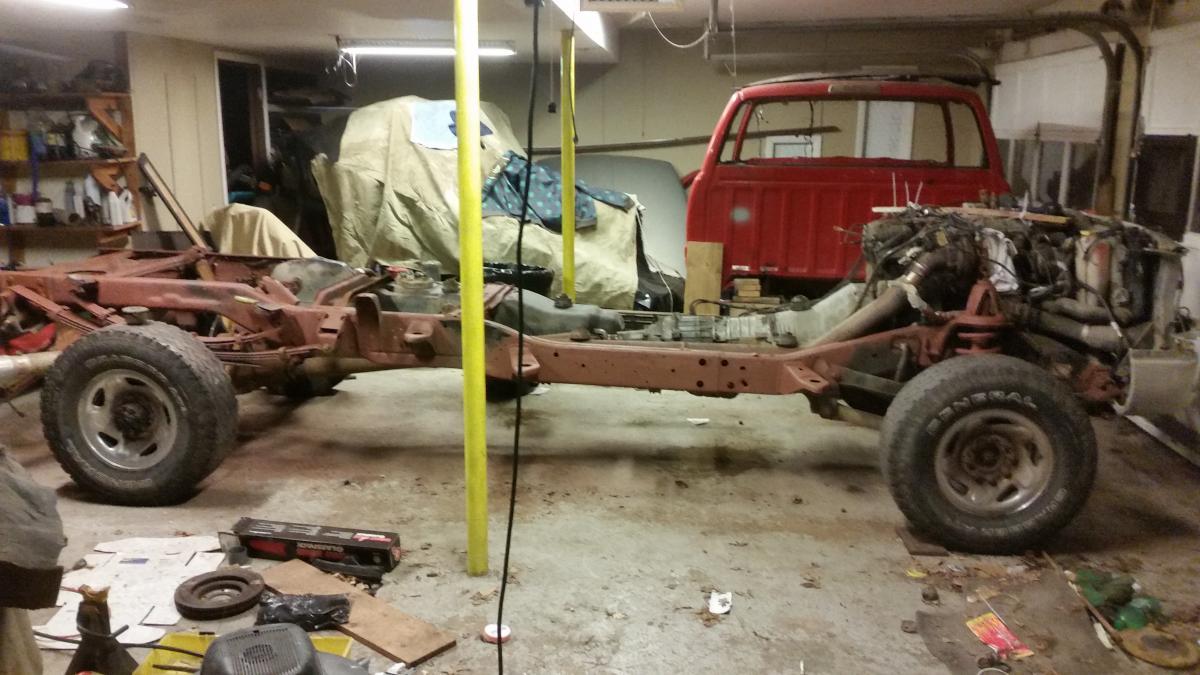
Here it comes the full write up on my 99 Dodge Ram restoration it has been in the process of being rebuilt over the last couple years, it's hit a few speed bumps, moving, shattered ankle and months of recovery. Now we are making real progress unfortunately my laptop died on me so I have lost all the photos of the truck during tear-down and most of the before pictures. What I have today are pictures of the chassis all scuffed up and receiving the first coats of new primer I also have a small preview of the color not ever found on a Ram but on a 2012 and newer toyota. I plan to follow this project with photos and updates as they come along,I plan to share the interior refurbishments new dash top, new seat upholstery, carpet cleaning and headliner refinishing.. have a good day


-
Check out Monsterliner texture like professional coatings without sand or rubber additive and is fairly slip resistant come with a nice DIY kit with glove's, scuff pads and so on. I lined the truck bed with it as well as undercoated my second gen frame off resto. project. So far the project hasn't seen real world testing, but my DD with it on the rockers is doing awesome. cost/result compared to professionals I tell everyone this "if you are competent and understand prep is what counts meaning you get back what you put in, there is no reason to waste money on a professionally sprayed liner, unless you don't have the time or you are not confident with doing it yourself". my two cents
-
I shall trudge on just not as happy as before so, after a 4 month recovery I was able to restart progress on my ram last month, its got some of its new forest green paint (toyota FJ special edition) and it looks amazing. I was hoping to share a story on the build of the truck as well as informative pictures for your own projects. Unfortunately 5 days ago my laptop crashed due to hard drive failure, nothing was backed up. I lost all 20 thousand-ish pictures and documentation to aid in me putting it back together again. Obviously not all where from the truck but at least a thousand were, none the less I shall move forward. As far as progress goes the cab and fenders from Texas are jammed and cured and should be going on one week from this Saturday I will be pulling the interior and dash this weekend as well as paint for the chassis. Any able minded body's in the area of Oconomowoc, Wisconsin (its near Milwaukee) are welcome to come out and help free beer and food as always shoot me a p.m. if interested.
-
I know you are looking at the front end but I would be curious to know if there is a issue with a rear leaf spring or worn out bushing in the shackle. I only mention this due to the fact that you say the jolt occurs when you have a power/drive line shift IE letting off the gas after climbing a hill... unless I missed something either way best of luck
-
1999 2500 single rear wheel 4X4 quad cab full tank and me 6950# 265/75/16 tires make big difference to
-
I didnt find a right up on axle seal and I dont know how to get my book into the computer so here is a link it should help alot... your axle starts about half way down http://www.autozone.com/autozone/repairinfo/repairguide/repairGuideContent.jsp?pageId=0996b43f8075bc3c I will work on the book as far as brakes go, you can bypass the valve with a short piece of tubing or approved line mine worked great and has had no problems and has been that way for almost 3 years, side note the brake systems on these trucks should be fully bled every 30k miles meaning start at farthest point from M.C. and bleed till you get clean clear fluid work your way around farthest to nearest, that's my two cents people may or may not agree. obviously they were bled to some degree when you replaced the cylinder but my question is what did the fluid look like that was bled out nice and clean or dark, was there good flow or did it seem obstructed, did the parking brake work properly are the springs and adjusters moving freely. lastly how many miles are on the drums did you have those turned?
-
I will not agree or disagree with anyone here last year I had the same problem look hard enough you may even find the old thread. In short to fix the problem everything was replaced the same day from lines to rotors to the pins. I don't like some of the quality coming from Napa as of late but its still better than most other than the bumper to bumpers (those guys are good and have not one complaint). That being said the heat issue is a real problem and its not the driving habbit Mike is OK cuz he uses his engine to slow the truck but for those who don't do that, the brake are way under size period. My facts the pads and rotors and callipers are the same as my stock 1994 chevy 2500 I know because I bought pads for both on the same day and they were the same part number. That being said empty that truck with a gas motor weighs 4500 pounds with one driver on the local scale mine weighs 6900 empty one driver they both can carry the same. But when you think about a 4X4 versus a 2wd tire size weight rolling friction... so on not to mention the 2400 pound weight difference how could anyone expect these brakes to last and not have heat soak problems. What I am about to tell you you must do at your own risk as bad things can happen when changing how your brakes work. I have been searching a solution with no avail one thing that helps is a brake proportioning valve. Put one tons out back and a proportioning valve on the front lines and force a higher psi to the rear. it helps not a fix though my two cents
-
For those interested I will be starting a new thread in the next day or two it will be going over the tear down, prep and install for the monsterliner. The cab is off the truck and to make things easier on me I'm gutting it. I will be going through a complete interior gut as well as door and wiring harness removal, in a step by step picture documented thread to help you guys out in the future if need be. As I have asthma and have been hospitalized in the past due to an iso-cyanates reaction (after I was done painting only time in an ambulance) I will not be the one doing the the painting my brother and father will handle it. Being said be safe guys and read directions (twice if need be) if your doing it yourself The prep and app will be documented with pics as best we can. It comes in gallon kits and is batch mix 7 to 1 I don't want to risk mixing small portions. Meaning I must source another bed before I can apply the liner. I have two gallons one gallon will do a six foot bed, the bottom and sides in two coats. I figured that other gallon would cover the whole underside of the cab plus bed underside. I haven't decided on the rockers yet. If I do it will be a tinted kit around gunmetal gray with metal flake. I have a Buckstop classic bumper coming that would be color matched to the rockers with monsterliner if i go that route.
-
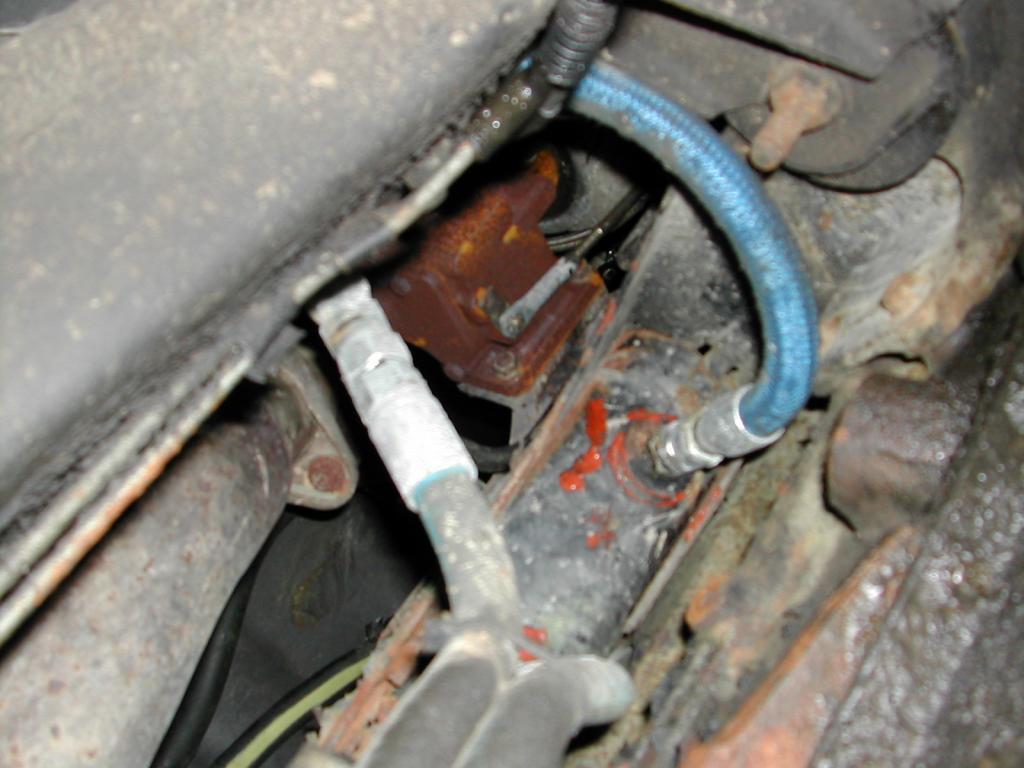
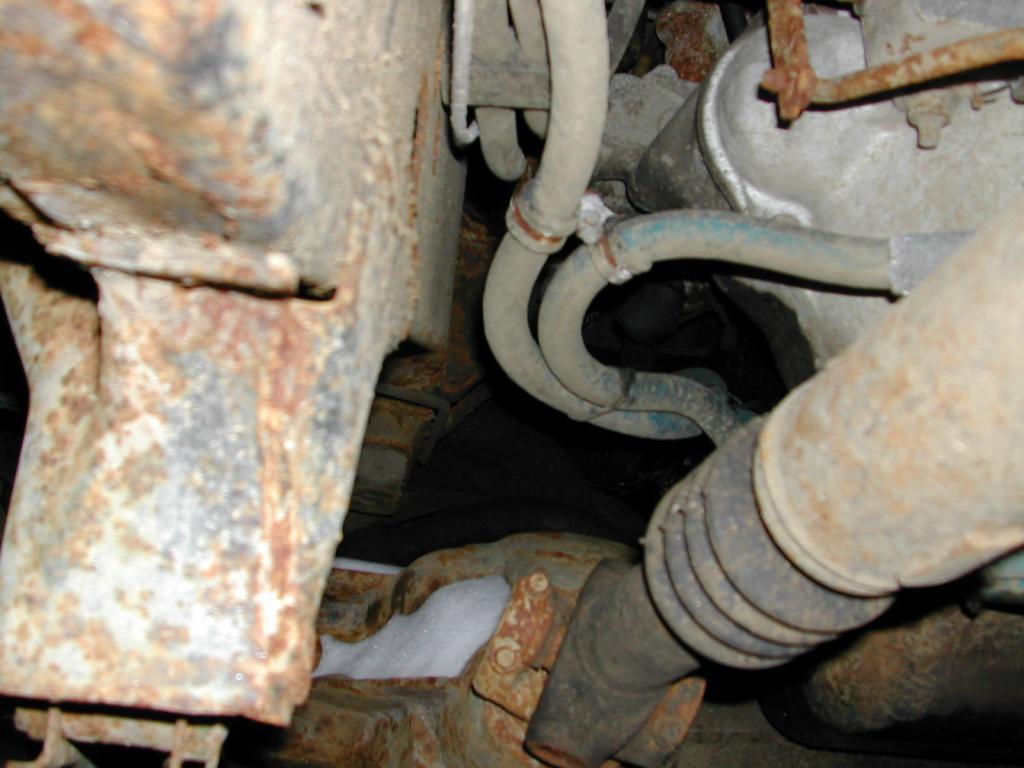
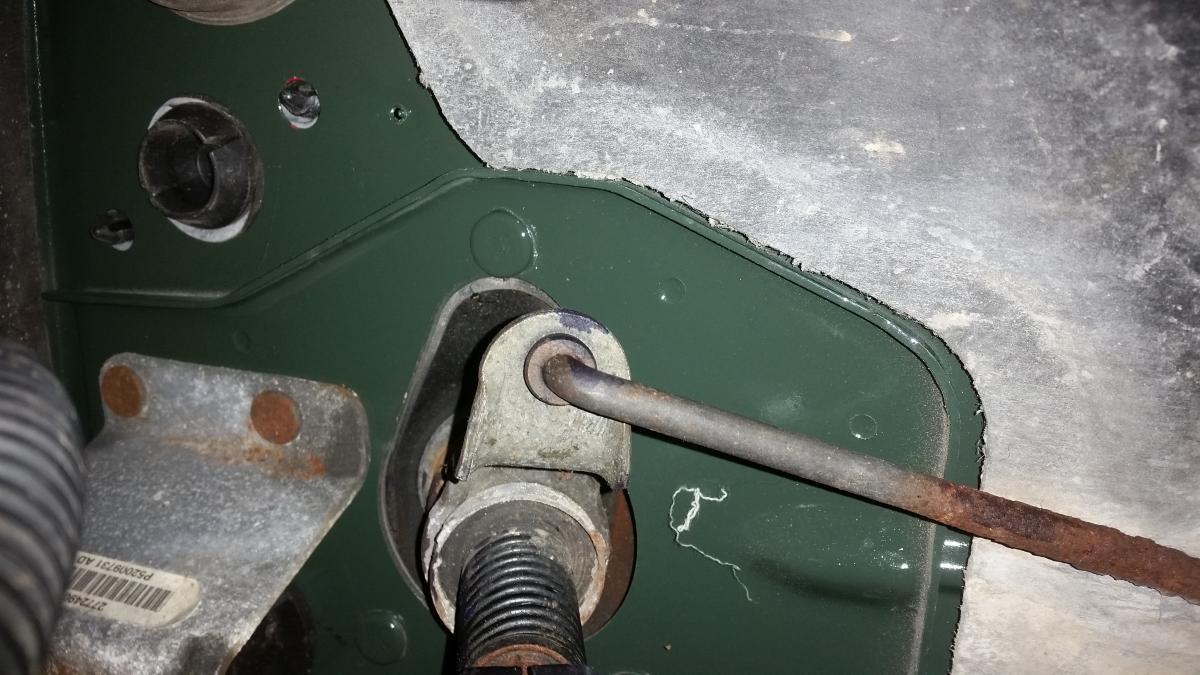
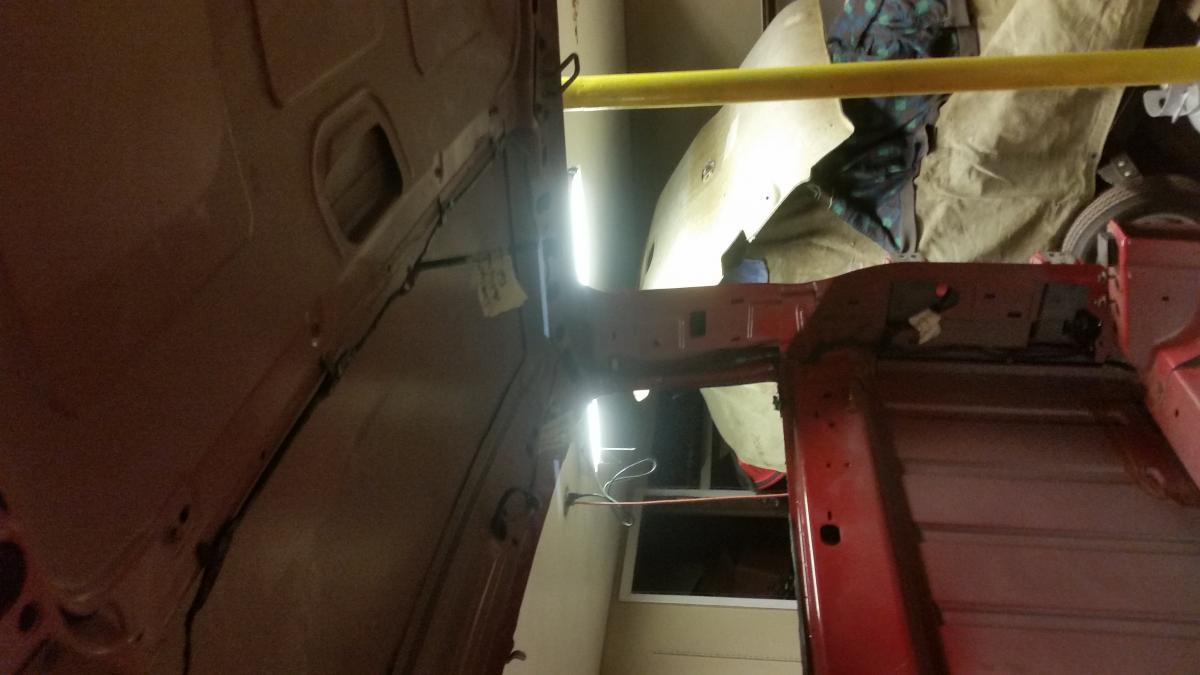
I hear your pain i was there last year it will cost you but a dealer may be able to re-flash the computer as to the shifting mine was a wire for the apps sensor that a local transmission shop I will go over to storage tonight and snap a picture of the wire... It goes straight to the battery. IMHO that line will not last, my truck left me 200 miles from home the first time the second time I was close to the shop that built the trans, in short I broke three lines in six months costing between towing parts and labor a tick over 3k all covered thank someone for the warranty i payed for cuz it bought me my trans in headaches... BTW i went through steel, copper, then steel again. They put a big pump in with a HD tipple disk TC my suggestion to you which I did and I will post pictures, go and find a hydraulic fitting shop you need your factory fitting so they know what to get you and length (now I feel like a goon for not knowing what they are) they can use what ever you want but you want a soft line capable of 200 psi a company called hyquip did mine it will set you back bout 300 to do every cooler line. - - - Updated - - - My mistake you dont have an apps sensor if im corect but the first pic is the wire i was talking about. the second is the cooler with the coupler that you broke the two after that is drivers side going forward to the auxilary cooler/ and a partial of the crossover auxilary sorry I couldnt get good pics of the two lines that crossover the transmission or were they go into the tranny the third also shows the clamps we used to group two lines together available at any local hardware that weird white stuff is called snow had a few to much of that in the past days making taking the pics hard and you can see my high quality undercoating on my oil pan :thumb1:hope this helps you in some way