dorkweed
Retired Staff
-
Joined
-
Last visited
Everything posted by dorkweed
-
I think you'll like them Russ!! Almost 62,000 miles on mine now.
-
IIRC; there was a fellow by the call name of "SuperDuty" on CF. He transplanted a CR Cummins into a Ford chassis..........don't remember the year of the chassis though. Anyhow; he was the first PROPONENT of the little Walbro pumps as viable LP's for our trucks. He had several STICKYS/ARCHIVED posts about his dealings with LP's on the CR's. Don't know if Michael would be able to find those or not. It's going back almost 10 years now!!! Anyhow; SuperDuty said that the factory plastic FF cover could handle over 60psi before cracking/breaking/leaking. IIRC; he said that he didn't run those pressures, but that it was a good thing to know. In his first forays into the Walbro pumps for our trucks; IIRC, SuperDuty didn't use a true "regulator"......................instead he used a fitting that looped back into the tank return line. The CP3 took what it needed and it was fine. When GDP expanded on this; he did use a "regulator" to satisfy his customers. Richard told that to me directly!!! I guess what I'm trying to say here is that the CP3 is not pressure dependent. It need flow/volume, not pressure. My wiring harness to my CP3 failed about 5 years ago. Because the pump was still fine, and it was an electrical SNAFU.............my CP3 was still able to draw fuel thru the Walbro LP. Had the pump seized, I think I would've been stranded!!
-
And you're burning mainly softwoods................not as many BTU's as the hardwoods I have in my stacks.....................Oak, maple, cherry, ash and even the box elder.
-
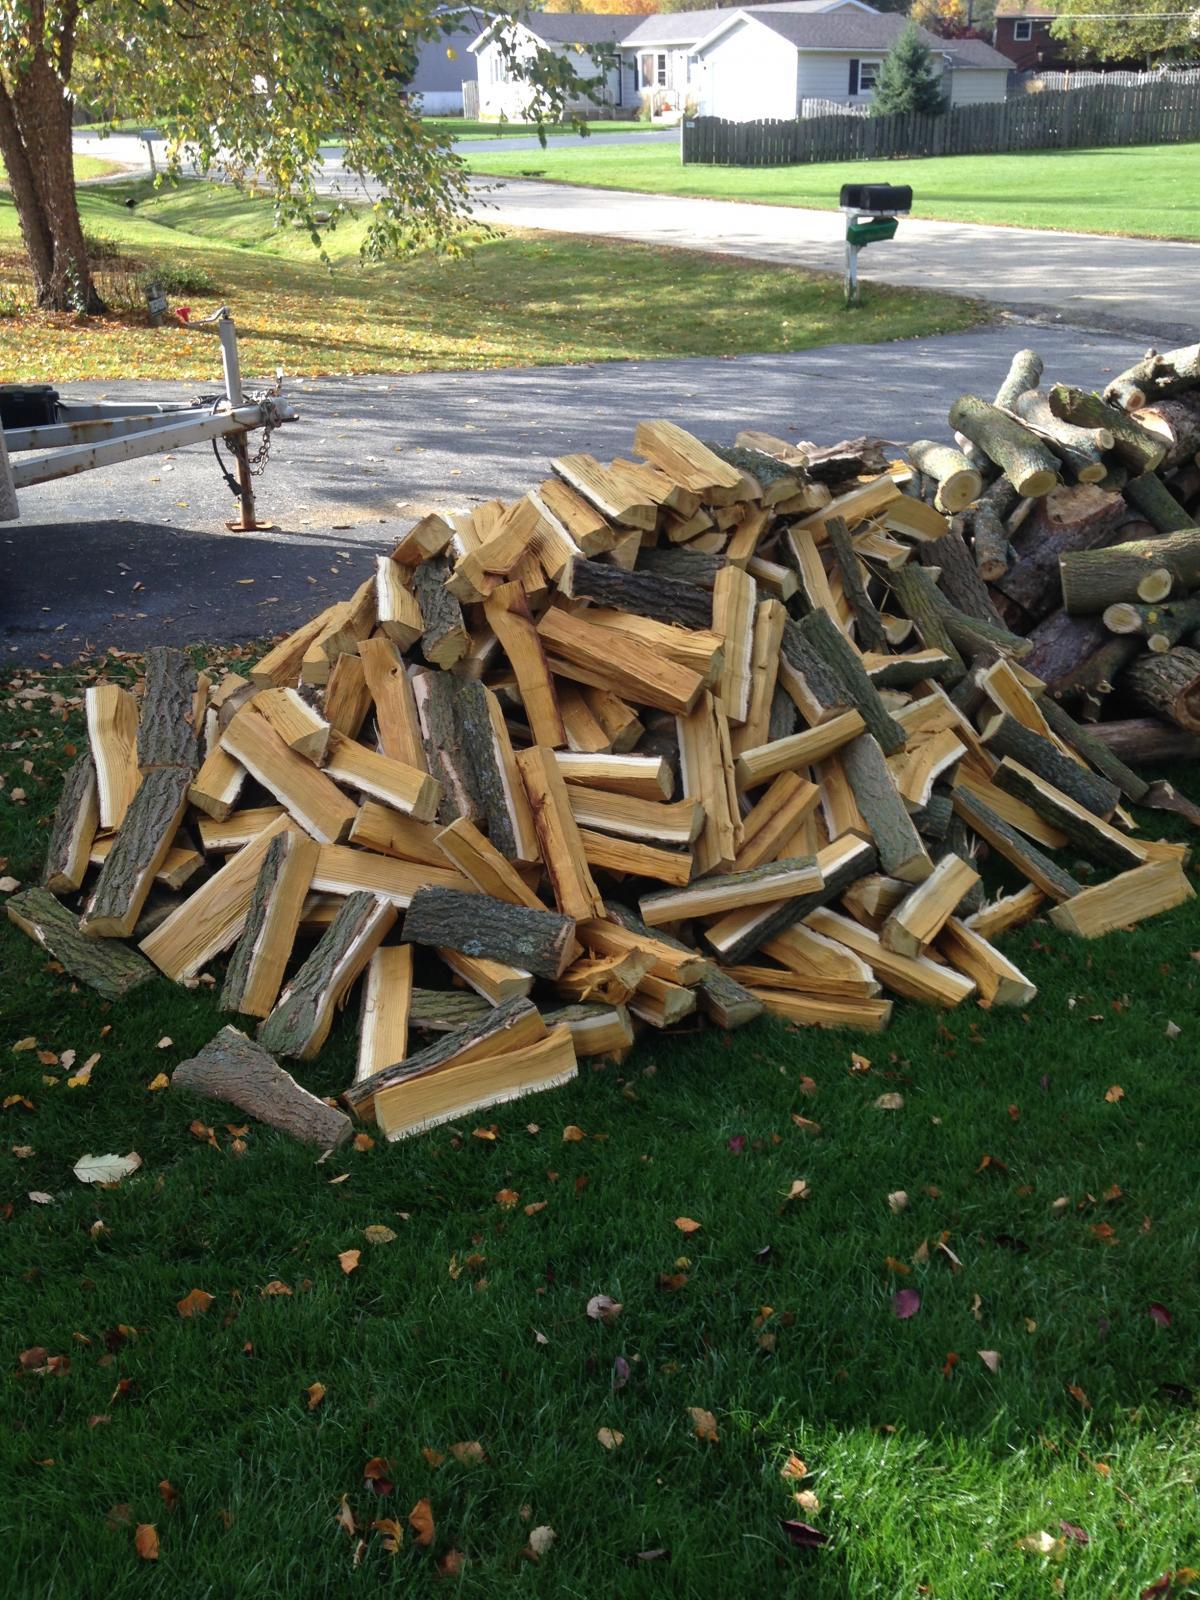
I believe that I'm "officially" 2 years ahead in my CSS wood supply!!! I have this winter and next winters wood CSS (cut, split and stacked). I'll get some pix for y'all shortly.
-
Oh to be 44 years old again!!!! Happy belated birthday Mike!!!
-
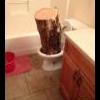
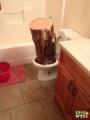
Doesn't look like this, does it???
-
Lately, the one on my I-phone.
-
Twasn't arguing Mike.................I was just asking!!!
-
Been running my GDP Walbro LP system for probably about 8 years now.
-
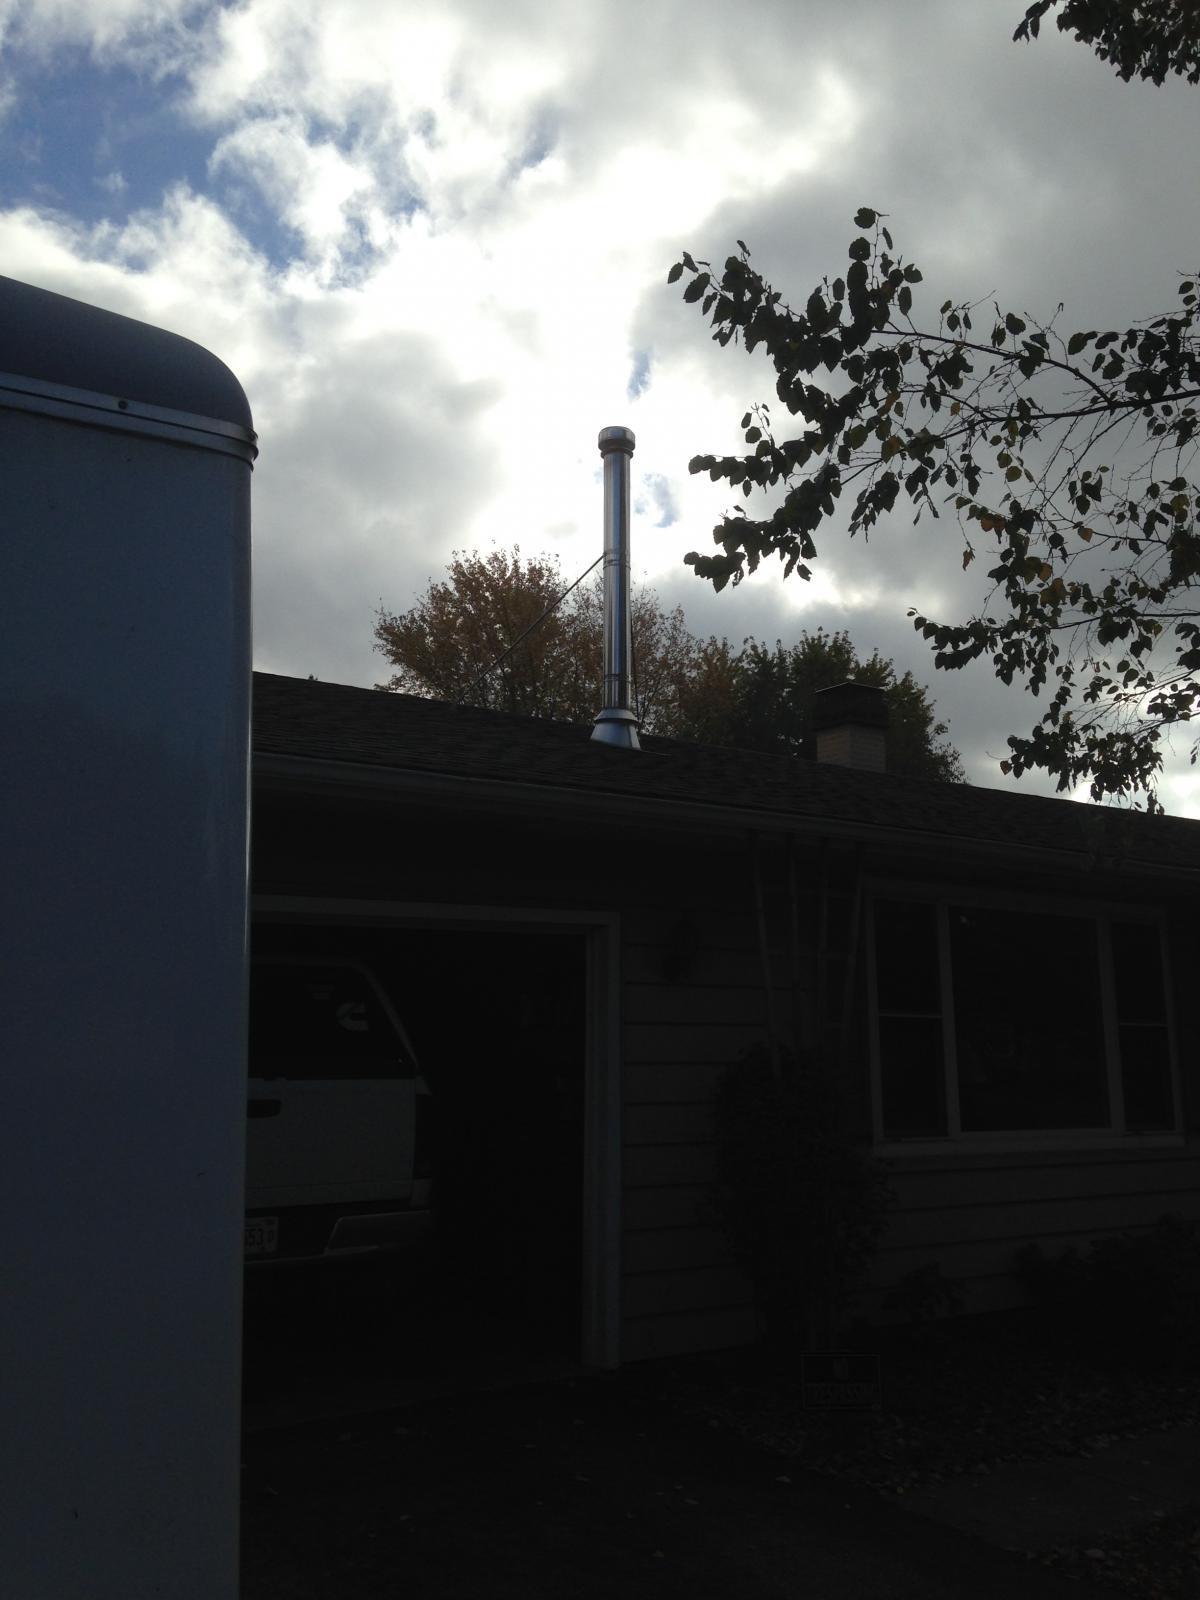
I'm assuming that your running a stainless liner in your chimney here. Is your liner "insulated"??? Either with a wrap or other stuff poured down your chimney??? If not, it'll help. I have just over 7ft. of "class A" chimney pipe above my roof line. There's just only over 3 feet of chimney pipe thru my attic space as my roof is only a 4/12 pitch; and the only spot I could put the stove necessitated the chimney being where it's located now. The manufacturer of my stove says 15ft minimum of chimney height measure from the top of the stove. I'm a 16' now. The only part that gets "nasty" is the cap; and it doesn't never get near to plugging up at all. It also gets pretty darn COLD here also!!!! Here's a picture of my chimney and a load of white mulberry I hand split this AM!!!
-
Is this for investment or to live on????
-
If your wood is "truly seasoned", you'll get very little gooey creosote in your chimney. Burning wet/green wood and letting it smolder causes the moisture and the smoke to settle inside your chimney...................creosote. After almost 5 months of burning last year, I only got about 5 cups of flaky, dry creosote out of my chimney. The stuff that looks like coffee grounds isn't near a dangerous as the gooey, tarry stuff. ARTICLES - WOOD - CREOSOTE FROM WOOD BURNING - CAUSES AND SOLUTIONS Burning wood, no matter how you do it, releases pollutants, mainly in the form of gases and particulate matter. There is no avoiding this but, how these things are dealt with in your wood burning appliance can vary greatly - not only in the type of stove you choose but in how you operate it. One of the main dangers of wood burning is the excessive build up of creosote in chimneys and stove pipes. Creosote is a gummy, foul smelling, corrosive and extremely combustible substance that, if no precautions are taken, will coat the insides of everything it passes through. It is formed when volatile gases given off in the burning process combine and condense on their way out of the chimney. The gases leave the burning wood with the smoke. If the smoke is cooled below 250 degrees F, the gases liquefy, combine, and solidify, forming creosote. Creosote takes several forms, all bad. As a liquid, it can run down the insides of pipes and chimneys, oozing out of any openings. It can form a hard layer coating the insides of pipes and chimney liners. It can form into a fluffy substance that plugs pipes and breaks off and falls down, filling low spots in piping. It is the cause of most chimney fires and the main reason chimneys and pipes have to be cleaned and inspected periodically. Many of you are old enough to remember the rush of people buying wood stoves in the oil embargo days. As a result, the early 1970s saw an explosion of companies formed to meet that demand. If you remember that, you might also remember the rush of people abandoning wood heating and the demise of many of the companies manufacturing those stoves. It wasn’t that these stoves were all bad or that people were all foolish. What happened was that, number one, the EPA imposed pollution standards on the manufacturers that they were either unable or unwilling to meet and, number two, the people who bought these stoves came face to face with the fact that operating wood stoves is a combination of science and art, a large part of which is dealing with creosote. The revolution in stove design in the 70’s was the introduction of the “airtight” stove. No more getting up in the night to feed the stove; you just pack it full of wood and choke the air way down so as to produce a long, slow burn. Where formerly, you controlled the burn by limiting fuel to the stove, the new way limited air. The benefit of this was a long nights sleep. The price was a chimney full of creosote. An air starved, slow burn, produces relatively cool stack temps ideal for creosote formation. People would get up in the morning to a warm house, not realizing they also had a system partially plugged with a highly flammable material since this had never been a problem before. Fireplaces and older stoves produced roaring fires that either burned the creosote out or kept stacks temps above 250 degrees so that the gases escaped without condensing. Creosote such as this can usually be brushed out The ensuing chimney fires and the mess and expense of having to clean out the chimneys periodically caused many folks to sell their stoves and go back to gas or oil. Many of these stoves are still around, however, and the people who own them have learned a thing or two about wood burning. One thing many of these people do is to start each day with a roaring fire. This not only gives rapid heating to a house cooled off during the night and gets your coffee pot perking, it also burns out creosote that may have formed during the night. The result is a series of mini chimney fires that, if done every day and carefully controlled, are small enough to present no hazard. This technique, of course, is only effective for creosote in the stovepipe near the stove. It does nothing to address any problems near the top of the chimney. Also, if the chimney already has an excessive buildup of creosote, the above could spark a MAJOR chimney fire. As with any user-operated appliance, there is no substitute for familiarity with your specific installation, stove and chimney. To fire a stove properly, a stack thermometer is essential. The most common type is a magnetic clamp-on that is attached to the stove pipe above the stove. They are slower to react and not as accurate as probe types but they will tell you all you need to know to fire the stove. Just don’t pay any attention to the zones most of them have indicated on them. For example, mine labels temps above 380 as Overheated. If I followed that advice, I would be loaded with creosote. Glazed Creosote is difficult to clean and extremely flammable once ignited Creosote build up is pretty sneaky. You may not notice it at first but it tends to feed on itself. As it builds up, it restricts the flow in the chimney and/or stove pipes. This slows the smoke on its way out, allowing more time for it to cool and for the creosote to condense and deposit itself thus further restricting the flow. If youdont burn it out every morning, it quickly builds to a point where it is dangerous to do so. The only course left to you then is to take the pipes down and clean them and the chimney. Hopefully, when your stove was installed it was installed with short pipes and few bends. Taking creosote filled pipes down makes a real mess. As for the chimney, you can buy chimney brushes with extending , flexible handles that allow you to brush the chimney from a clean out on the bottom. You can do a reasonable job that way but, its no substitute for a thorough cleaning and inspection which should be done annually. Whether you climb up on the roof and do it yourself or hire a professional chimney sweep, is up to you. Either way, its best to do it in the spring. Creosote is corrosive and it pays to remove it as soon aspracticle . The moist summer weather can cause creosote smells in the house so, best to get it done as soon as the heating season is over. If you hire a sweep, he or she is apt to be more readily available in the spring than in the fall and might even offer a discount for off season employment. Failure to follow these maintenance procedures could well result in a massive chimney fire. This is a truly frightening possibility. People who have experienced them say they are accompanied by a great roar and sparks and flames shooting out of the chimney. The best way I know of to fight them is to completely close off all air to the stove. For this to work you have to maintain your door gaskets, dampers etc. Once you have done that, call 911 and get out of the house! There are only two ways to prevent creosote formation in chimneys. You can either keep the chimney above 250 degree F all the way out the top or, you can burn up the gases that form the creosote in the stove before they reach the chimney. Modern stoves do the latter and capture the heat produced by essentially burning the smoke.. This is true of stoves with catalytic converters and non-cat stoves that burn gases by recirculating them. Either way, less smoke means less creosote. Burn the smoke and you burn the gases. No gases, no creosote. As simple as that. The wood you burn has a lot to do with creosote. All firewood contains water in some degree. How much it contains is important. Wood dried outside, stacked where the wind will blow through it will end up in my part of the world with about 20-25% moisture content.That’s about the best I can hope for. All the water contained in the wood is turned to saturated steam as the wood burns. It enters the stack as steam and water droplets at a temp. of around 212 degree F. This is considerably cooler than the condensation point of the creosote gasses, 250 degrees. Thus, the presence of the steam cools the chimney, the gases condense and creosote is formed. This is true whether you burn hard or soft wood. The moisture content is all that matters. You can’t eliminate it but, burning seasoned wood will keep it to a minimum Finally, the size and placement of the chimney, the chimney liner, the size of the flue, the length of the stove pipe and the size of the stove all factor into the creosote equation. These are matters best discussed with your stove dealer and building inspector if you plan on including wood heat in your new home or adding it to an older dwelling. In summary, newer stoves and properly lined and insulated chimneys have done a lot to reduce the chances of excess creosote buildup, but there is no substitute for experience and education concerning this potentially dangerous substance. Dave Johnson
-
And even if you are going to run a stainless liner, the chimney still should be swept prior to the liner install.
-
Where did you get those Mike????? I thought they went out of business a few years back???
-
Just curious here........... I've only lit the stove 3 times so far......................and no more than just 1 reload after each one. Just to take the damp/chill out of the house. It's been a relatively mild fall so far...............only 2 mild frosts. A lot of rain and damp though!!!!
-
It's just that fake, plastic chrome that is usually covered in brake dust anyway!!!!
-
1. I used an adjustable hole saw and took a SWAG at the "center" of the cap. Darn near spot on on both of them. I did take an old half round file to ease the edge after drilling thru them. 2. Chrome peeling???? Off of what???? Just over 46,000 miles on mine now.
-
http://www.glacierdieselpower.com/dept.aspx?dept_id=07-001 This is a link to GDP's "Fuel Boss". Don't know what happened here cutting and pasting??!!
-
Should my truck sound/feel different after doing this???? I think I'm noticing smoother/more even acceleration....................and a bit less noise at idle. Or is it from working the snot/blowing the carbon out of her on my NoDak trip??? Did this after NoDak trip also.
-
I'll give you $2400 for it sight unseen!!!
-
Finally got around to getting it done today. What an effing PITA!!!! Valve bank 4 is sort of under the cowl and ,5 and 6 are totally under the cowl and you need to be part monkey to get at them with wrenches and feeler gauges!!! Only have 215,486 miles on MightyWhitey and it's the first time done on her. None were crazy out of whack, but some were tight and some were loose. I turned the engine over using a socket on the alternator bolt. Only drew blood on one finger during the whole ordeal.
-
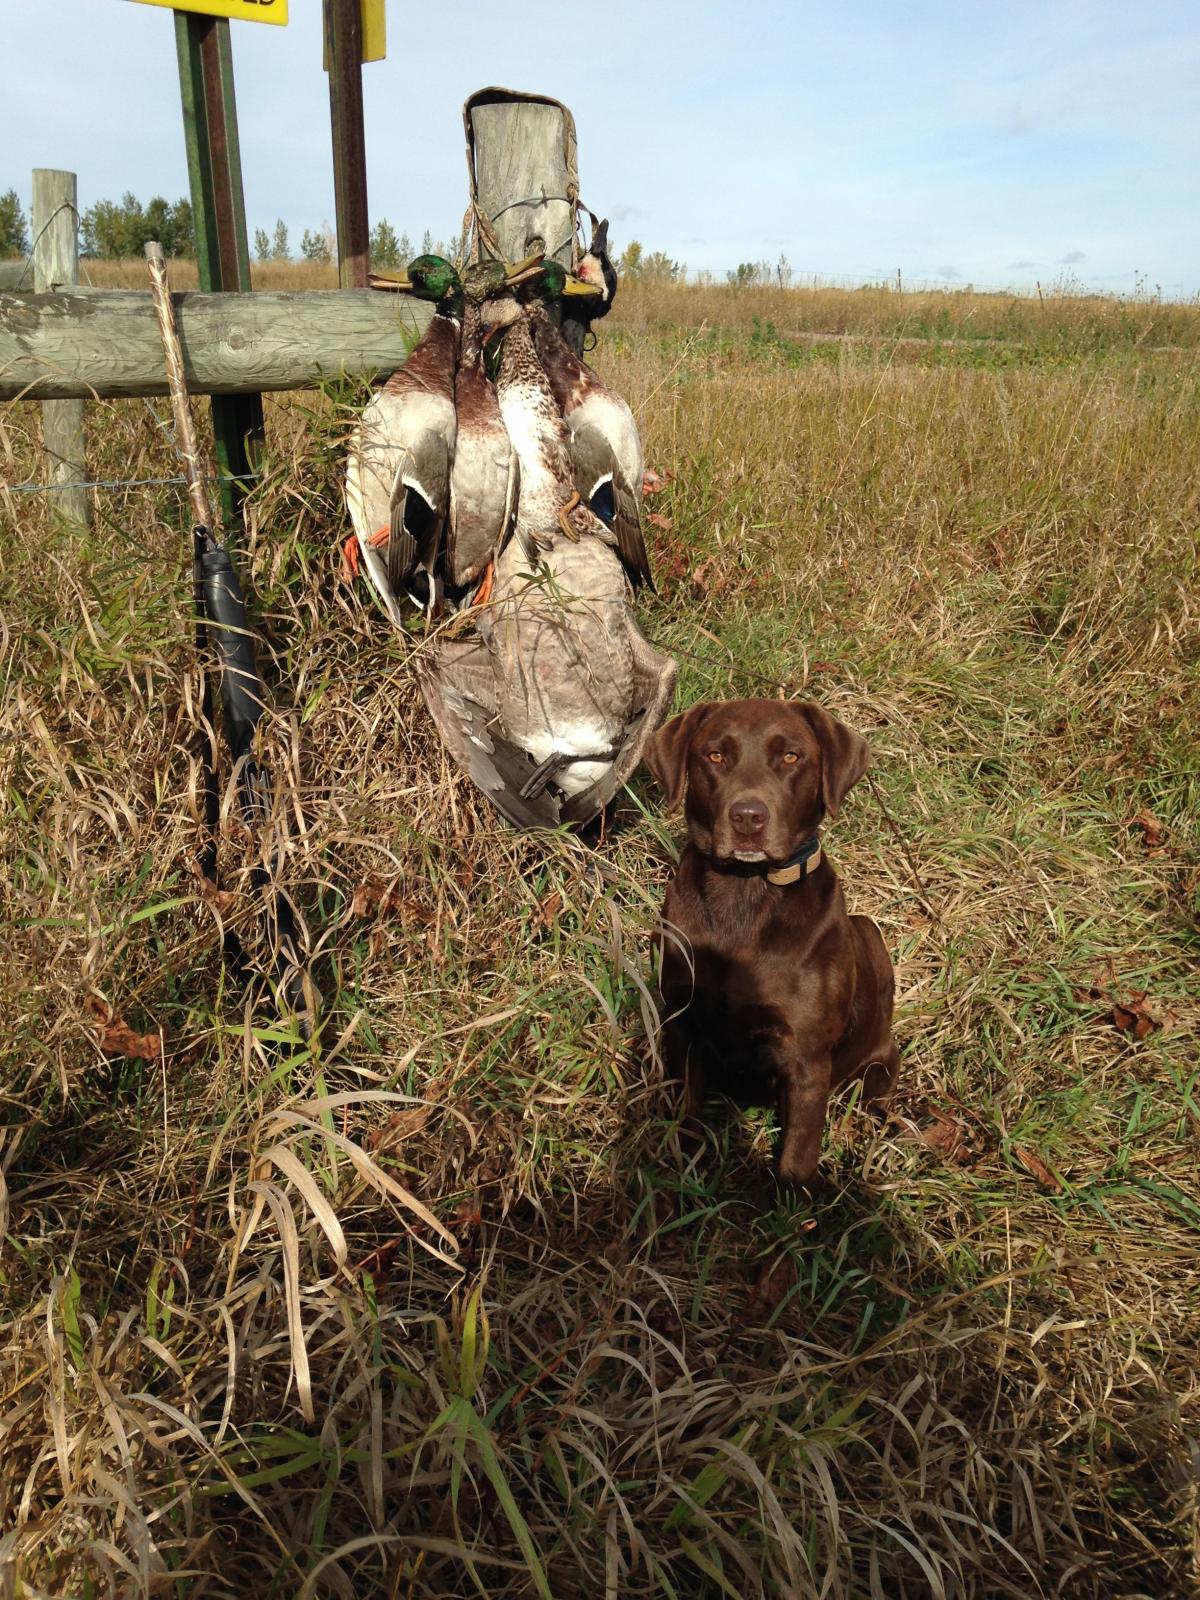
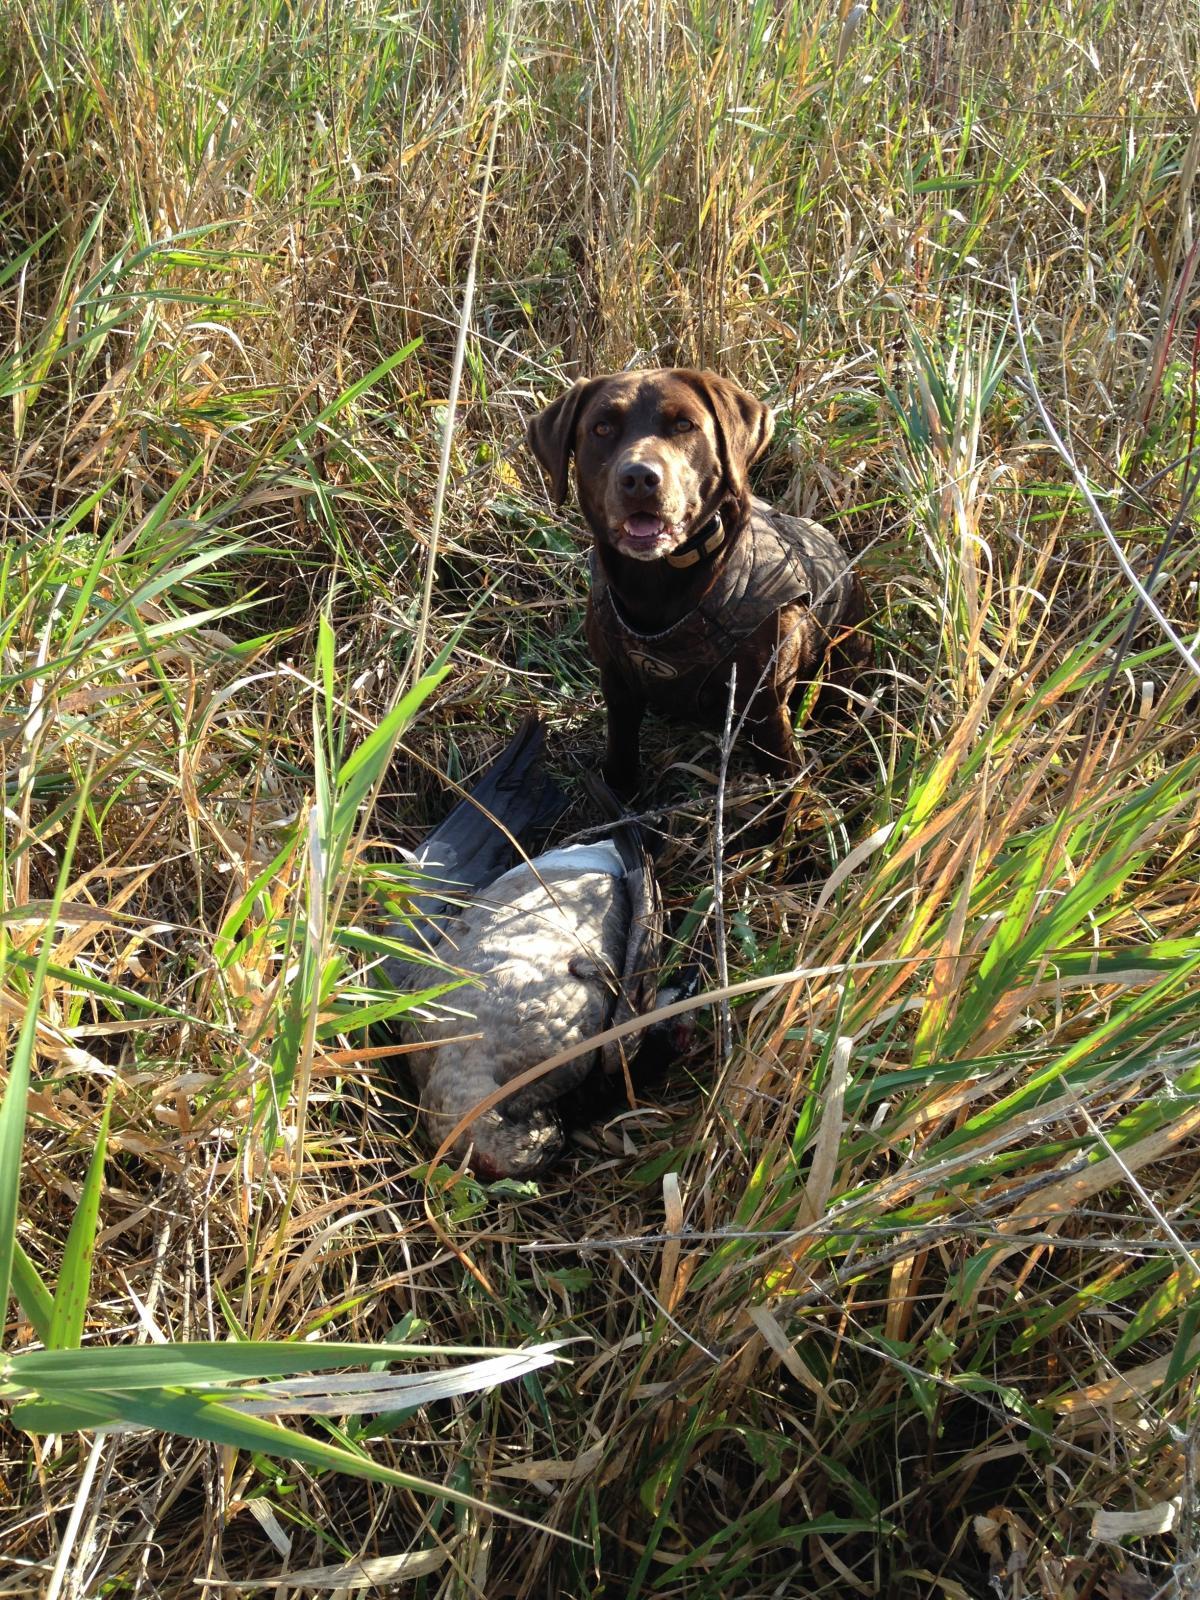
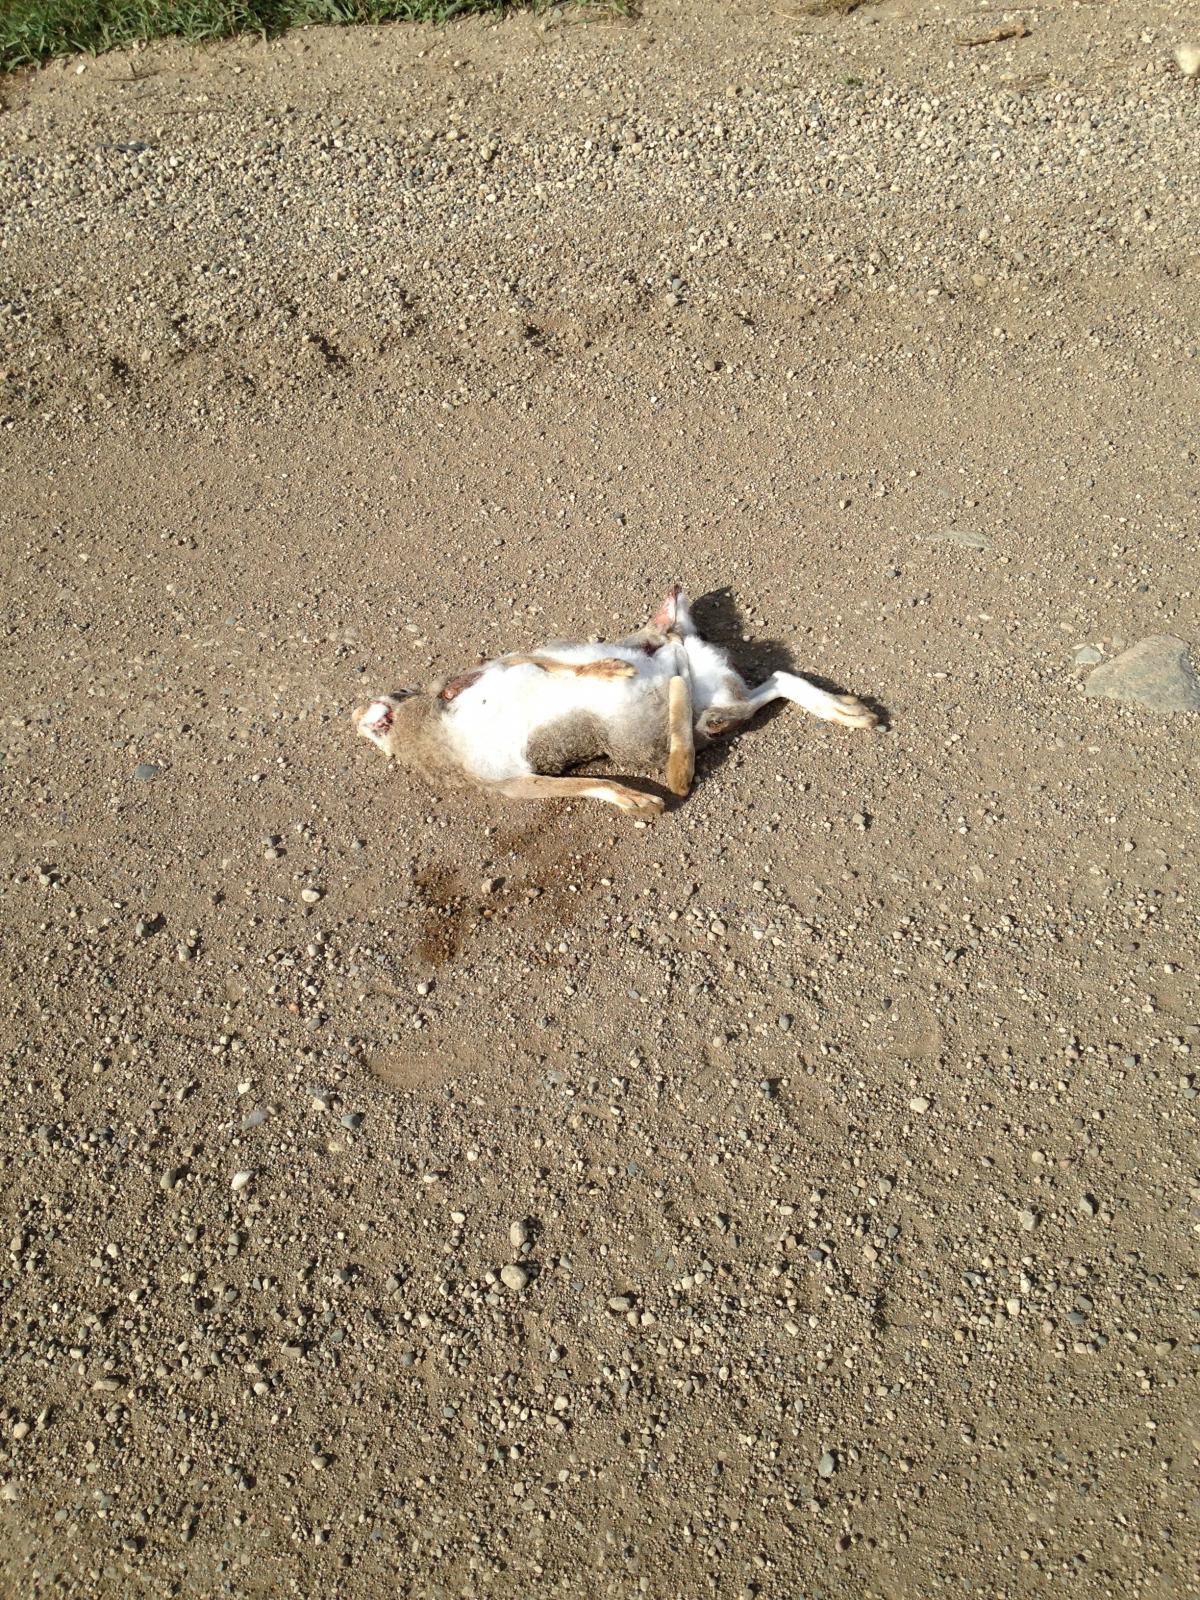
Back home now. Got home Saturday night. Good trip. Sorry we couldn't connect W&F. Here's a few pix for y'all..........

-
I had a VERY WIERD experience driving home from NoDak yesterday with my electronic Autometer FP gauge after getting back on the highway after a fuel up. Pulled into the station, did everything I normally do when filling up.......................dump my 2 stroke oil in the tank, then swipe my card, wait for the card verification, grab the diesel line, pull my 2 stroke container out and insert diesel line and then dispense fuel. However; this pump sounded very odd.....................very AIRY sounding. Anyhow, the pump clicked off, and I go to top off.................it wouldn't let me top off. OK, I call it good, and we hit the road again. After we hit the road, the fuel gauge is reading about 3psi lower than normal and is bobbing anywhere from 3psi above normal to 6-8psi below. It acted this way for probably 50-60 miles before it settled to it's "normal" spot. I really think I got a bunch of AIR in my diesel at that fill up and as the bubbles went thru the Walbro FP it was causing the huge fluctuations I was seeing. My truck drove fine, and I couldn't "feel" anything in the way the truck drove while the gauge needle was dancing up and down. My gauge is next in line after the pump................then my 2 filters..............then the CP3. That's the only thing I can attribute this to. What y'all think???
-
The symptoms you described earlier are not the "rail pressure" sensor. I know, my RP sensor went out earlier this year.
-
Still have to recommend the Cooper Discoverer AT3's. Almost 59,000 miles on mine now!!