Jump to content
Mopar1973Man.Com LLC
  • Welcome To Mopar1973Man.Com LLC

    We are a privately owned support forum for the Dodge Ram Cummins Diesels. All information is free to read for everyone. To interact or ask questions you must have a subscription plan to enable all other features beyond reading. Please go over to the Subscription Page and pick out a plan that fits you best. At any time you wish to cancel the subscription please go back over to the Subscription Page and hit the Cancel button and your subscription will be stopped. All subscriptions are auto-renewing. 

Center Console Replacement


Recommended Posts

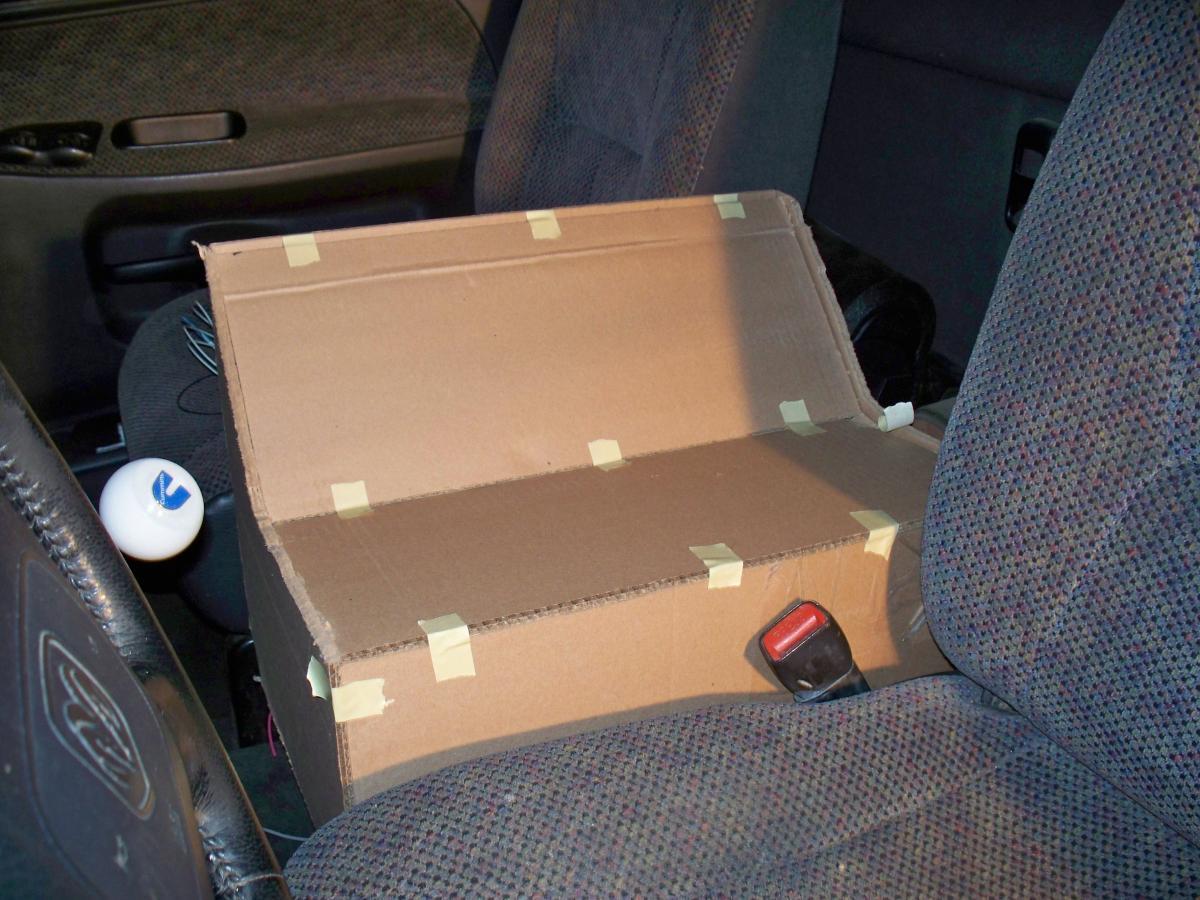
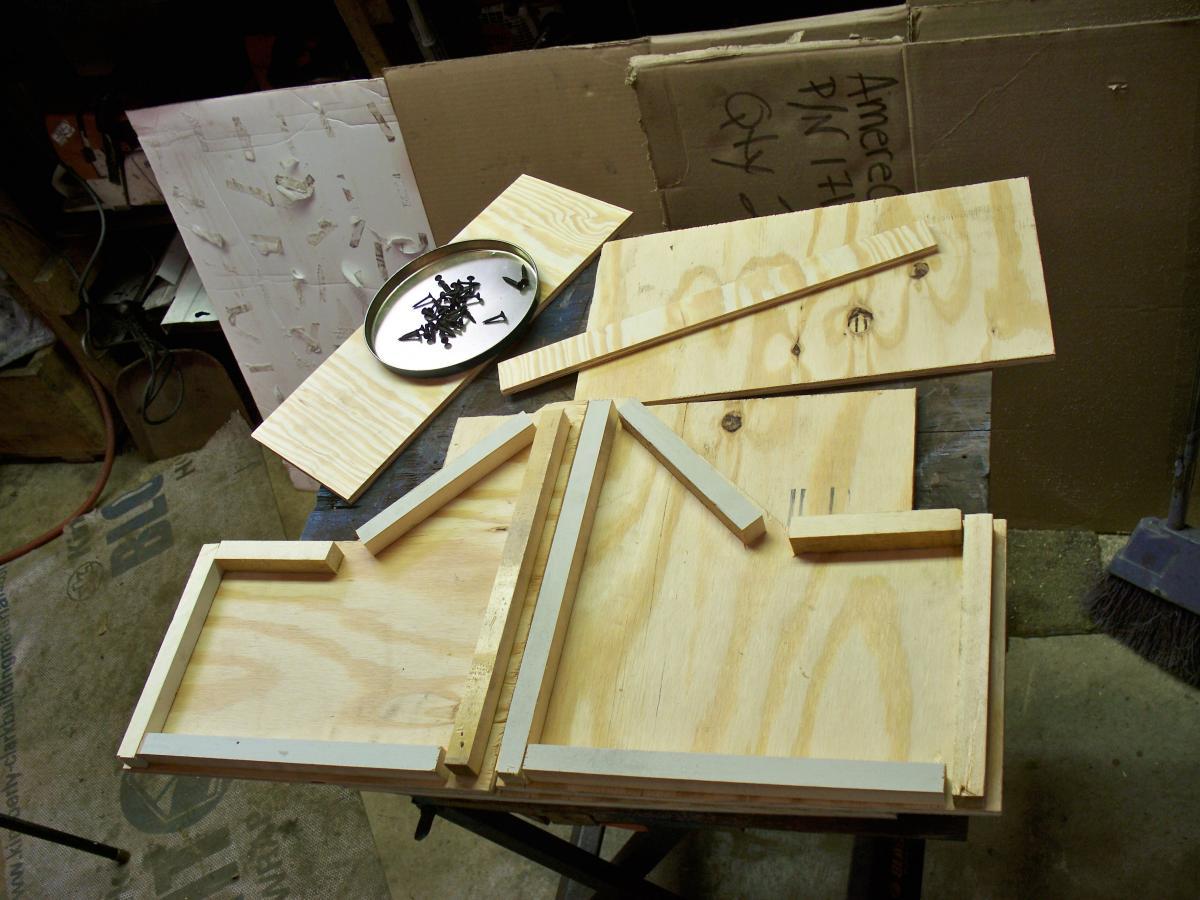
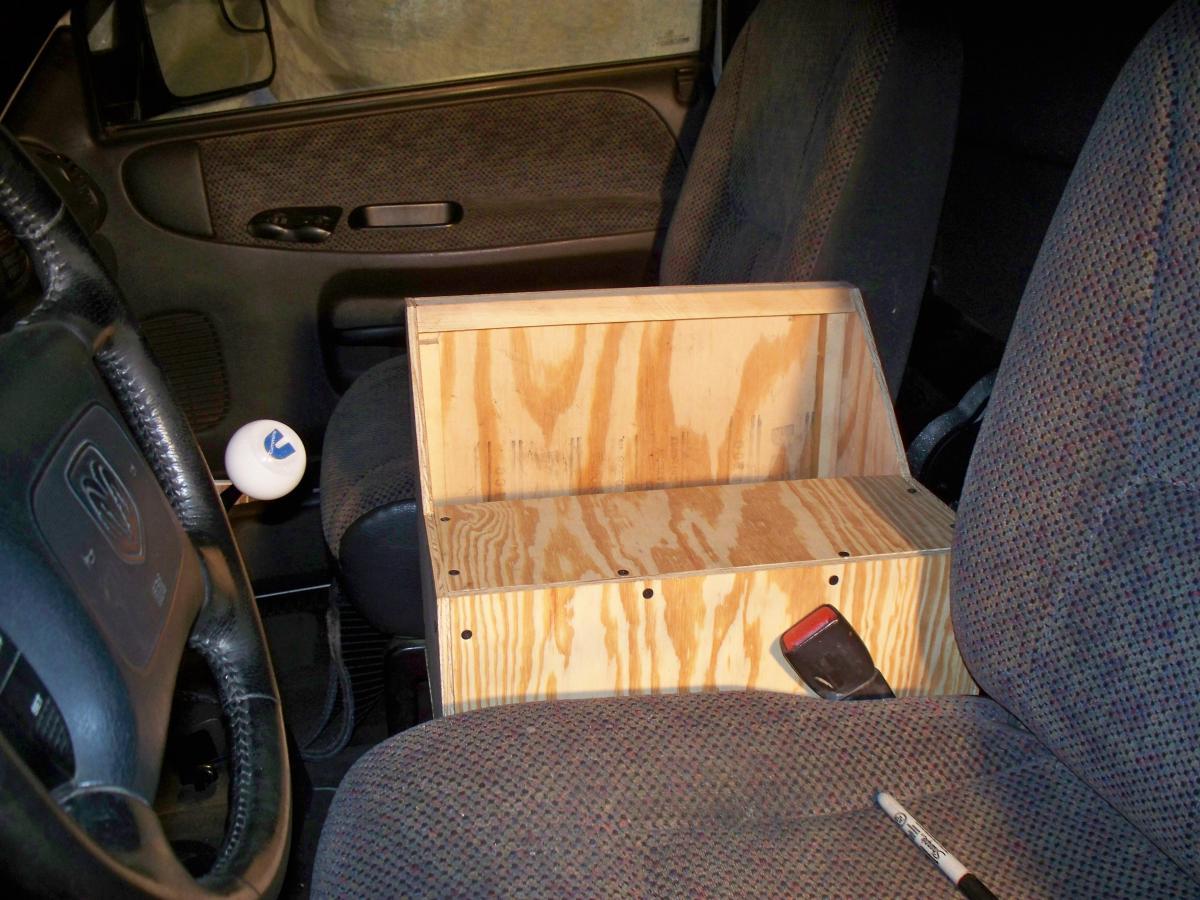
Decided to build a replacement center console for my 2000. It started when I could not find a suitable place to install my switch panel for the airbag inflation switch's and gauge. So I removed the center console and built a mock up out of cardboard and went from there. The cardboard mockup was 4 inches longer than the wooden one. I decided to attach the CB to the front of it.
I ended up with a console 14" wide x 17" long x 15" on the back side(passenger side). It is 9" high on the drivers side and makes a nice arm rest. The panel is going to 16 gauge steel. I have to finalize the gauge layout and cut out the rough holes with the plasma cutter.
I picked up some fabric that is a little darker than I like but it was the closest thing I could find. I am moving 3 switches to the console right now and the Pacbrake air bag controls. I wanted something I can add more to in the future. I will post more as I go. Plan to work on it a little during the week since I brought it in the house out of the cold. I also removed the seat belt for the center seat.
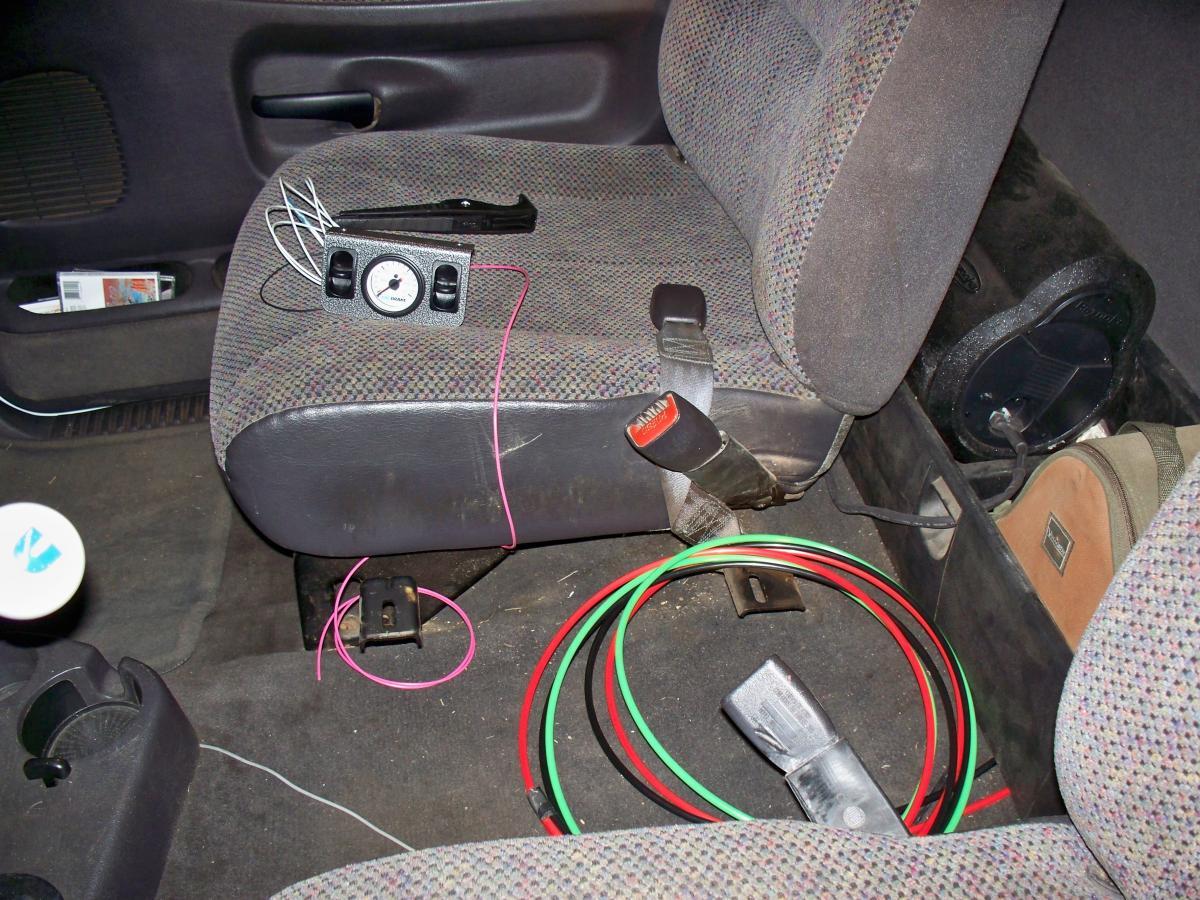
post-1146-0-06440900-1424042382_thumb.jppost-1146-0-87257900-1424042410_thumb.jppost-1146-0-65291200-1424042432_thumb.jppost-1146-0-28236000-1424042467_thumb.jp
  • Like 1
Link to comment
Share on other sites

Thank you for the comments.  I have been trying to figure out what to do with the center.  Right now I just plan to use it for wiring.  I have a fuse block mounted in the box and going to run power to it to run my accessories.  I have to think about it and maybe come up with something yet.  I hardly used the storage in the folding console, So loosing the storage is not a big deal.  I will keep you all posted.

Link to comment
Share on other sites

It does look like it belongs in a 18 wheeler.  I picked up some fabric that is soft and thicker than most I was looking at.  The face that is suppose to be used is black, but I was looking at the backing which is a grey color like the interior.  Tossing around installing some insulation like a foam type pad under the arm rest area to soften it more.  I am still up in the air on that one.   


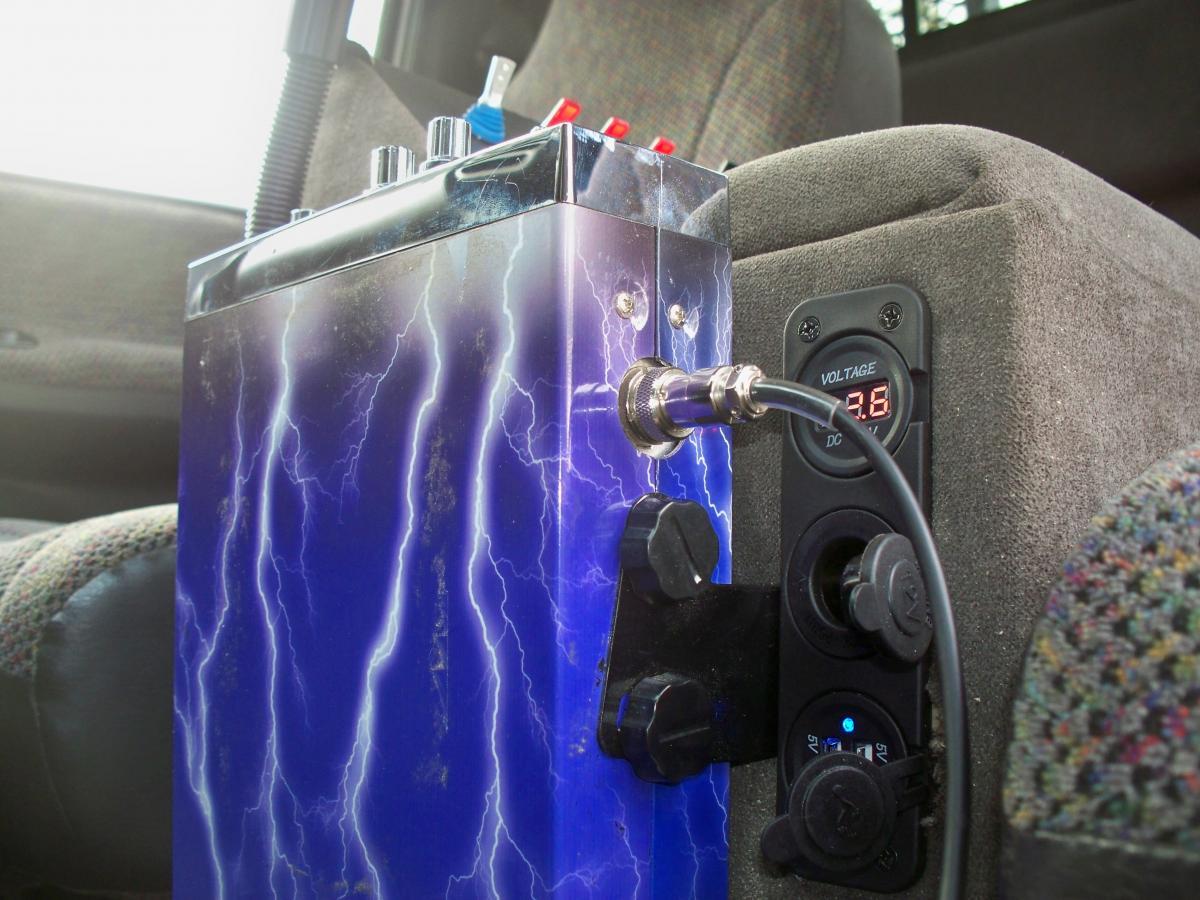
I am moving some switches from the dash to the console.  Two of them work relays for lights and one runs a actuator that rotates the CB antennas up and down.  I have fuse block installed in the console already and I am going to install a master switch to cut off power to the fuse block for when I open up the console and want to work on it.   

Link to comment
Share on other sites

The console is covered and arm rest is made.  The arm rest has dense foam for a cushion and bolts to the console.  I used a piece of steel and welded bolts to it so they don't spin.  I have a little gluing to do yet and plan to cut out the panel tomorrow. 

I am still thinking about how I want to wire everything.  I have a cubby hole switch for the high idle fooler and want to install this in the console. I PM'd Ed(Yankneck696) about it and he said to see if reaches first and do some cutting of the faceplate to mount on the panel. Today I removed the switch from the dash and it looks like it is too short. Probably cut and solder in a section.  I also want to wire in a switch to clutch safety switch.  Does it matter which wire I cut?

post-1146-0-52595900-1424565735_thumb.jppost-1146-0-43616400-1424565806_thumb.jppost-1146-0-91651900-1424565847_thumb.jppost-1146-0-24844000-1424565894_thumb.jppost-1146-0-99302700-1424565939_thumb.jp
 

Link to comment
Share on other sites

Made the panel today and have the layout finalized and holes cut and drilled.  I used #8 x 1/2" screws and wood inserts to fasten the panel.  I had some paint left over from the triple gauge pillar that I bought from Geno's Garage to paint the steel.  Next weekend - wiring it up.

post-1146-0-03794100-1424646671_thumb.jppost-1146-0-45899500-1424646696_thumb.jppost-1146-0-20032100-1424646722_thumb.jp

Link to comment
Share on other sites

I have the rough wiring done and the box installed in the truck. I also found a NOS seat cover from Dodge for a '98 Quad cab, which has a different seat. My hope is to take it to an upholster in Fond du lac and have it made to fit. My current seat is worn but not torn on the left side where you get in. I am going to call them tomorrow and see how busy they are and if they can get this done soon.
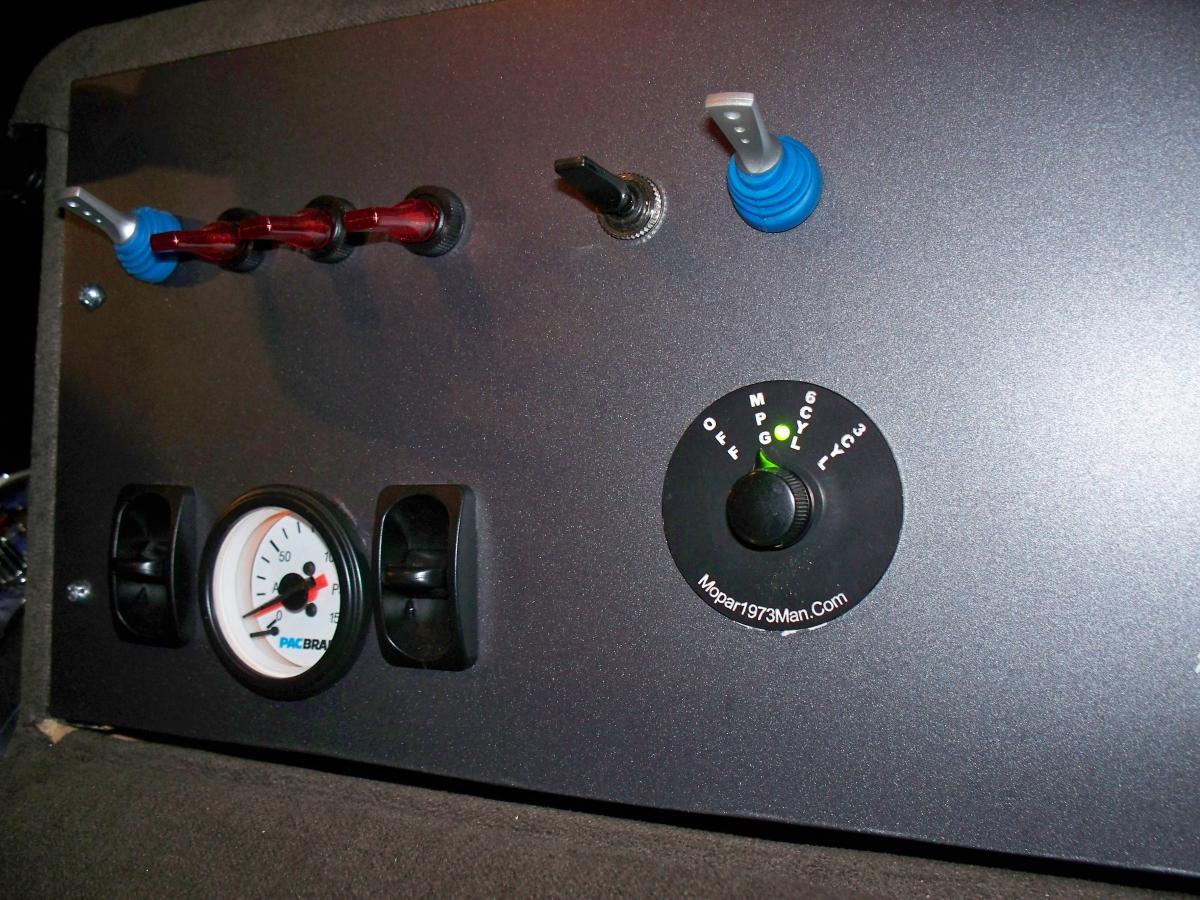
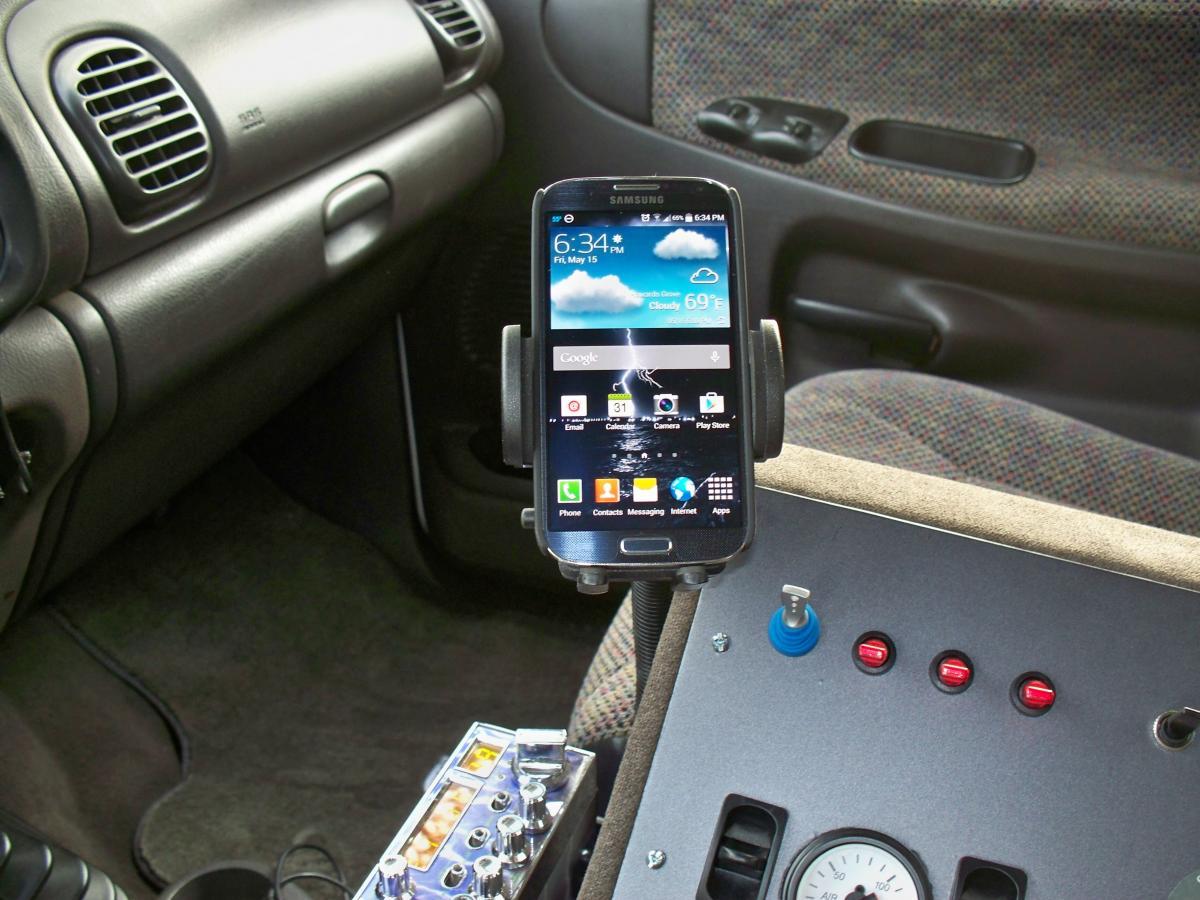
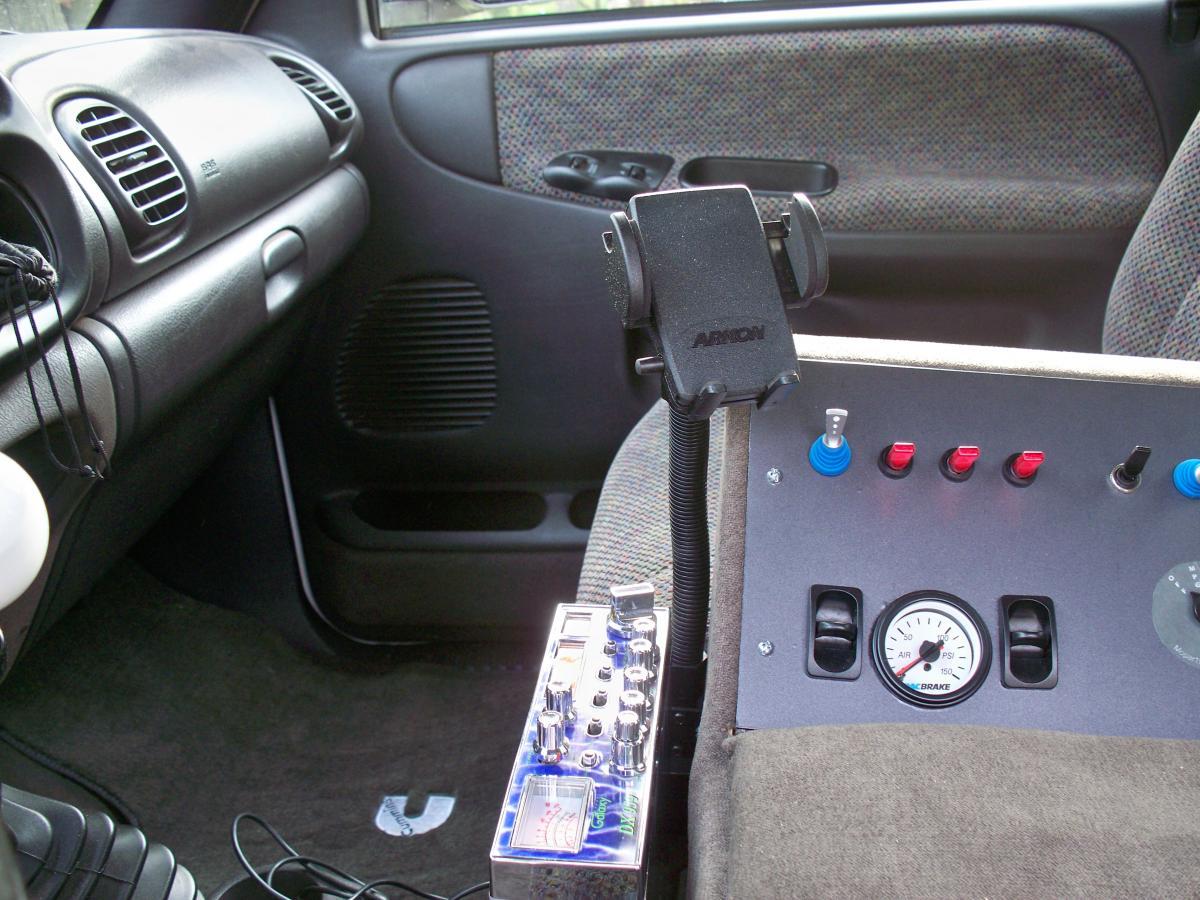
I ran into a problem when I extended the high idle fooler cord by three feet. I am not sure what is going to happen with that yet. The switches on the console from L to R are as follows.
1. Master switch which turns off all power to the console except for the antenna actuator which is on a it's own circuit.
2. PacBrake exhaust brake switch, I still have the switch on the stick for now. I want to see how I like this and maybe remove the switch on the stick later.
3. Rear facing light switch, I have four rear mounted lights. Two on the headache rack and 2 below the bumper.
4. Driving lights switch for lights in the front bumper.
5. Antenna actuator it is DPDT momentary switch I moved from the dash.
6. It is for the gauge light in the airbag pressure gauge and the high idle fooler led.
After I get this sorted out it's time to tidy up and finish this project. Can't wait to have the interior back together.

post-1146-0-05189300-1425233974_thumb.jppost-1146-0-30356300-1425234005_thumb.jppost-1146-0-04139100-1425234039_thumb.jppost-1146-0-21607100-1425234056_thumb.jp

  • Like 2
Link to comment
Share on other sites

  • 2 weeks later...

post-1146-0-75682200-1426237352_thumb.jpI have been slowly receiving things I ordered last week. I found a dark gray vinyl wrap that I think will do the trick. It should be here tomorrow or Saturday. I have reservations about a wood grain wrap. The truck doesn't have any other wood grain in the cab.

I ordered and received a OTC code scanner from Amazon. I had a 113 and 118 DTC's. IAT and ECT sensor codes. Cleared the codes and everything is fine with the fooler removed. I soldered in a piece of new wire and it worked in the off position, but not in any other. I don't know if I bumped it or did something to it when I removed it from the dash, but now it is not working at all. I ordered a new one from DAP. I am going to cut and crimp in a section of wire with bullet connectors.

I took my seat to United Auto Trim in Fond du Lac and he was able to fix my existing seat cover and fixed the foam since it was starting to fall apart on the edge where you get in. I am extremely happy with how it turned out.

I plan to finish it this weekend as long as the vinyl wrap arrives on time.

post-1146-0-27234400-1426237241_thumb.jppost-1146-0-66058200-1426237278_thumb.jppost-1146-0-77922800-1426237318_thumb.jppost-1146-0-75682200-1426237352_thumb.jp


Link to comment
Share on other sites

Good news and bad news. Good news is it is installed and the interior is back together. Bad news is I still don't have a working high idle fooler.
The vinyl wrap arrived Friday and I covered the panel that night. It is a 3M product with air release(no air bubbles). I like the color and it works with the interior IMO. Today I finished reinstalling all the switches and wired up the clutch switch. I am not sharing the location of that switch though. I have soldered in new wire twice in the old switch and once in the new one and they both have done the same thing every time. I don't know if the additional wire is changing the resistance or what? I used about 4 ft of 16 gauge wire each time. That is why there is two holes in the panel. I plan to get it working, just not sure when. The weather is warming up and the snow is gone, once the rain washes the roads the truck is coming out. I can't wait.

post-1146-0-99909200-1426384917_thumb.jppost-1146-0-48726100-1426384977_thumb.jppost-1146-0-59367800-1426385000_thumb.jppost-1146-0-24220700-1426385033_thumb.jp

Edited by ABennin
  • Like 1
Link to comment
Share on other sites

  • 3 weeks later...

The fooler is working and installed. Did not realize the bare wire in the bundle was used and never spliced in a wire for it. Figured that out and it works fine.  I scanned the fooler plate and printed it on adhesive backed paper, cut it out and put it on.  Looks alright would like to maybe find something with a little more gloss down the road, but it's readable and works.  I'm calling this project done.

post-1146-0-73062800-1427760033_thumb.jppost-1146-0-63674100-1427759974_thumb.jppost-1146-0-83771600-1427760006_thumb.jp

  • Like 1
Link to comment
Share on other sites

×
×
  • Create New...