Jump to content

Welcome To Mopar1973Man.Com LLC

We are privately owned, with access to a professional Diesel Mechanic, who can provide additional support for Dodge Ram Cummins Diesel vehicles. Many detailed information is FREE and available to read. However, in order to interact directly with our Diesel Mechanic, Michael, by phone, via zoom, or as the web-based option, Subscription Plans are offered that will enable these and other features.  Go to the Subscription Page and Select a desired plan. At any time you wish to cancel the Subscription, click Subscription Page, select the 'Cancel' button, and it will be canceled. For your convenience, all subscriptions are on auto-renewal.

Posted
  • Popular Post

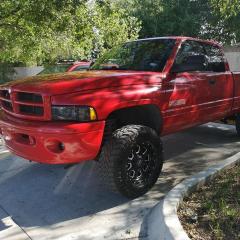
Hey folks, I haven't posted in a while but i've been around tinkering with 2 out of the 3 2nd gen 24v's that I have. My latest project I've been working on is my red 2001 sport truck I thought I'd share. 
I got the truck a few months ago and immediately began tearing it apart once I got it to the house. The interior was disgusting and falling apart, typical broken dash, it rattled, there was mold growing on the carpet and it even had maggots under some old food. Here's the progress so far. 

28378536_2023224767694936_1557113854561878016_o.jpg.88434e33e9325bf9ba58aa3e1c38a6c5.jpg28467781_2023224667694946_6617676796403908608_o.jpg.6e5cbaca38bc94ad0c1d0e2962b822f9.jpg30712103_2079792388704840_6565881578168254464_n.jpg.a1f4017b1d385f3a5d20835e000abd30.jpg


Torn apart within the first 24 hours of owning it

31900921_2099884603362285_4460399514867466240_n.jpg.561d1604c94afef29d7be37d2f304f98.jpg


The absolutely disgusting old carpet, I was afraid to even touch it without gloves..

31487329_2099884653362280_6838374743175856128_n.jpg.0e30cb1ebbc7d37cf98135cbadc9e58c.jpg


How it turned out after scrubbing it and using a house carpet extractor with the hand hose, went over it twice

37888383_2220638264620251_6475831605918171136_n.jpg.8d78c0bbde47c7e1a2899c849a94863b.jpg


Got the carpet back in, did a slightly darker dye to get rid of the orange discoloration from the coolant dripping onto the passenger side, This was gone over twice and then I hit the passenger floor for a third time while it was in the truck so it's still slightly damp so it's a little bit darker right now. 


37876148_2220638331286911_7989690926446411776_n.jpg.d74e3772ef2ed7f648769e17acbe6324.jpg


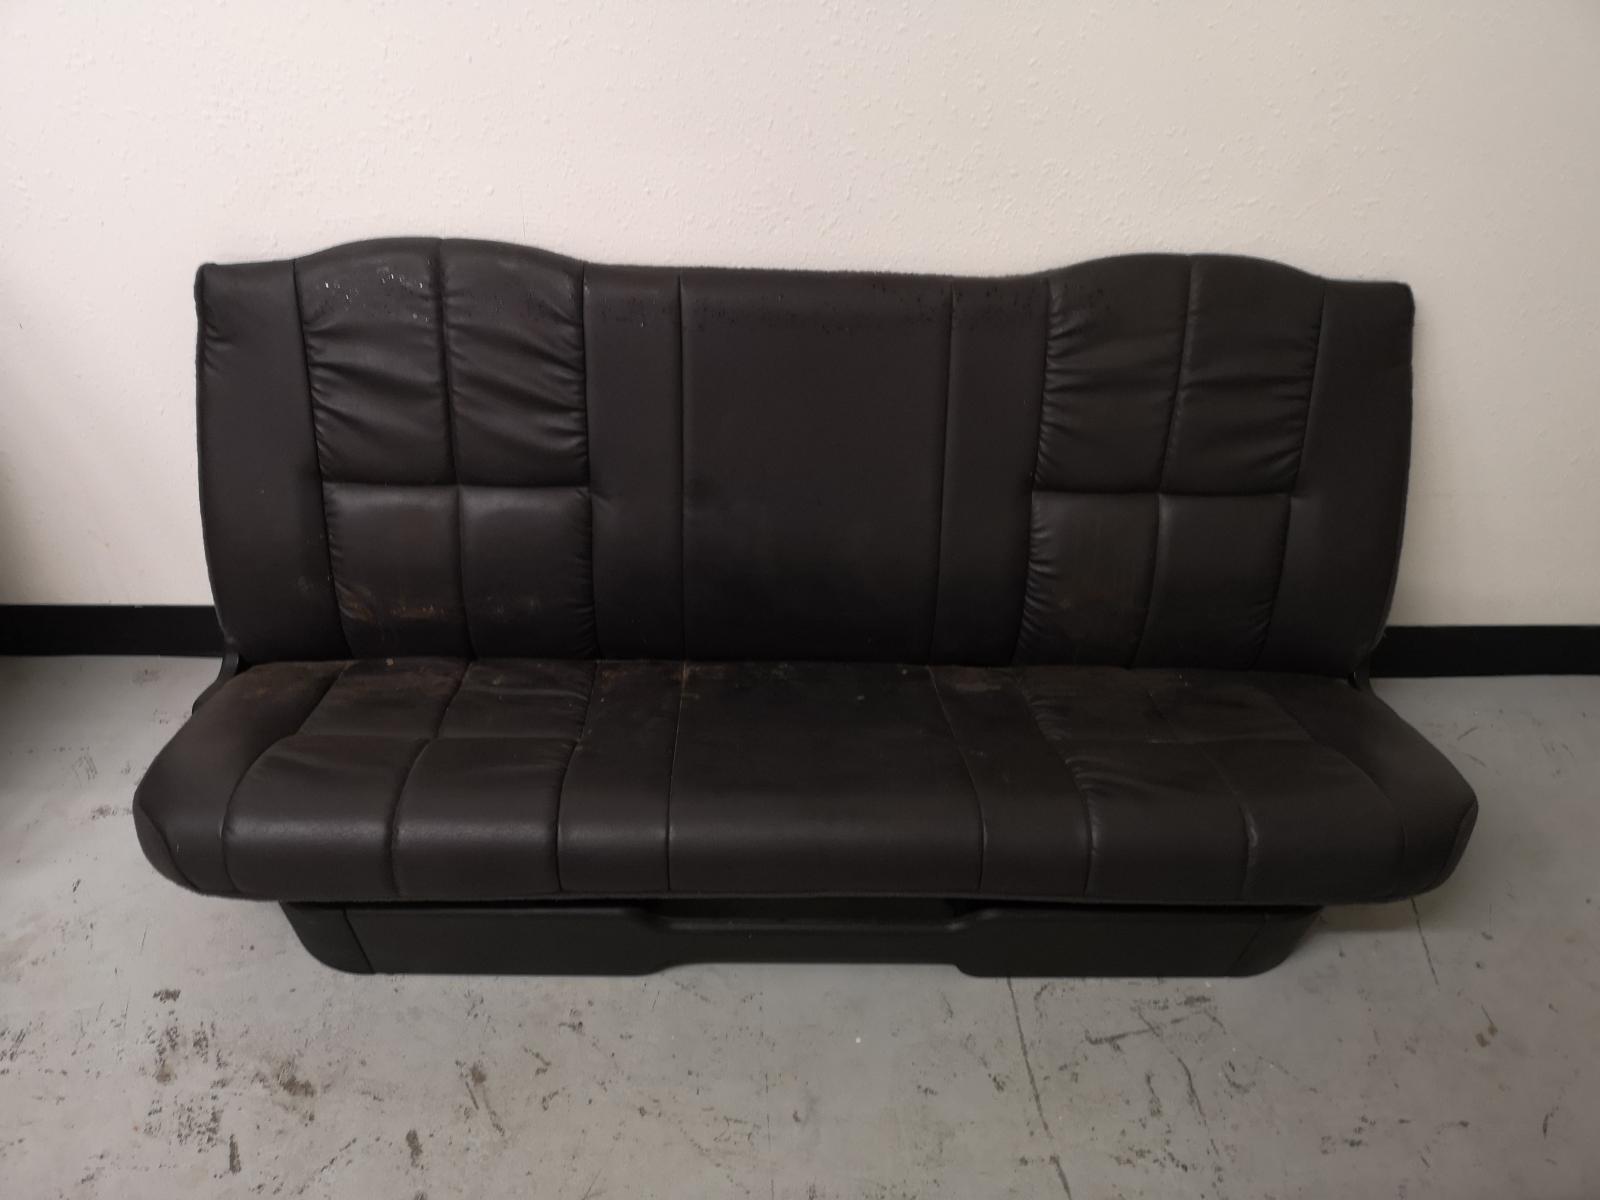
Put some of the interior back in after a vacuuming as much as I could, the back seat looks brand new!


37864401_2220638297953581_7992401196839075840_n.jpg.6a09b2964b7bb2417c12ddba83d4b547.jpg


Time to work on the old cracked dashboard! 


37932236_2220639197953491_5159509200111403008_n.jpg.f30393568b0b5ad8efeab4efe46978ea.jpg


The whole dash frame got taken out, stripped, wiped down of any dirt because i'm very meticulous. If I'm going to work on something, I figure might as well do it right the first time.


37856960_2220639361286808_591016941930414080_n.jpg.0a4a01a2d77502caaee58a08ce35c6a3.jpg


The LMC dash fit perfectly with no issues at all. 

37880218_2220639231286821_4143734831718596608_n.jpg.690051e9dd9c962a2c5398f4b2eef153.jpg


At this point in time I figured I was already this close to the HVAC box, I might as well pull it out and clean it! If you look at the blend door at the top right, the foam had mold growing on it, no thank you! 


37910587_2222949141055830_1962694402371485696_n.jpg.f9e97114c3ce0c72e9e817b842d16c81.jpg


More dirt, going to have to clean that!


37910588_2222949197722491_2509412239862136832_n.jpg.f3e064c672529e00841dcdc7a6c6eab6.jpg37948129_2222949247722486_1524839773787652096_n.jpg.3eb96a2489c26683f678d388f0e382e5.jpg37881976_2220639307953480_6977547725269106688_n.jpg.edc18c019e0b82a3df0dbb2eaf67ce02.jpg


Well, I sure was glad I decided to remove the HVAC box, Leaky heater core, dirty evaporator, bad blower motor, and a crumpling blower motor resistor. Yikes!

38008001_2224238844260193_3299301620889681920_n.jpg.c970dddaeb770d3989f151a565da935a.jpg38071729_2224238880926856_5130771505214390272_n.jpg.a06721237ff8b8c6e1eab3277c41d770.jpg38085691_2224238920926852_8239739923804979200_n.jpg.3dedfb20f5464bd981a88df02a54523c.jpg


The entire HVAC box got taken apart, cleaned from top to bottom, and reassembled with all new everything! I even went ahead and pulled off all the old foam and put on a new sealer where the old foam was falling apart. 

38008005_2224238957593515_1676298943622807552_n.jpg.0edccfd3cc43c344658219cddbc0e41b.jpg


Now that the firewall is cleaned up, time for the HVAC box install. 


38033394_2224239007593510_4469076538511327232_n.jpg.c6a2621fcfc19ed85656ccdae5c14627.jpg


Boom! Put in place and ready to go.


37936597_2224239050926839_7731432073331736576_n.jpg.4abe839cc9638343bd6f8b84b301e6ab.jpg


Remember the old moldy foam from earlier? All gone, and seals perfectly! 


37987903_2224239090926835_3722156565818507264_n.jpg.7487fec334a93dcac959d41247e69c6b.jpg


The midnight grind, literally...


37958628_2224239594260118_8772600057905020928_n.jpg.3dc353a28186415ead282d6e638179c8.jpg37995821_2224239637593447_883354500818010112_n.jpg.1e63c8b220a0c852f9b917da98d53a31.jpg


By the morning I had everything put back in and was ready to go. 


38671031_2241093712574706_8641756486277529600_n.jpg.20324f5418f4342fb167071de5cbdfcb.jpg


All that work and the dash bezel was still cracked, well, until I FINALLY found a wood grain bezel in 100% perfect condition with no scratches or broken tabs! :stuned:


38757396_2241093749241369_3170548379780382720_n.jpg.9d963c2005b90c8f7cb9da7ab61176fc.jpg38612509_2241093782574699_7313085229156007936_n.jpg.2cd8b595d8092a4f996919a9c64b1391.jpg


Out with the old, in with the new! The steering wheel bugged me though so I ended up getting a cover for it.


44840048_2359042100779866_1427726216718188544_n.jpg.e7631c88b4f8a061f786d8a03fd2e1f0.jpg44908258_2359042150779861_4458591544089247744_n.jpg.cf40829d16f5cedcadeb13daa3400609.jpg


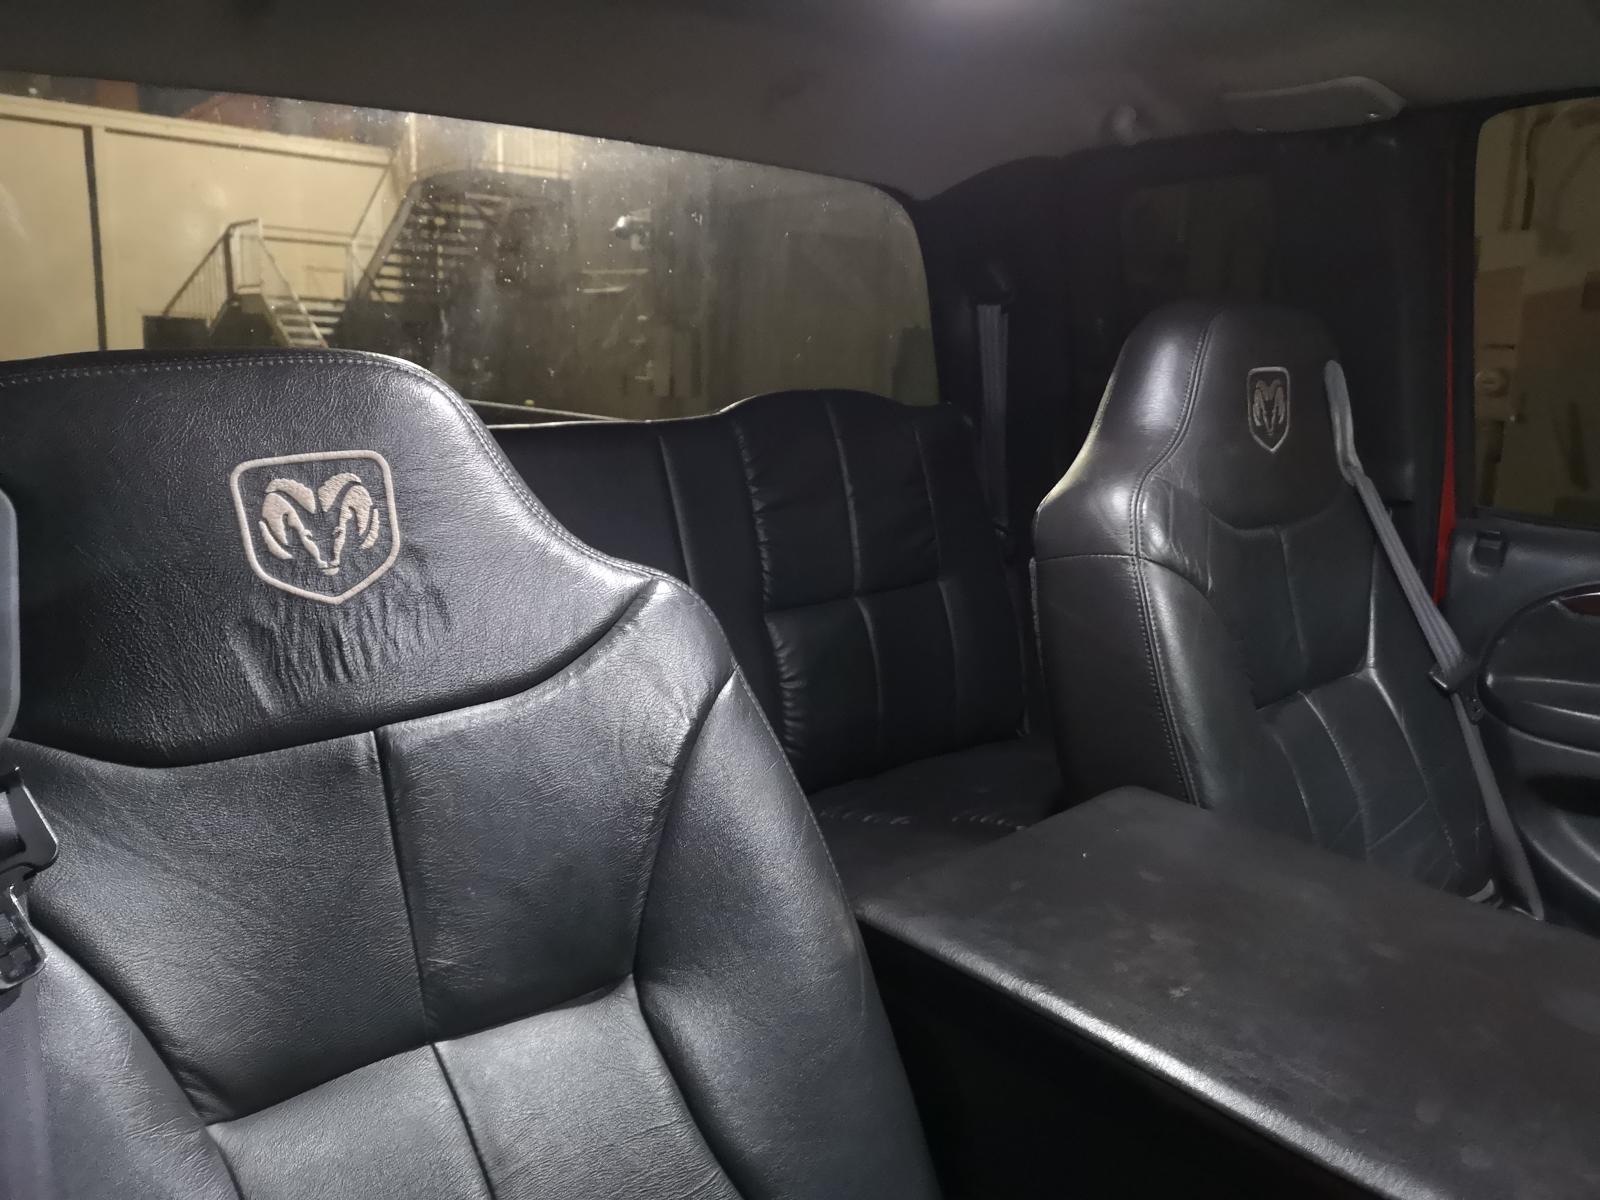
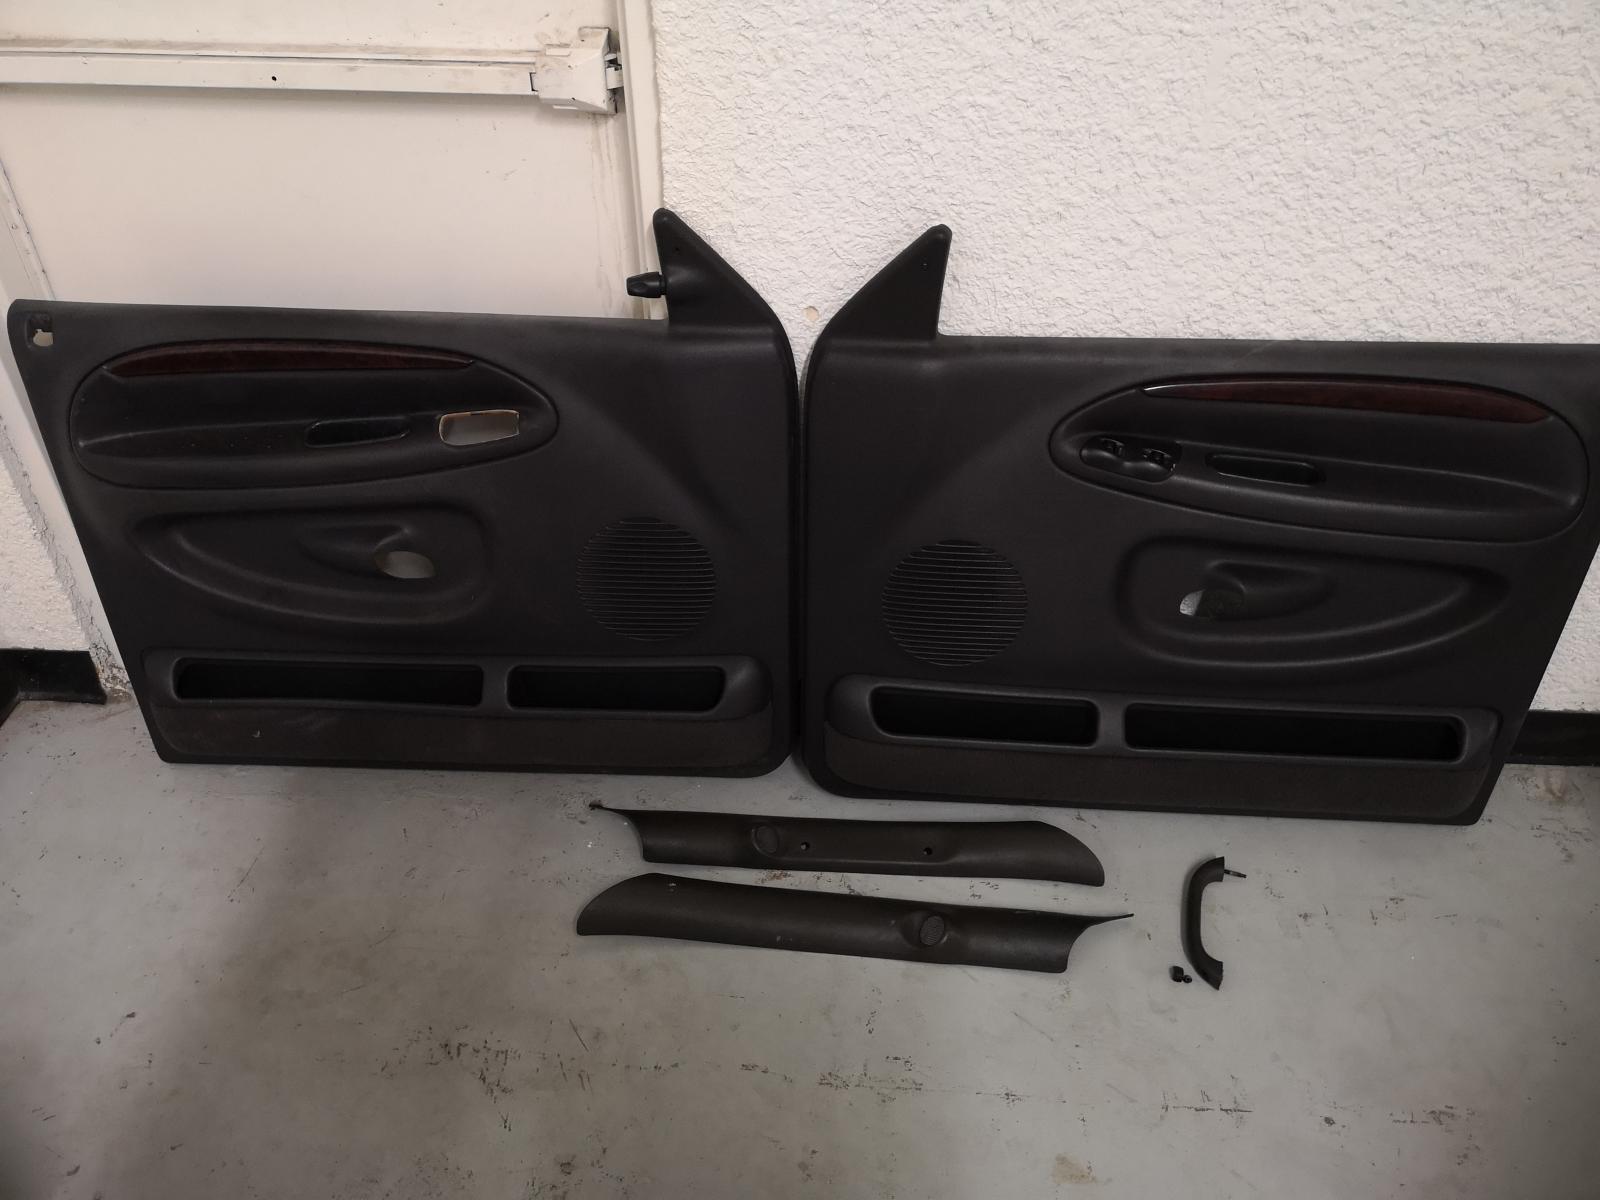
As of last night, I believe she's probably the the truck with the nicest interior. Just need to find some power seats and some agate wood door panels. Maybe do a new steering wheel and definitely need to get a 12v outlet that clips into place nicely. Every piece of the interior got pulled out and cleaned, the cup holders got disassembled and cleaned, including the rear one under the console. This interior is immaculate now.

Here's a little bonus for sticking around this long. 


44690978_2354700821213994_7350104591662317568_n.jpg.134121258c9f0e7d027d019c1d4bfc75.jpg


I also did the 4th gen steering upgrade, as well as a Dodge Off Road Track bar and a steering stabilizer. Big difference coming from the stock setup, Once I got all of it in and took it for a test drive, my power steering was leaking and my water pump went out. That's actually coolant dripping on the ground in the last picture but since then has all been fixed! 
The wife will be a happy camper driving this until I sell my 99'. :thumb1:


Thanks for taking a look! It was a lot of work but I don't regret a single moment of it and will do it again in a heartbeat with the way it turned out. 


Edited by Cronus577

  • Replies 54
  • Views 23.3k
  • Created
  • Last Reply

Top Posters In This Topic

Most Popular Posts

  • I did just that.  Used the soap cannon, scrubbed, and then power washed.  It takes a couple days to fully dry because of the padding.  While it's drying, I'd suggest putting down some sound dampening

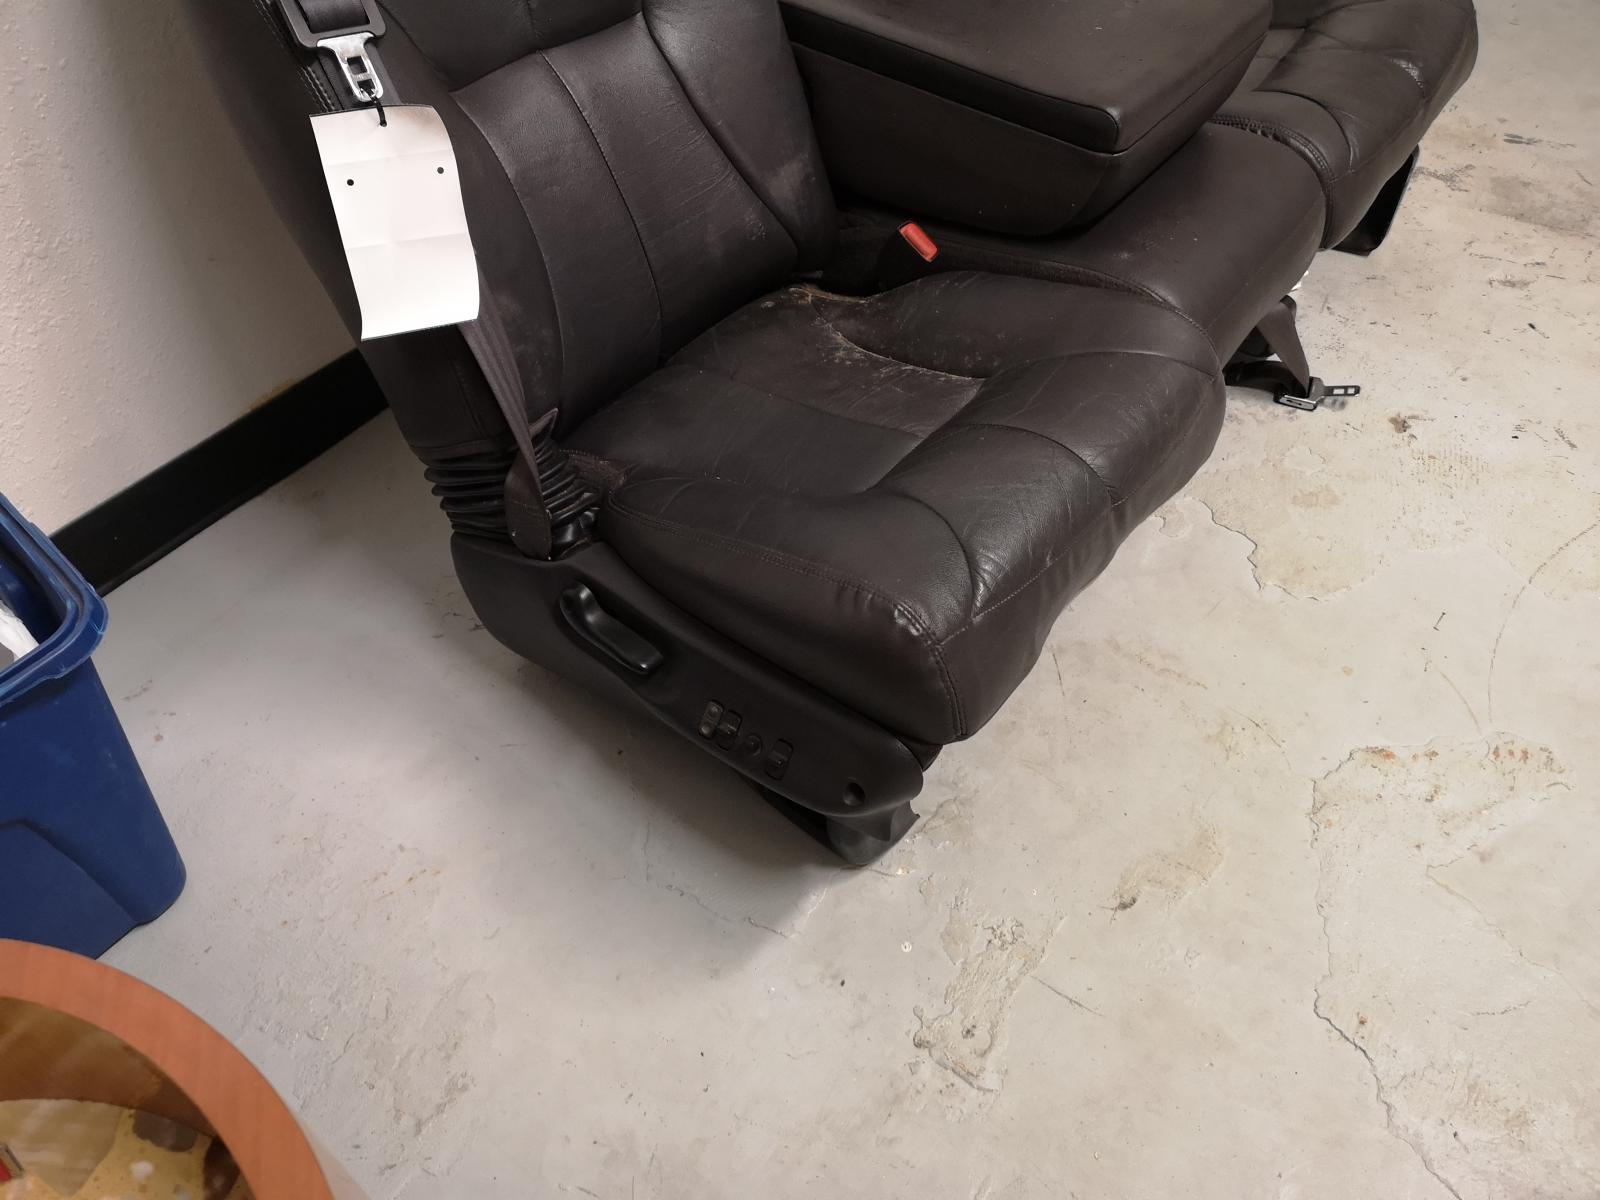
  • Quick update, found some interior at a price I couldn't pass up so I convinced the wife to let me get out and i finished up the interior. Just need to figure out how to go from non power seats to powe

  • You did a fantastic job and is to be commended. 

Posted Images

Featured Replies

Excellent job, looks great man!  I would recommend to anyone that has a dodge with these bezels because of the hard plastic nature; to silicone every tab in place.  I have not had a broken tab since. :thumb1:  

20180930_080131.jpg

20180930_080141.jpg

I lost tabs and chunks out of mine. The last time I took it out I lost a chunk while holding it in my hand. Just standing there and it hit the ground with me still holding onto the piece that was in my hand. I think once they get to the point of cracking they are not worth saving. It sucked paying 200 bucks for a new one but mine was shot. 

Heard that man, I was able to save mine with some clips from the salvage yard and silicone then I got an abs bezel cap (eBay) works pretty slick though.  If I had to buy a new one and it wasn't abs plastic, I'd silicone every single clip just to be on the safe side, plus it's easy.

  • Owner

Mine is next on the list soon for replacement. Few minor cracks and one clip broke. Still in one piece yet but starting to get brittle.

When mine first starting and a piece broke off I taped on and smeared silicone all over the back of it, let it set and then pulledmthe tape off. That held until I replaced it. Imalso smeared silicone all over the back where ever it was cracked. All that stayed together. It was the new cracks that formed and a couple pieces that fell off that finally condemed mine. This new sure is pretty though.

On 10/27/2018 at 4:11 AM, Cronus577 said:

did a slightly darker dye to get rid of the orange discoloration from the coolant dripping onto the passenger side


What did you use for dye?  My truck has a few spots that could benefit from this I believe.

  • Author
4 hours ago, portlandareae28 said:


What did you use for dye?  My truck has a few spots that could benefit from this I believe.

I used detail Kings smoke grey carpet dye. I was going to use Rit but read that it will rub off but can't confirm

I used light grey vinyl and fabric spray paint after the carpet dried from a shampoo and power wash.  It was mainly under the seats on rust spots that wouldn't come out.  Turned out great and it doesn't smell like spray paint in the truck. 

what is the application process of these two products?  I think I will start with the soap canon on the pressure washer, than a good scrub and thorough rinse.  I have some rust under the seats as well.  hoping to clean the seat frames up and paint them as well.  I replaced my drivers seat bottom with one from a seat that has no heat, so I need to come up with a game plan to add heat to that seat and wire it into the truck's stock wiring.  

1 hour ago, portlandareae28 said:

what is the application process of these two products?  I think I will start with the soap canon on the pressure washer, than a good scrub and thorough rinse.  I have some rust under the seats as well.  hoping to clean the seat frames up and paint them as well.  I replaced my drivers seat bottom with one from a seat that has no heat, so I need to come up with a game plan to add heat to that seat and wire it into the truck's stock wiring.  


I did just that.  Used the soap cannon, scrubbed, and then power washed.  It takes a couple days to fully dry because of the padding.  While it's drying, I'd suggest putting down some sound dampening material.  You'd be surprised how much this quiets the cab.  Personally I used "peal and seal" or frost king duct insulation, each have their perks.  Frost king is thicker but peal and seal is easier to work with and can get in tight places. Both can be picked up at Lowe's or Home Depot.  I use spray foam in 2 places.  All doors are done in peal and seal too.

20181002_092752.jpg

20181101_200552.jpg

Edited by SavageTusk

  • Author
4 hours ago, SavageTusk said:


I did just that.  Used the soap cannon, scrubbed, and then power washed.  It takes a couple days to fully dry because of the padding.  While it's drying, I'd suggest putting down some sound dampening material.  You'd be surprised how much this quiets the cab.  Personally I used "peal and seal" or frost king duct insulation, each have their perks.  Frost king is thicker but peal and seal is easier to work with and can get in tight places. Both can be picked up at Lowe's or Home Depot.  I use spray foam in 2 places.  All doors are done in peal and seal too.

20181002_092752.jpg

20181101_200552.jpglooks good! Ill probably do that with my 99 daily driver, it's loud and everything rattles. Just sold our 2013 Subaru so looks like the wife gets to drive the nice clean one I posted ?


10 minutes ago, Cronus577 said:

I use spray foam in 2 places.

where did you use the spray foam?  Any thoughts on a DEEP clean for the leather seats, mine are not that dirty but I want them EXTRA clean.

13 minutes ago, portlandareae28 said:

where did you use the spray foam?  Any thoughts on a DEEP clean for the leather seats, mine are not that dirty but I want them EXTRA clean.

I drilled a few small holes. Were the light red circles are is where I sprayed some expanding foam, let it dry and then just evened it off.  Took about 4 cans.  I have cloth seats so can't help ya with the leather question.

Inked20181002_092752.jpg.5fe8317061b650d4336f55c2927c1459_LI.jpg

Edited by SavageTusk

53 minutes ago, portlandareae28 said:

think the foam makes a difference?  

In those two areas I could knock on it and hear a hollow sound. The back behind the rear seat was the worst.  Aftwards it sounds dense so yeah I think it does.  It could do just as well without and use the peal and seal but I chose foam only in those areas.  I know after all said and done I can actually have a Bluetooth phone call in my truck when before it was difficult.  Music also sounds much better.  For as little as it costs it's worth the extra work.

Edited by SavageTusk

On 10/27/2018 at 6:11 AM, Cronus577 said:

The interior was disgusting and falling apart, typical broken dash, it rattled

You did a tremendous job rebuilding the dash, great pictures and great results. Just getting that Dash Core out with no breaks is a job. Open up a shop for 2nd Gen Restoration, yours is probably better than most professionals could ever think of doing. Thanks for sharing this on the Forum. Keep us posted and thank you.

  • Author
14 hours ago, Greenlee said:

You did a tremendous job rebuilding the dash, great pictures and great results. Just getting that Dash Core out with no breaks is a job. Open up a shop for 2nd Gen Restoration, yours is probably better than most professionals could ever think of doing. Thanks for sharing this on the Forum. Keep us posted and thank you.

Thank you! I actually have to take it apart again because the new heater core is leaking and leaked into the blend door and now the blend door doesn't work ☹️

Edited by Cronus577

  • 2 weeks later...

Sorry to hear that. Looks good though. Job well done

  • 2 weeks later...
  • Author
On 11/22/2018 at 1:42 PM, 5.9Jon said:

Sorry to hear that. Looks good though. Job well done

Well jokes on me and I feel like an idiot!

I got the dash this far, went to go grab the hoses off the other side and the hoses slid forwad. I guess the diameter of the hose that comes out of the firewall is slightly smaller on the aftermarket heater core and the clamp didn't clamp enough so it was leaking through underneath the clamp and back into the cab. Reached into the HVAC box and it's dry so it makes sense now. :doh:

IMG_20181201_145532.jpg

Did This Forum Post Help You?

Show the author some love by liking their post!

Welcome To Mopar1973Man.Com LLC

We are privately owned, with access to a professional Diesel Mechanic, who can provide additional support for Dodge Ram Cummins Diesel vehicles. Many detailed information is FREE and available to read. However, in order to interact directly with our Diesel Mechanic, Michael, by phone, via zoom, or as the web-based option, Subscription Plans are offered that will enable these and other features.  Go to the Subscription Page and Select a desired plan. At any time you wish to cancel the Subscription, click Subscription Page, select the 'Cancel' button, and it will be canceled. For your convenience, all subscriptions are on auto-renewal.