

- Replies 18
- Views 8k
- Created
- Last Reply
Top Posters In This Topic
-
adamey1000 6 posts
-
angus 2 posts
-
diesel4life 2 posts
-
tsmithnw 2 posts


Most Popular Posts
-
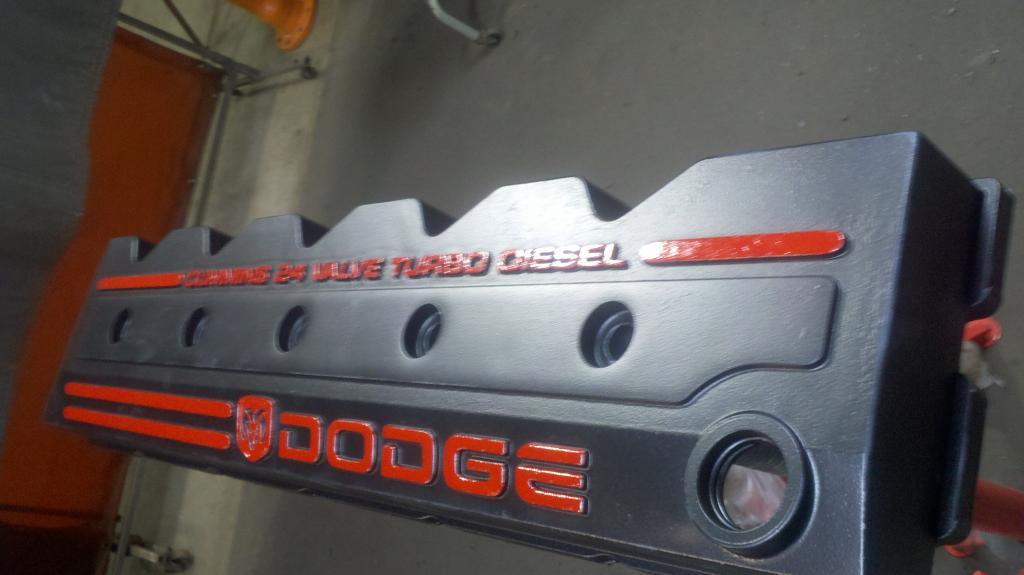
Well I finally managed to get the valve cover done last weekend. Pulled it off, scraped all the old paint off and used a wire wheel to clean it all up. Wiped it down with denatured alcohol to clean al
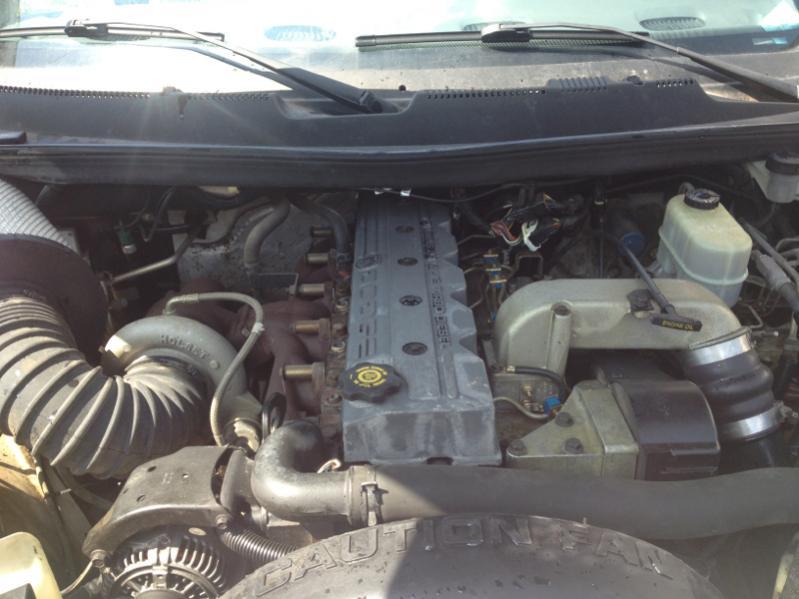
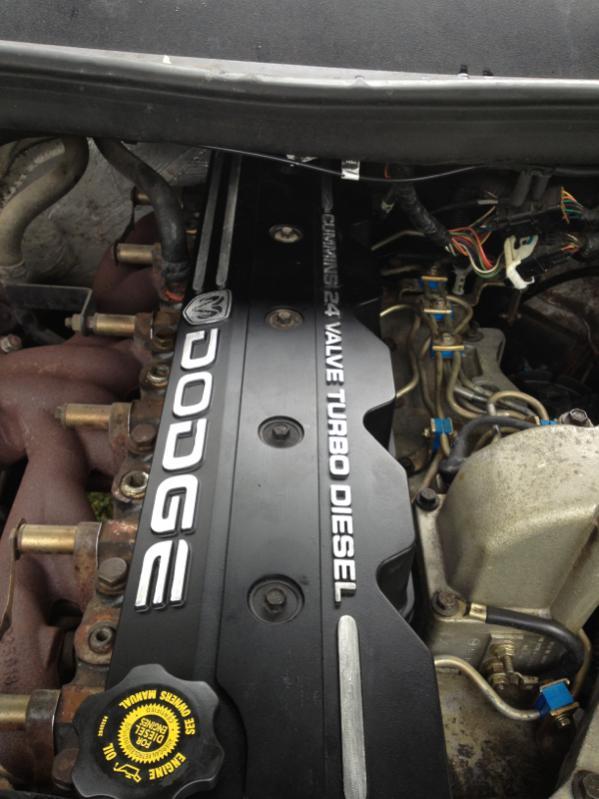
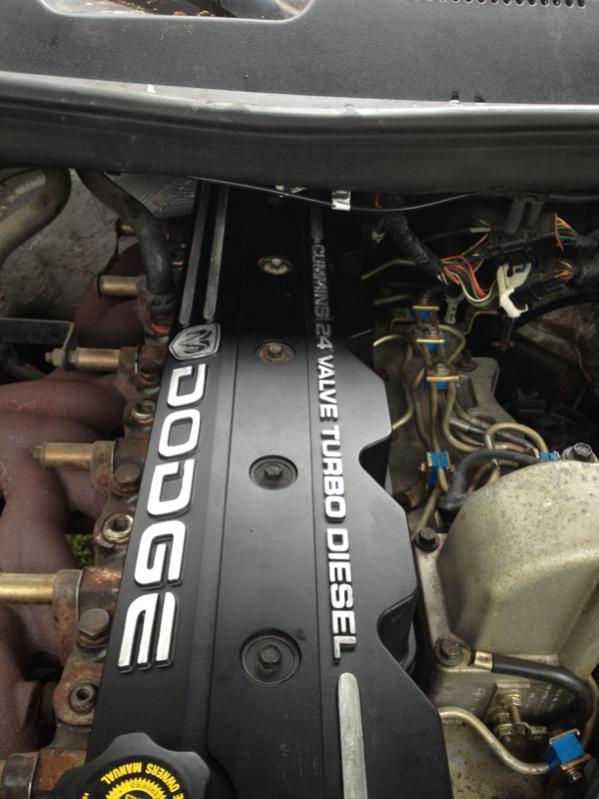
Does anyone have experience painting the valve cover while it is still on the truck? I took my truck to the car was today and degreased the engine compartment. It looks great except that the pressure blew all the paint of of the valve cover! I believe it is aluminum so there really shouldn't be any concern with rust correct? I would like to paint it red like I have seen a few. Any ideas?