

Leaderboard
There are no members to show
Popular Content
Showing content with the highest reputation on 10/25/2020 in all areas
-
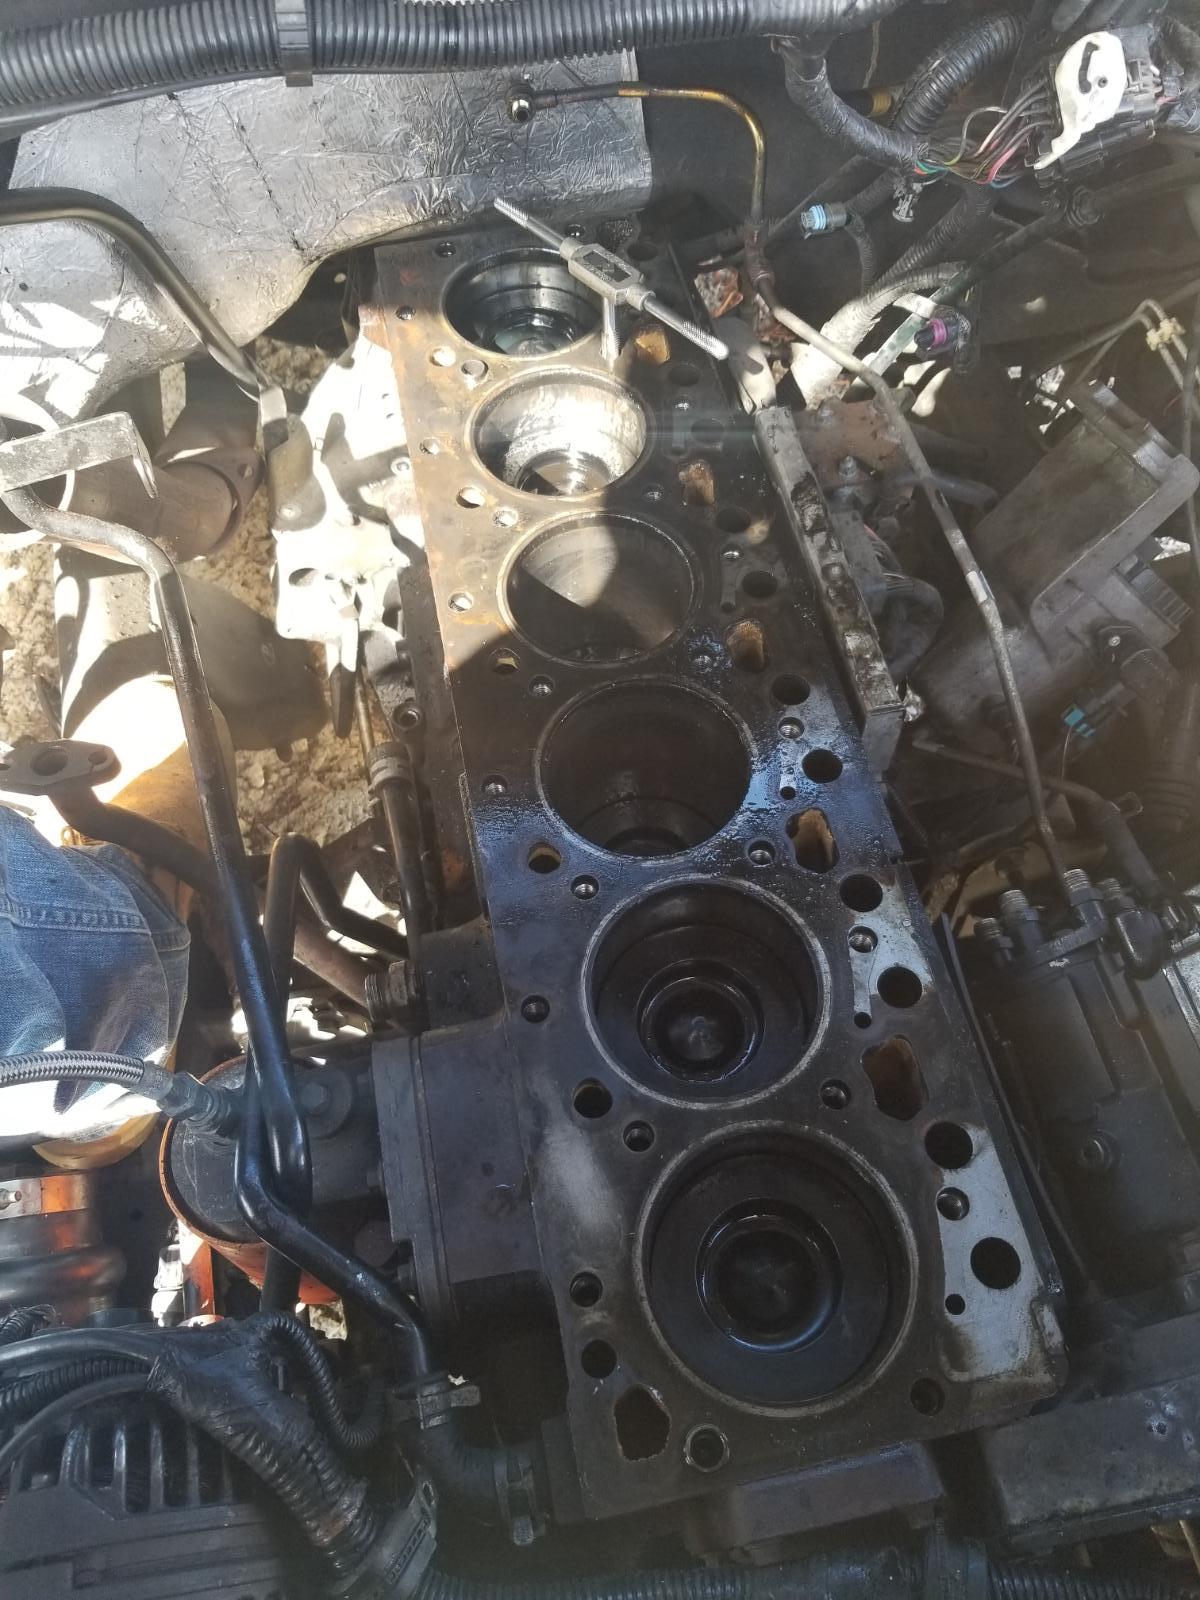
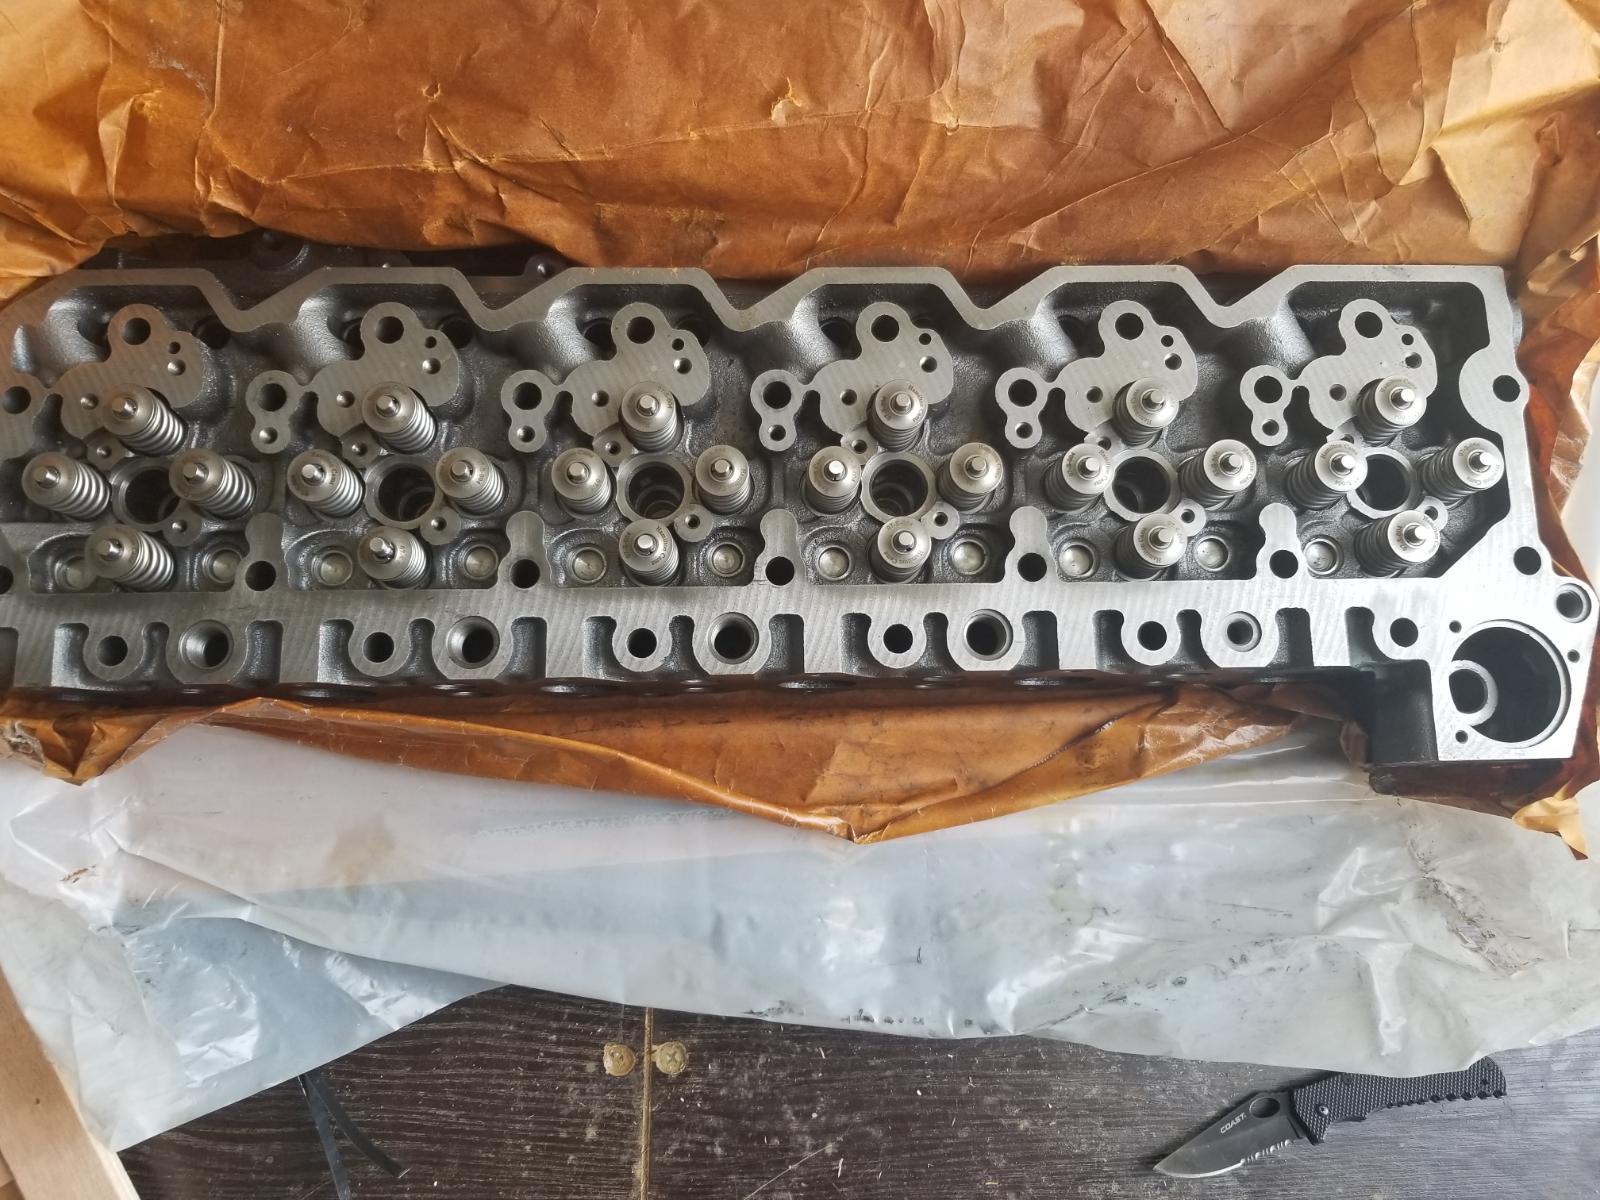
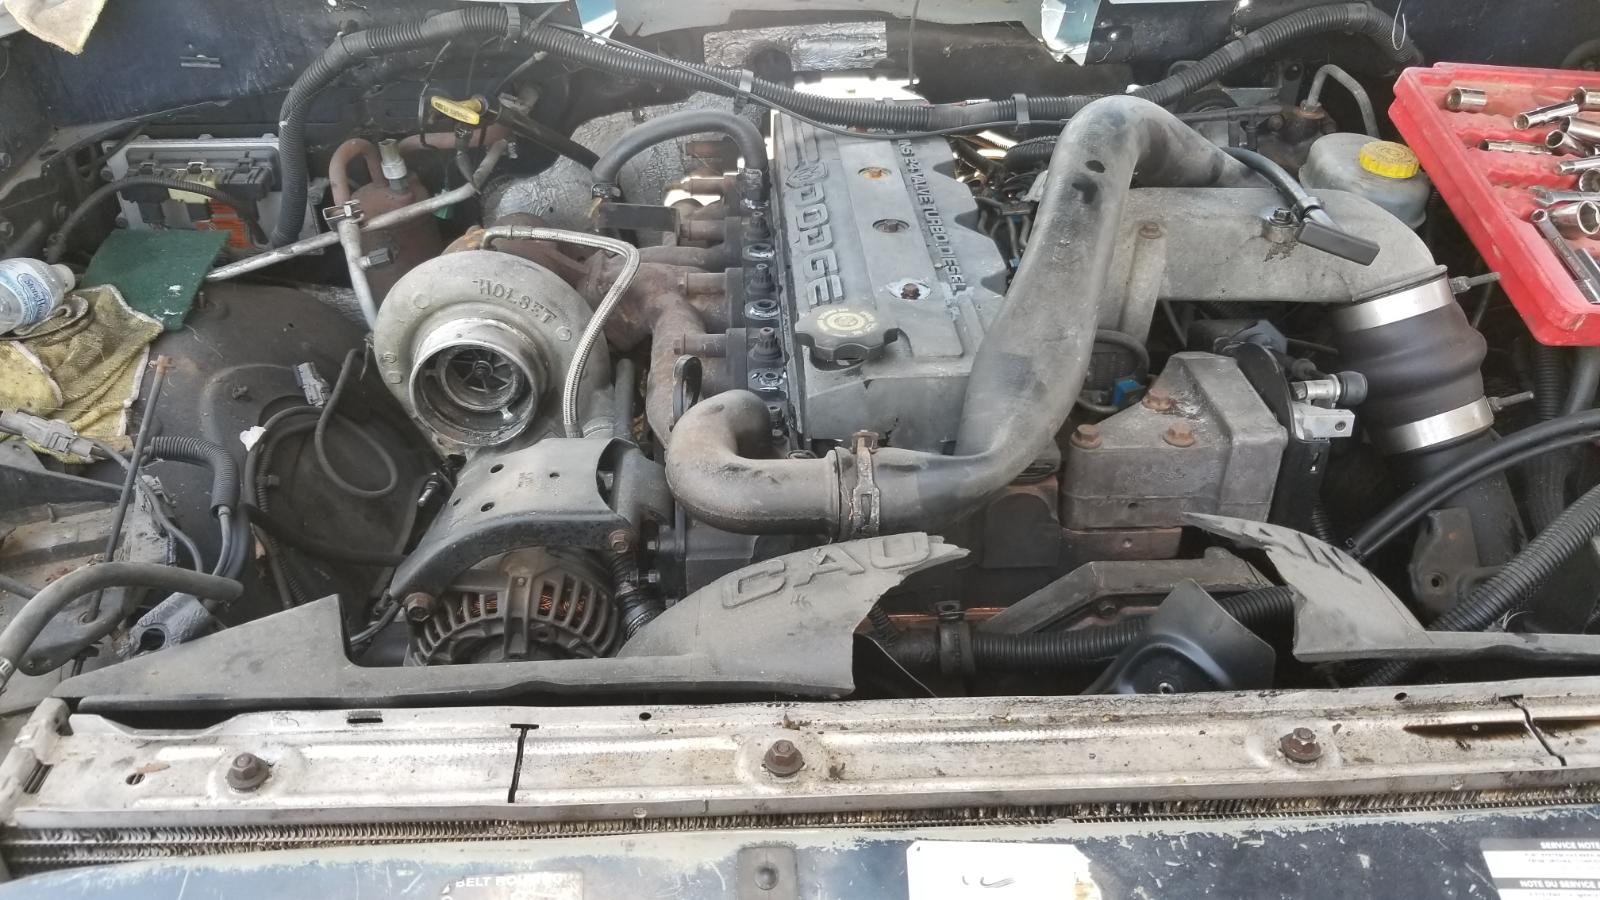
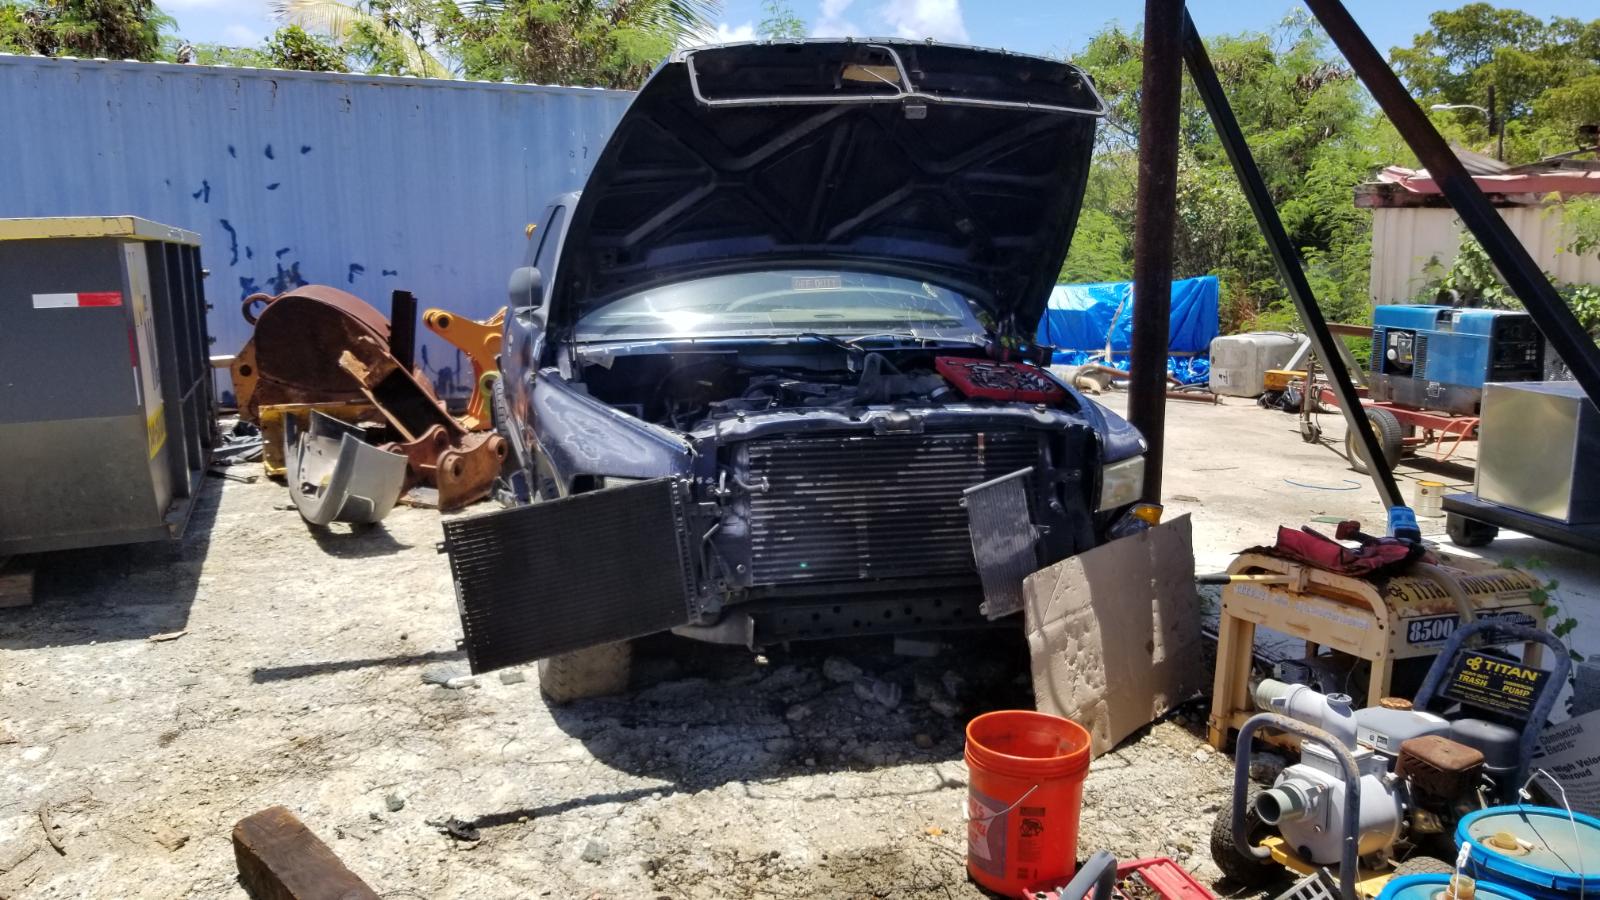
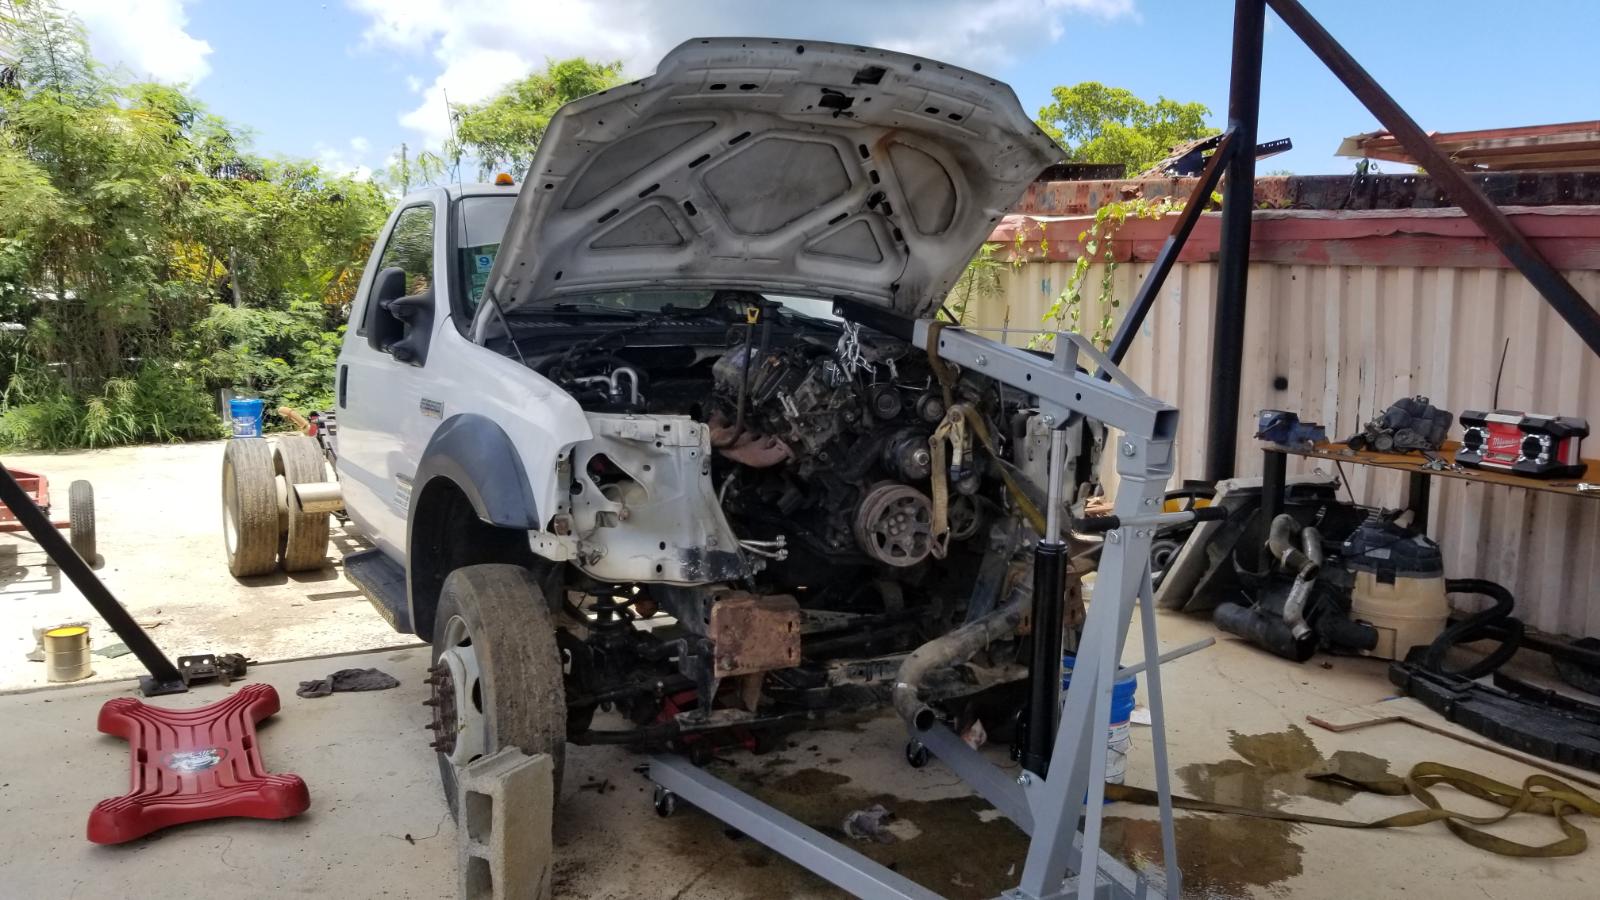
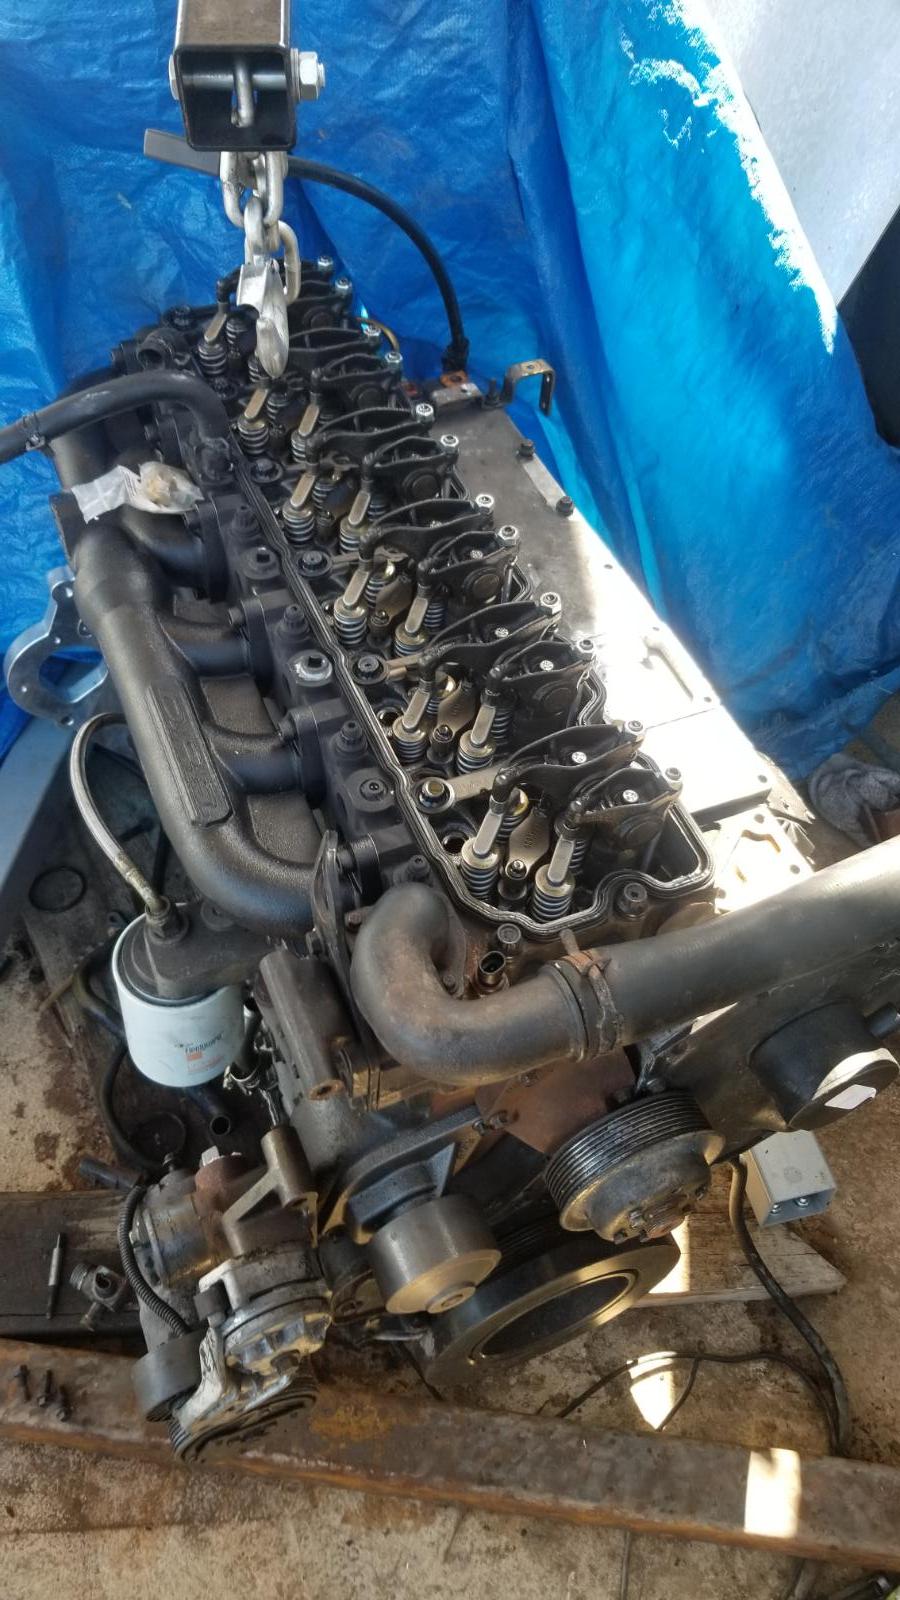
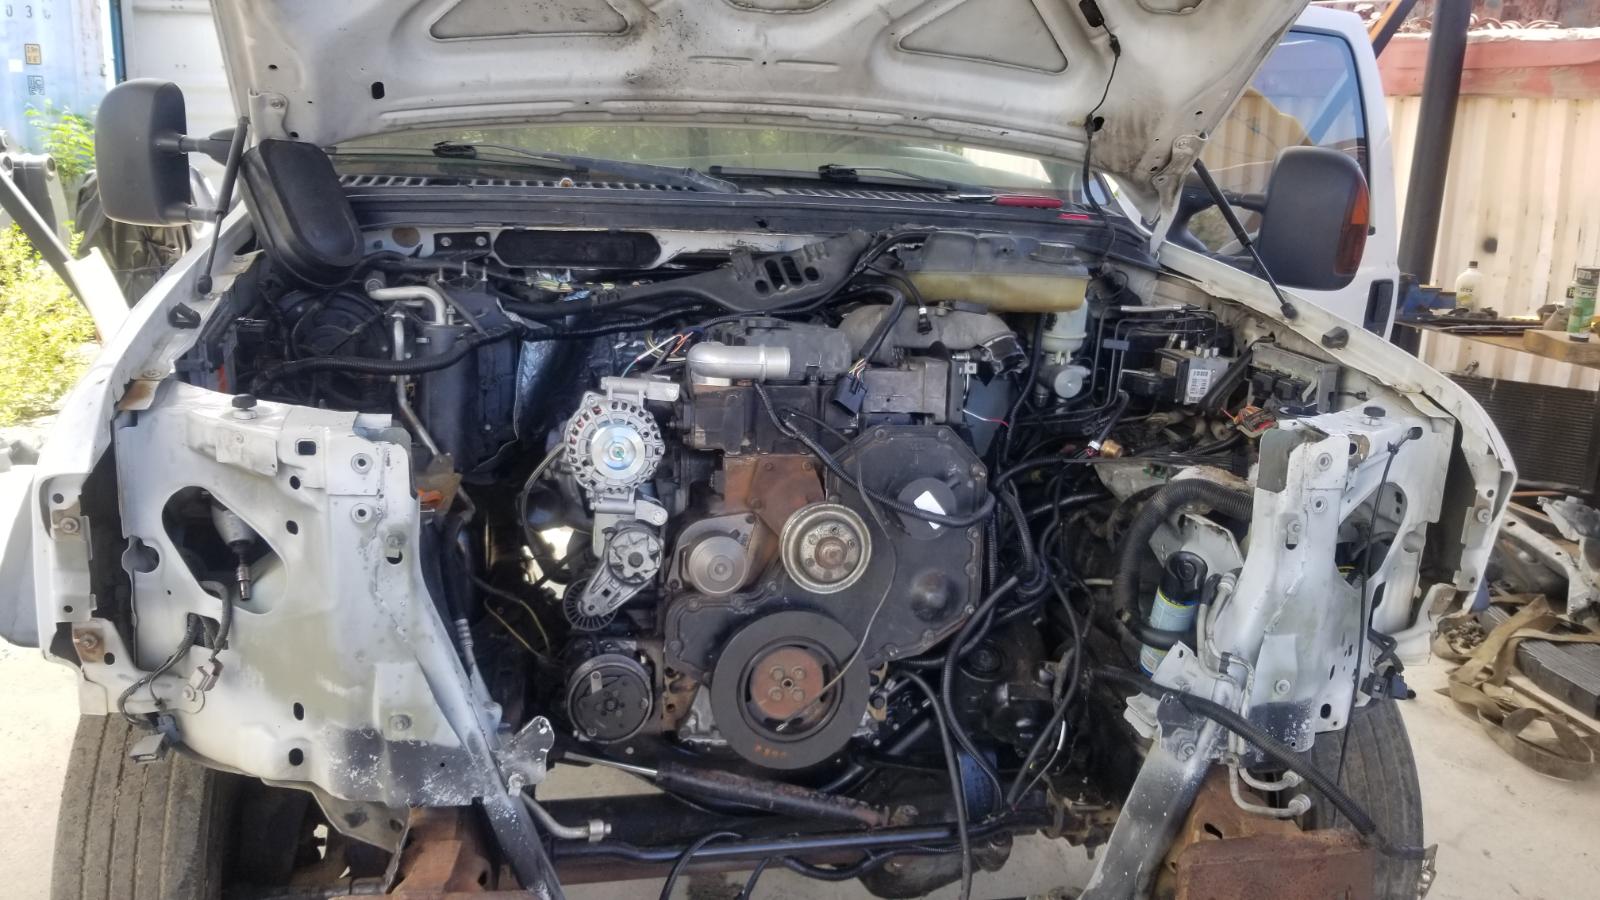
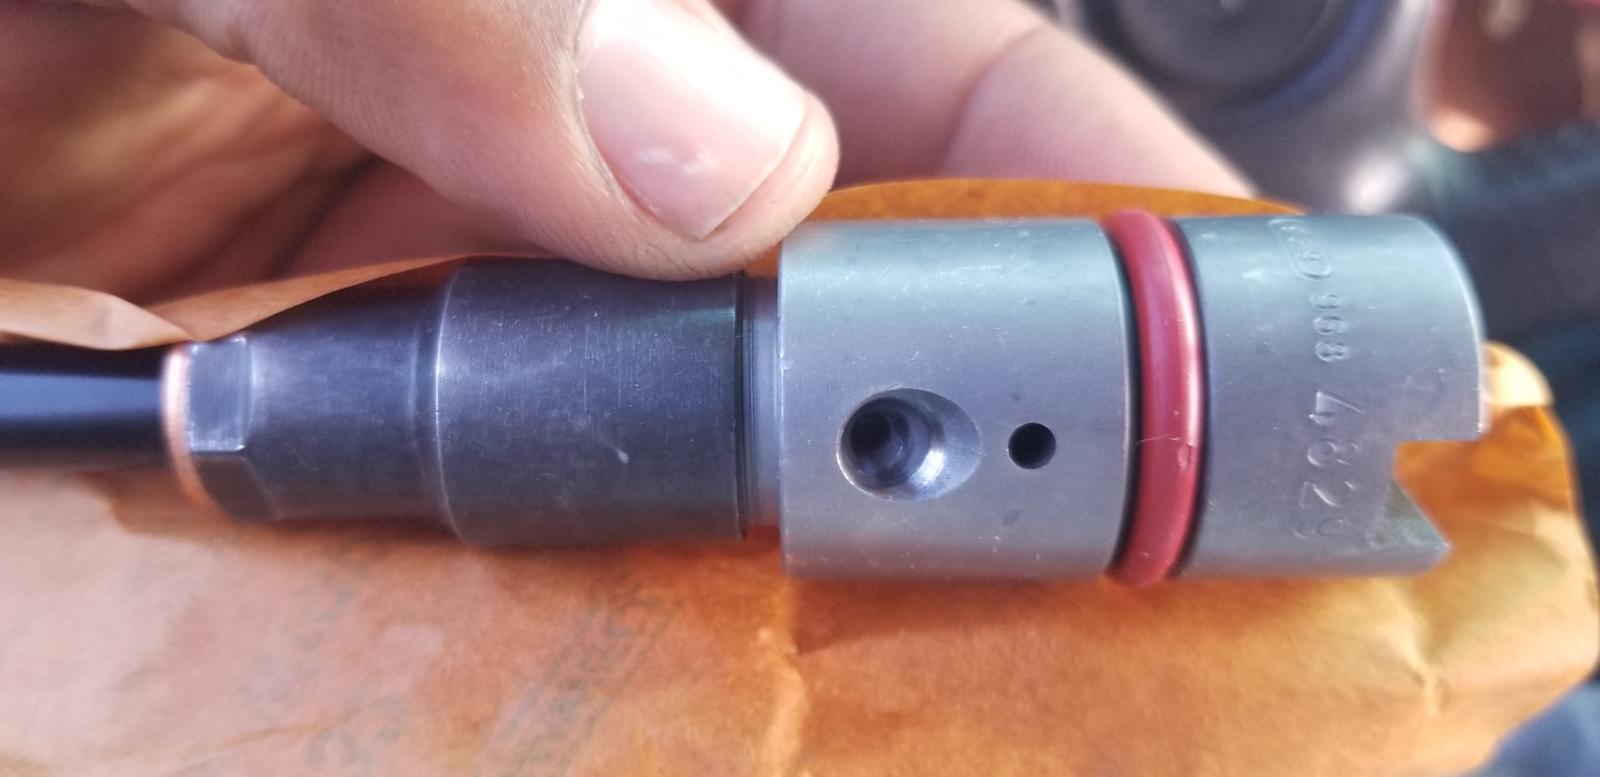
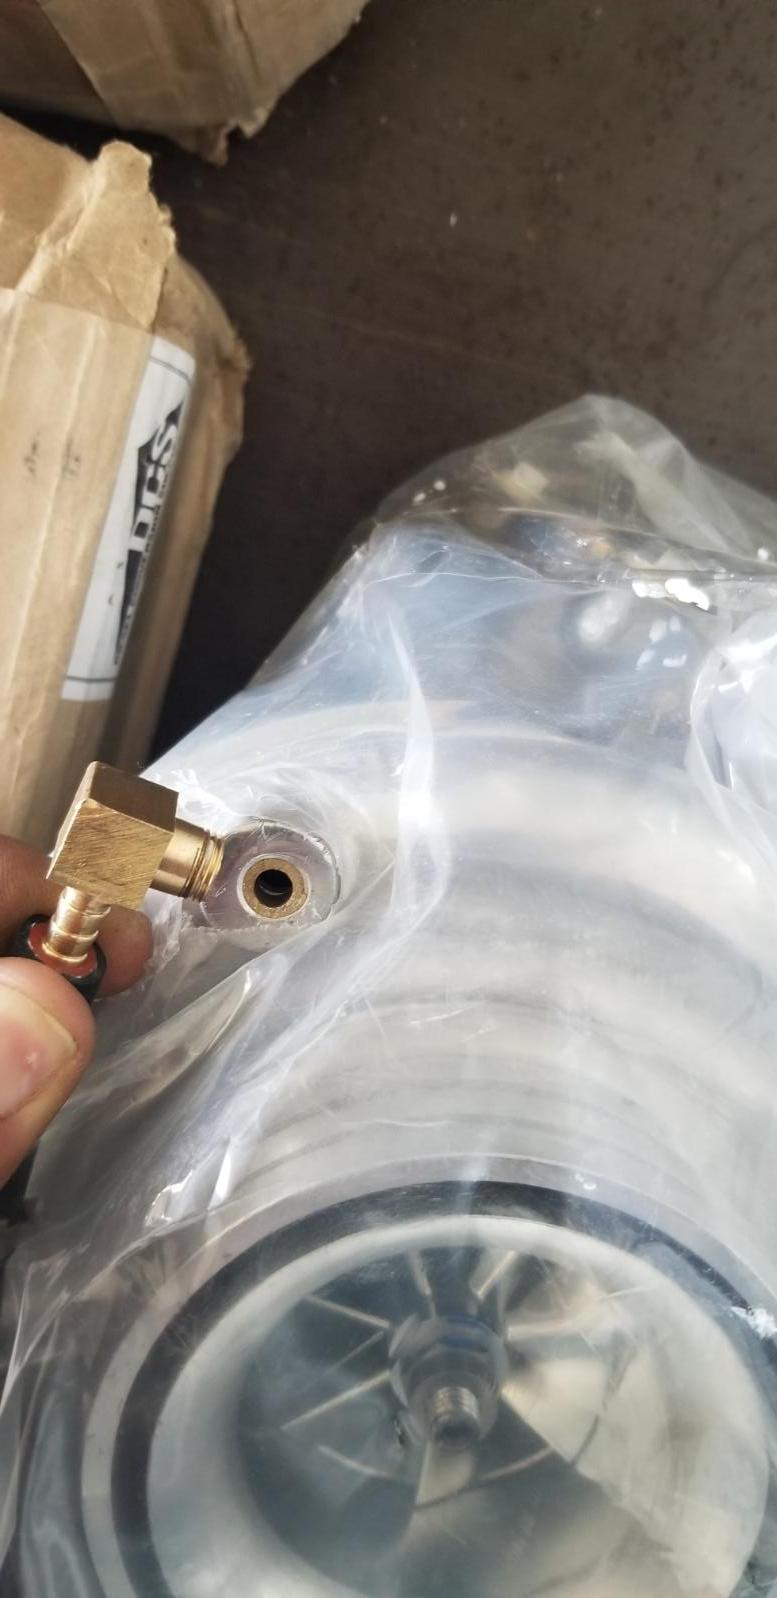
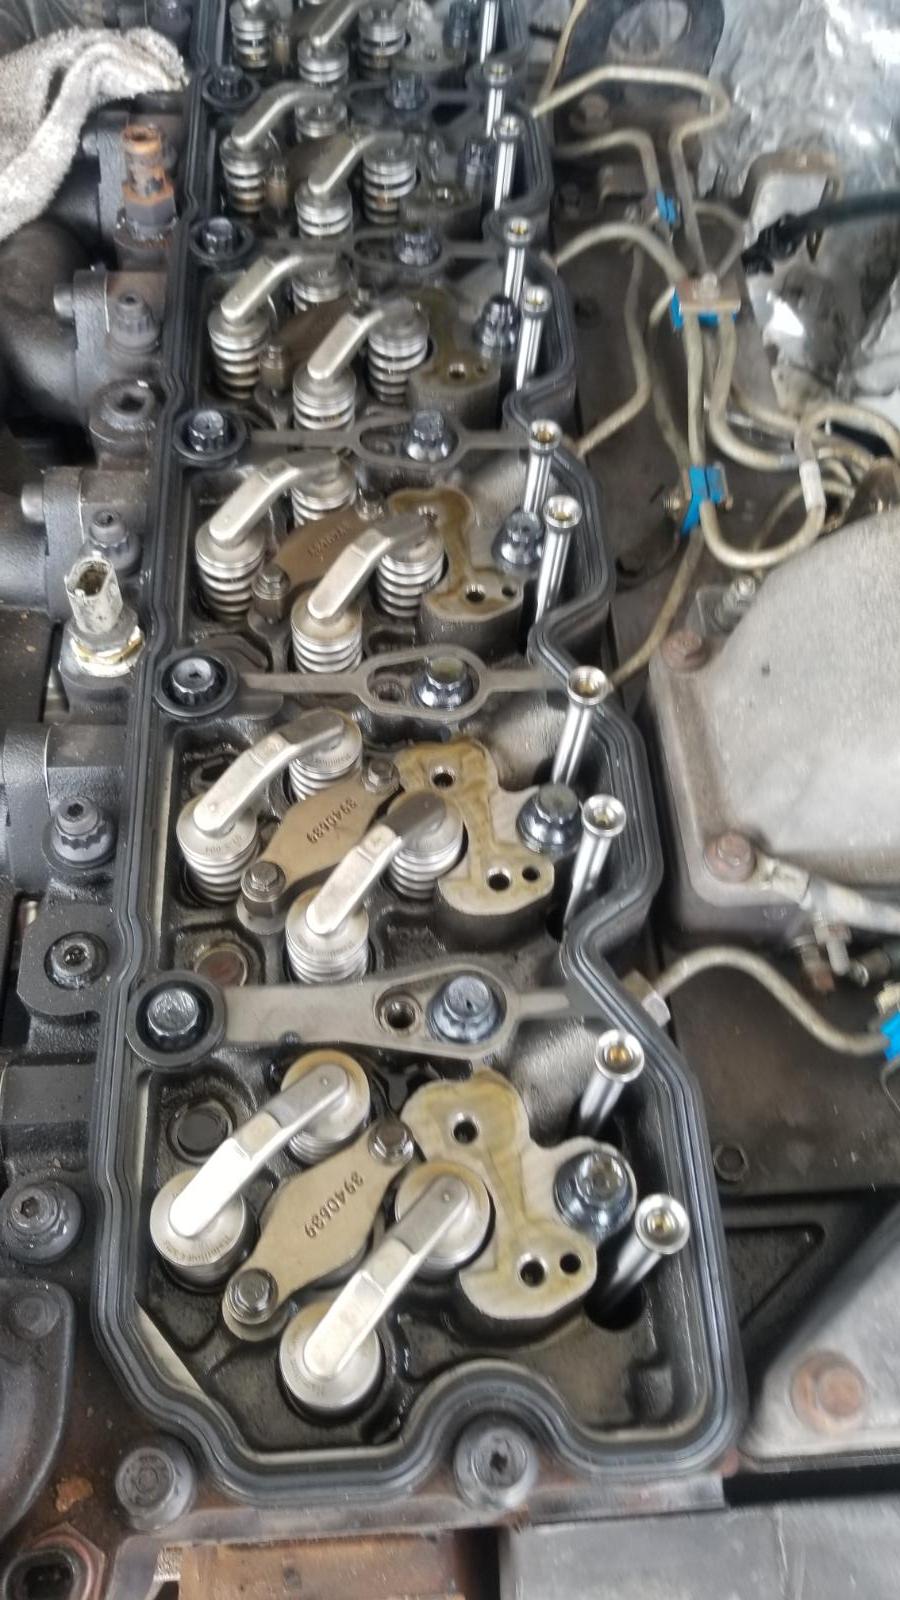
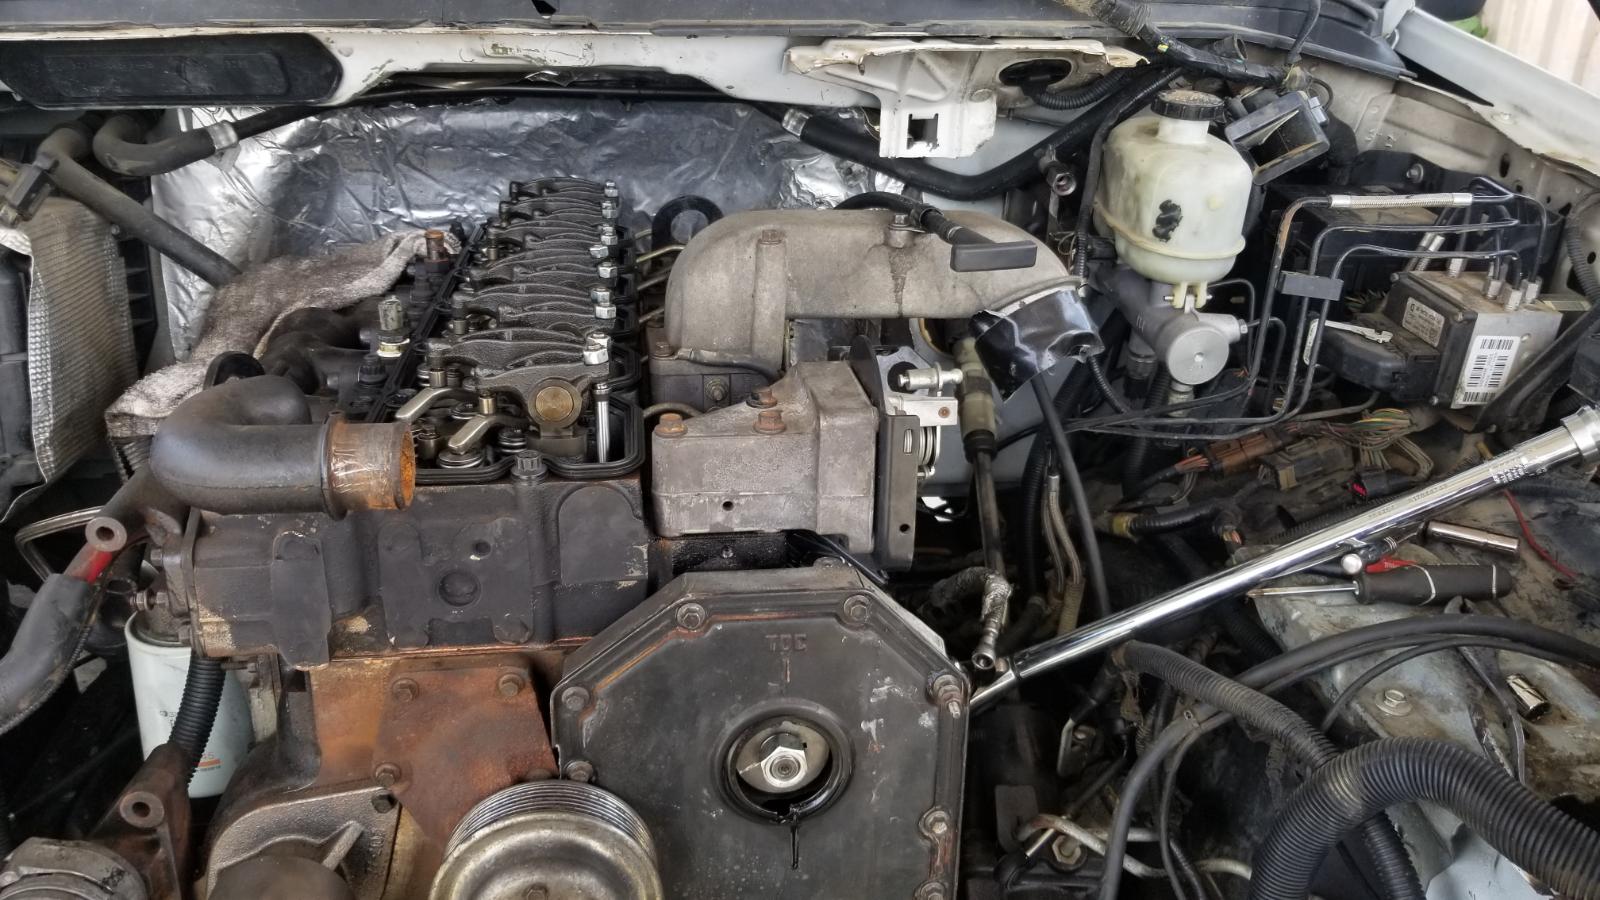
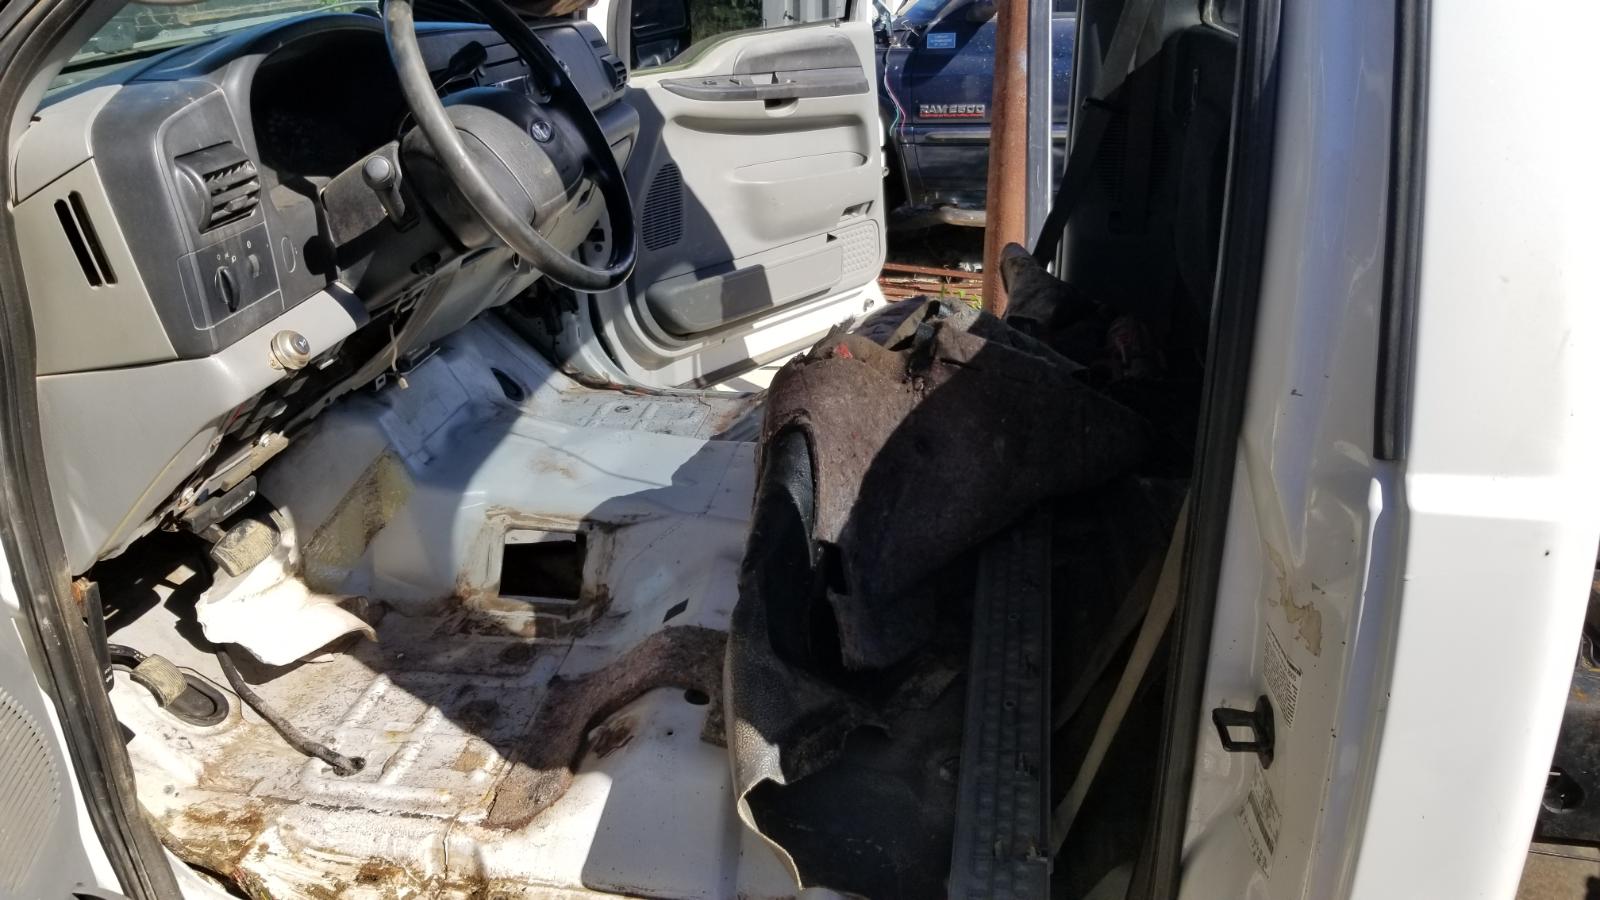
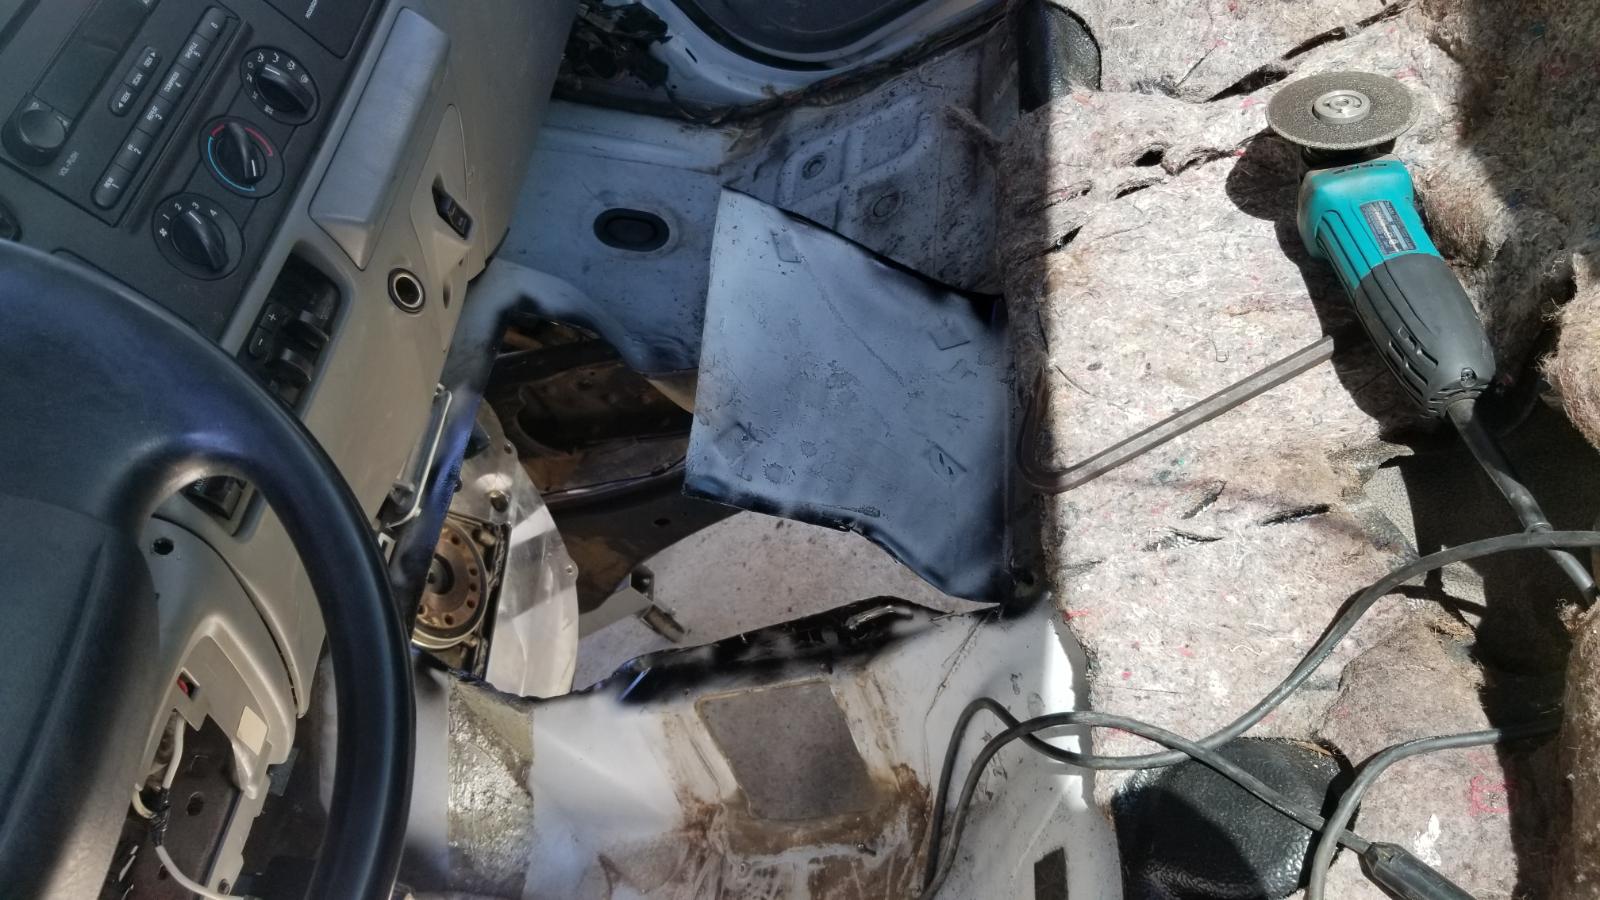
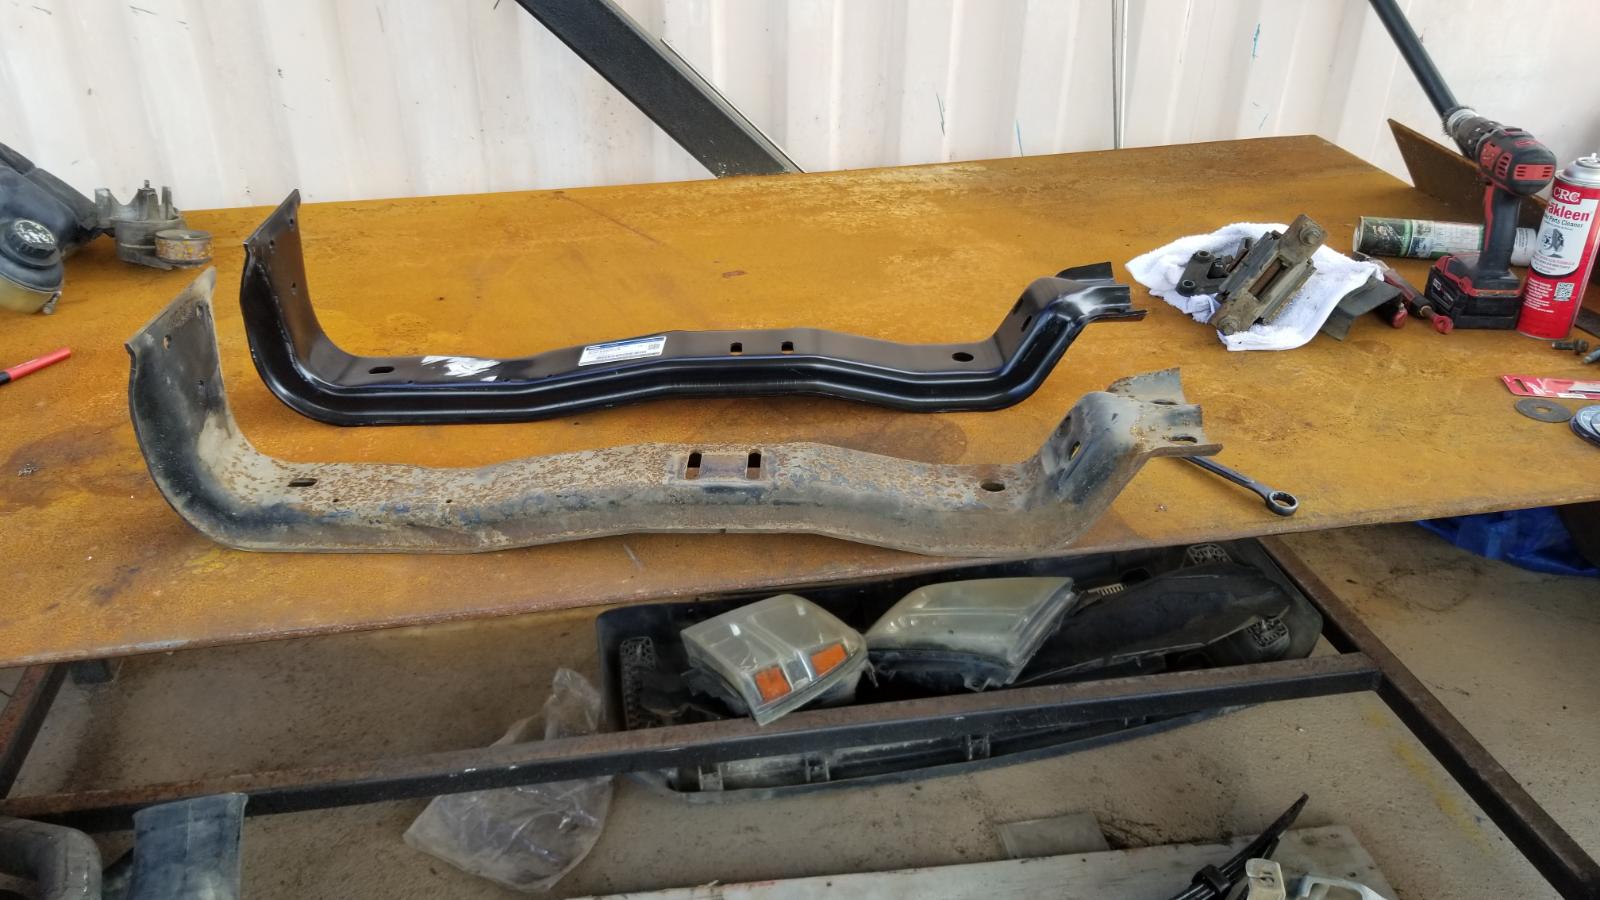
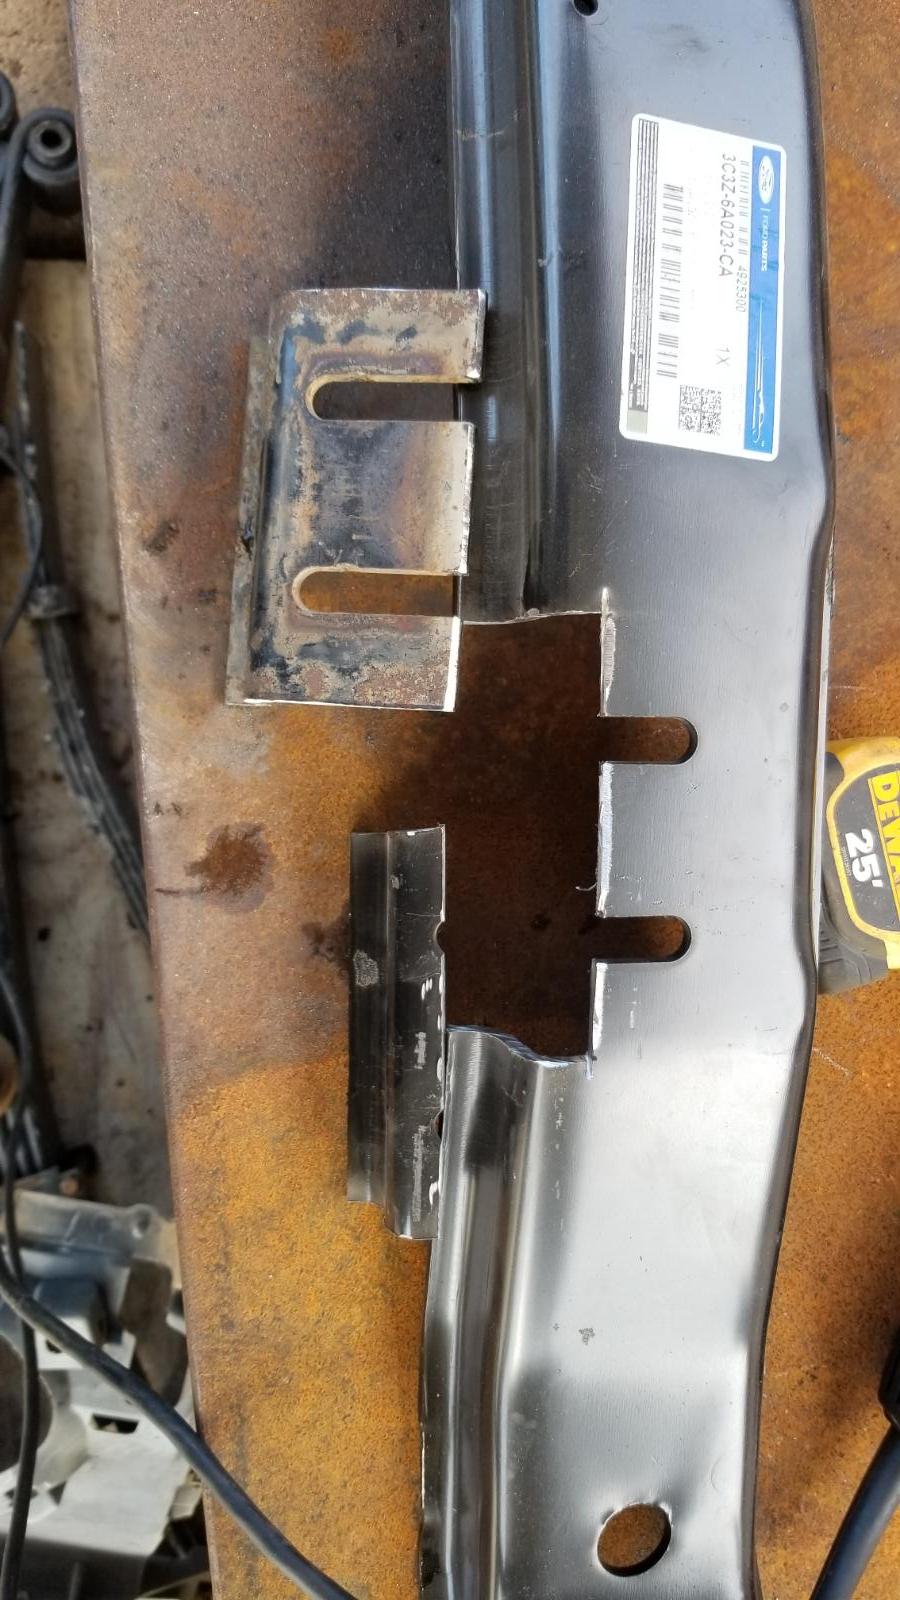
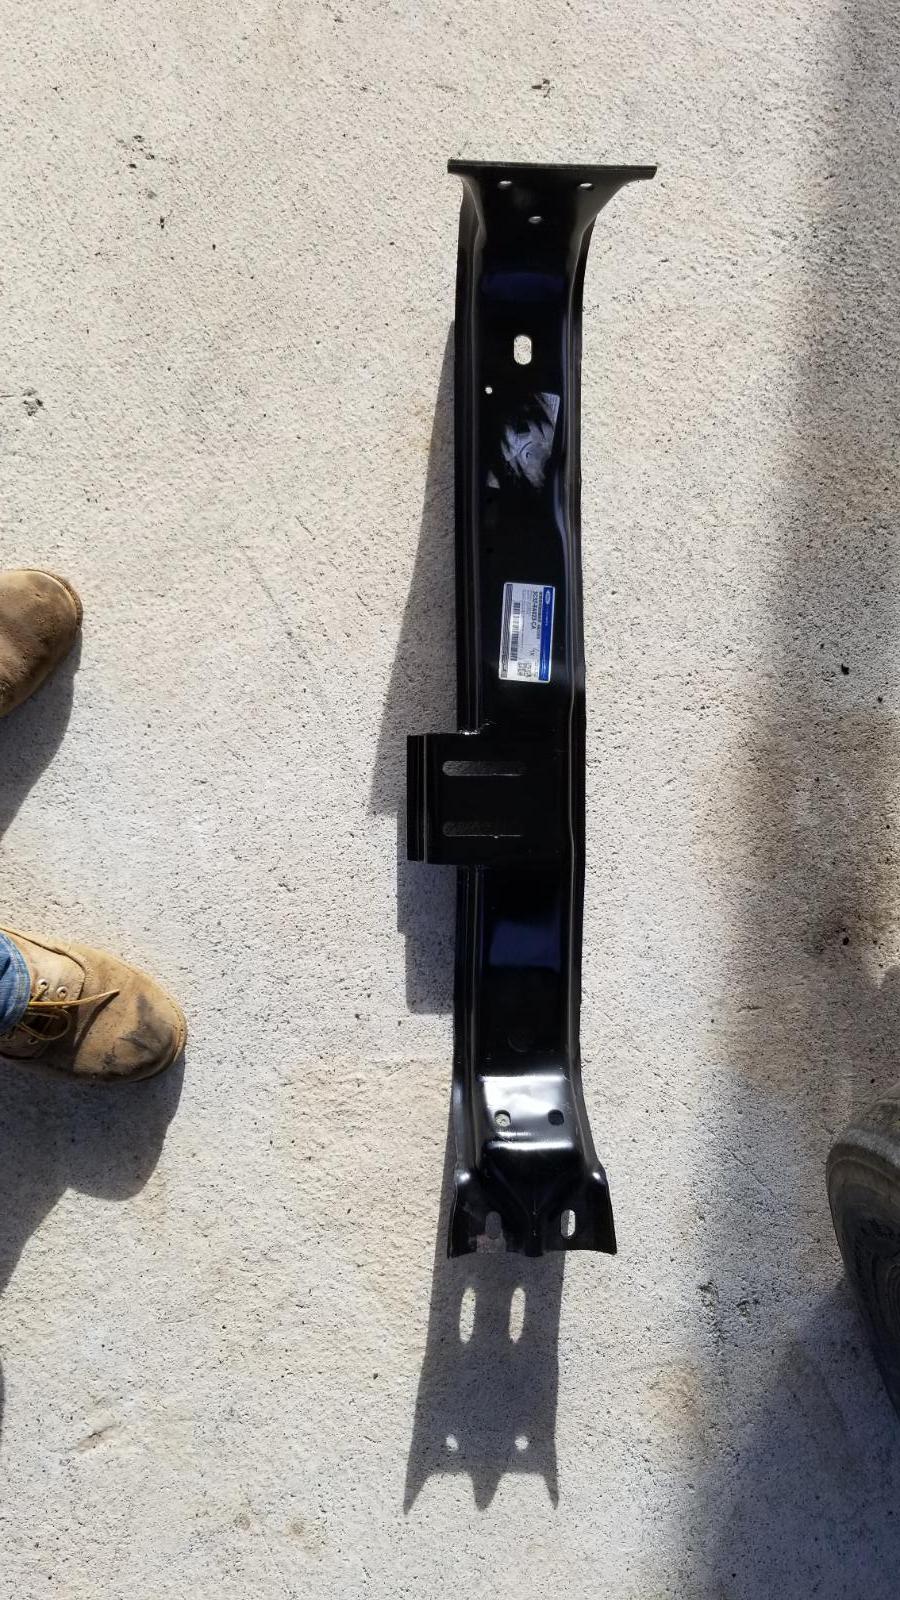
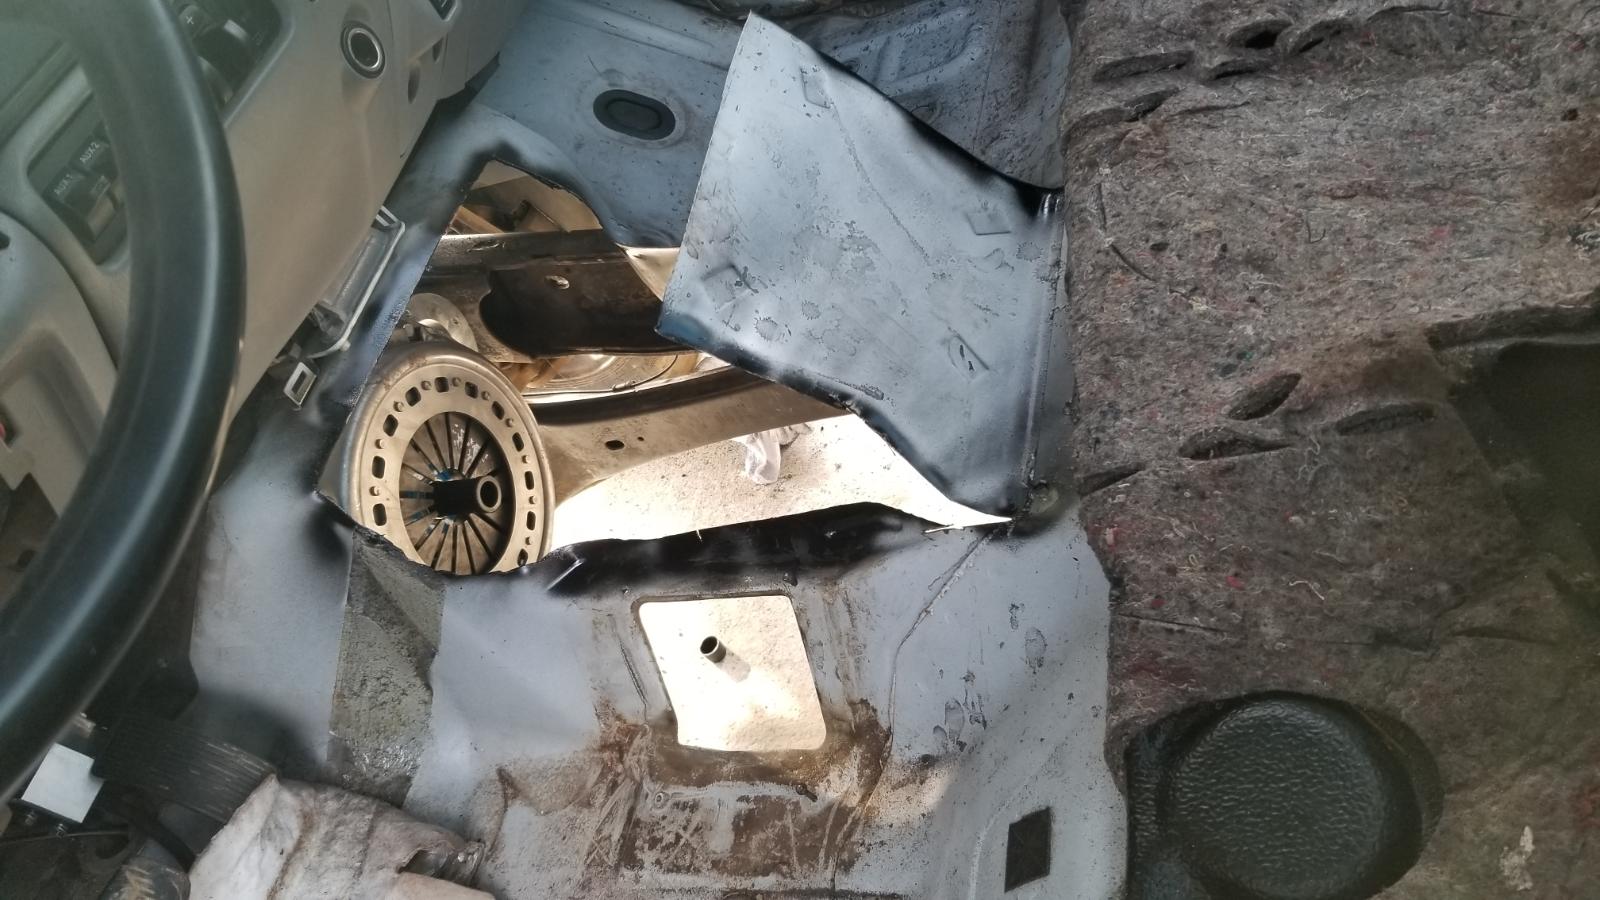
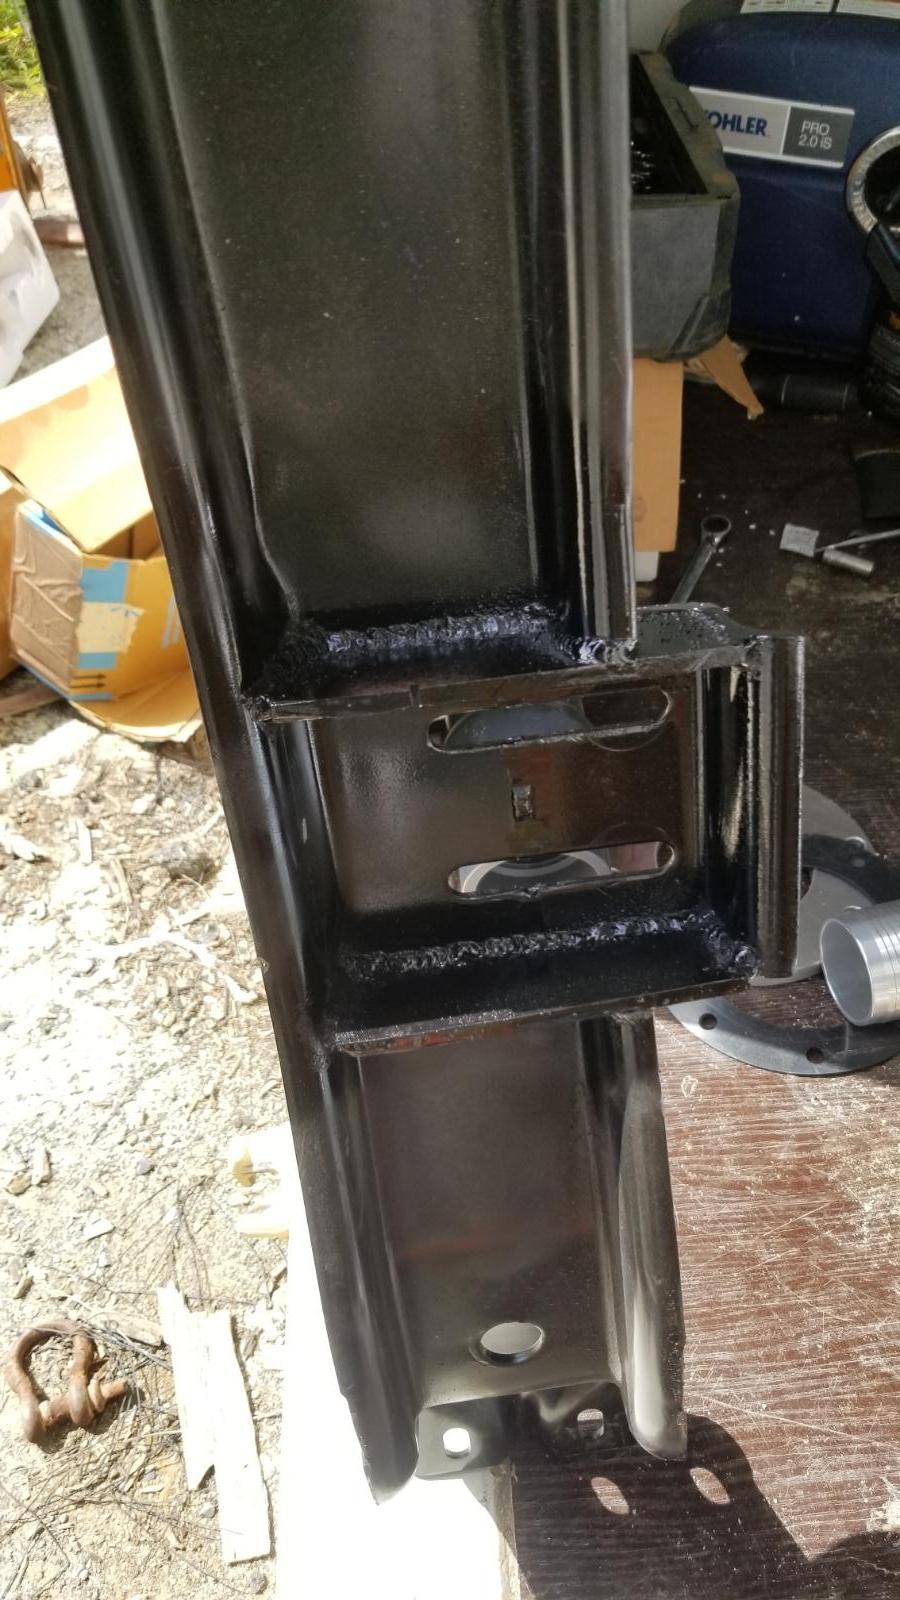
1 pointHey Guys..I know its been awhile but here is an update for that project I started if your interested..and I'm not the best at this documenting as I go..I just zone out into the work.....had to pull the head on the doner engine due to a very small crack in the head .....I dropped and o-ringed head and studded it Here is a video of the engine with the new head but old injectors and turbo first start up 20190718_142557.mp4 Getting ready to pull it out Pulling out the 6.0 ...I'm going to save the injectors out of this and donate the rest to someone I dont like? Cummins on the hoist...just changing the oil pan, front and rear seal , front cover gaskets while it's out and adding the Diesel conversion parts FINALLY...dropping the engine into the truck..by far the easiest thing to do with this swap once you have the kit...felt good seeing this....top of the world Mom!........just saying Popping the new mach4 injectors Broken boost fitting ...Thanks fedex..no seriously..thank you fedex because it's usually worse Just dropped in the new injectors and the hamiltons HD pushrods..there a little longer so you will not the difference when your setting the valves.....I upgrade the valve springs due to the exhaust brake I'm installing so I just did the push rods as well It's an automatic truck but I'm putting a zf6 into it.....I couldn't find a donor truck to get the floor so I'll just chop this one up and fad it back together when its time.......the crossmember was easy enough but I saw this on another guys build ..I believe it was " twin turbo 12v build" he way better documenting skills than me and it's a fun read Installed the clutch and I had a huge surprise!!! It seems dodge does not use dowel pins in the flywheel to center the pressure plate!!...the pins do more than center the pressure plate..it also helps to hold the torque being applied......I hope I'm just being paranoid.. Another picture of the cross member from the under side


 1 point
 -
1 pointFinally got around to doing this. Was nice to be able to work on an improvement instead of fixing something because it broke. A few things from my view. To those who say it only takes a n hour, congratulations, you win the race. I'm a pretty competent wrench being an industrial mechanic/machinist by trade, but it took me an hour just to get it in the shop and unravel the loom. I don't rush when I'm doing my own work though either. Just saying to those who are gonna do this if you're saying to yourself, I've got an hour before I got to head to work so I can knock this out quick, you might want to wait till you have a little more time. My splice was glued together very tight. I could not get it apart. My AC noise was never that high to begin with and maybe that's partly why. Still good to get rid of that junk though. I'm not arguing for or against paralleling cables, but I did it. The guy who originally figured this out is much smarter than me. My word, it would take me the rest of my life to write one of his epistles on the subject so why not follow what he said. Can't hurt anything and I was at the shop to get the breaker anyhow so I had a pair of cables made up and used them. To each their own. I was a little confused with the last step in the simple article. It appeared to me that the old ground plug was to be used. I didn't want to use it so I cut it off at the battery only to realize the PCM splice was there. Oh well, now the @IBMobilePCM splice repair is done as well even though I didn't plan on it at that moment. In the end it's a lot cleaner. I need to get some smaller loom yet to run across the front. I was at .03acv and now depending which meter I use I'm between .017-.02avc. Just wanted to share my experience. One more off the never ending list.......1 point
-
1 pointWOW. Turned out to be an easy fix...... But first how I got there. Put both positive and negative leads of the jumper cables on the batteries. Measured voltage with the truck off. The passengers was marginally higher than the drivers. (Slowly equalizing both batts) Hooked up the plug to the alternator. (Had it disconnected so i didn’t roast the alternator during my drives to work). Started the truck and...... Both bats where taking a charge and within .5 of a volt of each other. The alternator slowly regulated the charge and stabilized at 14 volts. Gauge in the cab now worked and displayed the same as the drivers batt. Took the positive jumper off of the drivers batt = nice spark show. Battery voltage dropped on the drivers and shot up to 17 on the passenger side. Put the positive jumper back on and everything stabilized again. Disconnected the negative jumper lead from the drivers batt. No spark show and the volts on both batts stayed the same. So what did that show me??? That the positive cable from batt to batt was failing to perform it’s sole function in life. Shut the truck off, disconnected the jumper cables, disconnected the ground cables on both batt’s and disconnected the positive cable between both batteries. And what did I find? A whole lot of corrosion on the cable terminal ends and the post on the bolt for the positive terminal. With all of this connected, unable to see the corrosion. Wire brushed it all down and re-assembled it all. Started the truck and..... All is well! The bad grounds found during the W-T mod and the faulty cable from batt to batt had been masking several issues. From funky shifting from the tranny to dead pedal of the fuel system. I cannot thank those enough who post on this forum and offer sound advise and solid troubleshooting skills. Without this kind of resource, you could get frustrated enough chasing problems to be rid of the vehicle. Now she’s driving better than she ever did. And I think I’m falling in love with my truck again:) Now off to go sort out my wandering steering problem:) Thanks again, Steve1 point


This leaderboard is set to Boise/GMT-06:00