PilotHouse2500
Yearly Subscription
-
Joined
-
Last visited
Everything posted by PilotHouse2500
-
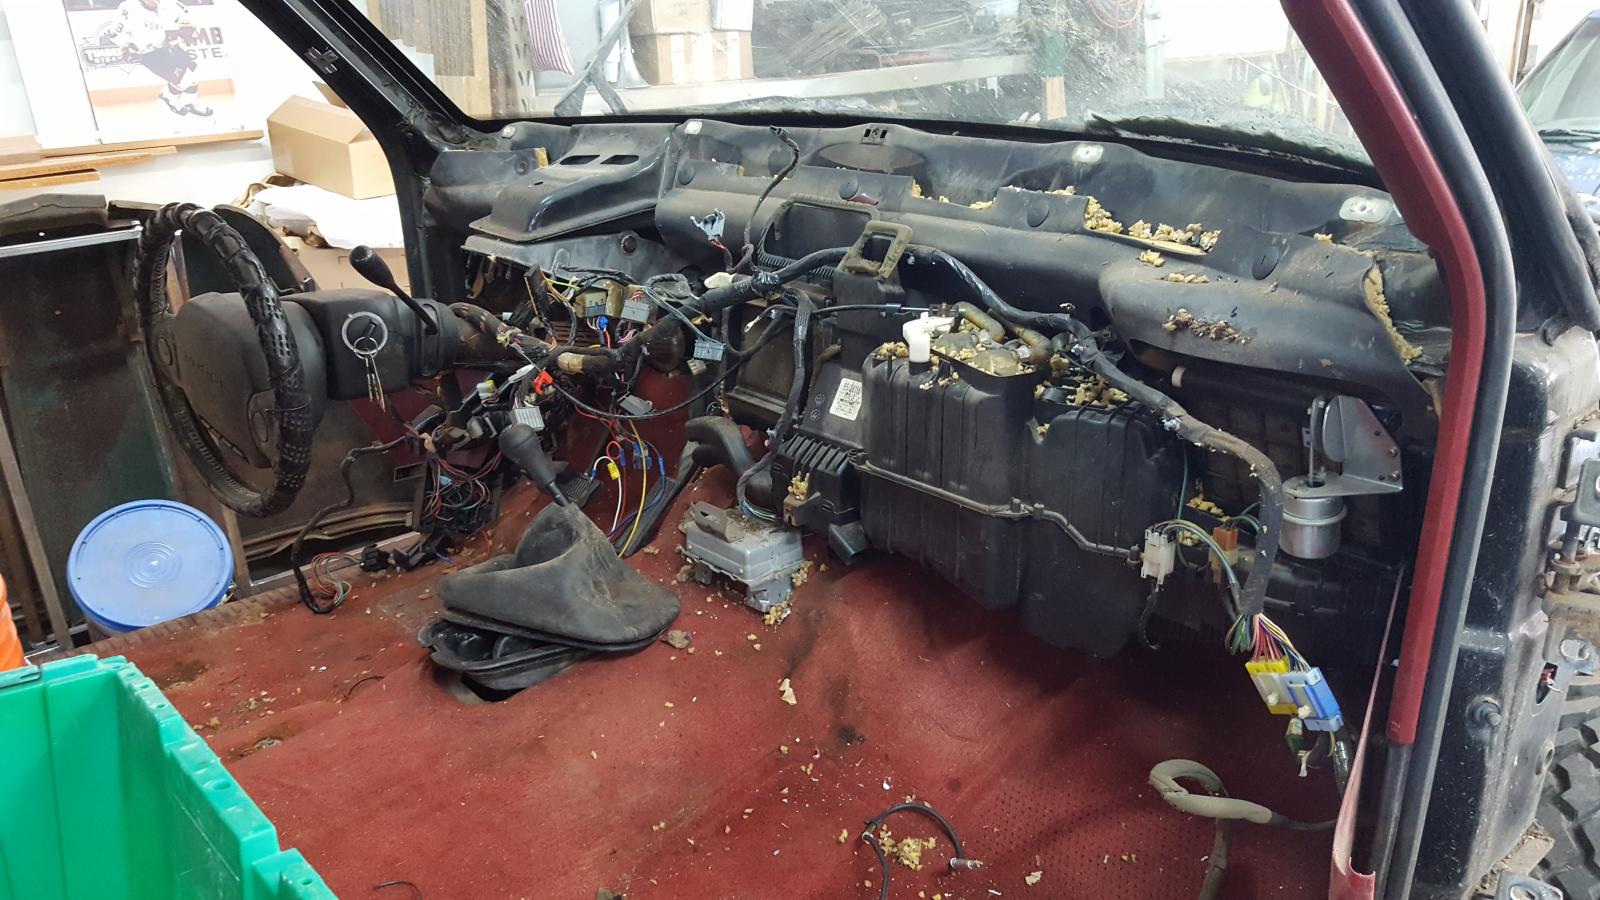
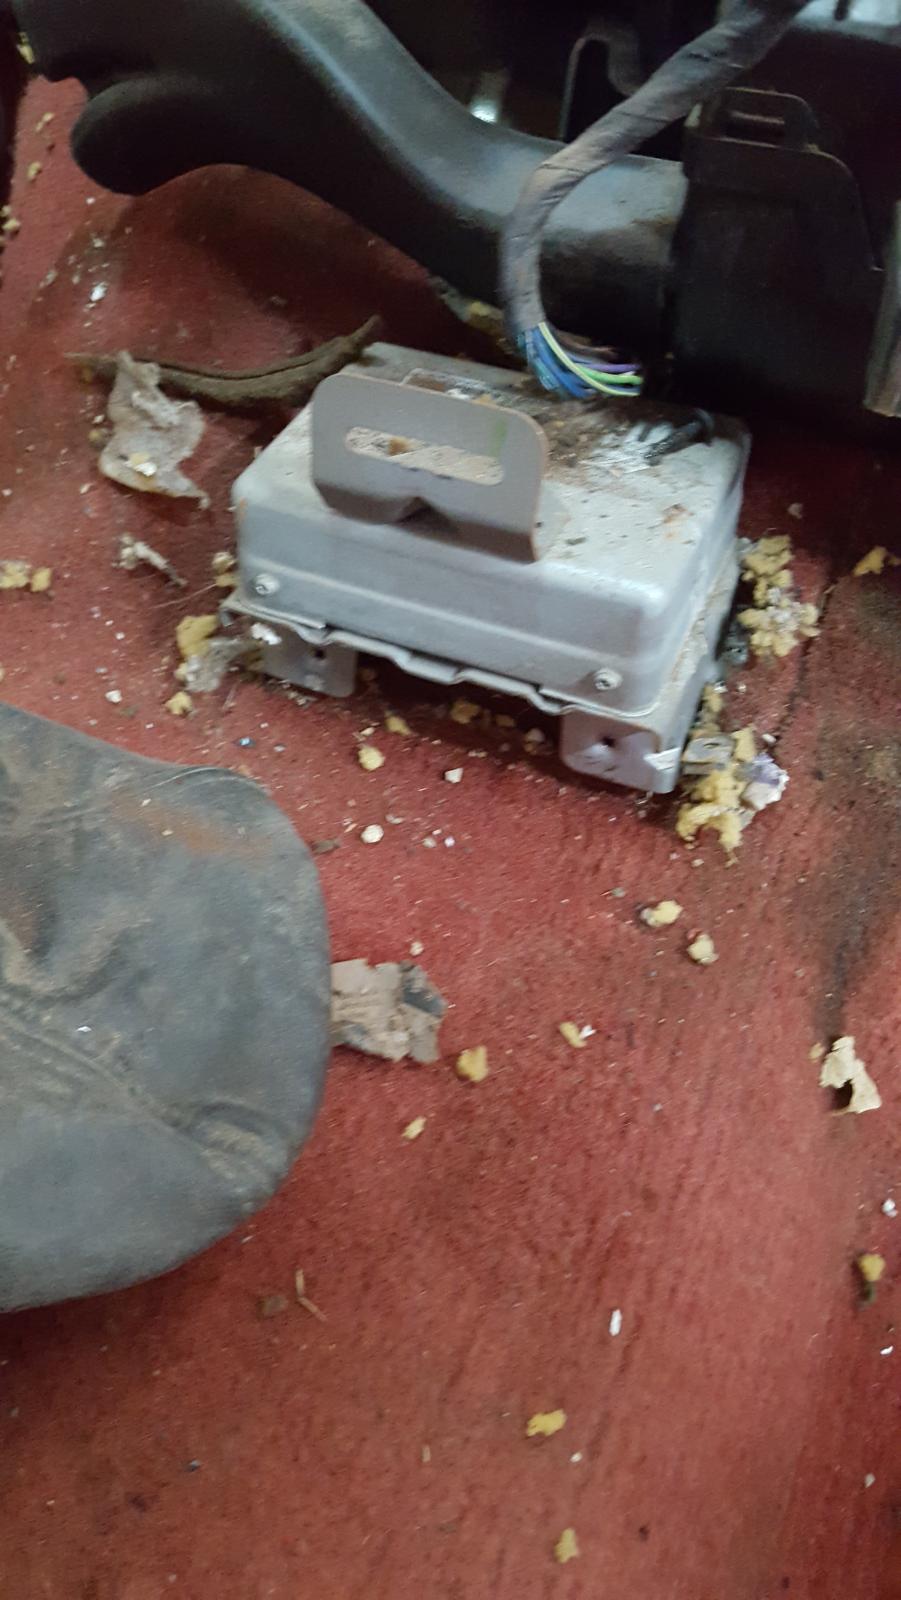
on to the interior: How do you take the knob off the 2WD/4WD selector?
-
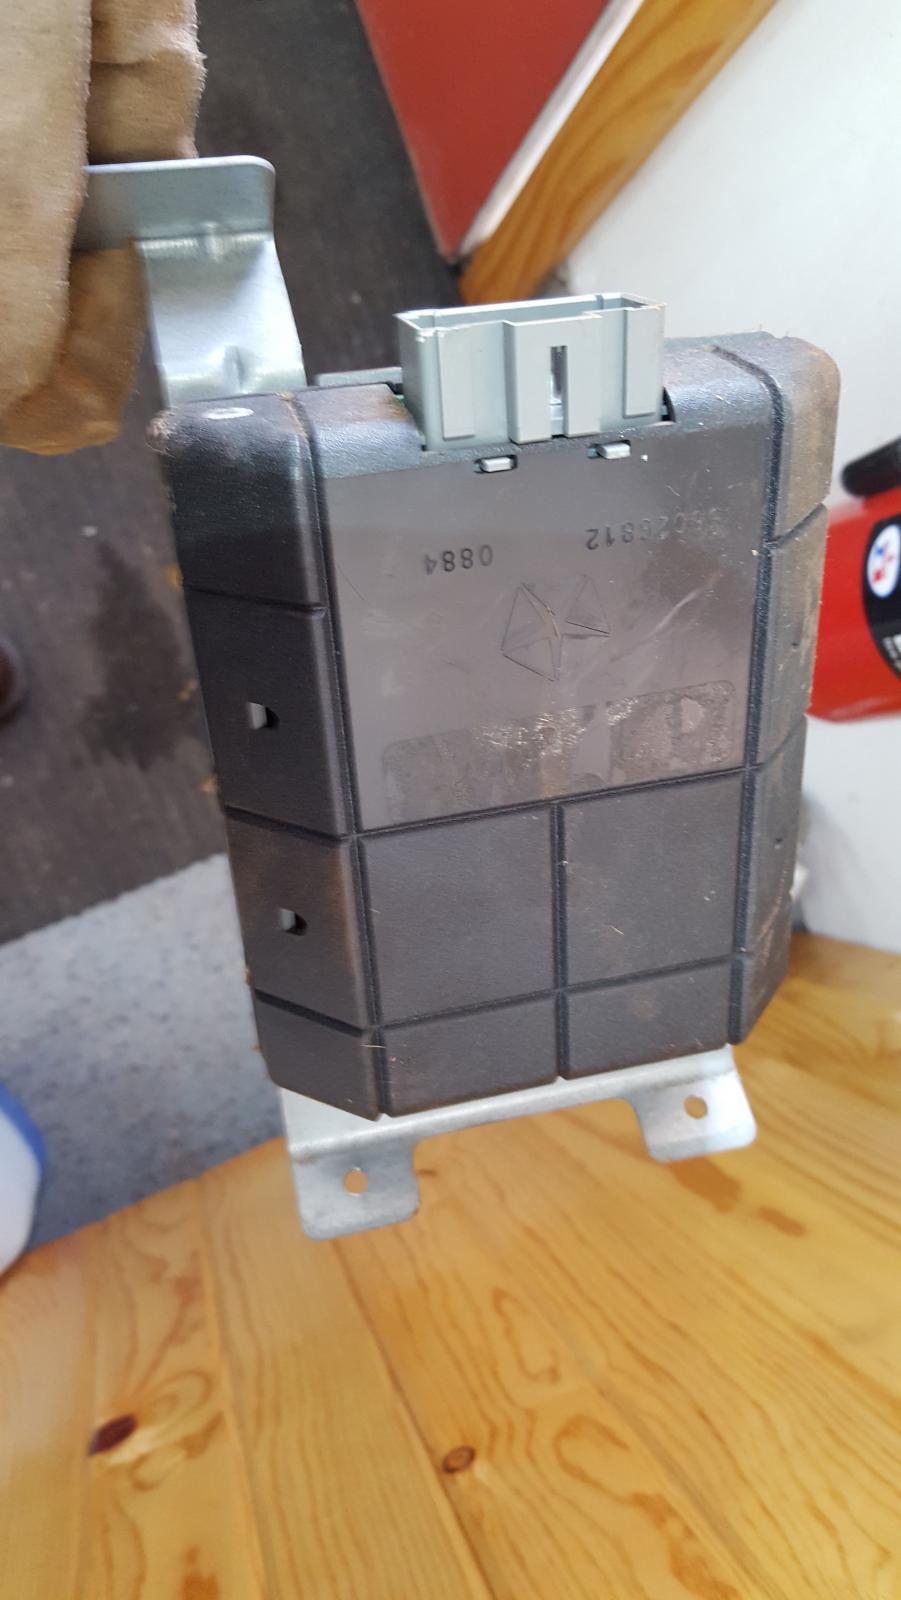
I'm tearing down the '94 for my street rod project and don't want to throw something away that I need. Now I've never taken a modern vehicle down before and my repairs on them have been 95% plain old maintenance, but what are these items? thanks!
-
Today's work:
-
and it begins...
-
let's do this to keep the thread "cleaner". If you see something you are interested in, drop me a PM and it will be FCFS. I sell parts for 50's trucks all the time and tend to give good prices. Only thing I'm keeping is the grill for the wall. Tear down starts tomorrow after work!
-
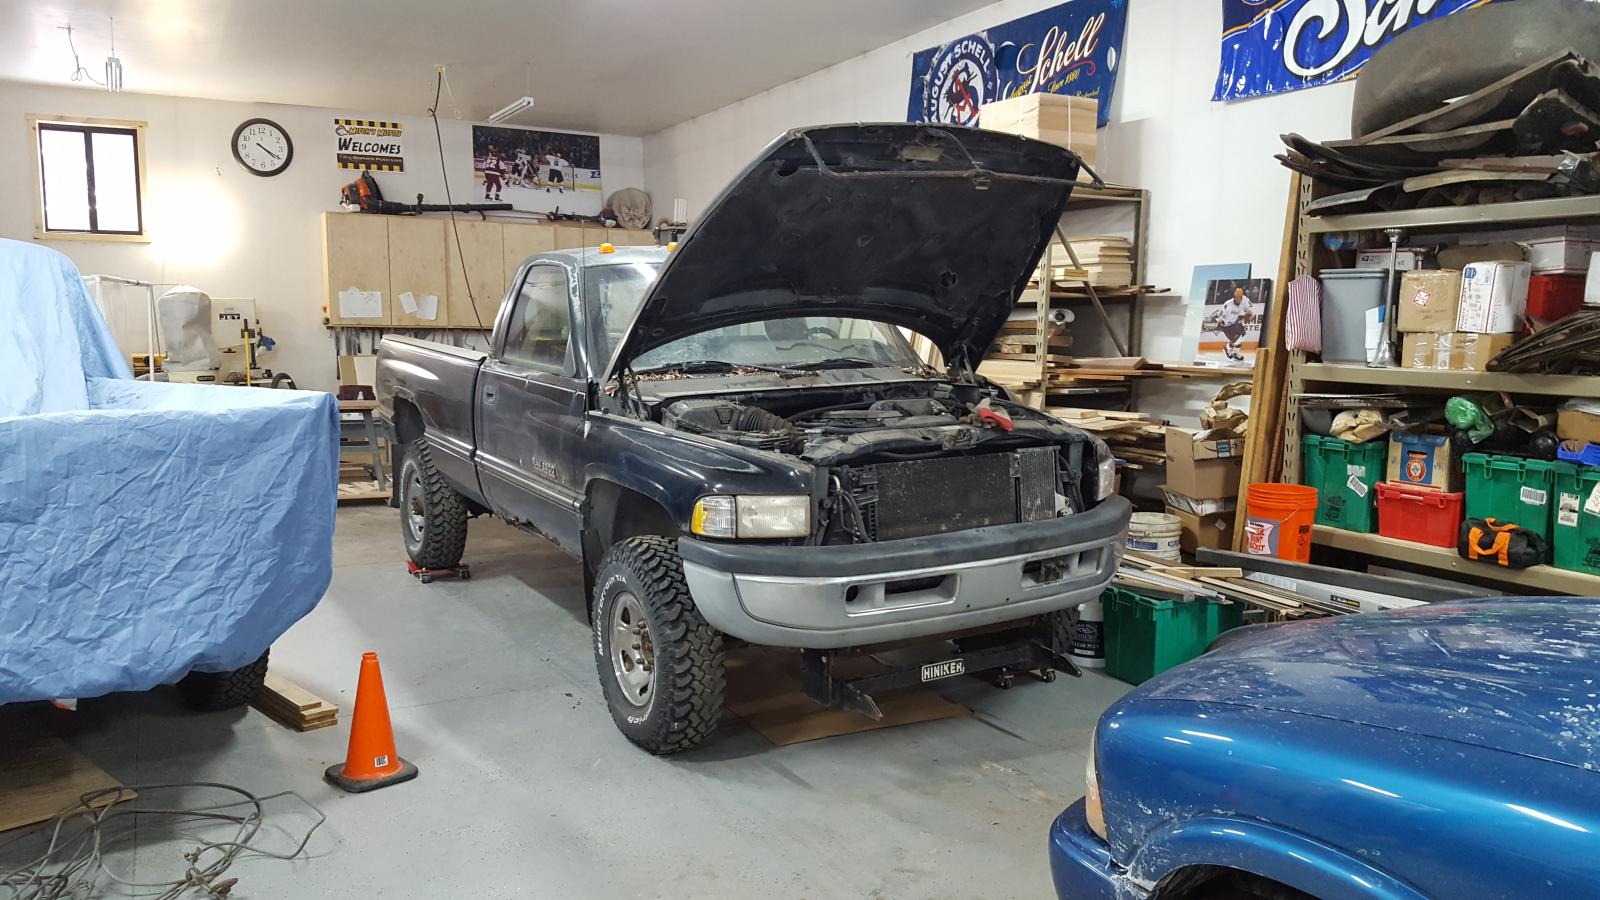
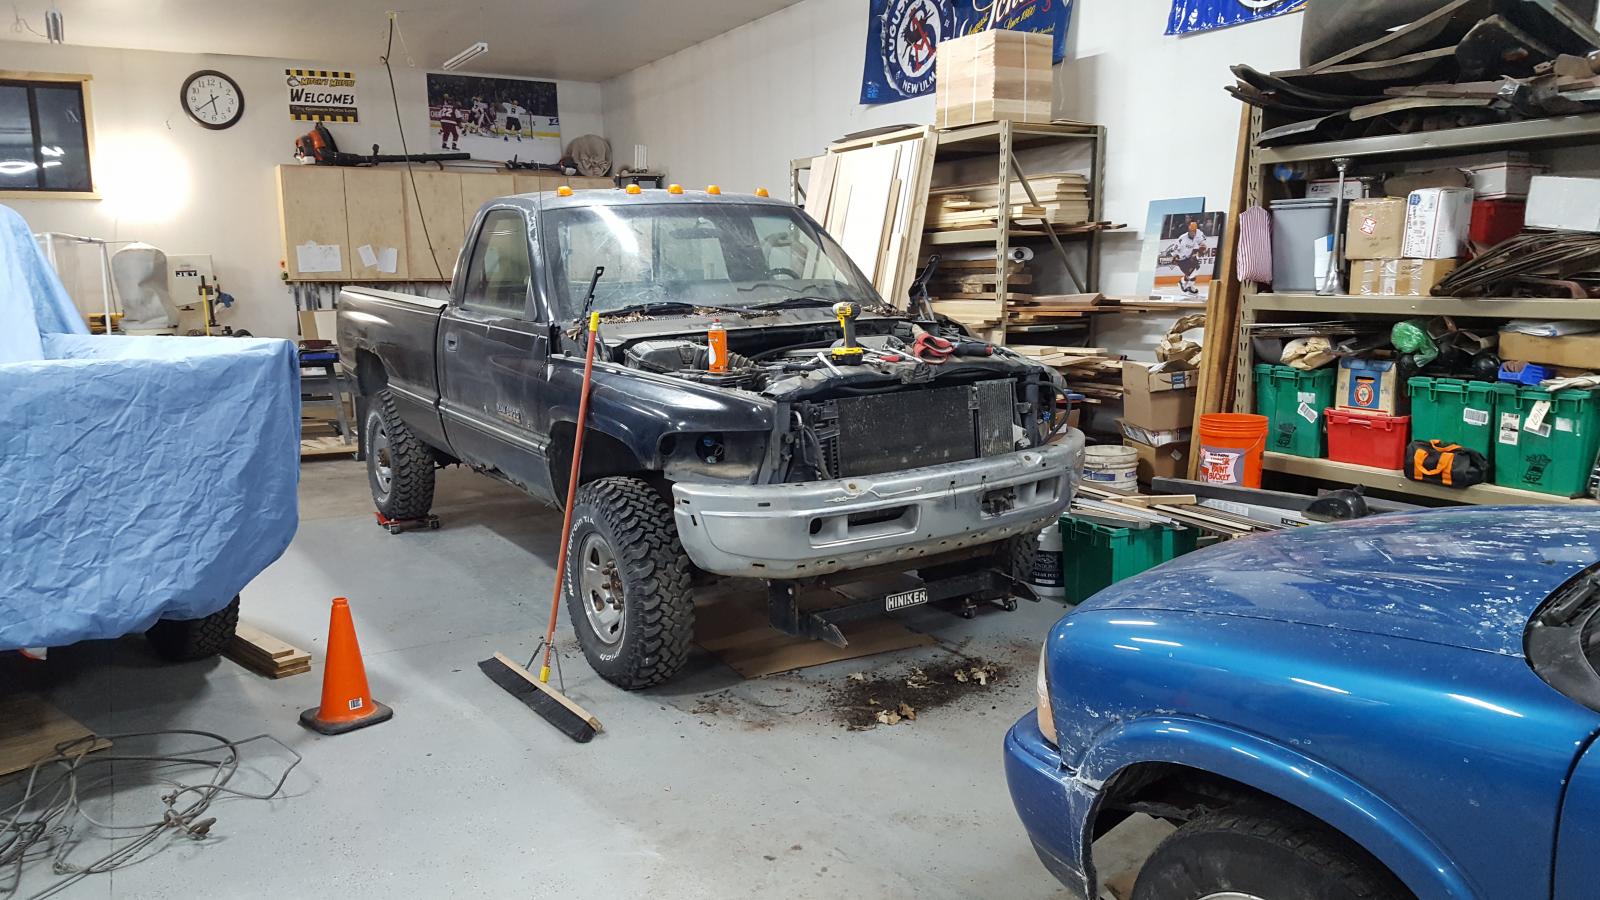
got the '94 pulled into the shop last night to thaw out...any parts you want off the body, speak up before they get scrapped!
-
From what I can see by looking at a few websites, the NV5600 was not an option in '94. What would all be entailed going to this (assume transfercase, drive shaft)? Altho, at almost double the cost of the NV4500...I don't know..
-
sill/rocker beams in and seats out of the donor (and my helper)
-
sooo...as I lay in bed this morning, waiting to get up (stupid brain) I thought to myself: 1. how spendy would a manual transmission be for this project to swap in? 2. how available are said transmissions? 3. Would my old, almost fresh off of rebuild, be easy to sell and for how much?
-
put in the bracing so I can cut the floor out this weekend
-
So am I! LOL goal is 2020
-
Well, wood projects wrapping up for the winter. After almost a year, I'm getting back to TODD. Last night I cut all the bracing out I had in for the roof build. Now I can weld in new bracing so I can cut the floor out. Then I will weld in new sill beams (2 X 4 x .125 tubular steel you can see them laying in the cab) and some cross members. Hopefully in Feb I will be pulling the 94 into the shop and start tear down so I can get the cab set this spring. Sure opens the cab up inside!
-
come January when I hope to pull the '94 in the shop to start the tear down, ALL parts not on the power train are available for the asking. PM me if you are looking for any parts before they head to the landfill or scrapper.
-
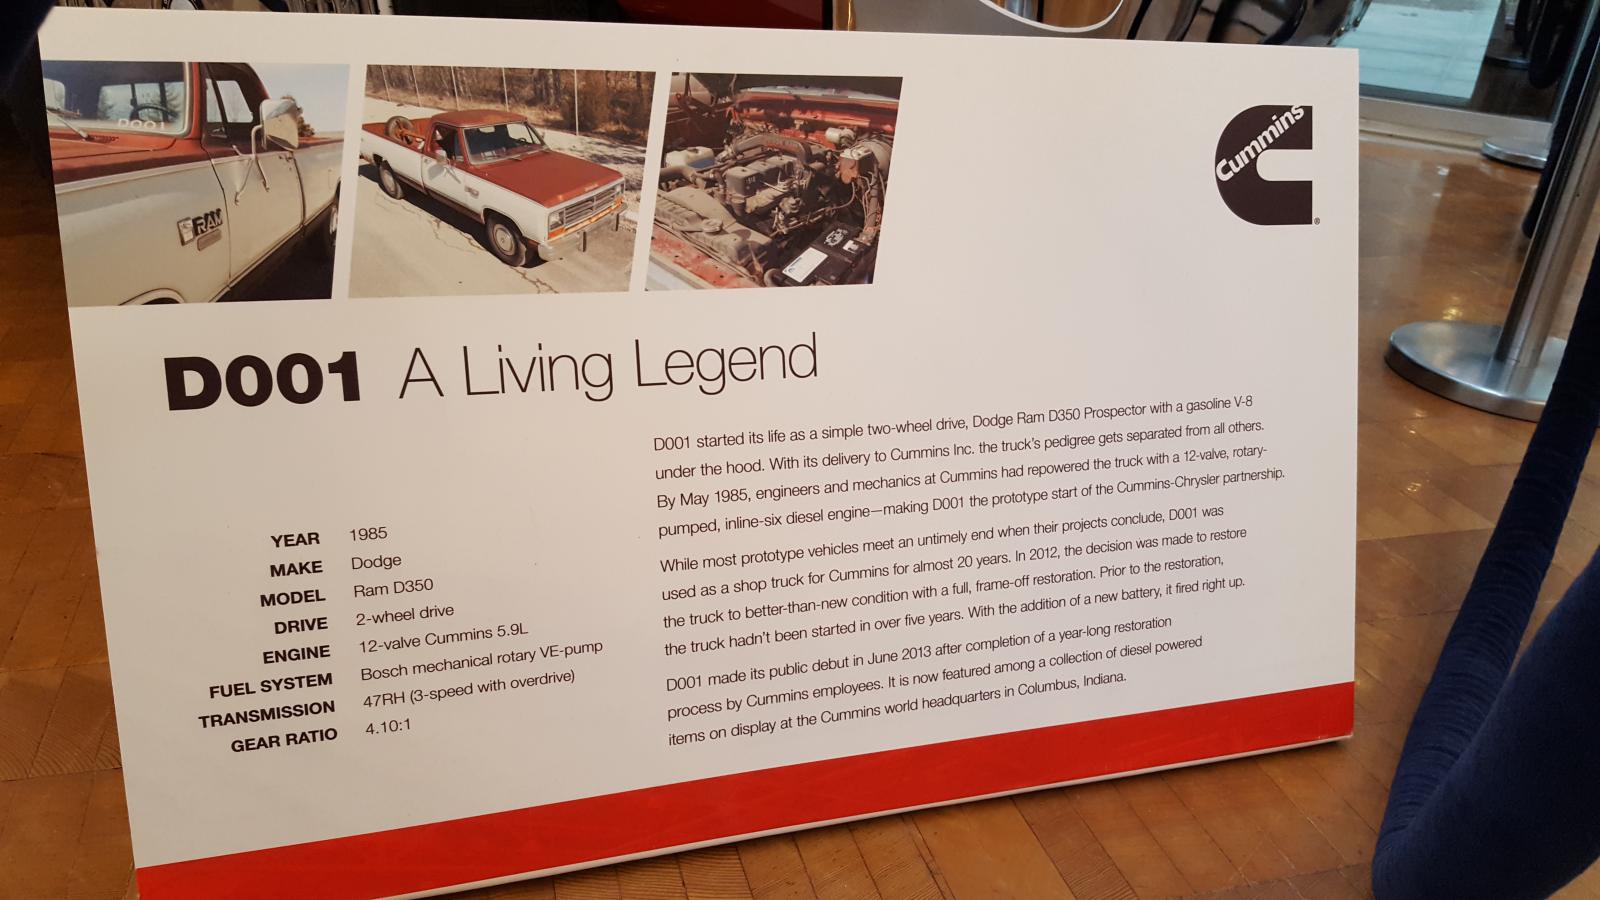
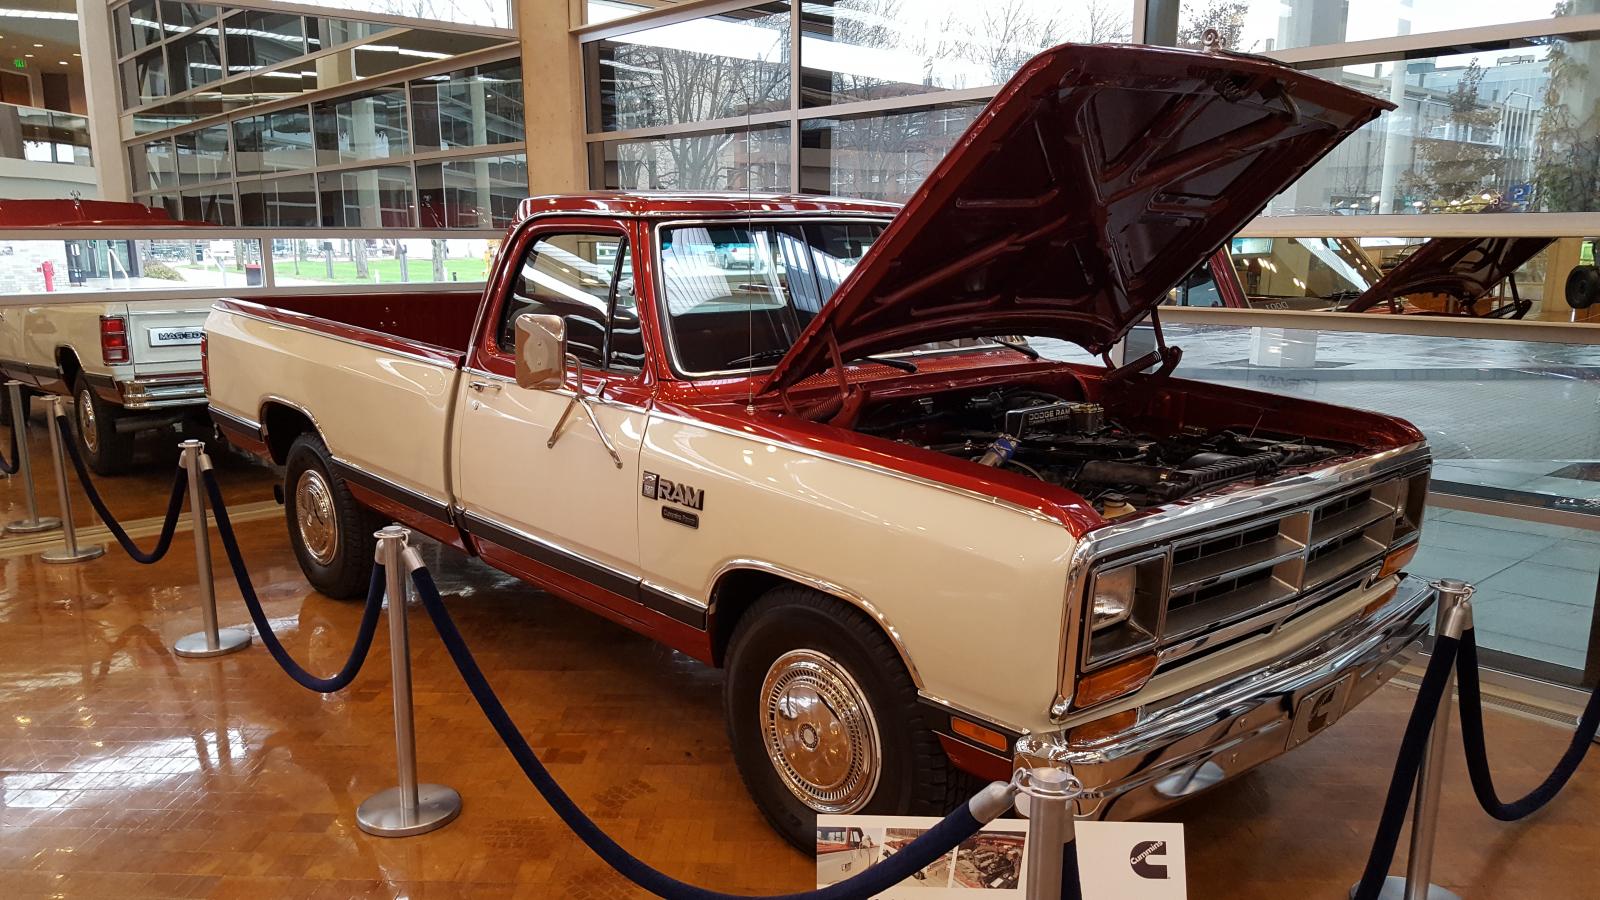
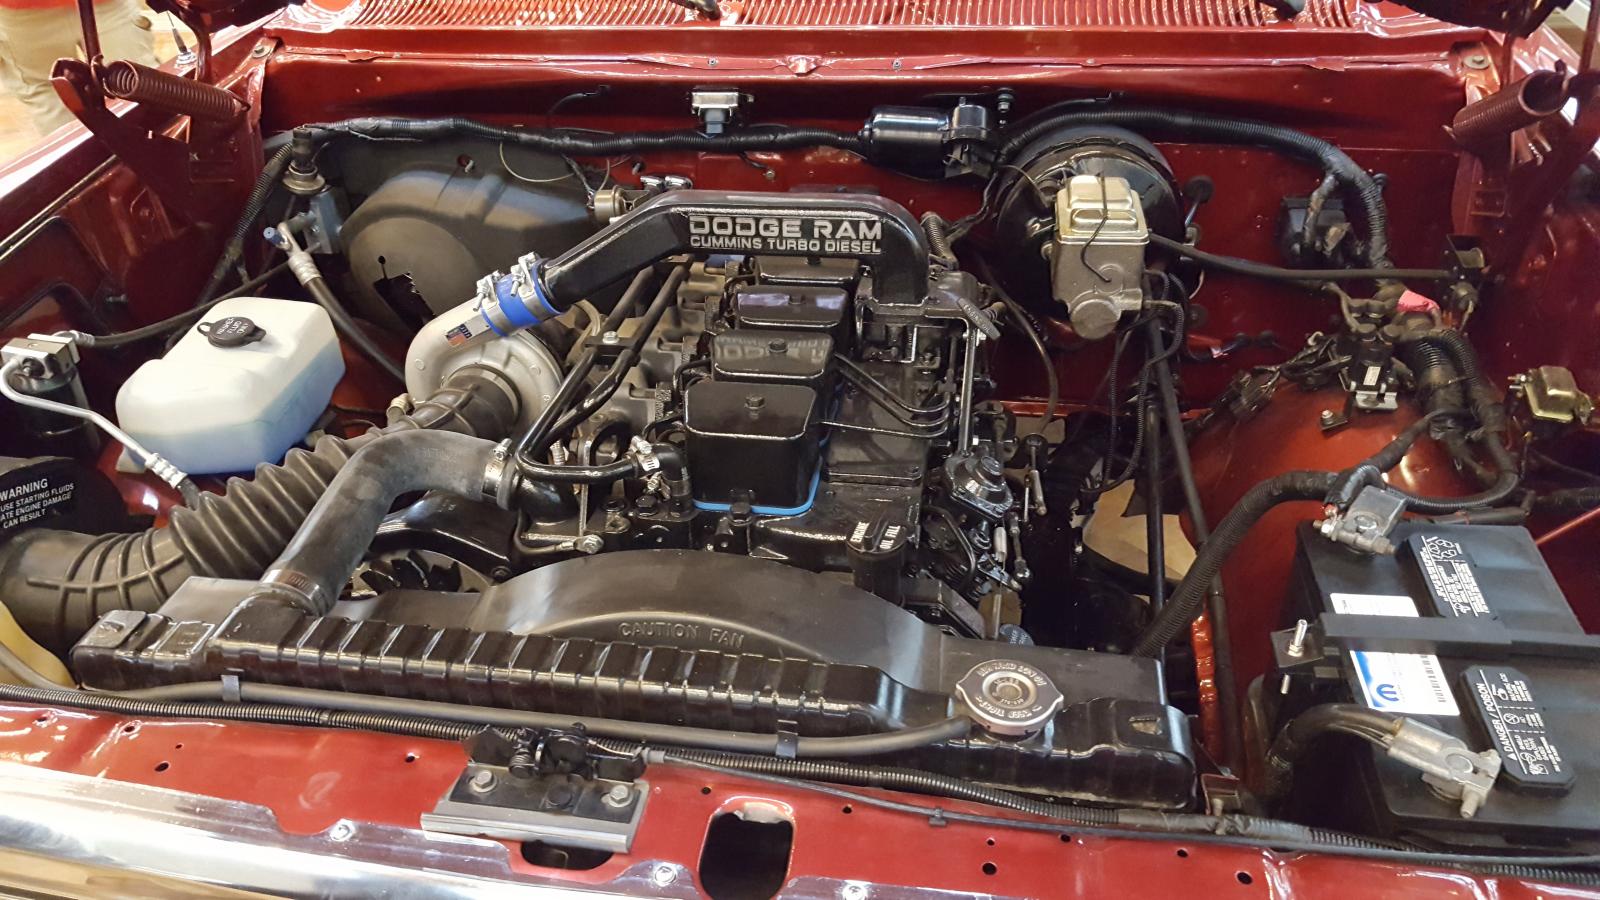
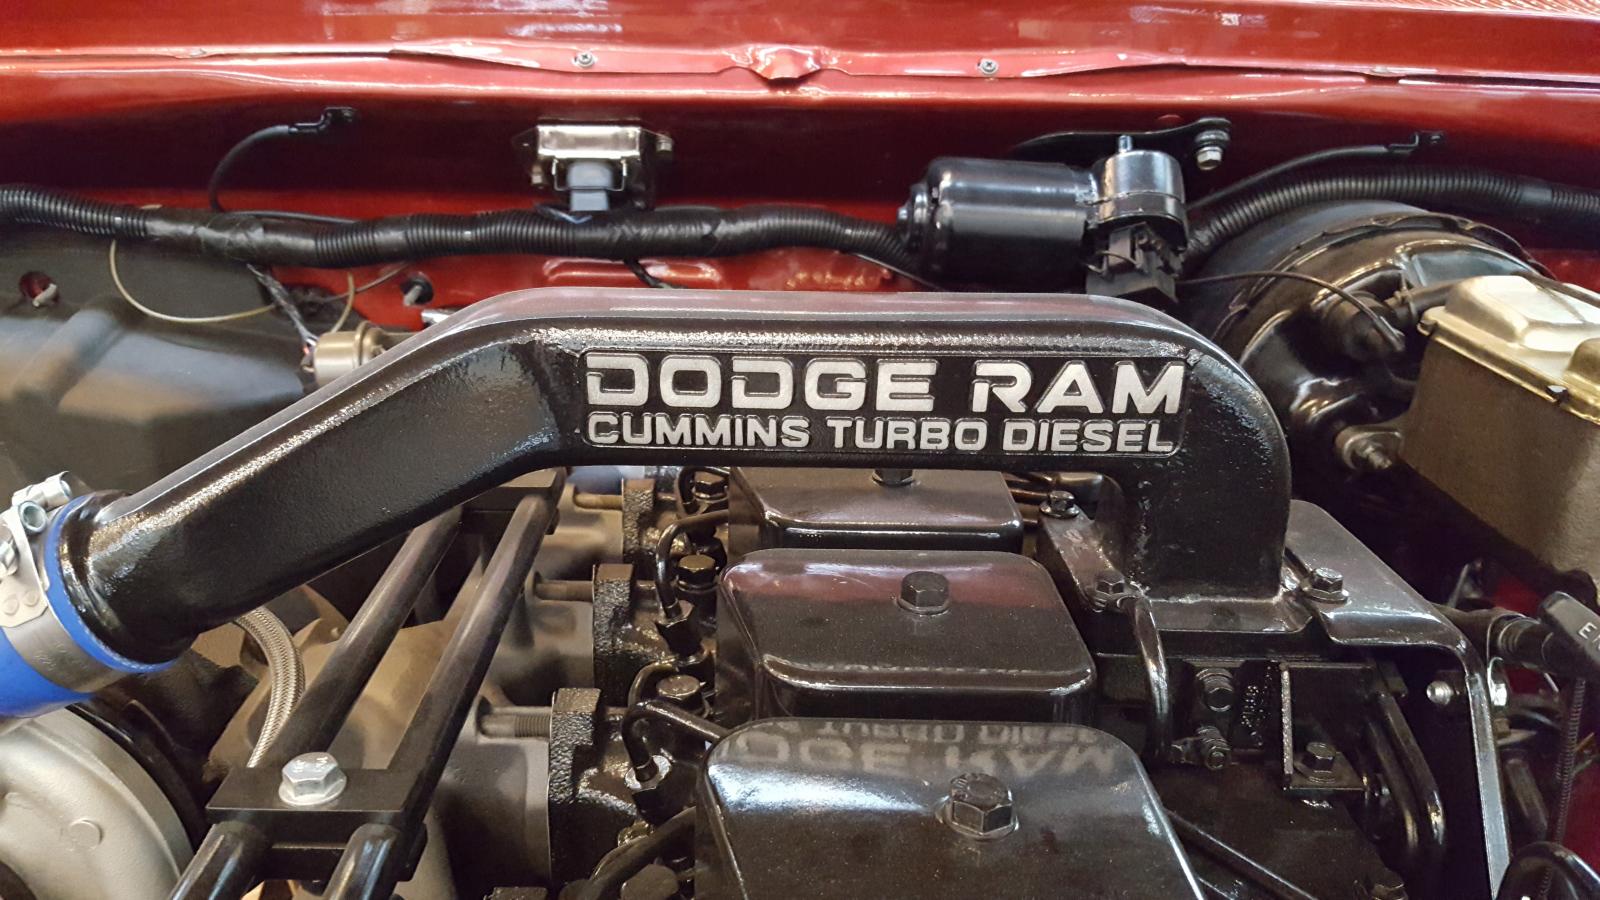
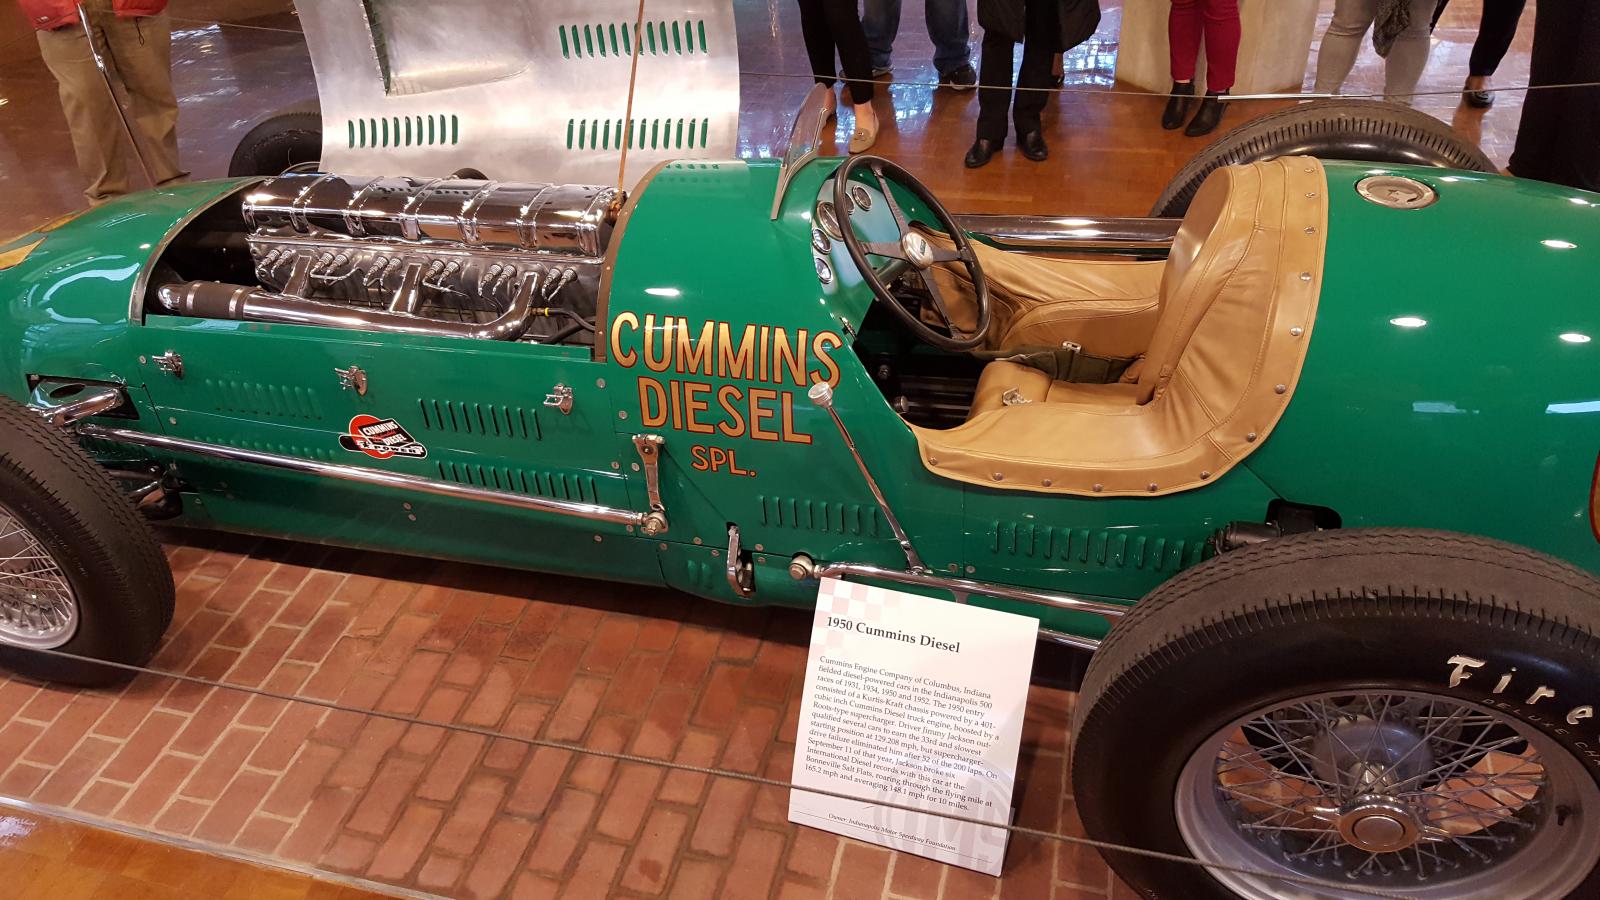
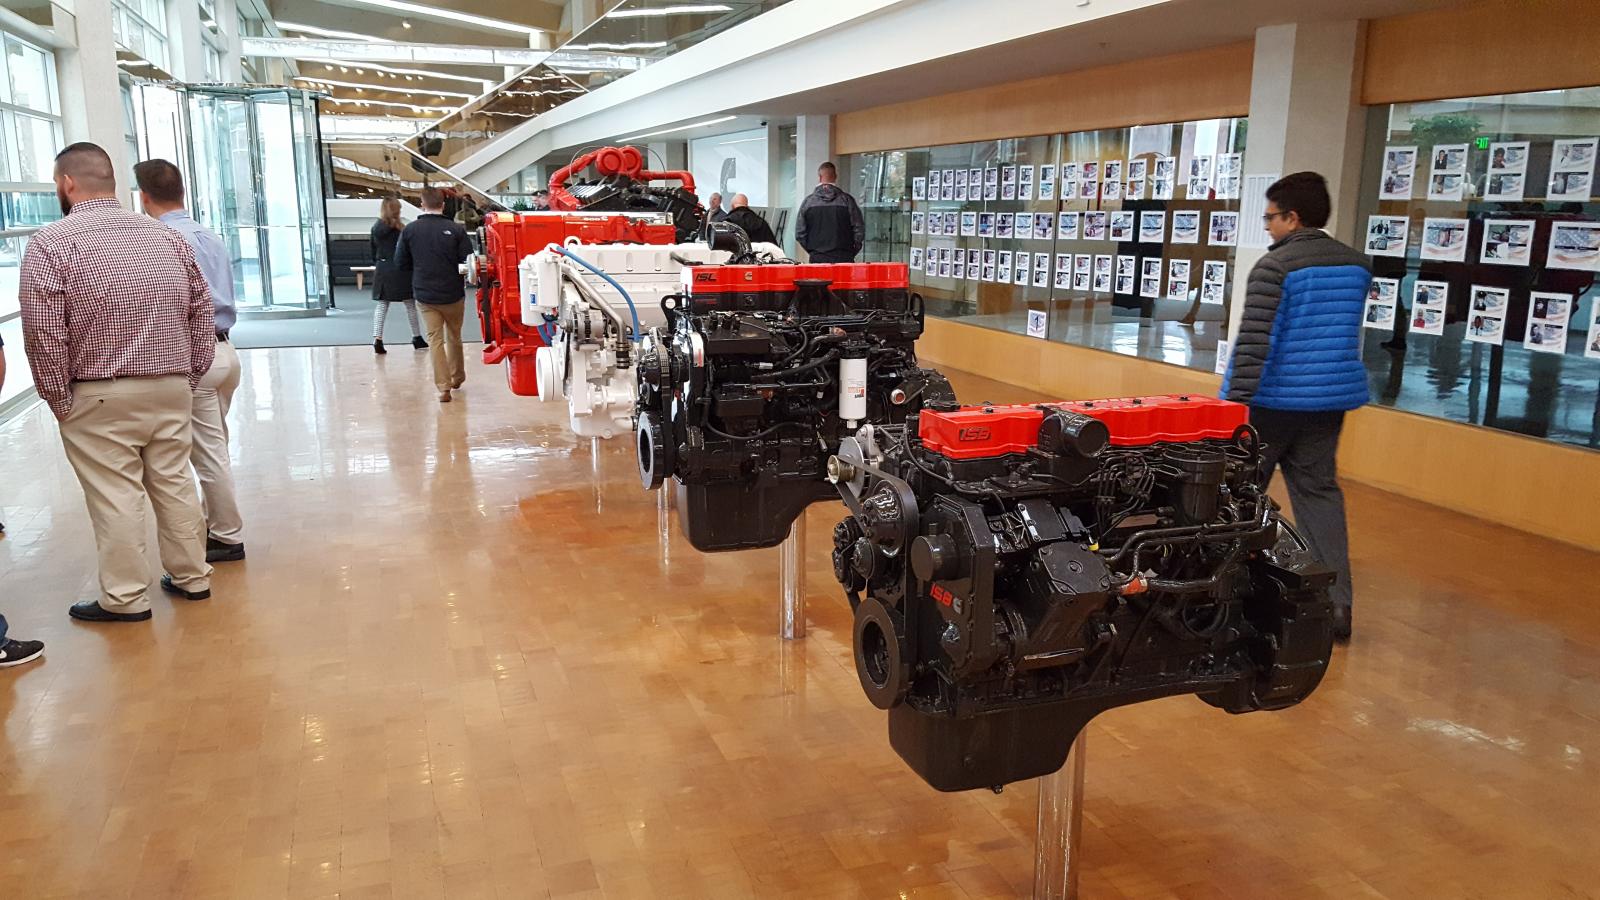
some eye candy from my onboarding time at the mothership:
-
Well, I'm back in business, a few wood projects to finish up I contracted for while between positions, but I started my new job 2 weeks ago.....at Cummins! I'm in Power Gen systems (diesel gensets), but I'm now part of a great company, with cool products! I hope to get back on the truck here in January.
-
still working on the project, but it is on hold. My position was eliminated at work and I'm on the hunt for work and doing a lot of woodworking to help pay bills right now instead of playing truck.
-
Well I THINK I got all the pictures replaced. Let me know if something looks broken.
-
I will find SOMETHING. Somehow. I post on 3 different forums on this project and it was super easy to use photobucket. Simple math with assumptions puts the money grab at $400 MILLION! It's a LOT of pictures to find and repost/posts to edit! No worries I'll keep them coming...somehow all about getting it appraised...likely would not truly cover a replacement, but better than nothing I guess. When I'm done, I'm sure I'll have over 40K into it, not including my time. Likely appraised to maybe 10K over that. Lots of custom rods are done this way...but unless you are a Foose or some other big name you don't ever get the REAL value in an appraisal.
-
photobucket's new ransom to 3rd party posting will likely mean all my pictures will be going away. I will see if I can reload them at some point...
-
sides welded in, ground and dollied! Next up..FLOOR

.jpg.ca5e7327a684cfb2904efbfde32f079a.jpg)
-
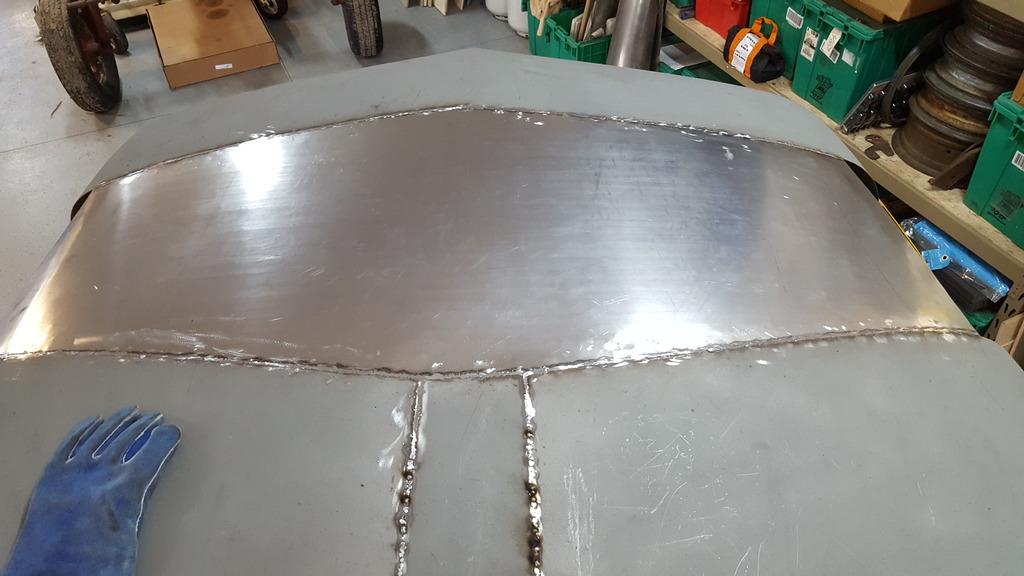
Top center secion all done. Hammer and dolly work and grinding complete. Sides formed and tack welded on. Finish welding those up and then onto the firewall and floor replacement!

.jpg.d97d4371aabaf3bf0e520e89ef0407b7.jpg)
.jpg.7bd5a41b3c683bb576c96f66301e9415.jpg)
-
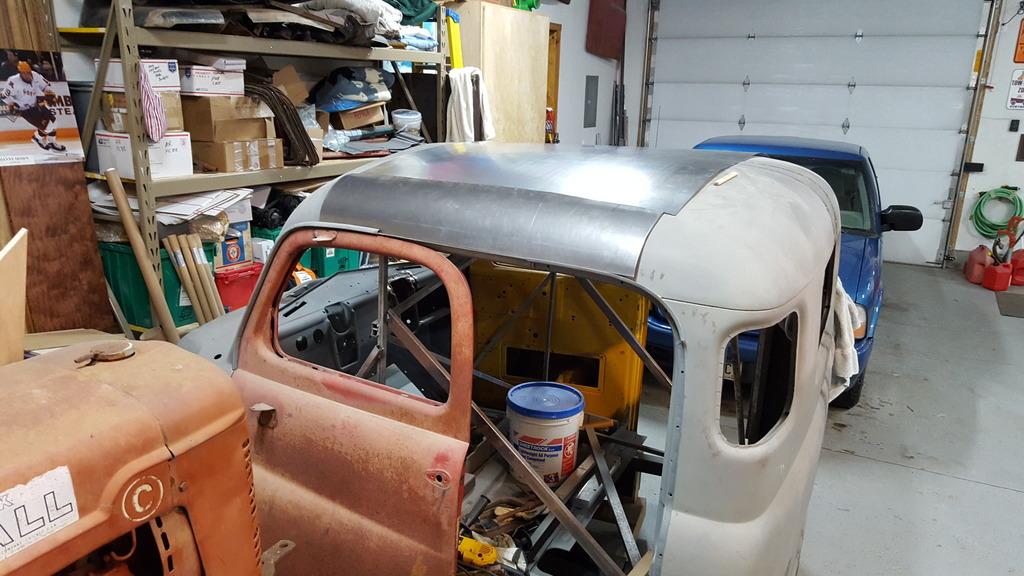
Center section all welded in and ground, some dolly work left, but on to the sides next!
-
more progress...
.jpg.75de8890d064bc5f779f5030feaa8722.jpg)
.jpg.ab7456344151d9d4dcab5fd130d6c936.jpg)
.jpg.2e7f4e169af4b6a3a9a5fac8f3584d81.jpg)
-
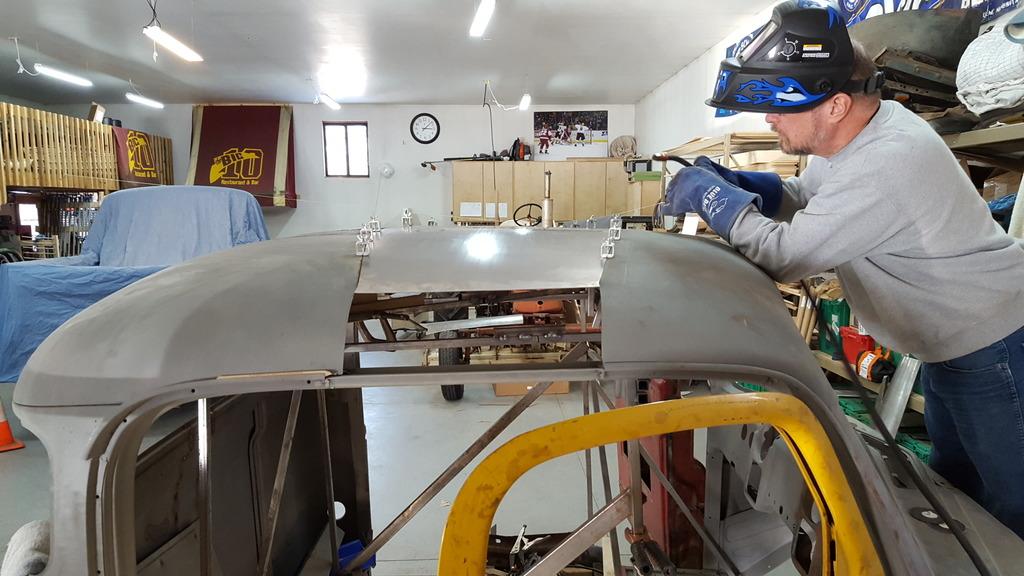
Neighbor runs a car shop and had graciously offered to help for free (beer and food) to help me out over the course of the summer while at the bonfire...well he seems to want to get it done because he's been on my case! Last night he taught me some BASICS of the English Wheel! First pass shown here. A little more crown to add in the middle but close!
.jpg.4b68deed64141cfa6e9d410c609ceb90.jpg)
-
templates made for the roof section...hoping to have that finished off and pictures posted in Feb!