PilotHouse2500
Yearly Subscription
-
Joined
-
Last visited
Everything posted by PilotHouse2500
-
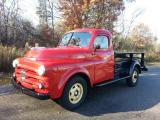
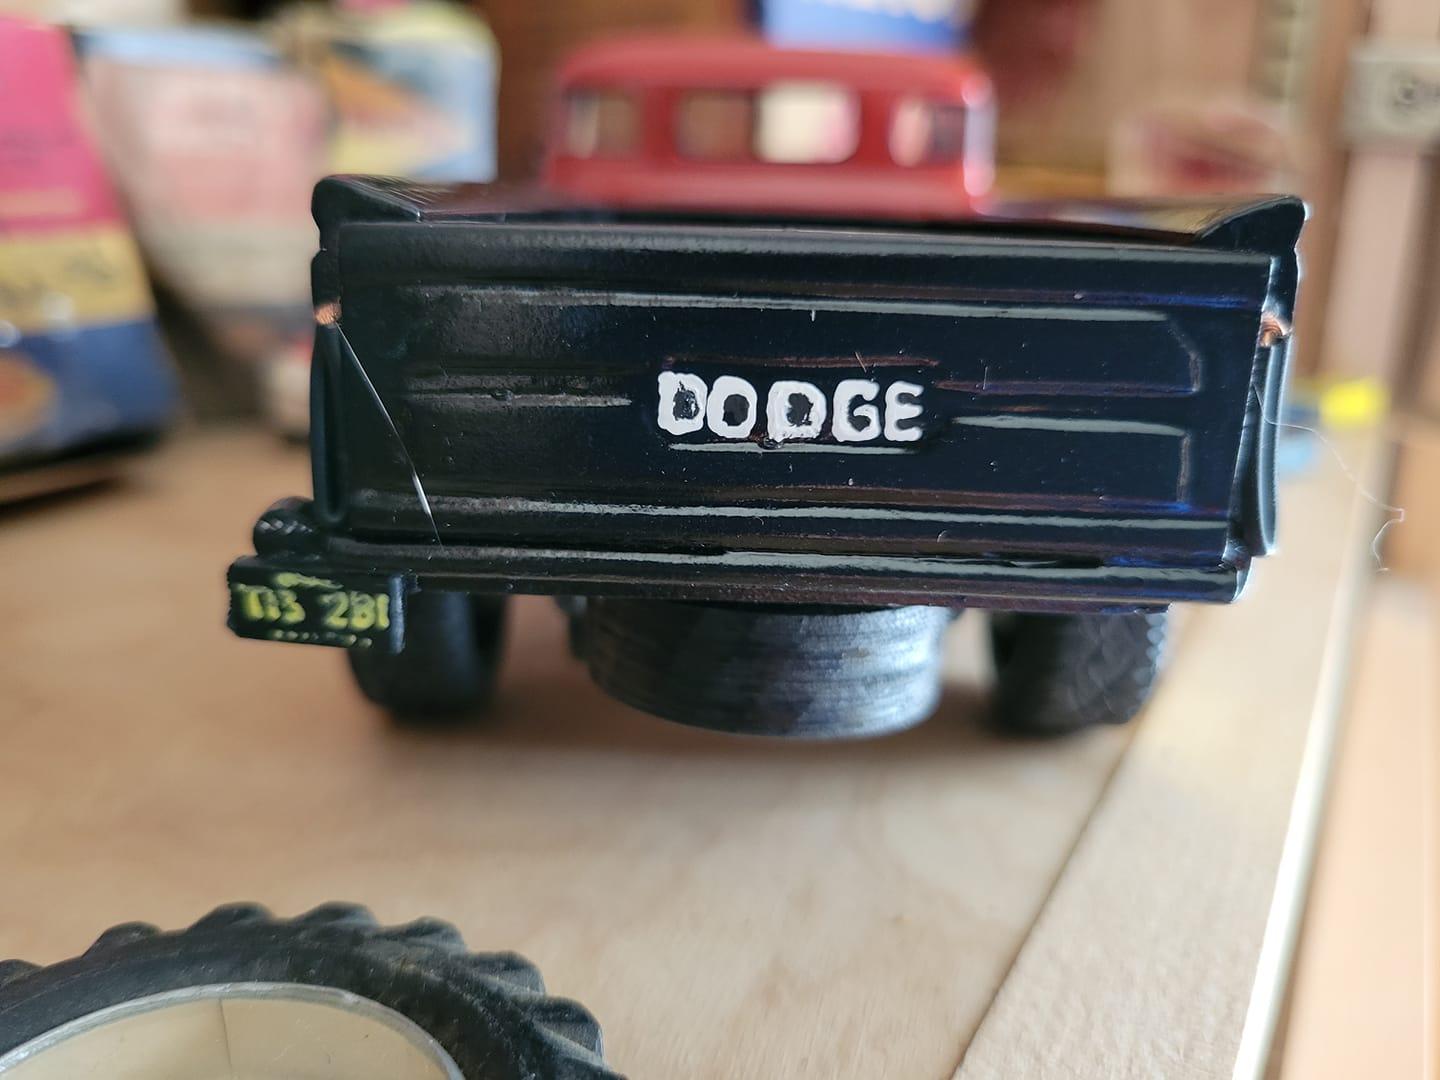
Summit....you get what you get.,..Dorman parts
-
So I'm spending a small fortune at Summit right now to get the parts I need for the cooling system rebuild, and started to poke at the brake system as well. On the MC is there any preference performance/use/life wise on an alumium body vs. cast iron?
-
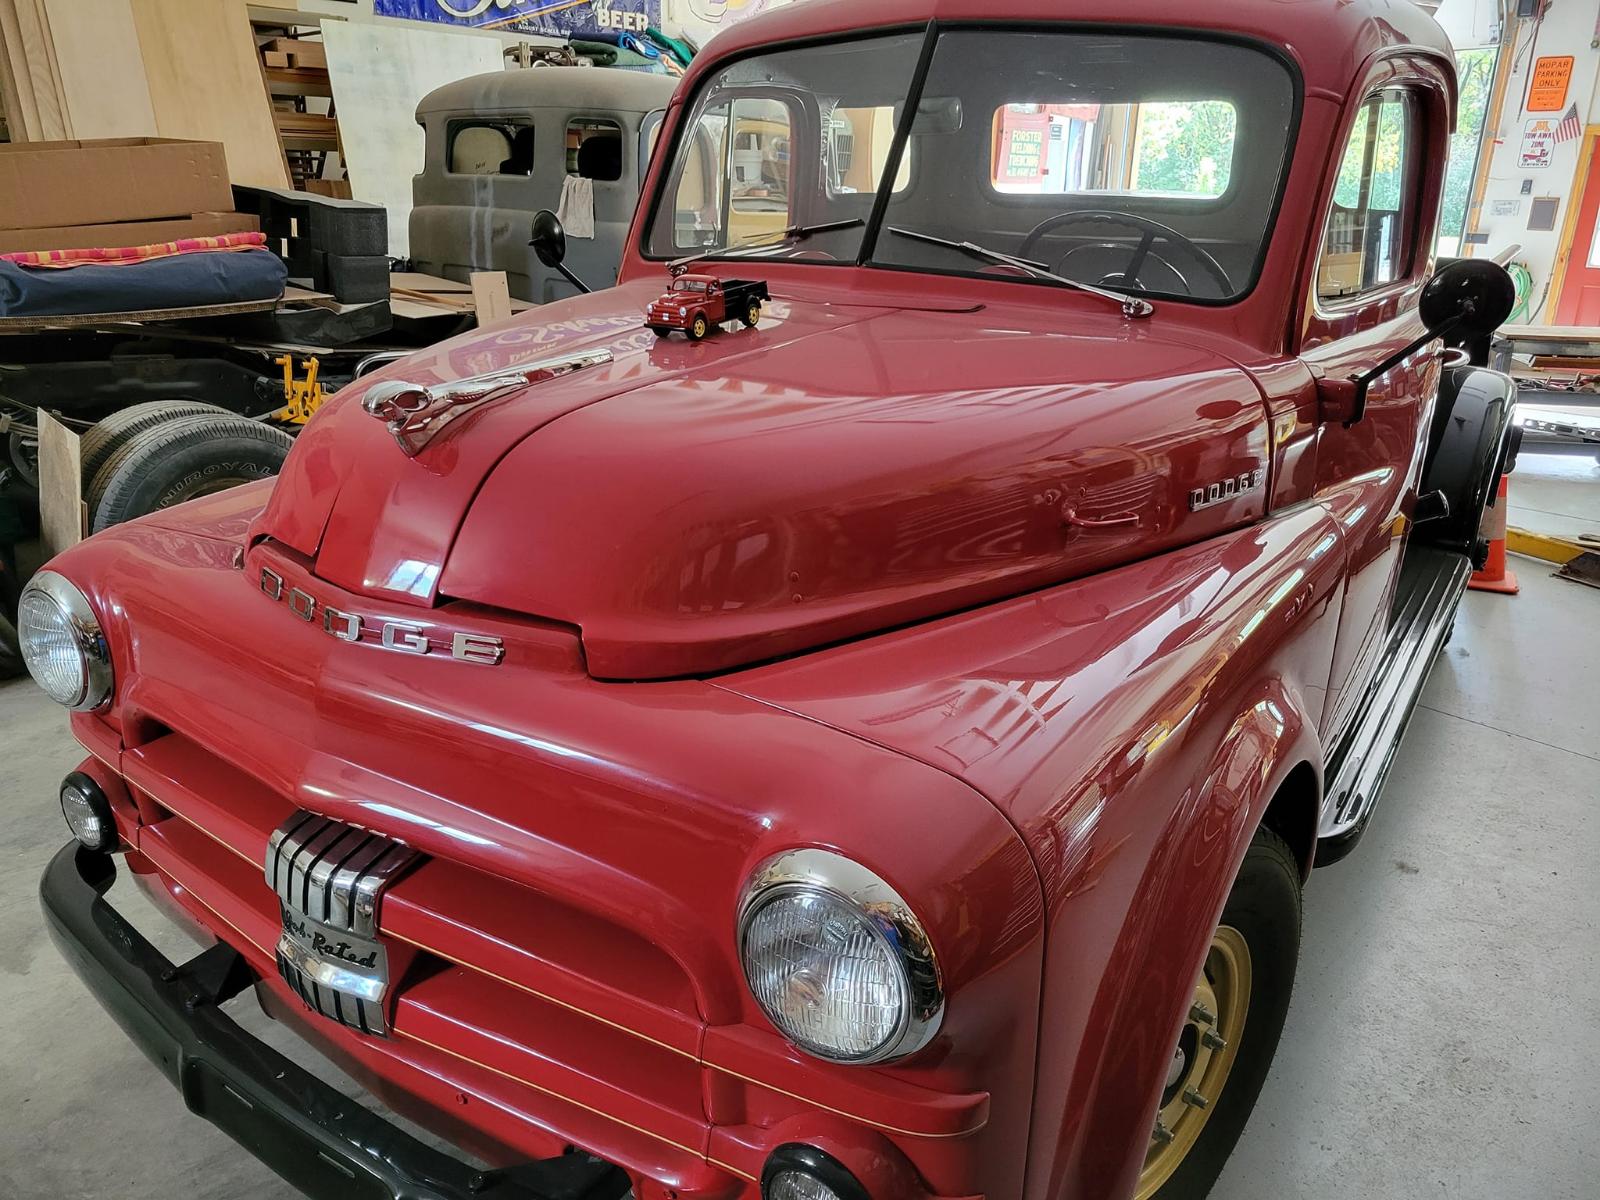
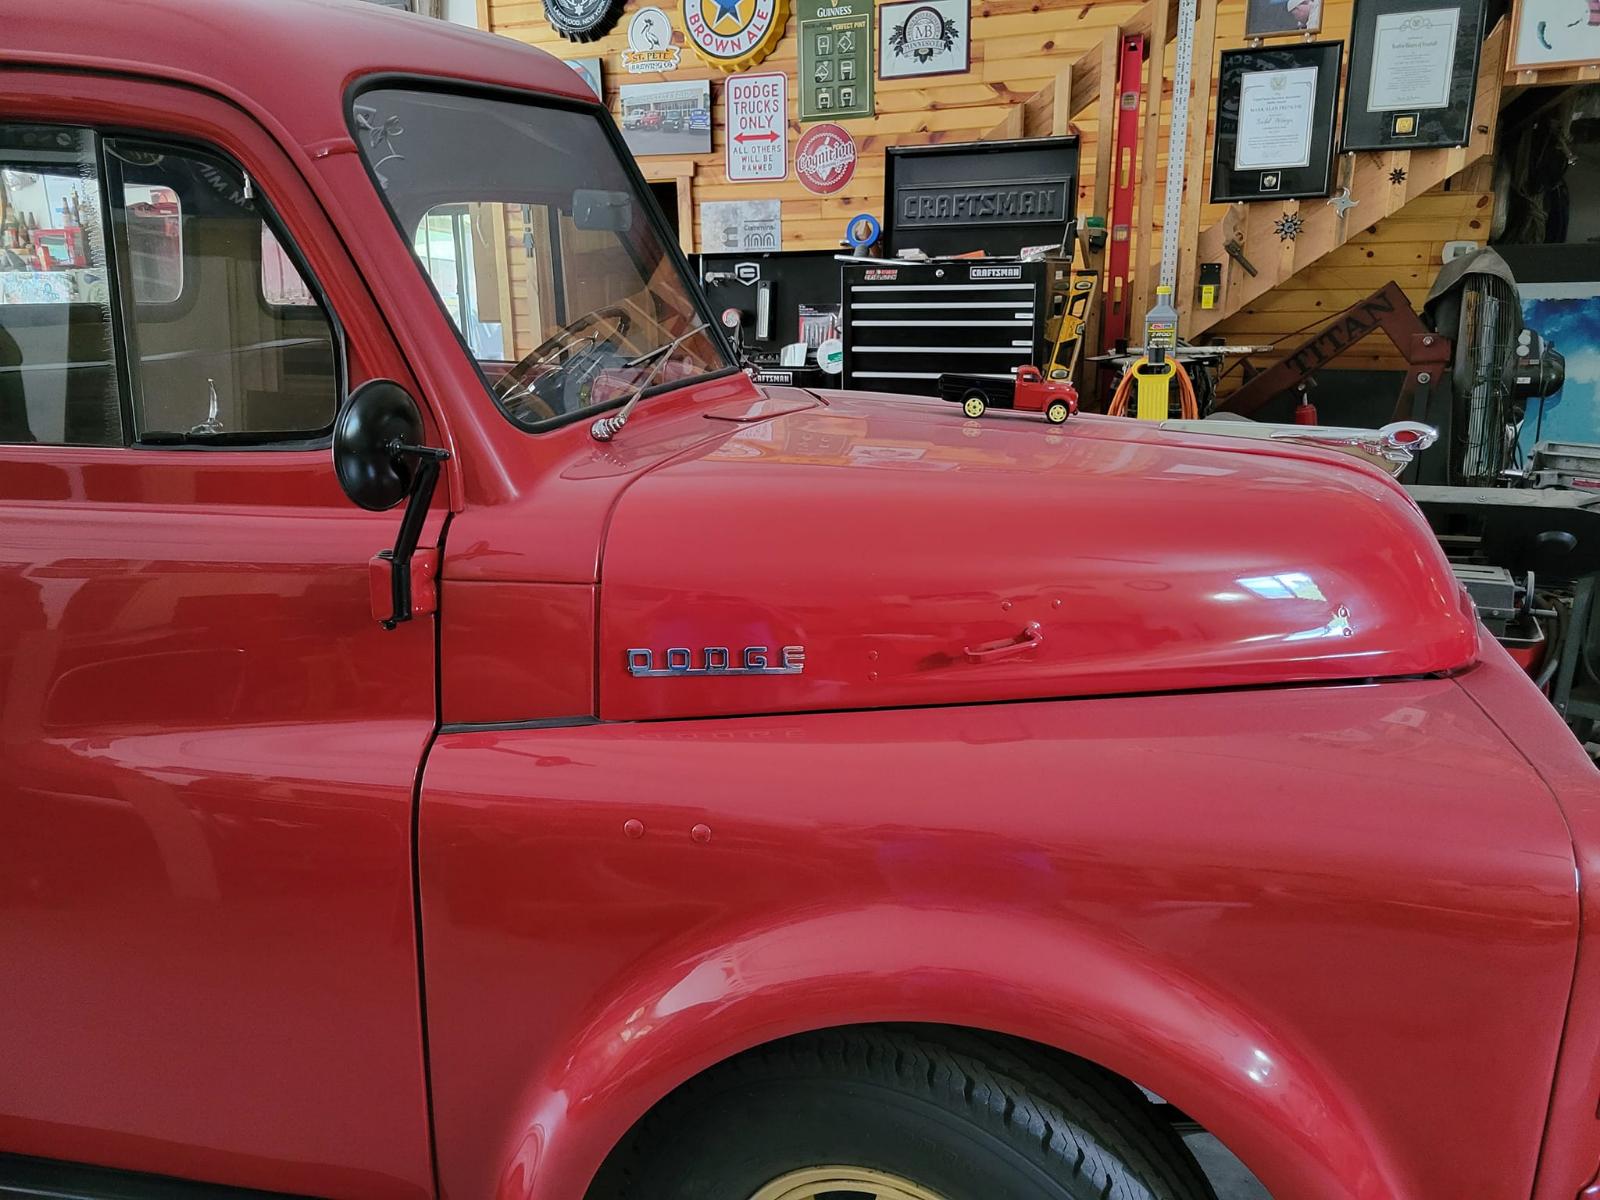
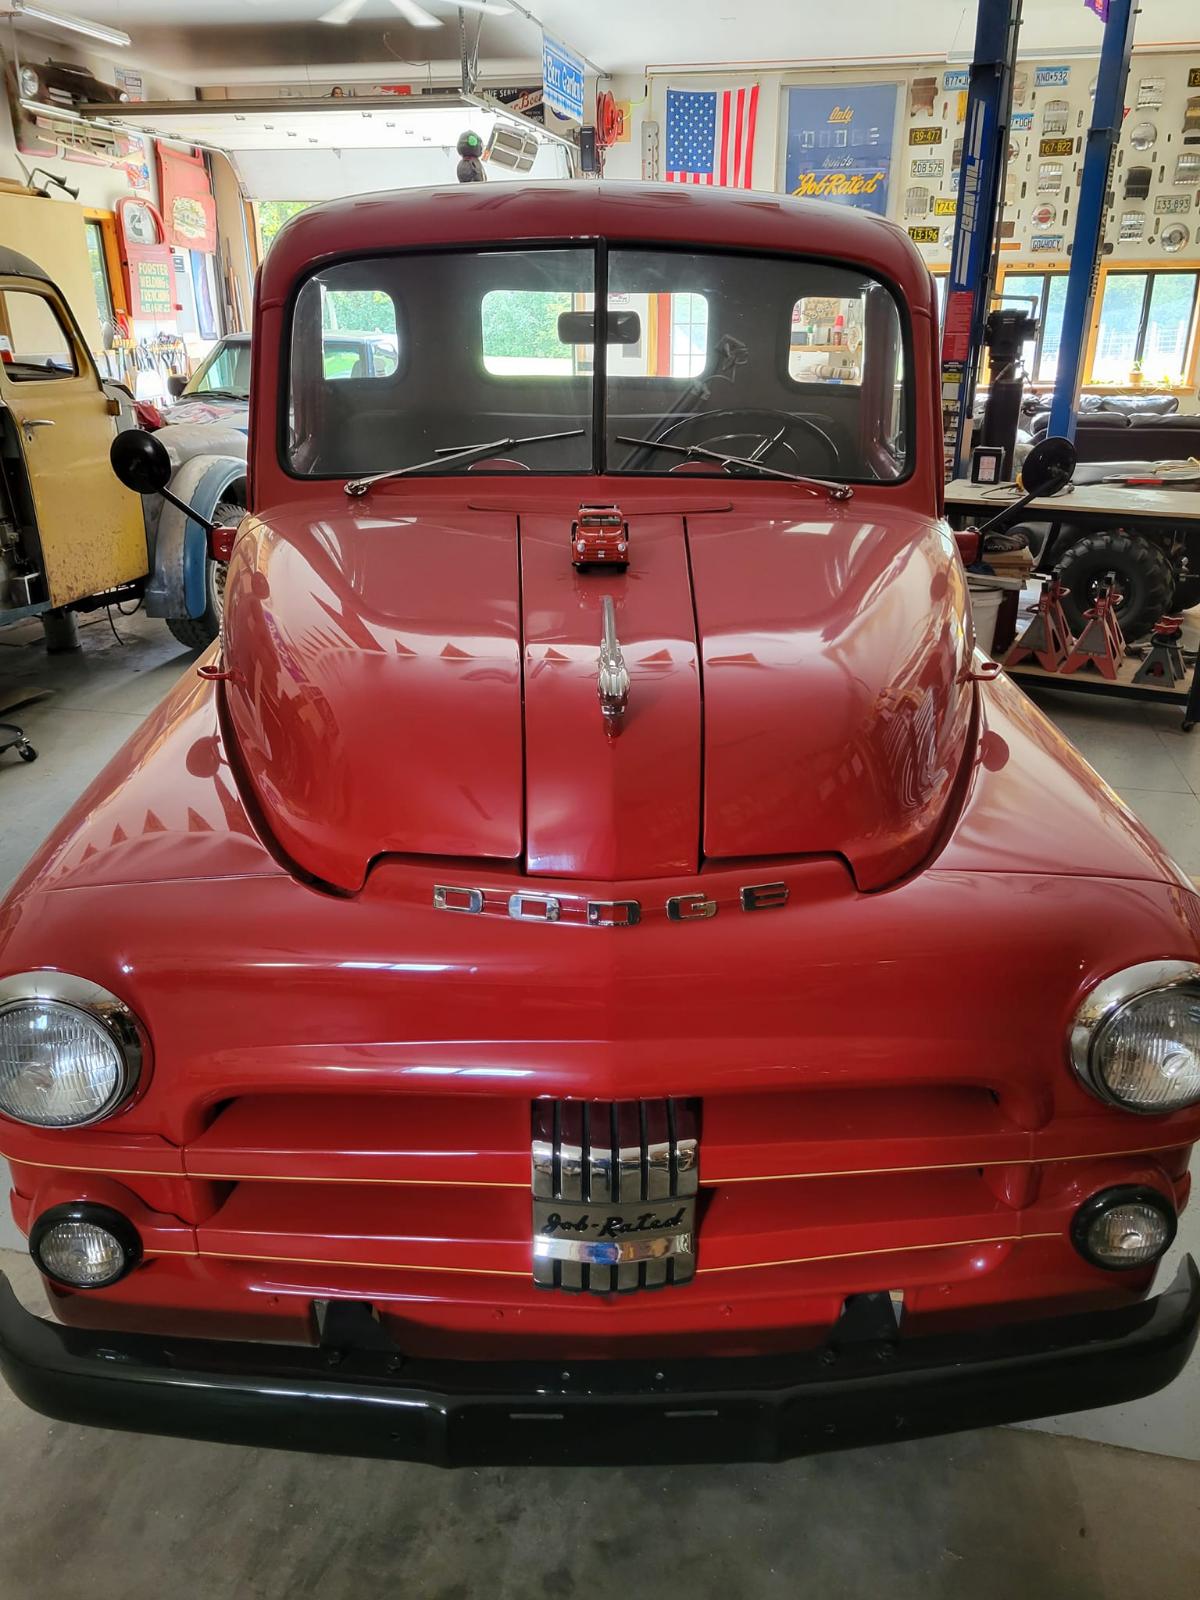
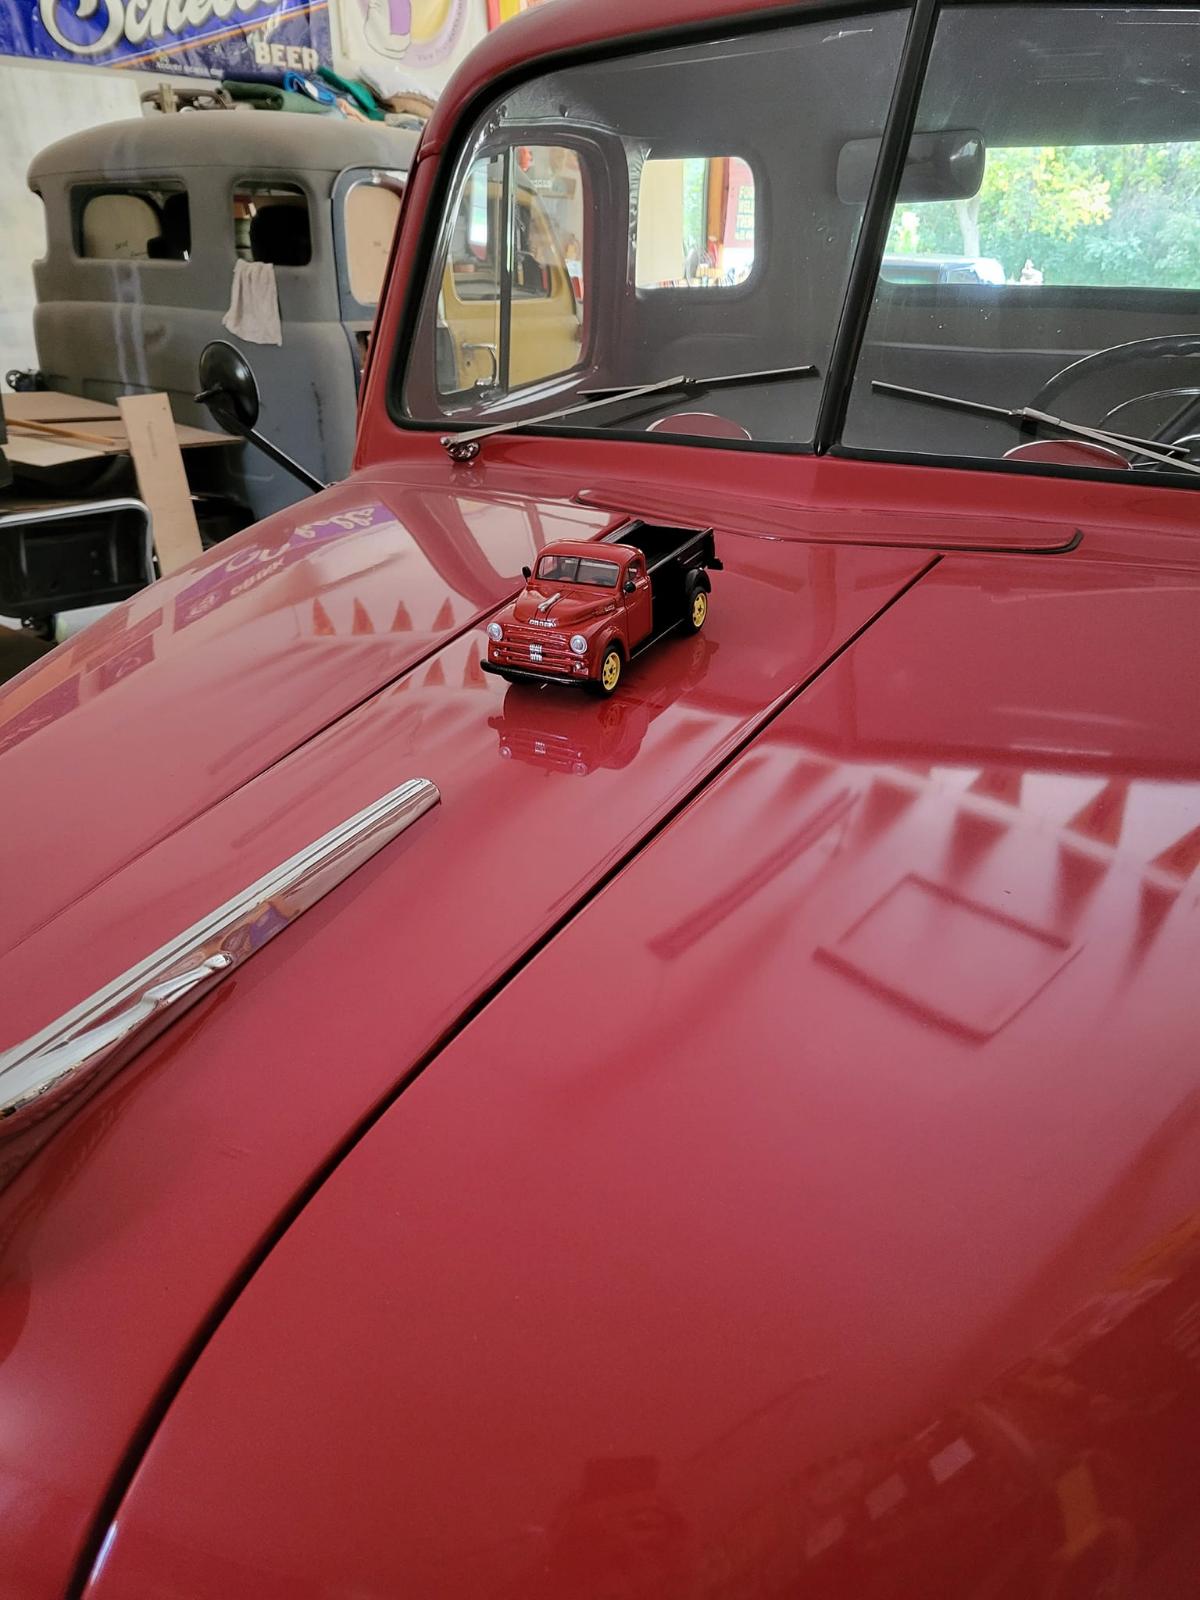
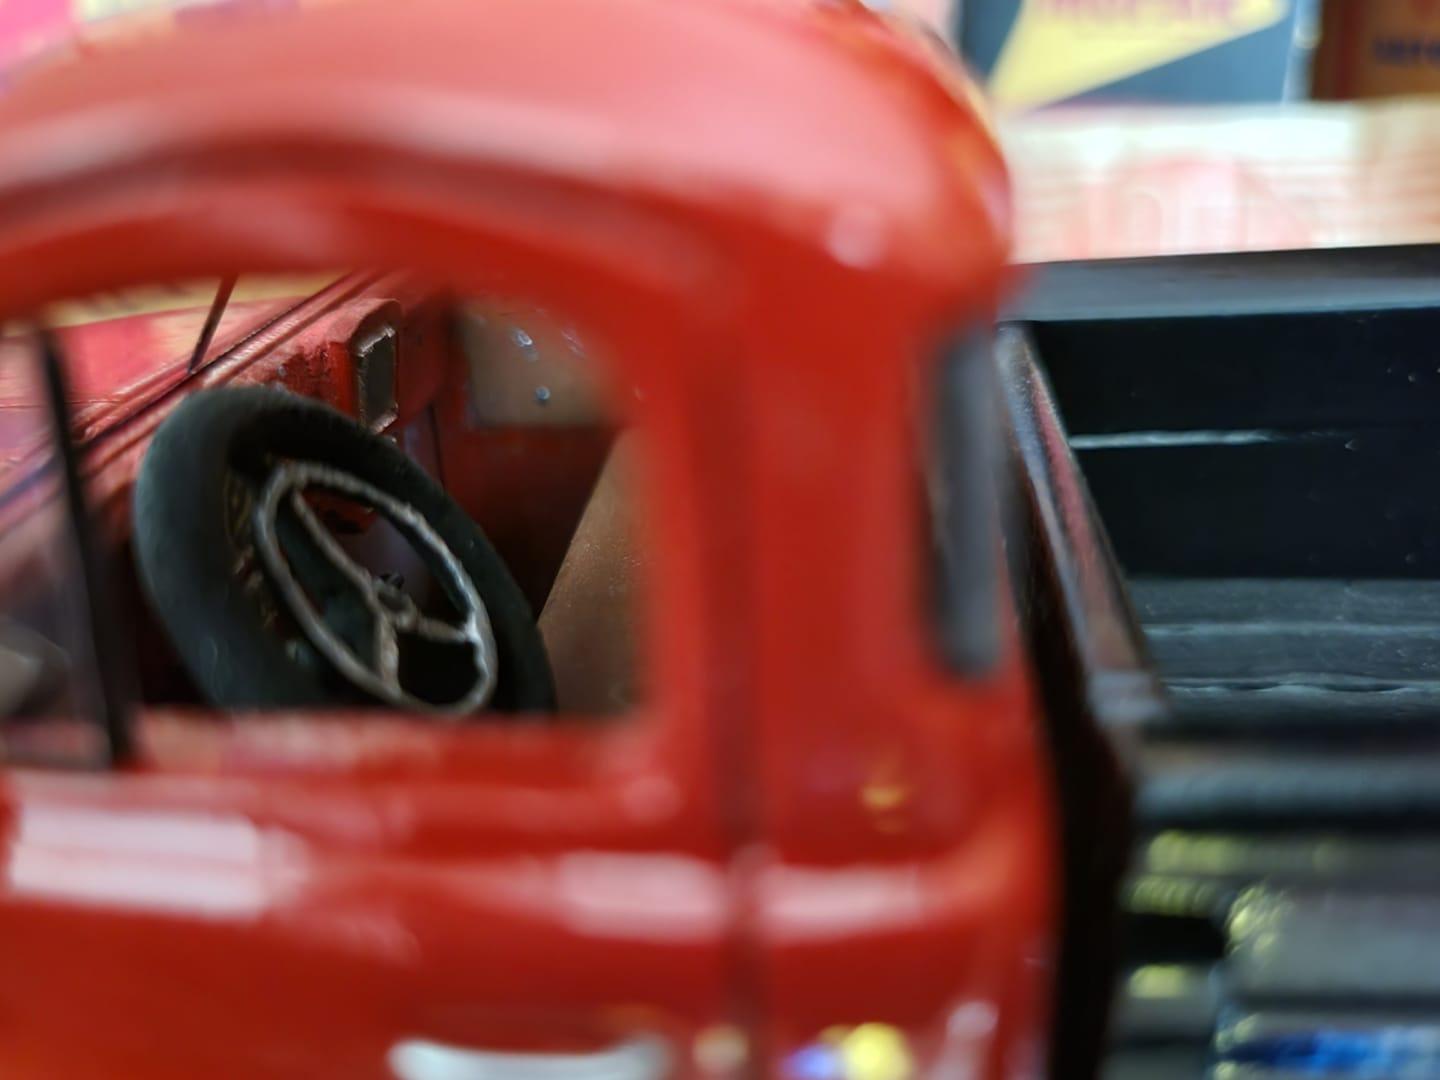
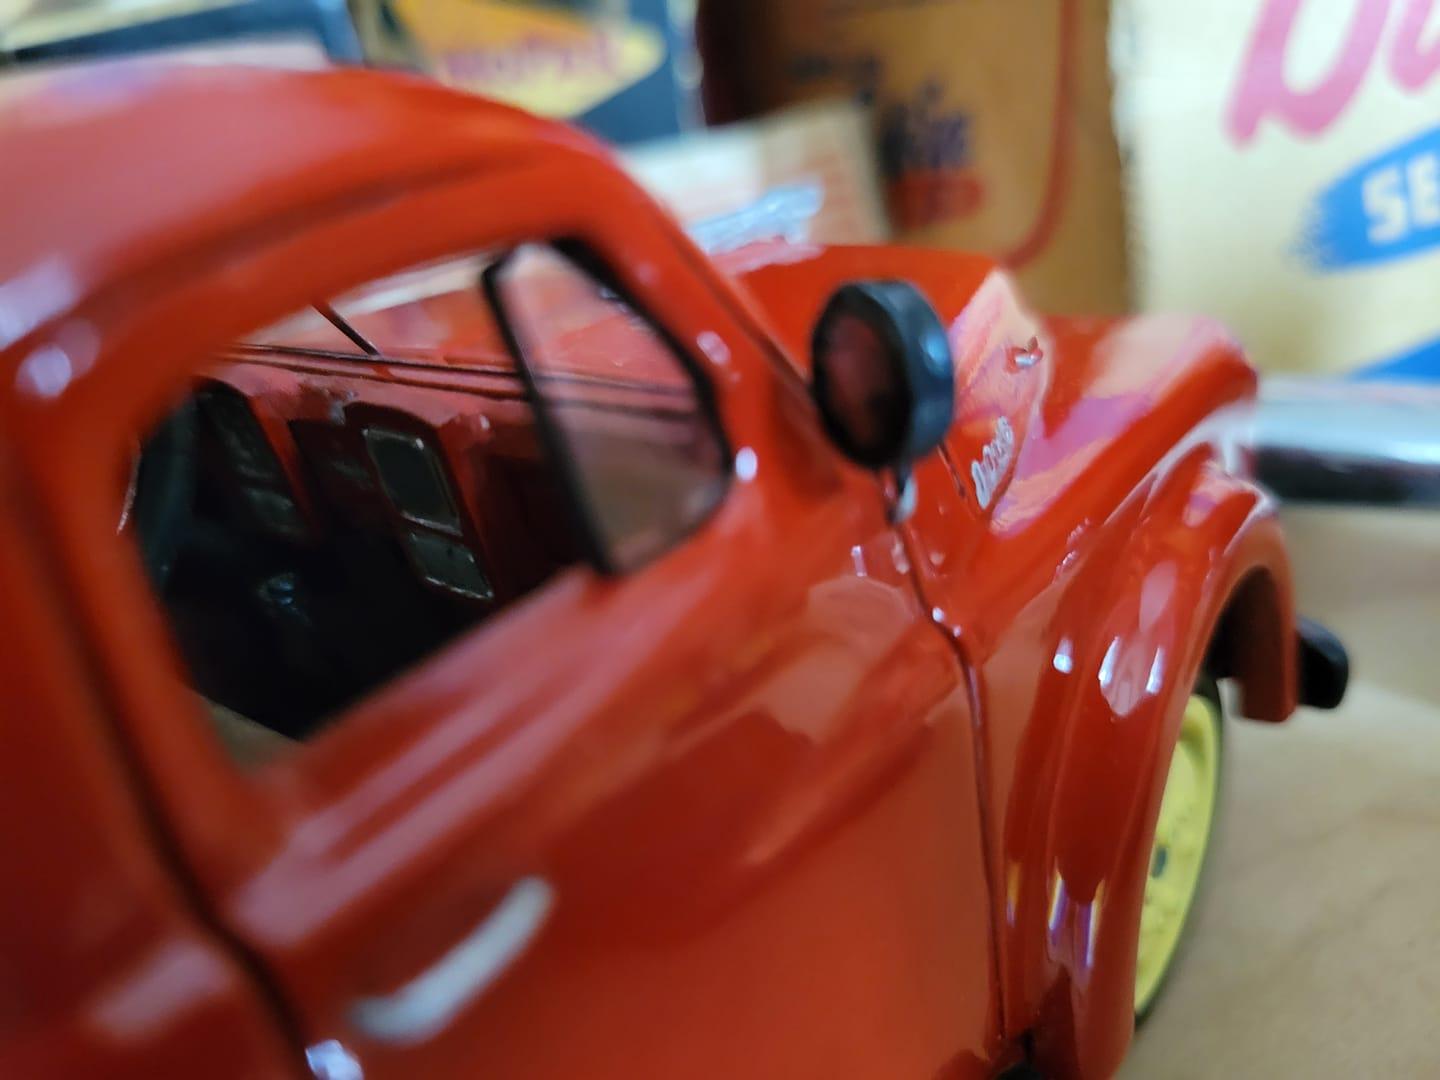
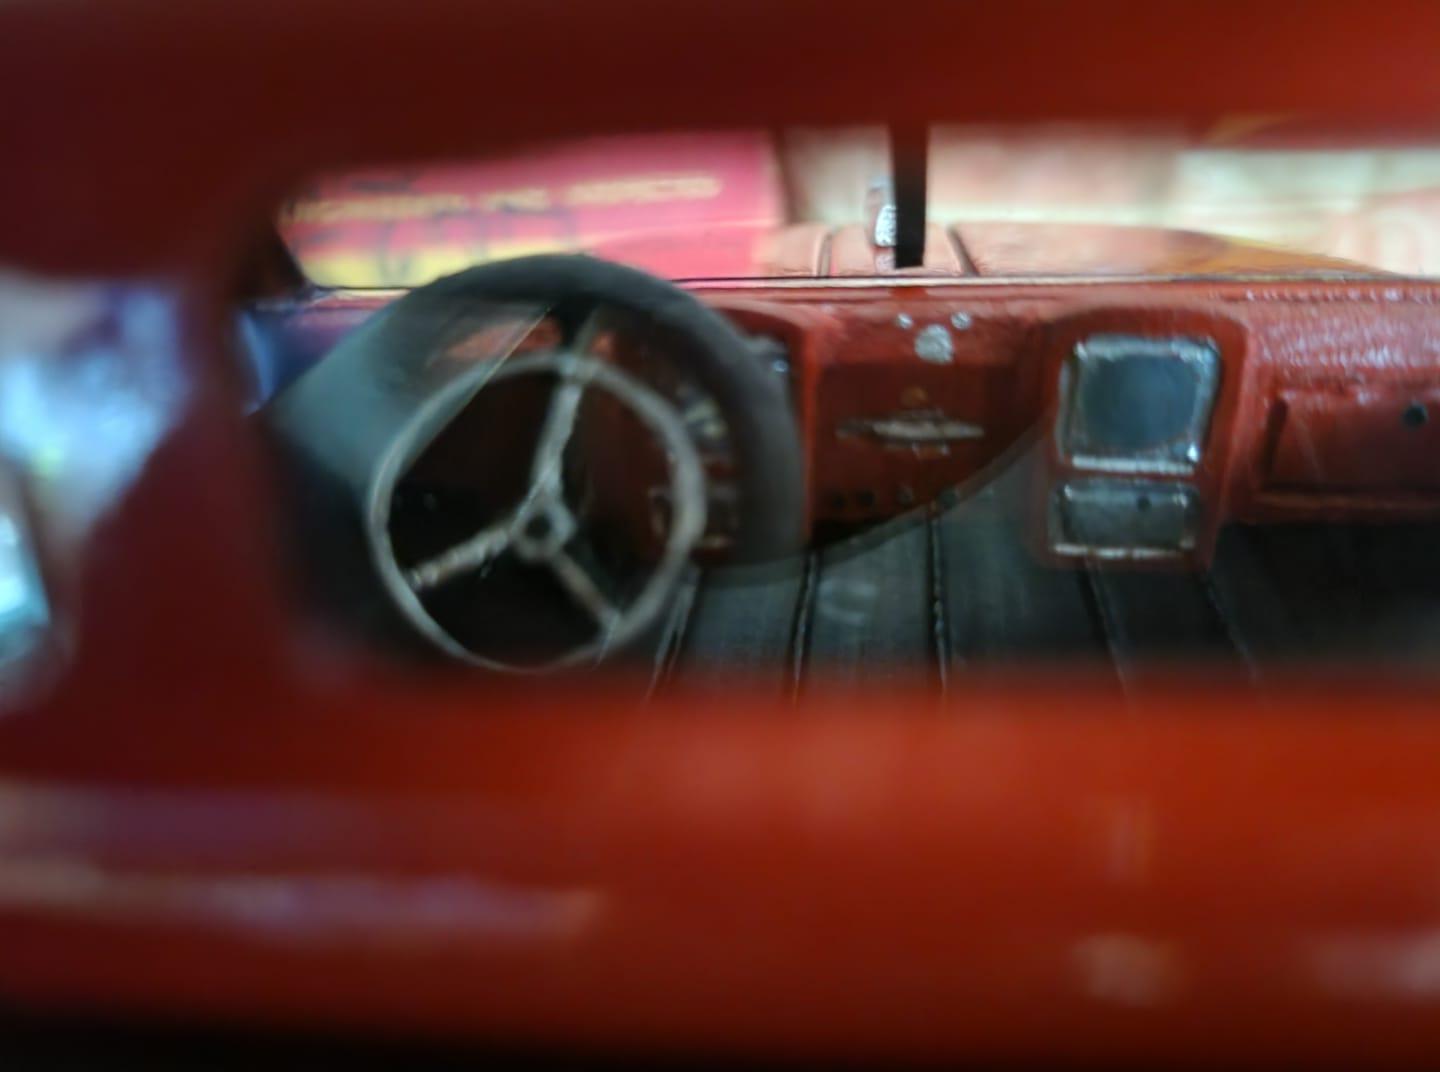
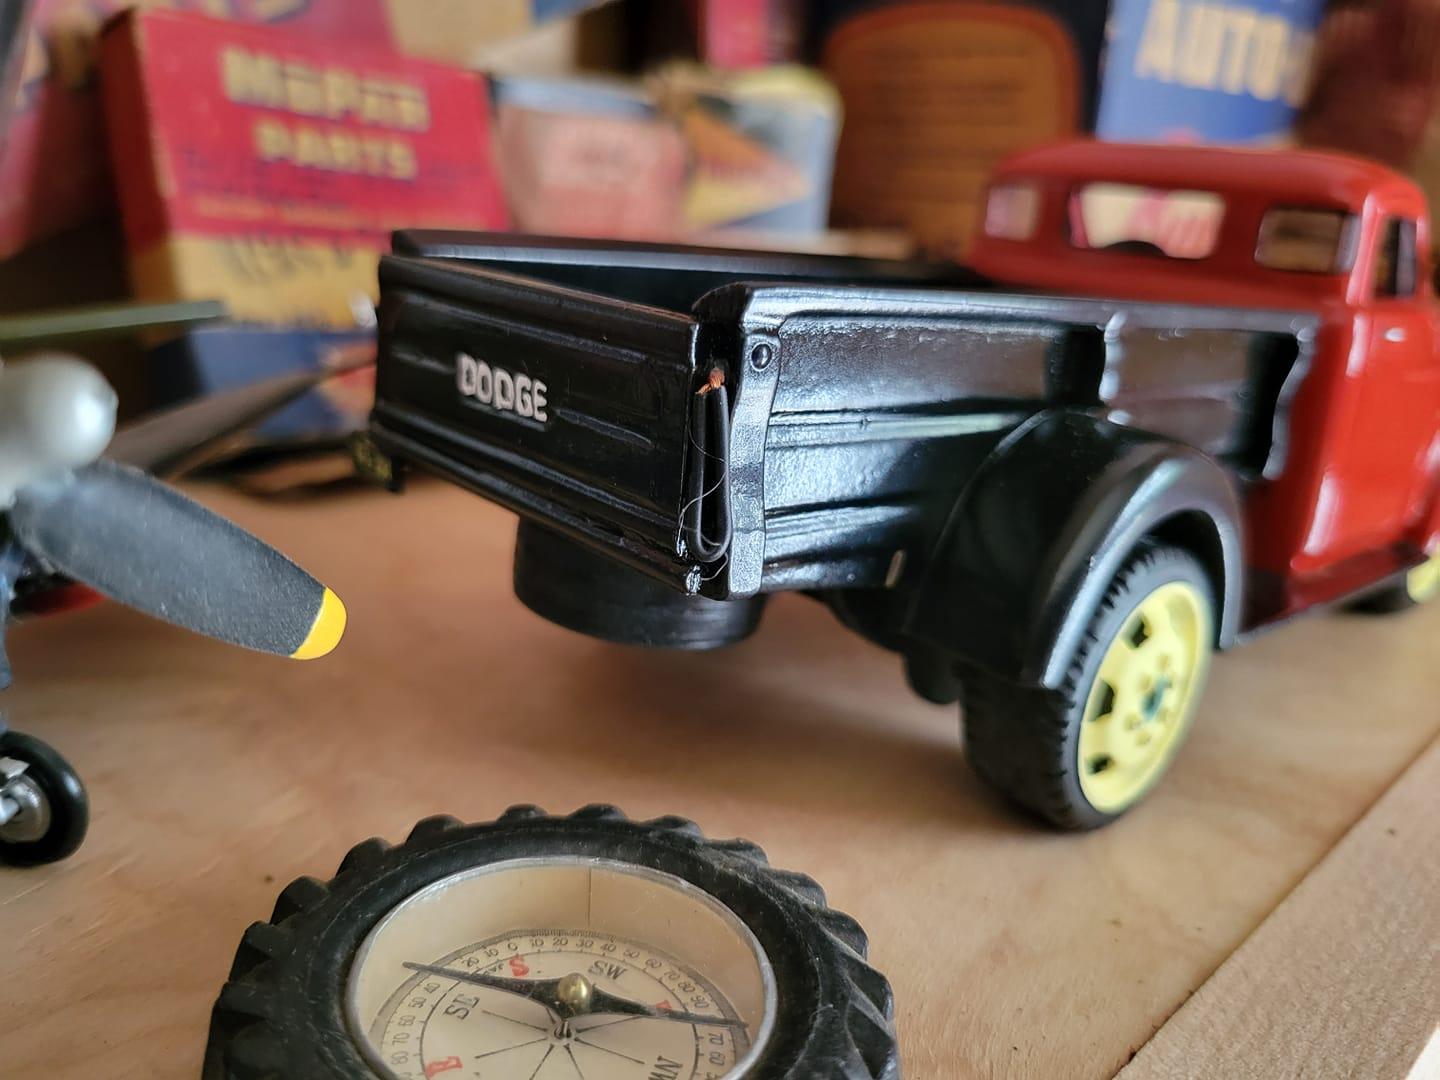
well fall is upon me....I will start up serious work again on the truck here this next week! Meanwhile a cool wooden model made of my resto by HomeSkoold Customs!
-
I got a dollar!
-
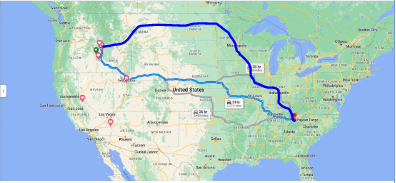
fixed your route plan for you
-
swing thru MN on the way! Good news is I have a deadline with my painter. I am vehicle #4...so I have about 2 years to get it to him. So in 3 I should be on the road.
-
I plan on doing a drive to visit some friends on the left coast when he's finished.
-
old jeans make good spark protectors for delicate things like air bags!
-
spent the weekend working on the truck...baby steps!
-
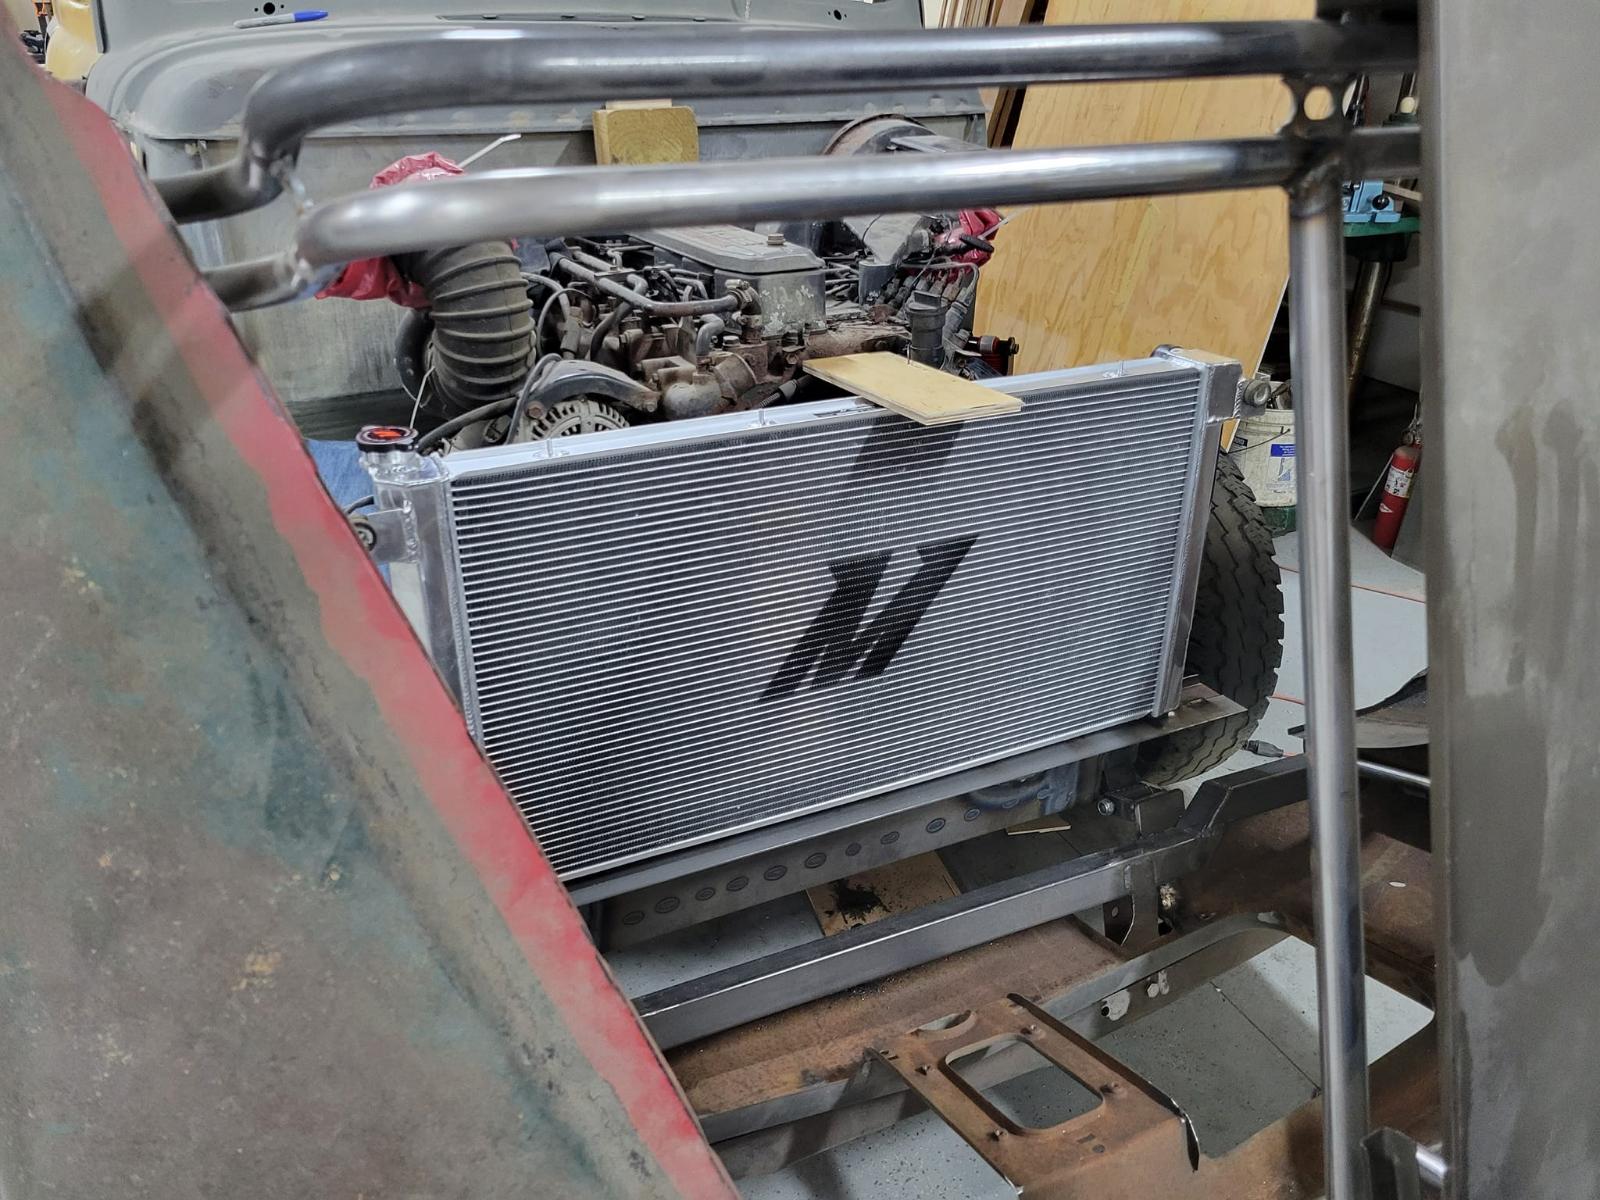
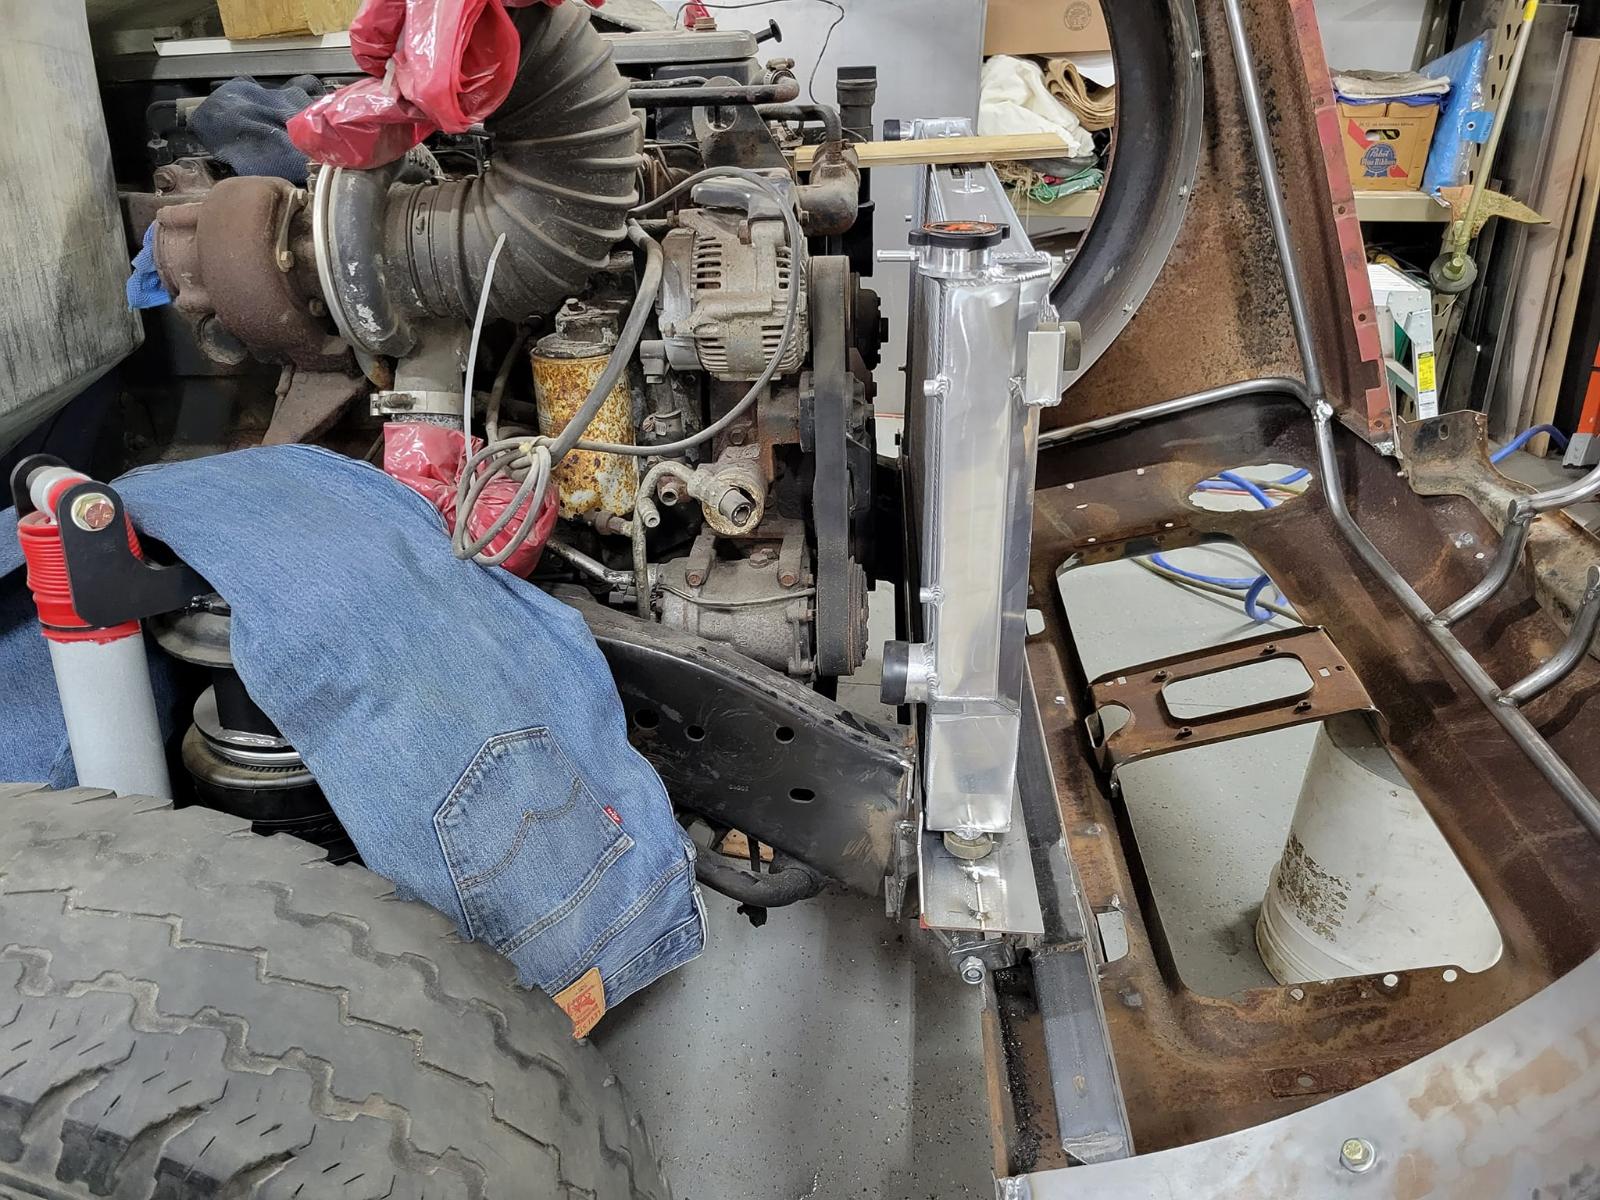
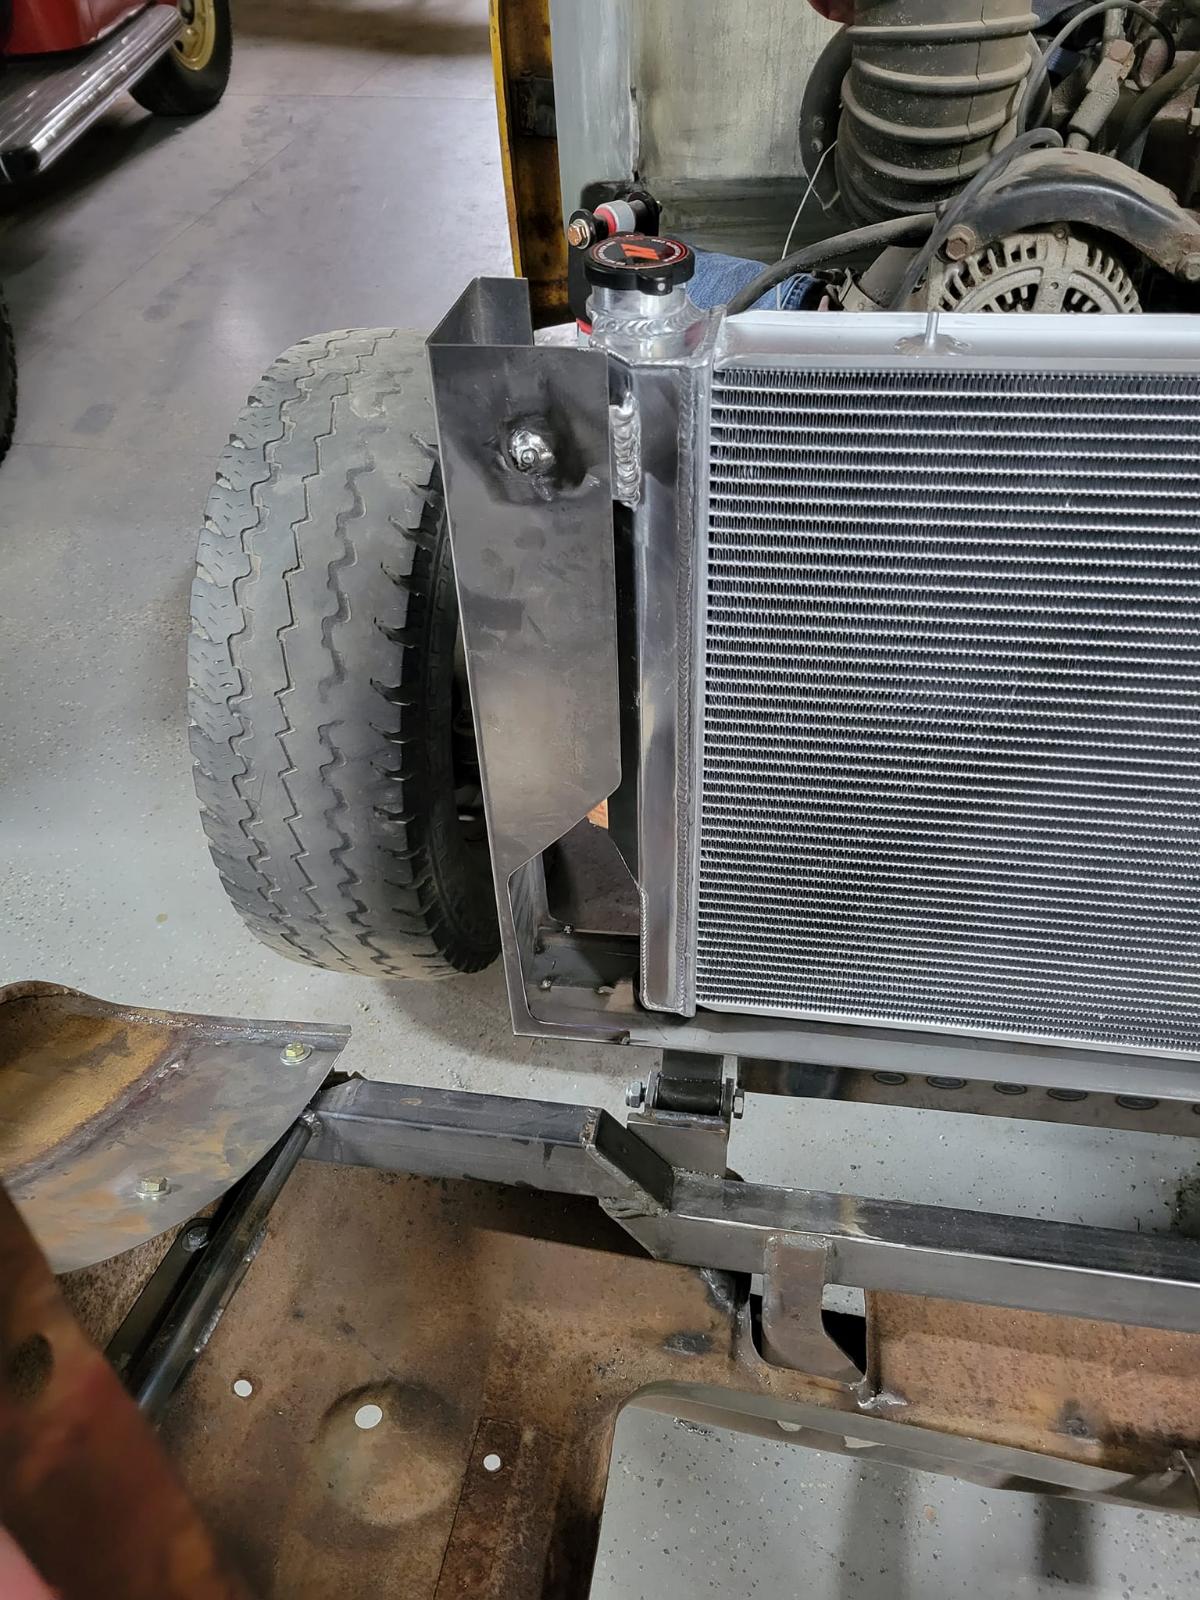
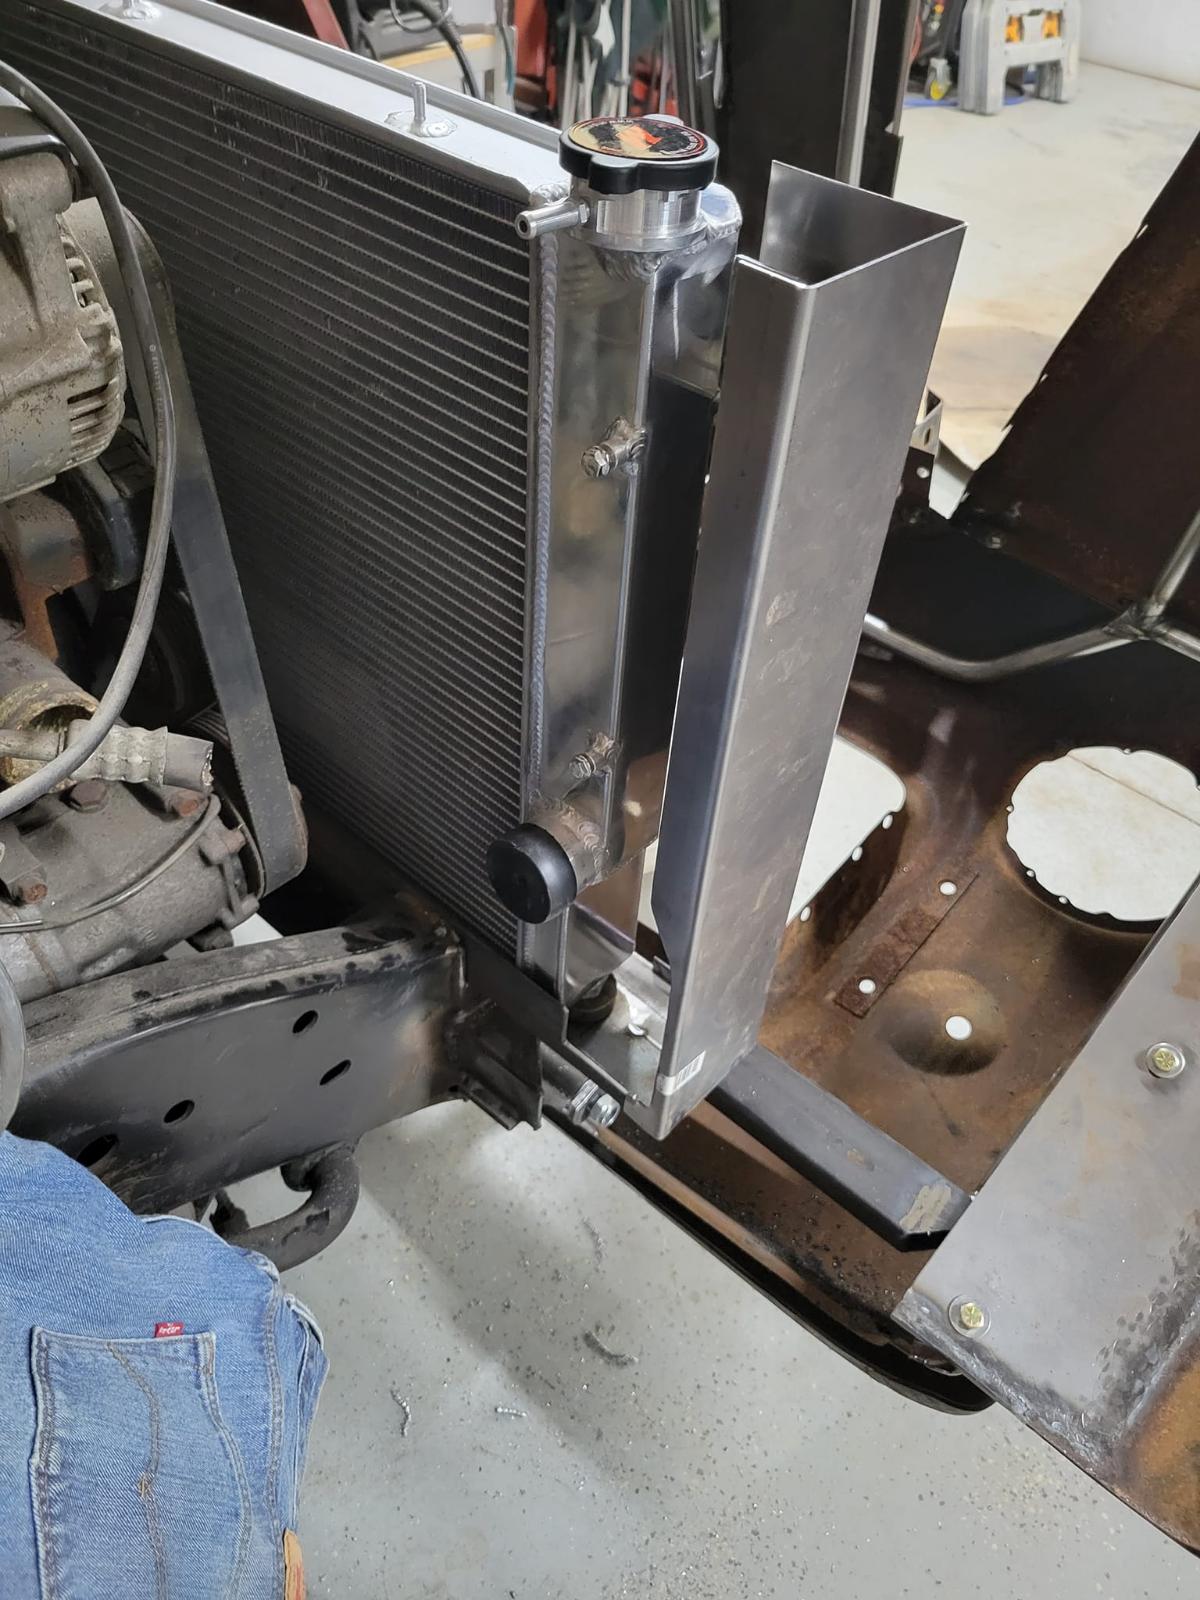
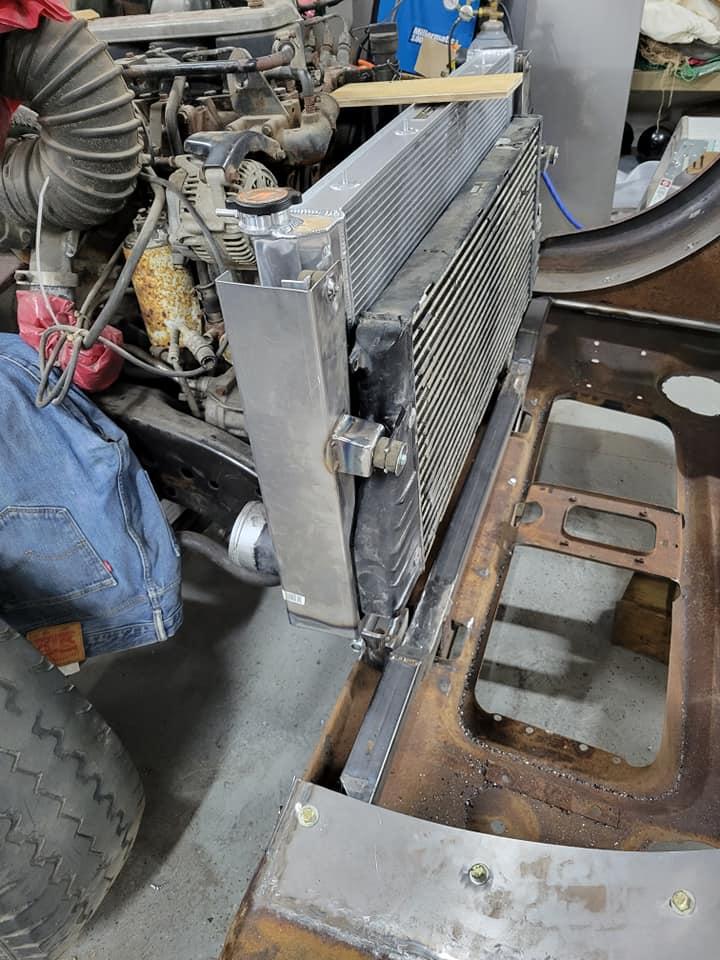
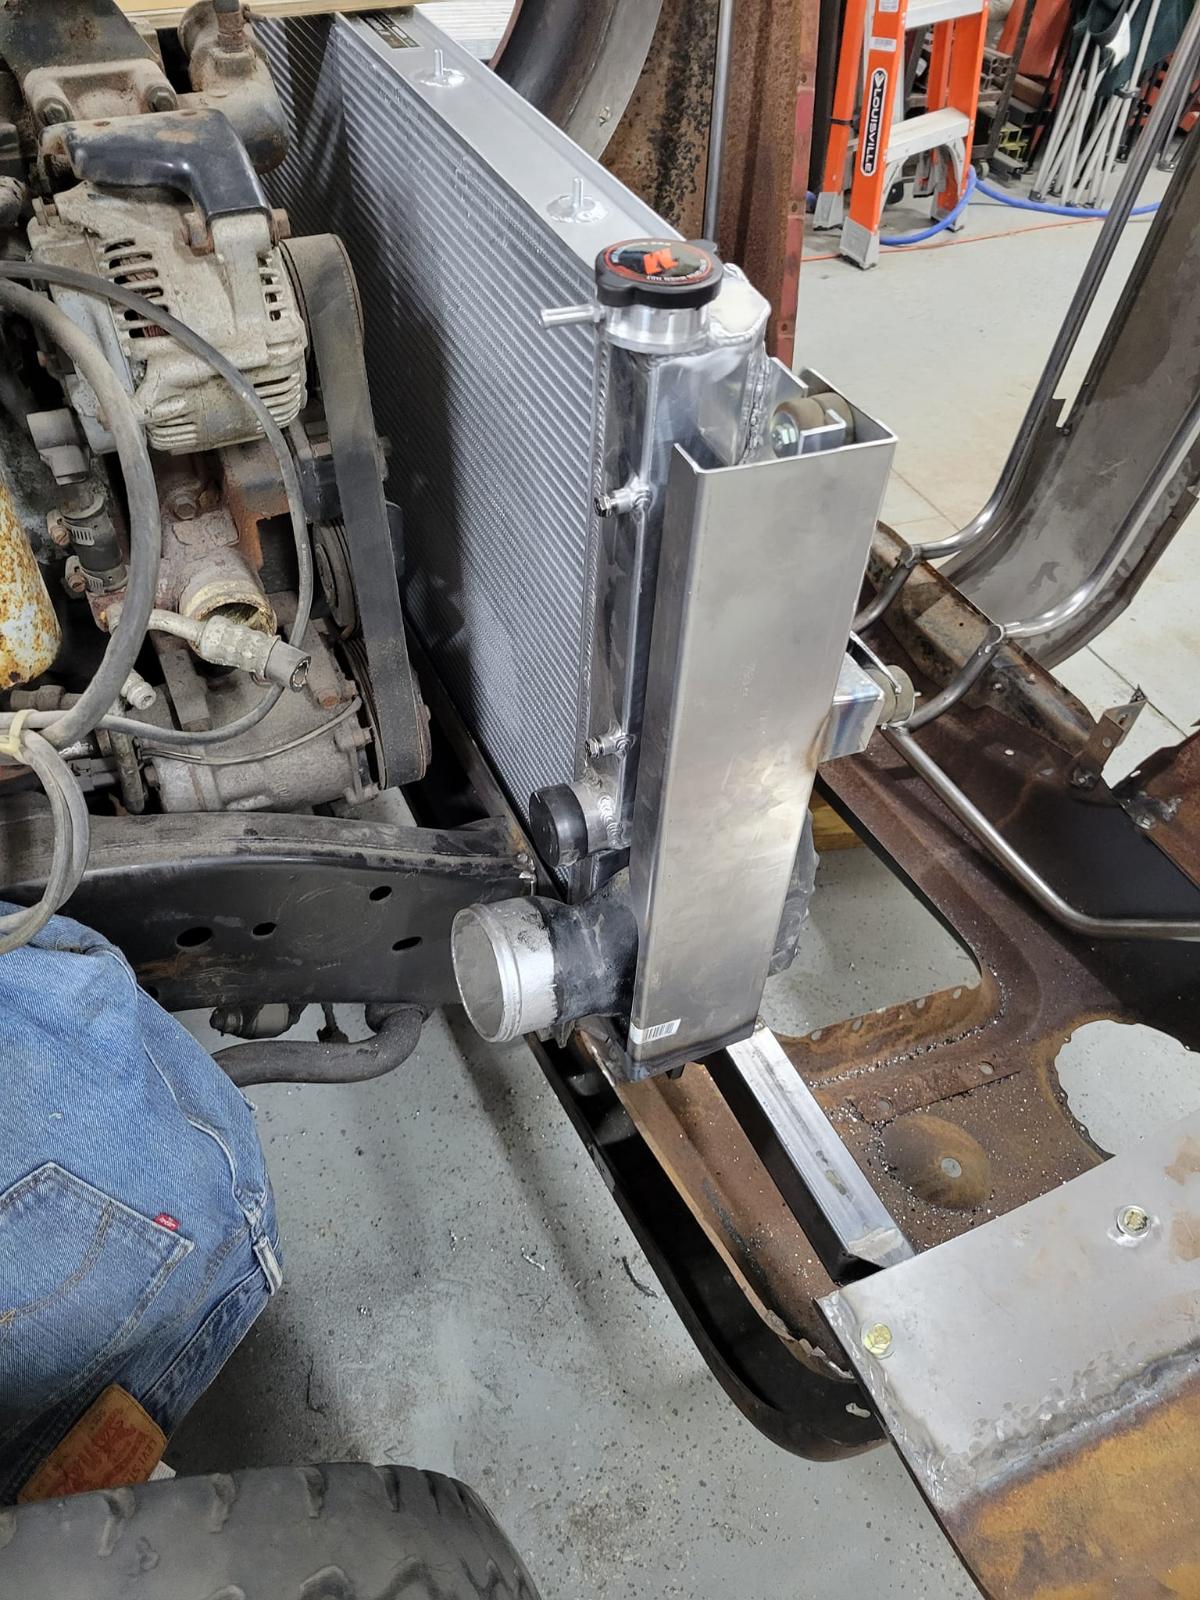
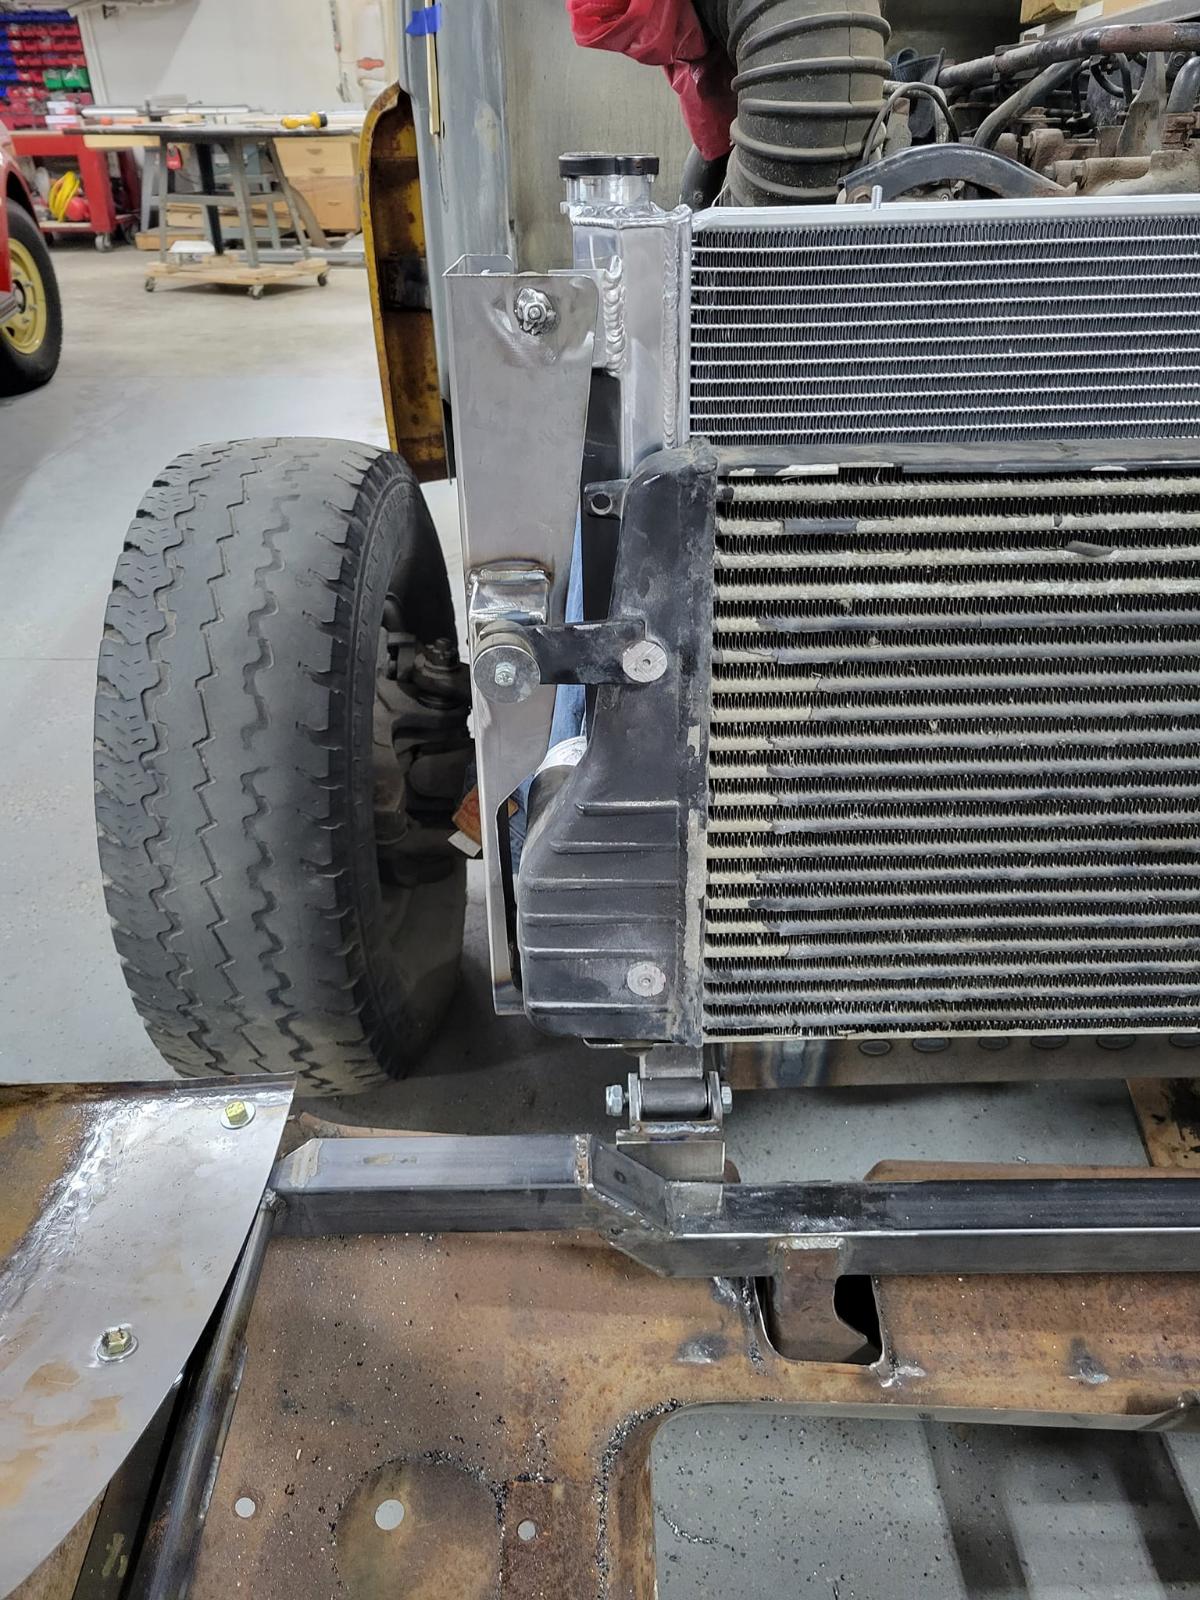
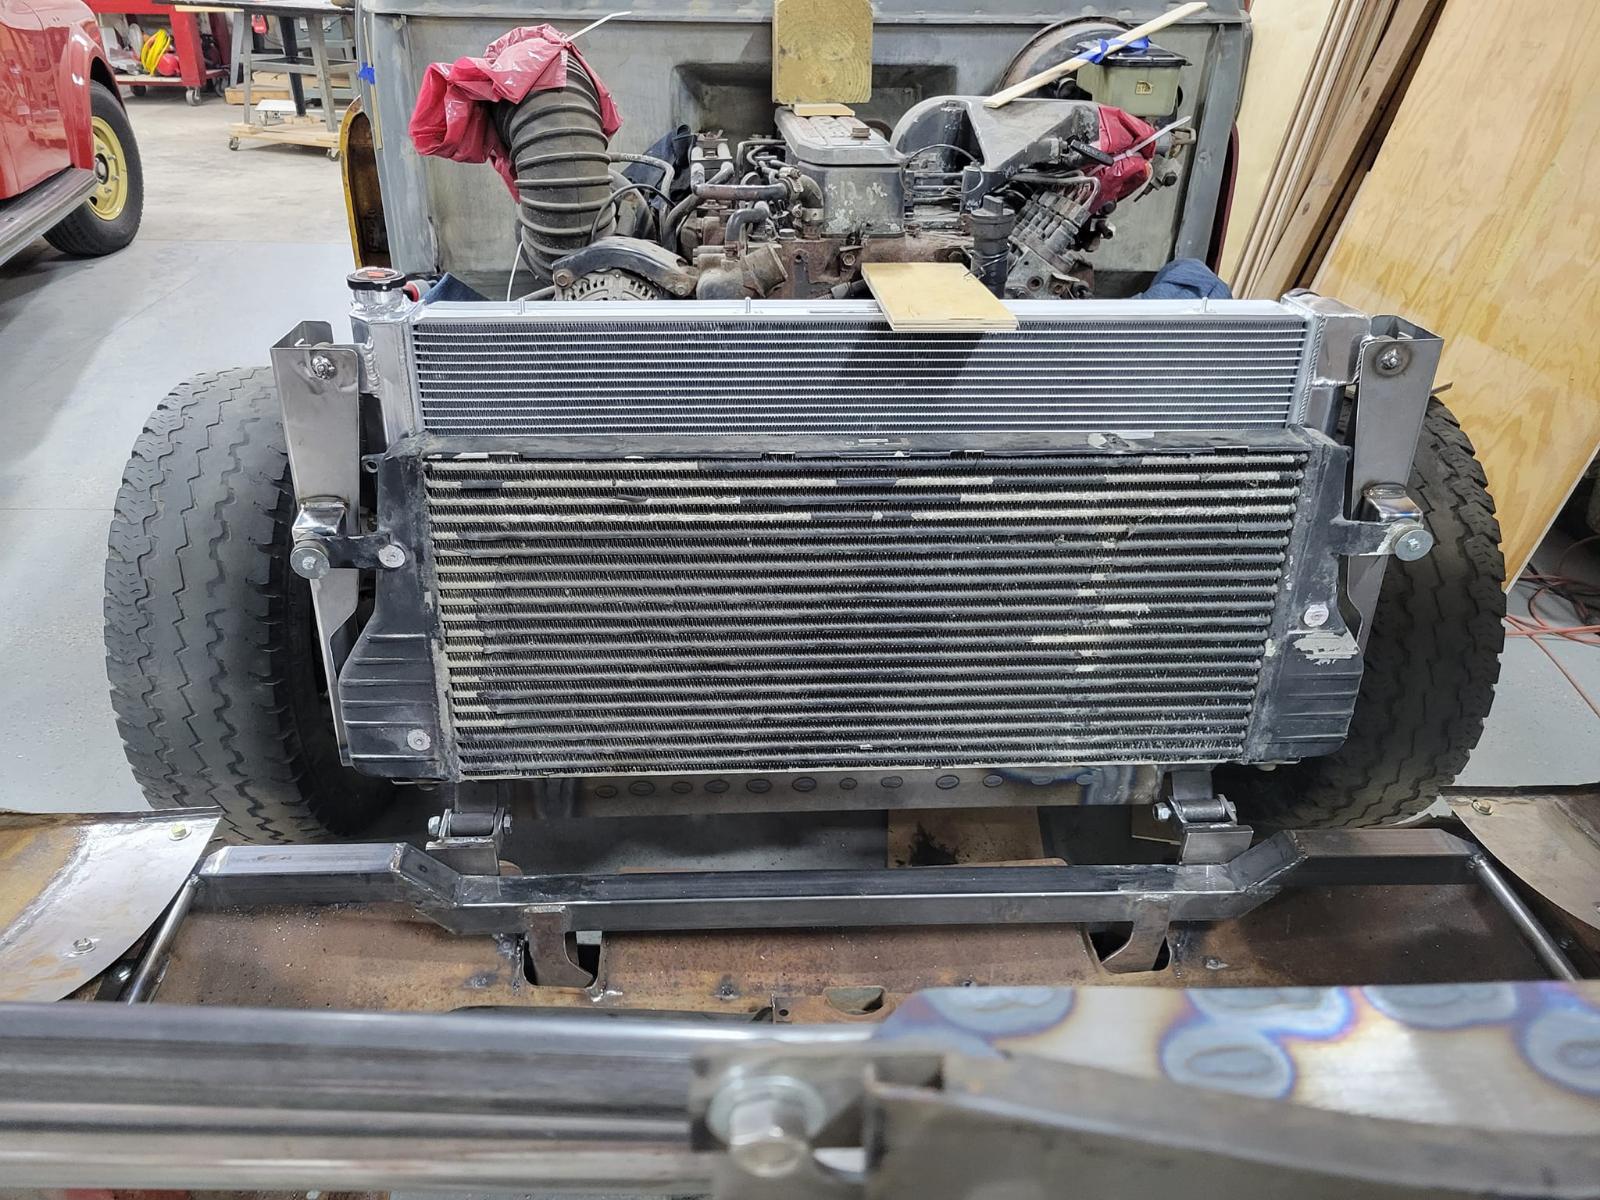
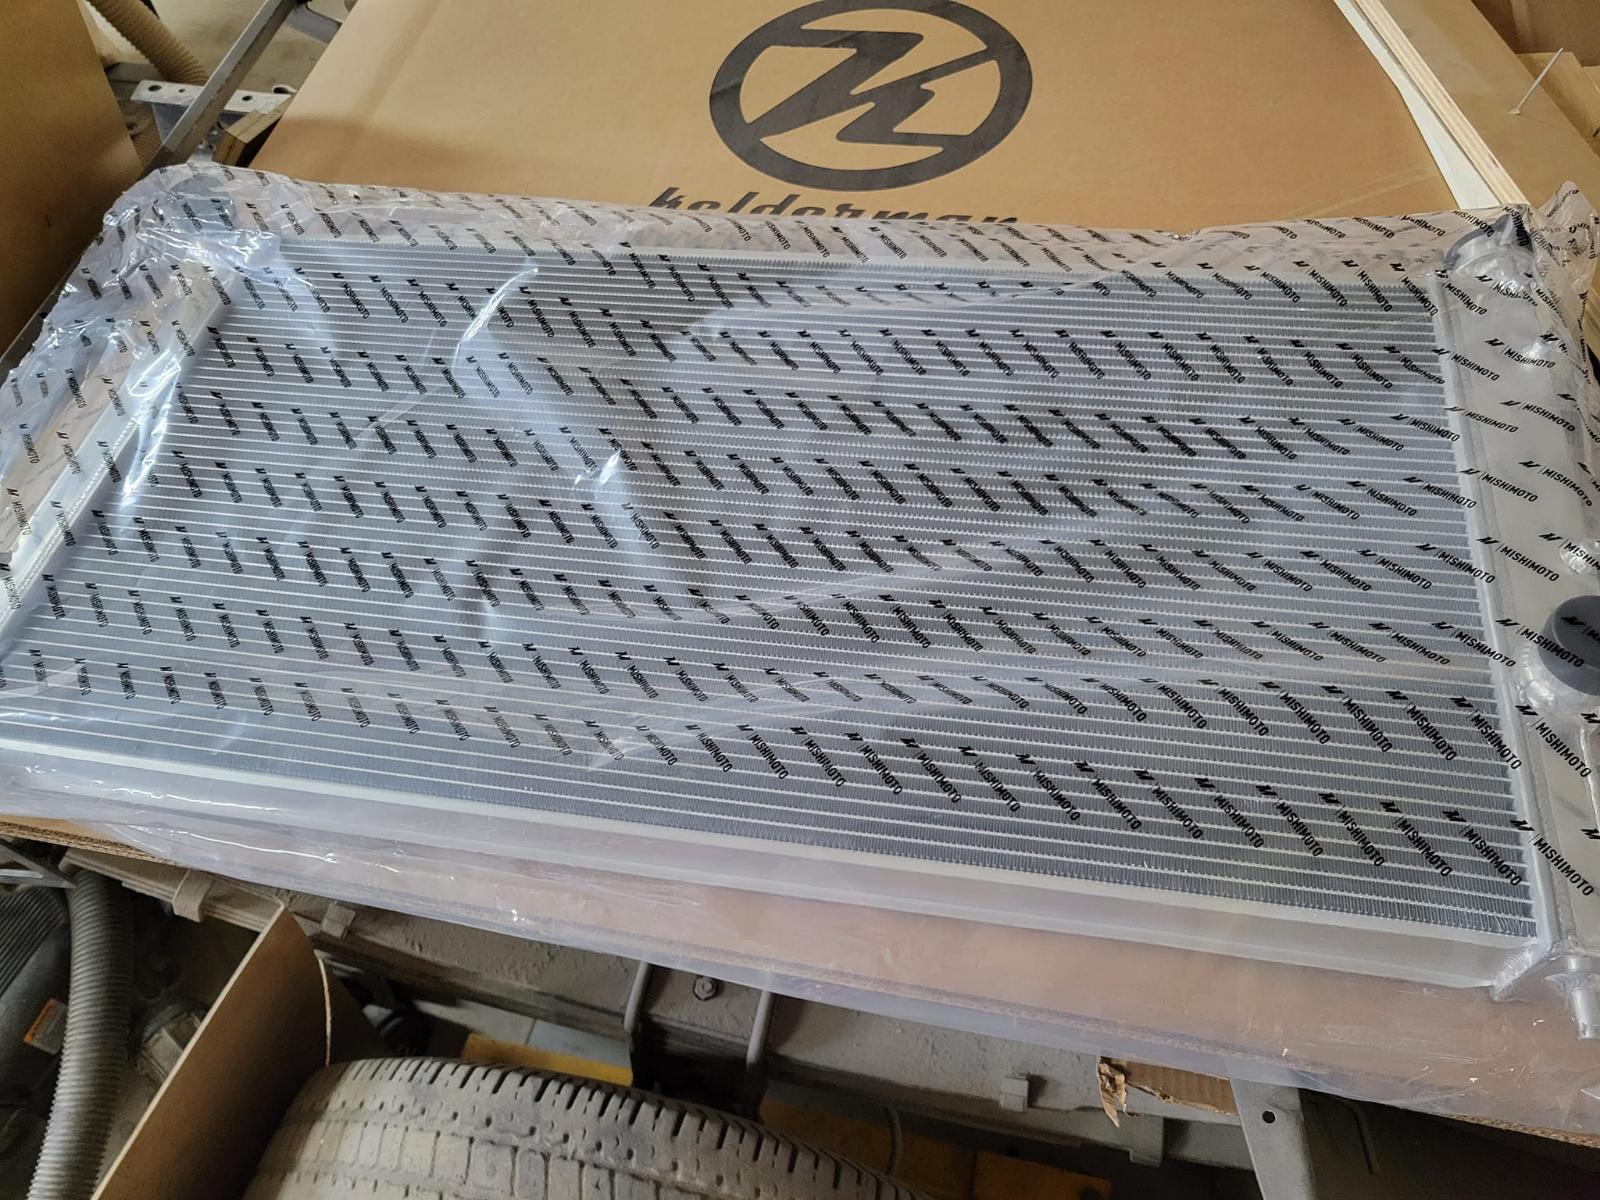
Pressure tested the rad over the weekend, good to go! Now if I just had time to work on the truck again!
-
Like I said doesn't LOOK so, but a quick pressure test will confirm. Summit has already contacted me after the negative review I left...they can replace or refund...LOL...I already waited 6 months...I don't have 6 more for a likley same result. This was the ONLY vendor for a full AL rad...I can't have plastic tanks...I need to weld to 'em.
-
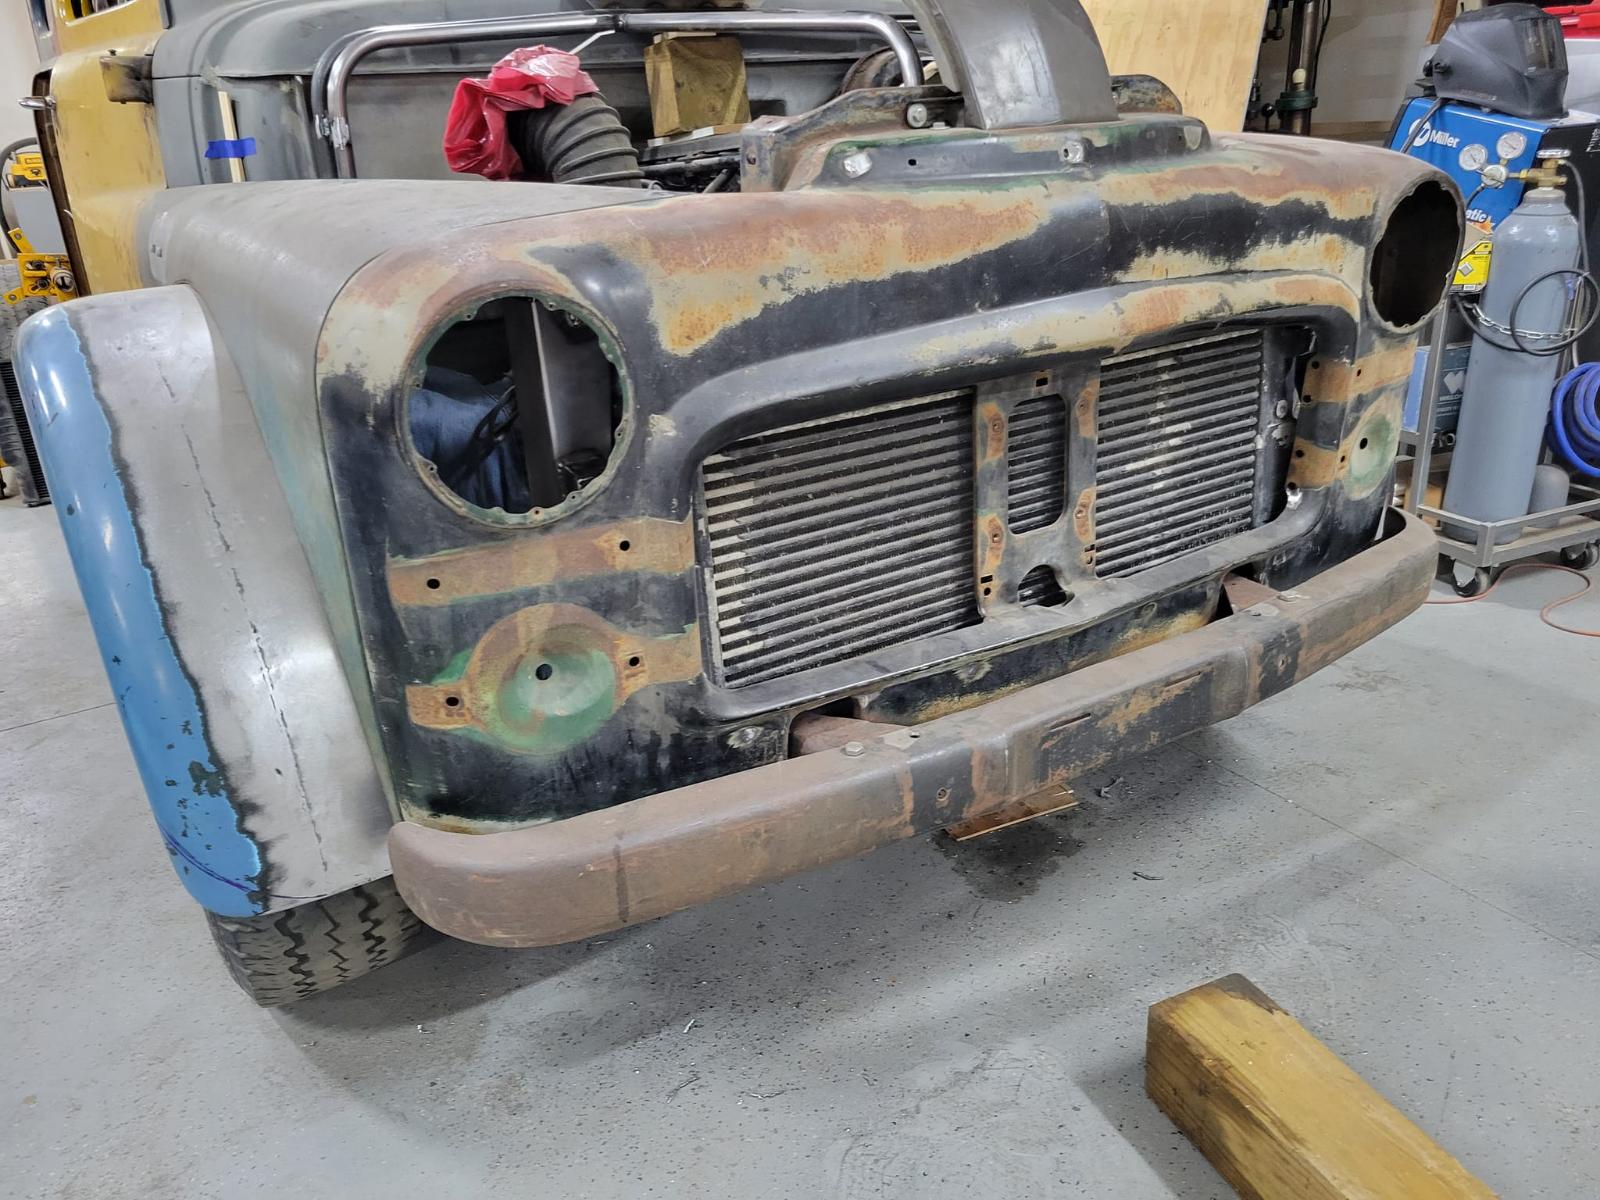
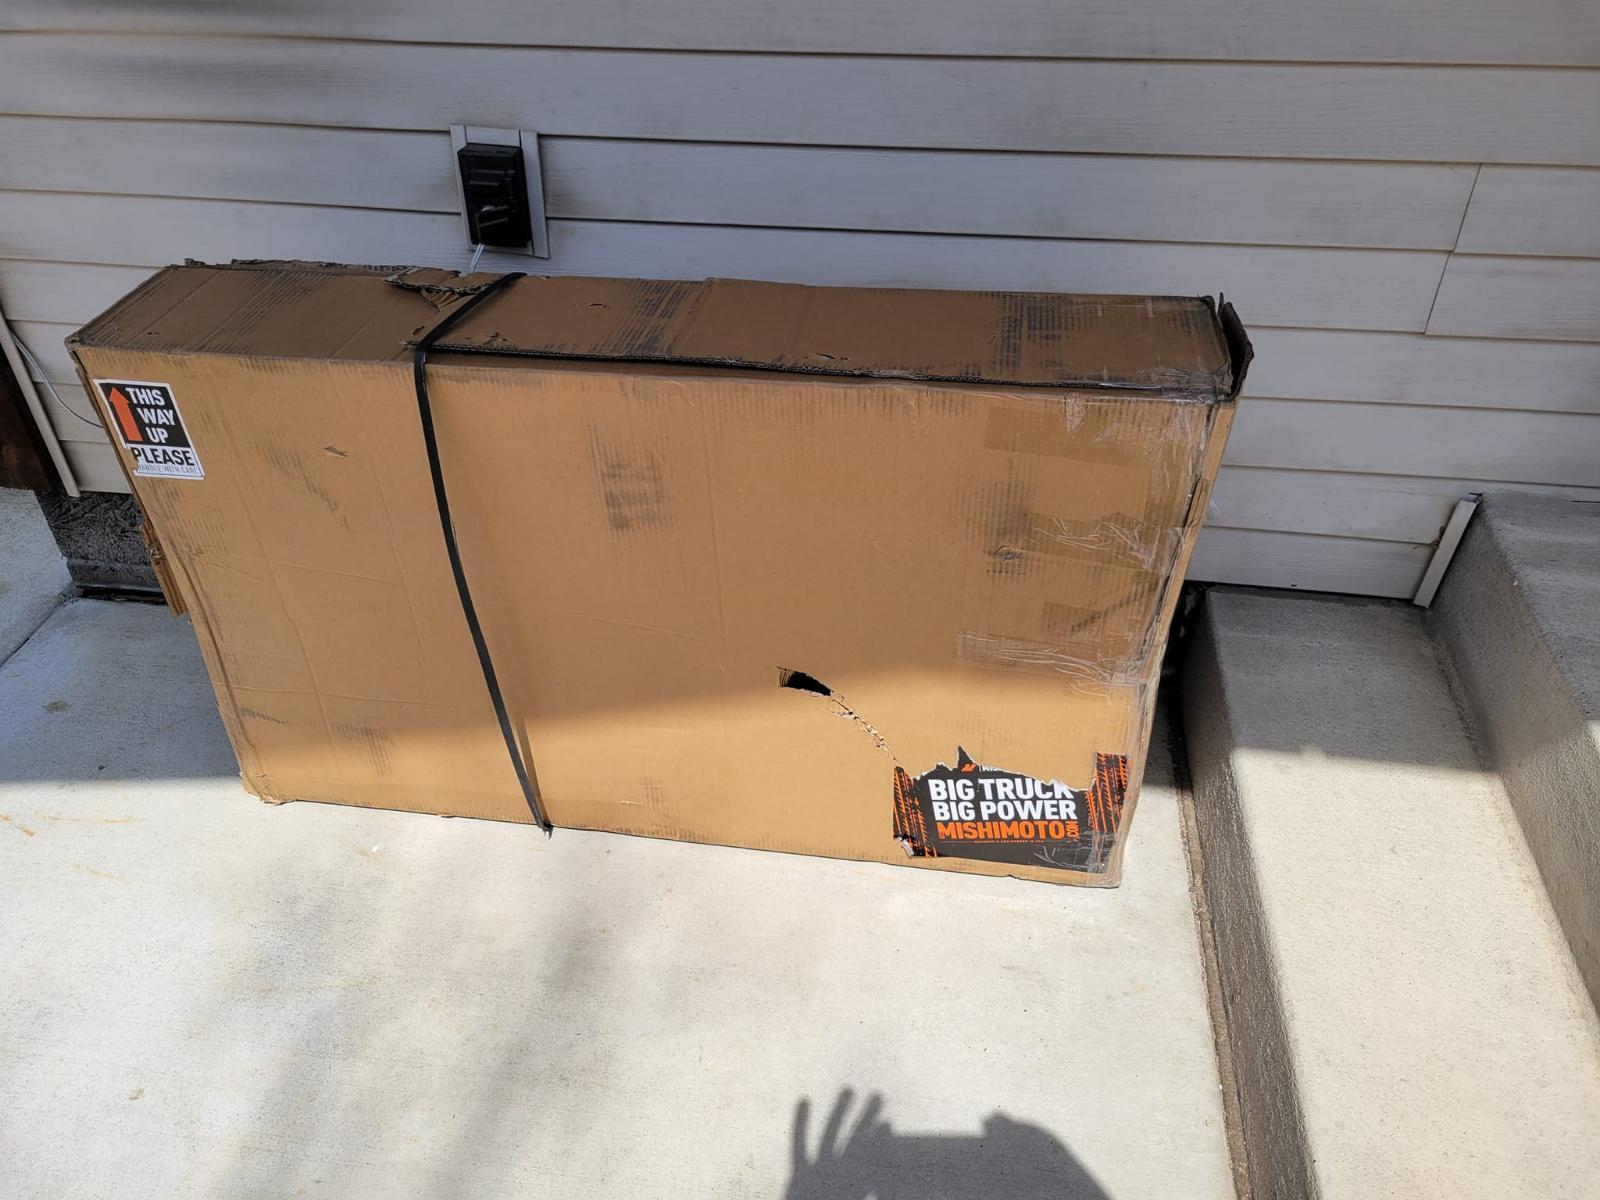
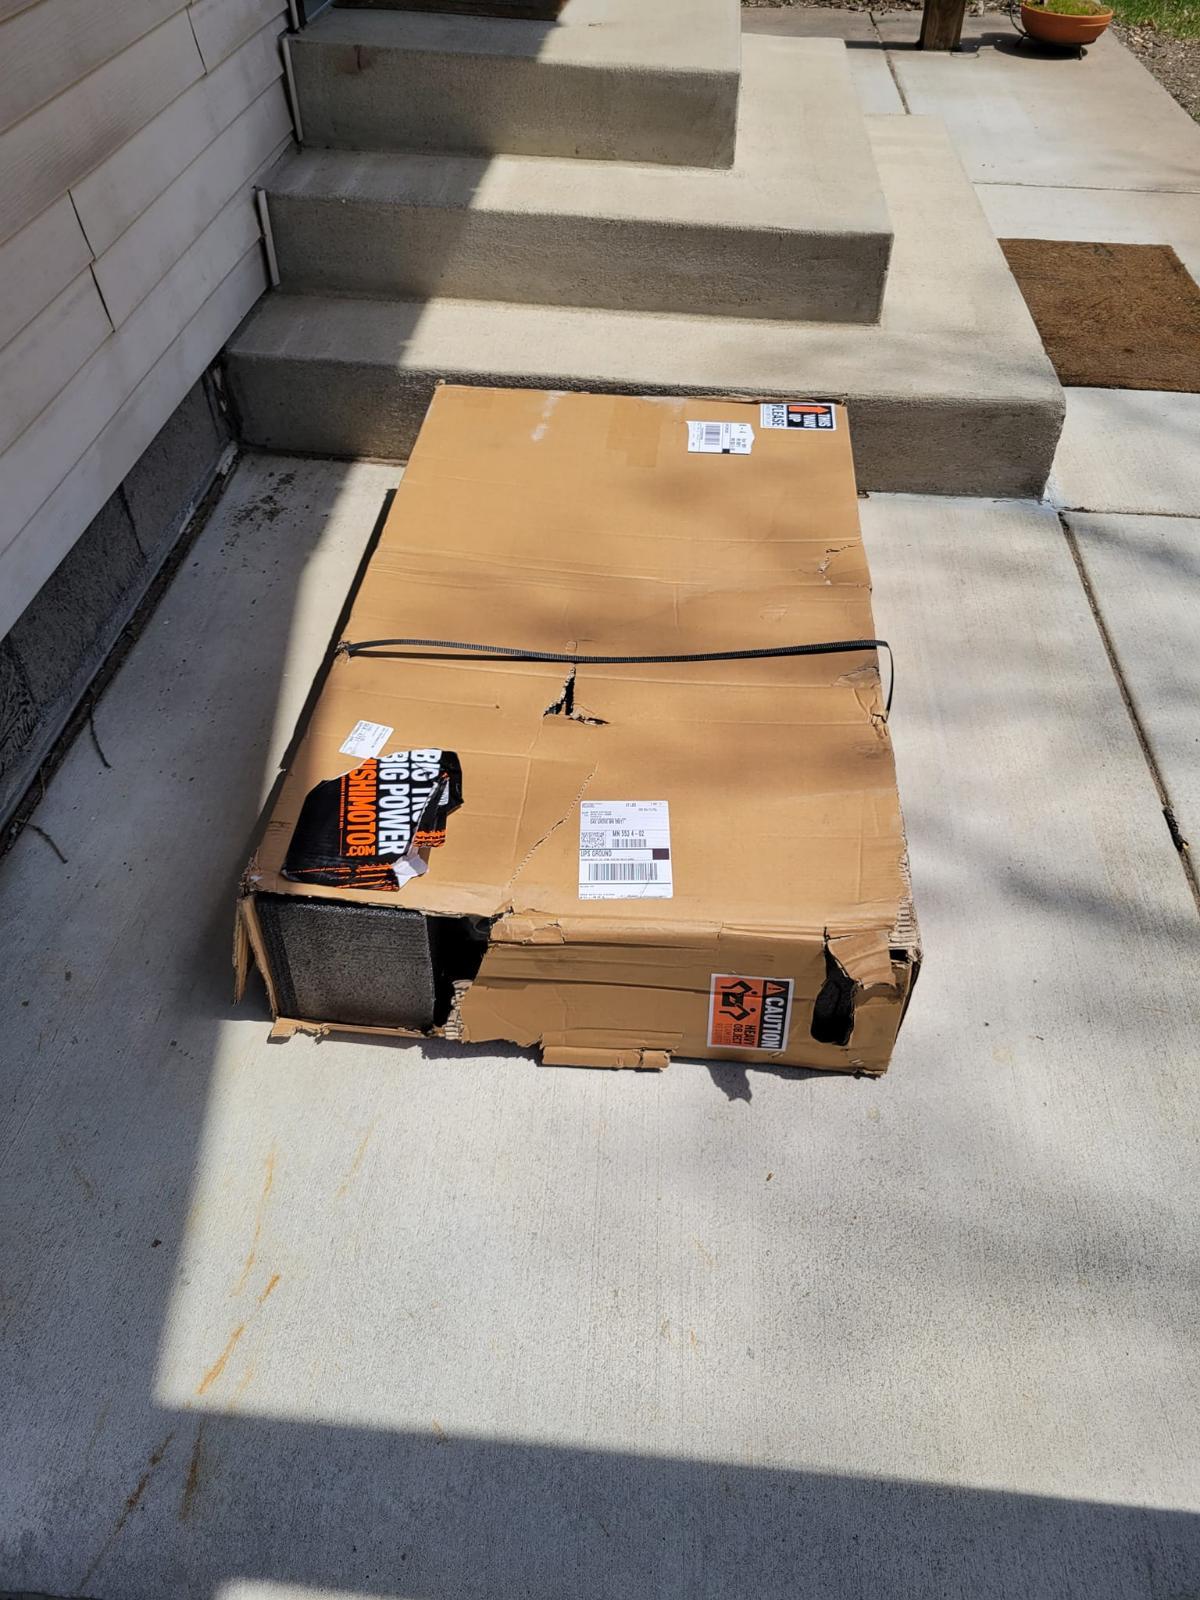
fter an order was placed in November....look what finally showed up! 4 days in shipping did this with (per UPS) 4 hand offs...one would THINK that they might be more careful.....nah lets toss it around a bt more....monkeys...also for almost $800 you'd think a better packaging system could be used.... Visiual inspection showed some fins tweaked and a small straight blade was used to re-align as best I could. I plan a quick pressure test to assure not damaged.
-
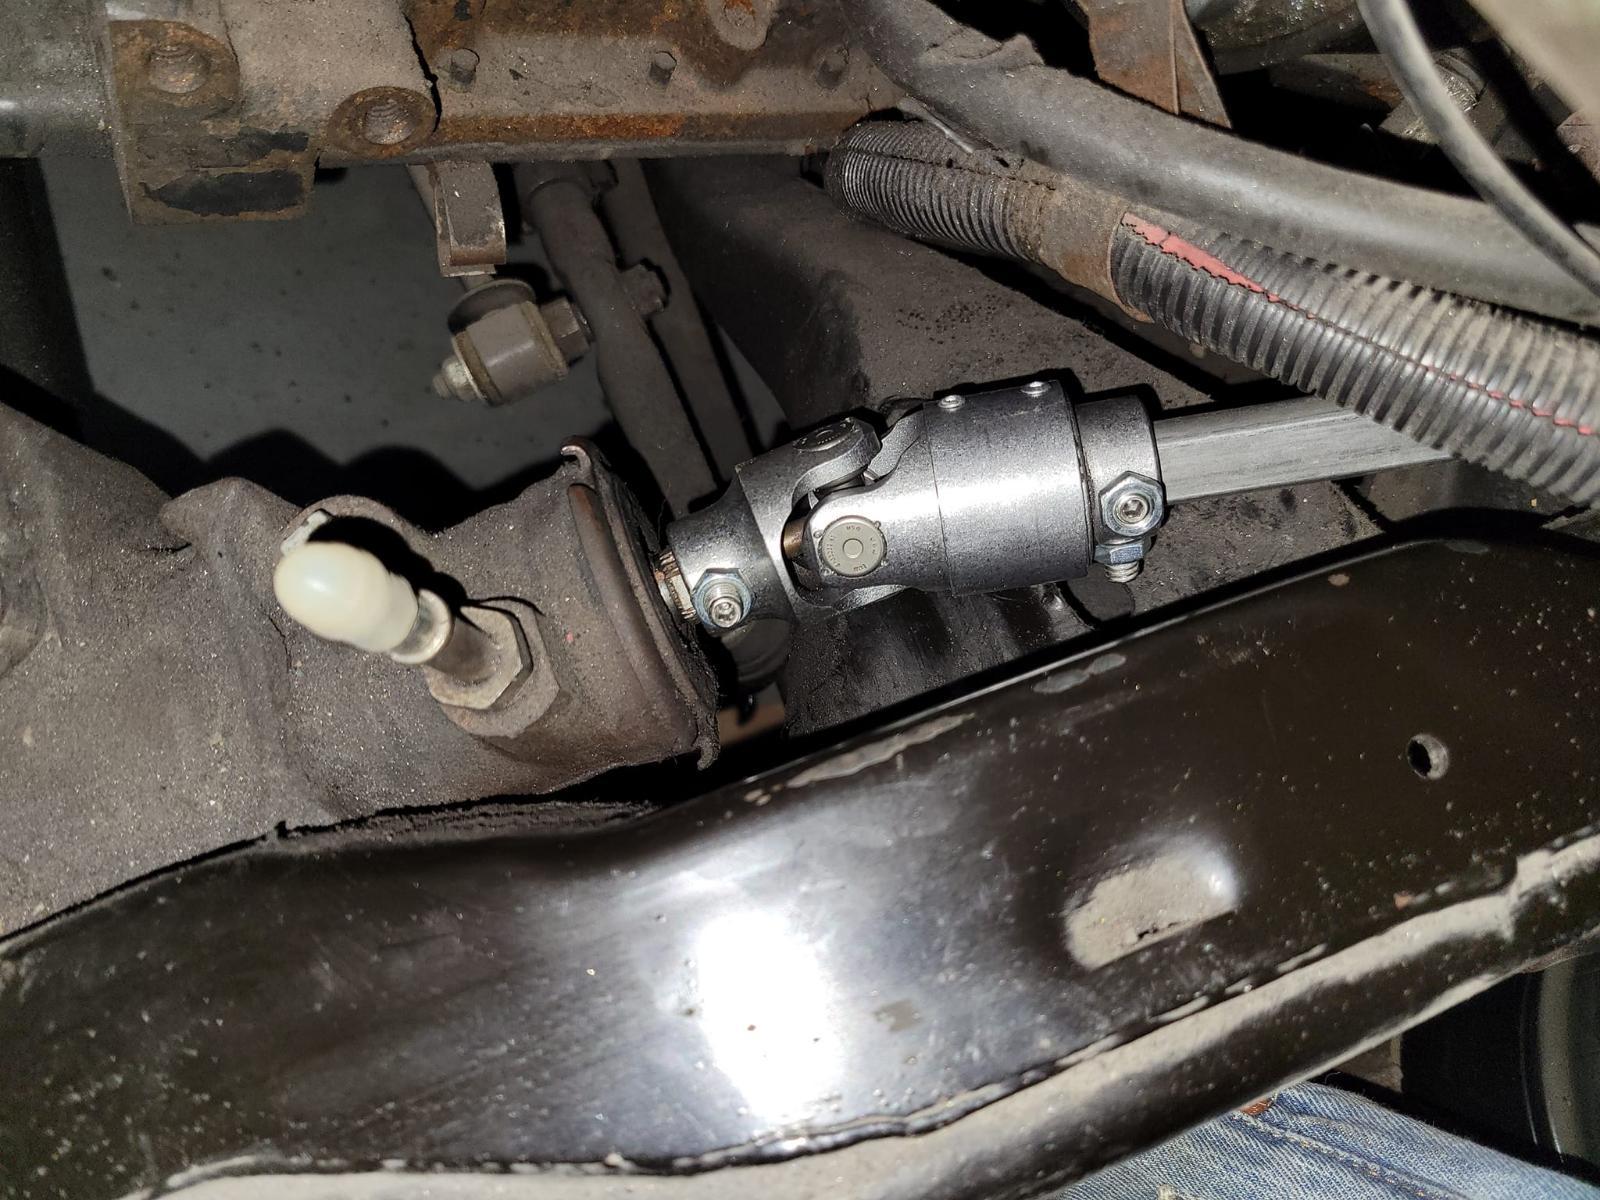
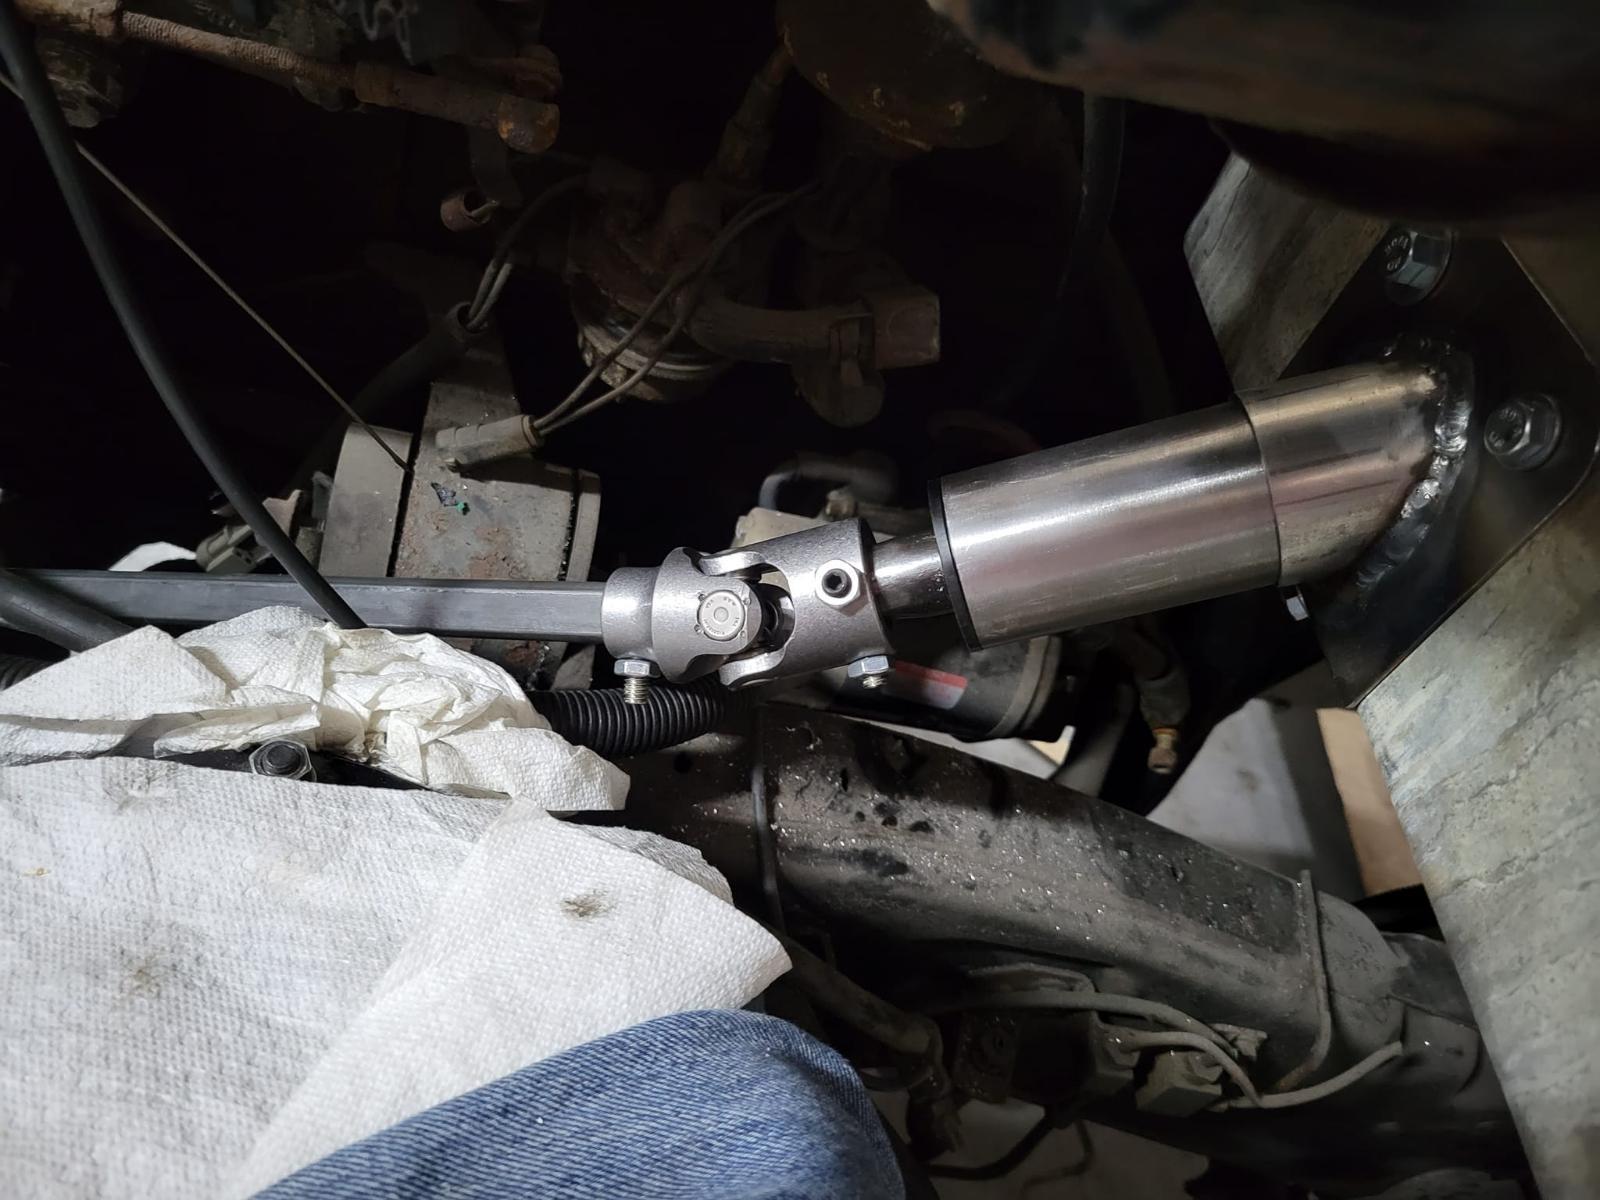
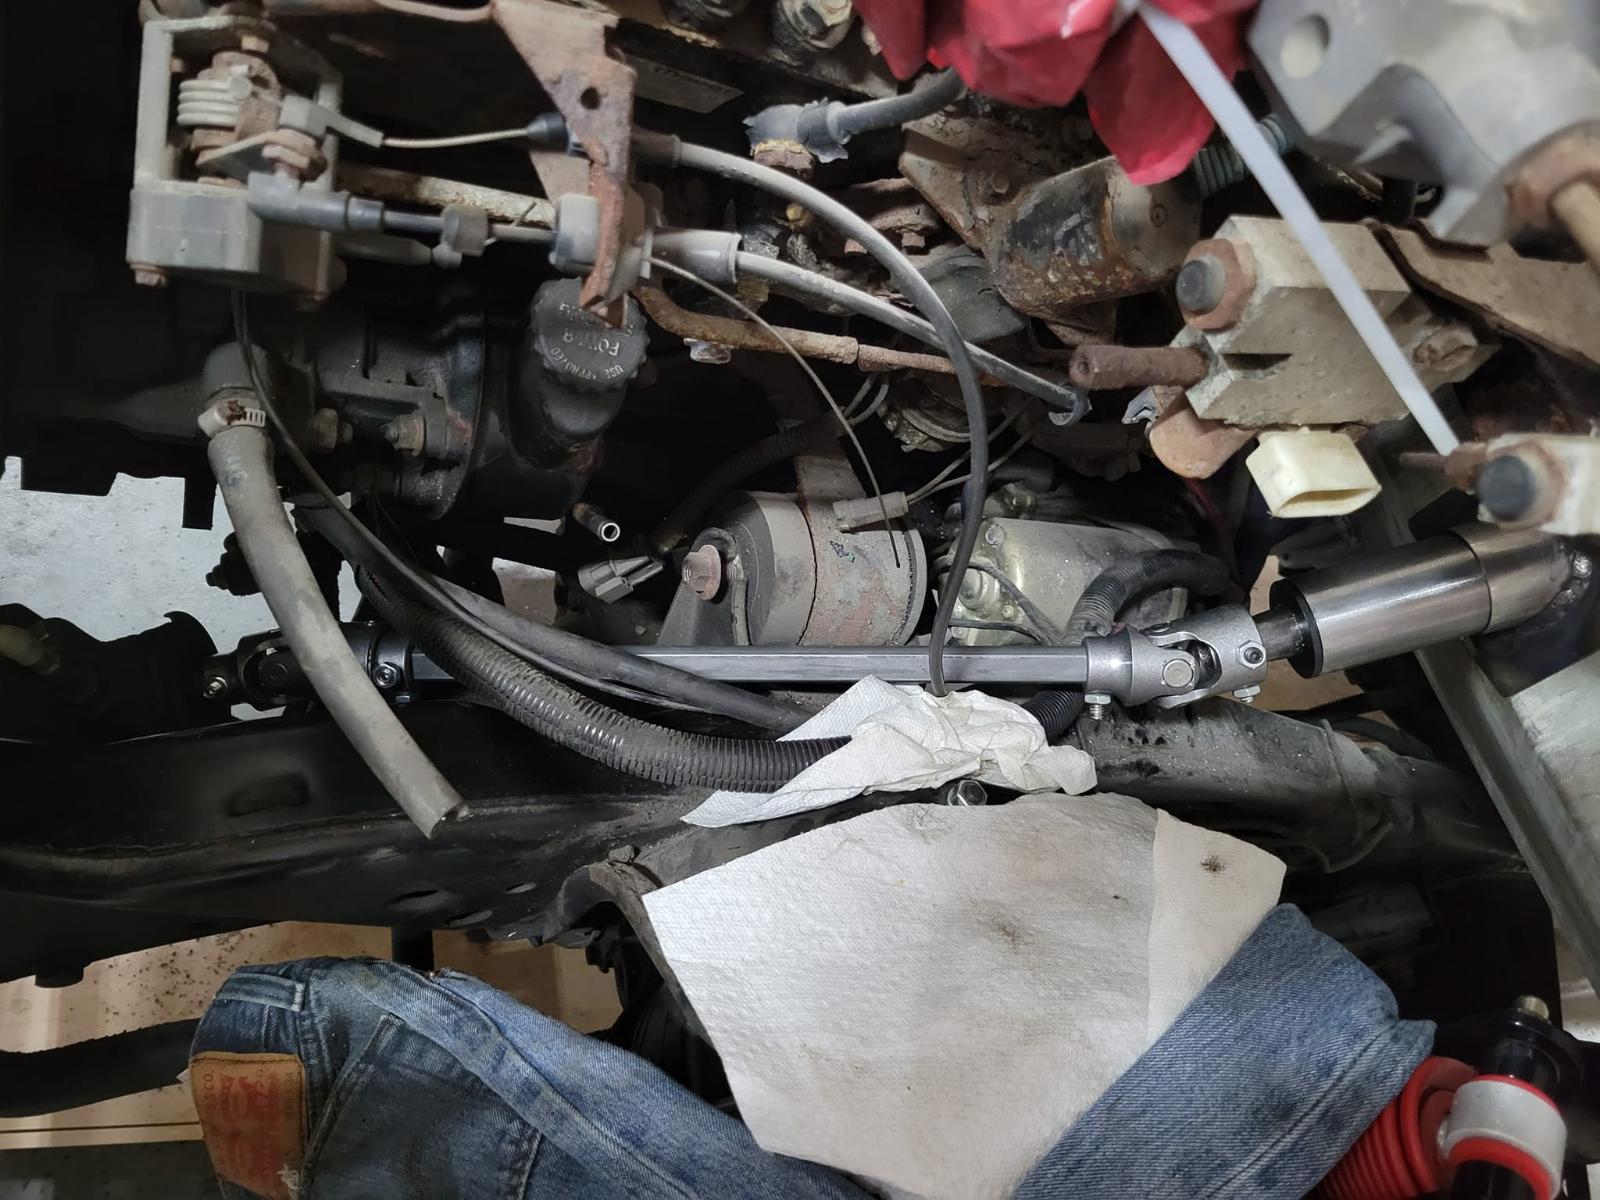
got the SC linked to the steering box last night.
-
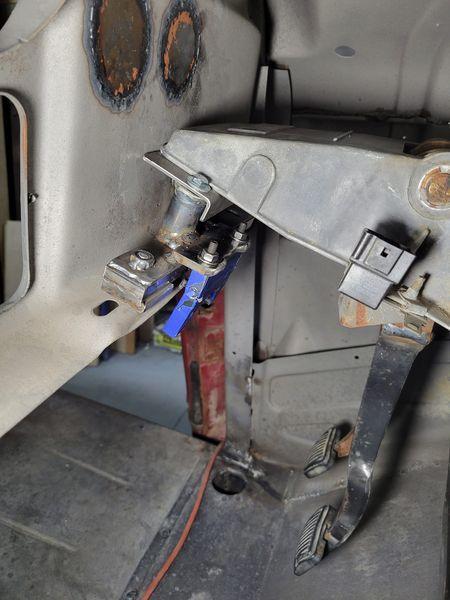
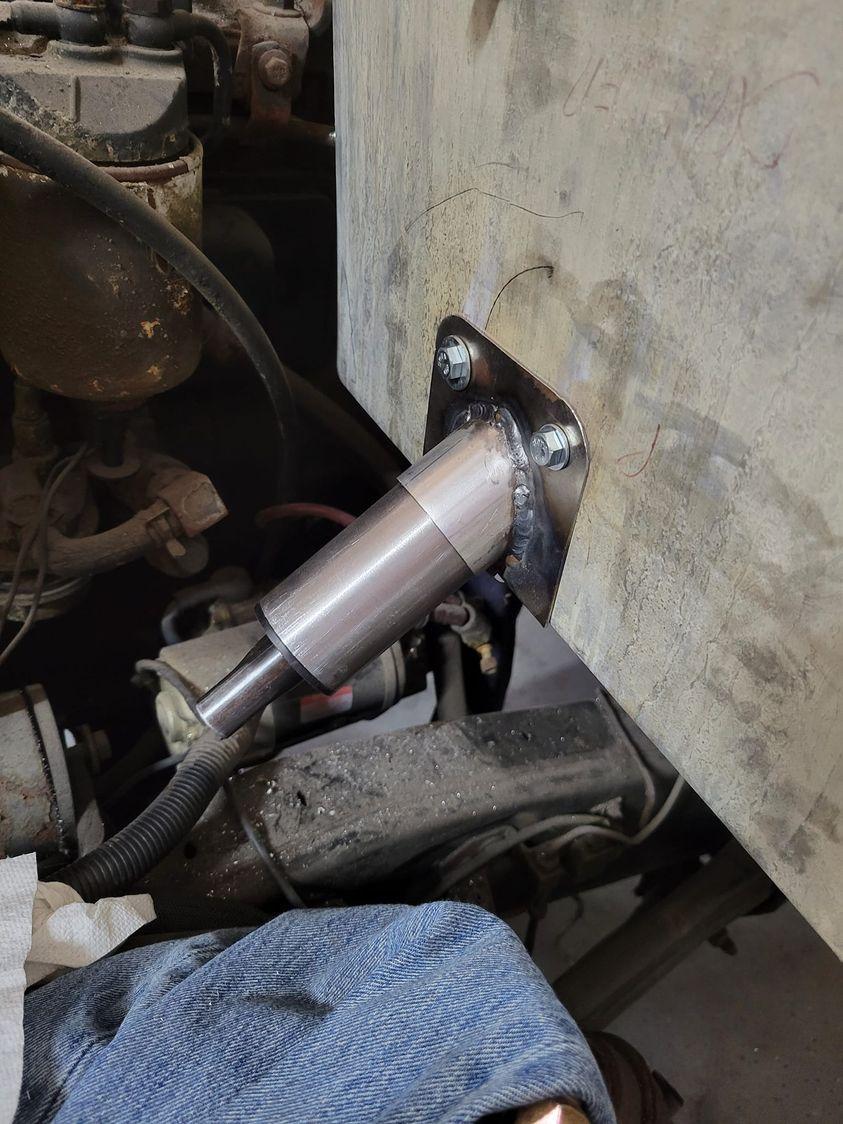
SC mountings all done!
-
thanks...spring is here tho and soon I will shift back to wood working to pay for this build...
-
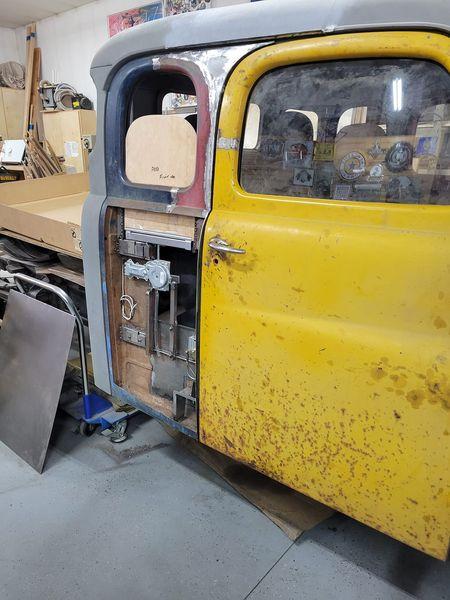
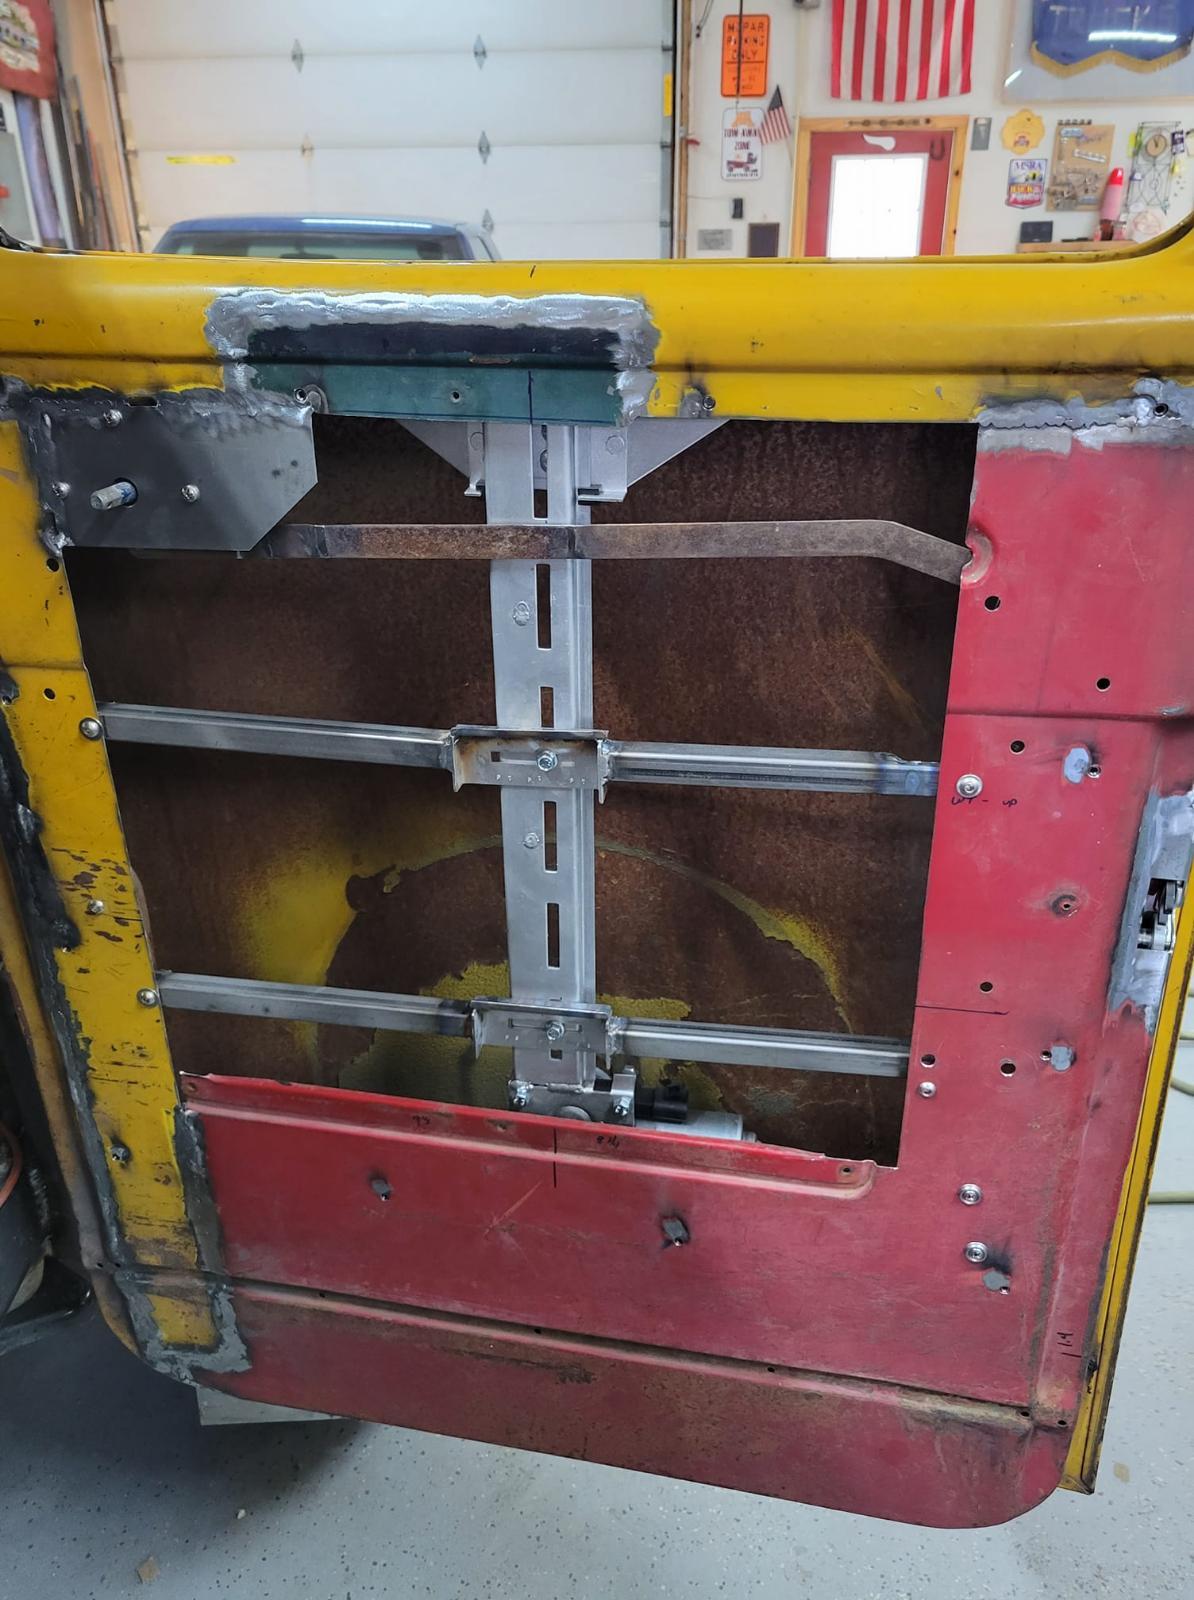
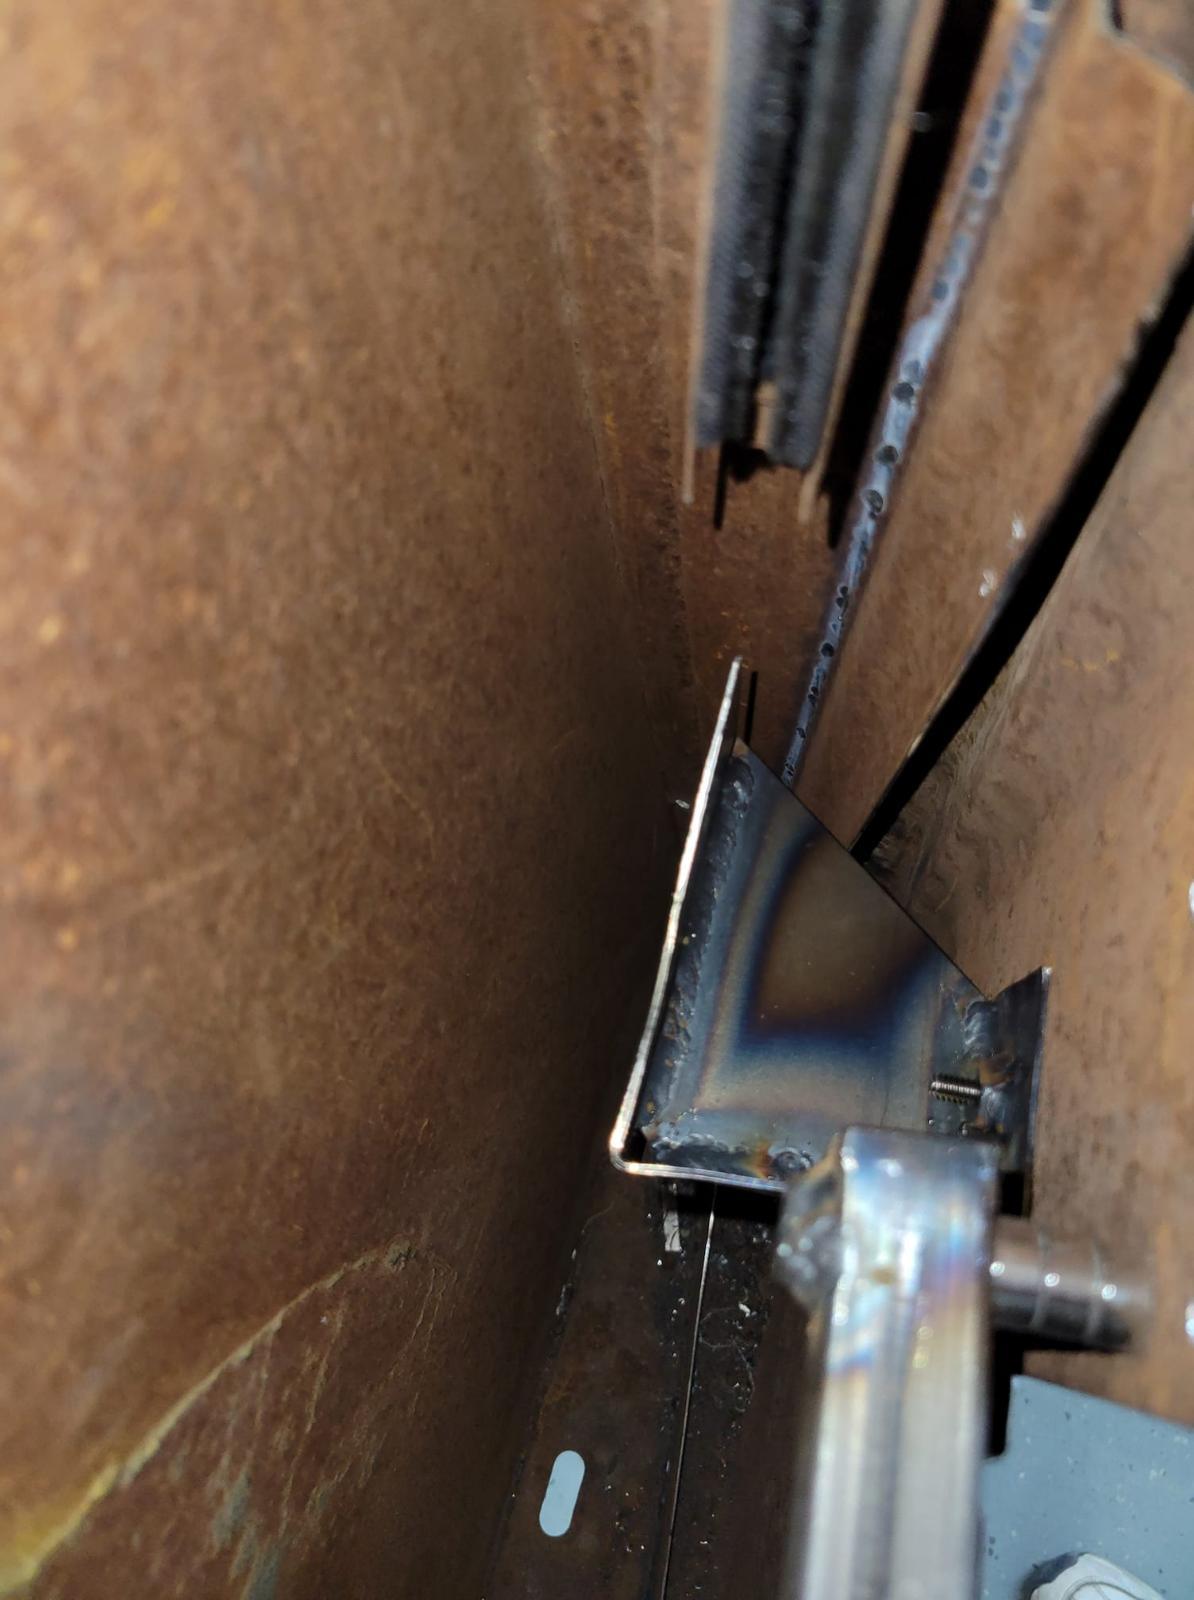
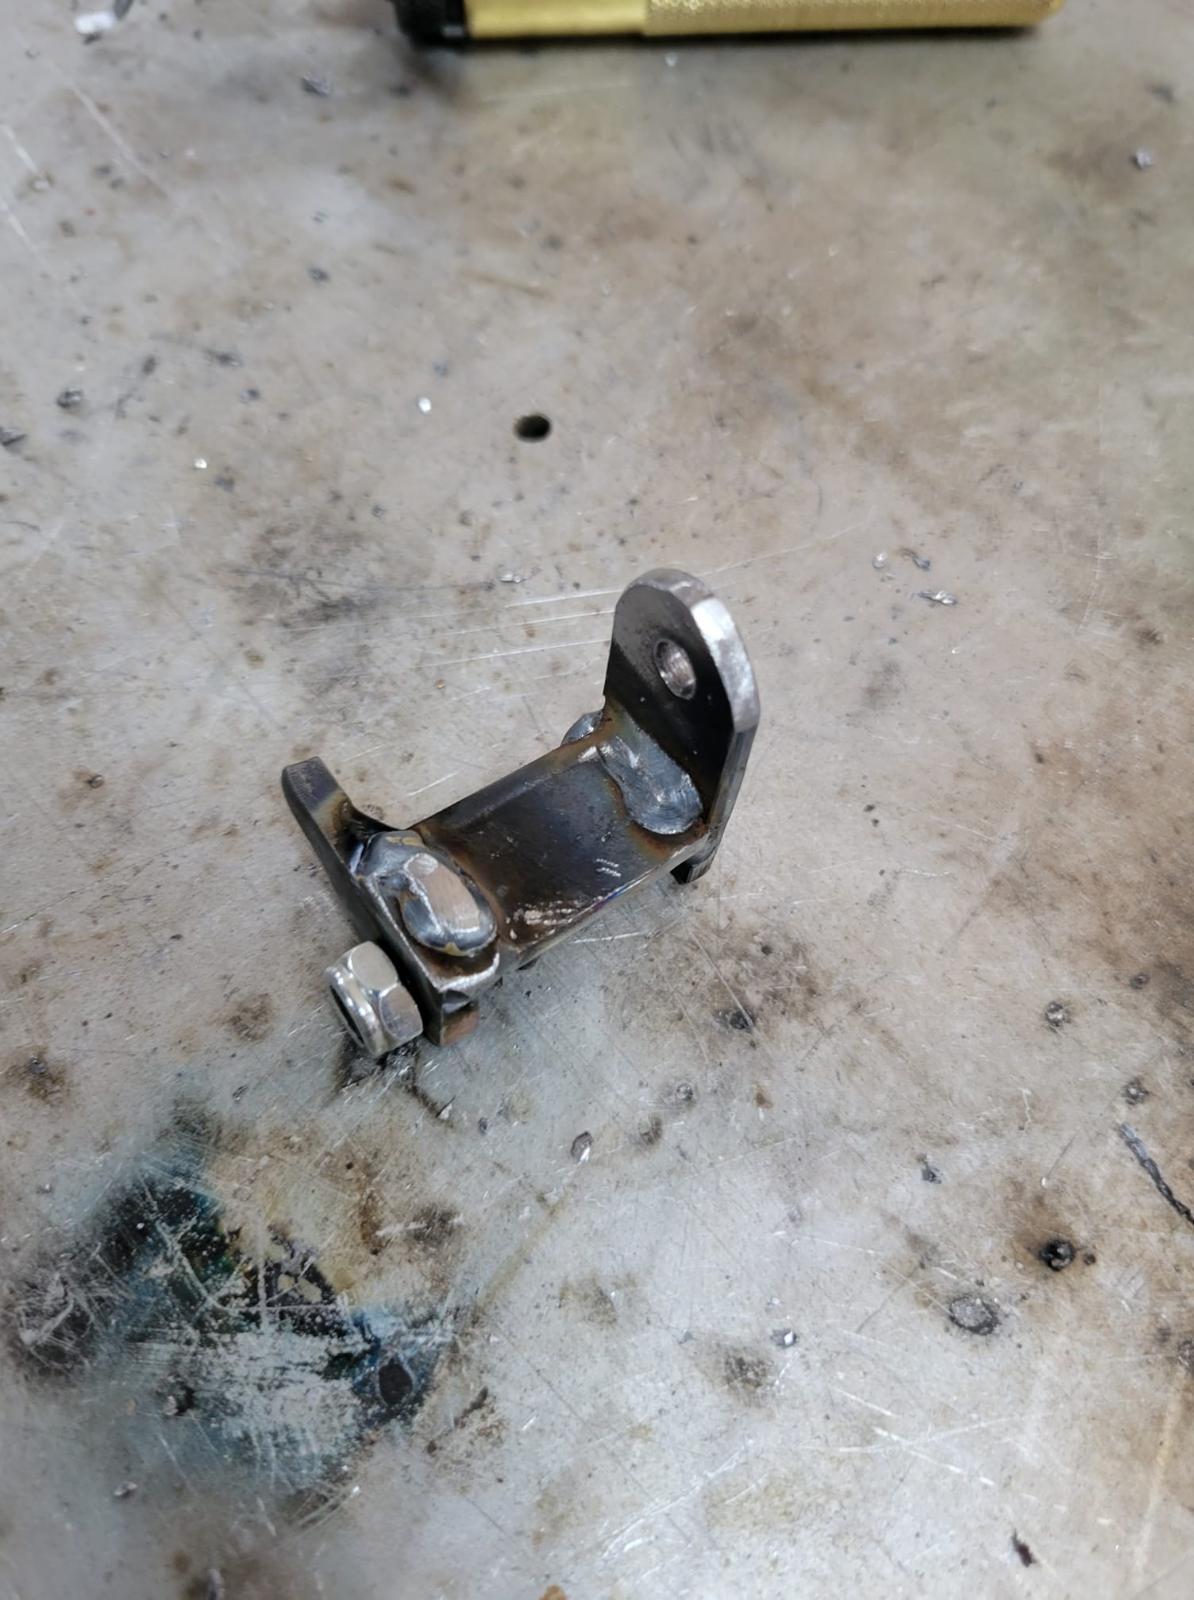
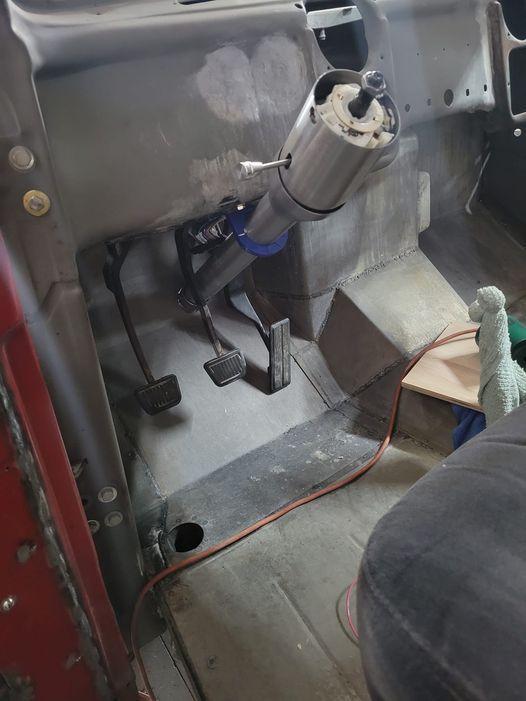
week's end work and weekend work: Finished passenger side door handle/bear claw actuation system Built and installed brackets to hold power lock actuators Modified the locking bear claw bits to lengthen them to pass behind the window track Modified brake pedal to allow for teh SC to live where it was Built and installed SC dash bracket/installed SC
-
Weekend's work: Modify the door linkage to use the inside handle where I want it and keep the sliding parts where they need to stay w/o hanging up. Also the bearclaw connector addition. 7766.mp4
-
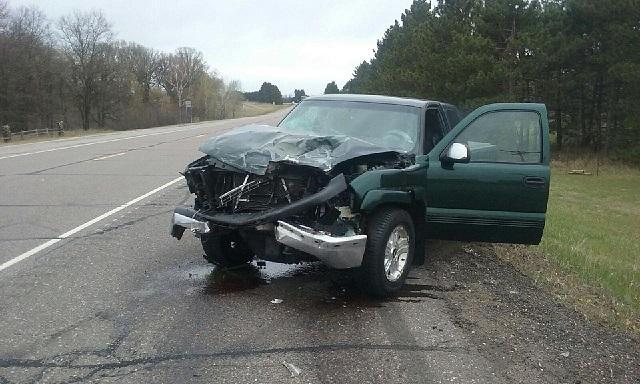
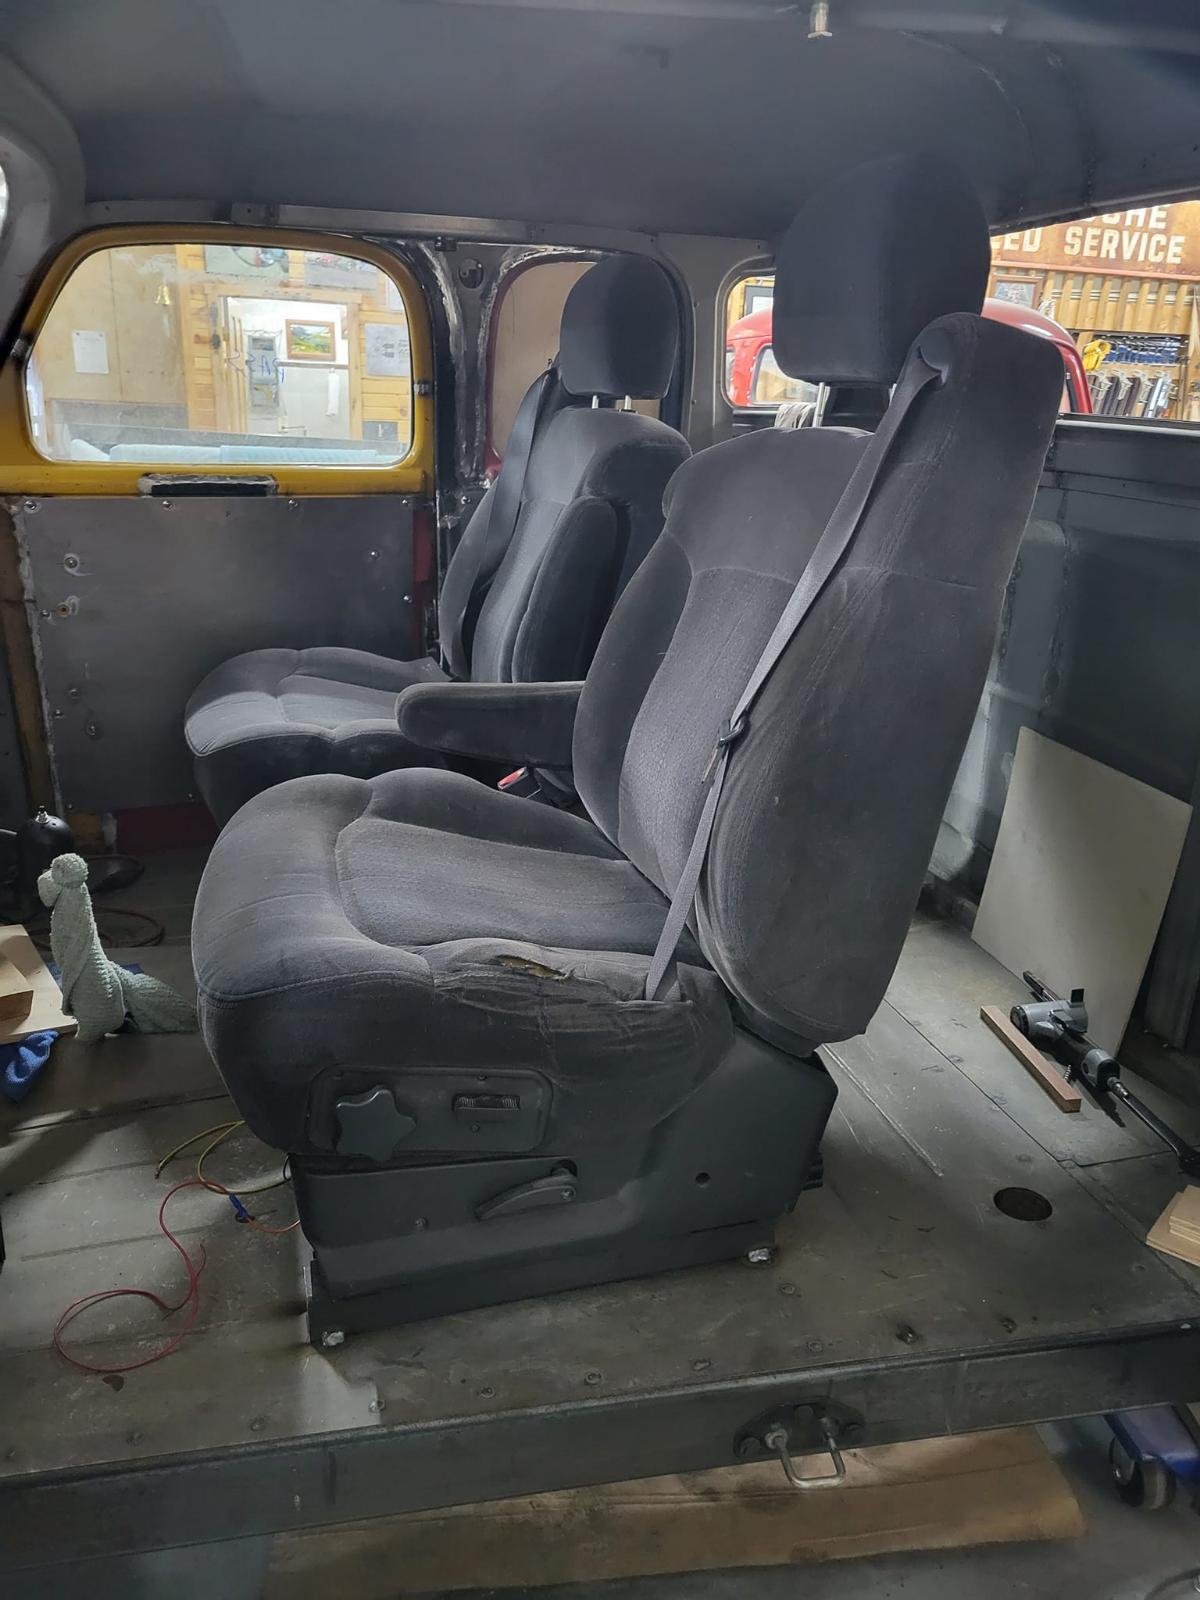
Seats are actually out of an 03 Silverado (actually my buddies truck were were in a 65MPH accident in last year...got em cheap) And I'll refoam and recover them as well as replace the seatbelt bits. No rear seats...just a 1.5 cab not a 2x size. Truck will be a flatbed so I wanted storage for security/weather protection. As I said above, I will reskin the seats. Rest of the interior will be a mix of fabirc/carpet, likely some wood bits and metal surfaces. Not too far down that road yet...I don't want it to be an echo chamber with all hard surfaces. The bearclaw latches and suicide hinges are all sourced from "hot rod" sites/Summit Racing. Of course putting them all in DOES require custom work to be done. Regardless a pile of the stuff I'm doing is custom becuase no one else is likely as insane as I am to do this stuff unless they do it for a living.
-
Passenger side.
-
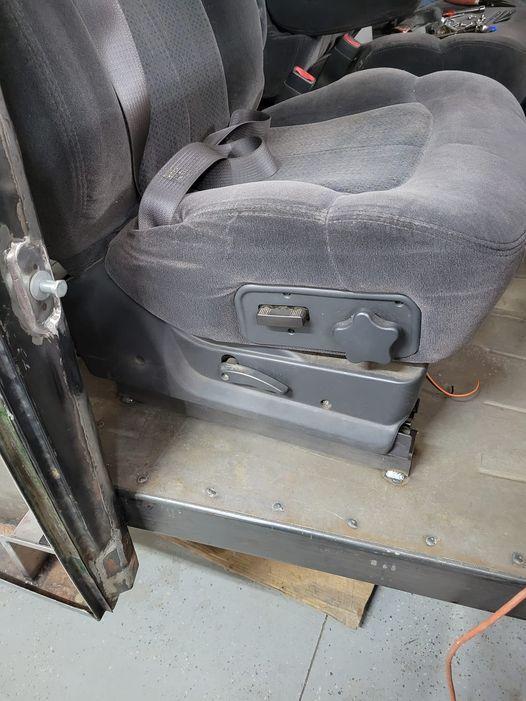
driver seat mounted...
-
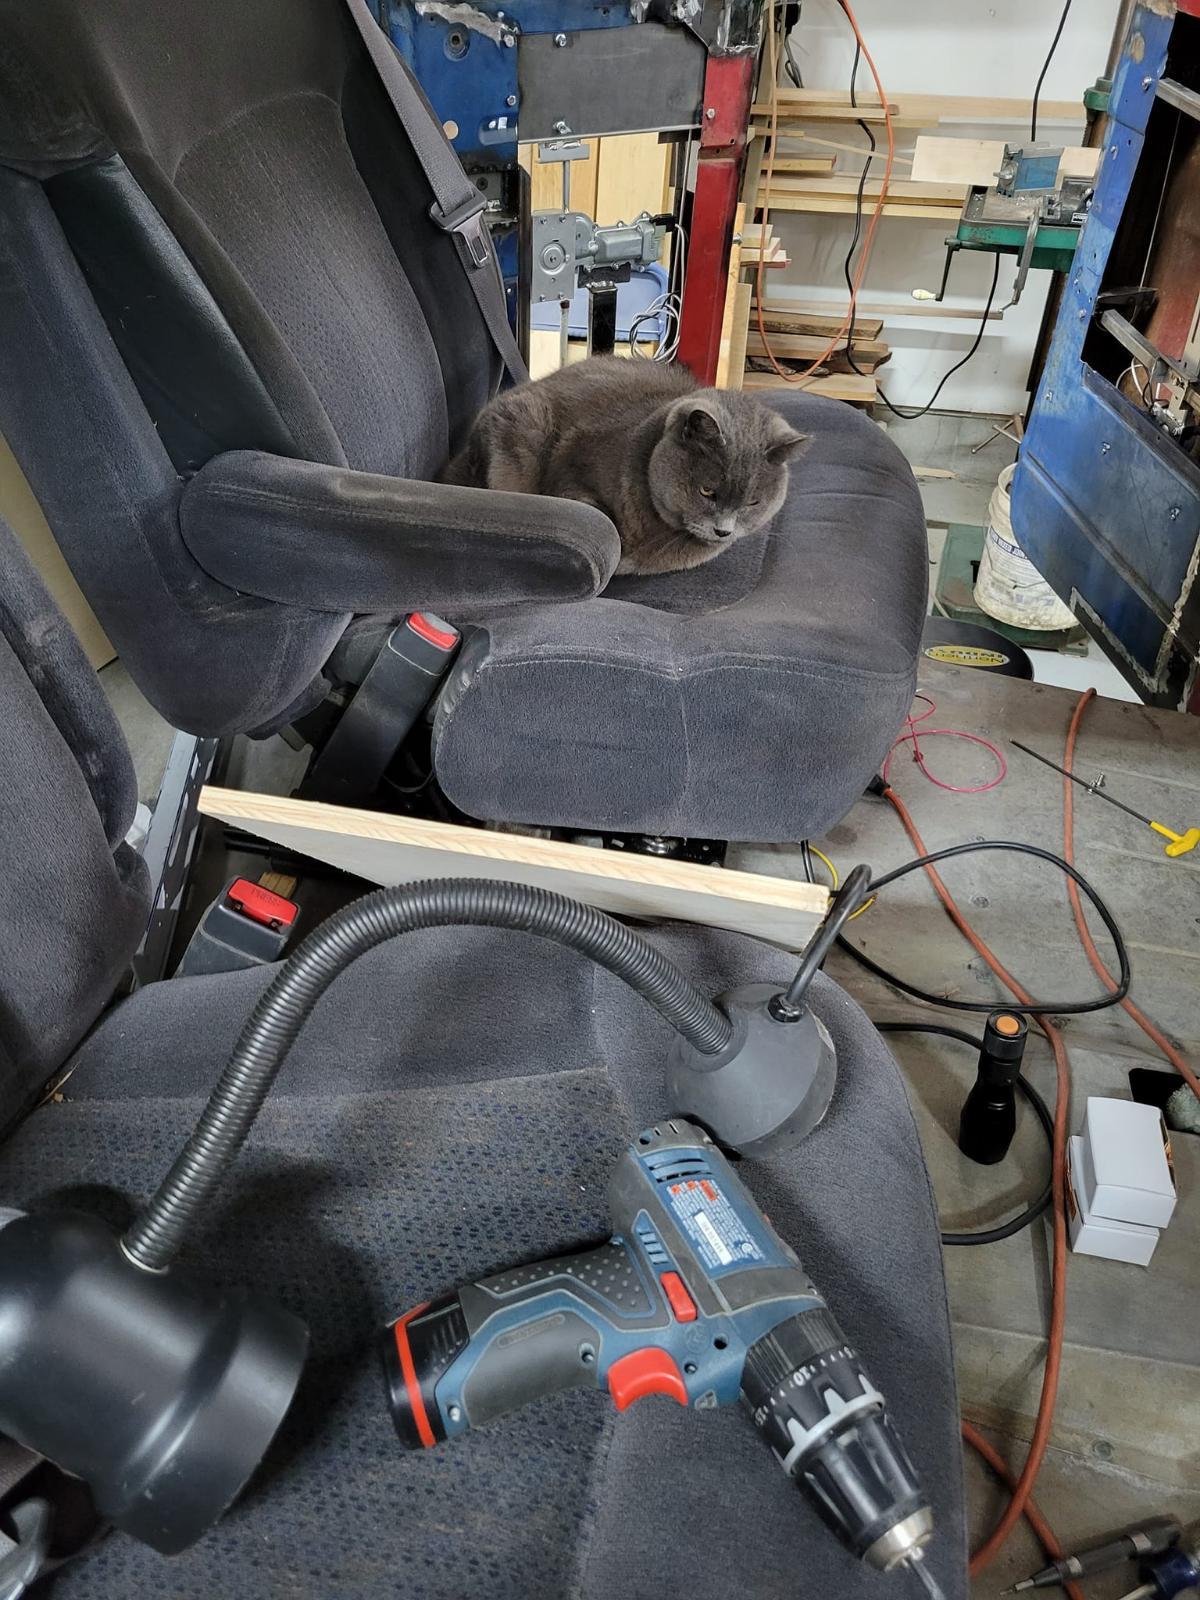
Oh she was happy, she got to be near dad and had a new soft spot to sit in while watching.
-
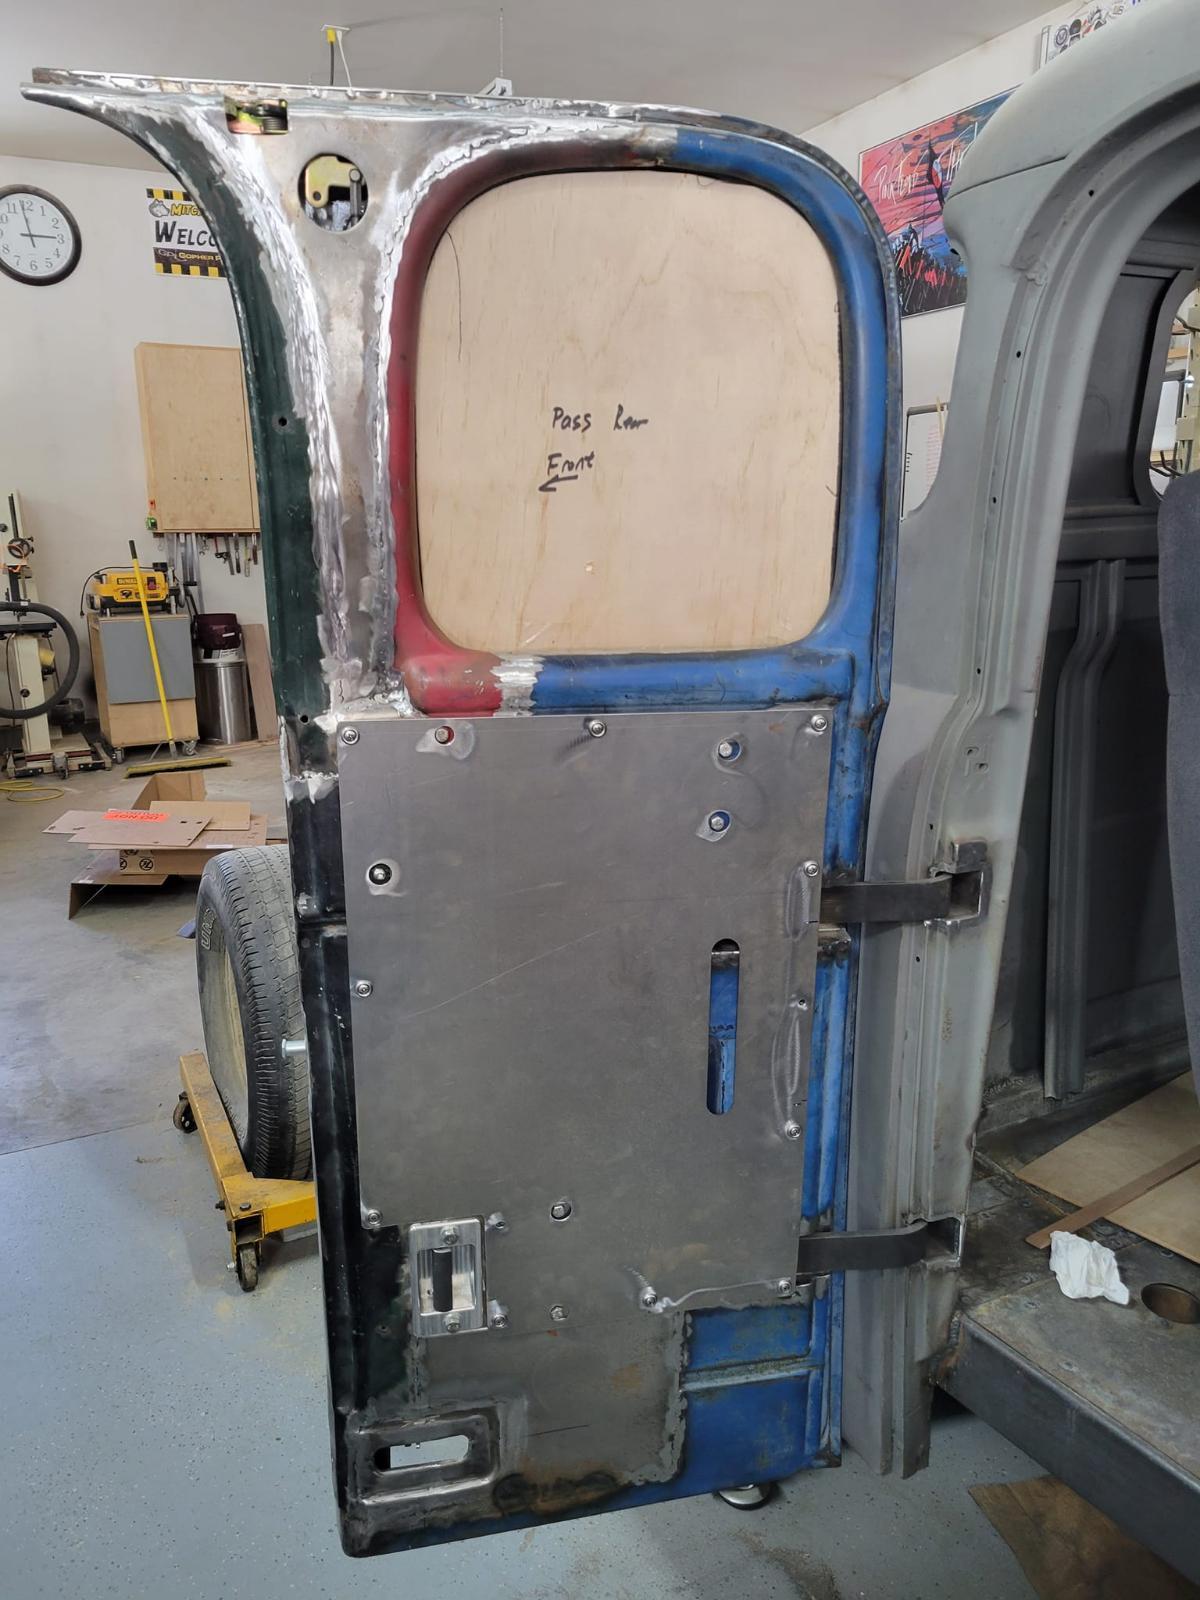
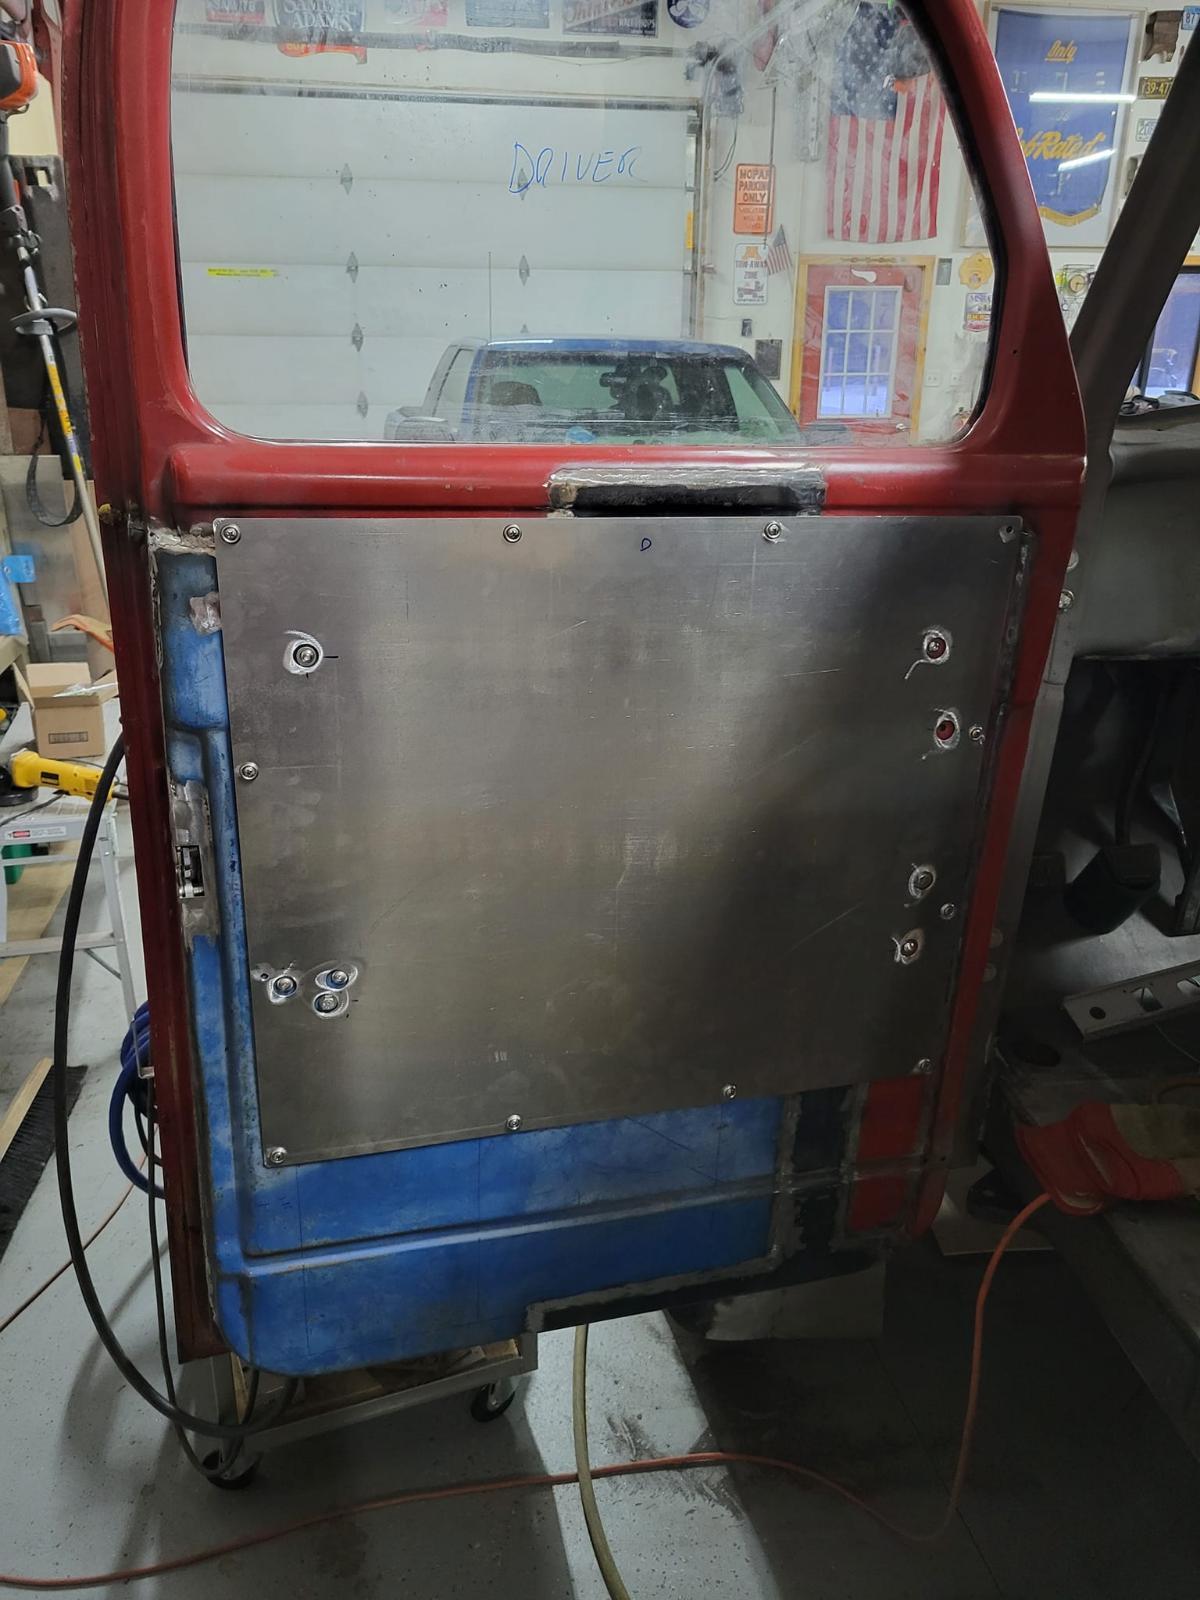
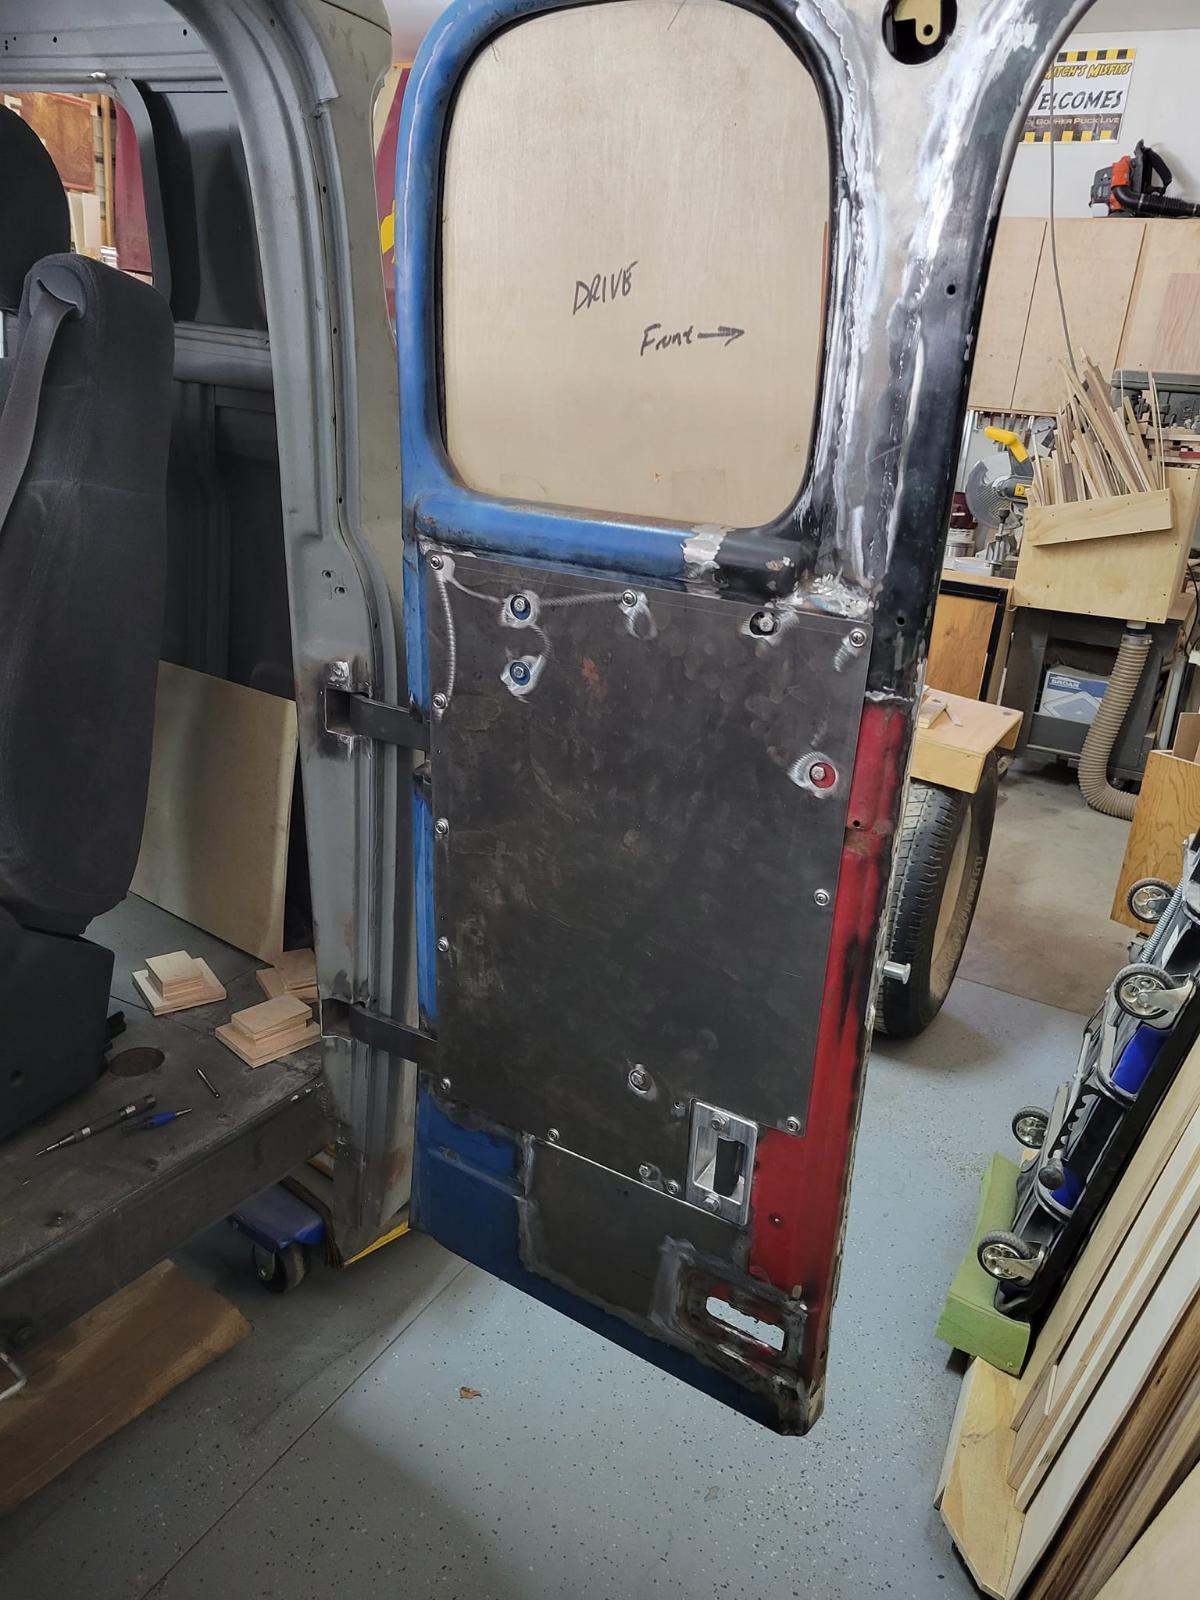
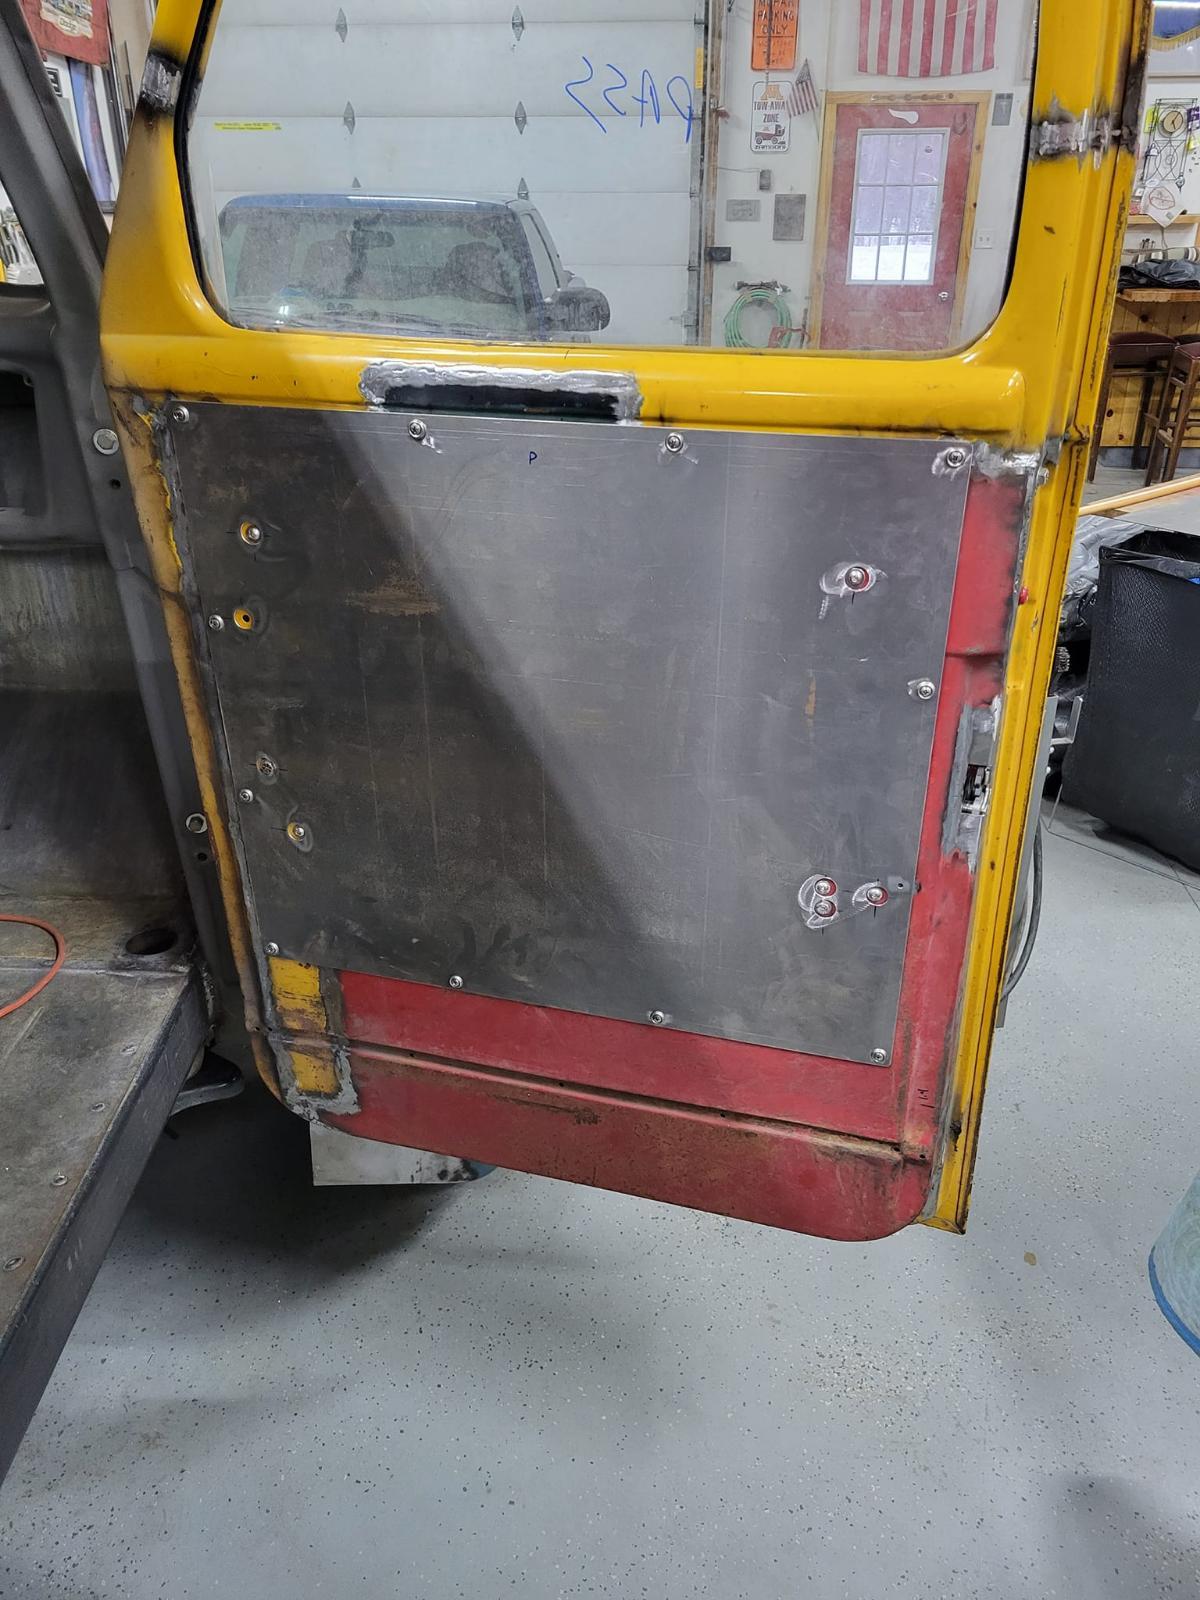
finished off the weekend's work last night. All the door inner pannels are done. My shop supervisor approved of the work.

-
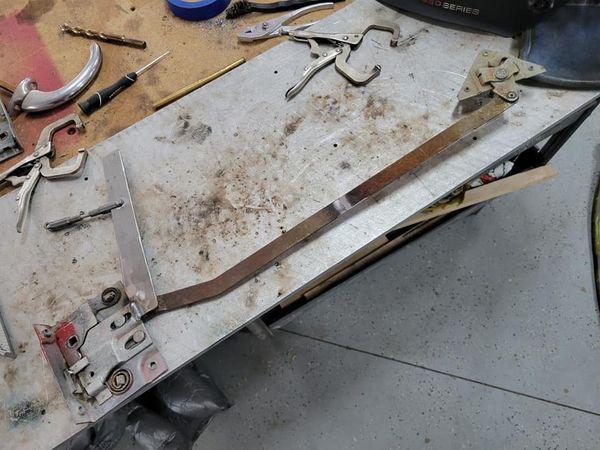
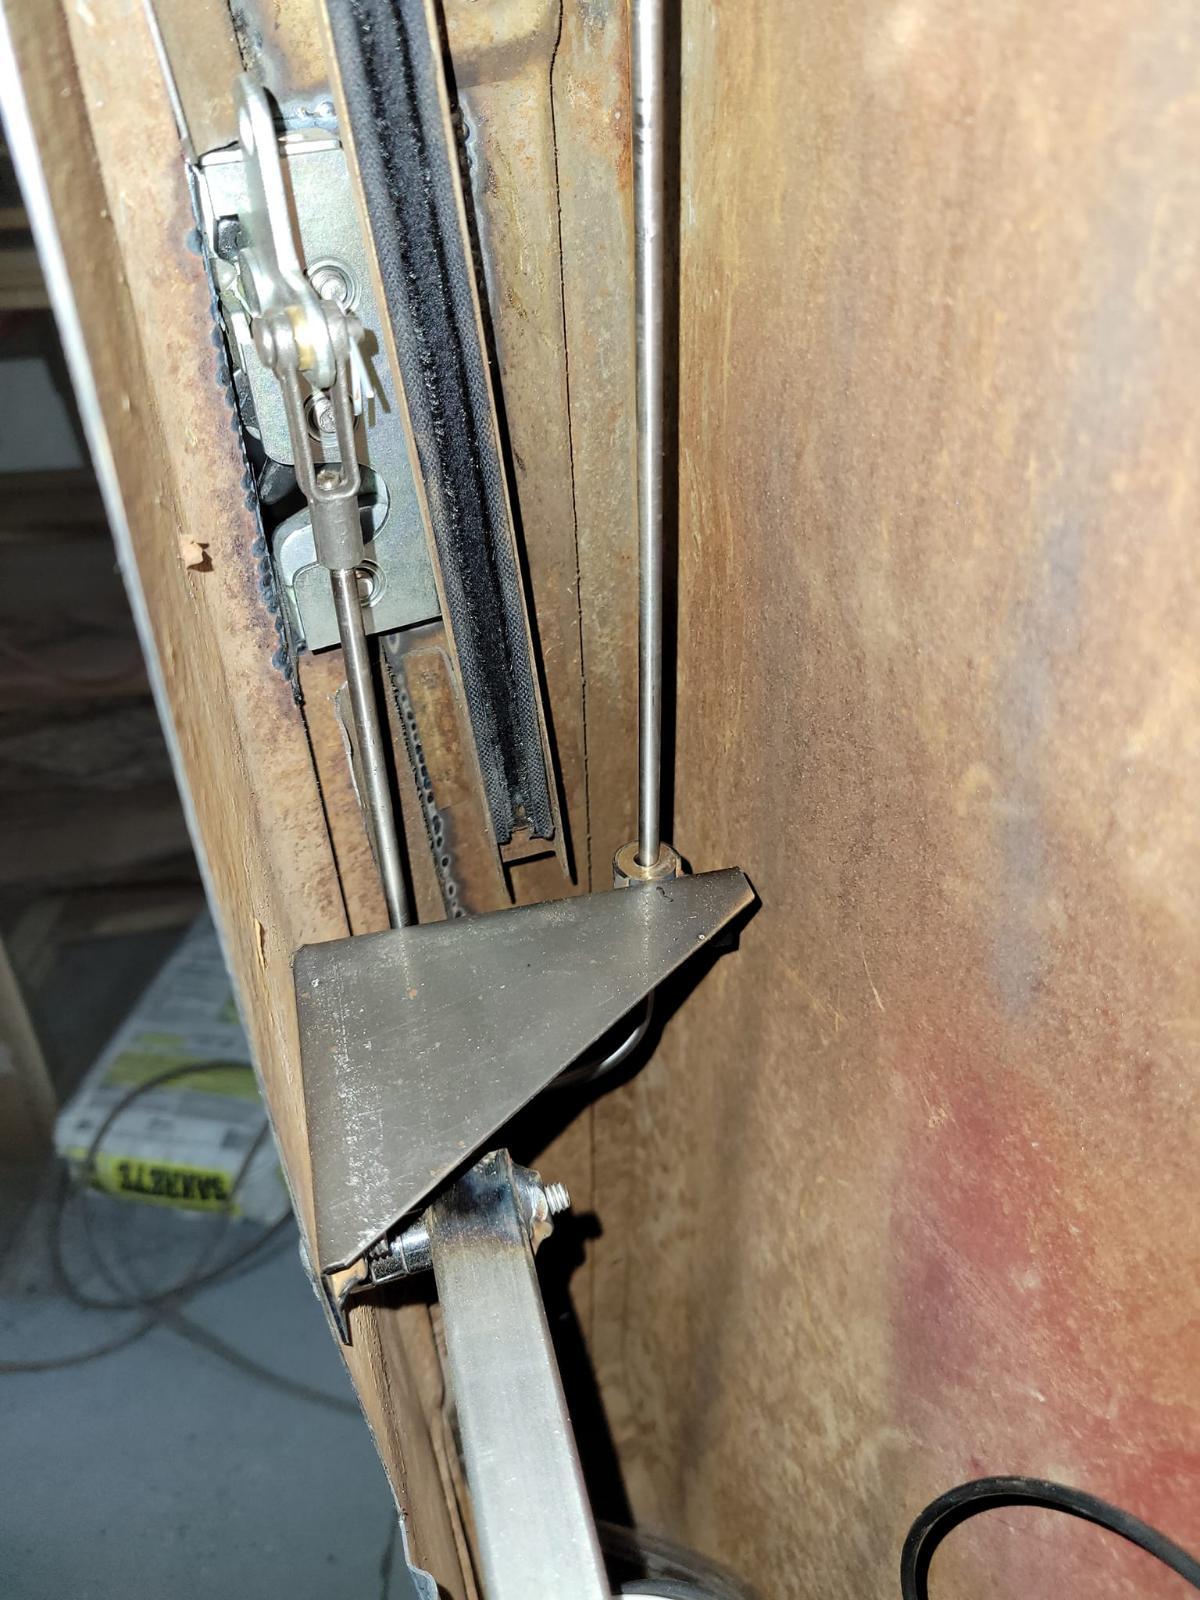
A few pics from Saturday. Yesterday was mostly prep to be able to finish stuff tonight (I hope). Dor latch guide and inner door panel.
-
I actually hope to drive it to CA for a show in April at my buddy's ranch at some point. I'd take diff routes out and back, so one way I'd likely go thru WA/OR.
-
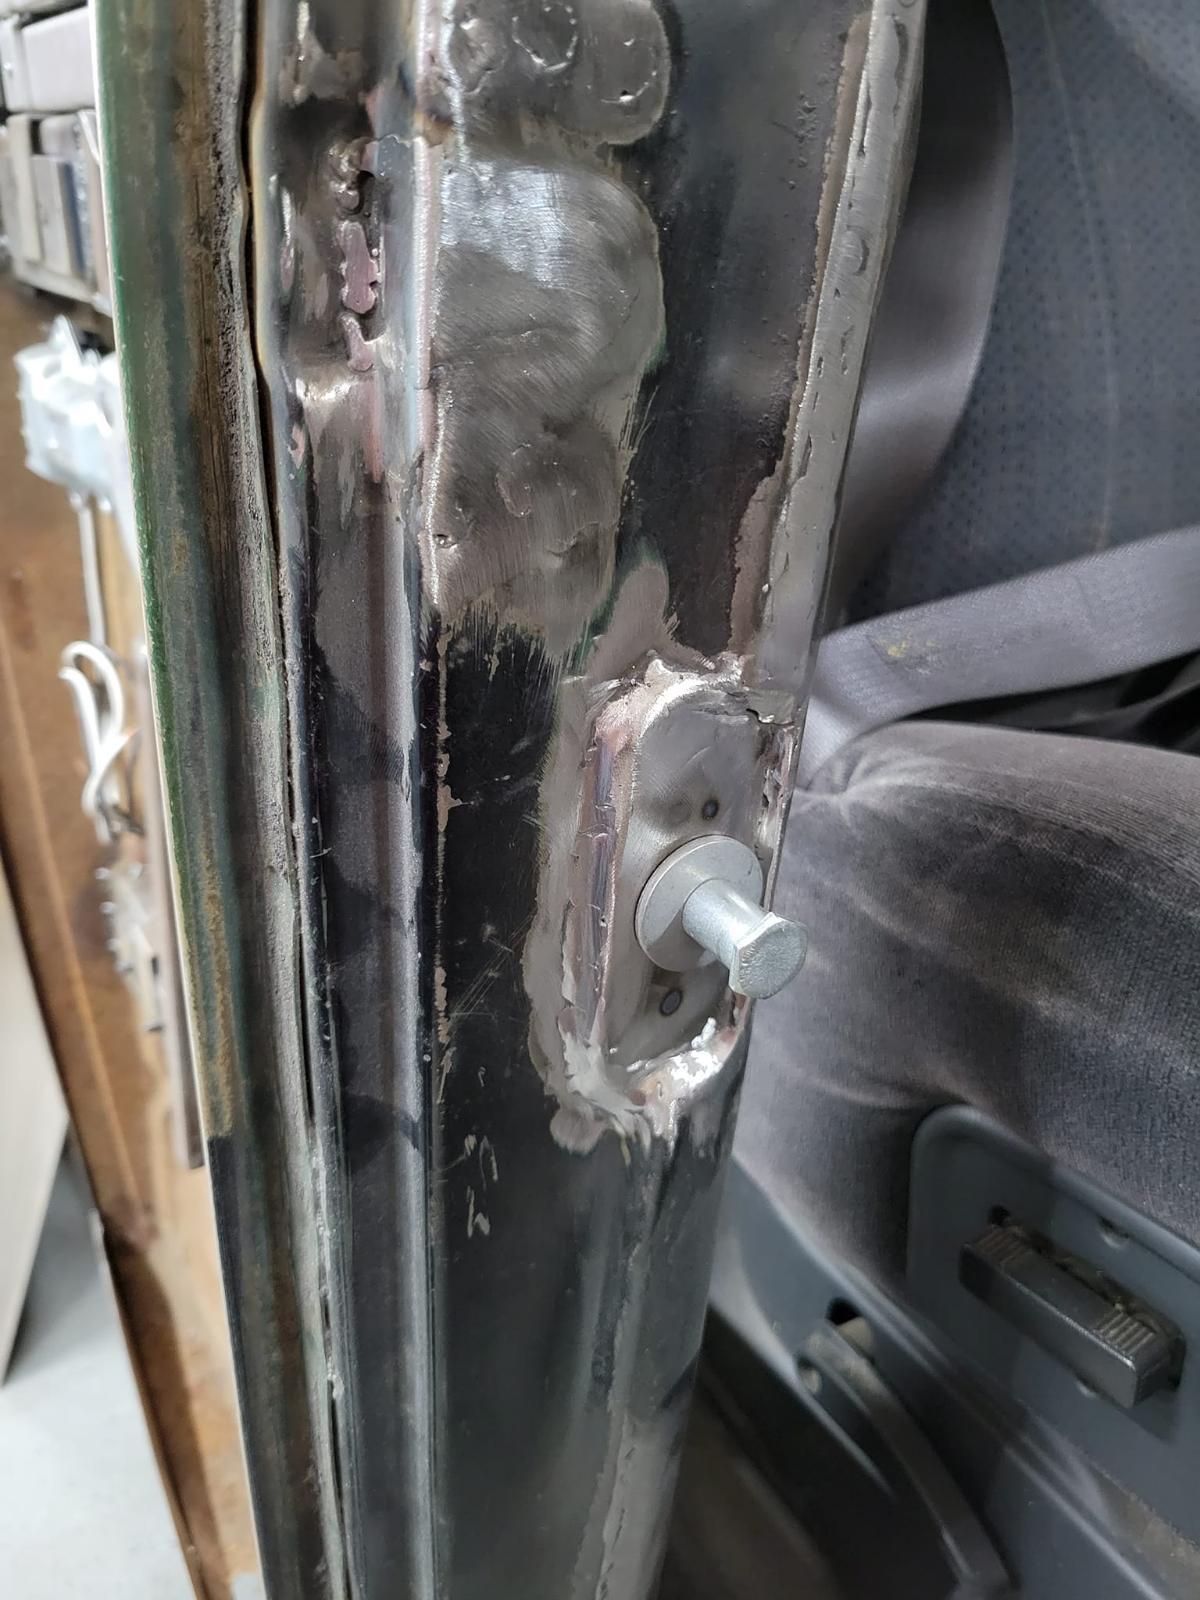
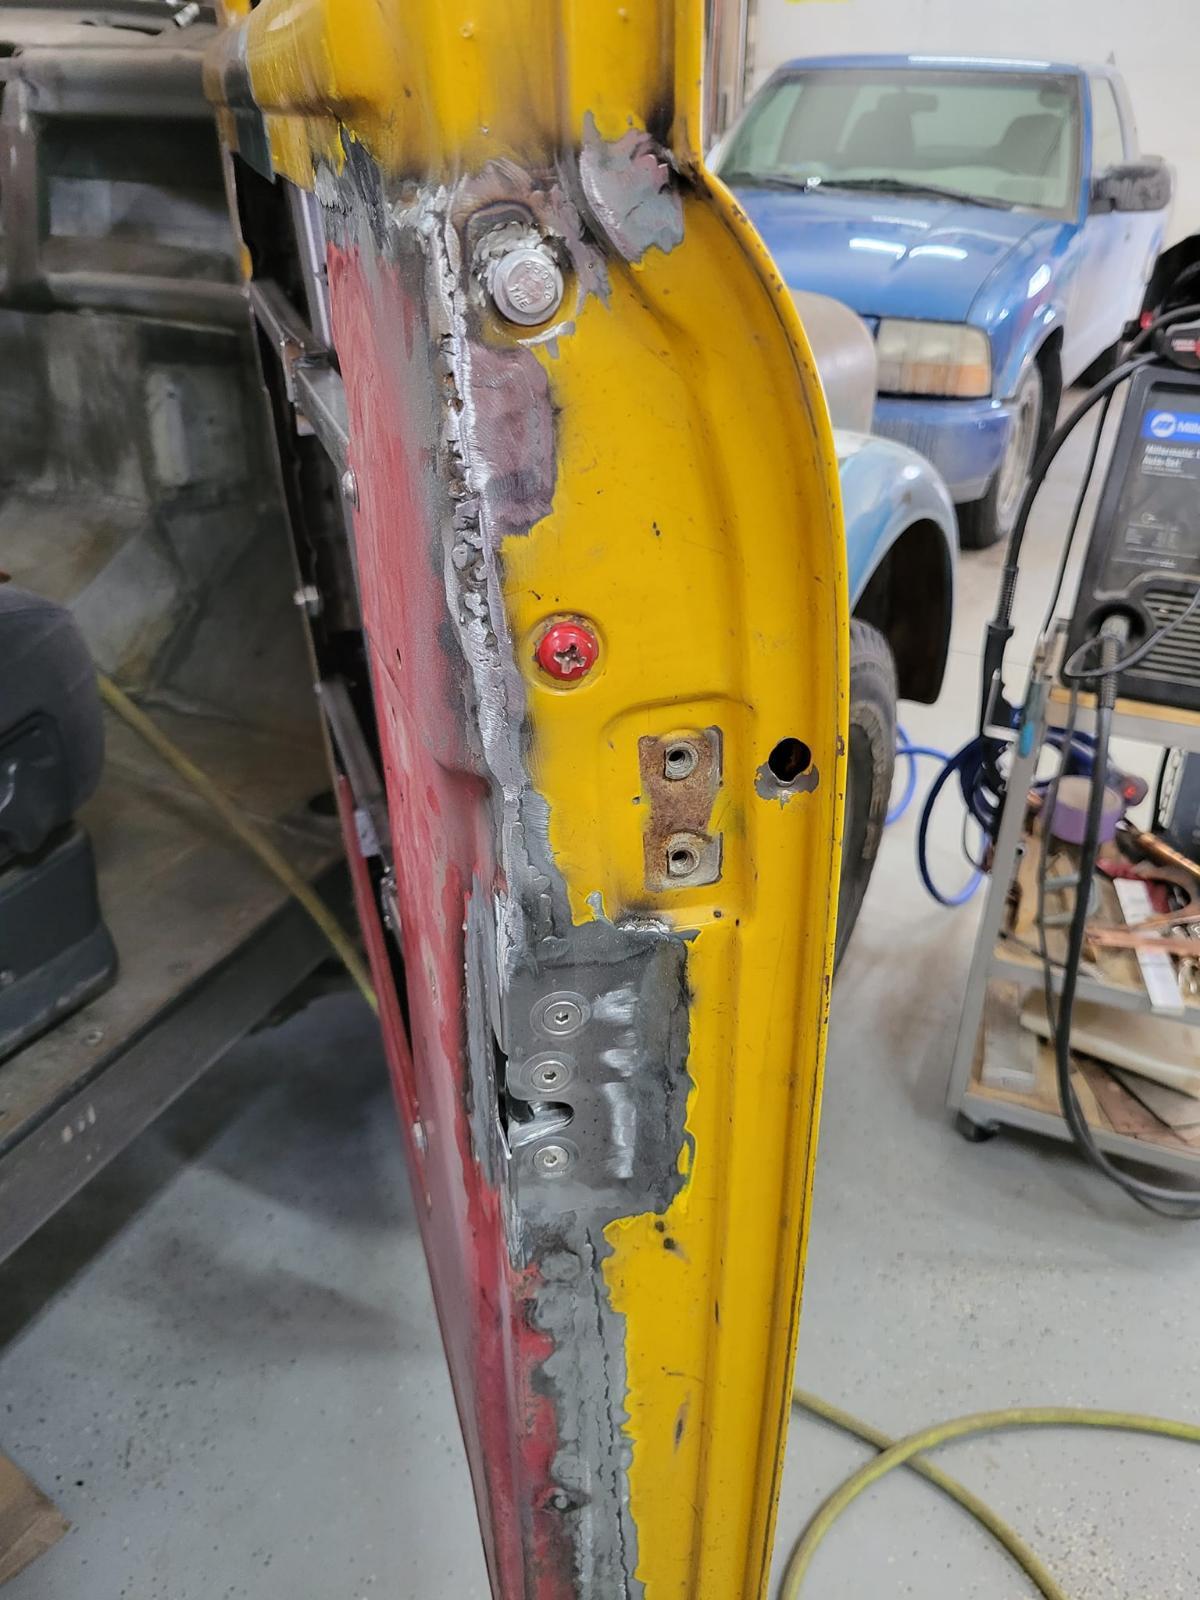
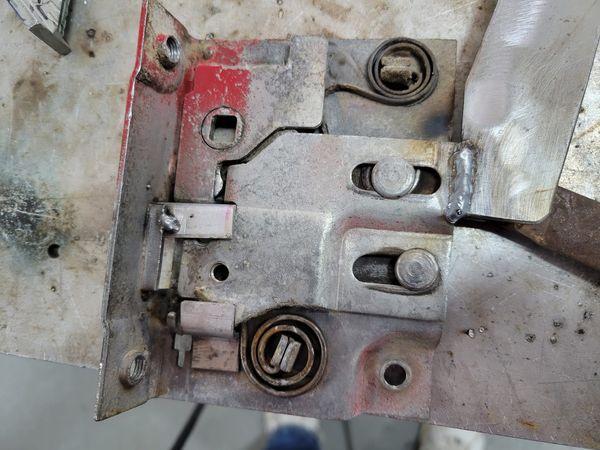
Front doors now latching. It's had to see the strike area but I welded in a 1/8" plate and blended to the jamb (some mud will help fill in the places that look ugly) and rounded and smoothed for a "original" look.