PilotHouse2500
Yearly Subscription
-
Joined
-
Last visited
Everything posted by PilotHouse2500
-
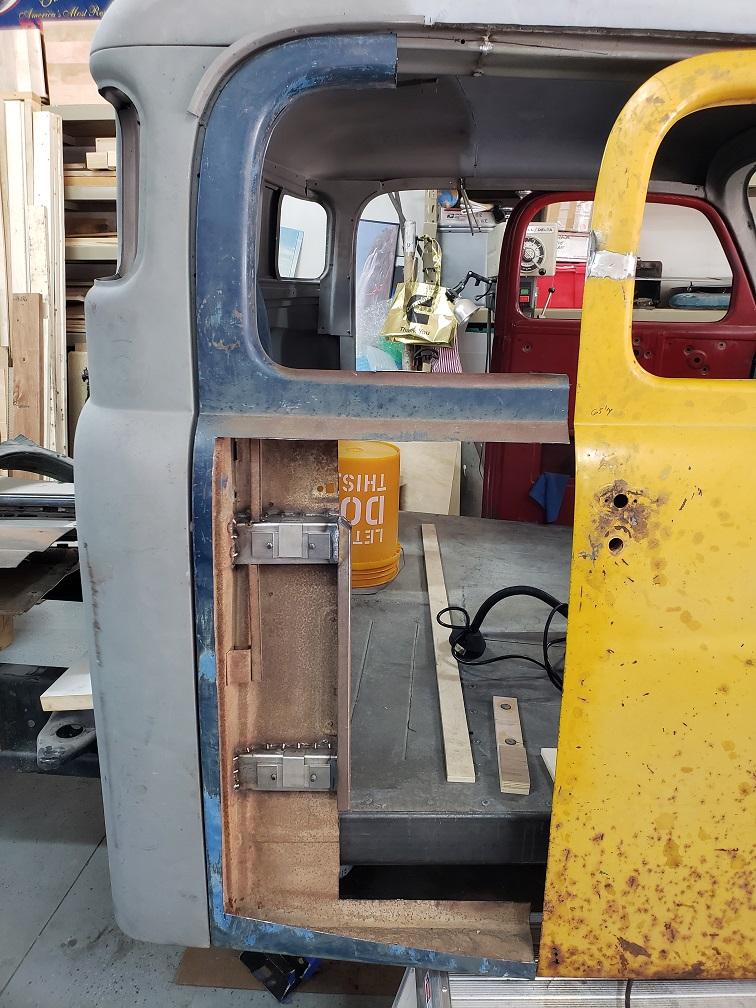
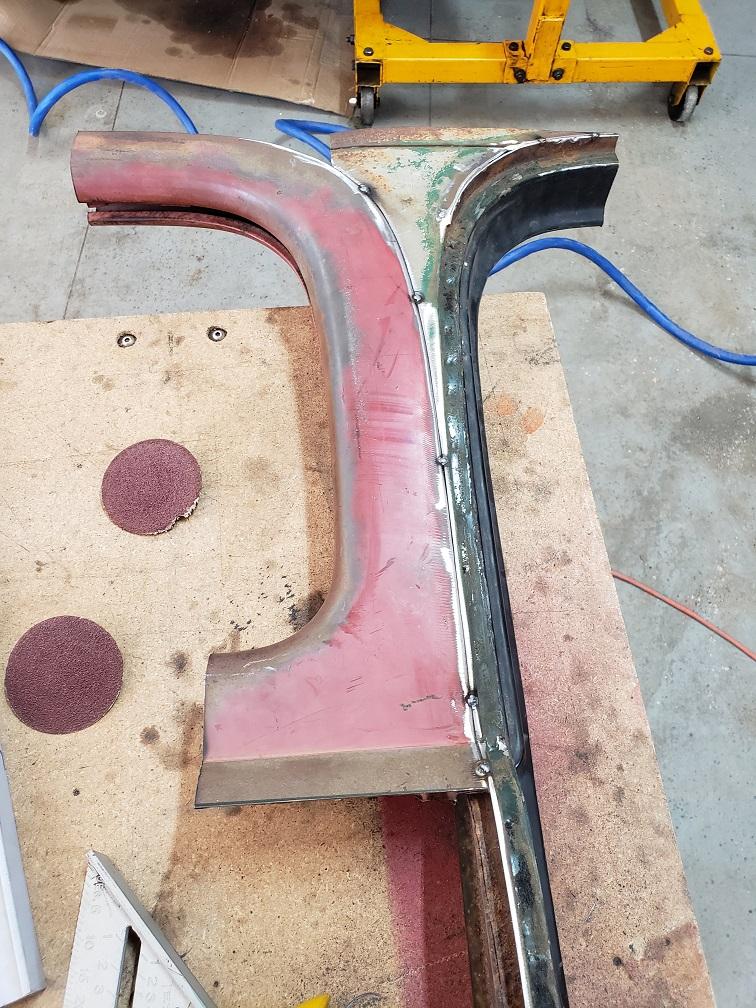
well, it's in and works!
-
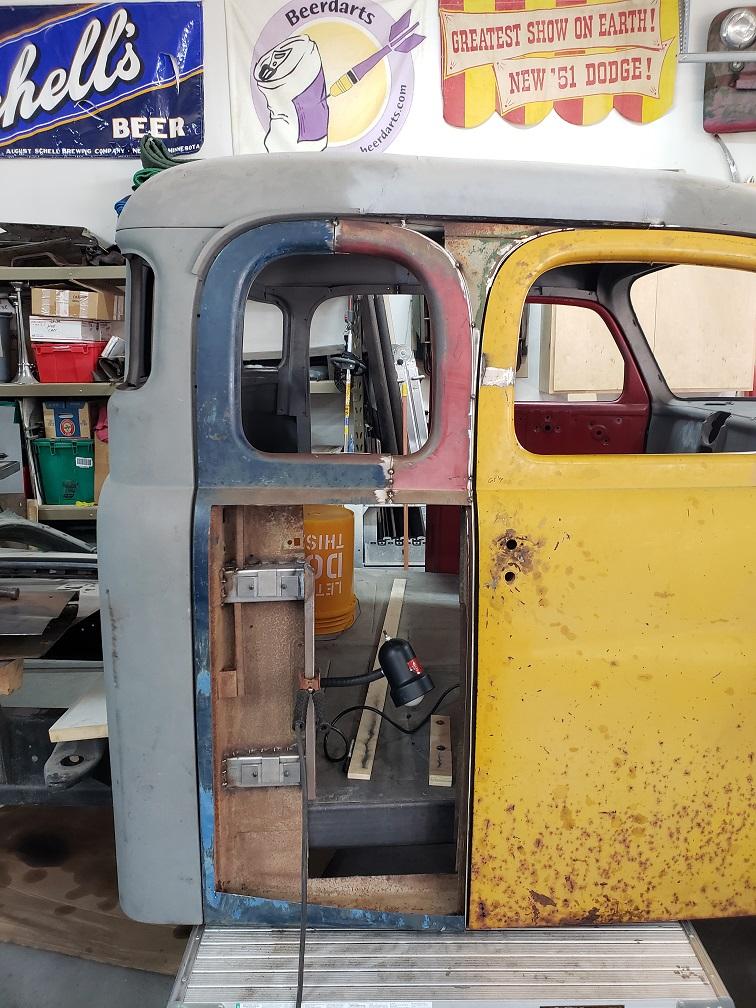
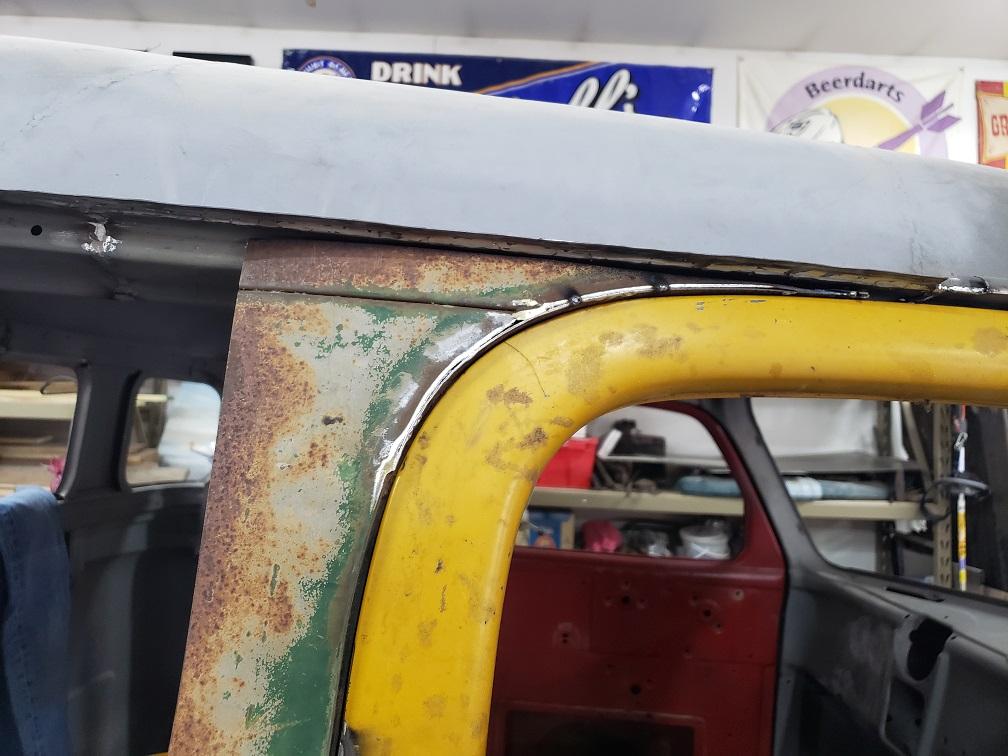
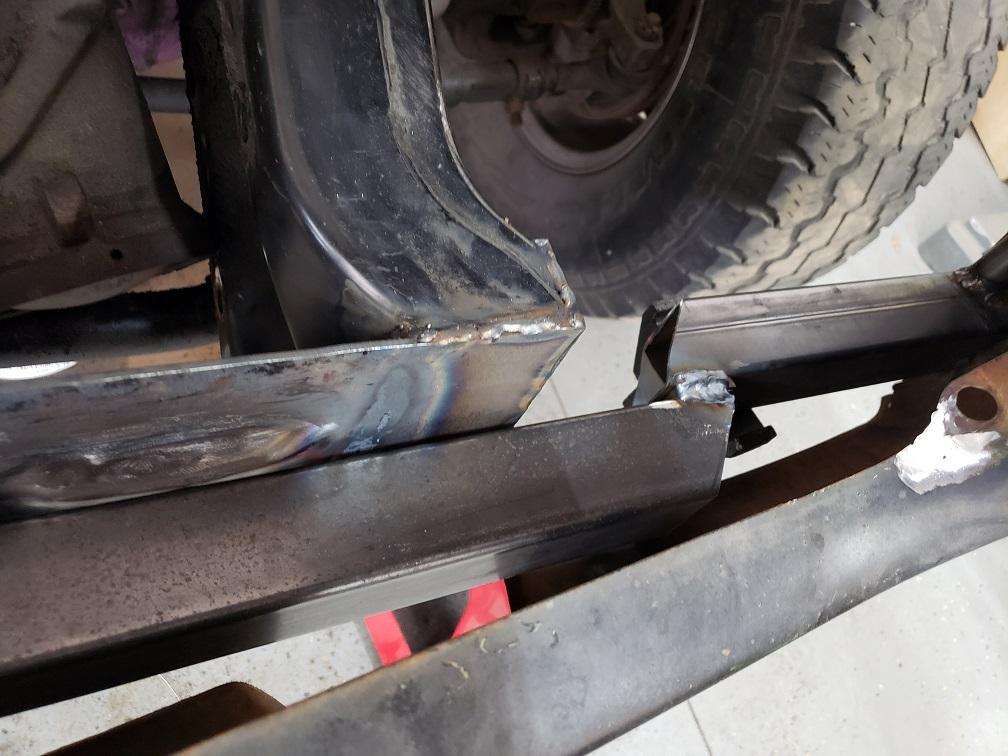
Yah it was just being held in place with my left hand, eventually will be part of the read door. The pointy bit is currently WAY too pointy. The whole things needs to be gapped properly, but as proof of concept it'll work...I'll likely change my mind 4 times before I really settle. I'm still leaning towards a pointy type bit but blunt it a bit. Know that that is about 6'8" in the air....so not as worried about spearing myself on it as much as it getting damaged thru an "oops" moment. Other thought is to possibly make a small section live on the top sill and fill in a inch or so down between the 2 doors (making more 90 degree type joints), but it adds a few more body lines and gaps I'm trying to avoid (too busy).
-
here is the front of the rear door held in place by hand
-
thanks....the plan of the front part going on last night looks more like this weekend....lots to do to get there.
-
I HOPE to have the front of the rear door put on tonight so it will be more obvious. Sealing these might be....interesting....
-
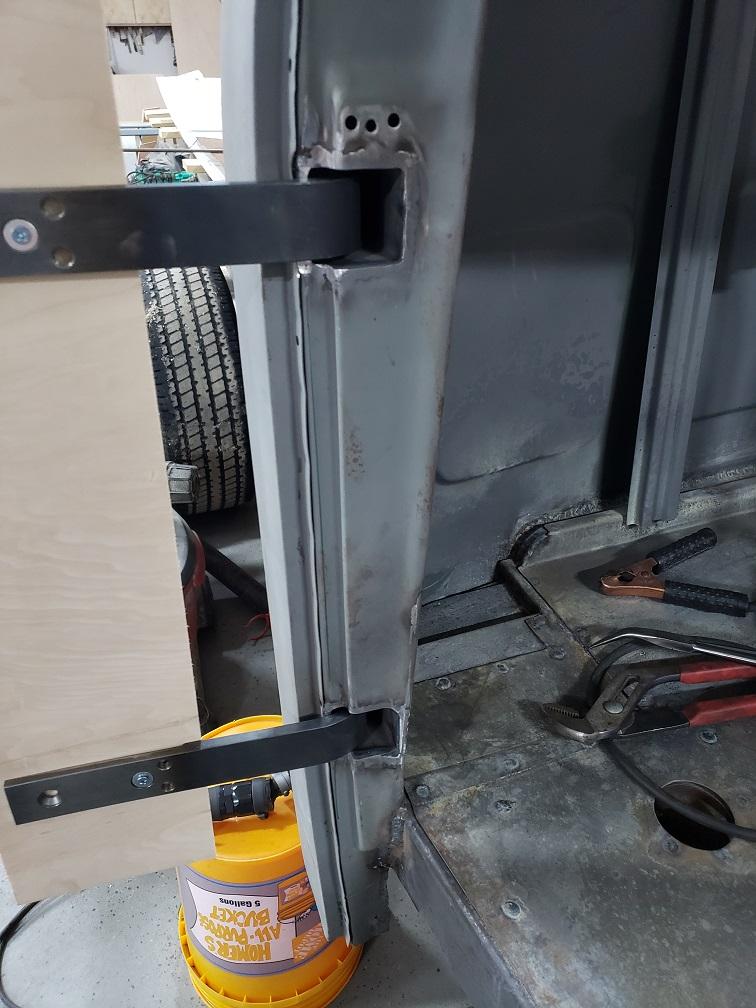
got some work done this weekend....
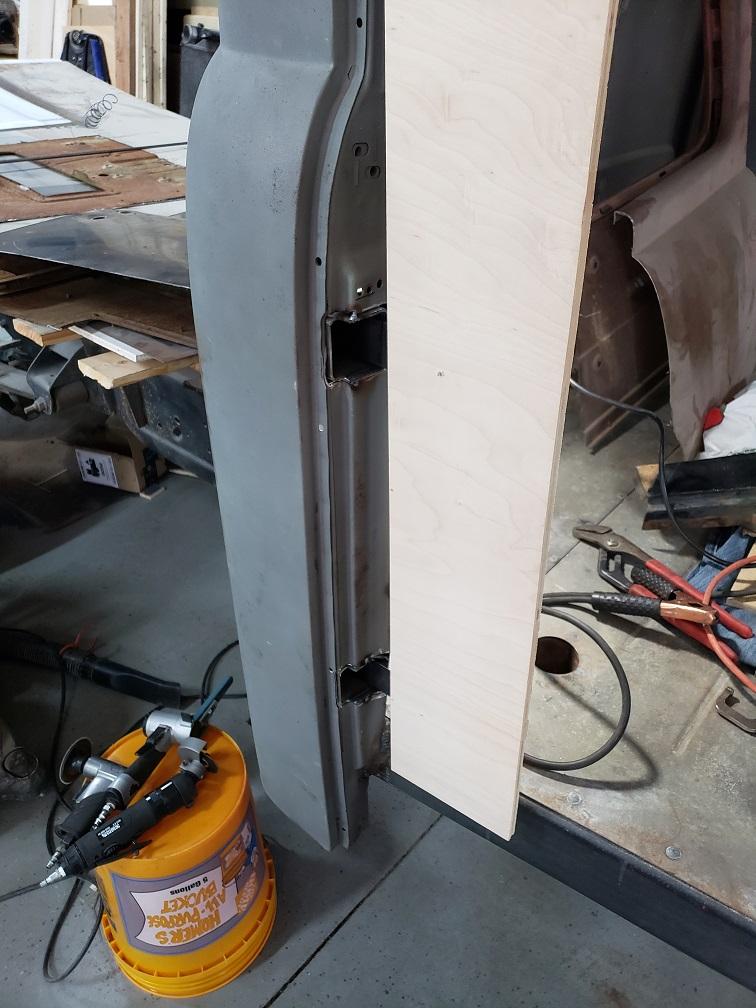
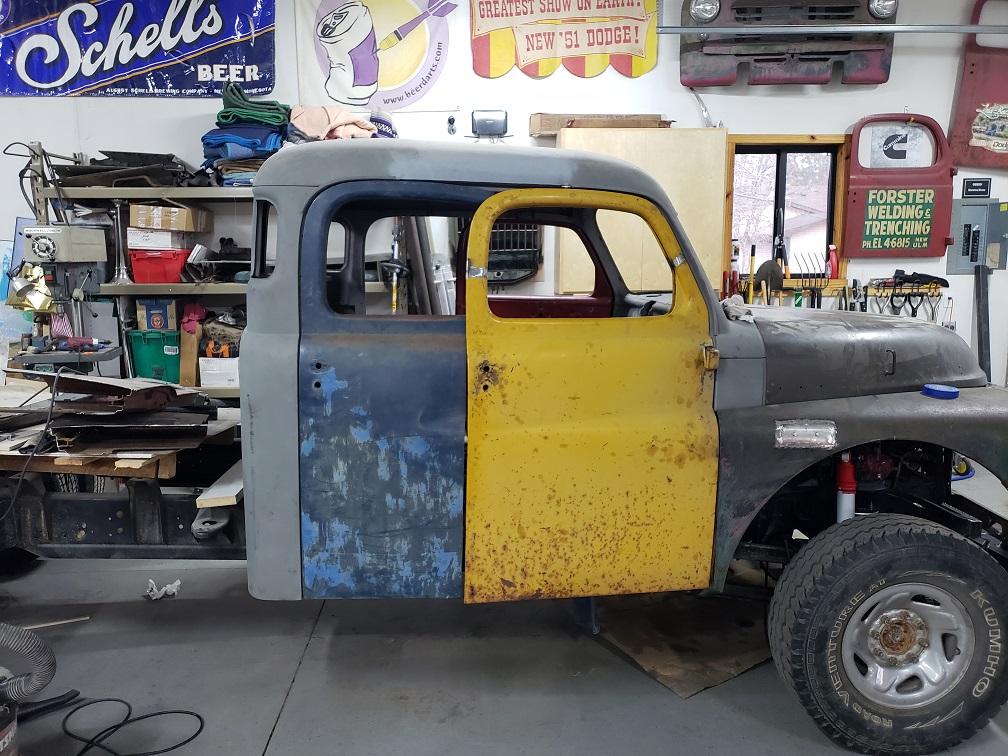
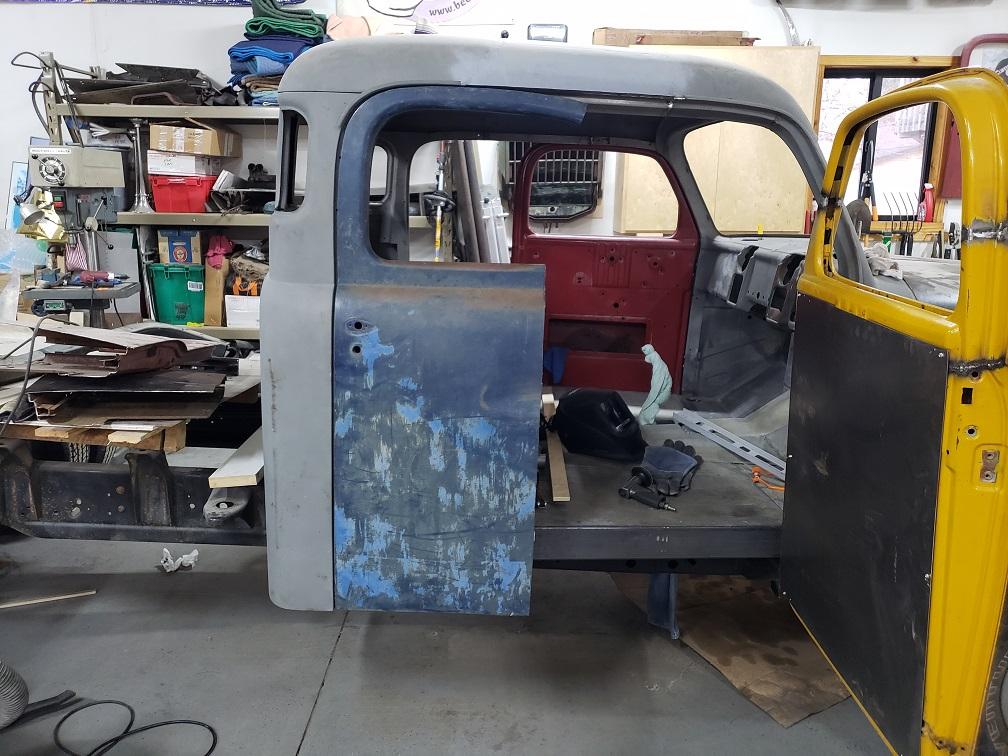
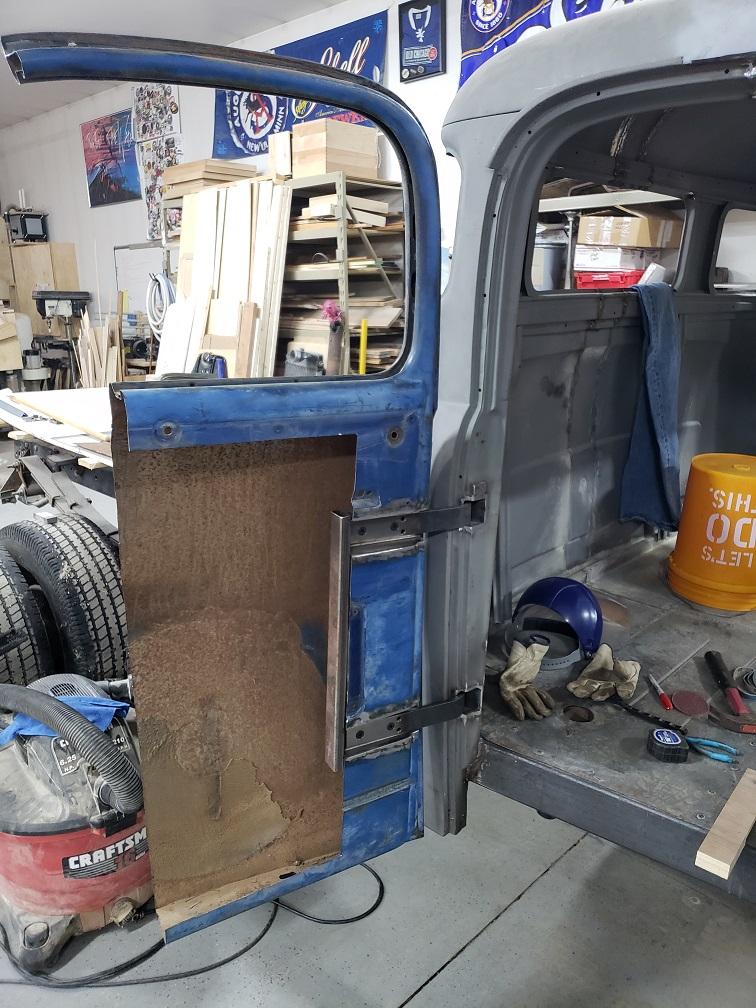
-
Well, the door "sill" beam that runs across the side of the cab is a 2 x 4 x 3/16 piece of tubular steel, and the rear cross tie is 2 x 2 x 1/4 tubular steel. The cab mounts are welded thoroughly to these members....if I get broadsided I think I'll be in pretty good shape except for NO crumple zones....PLUS I plan on schedule 40 pipes to be bent and made as the running board main frame. not fer sale! LOL. But I hope to do some serious road tripping before the morons make fuel unavailable and a loop thru the PNW on the way to my buddies in CA is on the list.
-
Yah you have to open the front to open the rear. The straight line up just doesn't seem like a 50's era look, hence the pointy.
-
The rear door will have a pointy bit towards the front, basically filling in the open spaces.....don't feel bad...its been a point I've struggled with: do I just run a vertical line up (like modern) or go for it all and do the pointy bit (full coach style build).
-
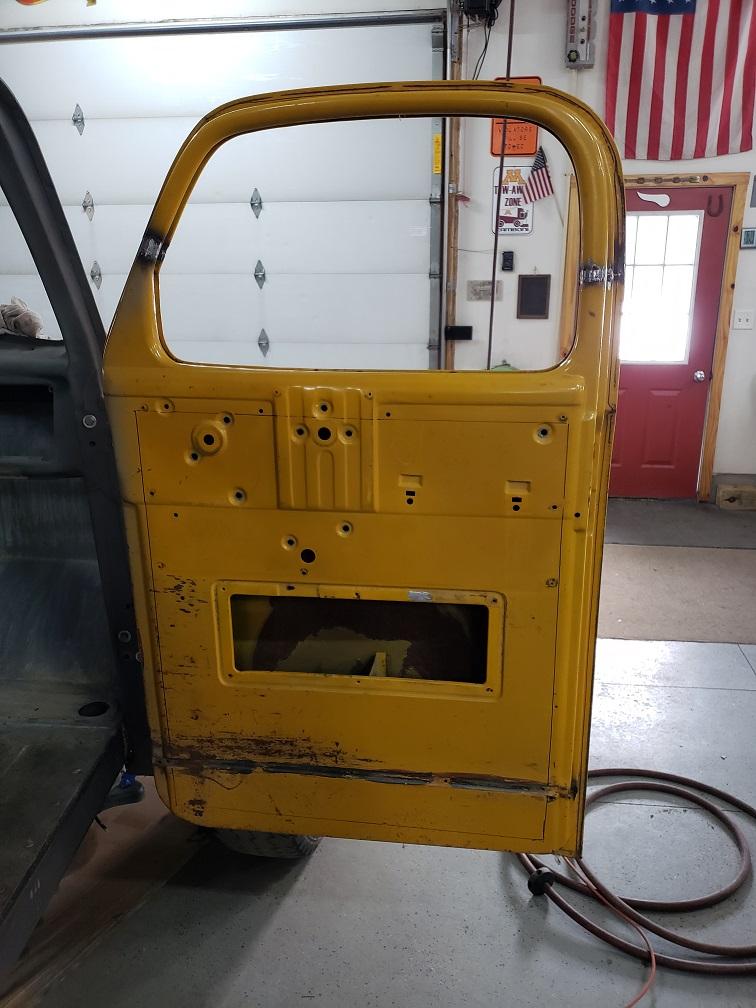
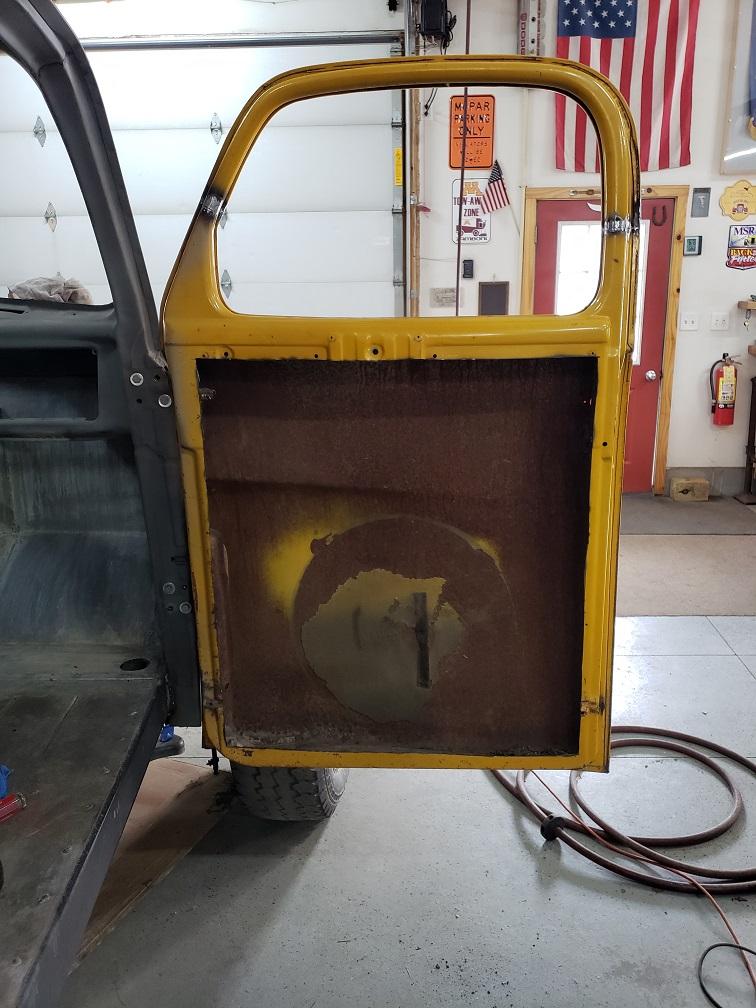
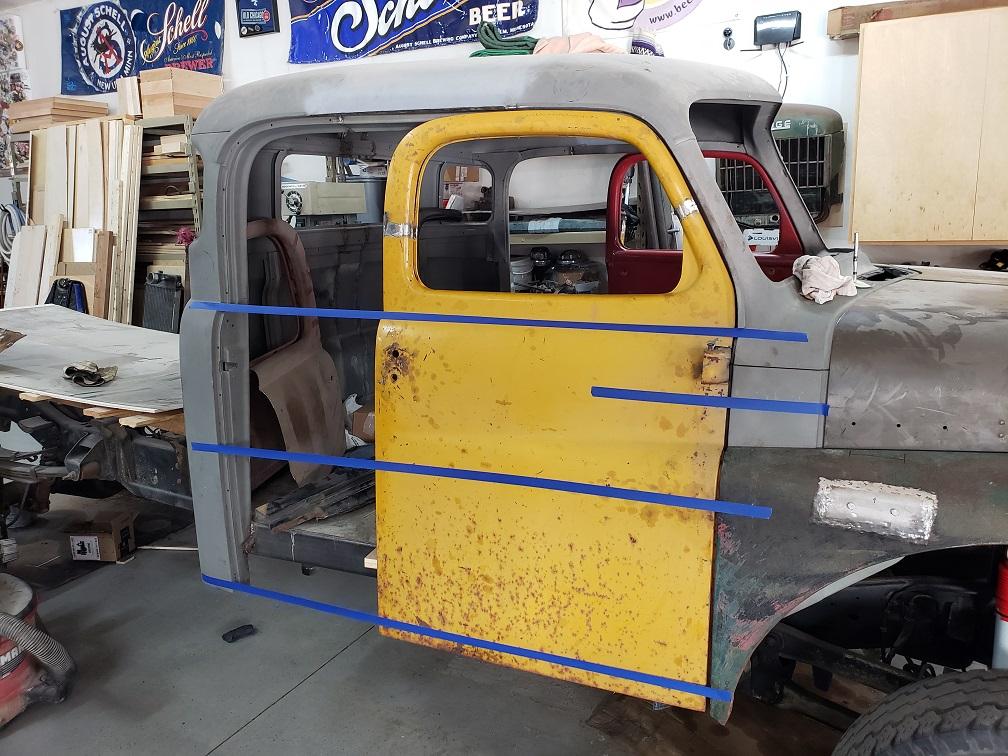
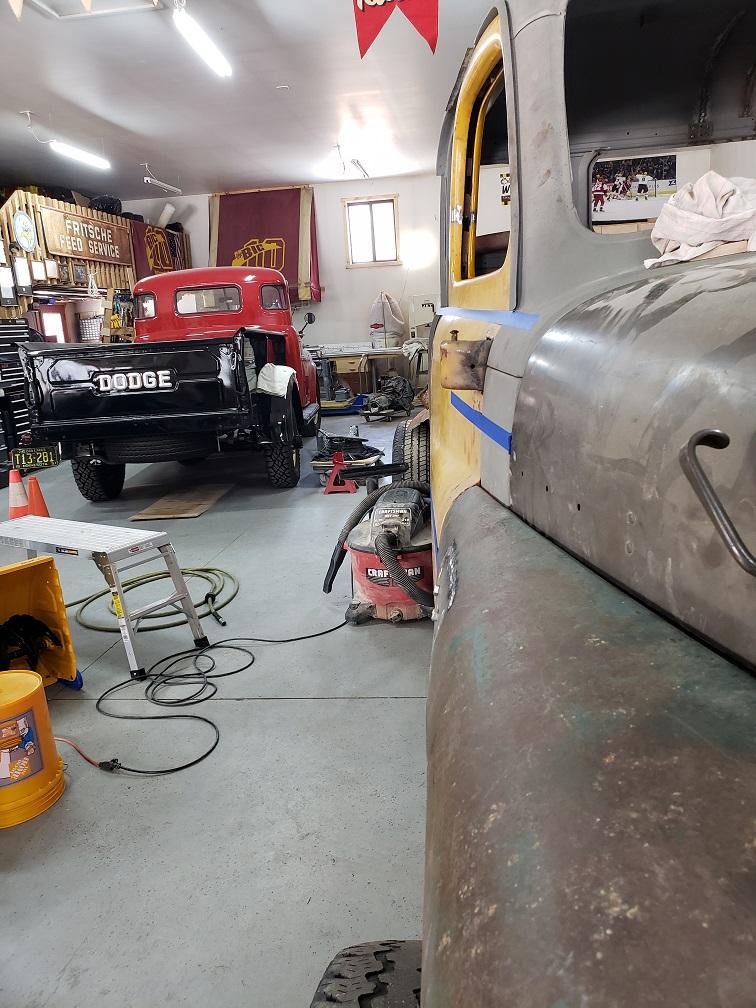
Think modern vehicles with the suicide rear door with bearclaw top and bottom. Once both doors are open, no middle pillar. Next step is to build the rear door on the passenger side....I'll update as things progress.
-
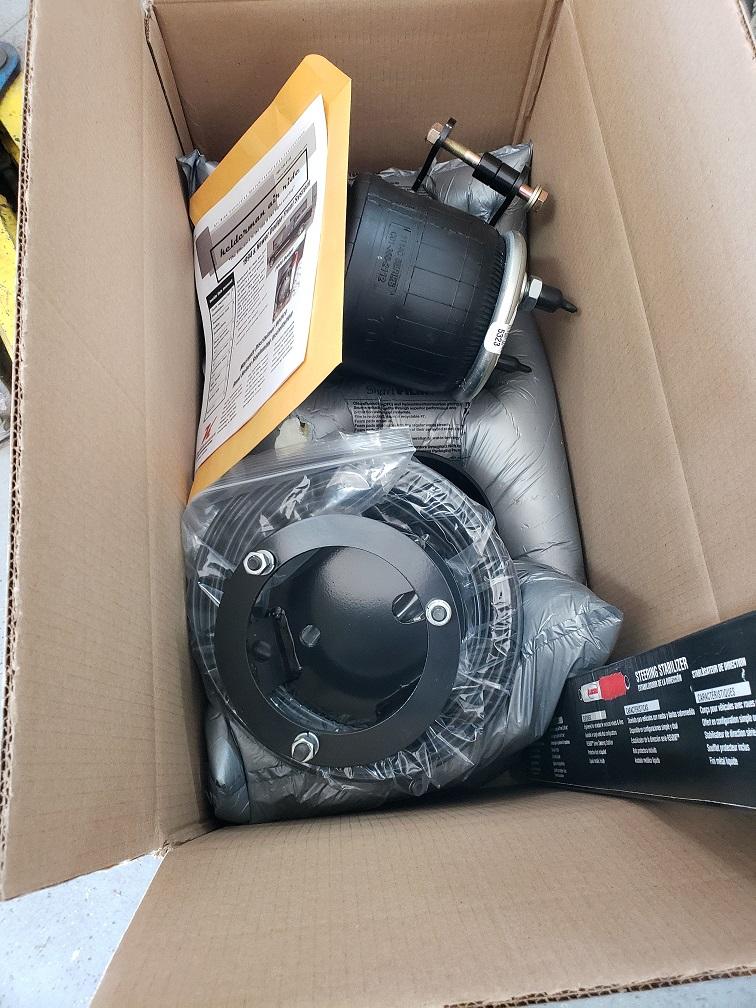
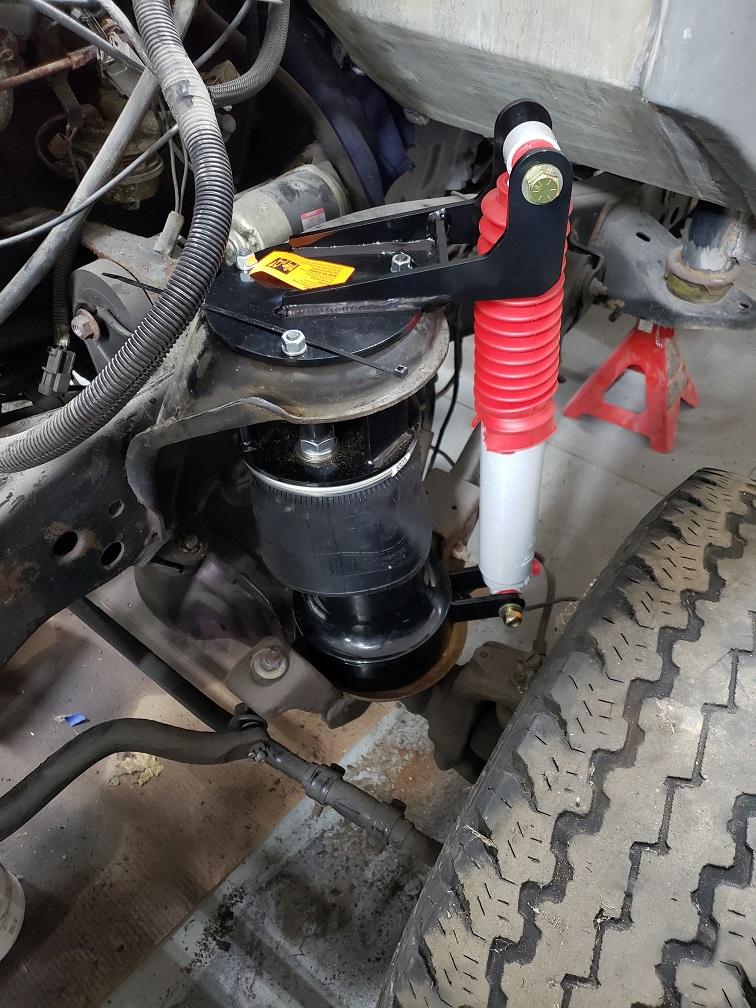
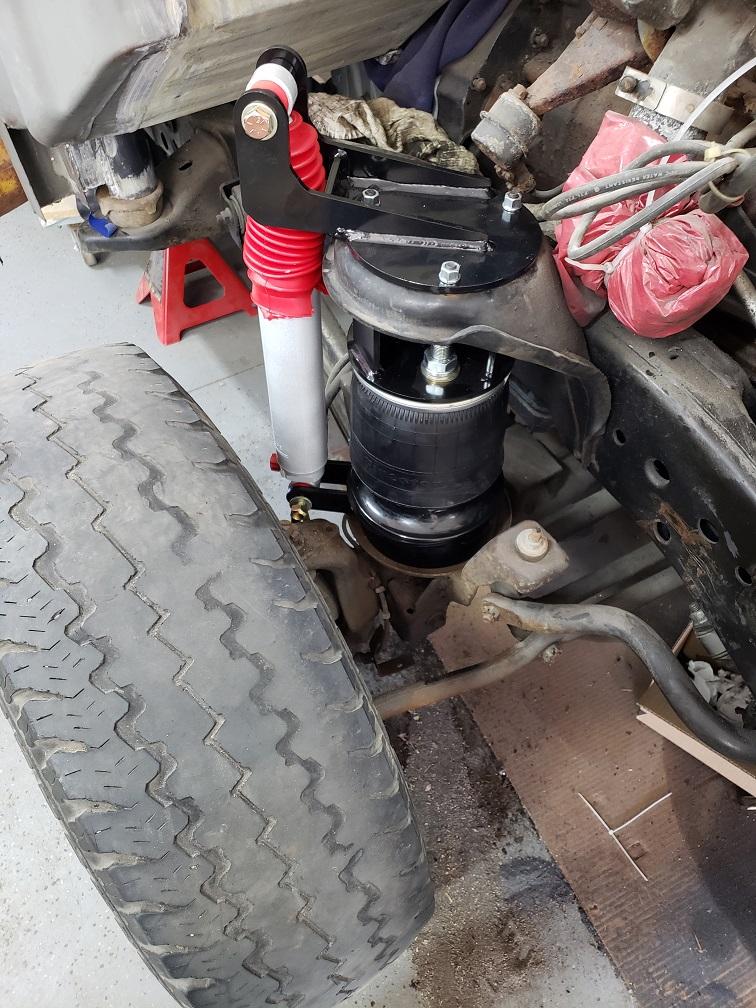
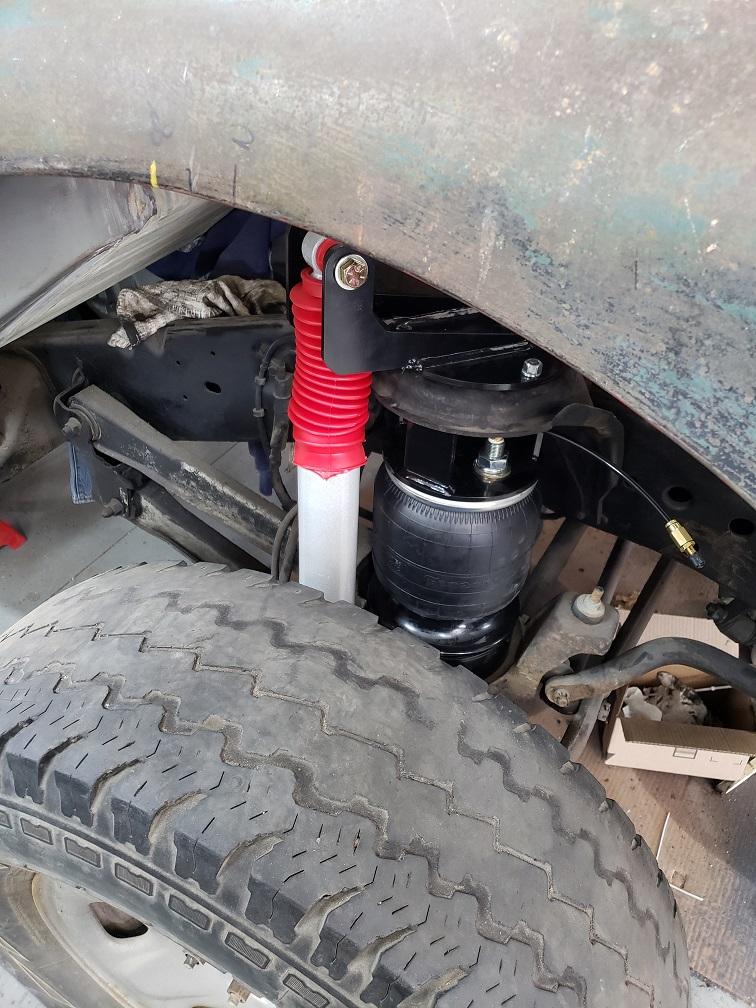
Actually Kelderman makes a complete kit for the rear....plug and play and tested for safety/workability. Replaces the springs and all. Some things I'll just pay for. I little door work going on to get it where it needs to be.
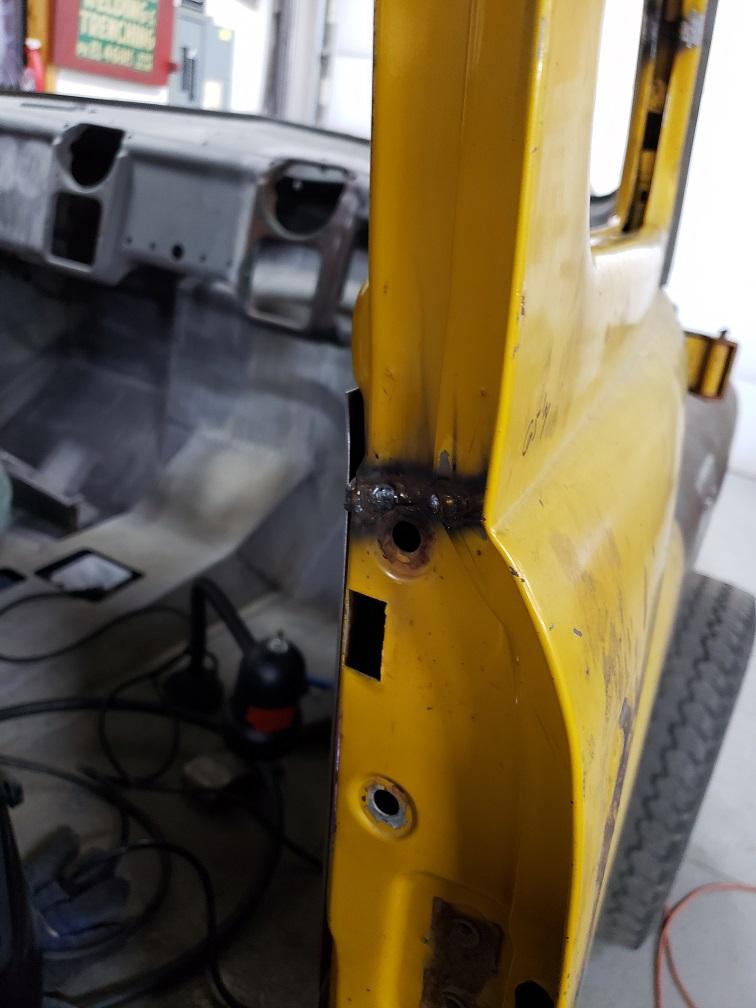
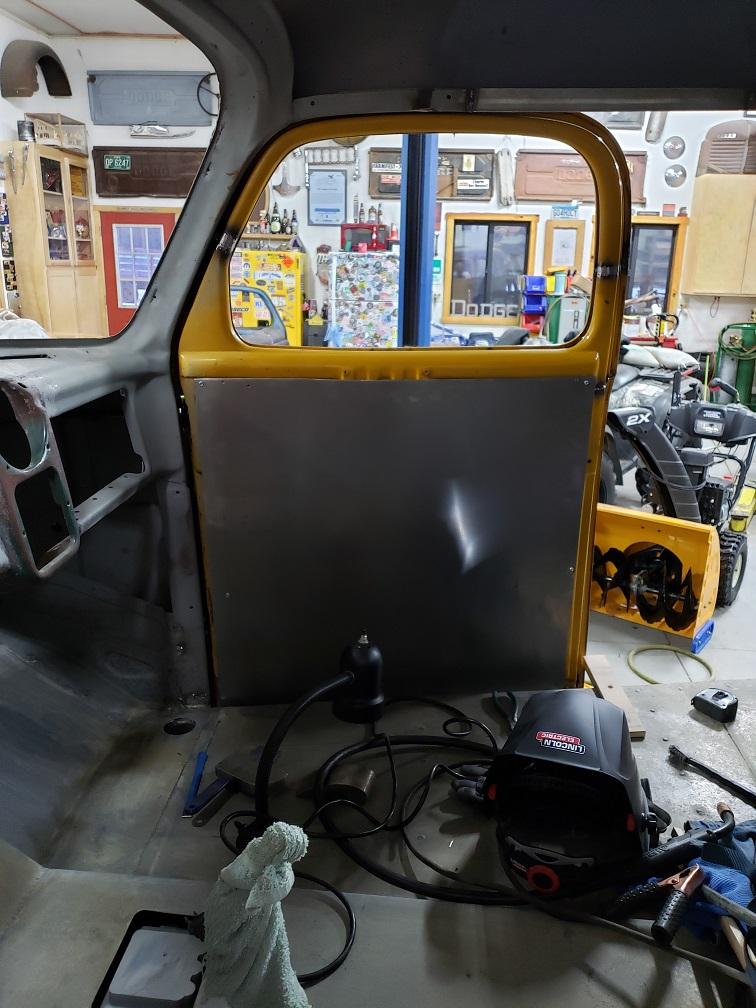
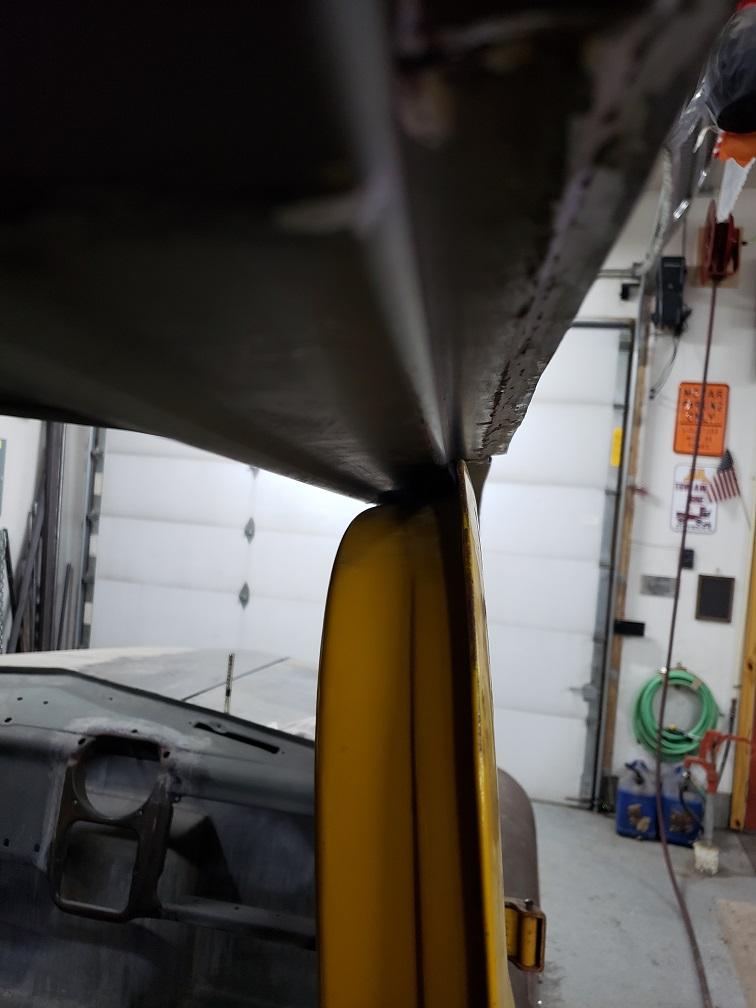
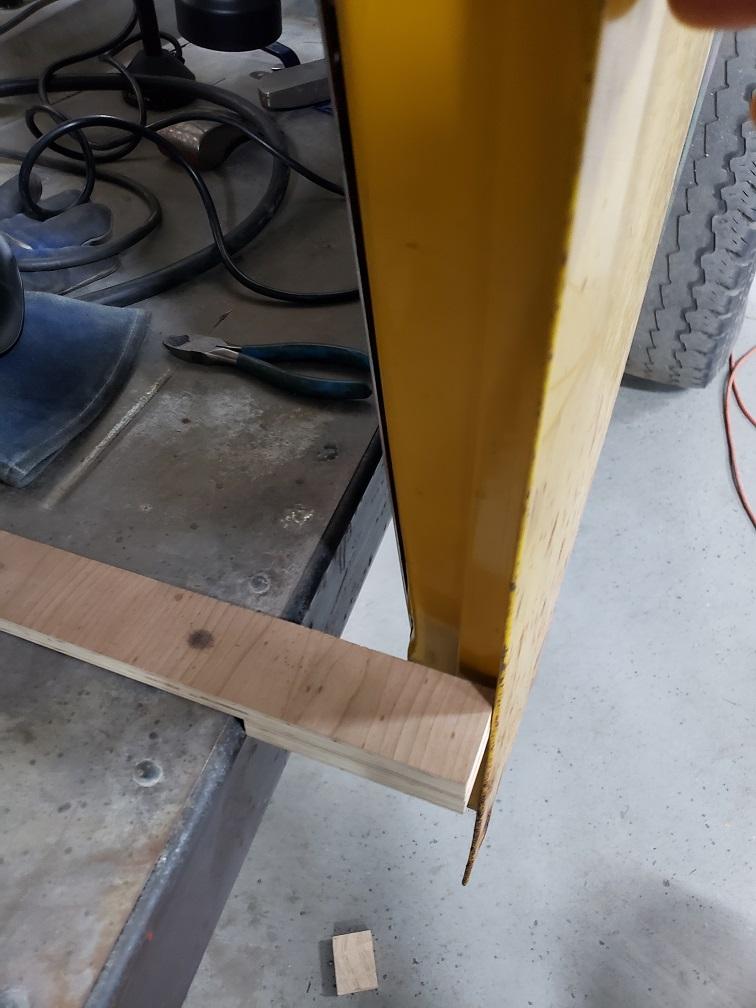
-
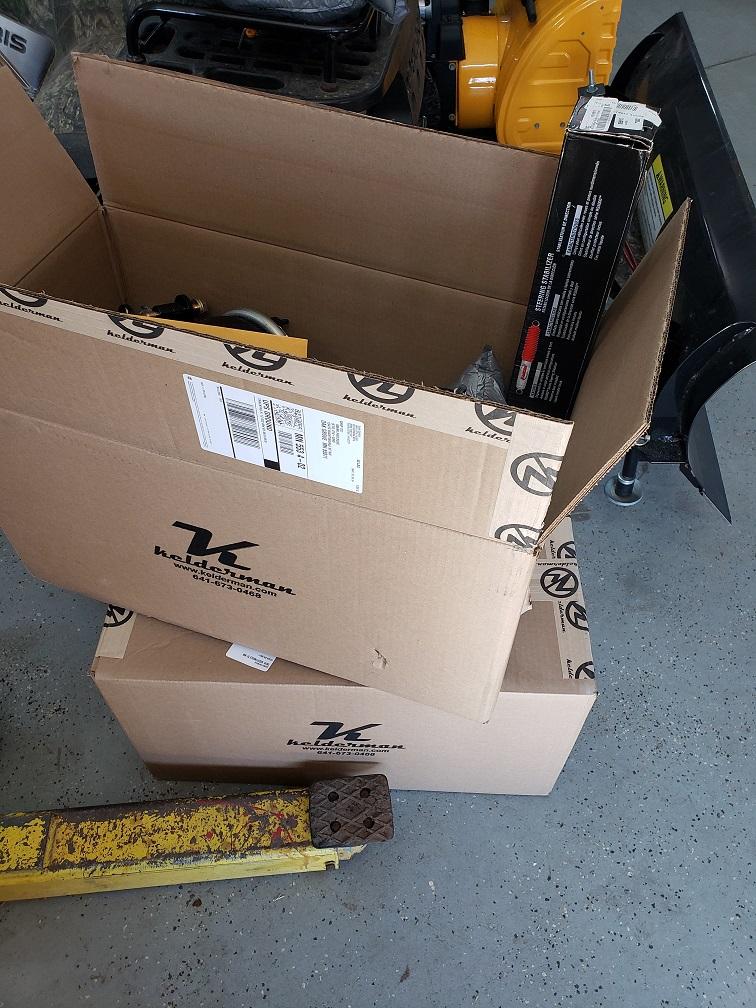
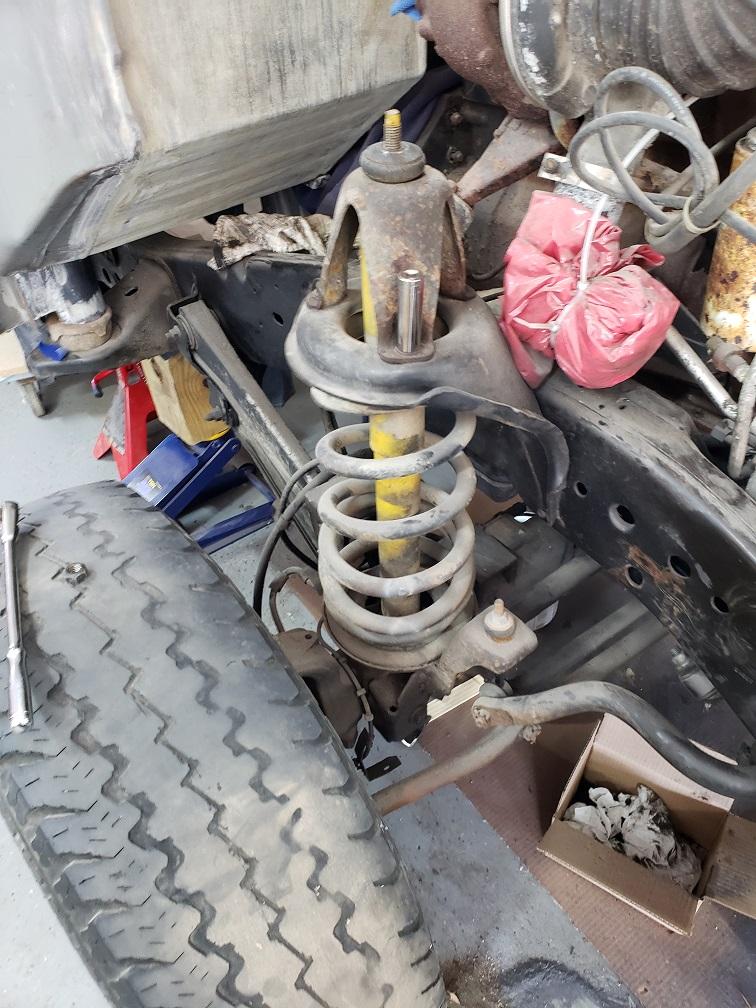
yah $1500 for the fronts and when I can afford the rears at $3500...but seeing as I won't be hauling much weight much of the time, it will smooth the ride out and be less like a farm wagon.
-
Saturday of fun
-
Thanks guys, sadly my shop floor heat boiler took a Ferd this last weekend (yes during this -30F crap). So, the plan for truck parts just got pushed back to replace that nice "cheap" piece of hardware. Look for more body work I guess to keep coming. I know I have plenty of that to do yet.
-
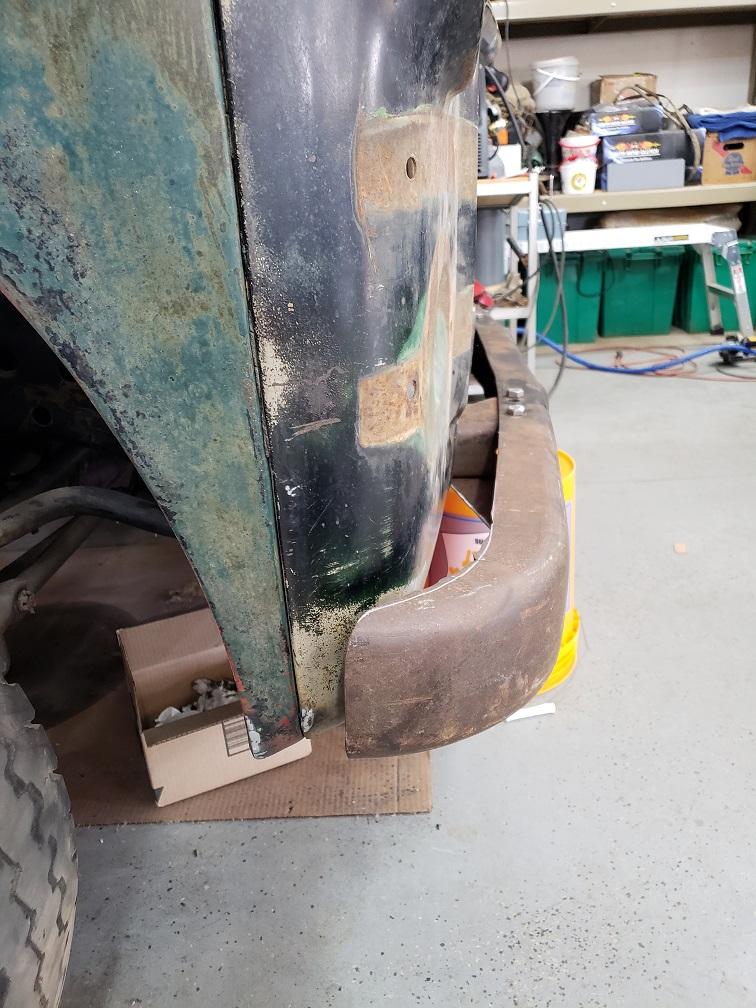
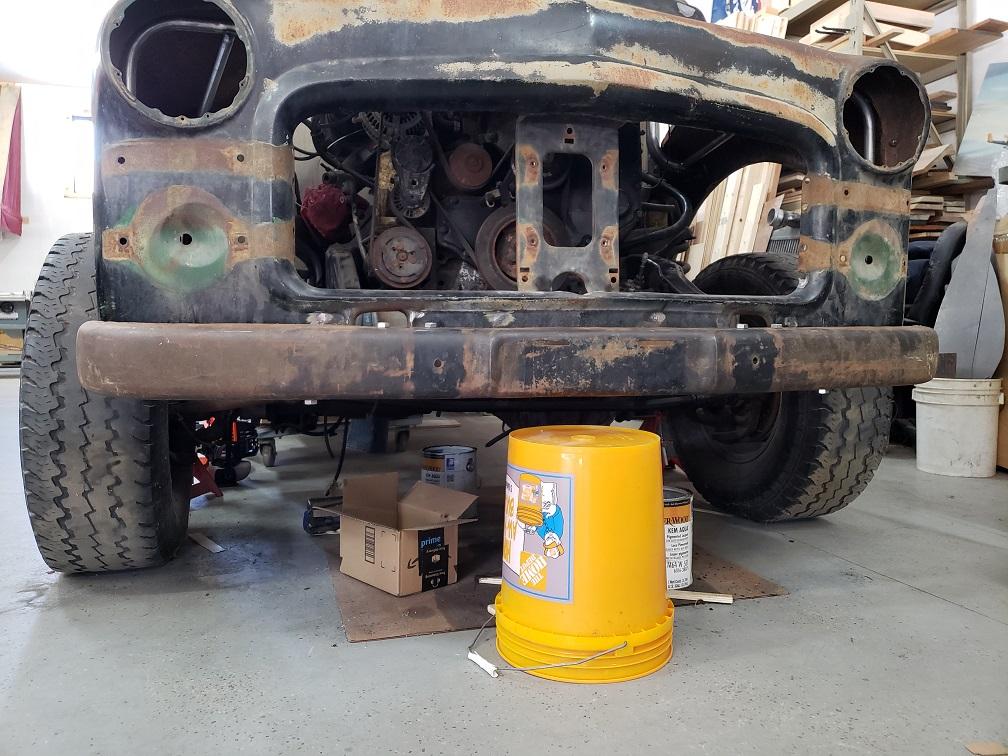
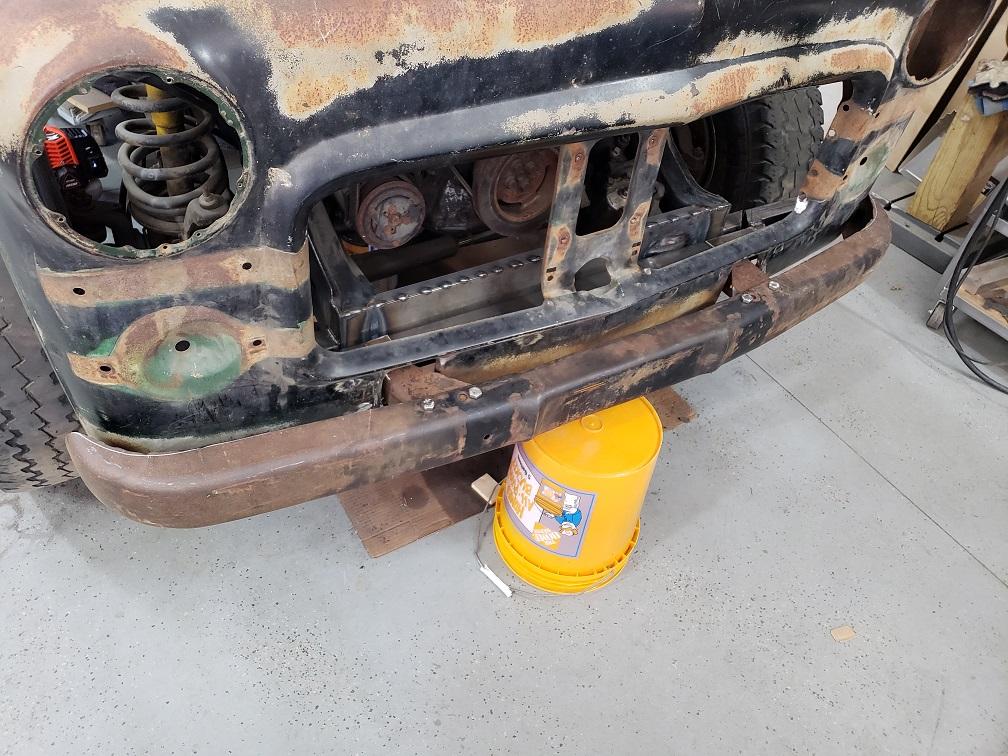
bumper on
-
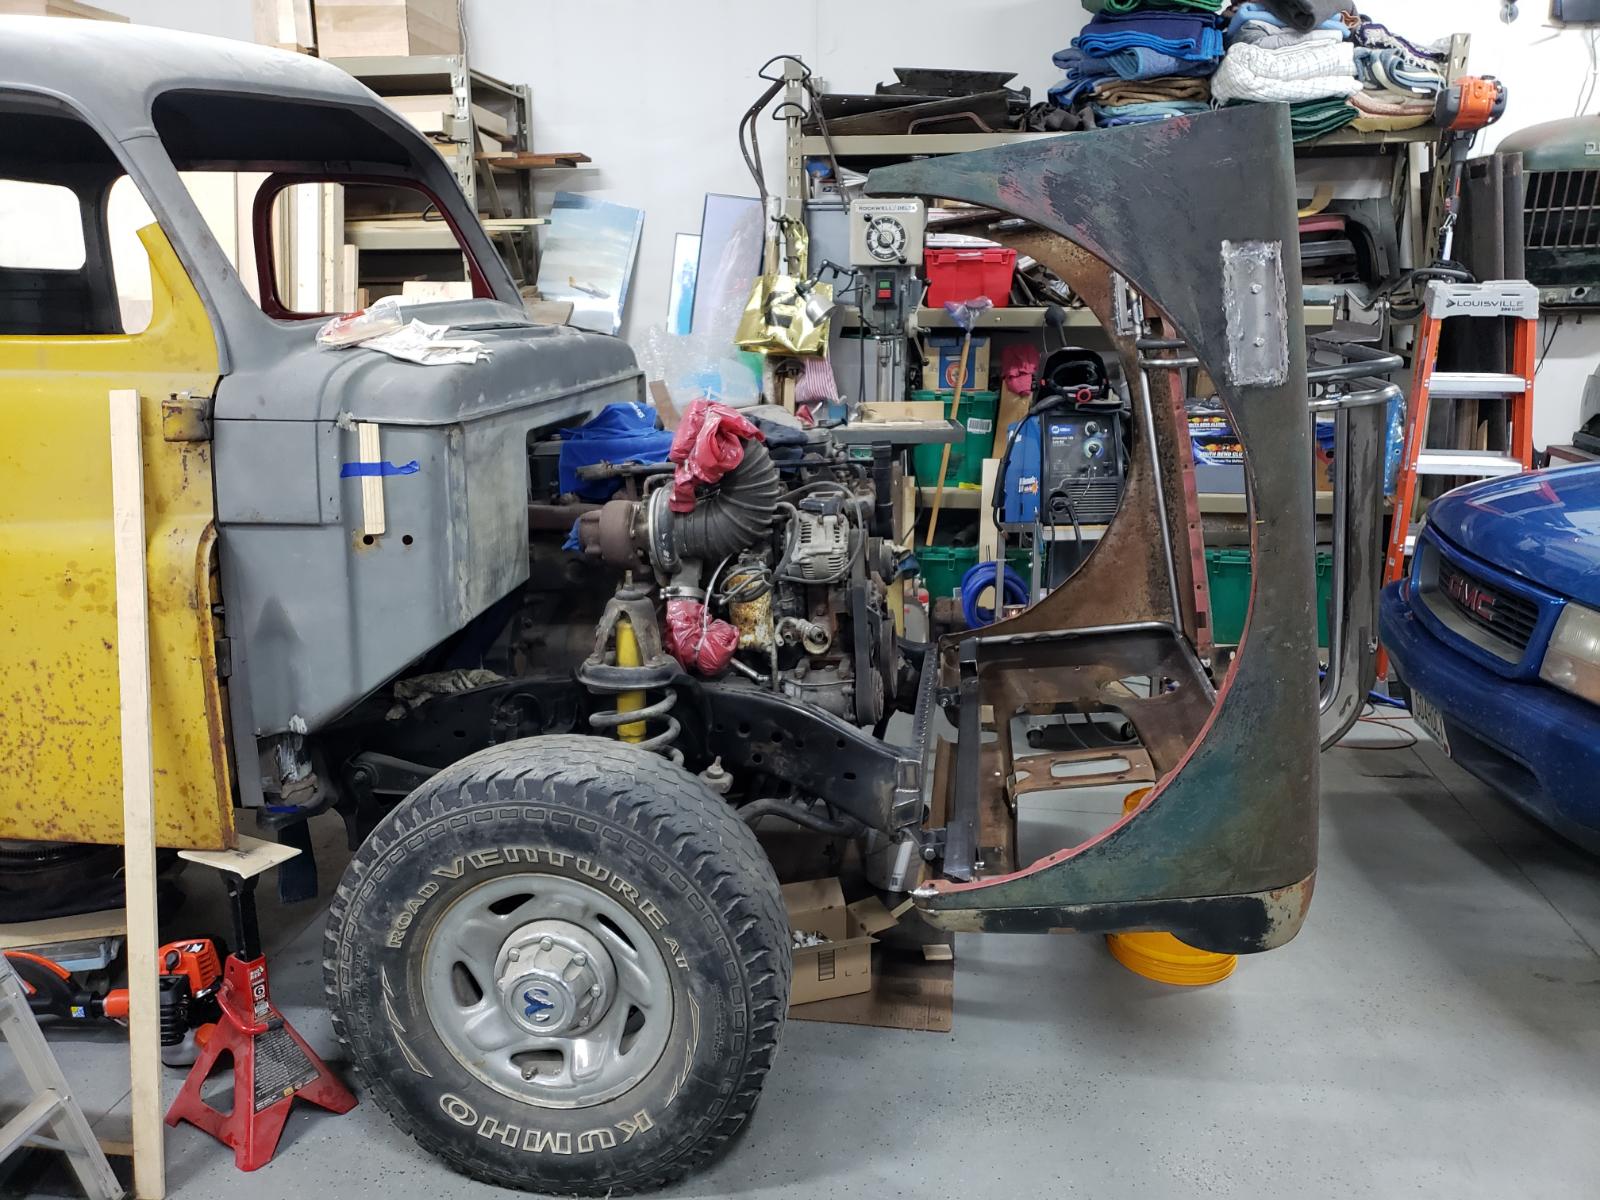
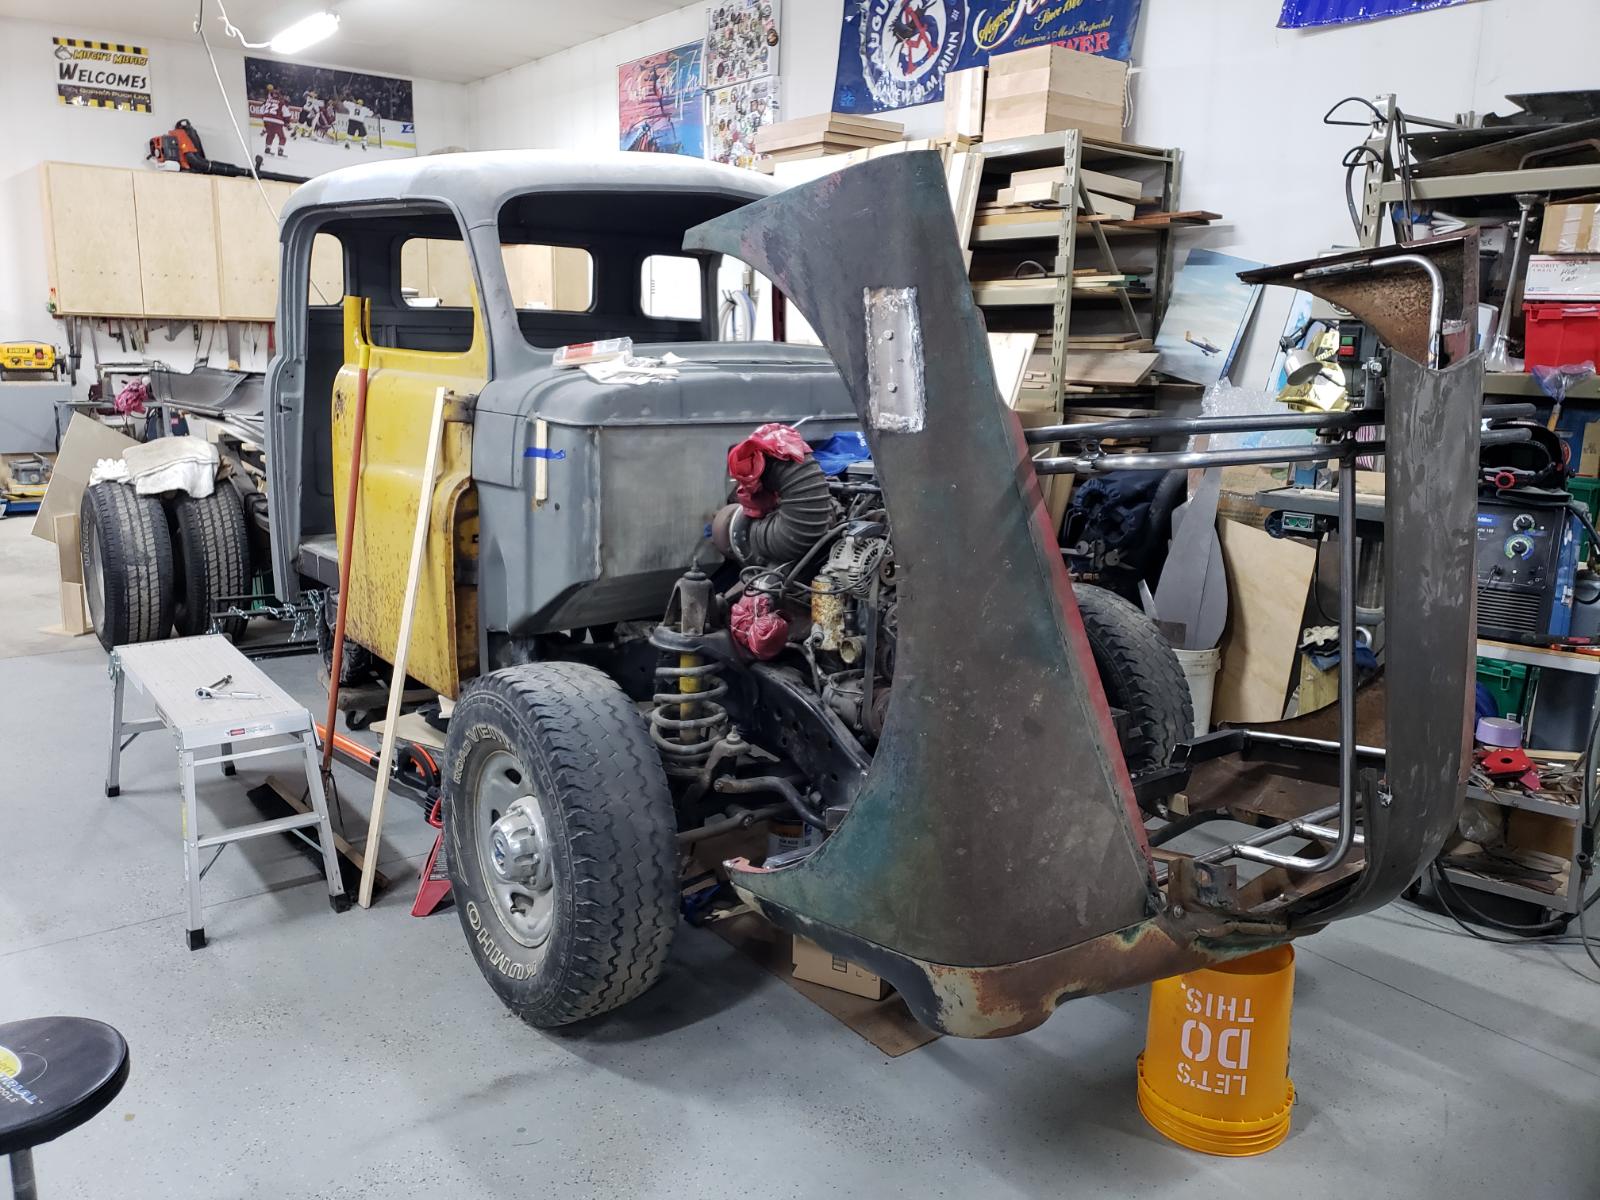
Got the hood center section mounts and mounted yesterday (slow day).
-
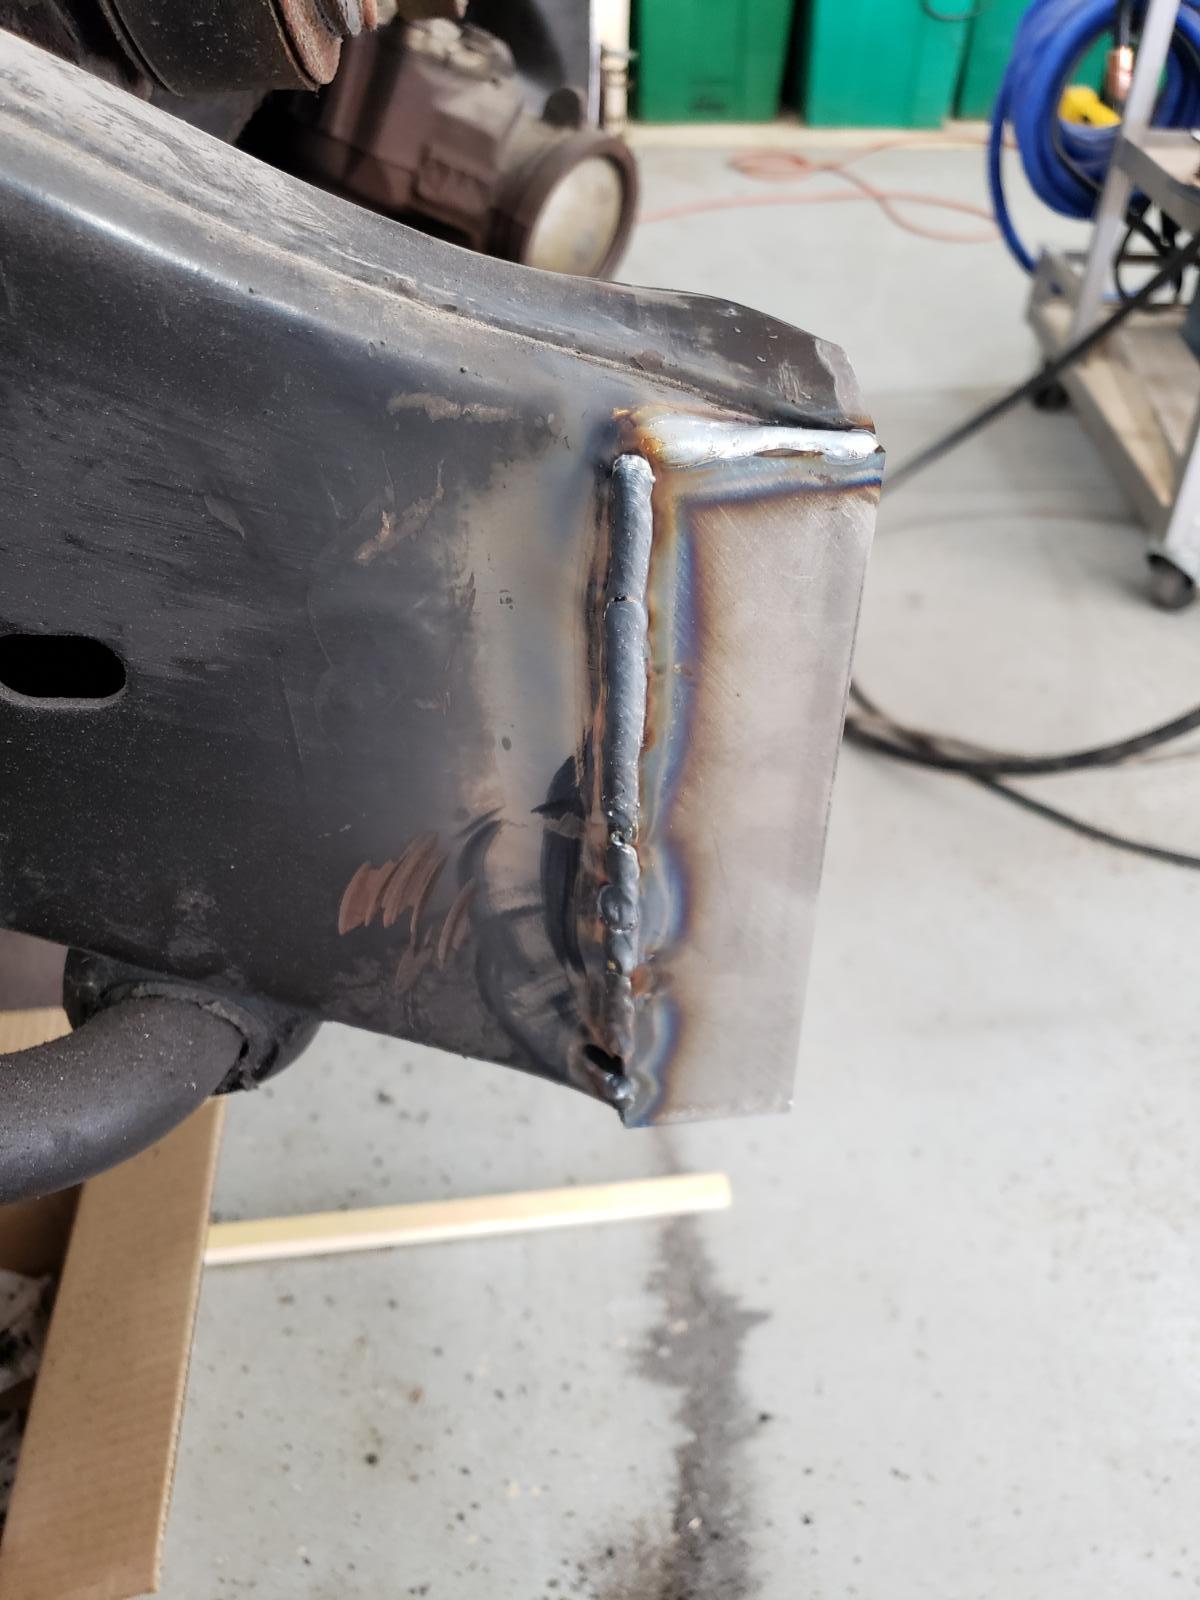
Busy day yesterday 146976673_710482052977154_3266984886463749745_n.mp4
-
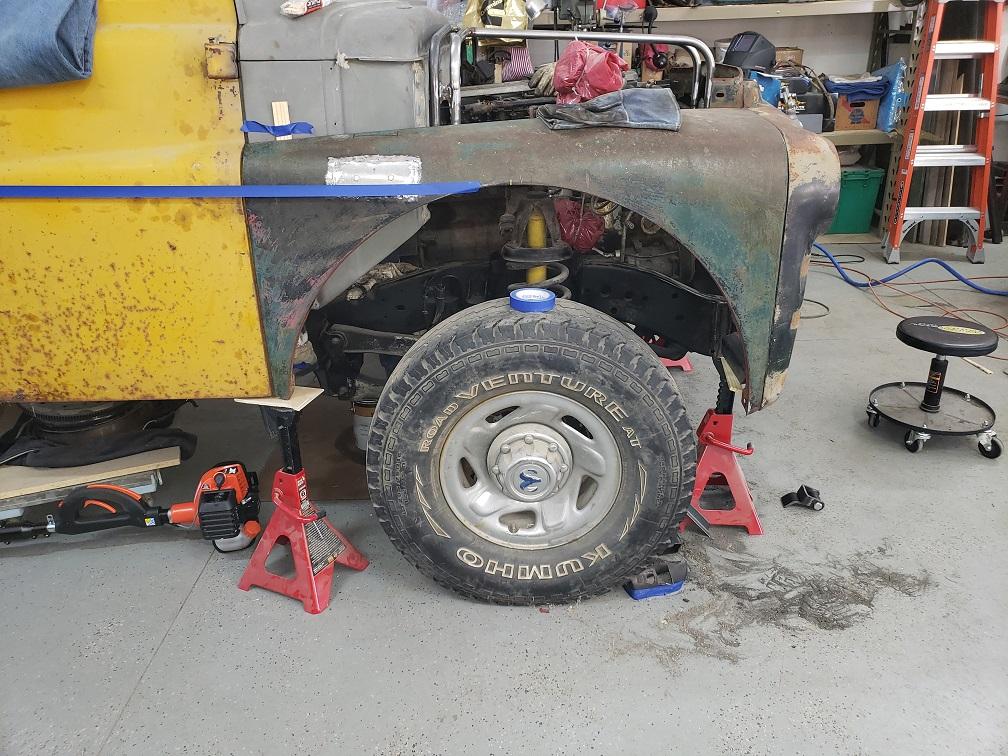
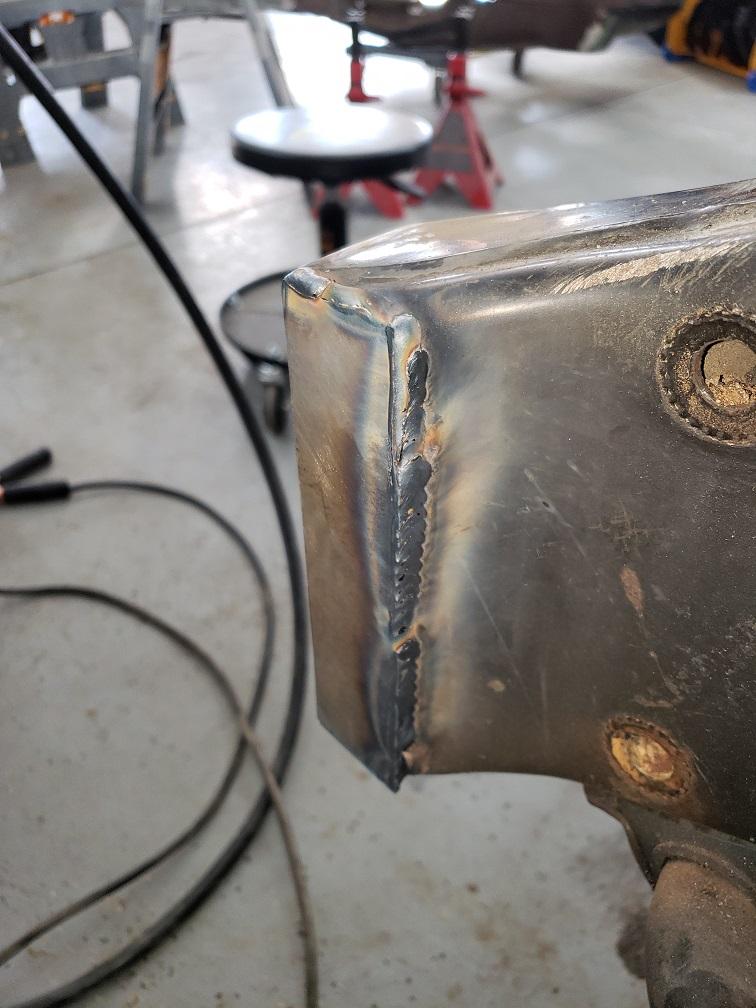
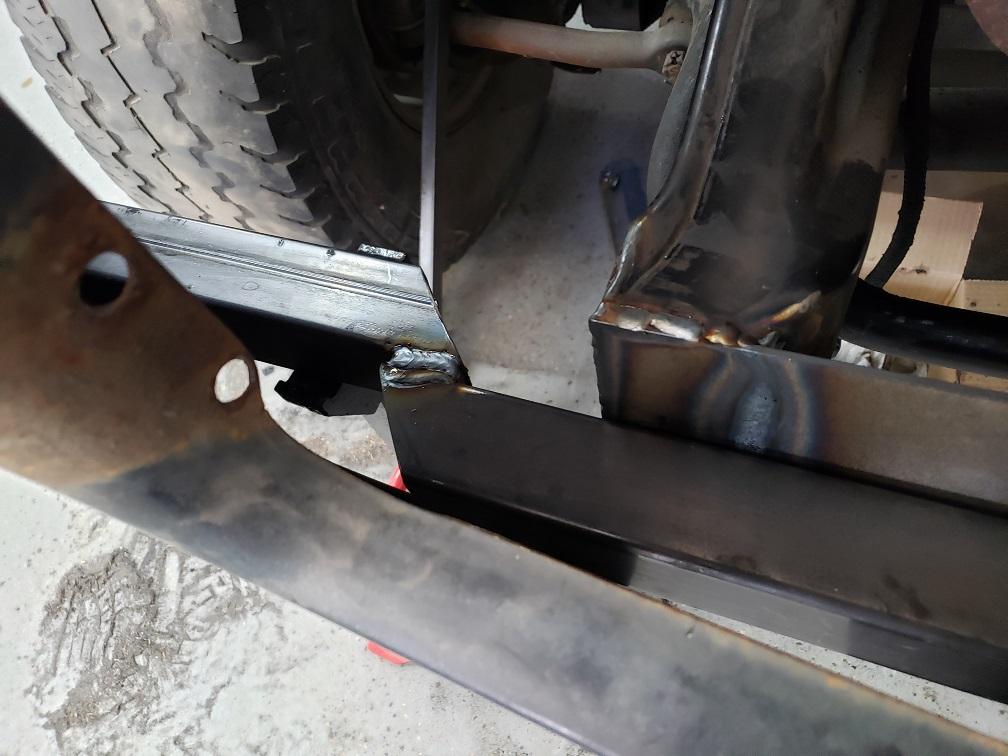
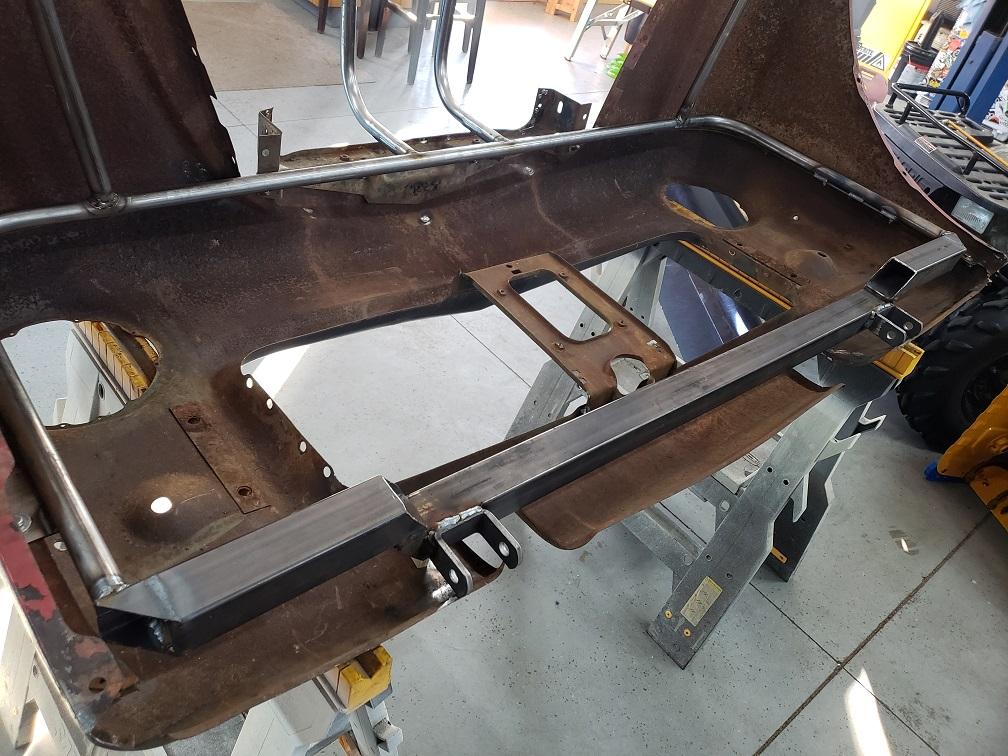
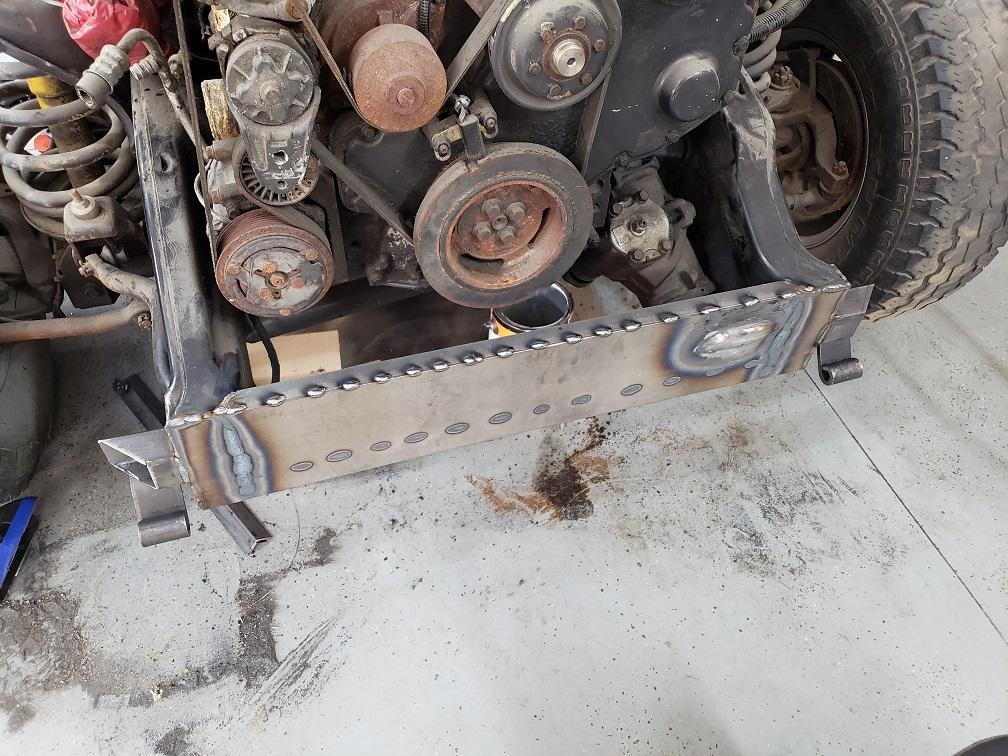
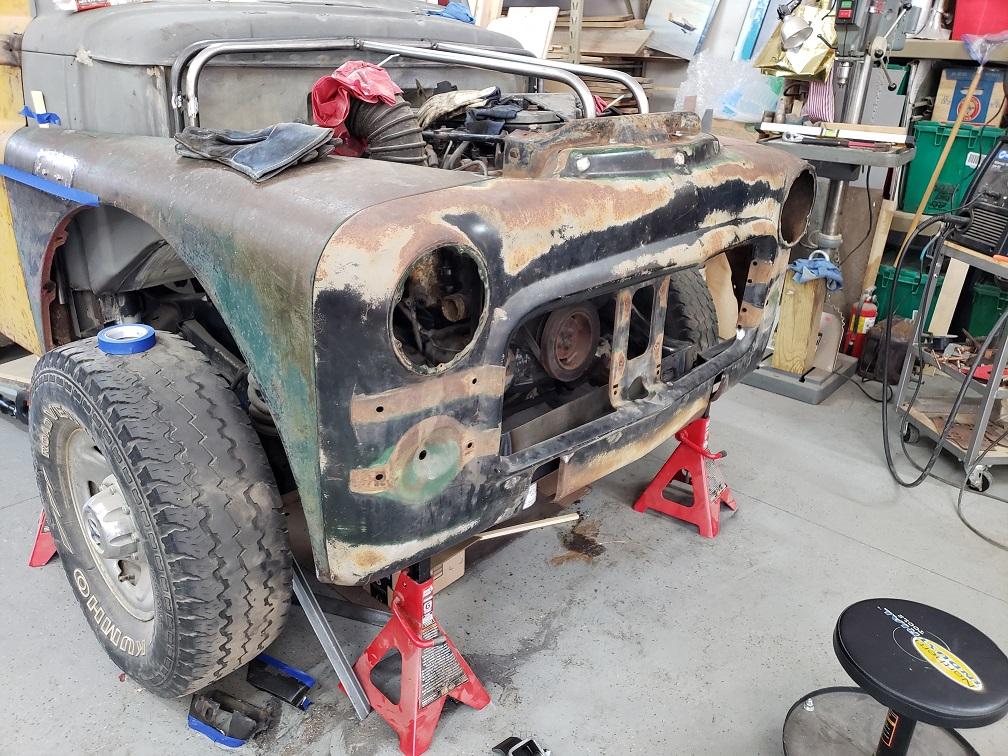
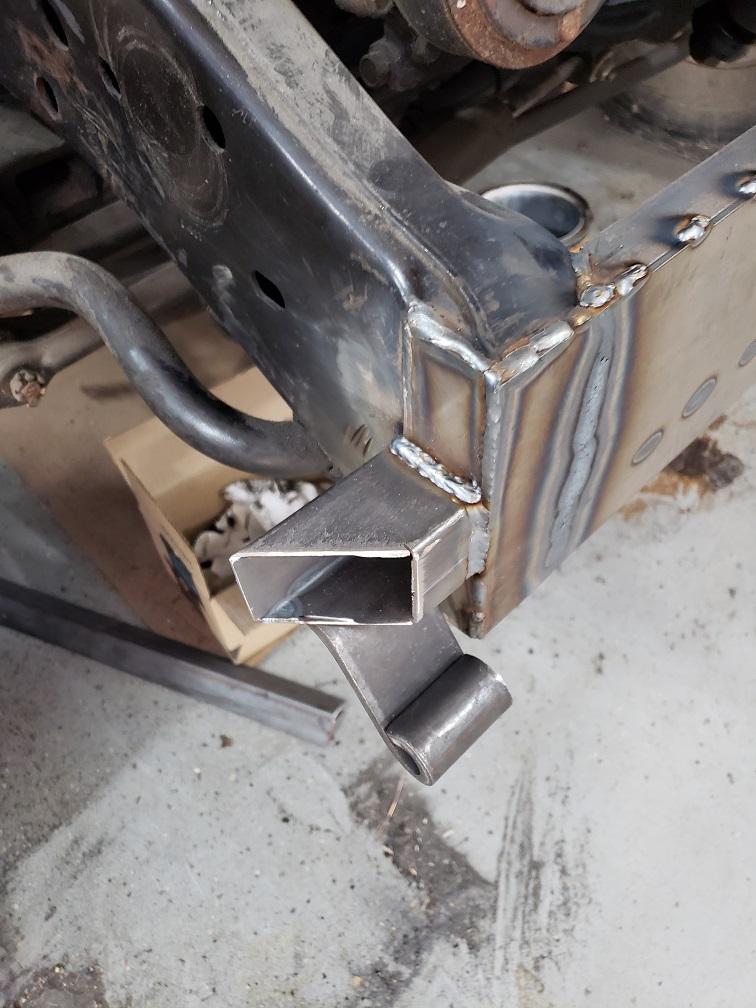
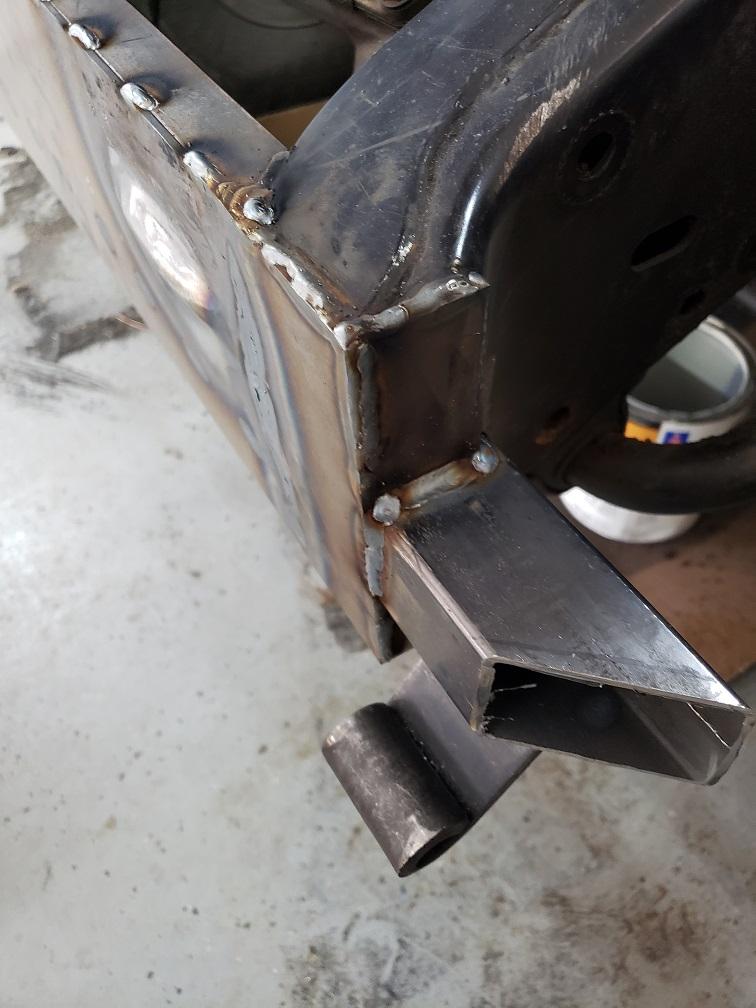
Weekend progress. Hoping this coming week and weekend it will actually be tilting. BTW first picture of my early orbit day present. I will tell you this, if you buy a cheap helmet you will fight welds. This new helmet is like seeing for the first time (I'd imagine). I can see the area prior to welding, during welding and the puddle is so obvious (now). Hard to believe I made good welds on my old el cheapo helmet after using this. It's like welding suddenly got WAY easier!
-
meanwhile on my resto....




-
progress from this weekend.
-
Thanks guys! Means a lot. Look for some (hopefully this weekend) updates on the front clip.
-
and ready to build the support frame....wish me luck Everything lines up REALLY well (at this point HAHA)
-
and fender #2
-
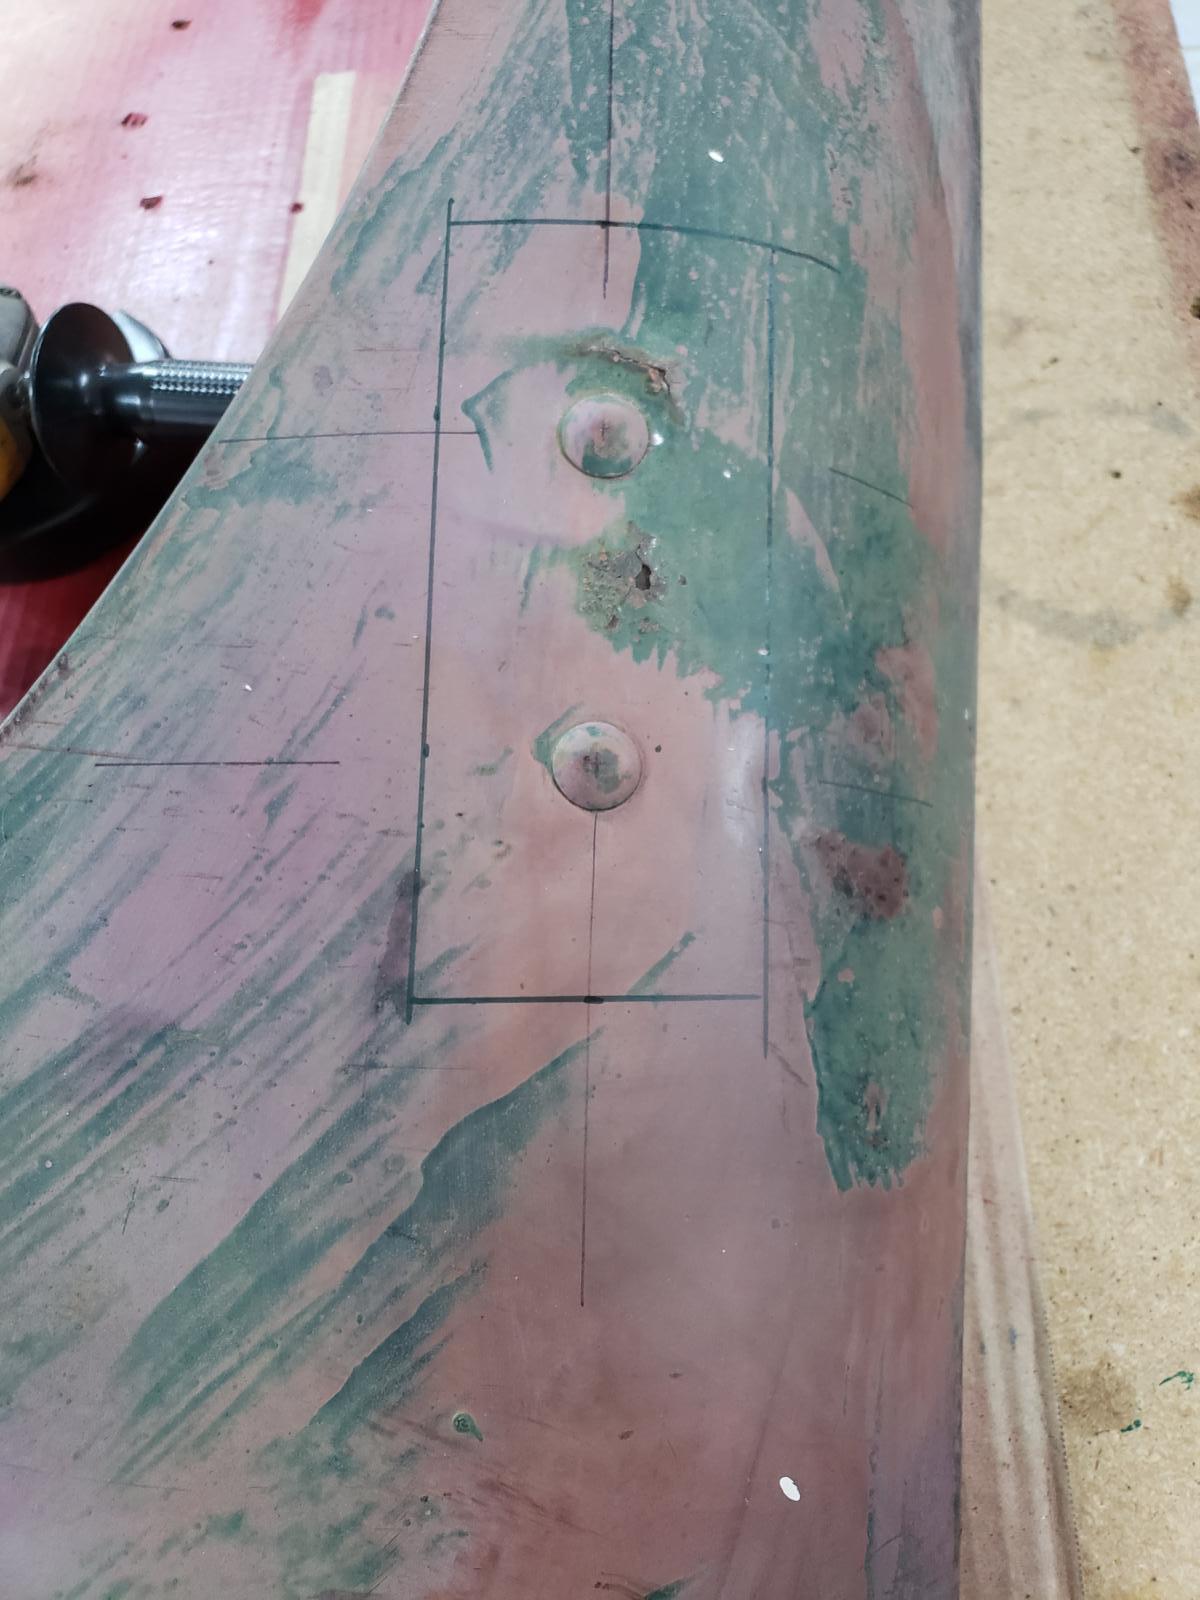
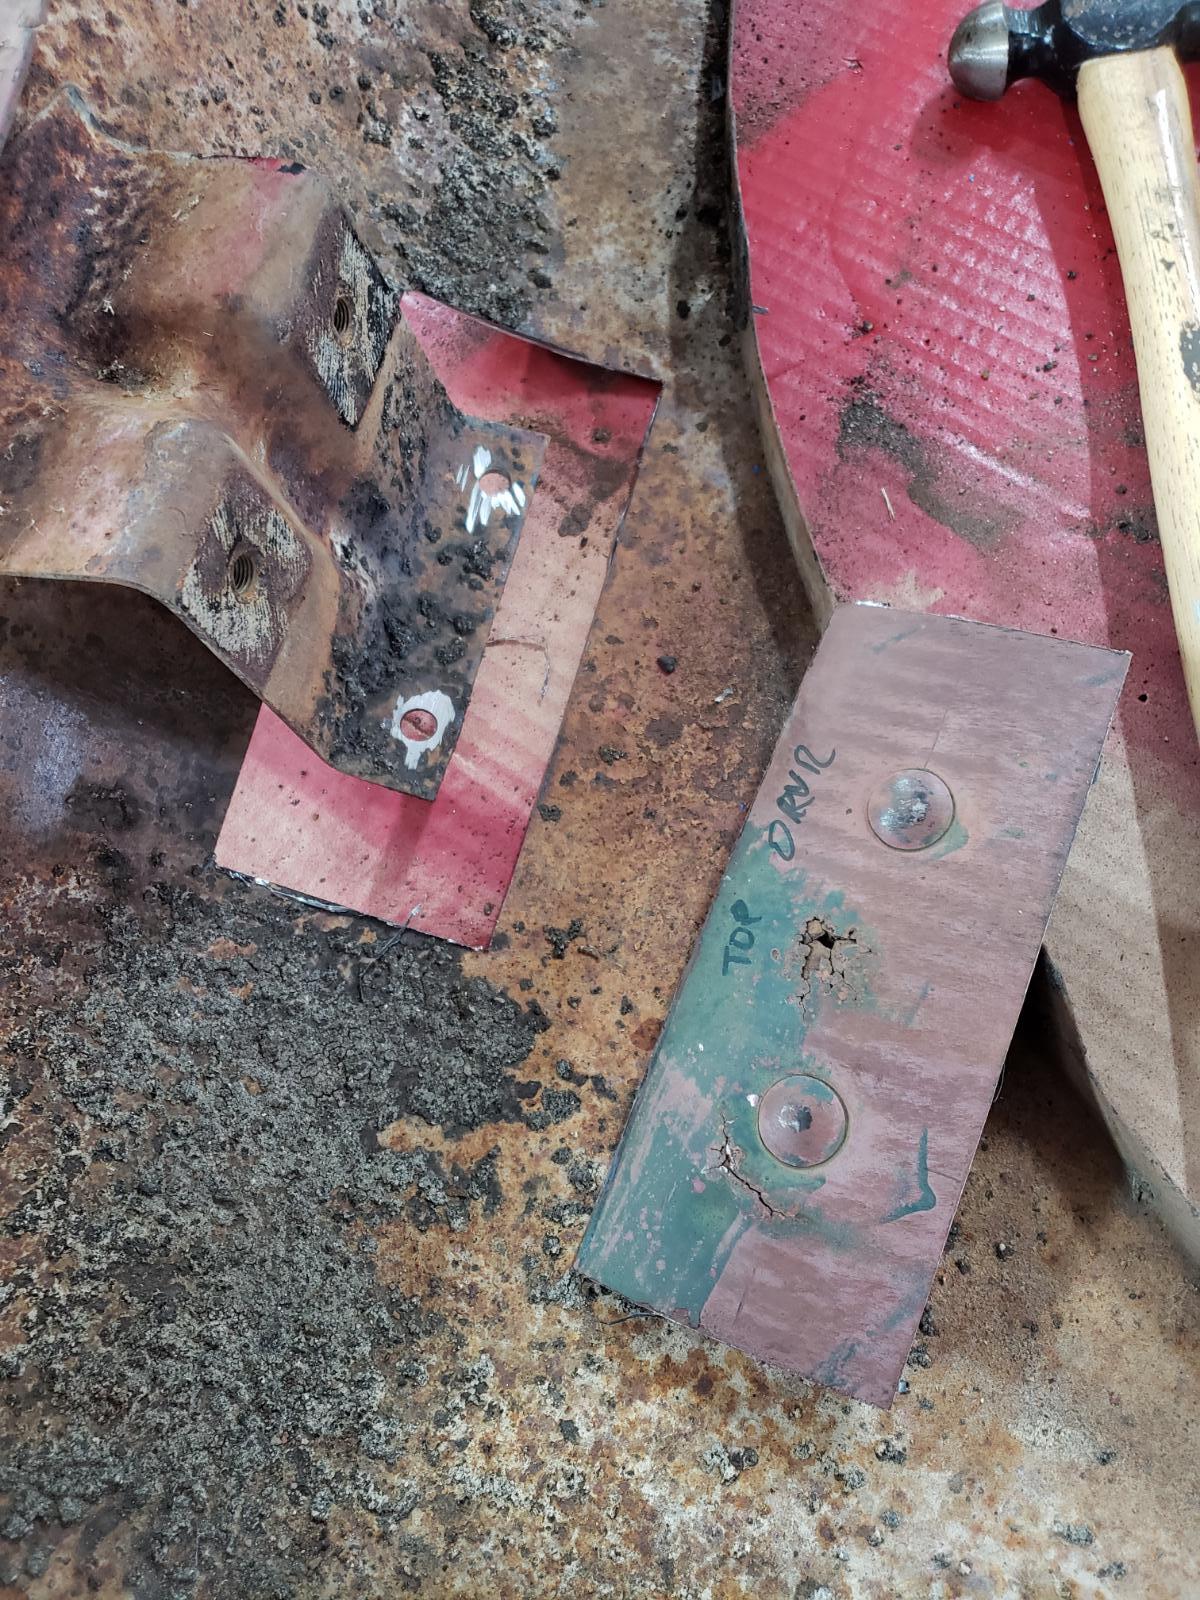
One fender rebuilt. Just need to mark and drill holes and make bolts to mimic the rivets. On to the next one.
-
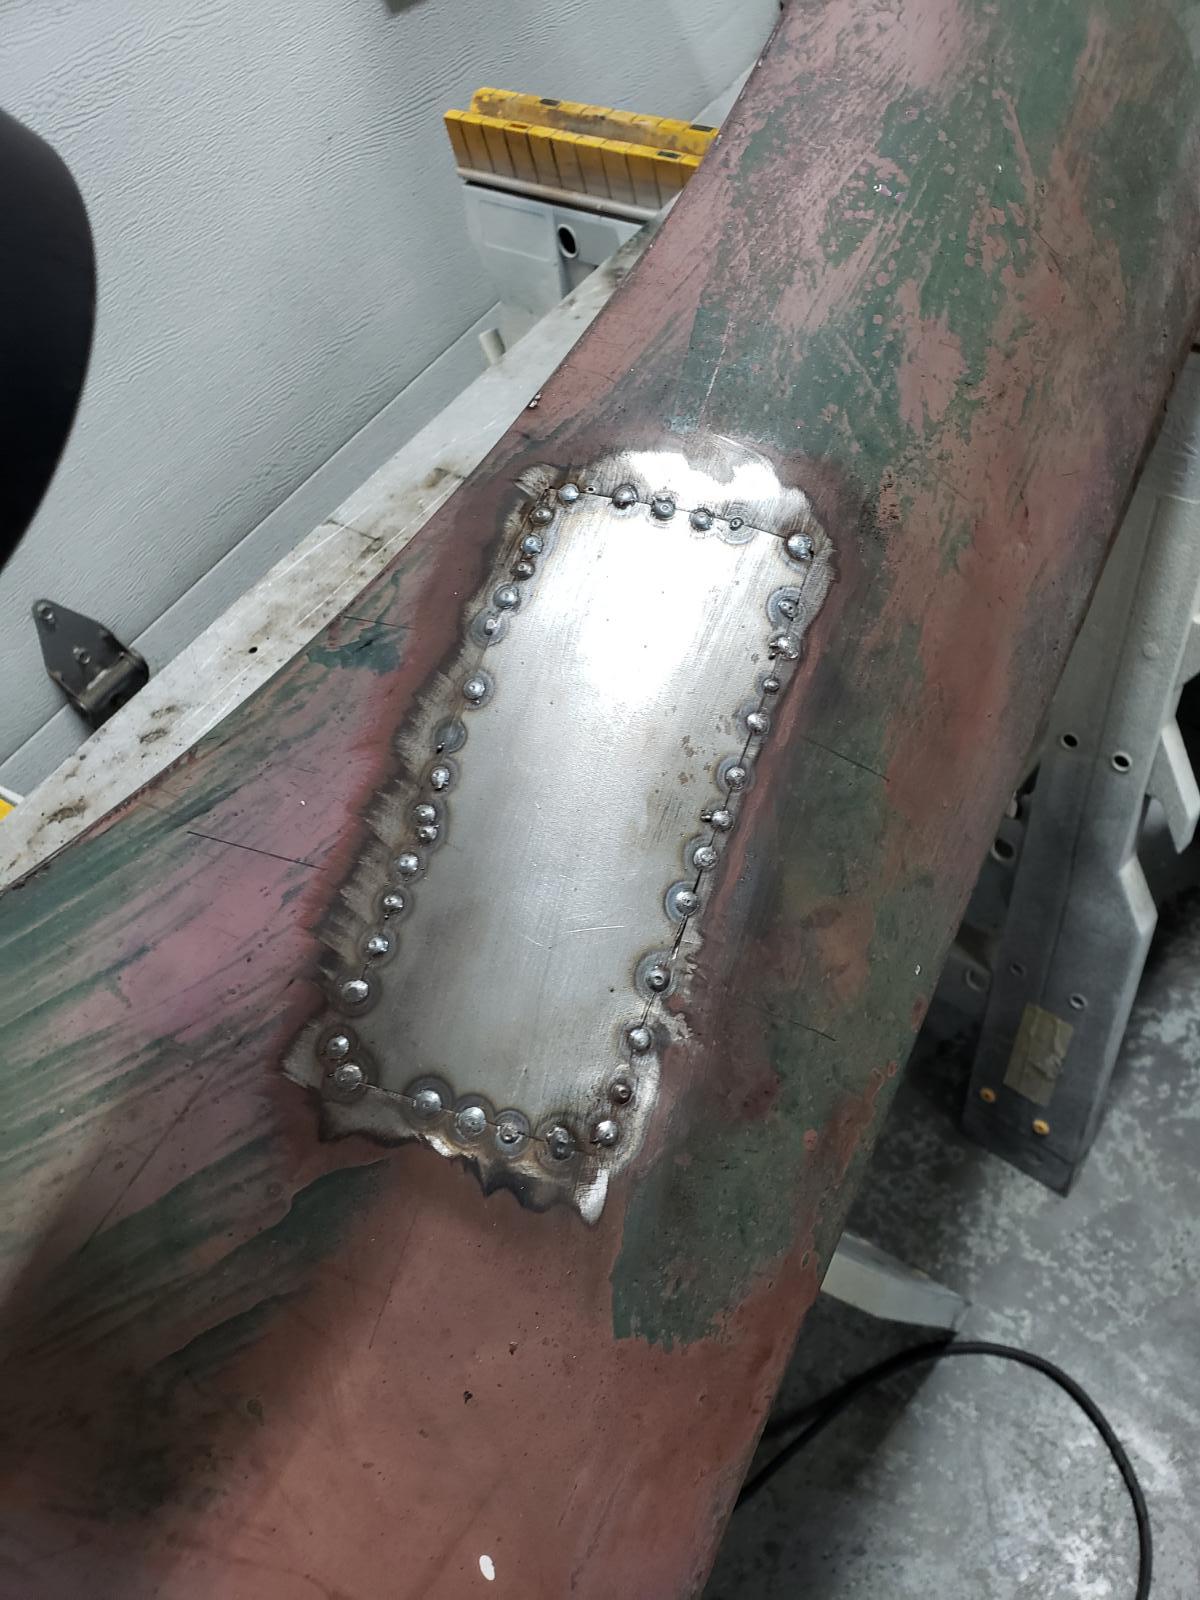
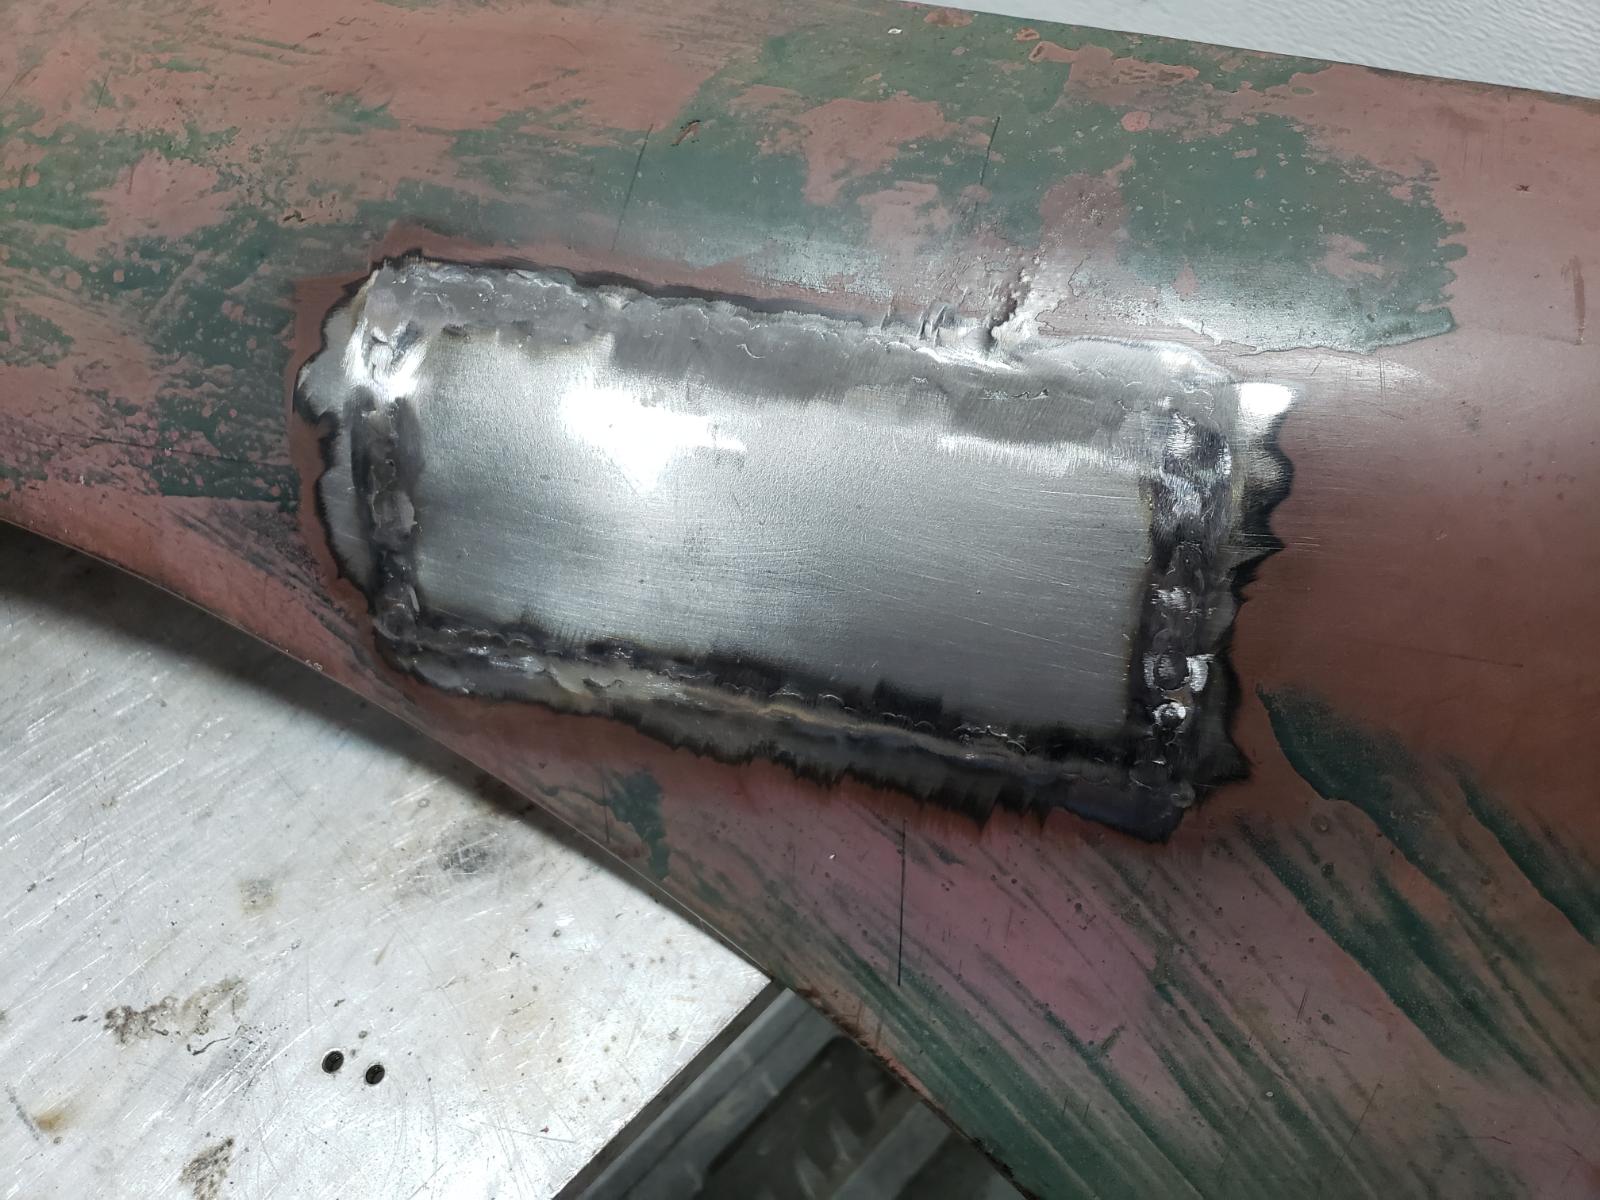
Been fighting my tractor rebuild project and not winning so I decided to take a day and get a win. Donor clip and TODD clip after sections welded back in from where the PO had chopped out chunks.