

- Replies 17
- Views 2.1k
- Created
- Last Reply
Top Posters In This Topic
-
AH64ID 8 posts
-
Royal Squire 4 posts
-
NIsaacs 2 posts
-
015point9 1 post


Most Popular Posts
-
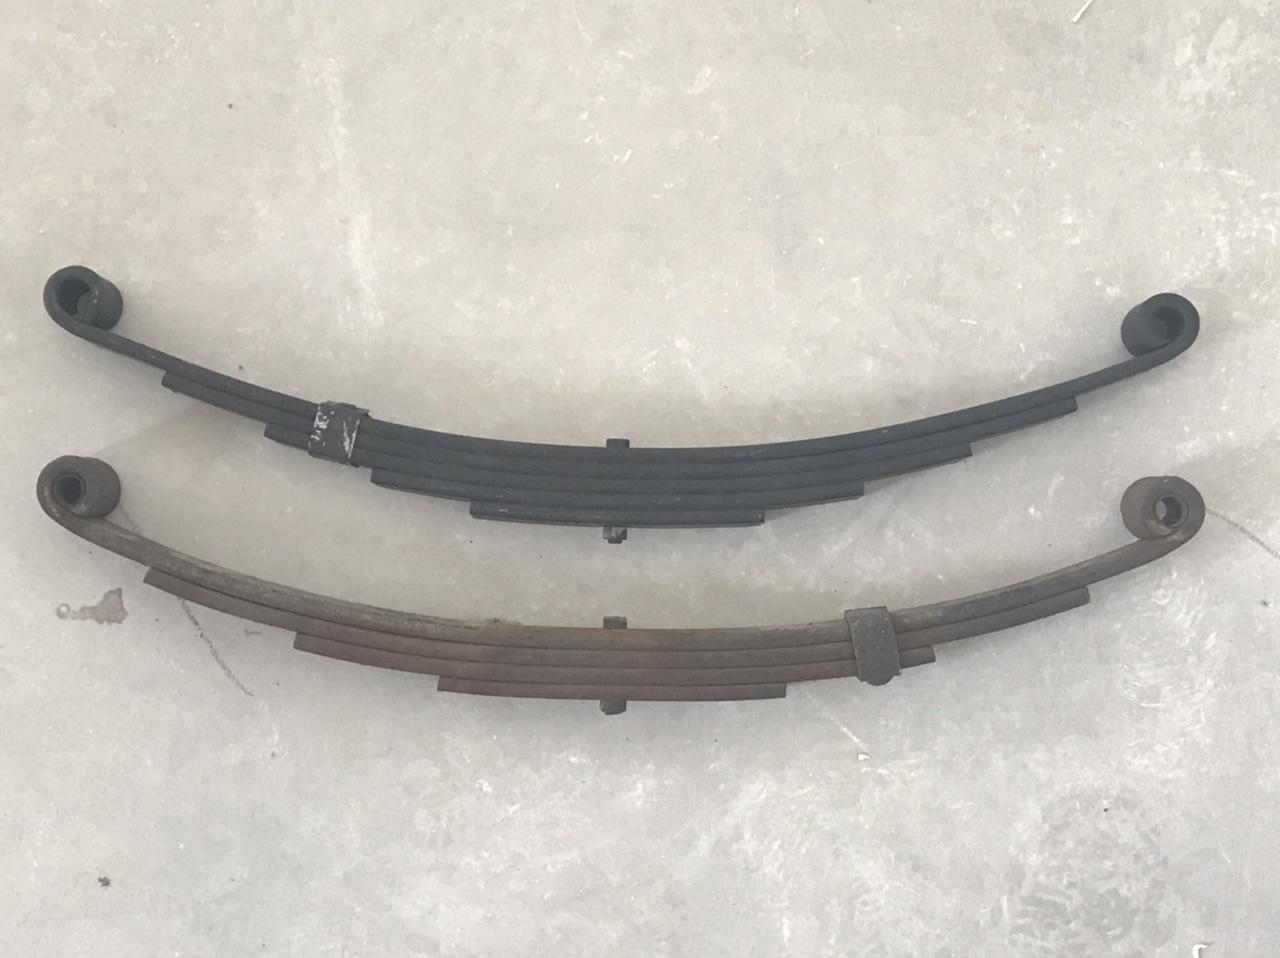
So I've been making some progress, but like all projects there are issues. I got the old suspension off very easily. It turns out the springs really weren't that worn out, despite multipl
-
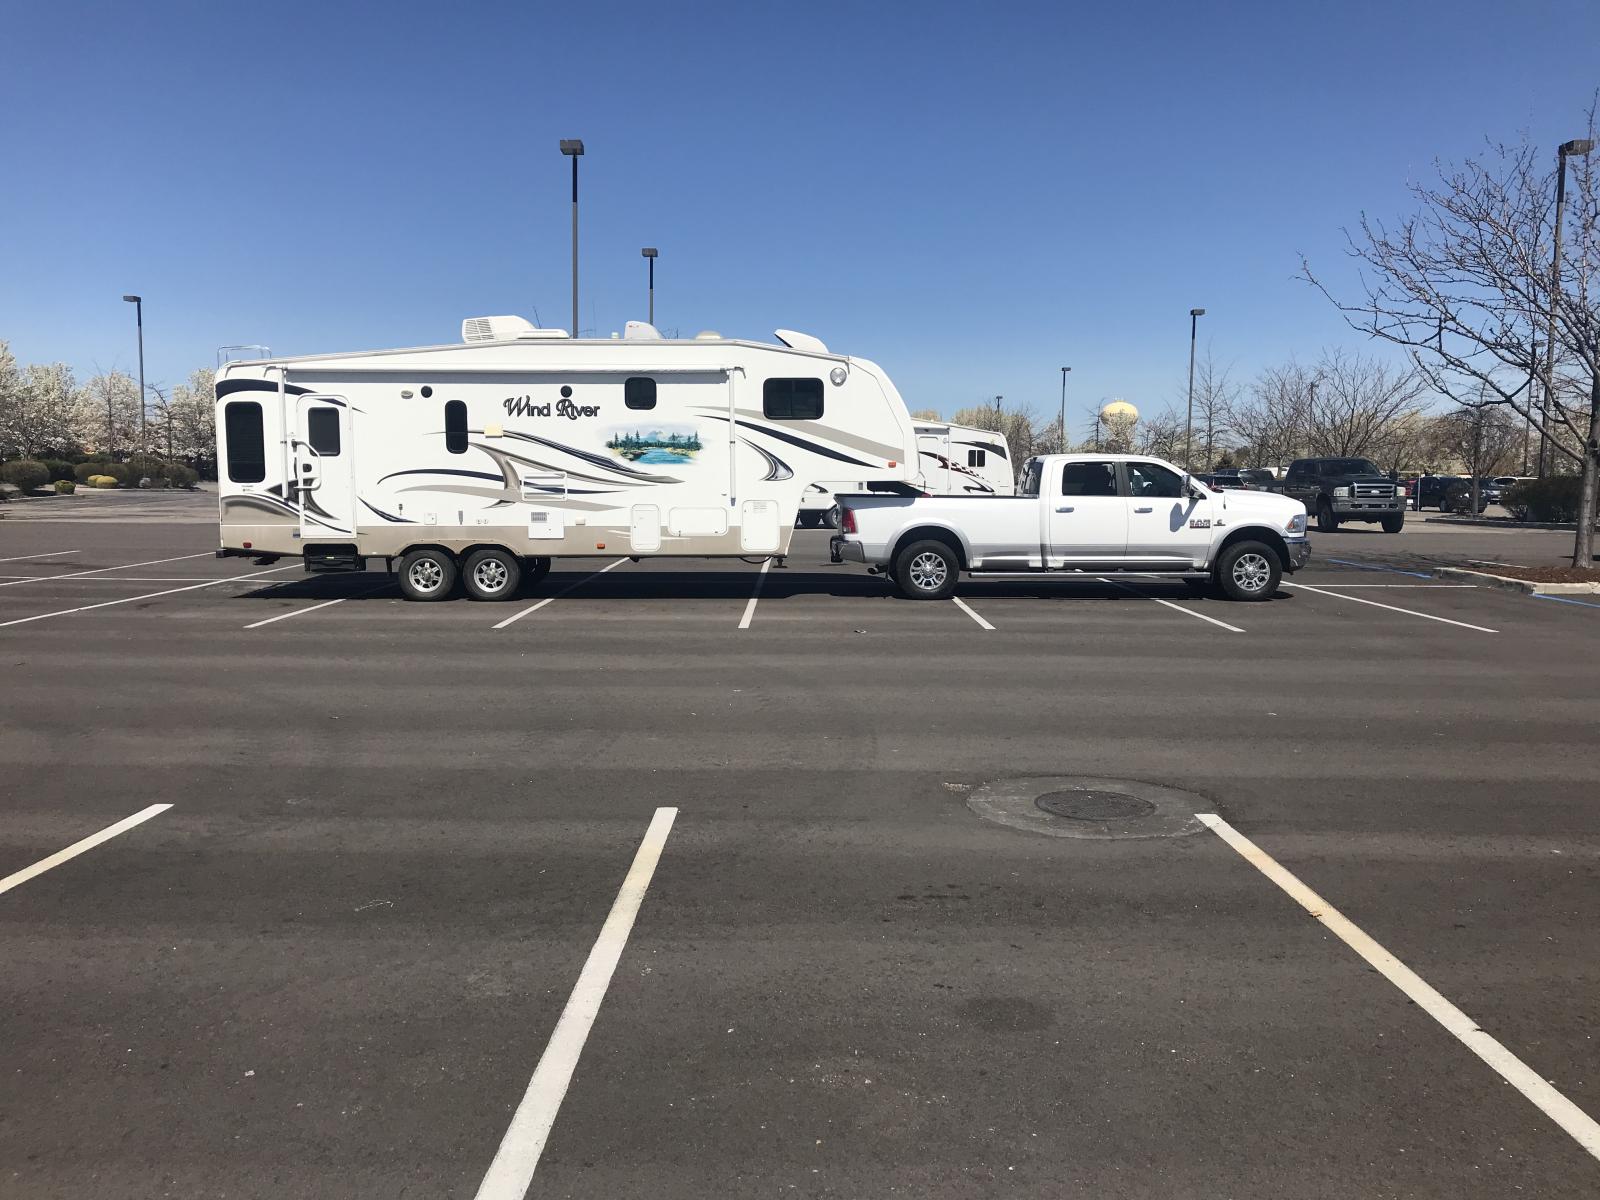
All buttoned up. That’s with the truck in Alternate Ride Height mode. I’m quite happy with how it’s sitting. EDIT: added a pavement pic, looks even more level.
-
I’ve been slowly giving the new 5th wheel some love. It got the 300AH lifelines, inverter, battery switch, gauges, converter and auto transfer switches from the TT installed. I had to build a new wide

A while back the wife and I decided we wanted to upgrade to a 5er for a couple of reasons. Our current TT has been great and served us well since buying it new in 2012 (2011 close out model, great buy).
Alas, a 5th week as been on our list for a bit but we’re rather picky on brand. Based on construction techniques and frame design we were only willing to purchase a trailer built within the Nash Family of trailers. Those are the commonly known Arctic Fox or Fox Mountain 5th wheels, or the less common Outdoors RV’s. Our TT is a Outdoors RV, so we have first had experience with their “off-road chassis”.

Most Outdoors RV’s 5th wheels are in their Glacier Peak line (debuted circa 2014), which is very rugged but have also turned into one of their luxury lines.. which has made them more prohibitive cost wise, at least while we’re still camping with dirty kids
Up until 4 days ago we thought ALL Outdoors RV 5ers were Glacier Peaks. While perusing kslI came across a 2011 Outdoors RV Wind River 275SBS 5er and did a double take. I know about the Wind River line but never knew that they had a 5er (actually 3 floor plans in ‘11). So to make a long story longer the wife and I talked about it, really like the floor plan and made a deal we couldn’t walk away from with the dealership.
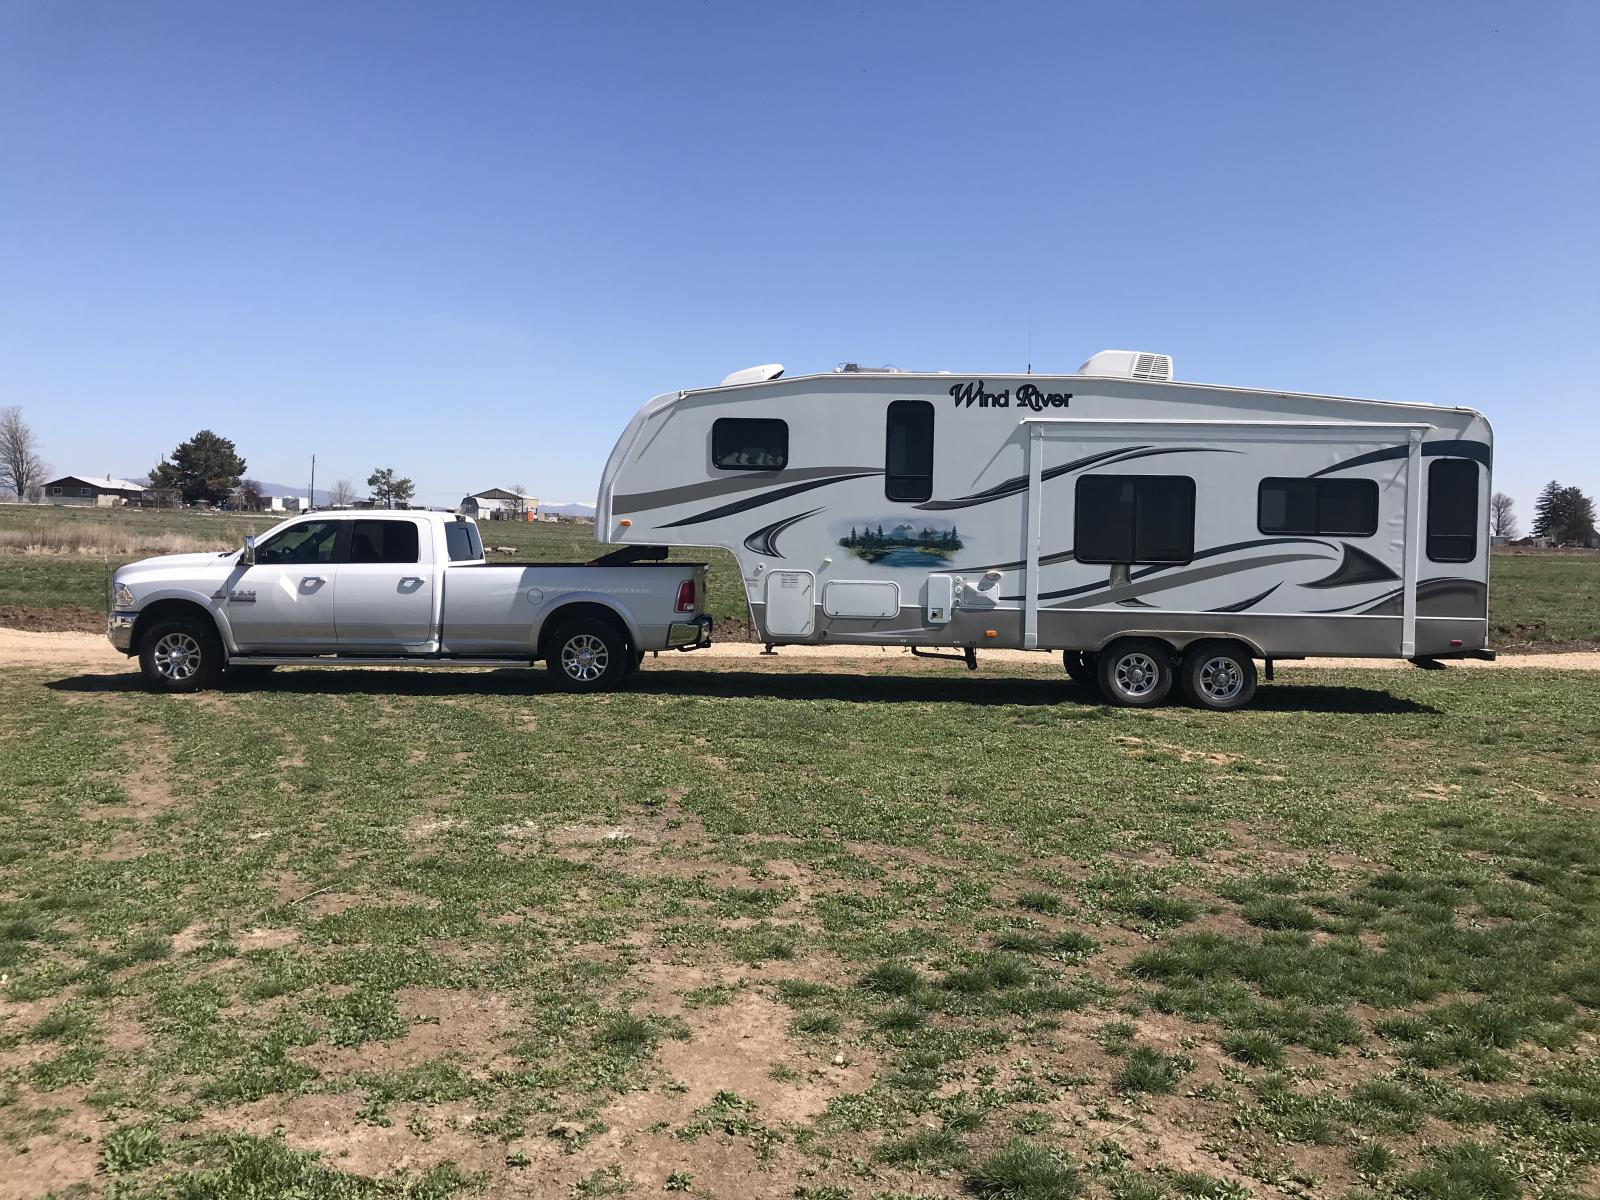
So yesterday I drove down to Logan, UT and brought back our new 5er. It’s in great shape and should serve us well. We have to do a little prep work for 3 kids to sleep inside when the weather is too cold, but they are usually in tents these days. It has the same insulation package as our current TT that is 4 season and has served us well. It also has the upgraded thermal pane windows and a 8 cuft fridge.
I transferred the 16” wheels with LT tires to it from our TT before towing it home, as the others were OE. Over the next little but I’ll get the rest of the stuff we want to keep transferred, inverter, ammeter, voltmeter, lifeline batteries, etc and sell the TT.
It towed great. Had a 20mph head wind most the way home and never felt it. We crossed the scales at 16.7K.
I do need to level it with truck. In the photo the truck is in the lowered trailer height that I tow in. The pin box could be raised, but I like the clearance to the bed rails so I’ll likely lift the rear of the trailer a little. We do lots of dirt road camping so a little more clearance, it already has lots, isn’t a bad thing.
I also want to say how great the guys at Castle Countey RV in Logan, UT are! Great price, easy to deal with, and fast communication. I’d do business with them again, thou I hope to be out of the trailer market for a while.