

- Replies 15
- Views 4.4k
- Created
- Last Reply
Top Posters In This Topic
-
War Eagle 5 posts
-
Mopar1973Man 4 posts
-
dripley 3 posts
-
AH64ID 1 post
A better way to browse. Learn more.
A full-screen app on your home screen with push notifications, badges and more.


I saw somewhere on one of the Dodge/Cummins forums that it was possible to modify your air dam by attaching a Gen 2 air dam to the Gen 3 air dam.
I kind of liked the look of the deeper air dam so I thought I would look into it and see if I could make it work. The air dam also has a purpose of moving air down under the truck to help reduce the drag on the underside of the carriage (thereby helping mpg's on the truck).
Now since I also have a Gen 2 vehicle it was pretty easy to measure things and evaluate whether it would fit well enough that I could be happy with it.
I took a few pictures along the way to document what I saw as I made the mod and what it looks like when it was finished.
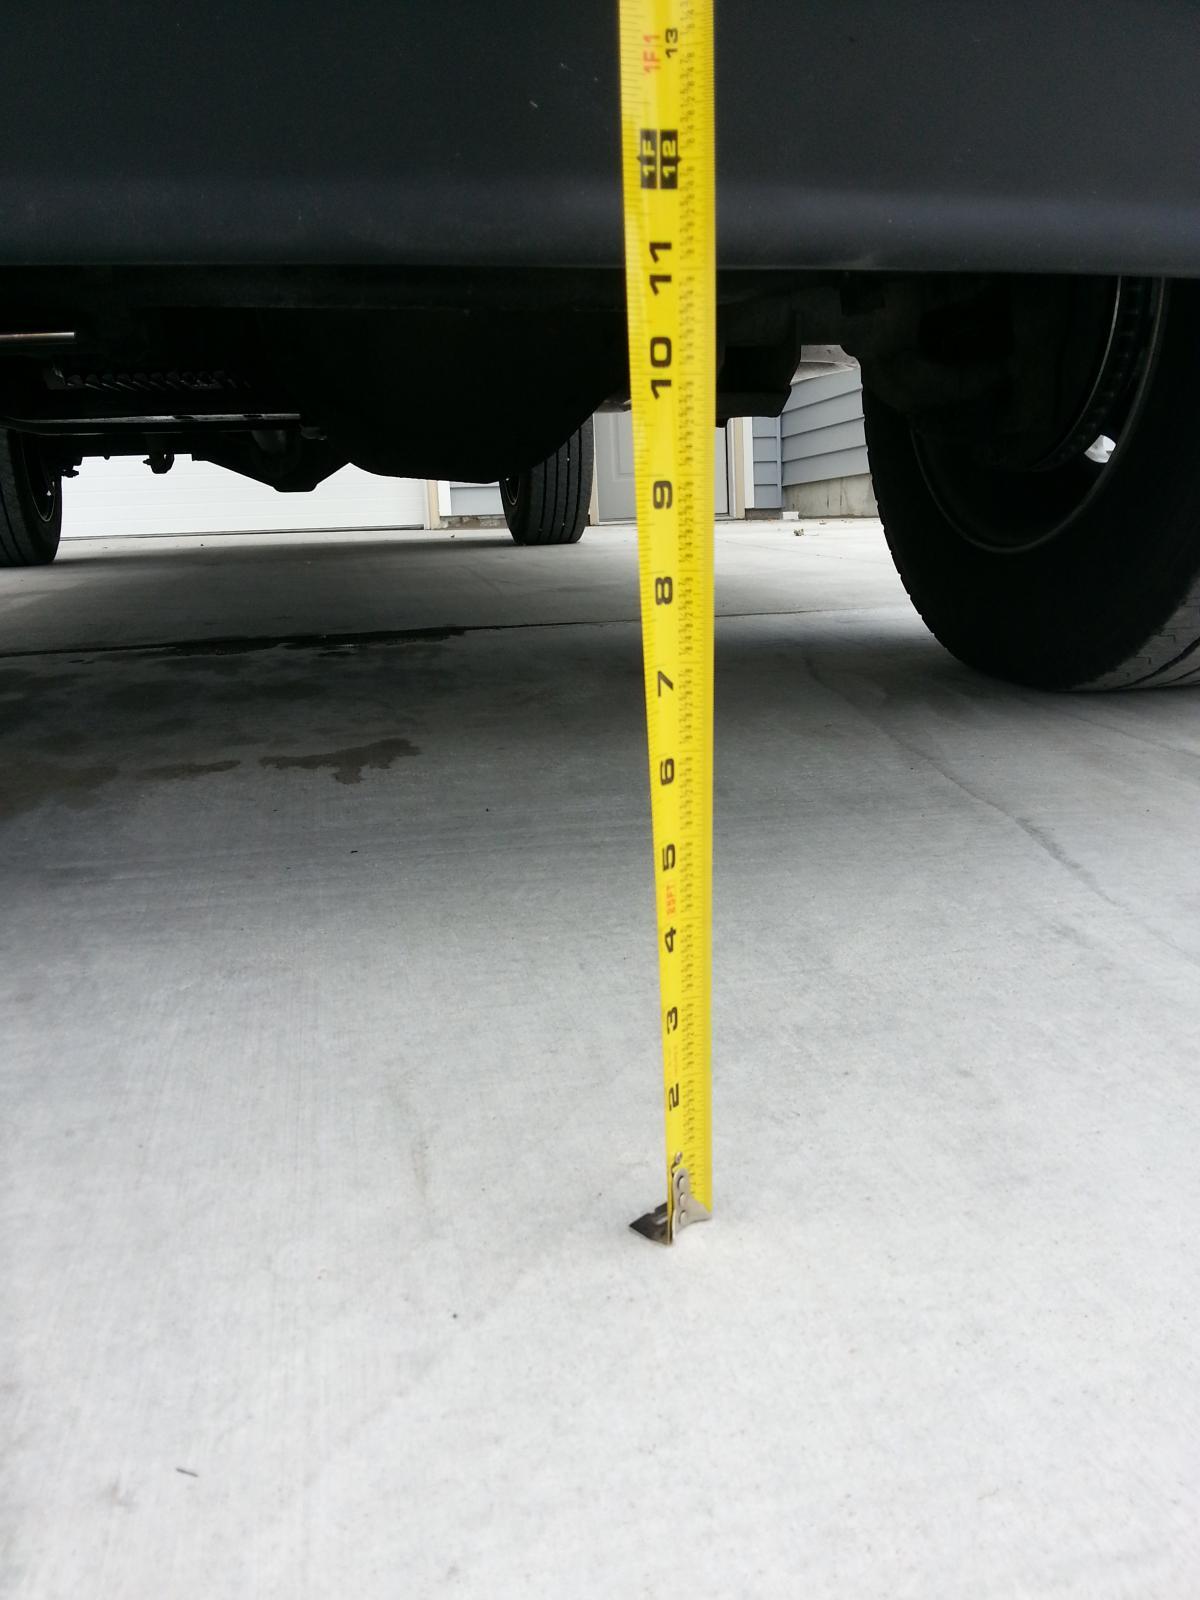
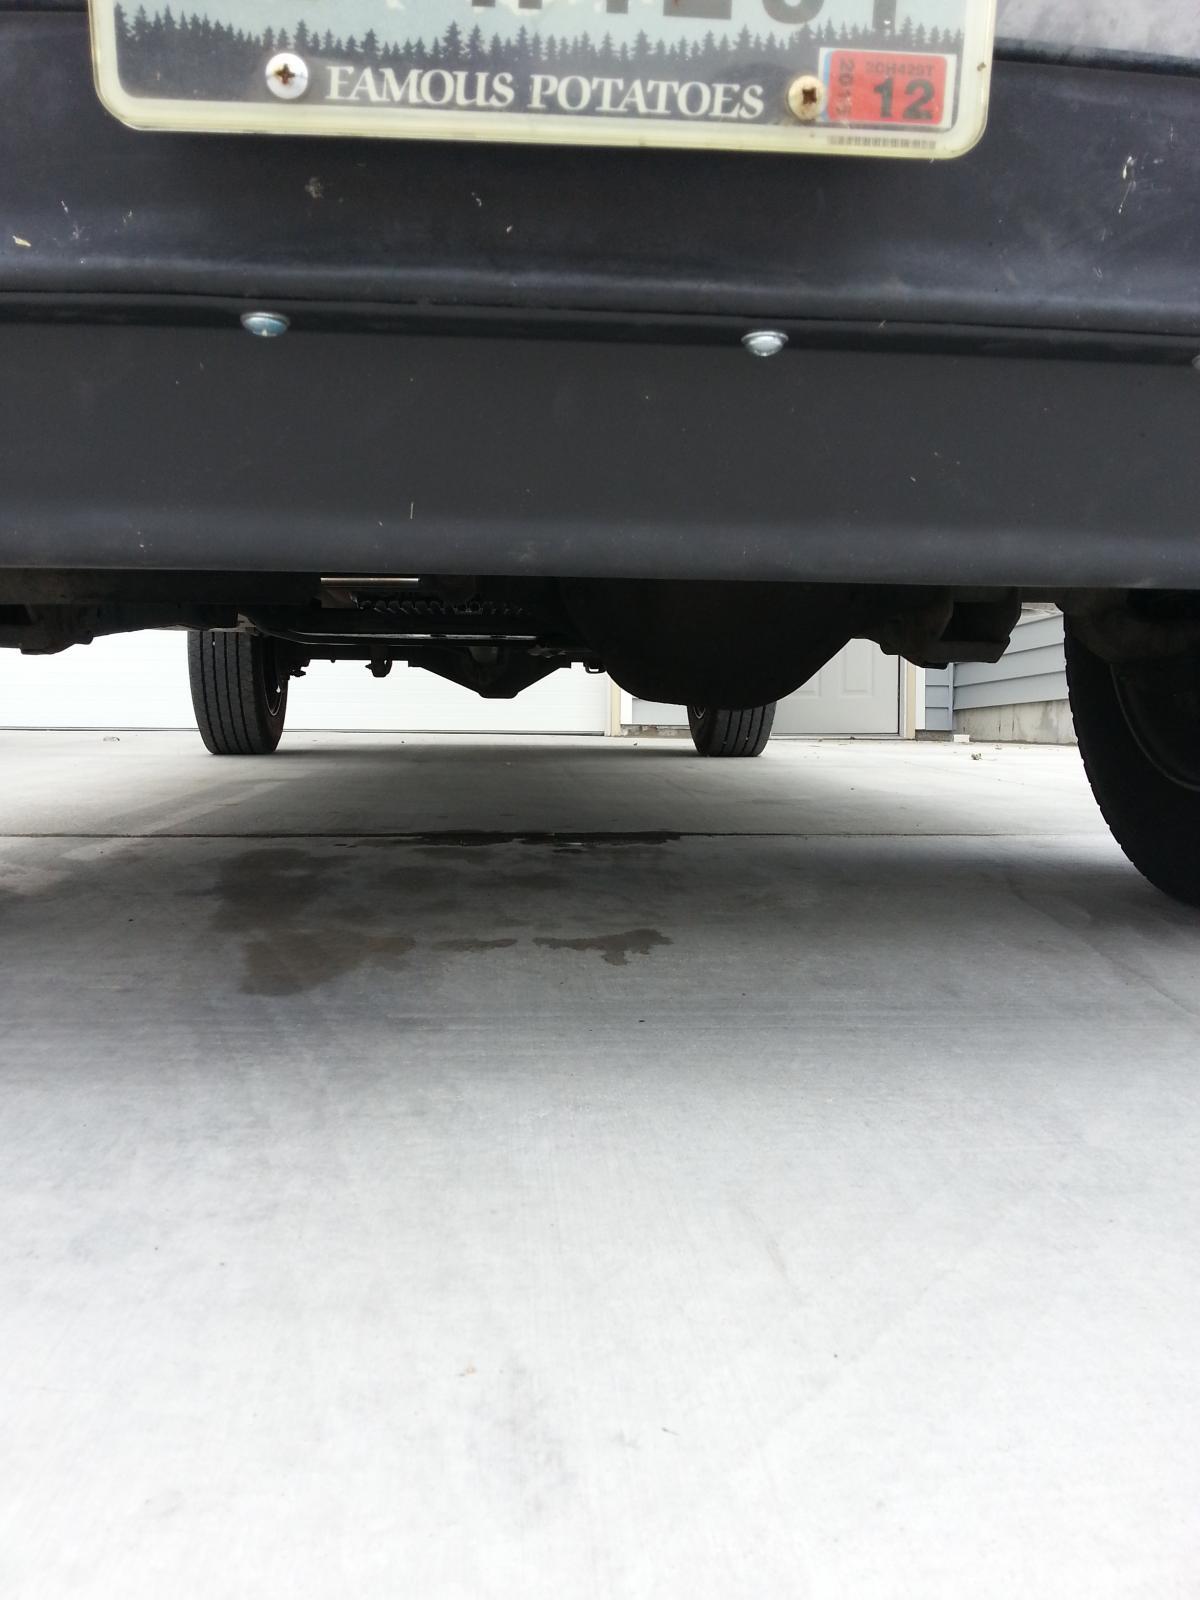
First off are pictures showing the height of the existing Gen 3 air dam and what you see under the truck looking at the air dam level.
You can see that the bottom of the stock Gen 3 air dam is a little less than 17" from the ground (with my 19.5's on) and you can see what hangs down from the undercarriage below the bottom level of the air dam. Looks like a perfect place for lots of air turbulence and drag.
I ordered an aftermarket Gen 2 air dam on ebay and got free shipping and it cost me $64. I didn't want to spend a lot of money to try this out so I decided to go the ebay route rather than buy from the dealer and save myself over a hundred bucks.
When the part arrived I was really impressed. Very good quality and thick material and wasn't flimsy at all. So I got a couple of small 'C' clamps and clamped it in place on the lip of the existing Gen 3 air dam. When I was happy with the centering of the unit (both side to side as well as back to front) then I drilled holes in the lower lip of the Gen 3 air dam and bolted the two versions of the air dam together. I used large pan head 5/16 x 18 screws with washers on both the top and bottom lips where the air dams are joined.
On the end of the Gen 2 air dam I had to muscle the curvature of the air dam to better match the curvature of the Gen 3 air dam. Turns out the Gen 3 air dam is a little wider with a slightly different curvature as the end turns back toward each wheel. But everything bolted together pretty well and it looked like it was made that way.
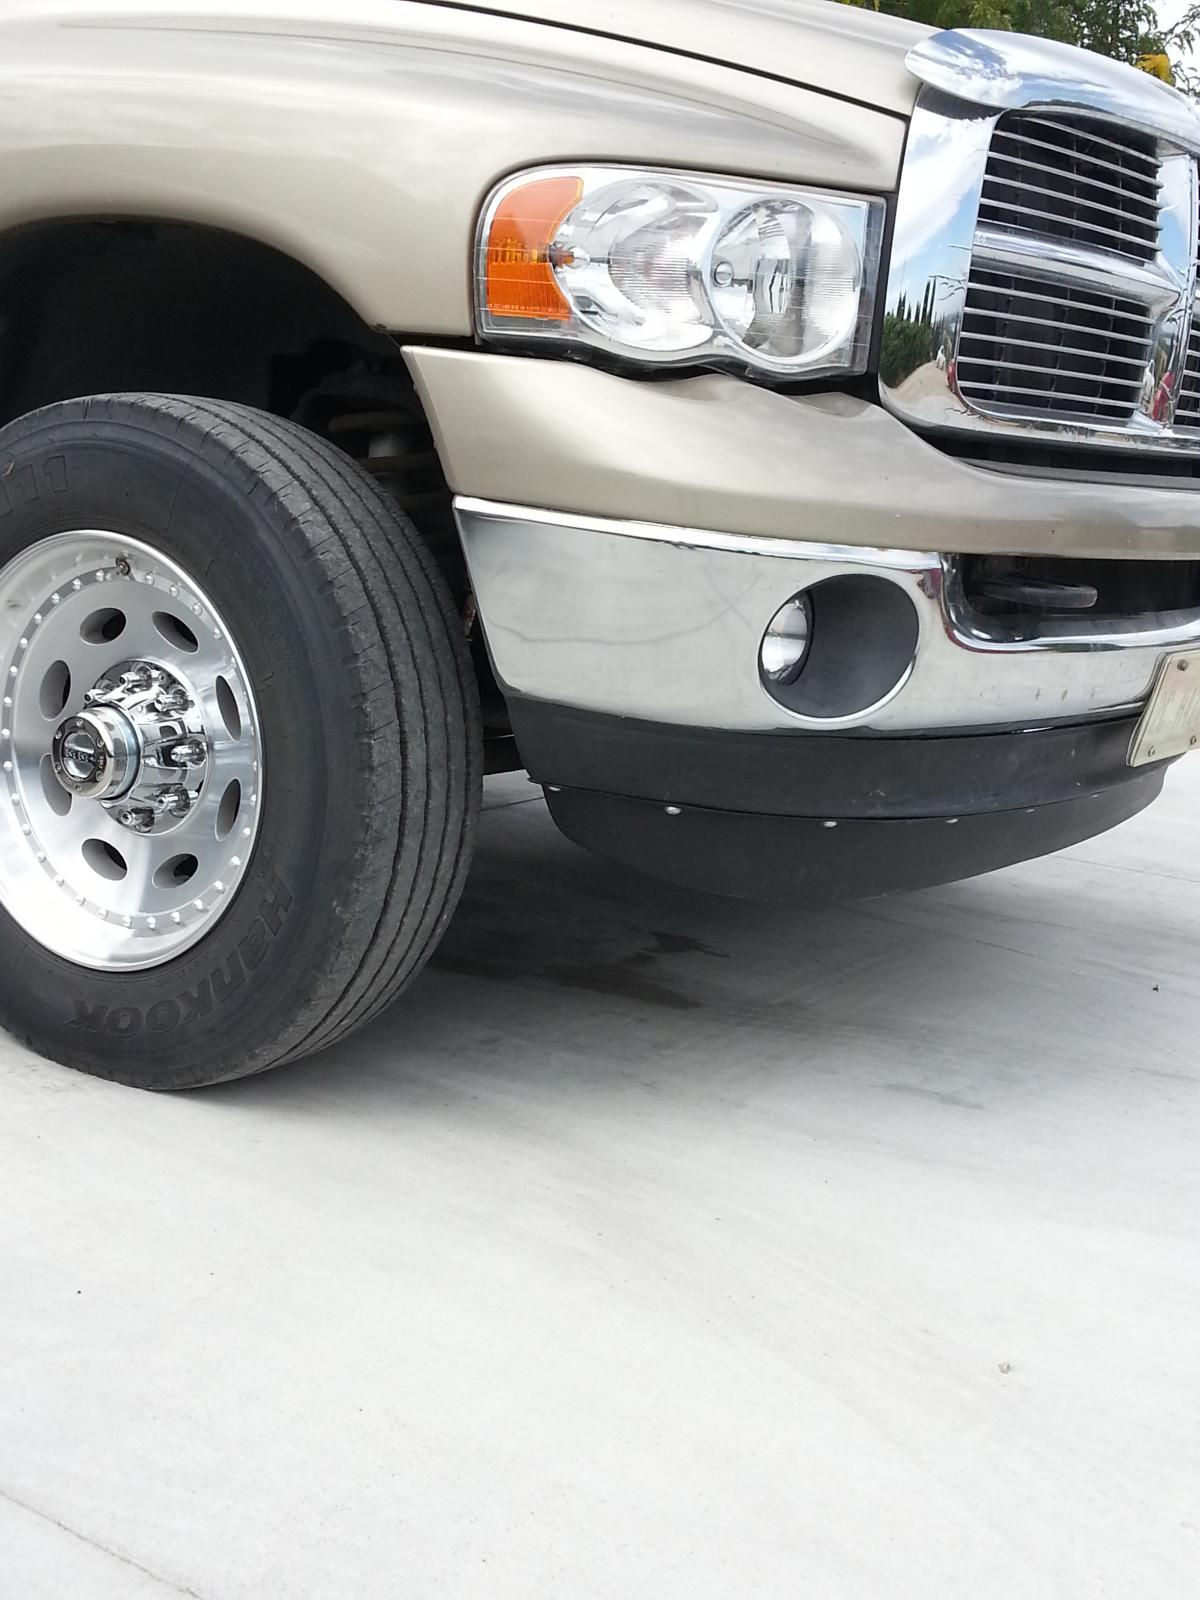
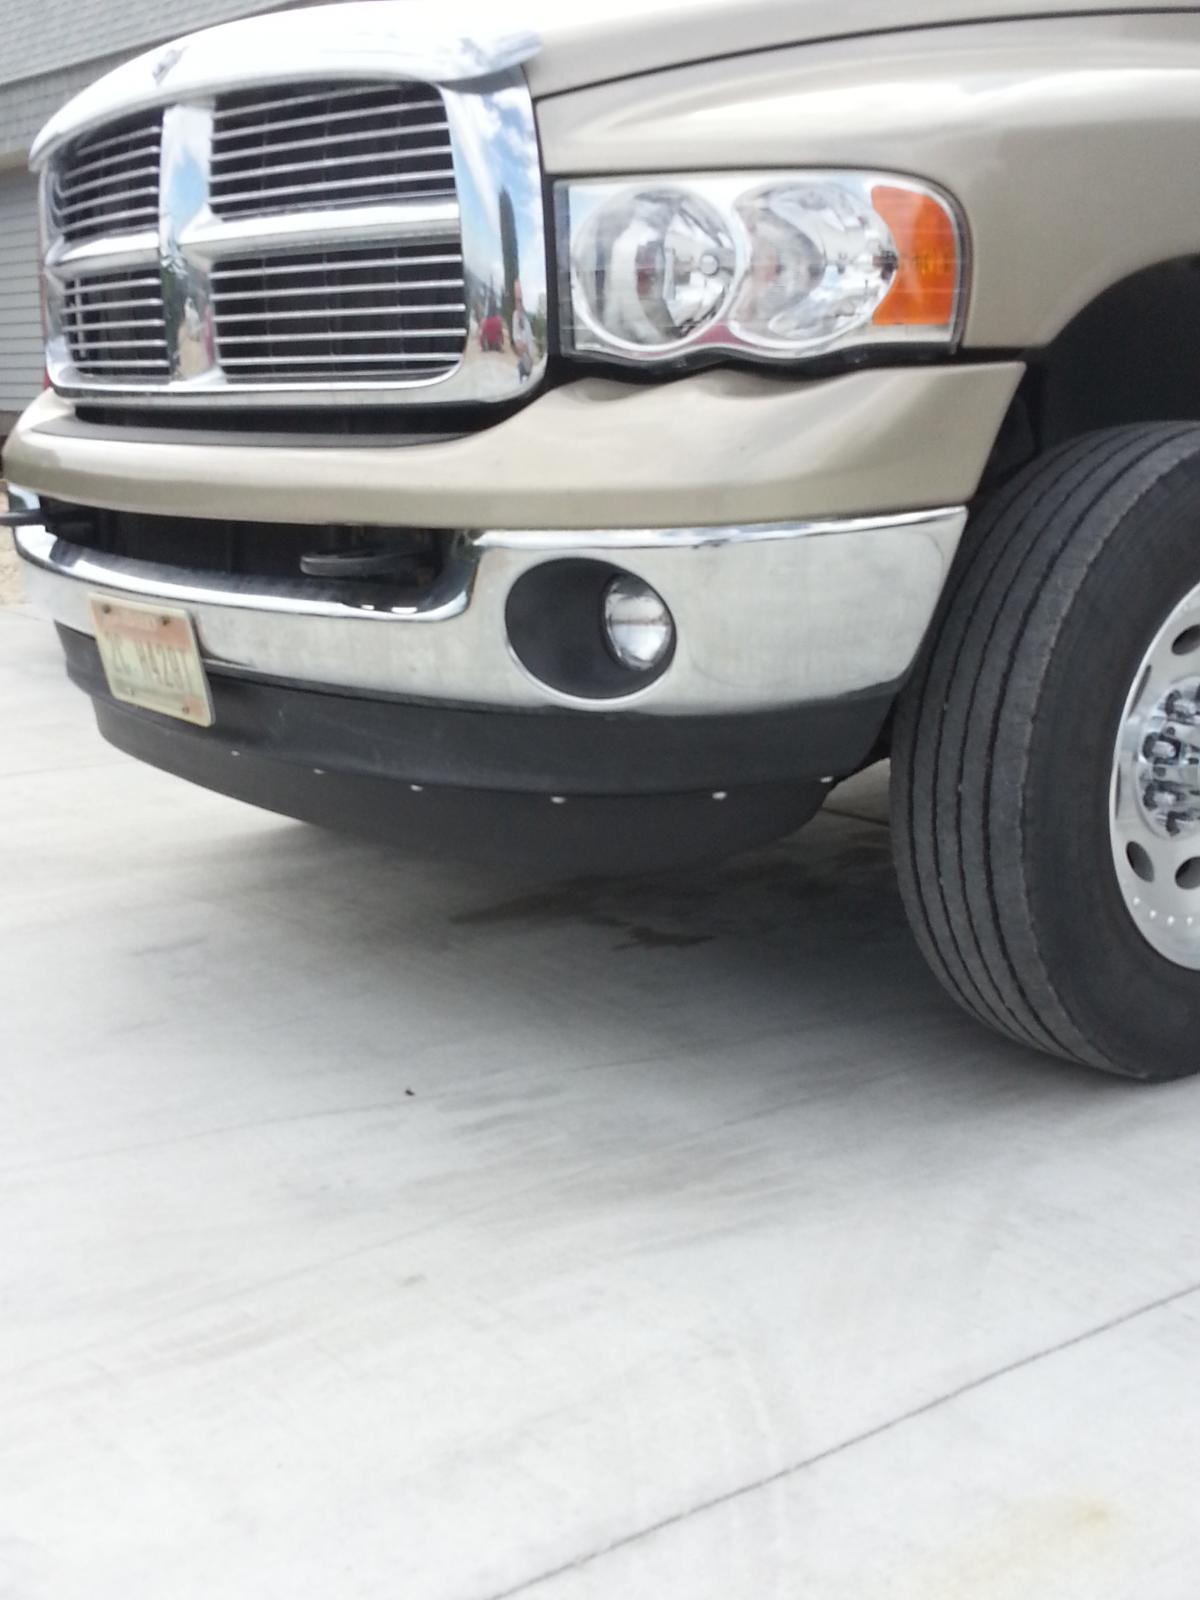
So here are some pictures of the finished product.
I also took a picture from the front to show the new ground clearance of the air dam as well as how it has now covered up a lot of the undercarriage that was visible previously.
Haven't been out much on the road yet so I can't tell if there is any measurable benefit ( but I will be hoping).