

Smashed vacuum line and a mystery hose.
- Replies 21
- Views 4k
- Created
- Last Reply
Top Posters In This Topic
-
SailingSanta 8 posts
-
Mopar1973Man 3 posts
-
dripley 3 posts
-
dave110 3 posts


Most Popular Posts
-
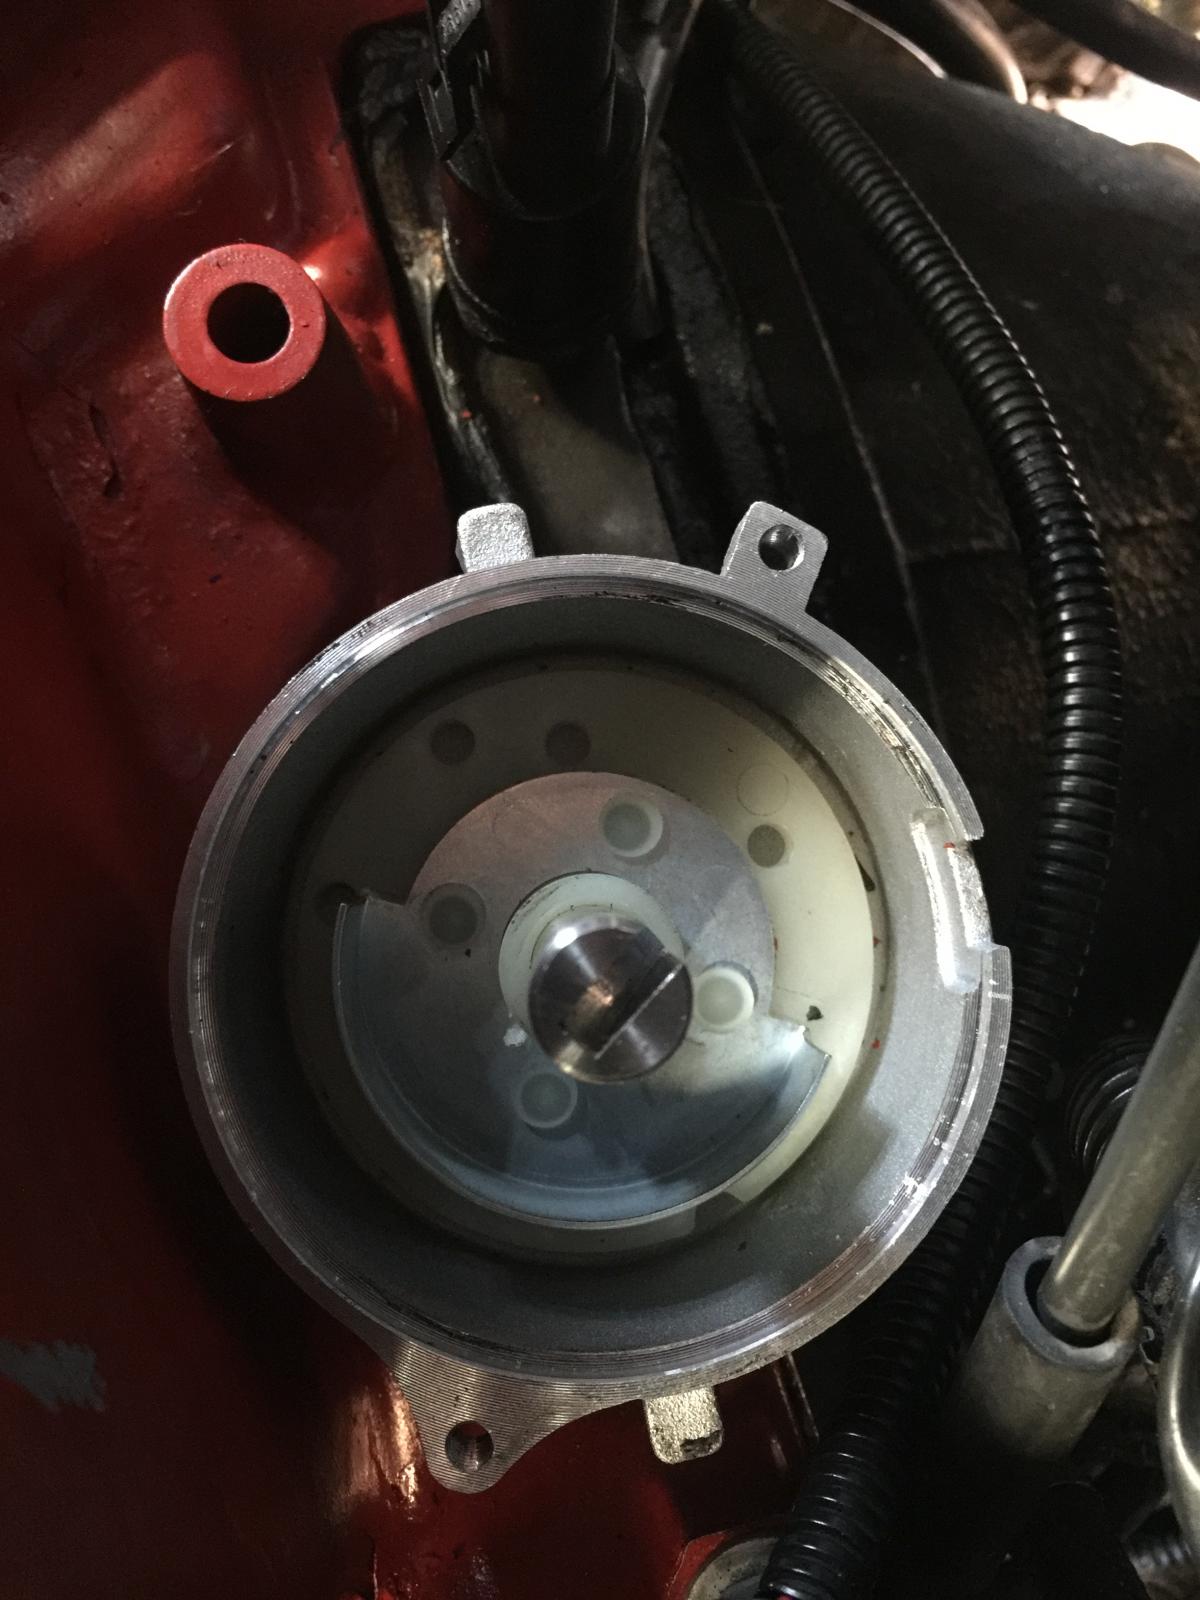
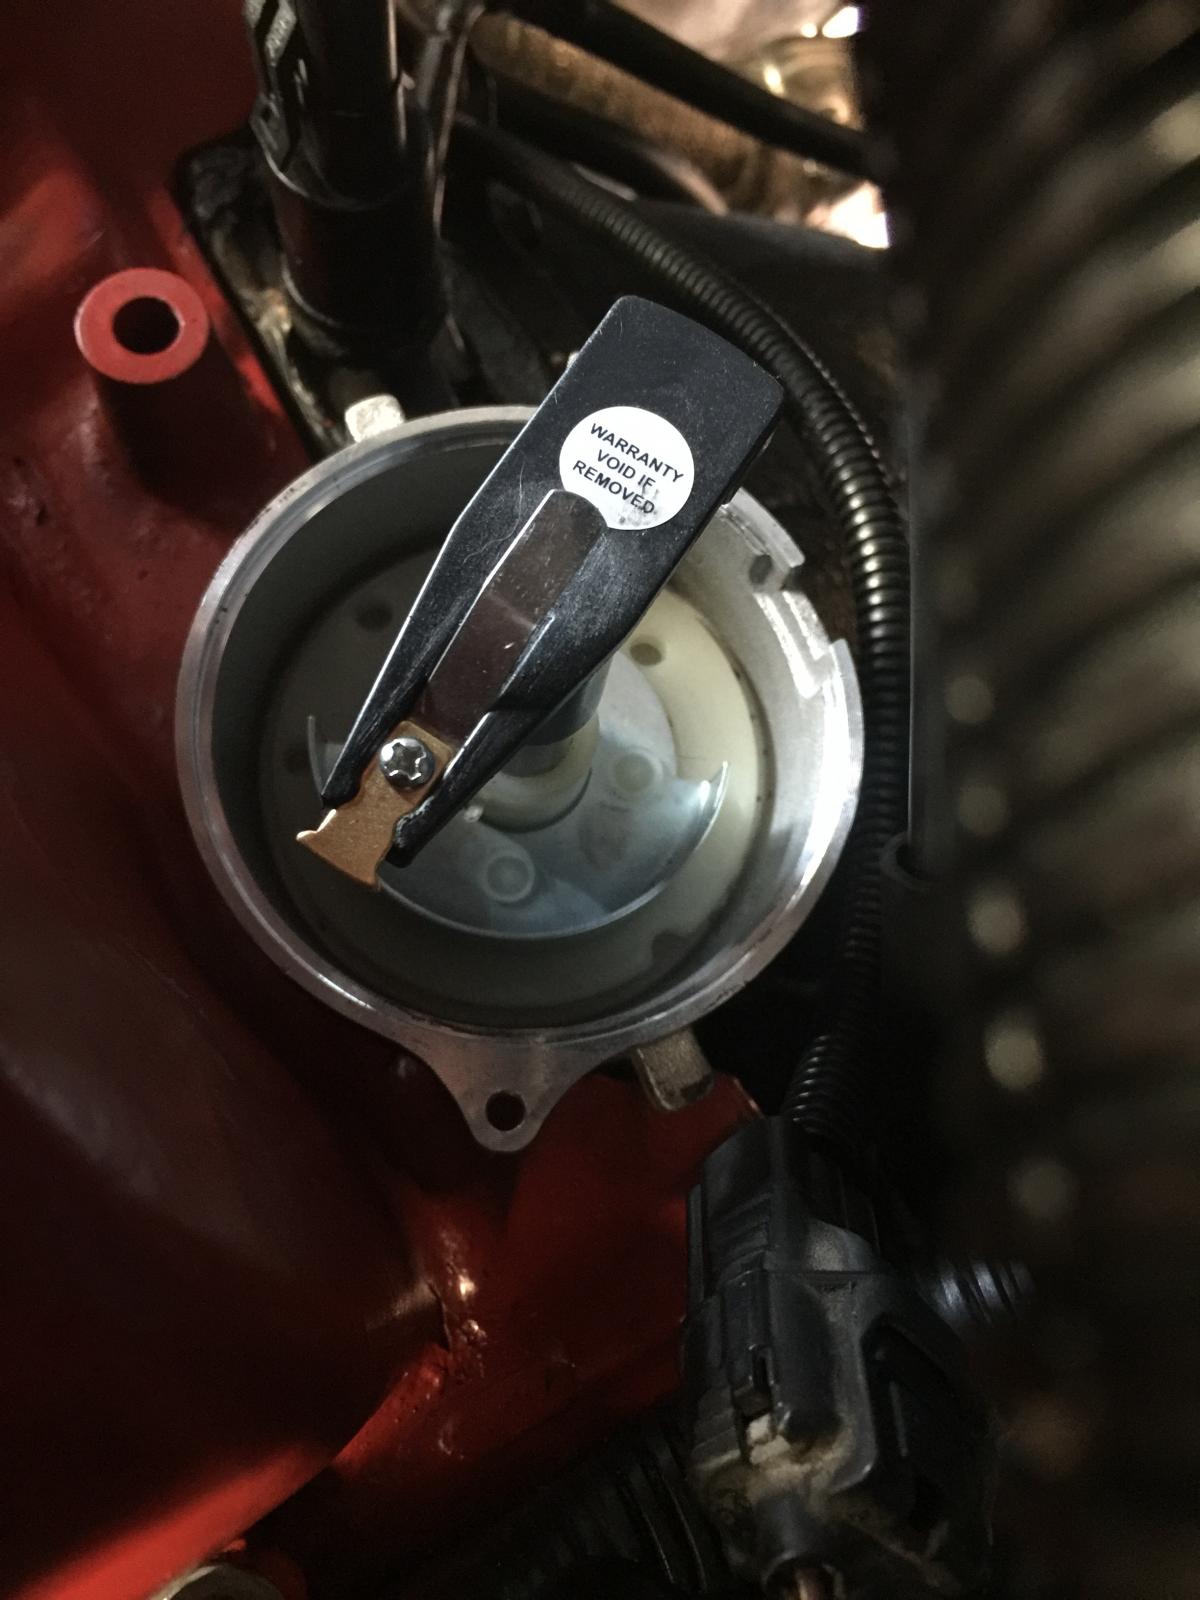
Update: I pulled the distributor this morning and fiddled my way into lifting and turning the gear so the distribution rotor now points the right way. Distributor - foreign to all things diesel.
-
I would hazard a guess at the white being a vacuum line from the transfer case to the front axle if it has a CAD on it. Not sure on a 97 though. I don't know how far back they go. The other a tr
-
The larger line is a vent for the transfer case.
Long story short
I had to replace the engine in my otherwise reliable old truck at 298000. That part with the exception of busted knuckles and not having done it before, went off mostly okay though I’m still not completely finished, due to the challenges described below.
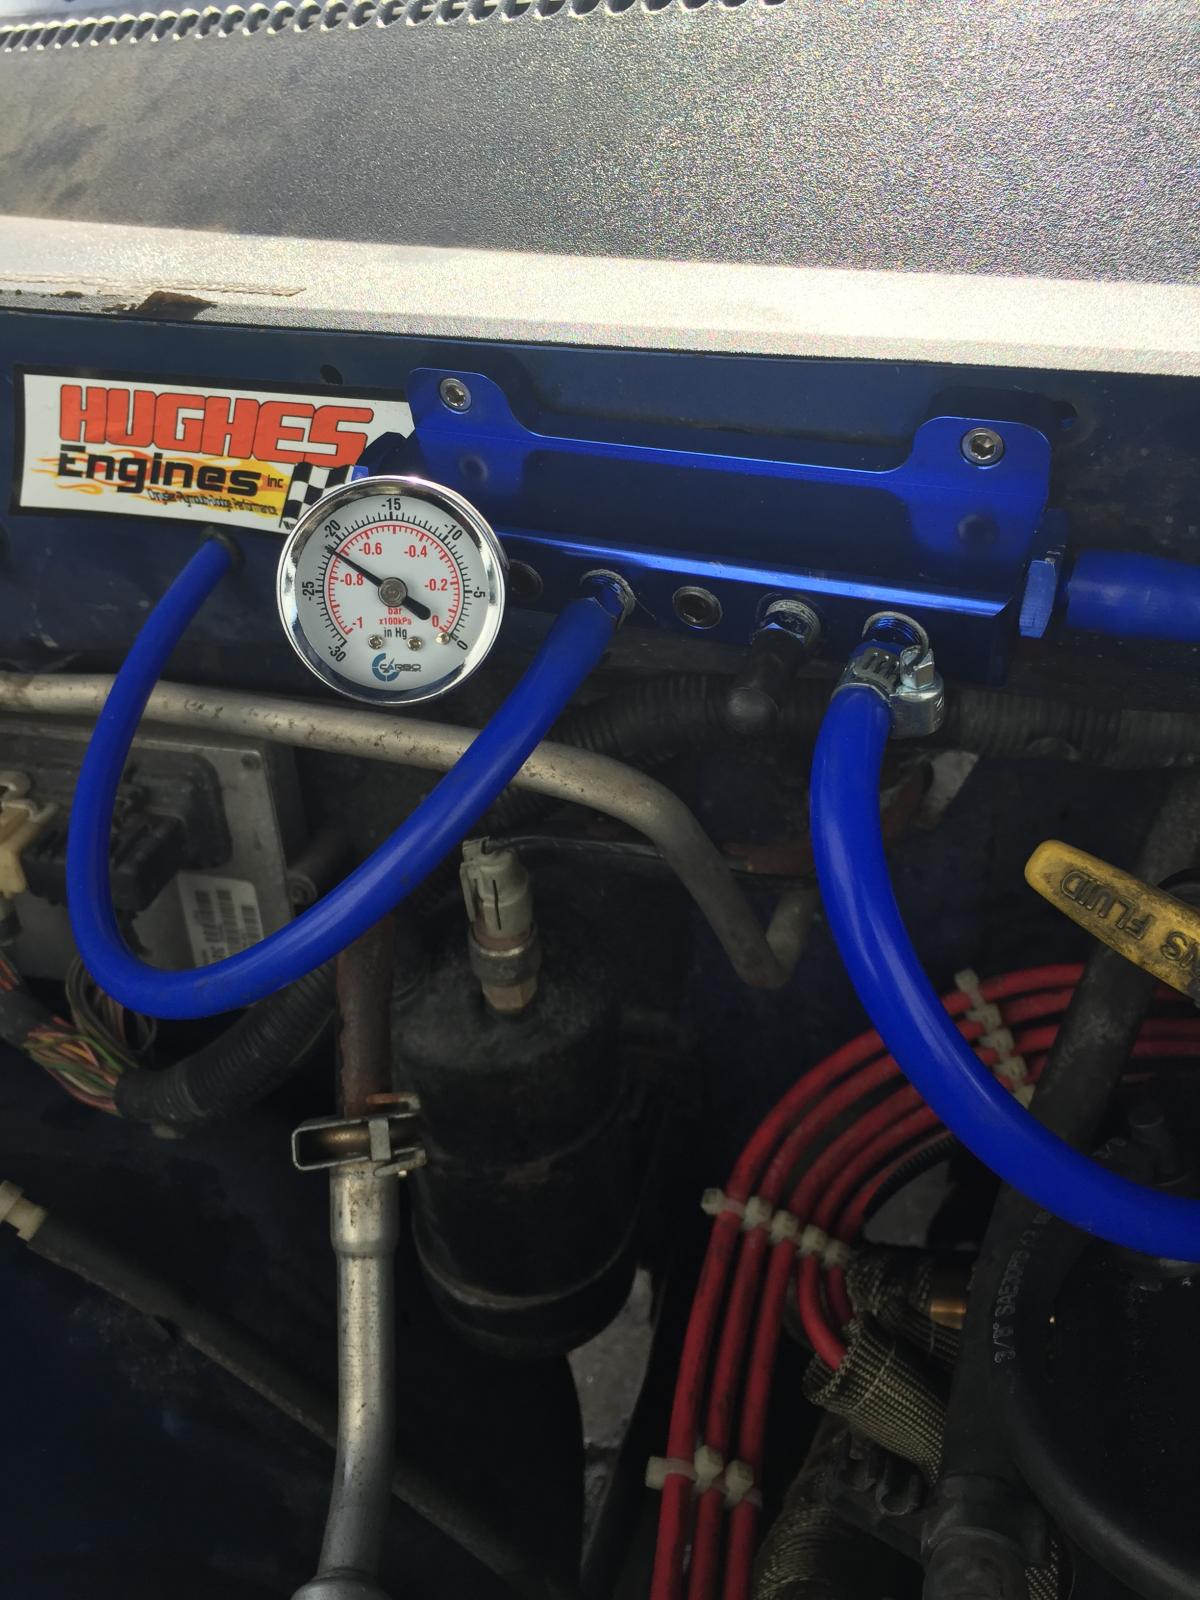
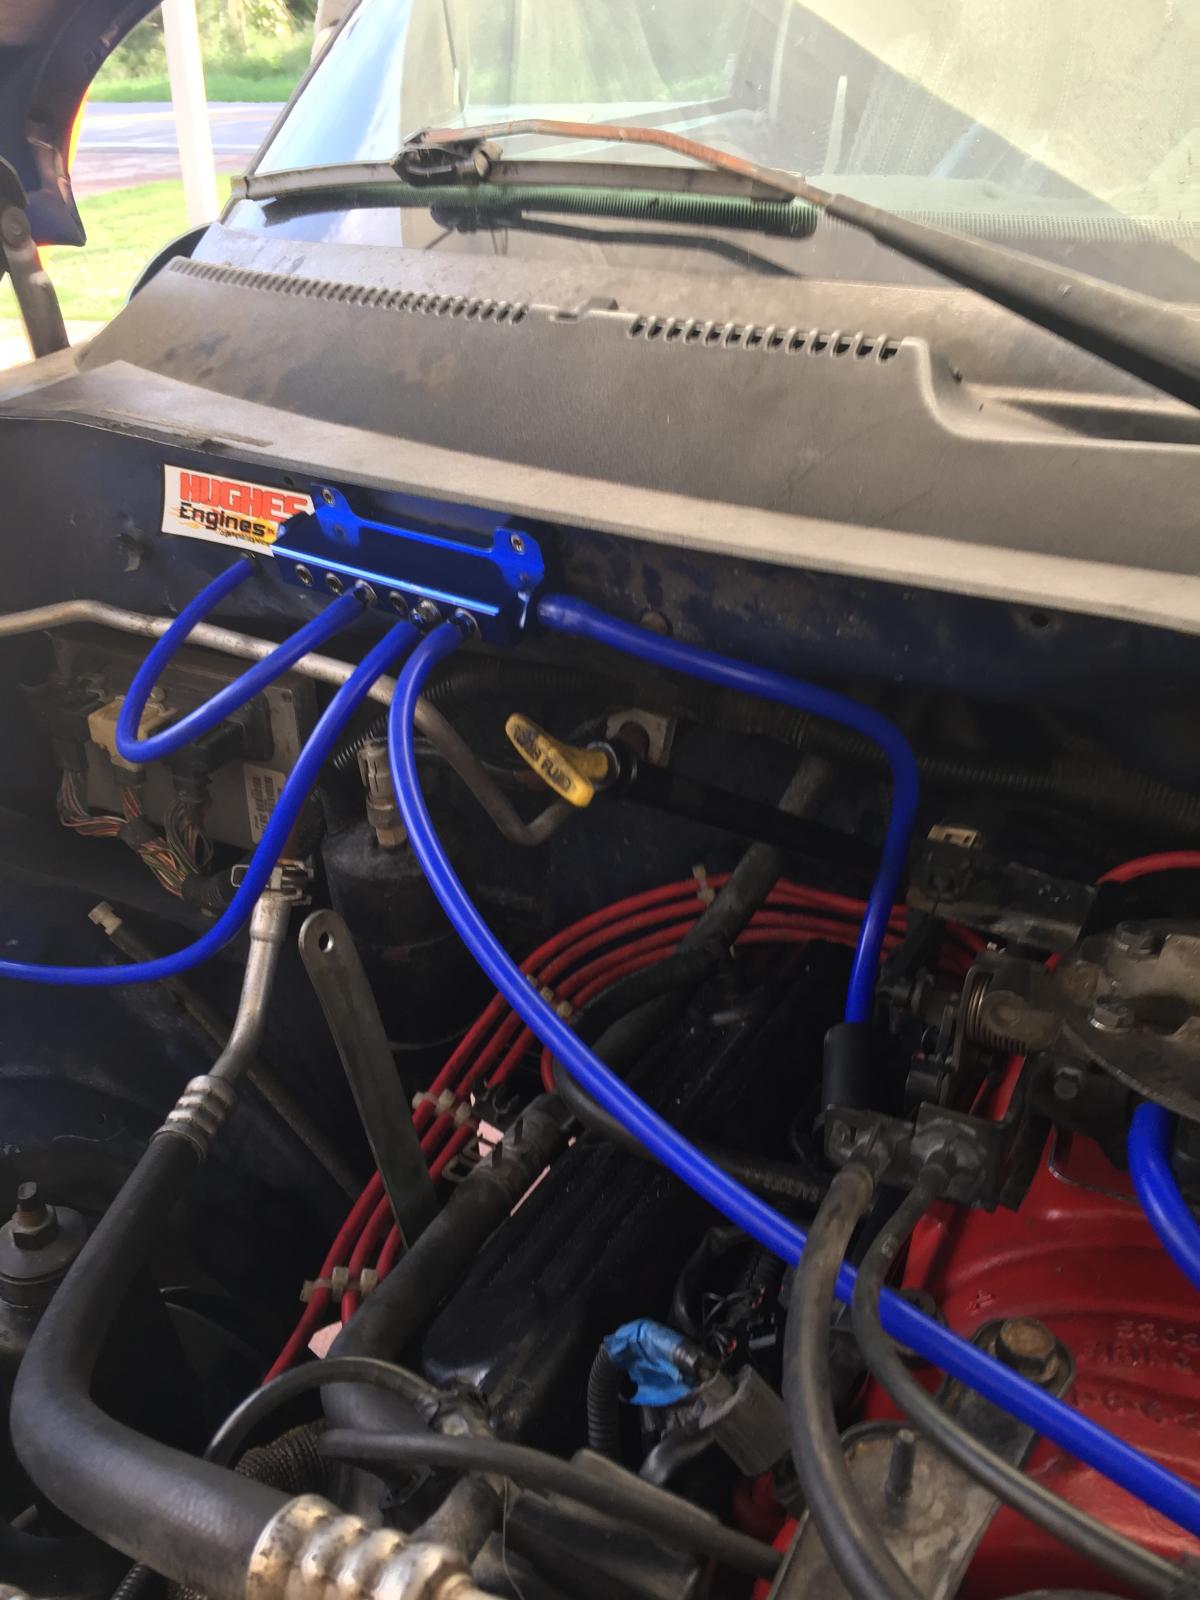
While wrestling the new engine into place at the bell housing and torque converter I inadvertently squashed a white vacuum line. I managed to get it removed from between the two sections. Now when trying to trace it back I find there is a second (unsquished) white line. What are these and where are they supposed to be terminated?
Also, when the exhaust came out I now have a black rubber hose with a small metal curved pipe and bracket. (See pic). Where did THIS one appear from?
Any and all assistance is appreciated and I thank you in advance. Please don’t cut my throat, I’ve never tackled anything like this before.