


Mopar1973Man
Owner
-
Joined
-
Last visited
-
As for fuel mileage I have to ask how many miles on the injectors? How is the lift pump pressure? I've seen Thor with a new in tank pump and was going into a vacuum trying to pull fuel. Might wanna check being you are towing trailers with it. 100k miles is about all CR injectors are good for.
-
Would you be will to share your repairs as an article too? I'll even give you a $10 credit for each article we accept. Try to balance between a good amount of words in the page as well as good phots.
-
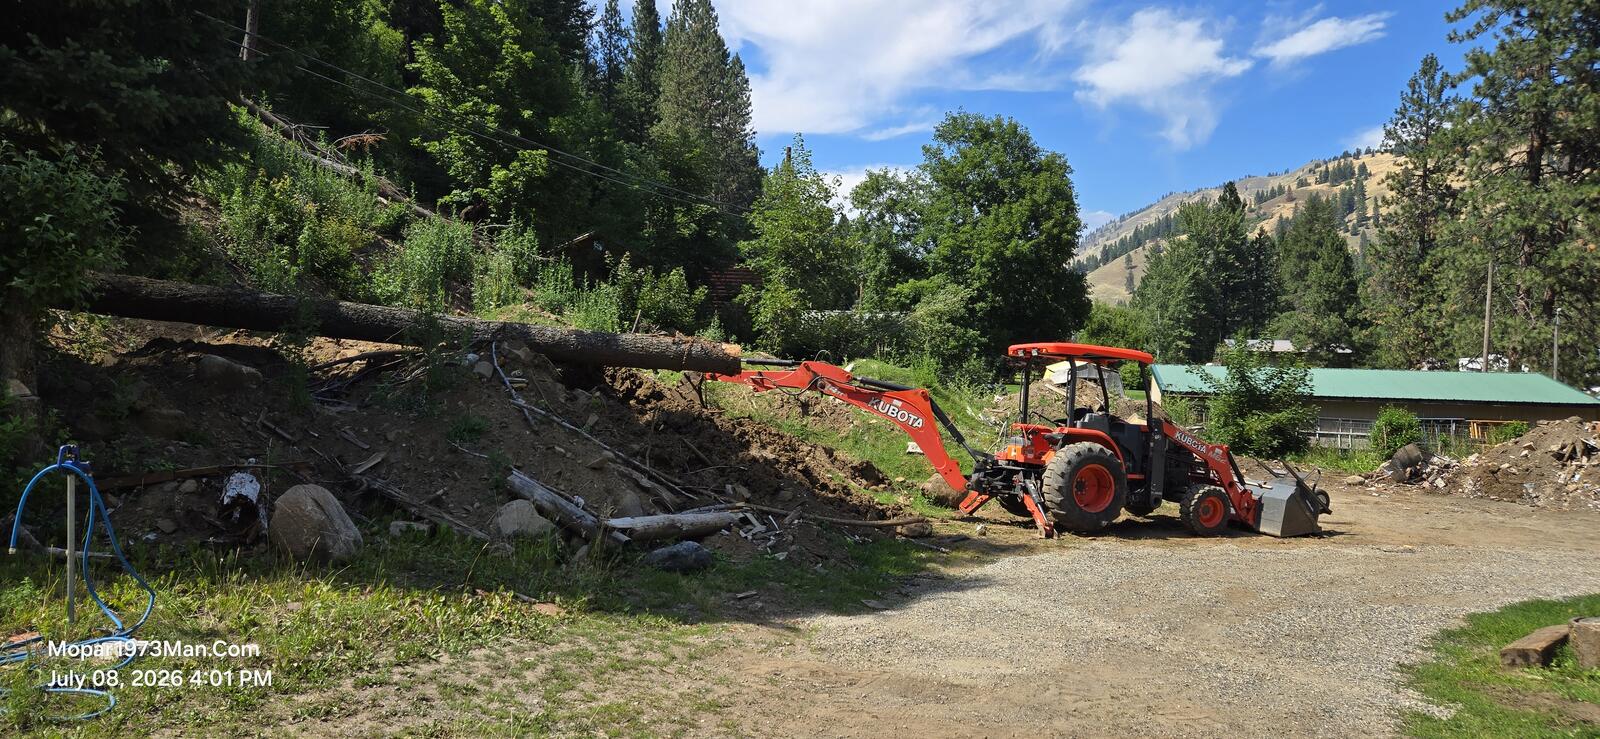
Thank you. I'm a two time cancer survivor. 2018 Christmans & 2023 Christmas. Bladder cancer ruined my bladder and then had a ileum ostomy installed. I'm unable to commerically work any longer with my ostomy bag on my belly. I'm going to keep the website going the best I can to keep it going for all you. Currently I'm busy with the clean up of the landslide and getting all that dirt moved and garbage hauled.
-
Would you be willing to write an article for here in the article section?
-
Should try a trip to Seven Devils, Idaho too but you have to walk to all the lakes.
-
Like myself I've a got a dash top already sitting here in the garage but I need a place to work so to install the dash and right now the property is in a state of flux with the landslide clean up starting. My garage is so small you can't really open the truck doors enough to work.
-
Its been super handy to have for sure but the mean time till failures is about 2 to 3 hours at best. Lost the starting system was pulling fuses and ended up breaking two fuses. Found the loose starter lead. Fixed Next morning got up and had two flat tires. Spent a day getting them fixed. Next morning get up and run the tractor for some clean up of lumber and dirt. Belt breaks and overheated. Replaced belt. Next morning I get up to move 1 tree off the hill and front driveshaft falls out and drains all 15 gallons of hydraulics fluid. Total time running 10 hours and all this go wrong.
-
Nope as soon as Mark seen it I shutdown and there it sits till I can get to Lewiston to get about 15 to 17 gallons of Kubota UDT-2 fluid for the transmission and hydraulics.
-
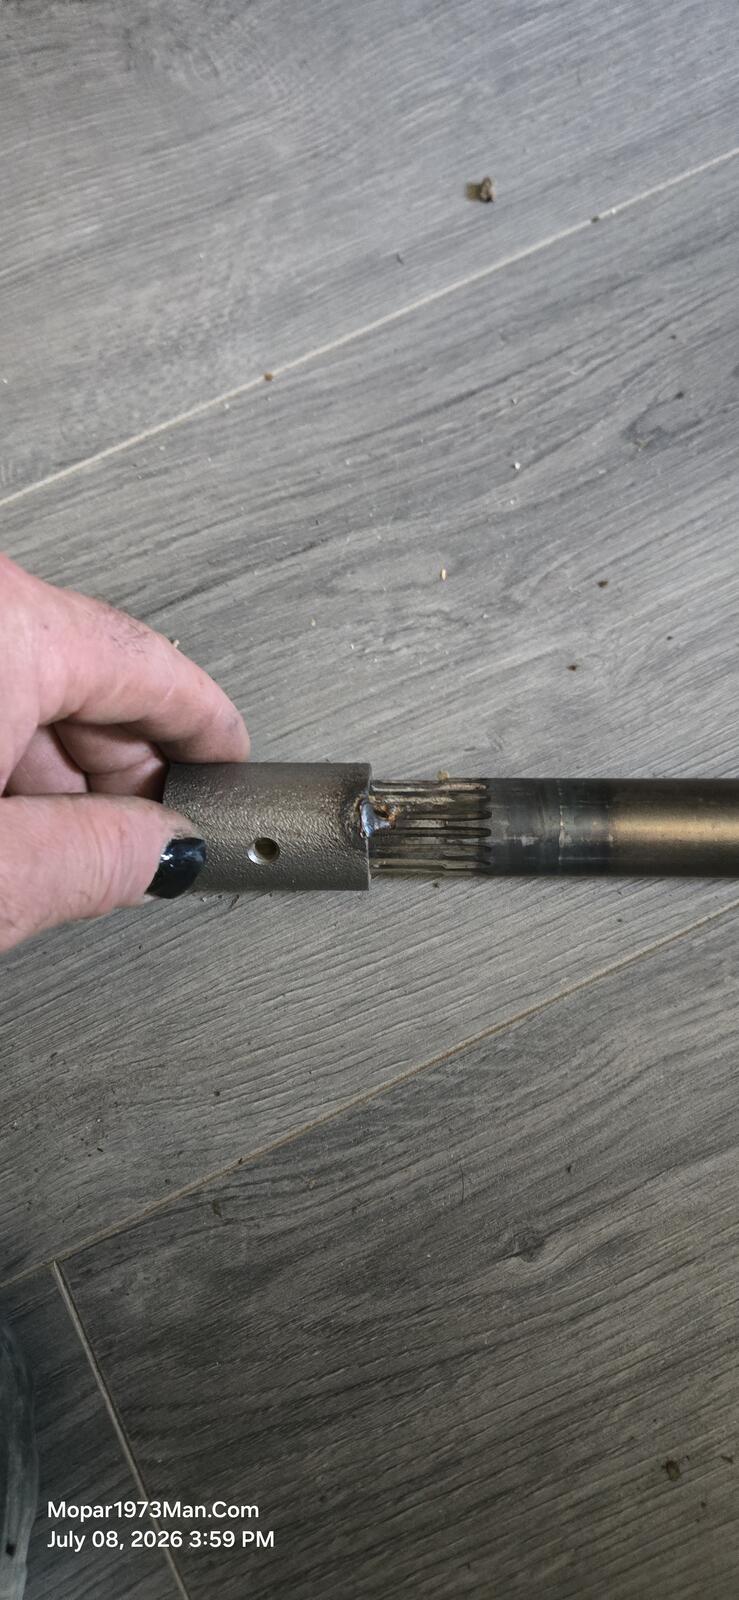
Another run. I got up and got the repairs done above. There is a bit of redneck engineering being 2 fuses are Kubota only. I'm going to rewire 2 circuits for having a waterproof breaker instead of Kubota only fuses. Got the tractor going again. Now the next morning 2 tires are flat. I work most of the day to get one front and one rear tire in the bed of Beast and haul to Grangeville ID for tire repairs. $100 later both tires are fixed and reinstalled last night. This morning I figured I would pull one down tree off the bank and get it ready for a friend to process it down into firewood for me. As I'm working to get the last half of the tree off the bank and the front driveshaft falls out and drains all 12 to 13 gallons of hydraulic fluid out of the transmission. Now I need two 80 cent pins for the front drive shaft and fix the BS repair some else did which was welding the collar in place. OMG!
-
Yesterday I was raking through the pile and separating lumber and debris. FedEx shows up and shuts down the tractor. Took care of FedEx, and then the tractor would start. After probing the internet looking for information. I gave up and quit for the day. Got up this morning and tore all the stuff apart and found the problem: the solenoid lead was pulled and hidden, could see it. Plug it into the starter worked. Then put it all back together. Now I'm repiling the debris, and the belt breaks, and the alarms are going off for an overheat condition. Now everything is at a stopping point again. Now I'm forced to enjoy the 4th of July and just relax being the tractor broke and now gotta wait for parts.
-
I can leave it right here and let you author out an article on the website. I'll give you a $10 credit on your account for article production. You create, edit, and modify anytime you wish.
-
We are fighting the same battle here. Fixing trucks, then now fixing the tractor so I can continue clean up of the old shop. Just lost the solenoid wire but here we are hunting for bad fuses and bad relays. Possibly a bad safety switch. Just fixed the starting problem and lost the fan belt and overheated.
-
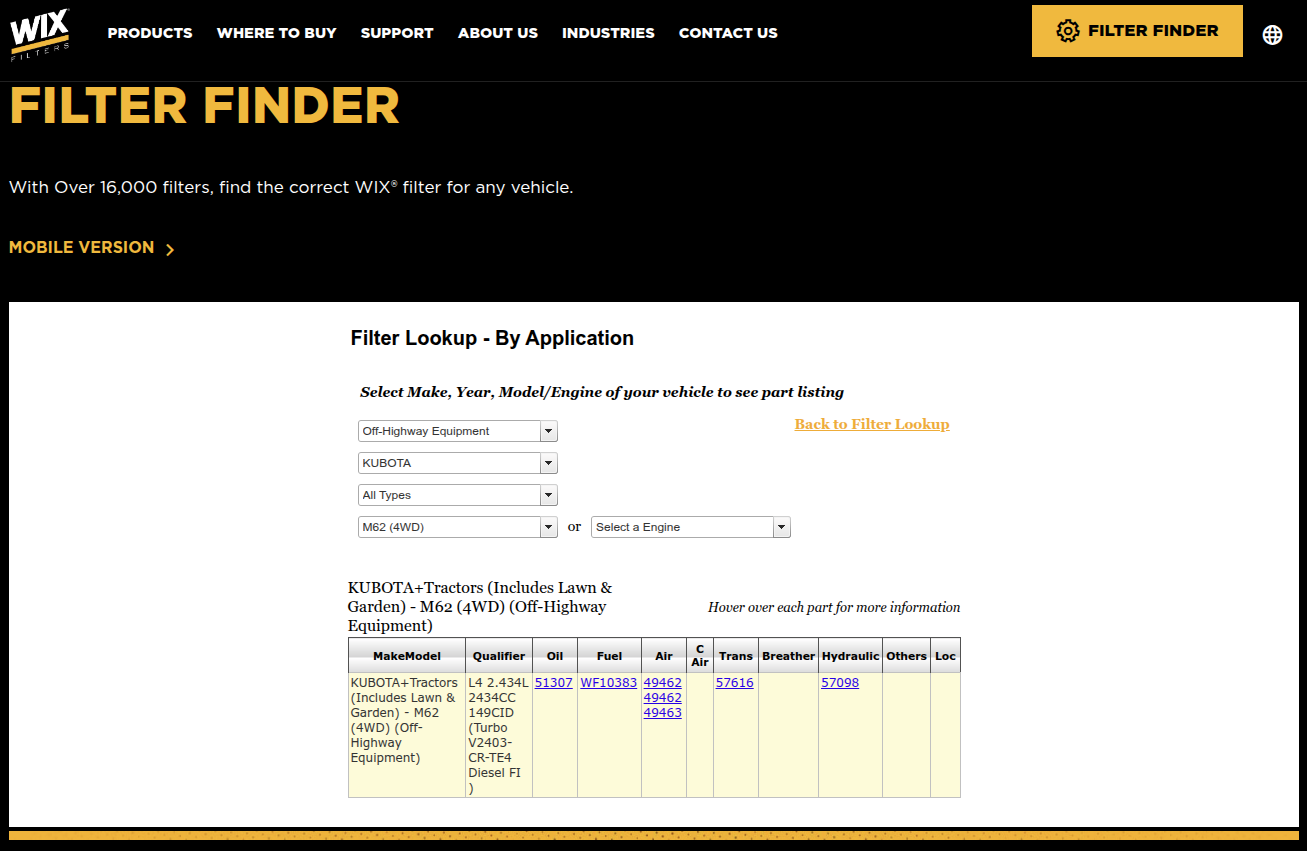
I want to start a thread and see if any of you guys have tractors, and what do you use to service your tractor parts and supply-wise? These are the Wix numbers, but we all know it will cross over to NAPA just as easily. I'm going to hold to the UDT2 fluid that Kubota uses for now till I get some research. I'm already enjoying the fact of being able to move dirt now and straighten out the yard and get rid of all the trash pile out here.
-
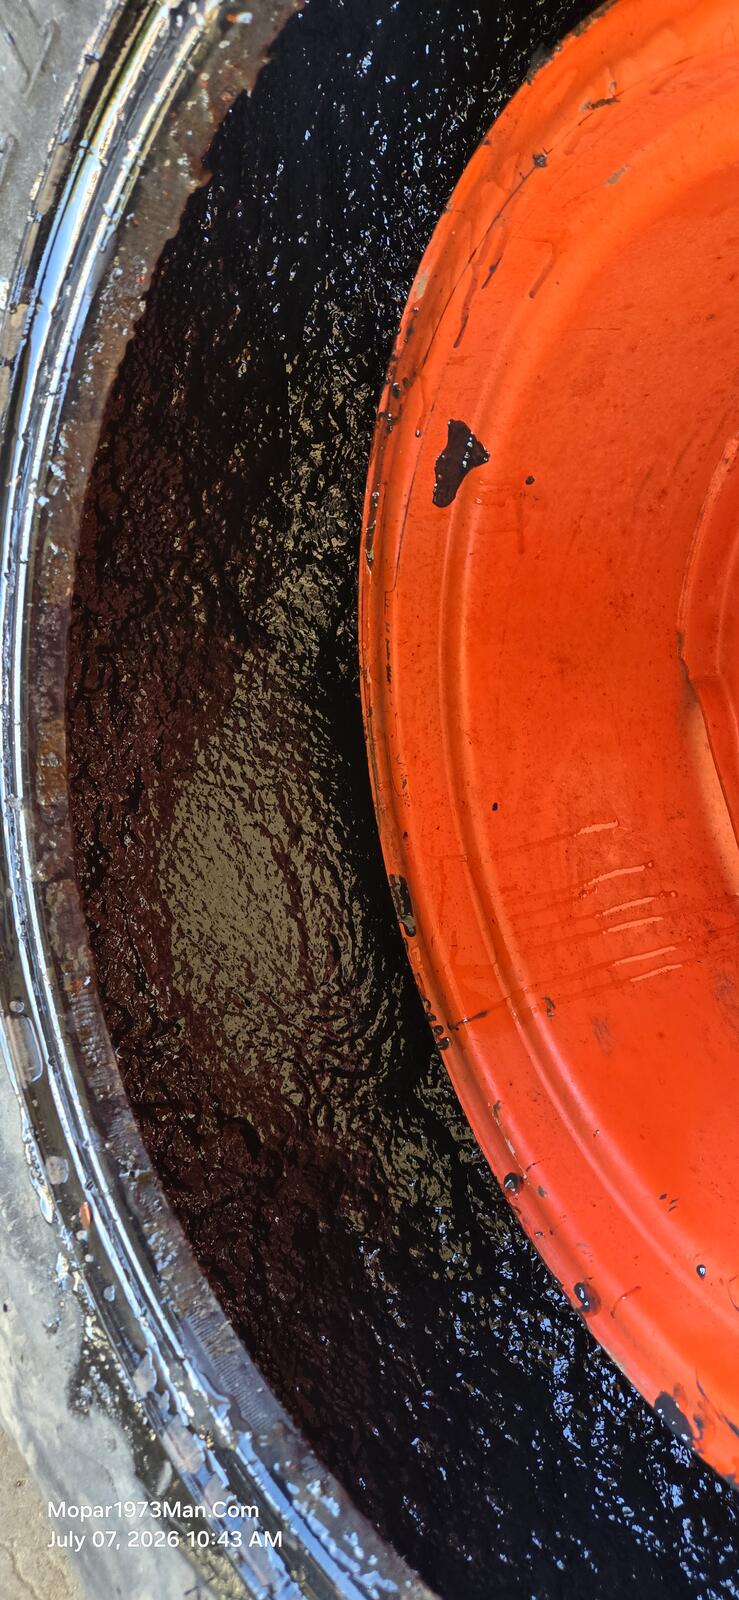
Finally got my materials together to do a service on the new-to-us but 2018 M62 Kubota backhoe. Since I was pulling all the body off the engine finding out that the doghouse panels are missing clips and are tie-wired on. I upgraded to racing zipties. I replaced some old-looking Kubota filters on this machine. I dumped the little 9-quart engine, which actually has 2 drain plugs, because the front driveshaft is running right up the middle of the oil pan. Boy, it's tough to spin off the filter when you can't find your oil filter wrenches. Mark found them for me. Fuel filter: no problem with a filter wrench. That one seems to need to be pretty tight to keep it from weeping and hard starts. Air filters: there are two filters, an inner and an outer filter. I just opted for full replacements of all filters. Am I waiting till after the 4th of July to run to Lewiston for some UDT2 fluid for Kubota, unless anyone knows of something better? Locally, no one sells the Kubota UDT2 fluid. I've called and looked in different shops, even at the shops that service equipment. I love the built in jacks. 🤣😂🤣😂
-
Yeah, that is one of my fully dressed up green photos. Thanks for the comment. Clutch slipping? No. I've only got Beast (2002 Dodge Ram 2500) and Thor (2006 Dodge Ram 3500 single) I'm wanting to rebuild Thor and make it my next truck for working with. Beast is retired to pulling the RV now. Going to try and get started doing the same thing. I've been out chasing filters and fluids for this 2018 Kubota M62.
