


Mopar1973Man
Owner
-
Joined
-
Last visited
Everything posted by Mopar1973Man
-
Need to look at your local electric shops and see what they can get you. Like myself, I can get all kind of harness covering. I'll just go catch up with my harness builder for my High Idle Kits.
-
Crazy idea would be to pull the front two cab bolts lightly lift the cab up slightly just for the aid of removal. Lot of people say the Cummins can be lifted out without much effort. If the cab is sagging down it would make it a fight to get the oil pan over the cross member.
-
Is it still hooked up? Or.. Is the arm disconnected and wired up in position?
-
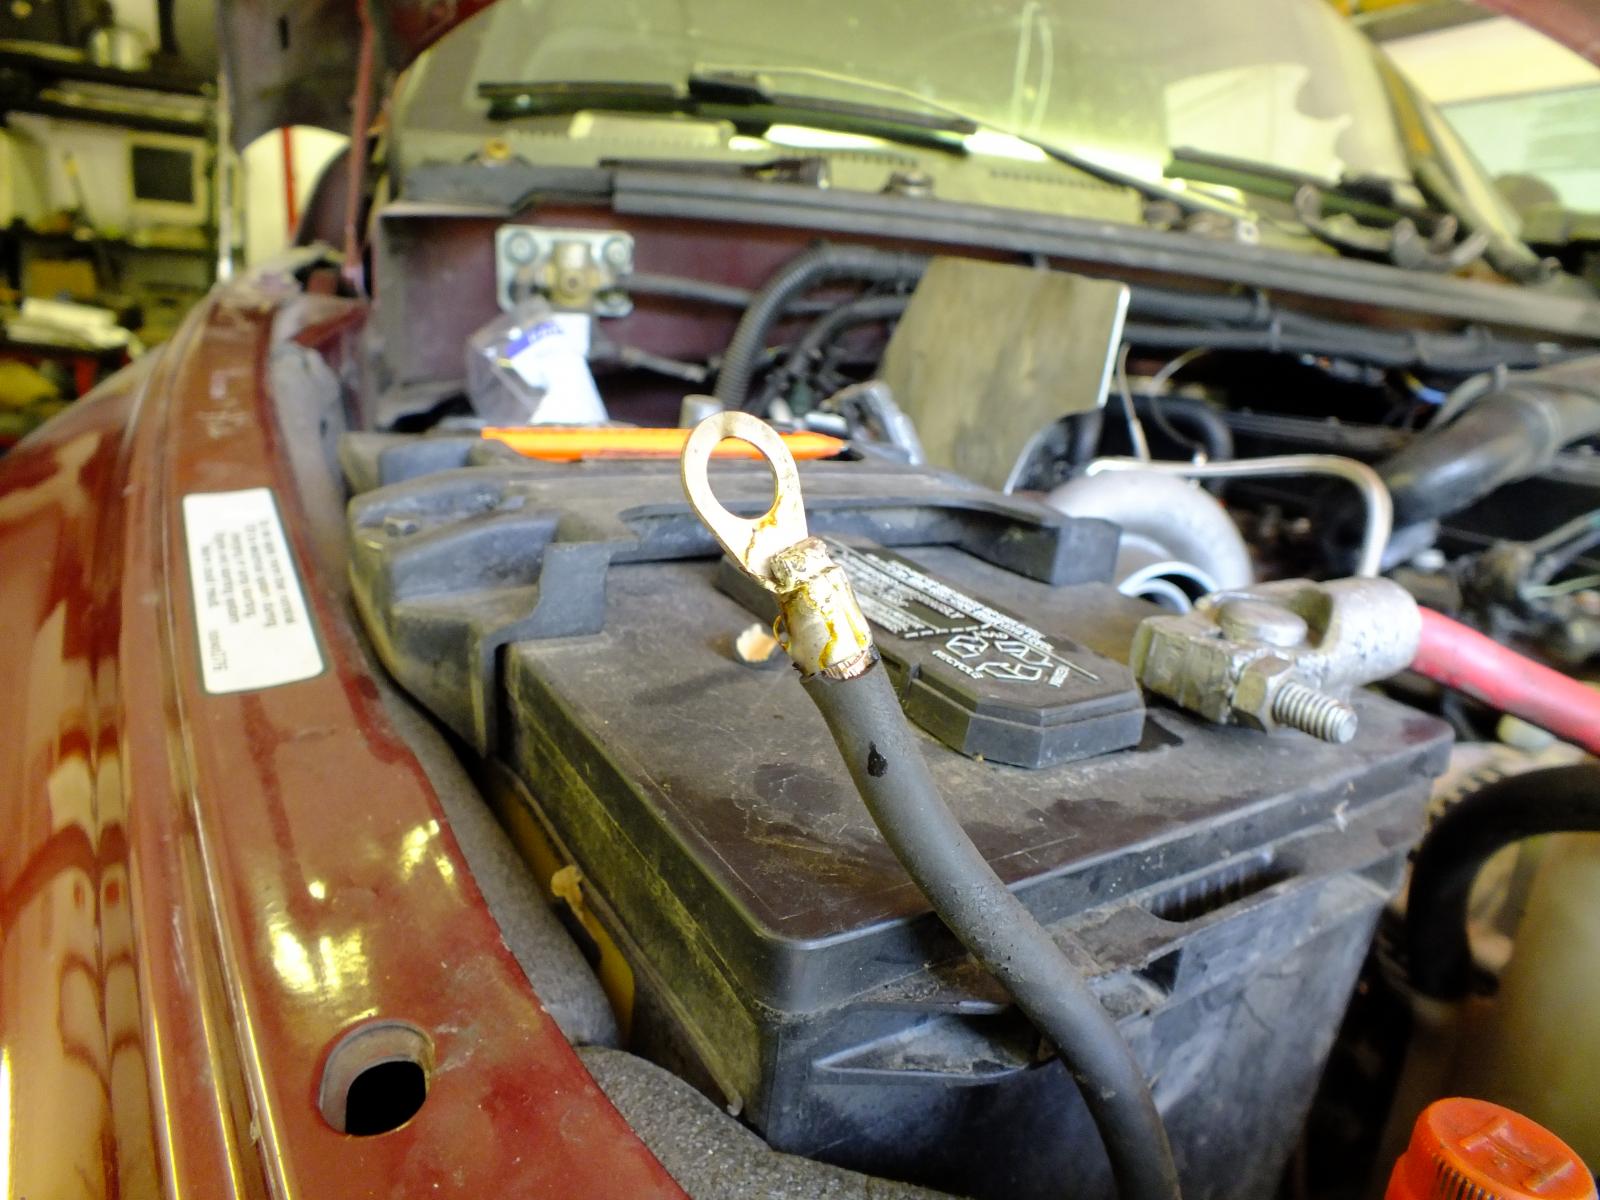
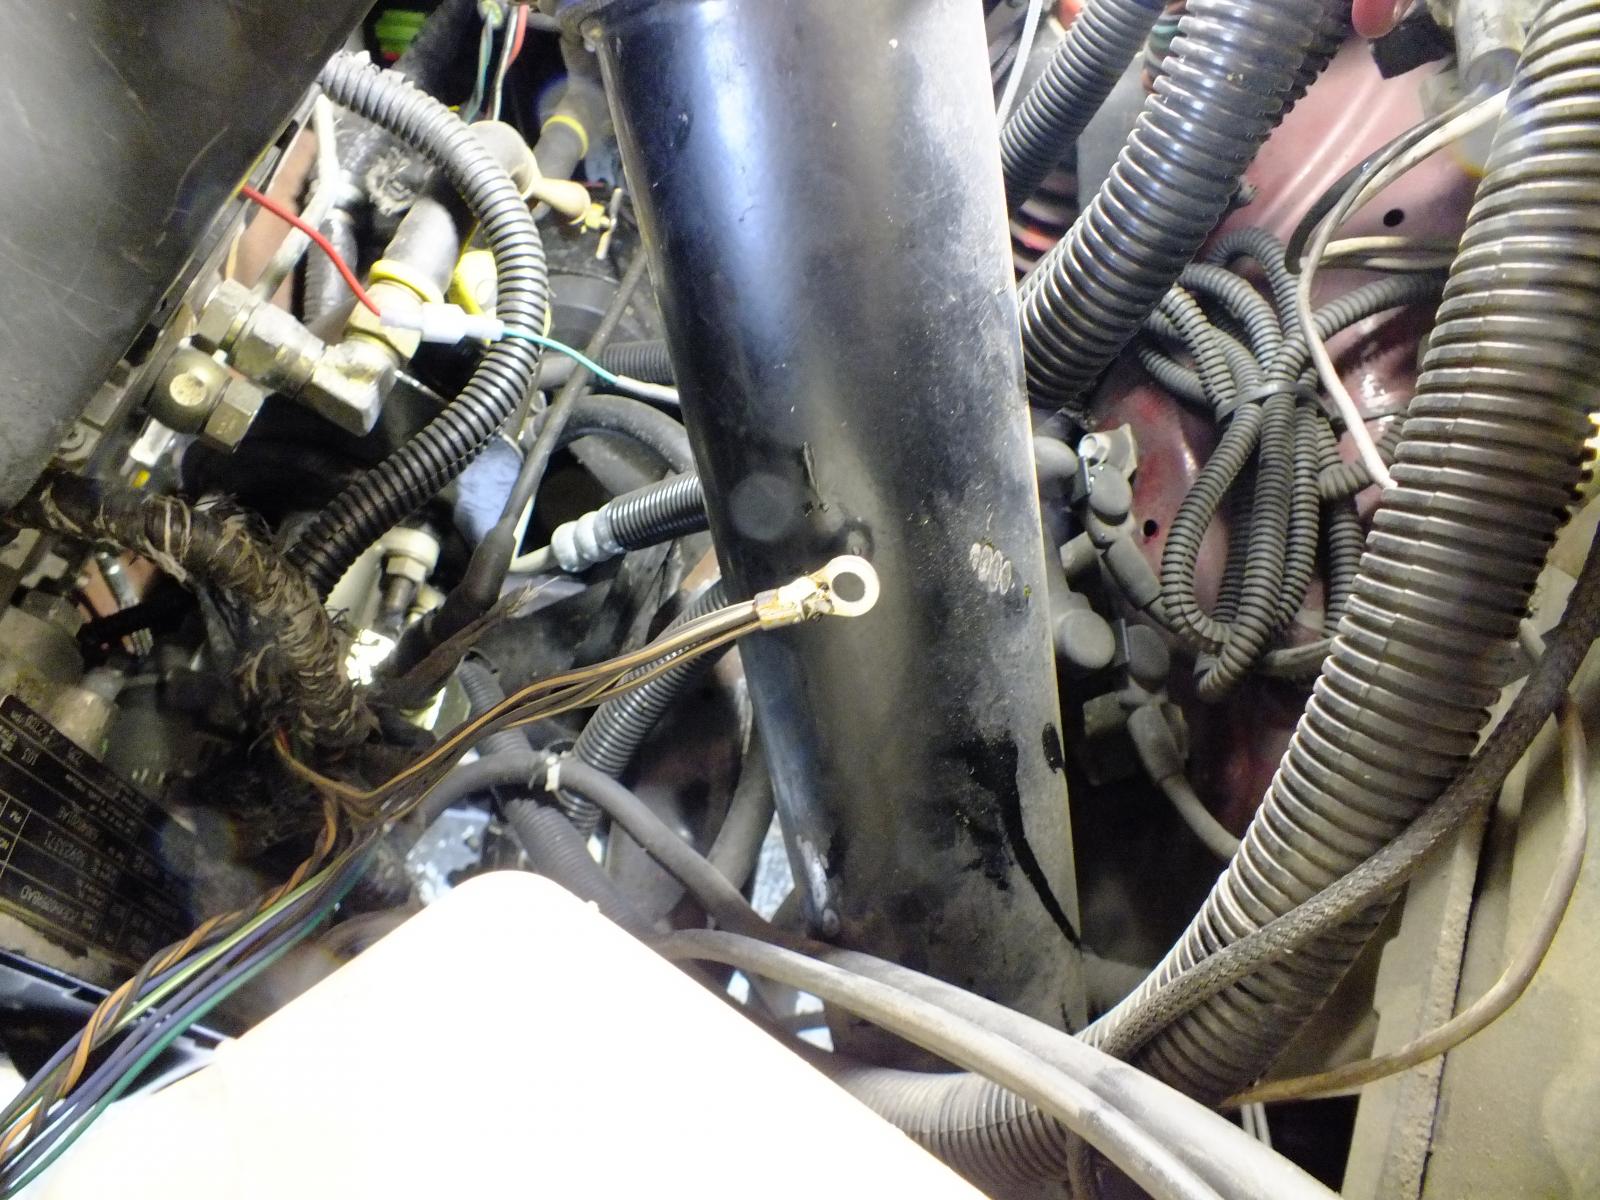
No. I do it all right on the engine. Way too many years of solder work. I've gotten good using just plain old propane torch and roll of solder. No vise. No heatsinks. Heat up, apply solder move on. @JAG1 just like a plumber would with copper pipe. Heated and soldered on the vehicle. Heated and soldered on the vehicle. Look at the intercooler pipe you can see where it got heated. Grey spot. Secret... Automotive wiring is design to tolerate much more heat of the engine and normal operation. This allows for using the propane torch and solder. The trick is to place your lug and the heat only the lug not the wire. Apply your solder and the solder will naturally wick up in the copper.
-
You can always ask the questions here and people are more than willing to help. We do have a fairly good article database full of all kinds of information and support for the Cummins engines. LOL. When I was doing ARP studs on the head I was trying to figure out how to get the exhaust side by the cowl inserted in the head. I used a 2x6 and a floor jack and just lifted the body just a little bit and the stud fell in its holes like its meant to. The factory body rubber mounts tend to well squeeze together over time.
-
Sounds like the o-rings need replacing for sure. I've got to ask how many miles on the injectors? It might be time to consider re-popping or replacing if close to 100k miles. MAP sensor codes. If the ground wire is open it could now produce the P0238 code because of no ground bias so the voltage would be high. The P0237 would be the +5V lead loose or becoming open circuit which would be low voltage. I've got to ask do you have the 2001 MAP sensor or the 2002 MAP sensor? If you have the 2001 MAP sensor you should have the adapter harness.
-
Nope, you do have the RWAL system. So the rear speed sensor is important but you said the speedometer is working correctly and smooth. On the ABS system, the only thing it could be is either one of solenoids is stuck or debris in the system. The only thing I could think of since there is no ABS light I would say its either hydraulic or mechanical issue.
-
I typically just use a propane torch to do heavy gauge wire work soldering.
-
Sorry I missed it. @Marcus2000monster yeah the tool came back it's here. Neighbor picks up my mail for me keep things dry.
-
Timing is not even. Like mine above is +3.7 evenly spaced. 16 + 3.7 = 19.7 + 3.7 = 23.4 + 3.7 = 27.1 RPM is linear and timing should follow the same linear scale. 16 + 2 = 18 + 7 = 25 + 3 = 28 Your timing is not linear. It all over the place. Here is a tool I made that helps... performance tune.xlsx Just change the blue blocks in my spreadsheet.
-
Can you do me a favor and verify what system we are working with. Do you have a module in the driver side corner with an electric pump? Rear wheel anti lock doesn't have this but two solenoids controlling brake fluid. Then back by the rear axle is a dump solenoid. This dumps pressure preventing lock up. Which typically feel like the pedal sinking. Kick back would be Full ABS system which typically if a front sensor is bad or tone ring it will kick back or back pump the pedal making it nearly impossible to push down more.
-
@JAG1 Stay in Oregon, then the rattles stay there too.
-
I've seen the pickup tube crack on stock baskets and cause the truck to run out of fuel at a 1/2 tank. Now did you install a draw straw?
-
Block heater only needed below 0*F (-17*C).
-
Smoothly? Like when my ABS gave up. The front sensor would show ZERO till 30 MPH and the jump up. This is a tone ring issue in my case. Being I'm going to assume its RWAL (Rear Wheel Anti-Lock). This is the only speed sensor there is.
-
Some days I wish @Marcus2000monster just would come over the mountain to Idaho and let me look at it.
-
Smoke color and being light grey is possible that the timing is a bit retarded on the low end. You could try my current tune a bit aggressive... 1500 - 16.0 2000 - 19.7 2500 - 23.4 3000 - 27.1 Max - 27.1 Max timing offset - 1.5 Low PSI Timing Reduct - 4 Timing Reduct Scale - 50% Light Throttle Timing Adv - 3 Light Throttle Load Limit - 30%
-
First off. I would request that all brakes be inspected and the entire system bleed out with fresh fluid. Make sure the front calipers are not bound up. Then check there rears for any broken springs or issues. Rusting drums can cause the lockup you talk about you might look. Is your speedometer functional? Is it showing speed properly?
-
Good time for upgrade to Quadzilla. Edge Products are not designed for larger injectors and do no give a way to change timing and fuel maps.Here you go...Talk to @Me78569 he was the one building them.Be careful if you trigger 3 cylinder mode it will continue the same way as well.Totally normal. Once the mode is triggered and the switch is turned off. The ECM software is still flagged for that mode of operation till 165*F of coolant temperature is reached. Then the high idle is canceled. The other way to cancel is to turn the switch off. Then shut down the engine for 10 seconds to 15 seconds and restart. Then the high idle mode is wiped out on a fresh reboot of the ECM.Your looking for the 4 door extended cab.


