Everything posted by Me78569
-
two problems
Did you bleed the system after you replaced the pump? as for charging, can you go into more detail? What does charge hard mean? does it always have this weird 24 hour wait time between charges? What regulator did you get? Have you checked for AC noise in the electrical system? How do you have it wired?
-
Boost fooler
I think, Key word is think, the limit is near 22psi. I know that the ecm goes into boost limit checking at around 16psi.
-
Boost fooler
I think you would be better off just dialing back the boost elbow to stock levels. The boost fooler will limit boost to approx 4 psi less than stock, so you loose 4 psi worth of stock map without any extra fueling.
-
Another Arduino Project being dreamed up...Smoke output throttle reducer
Menu system has been changed so it is easy to switch between menus and................................I might as well add a valet mode too huh? good cause I did Now Thraverage = constrain(map(Thraverage,0,100,0,MaxTps),0,100); you can set MaxTps from 0 to 100, and it will "map" the maxtps value as the new %100. So if you set %20 as the max TPS input then it will limit the TPS output, but you will still have full range of throttle input so the driver will never know as TPS will scale up as they increase throttle. IE: %20 TPS set means TPS outputted will be 1/5 what the driver inputs %5 driver TPS = %1 ecm outputted %25 driver TPS = %5 ecm outputted %50 driver TPS = %10 ecm outputted %75 driver TPS = %15 ecm outputted %100 Driver TPS = %20 ecm outputted.
-
Boost fooler
Unless you plan on adding more fuel in the future I would say skip the boost fooler and just dial back the boost elbow to 22 psi. I would wager a bet that a boost fooled, stock fueled truck, would be slower than a stock truck without boost fooling. Boost foolers play it safe by limiting boost to 18psi, but a stock truck will run right up to the 22ish psi the ecm allows. If you are going to add fuel down the road, just wait and get a quad zxt or edge ez.
-
Apps throttle input buffer Smoke reduce for Snap Test
This article covers building a simple Arduino device that will buffer APPS input from the pedal to the ecm. The end result is a slow but steady increasing TPS input to the ECM regardless of how quickly the driver modulates throttle input. If the driver goes from idle to %100 throttle this device will slowly roll into the throttle, at a configured delay, to prevent smoke. This device can also prevent barking by using the same logic in reverse. What you will need for this is - Arduino Uno with a button / LCD shield http://www.ebay.com/itm/UNO-R3-BOARD-LCD-BUTTON-SHIELD-CABLE-ARDUINO-COMPATABLE-PREPROGRAMMED-/322124430521?hash=item4b001cbcb9:g:ulAAAMXQpPhTlIkP - Deutsch dt 6 plugs http://www.ebay.com/itm/321335296062?_trksid=p2060353.m2749.l2649&ssPageName=STRK%3AMEBIDX%3AIT - ~30" of 14 - 16 gauge wire. More or less to remote mount the unit in cab - 12v power source for arduino, I would suggest usb car charger to usb B plug Connecting the Unit, Stack the arduino with the button shield, The pins should line up The TPS input from the apps ( white wire) plugs into A0 on the arduino board, and should be pin 3 on the female end of the DT -6 plug that plugs into the apps sensor. The TPS output from the arduino ( blue wire) plugs into pin 3 on the arduino, and should be pin 3 on the male end of the dt-6 Plug that plugs into the OEM wire that leads to the ecm. All other wires between the DT-6 plugs are pass through wires, IE; pin 1 to pin 1 Upload this Code to the arduino using a USB cable and the arduino software unplug the OEM dt-6 connector from the APPS sensor, plug in the arduino pig tail to the apps and the OEM dt-6 plug that leads to the ecm. Use, Use the far left button to set the buffer for increasing throttle, then use the up and down to increase or decrease between 1 and 2000 ms. To set the buffer for decreasing TPS use the 2nd to left button to set the mode, then use the up and down button to increase or decrease between 1 and 500 ms. to see the inputted TPS vs the Outputted TPS use the 2nd to right button "TPS In" is what the driver commanded for a position, TPS Out is what the arduino outputted to the ecm. You should see the output follow the input.
-
New truck!!
you're switches aren't straight
-
Teardown and Rebuild
I wouldn't call mine a set temp either, but it never kicks on unless a good bit above 200*f
-
Teardown and Rebuild
mine too, but mine doesn't kick on until above 200*f
-
Heat for RV
I have a CO2 detector in the camper right above our heater, I have 0 issues running it all night long. A furnace with an electric heater would easily 3x my power needs during the winter. as it sits my 6,000 btu heater only used ~.7 gallons of propane over a VERY cold( near 0) 2 night camping trip with the heater running all night keeping the camper at ~60*f However this is in my smaller camper so a blower is not needed.
-
Another Arduino Project being dreamed up...Smoke output throttle reducer
Alright I am ready to say that I have beta version 1.2 done. changes, independant increasing TPS and decreasing TPS settings 1-2000 ms configure for TPS increase nonlinear increasing TPS to increase TPS slower at low TPS input and faster when at high TPS input 1-20 % it will increase at 1/3 rate 20-40 % it will increase at 1/2 rate 40-60 % it will increase at 2/3 rate. 60-100 % it will increase at 1 rate 1-500 ms configure for TPS decrease throttle decrease delay is linear. Things I still need to change, The mode selection between showing TPS increase value, TPS decrease value, and input TPS vs output TPS is not "easy" I use a if statement to show if value is x/1 x/2 or x/3 however increasing x value happens VERY quickly IE x+30 everytime you push the button to select a new mode. This is due to how the button works on the arduino. I might use a while statement to increase an outside variable only once so liong as the button is pressed. Not sure yet.
-
Notes from the wilderness!!!
Yep, Been there done that I will buy them from now on. You simply cannot buy thicket enough plastic to do the job over the course of a few years. That plus the roof, it has to be made of something stronger to keep from getting holes. IF you put into it how much plastic roofing costs you will win the argument ANY day of the week. Just the roof alone for our 10 x 12 would have been ~$300 I think.
-
Notes from the wilderness!!!
Yea homemade, Pretty much it is 4 - 4x4 posts for the corners, and some 2x4 to attach it all together with some 6 mil plastic around the outside. HOWEVER just buy one, It will be cheaper ( when you include time) to just buy it and it will look better. We will be upgrading to this. http://www.ebay.com/itm/ShelterLogic-Grow-It-Greenhouse-10ft-W-x-10ft-L-x-8ft-H-Model-70656-/311597106984?hash=item488ca28728:g:MdsAAOSwVL1WDZTG I really cannot wait until I have enough land to get a good 20 x 40 green house.
-
Heat for RV
I'd love to see your setup. I am really happy with my ventless heater, no smell on my unit and it puts out great heat.
-
Notes from the wilderness!!!
Fall, If you'd like I can ship you a few cloves for planting when I harvest this year? We have some really nice gaint garlic.
-
Any reccomendations on a good DVM
Cowboy, I hope my 470 last longer.
-
Notes from the wilderness!!!
i'd highly recommend it. It is SOOO easy to do and it leaves you with a nice area to plant mid july once you harvest the garlic.
-
Teardown and Rebuild
Mine truck is doing the same thing unloaded right now, I need to get around to cleaning the radiator.
-
Notes from the wilderness!!!
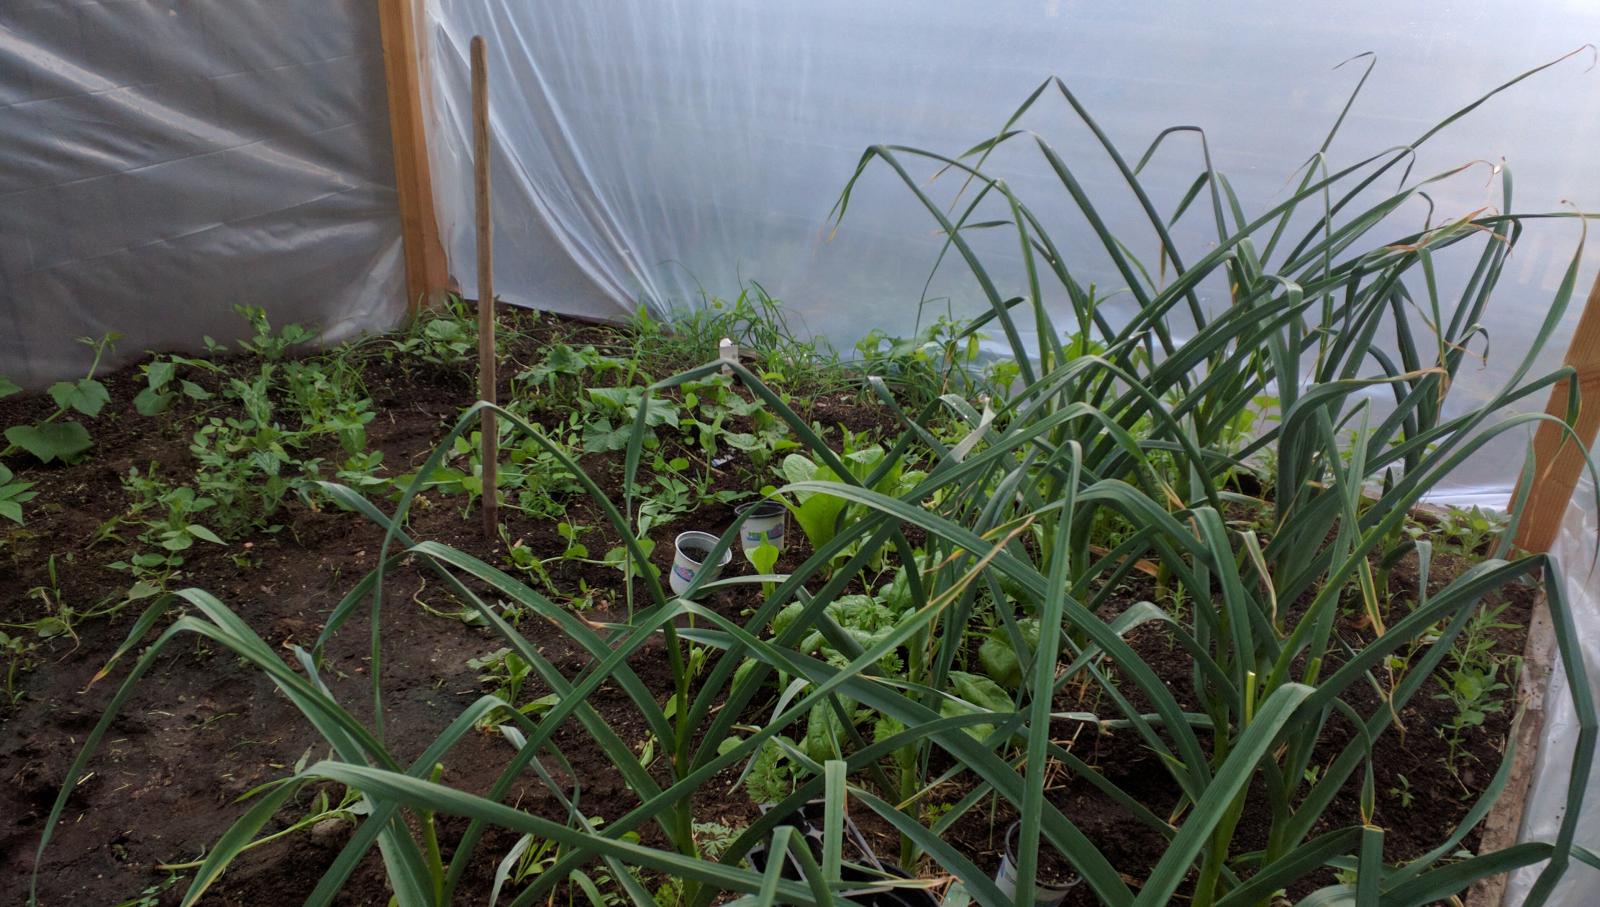
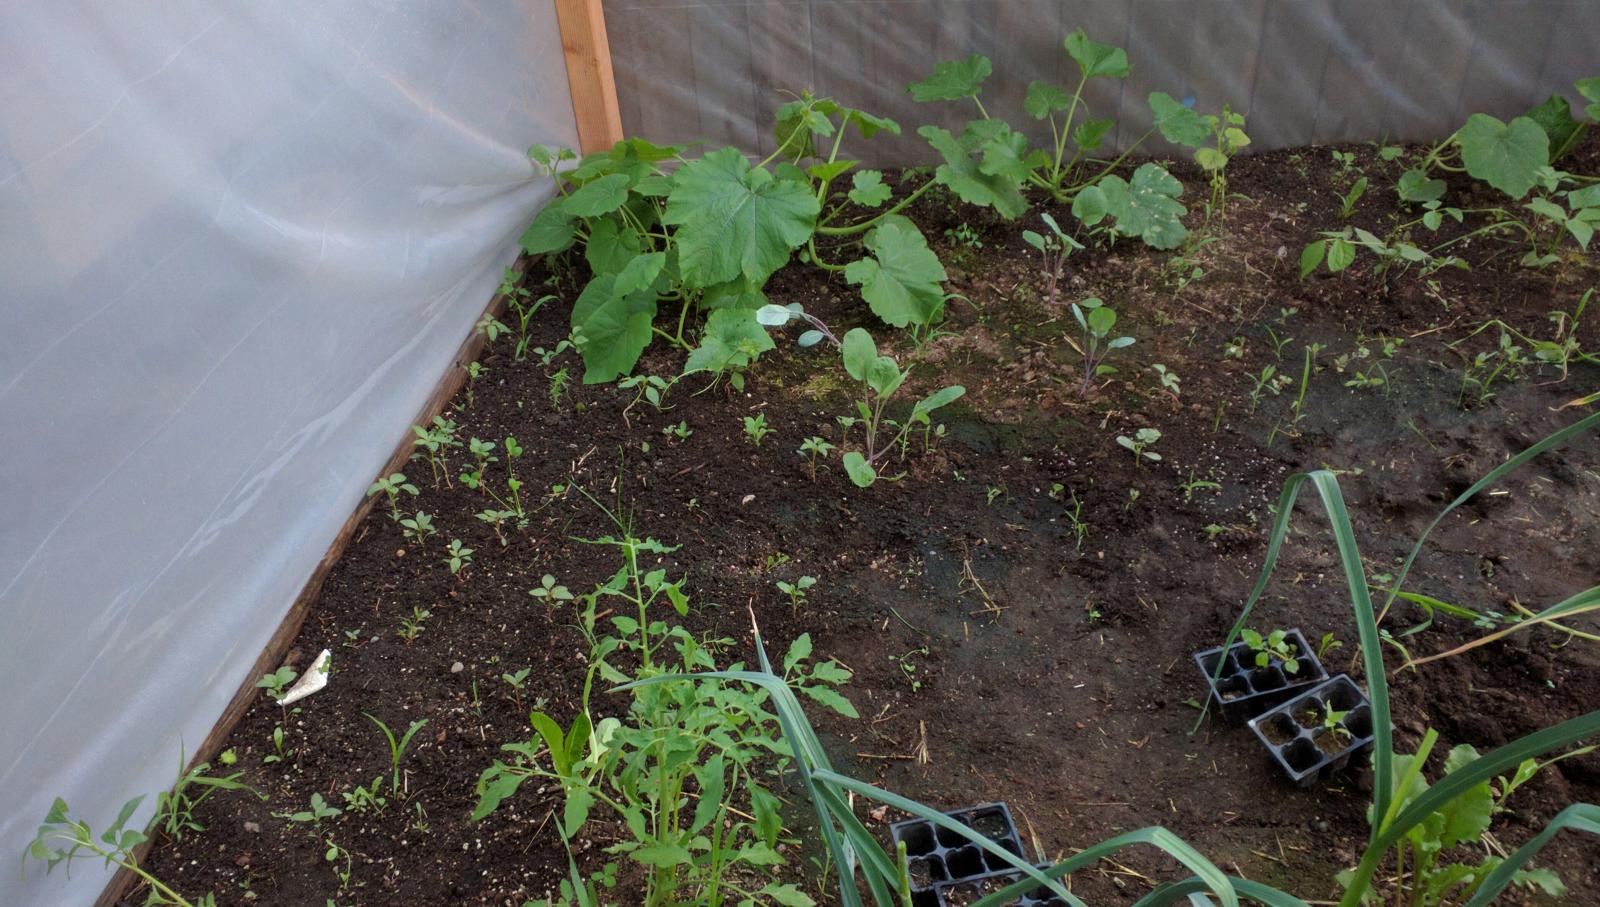
Greenhouse is doing it's work. We harvested our first veggies this year. 2 split peas, some spinach and a boat load of rhubarb. Within a week we should have some squash starting to show. The garlic is doing great also. ( on the right, tall) Our short list - garlic - beans -peas -tomato ( various) - green / yellow / Patty pan squash - cucumber -strawberries -raspberries - asparagus - lettuces - spinach - small onion (whatever they are called) - Brussel sprouts Anyone else growing stuff?
-
Any reccomendations on a good DVM
A good multimeter is really a critical tool to have.
-
Another Arduino Project being dreamed up...Smoke output throttle reducer
Yea maybe we host it as a download and an article.....
-
Any reccomendations on a good DVM
if you are going to spend ~$100 then take a look at the ex470 from extech( I think). I have been really happy with mine
-
Another Arduino Project being dreamed up...Smoke output throttle reducer
I dunno, makes me really nervous to sell a device that sits between the ecm and TPS input. Heaven forbid the unit freezes at a high TPS input or something.
-
???disc vs drum brakes
lol you guys are nuts. I can tinker until the end of time with my current setup, I may never sell the piece of junk. Just imagine if I get the smarty pro
-
UDC tuning for vp trucks!!??
I think there is more to it than just flashing with a 815. If that was the case, wouldn't rebuilders all offer a "hot" pump?


