
sooxies
Unpaid Member
-
Joined
-
Last visited
Everything posted by sooxies
-
It was cheaper to powder coat mine rather than restore to like new (I like the original finish as well). The winter got the best of the set that I bought but not going to complain for the price I paid. I wasn't going to pay an outrageous price for a set in very good condition. Also, for me, it took about 1.5 months for a set to popup that was at a convenient location (craigslist).
-
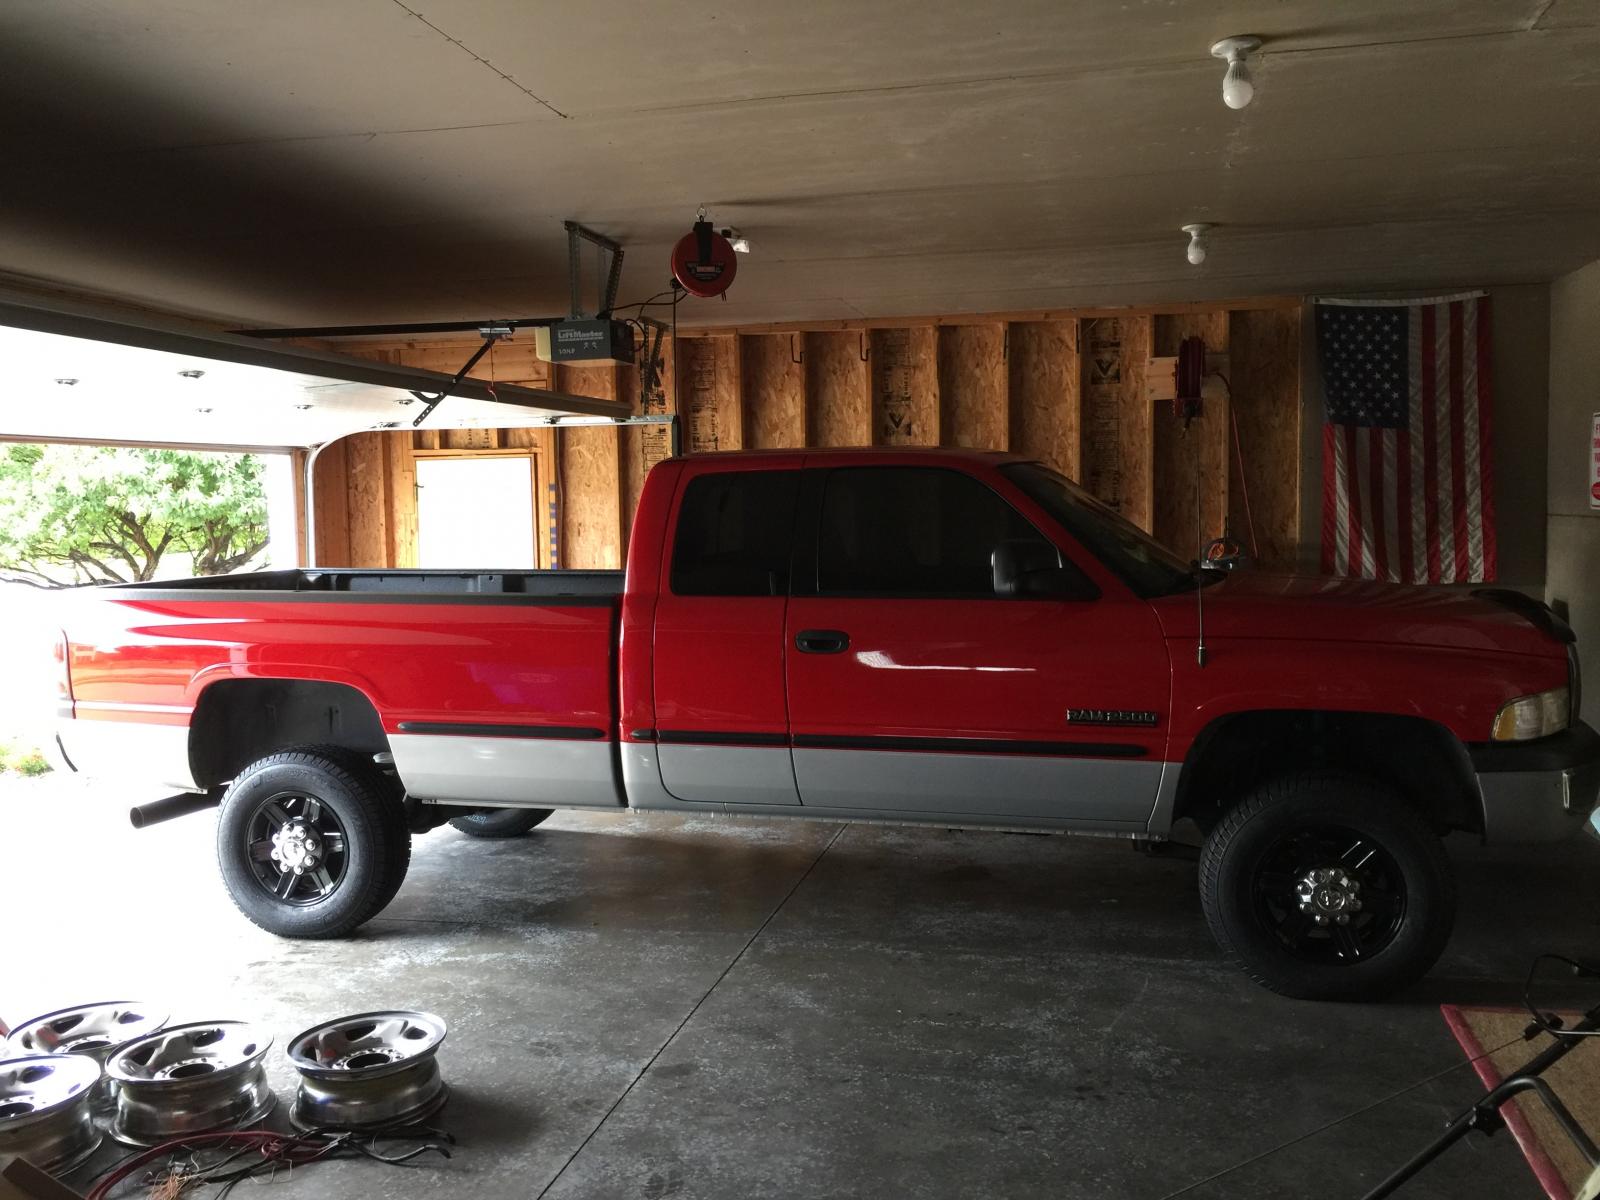
I've been lurking quite a bit the past couple months on the forum without posting (shy sometimes). Glad to find a thread I could add to right away. Powder coated 17's.

-
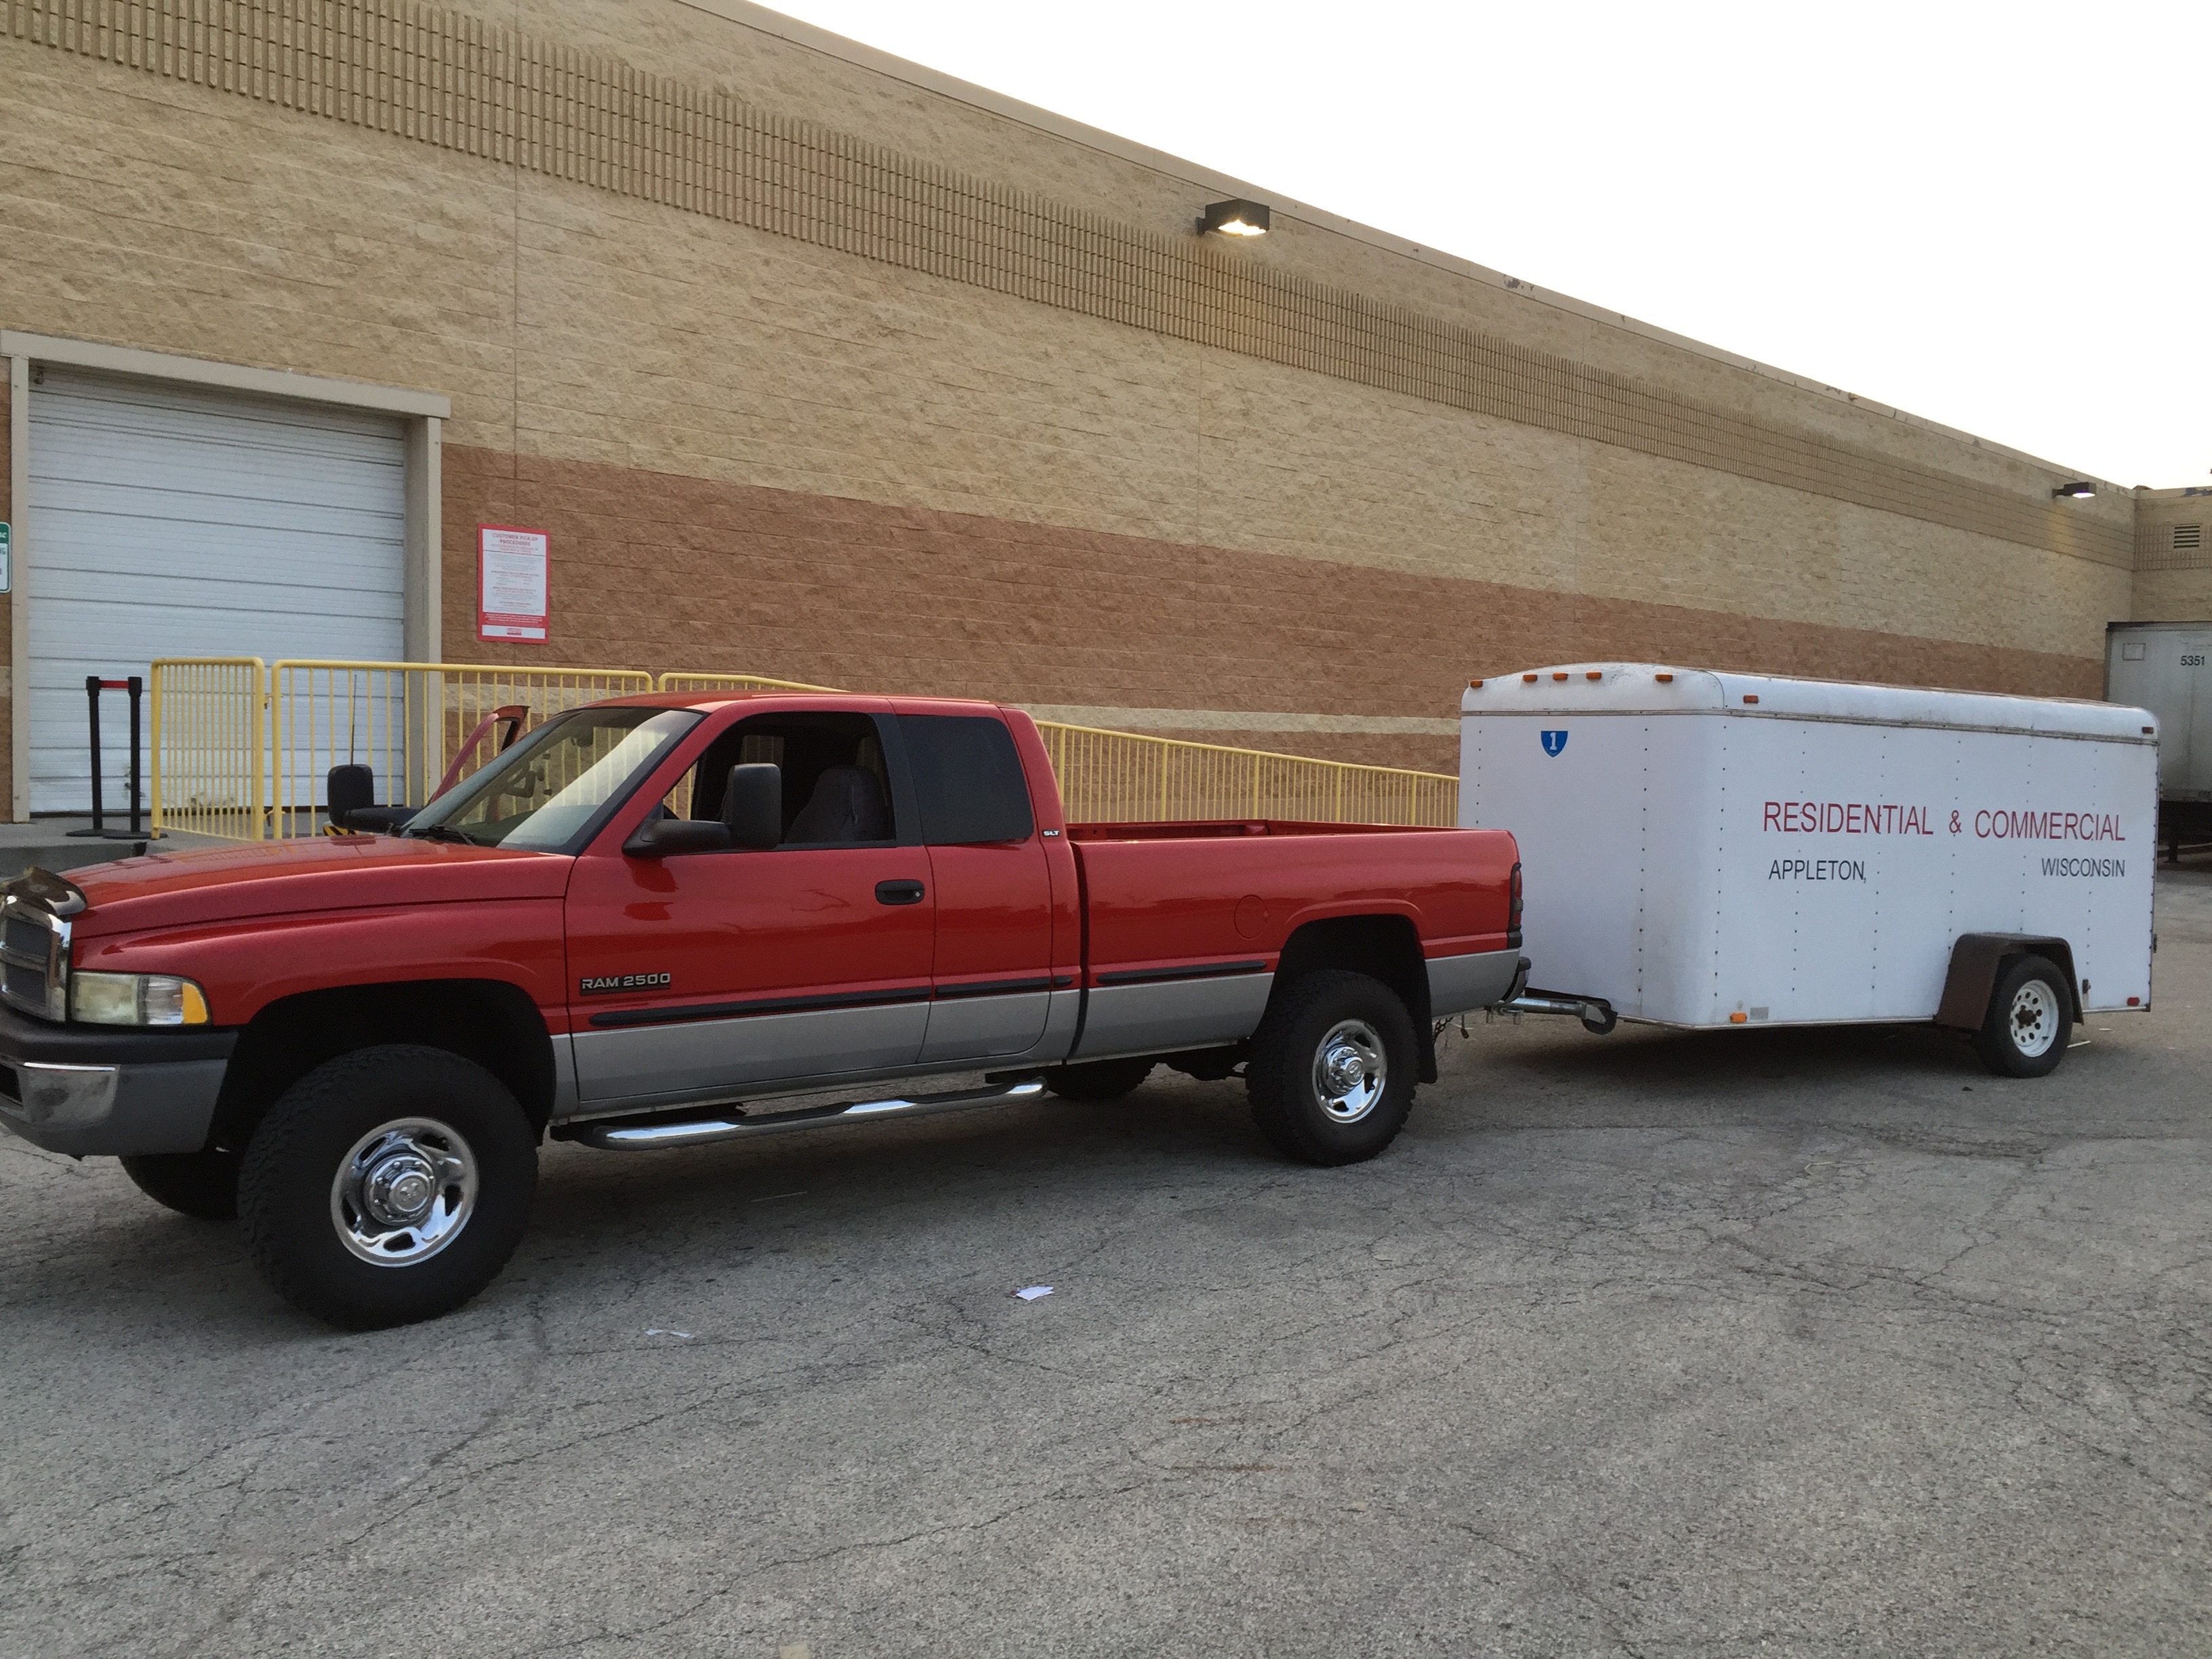
+1 on the RV's. Three 400 mile trips, so far, this summer from Wisconsin to Minnesota and getting 21 MPG.
-
People would do something similar in the 6.5TD community. I never did it when I had mine. They called it "Swiss cheesing" the air box.
-
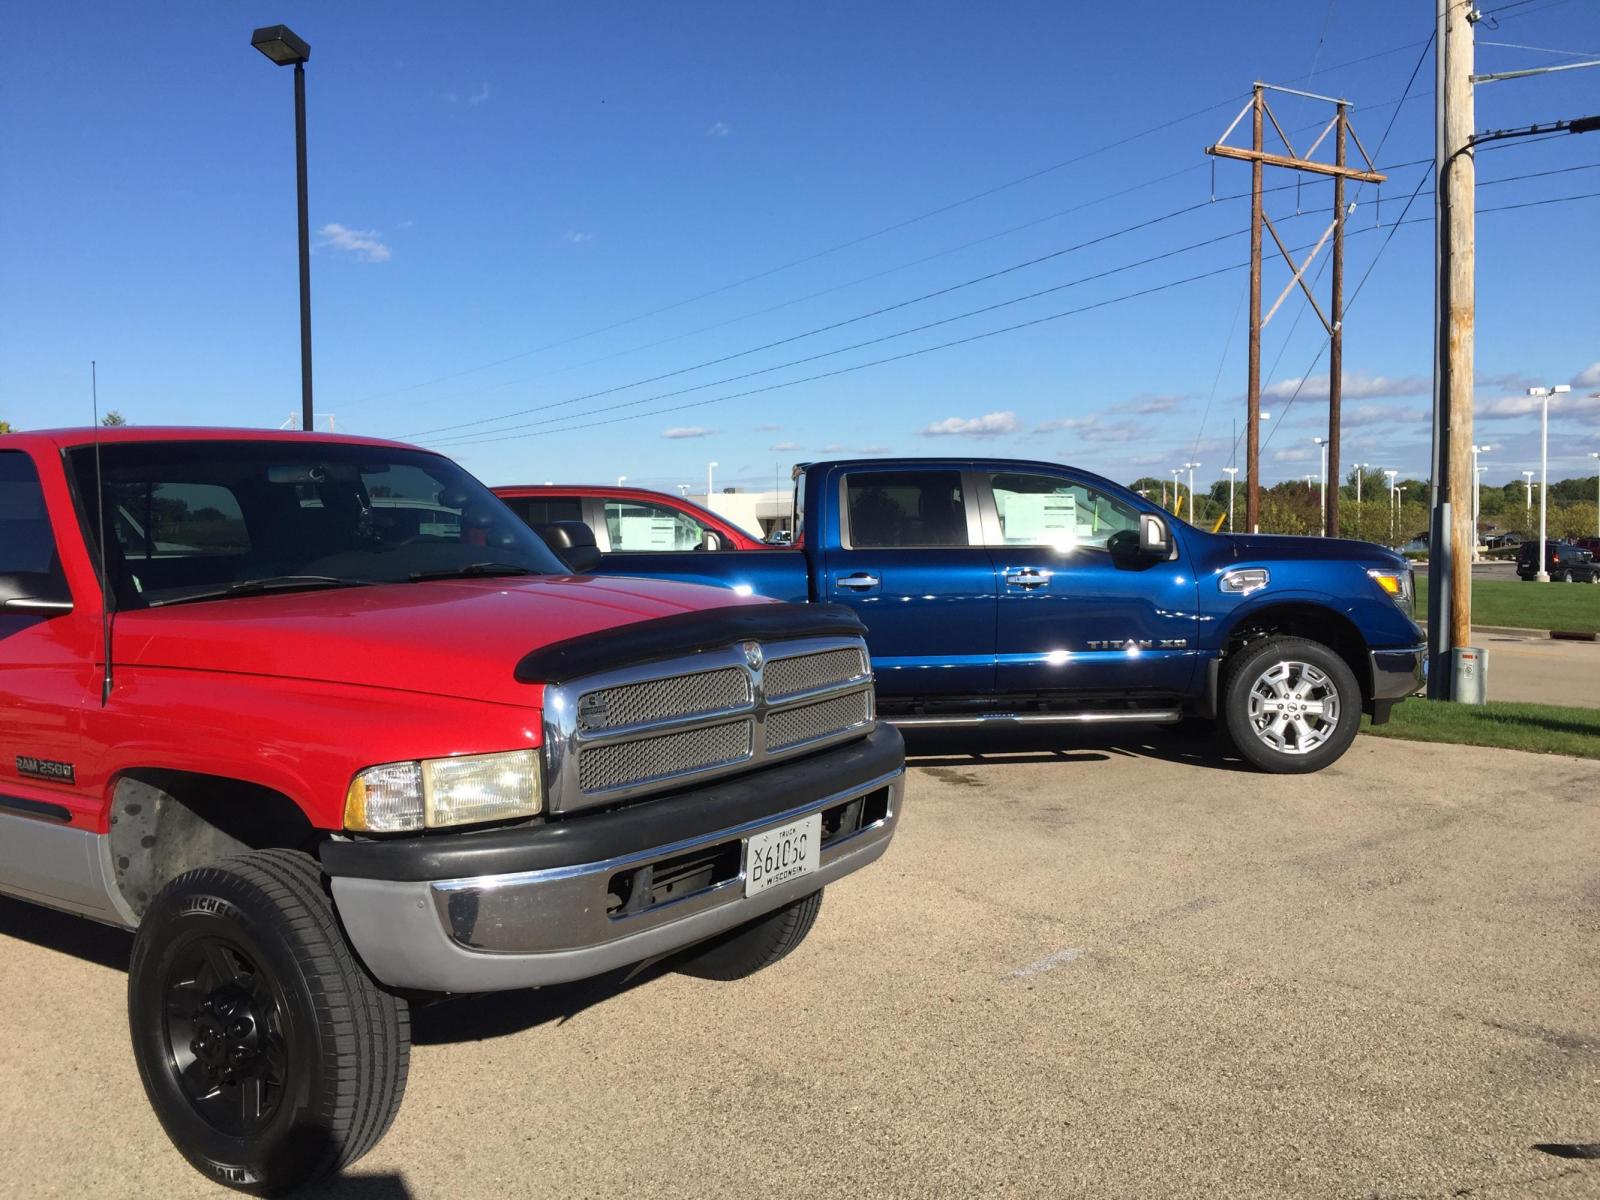
Stock lugnuts!
-
Looks like 285's to me. Those have some meat on them. Can't say with certainty though.
-
It's supposed to fix a brake pulling issue. Dodge allegedly did it. Not sure if it's a TSB issue or if it came like that from factory. Obviously was added on at one point. I did not reinstall it with my new wheel/tire setup and do not notice any pulling when the brakes are applied.
-
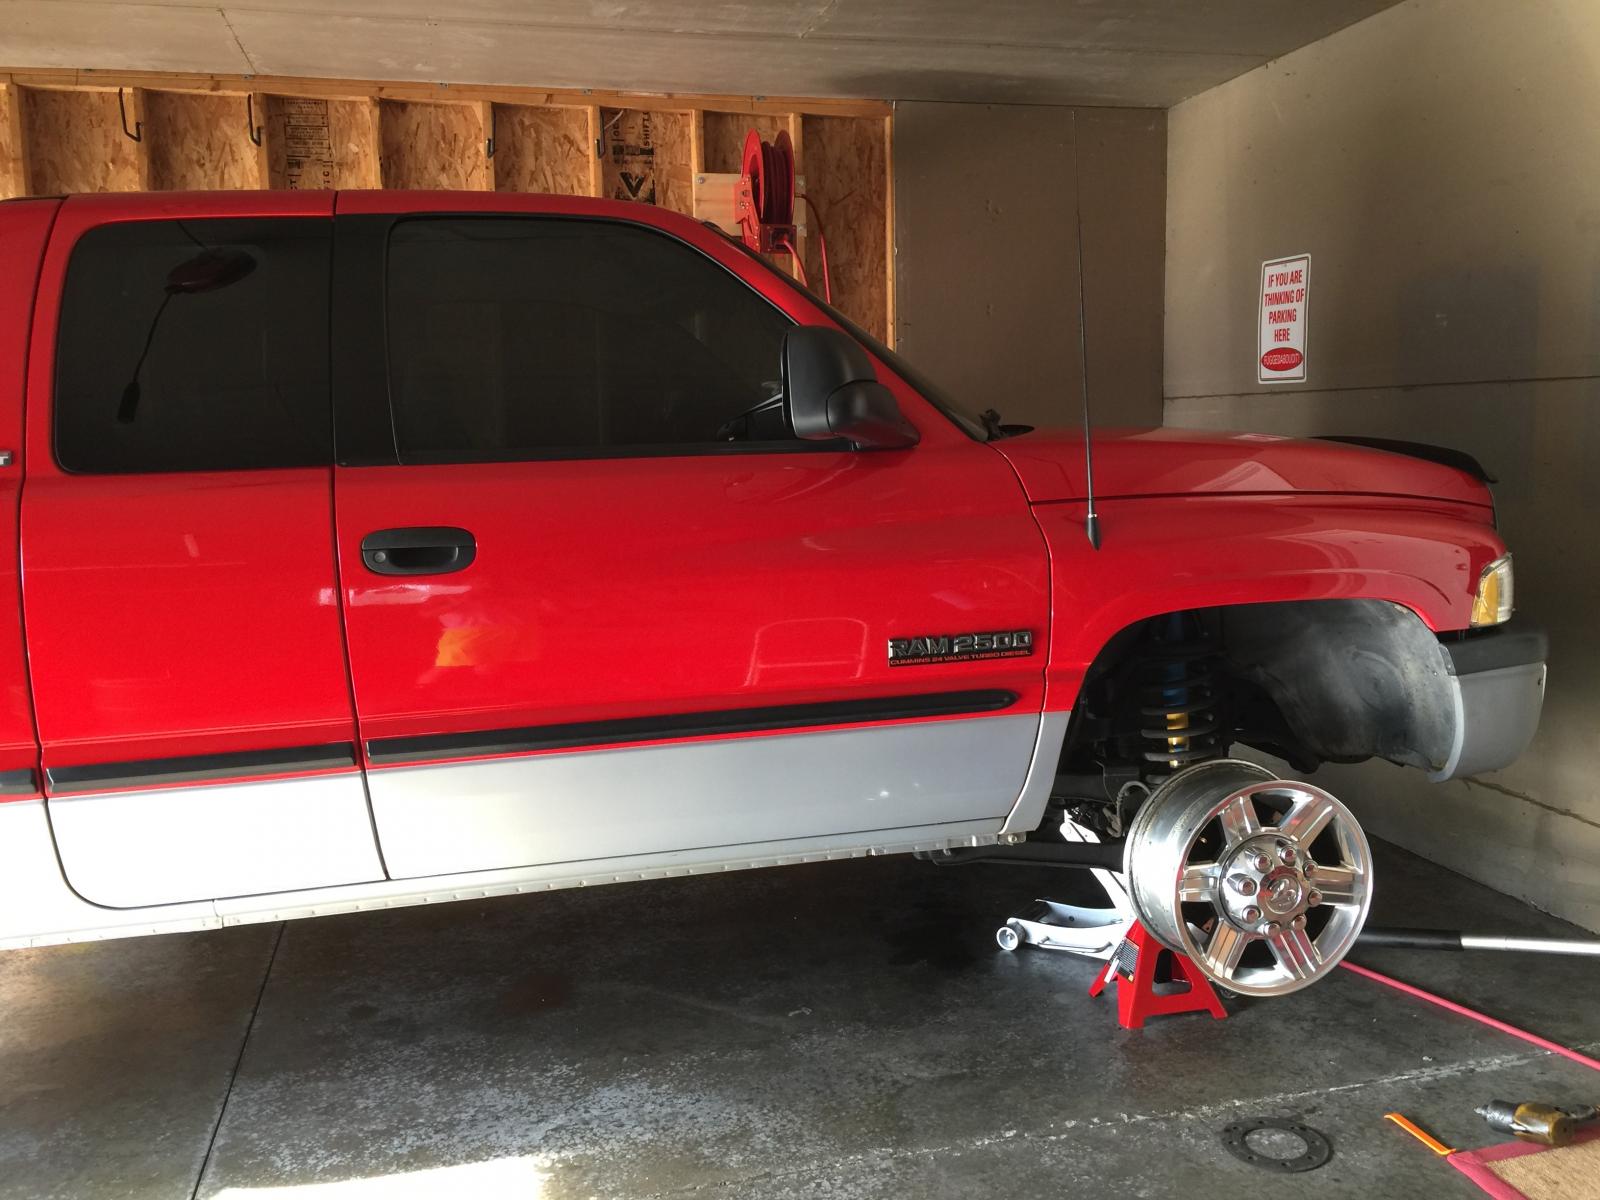
I hated my 285/75R16 BFG All Terrains. Truck felt a lot better once I downsized. I ran that same size on my old 98 3500 Chevy diesel and they drove me insane too. Second photo is pre-powdercoat....just did a mock-up. I really didn't want to powdercoat but they had a lot of wear on them (got em' for next to nothing). Turned out really nice. Happy as a clam with the 265's.
-
Aside from rubbing were there any other issues with bolting up the 18's? I vaguely remember seeing a thread about someone having issues with fourth gen 18's on a second gen. Anyways my wheel/tire setup is in my sig and I'm very pleased with how everything came together. I have a second set of center caps so I can switch them out for a little different look. (Chrome or Black Caps)

-
Eric at Vulcan Performance sells a frame mount kit for the FRRP. He highly recommends it!
-
Forgot to mention you're going to run into this...but it is fixable. It does sound like you're about to get sucked into Dante's Inferno. I never had a reflection issue with the hood on my JK but my bar was a "combo" light pattern. It's a spot for the middle (30") and then the two ends were a flood pattern (10") for a total of 50".
-
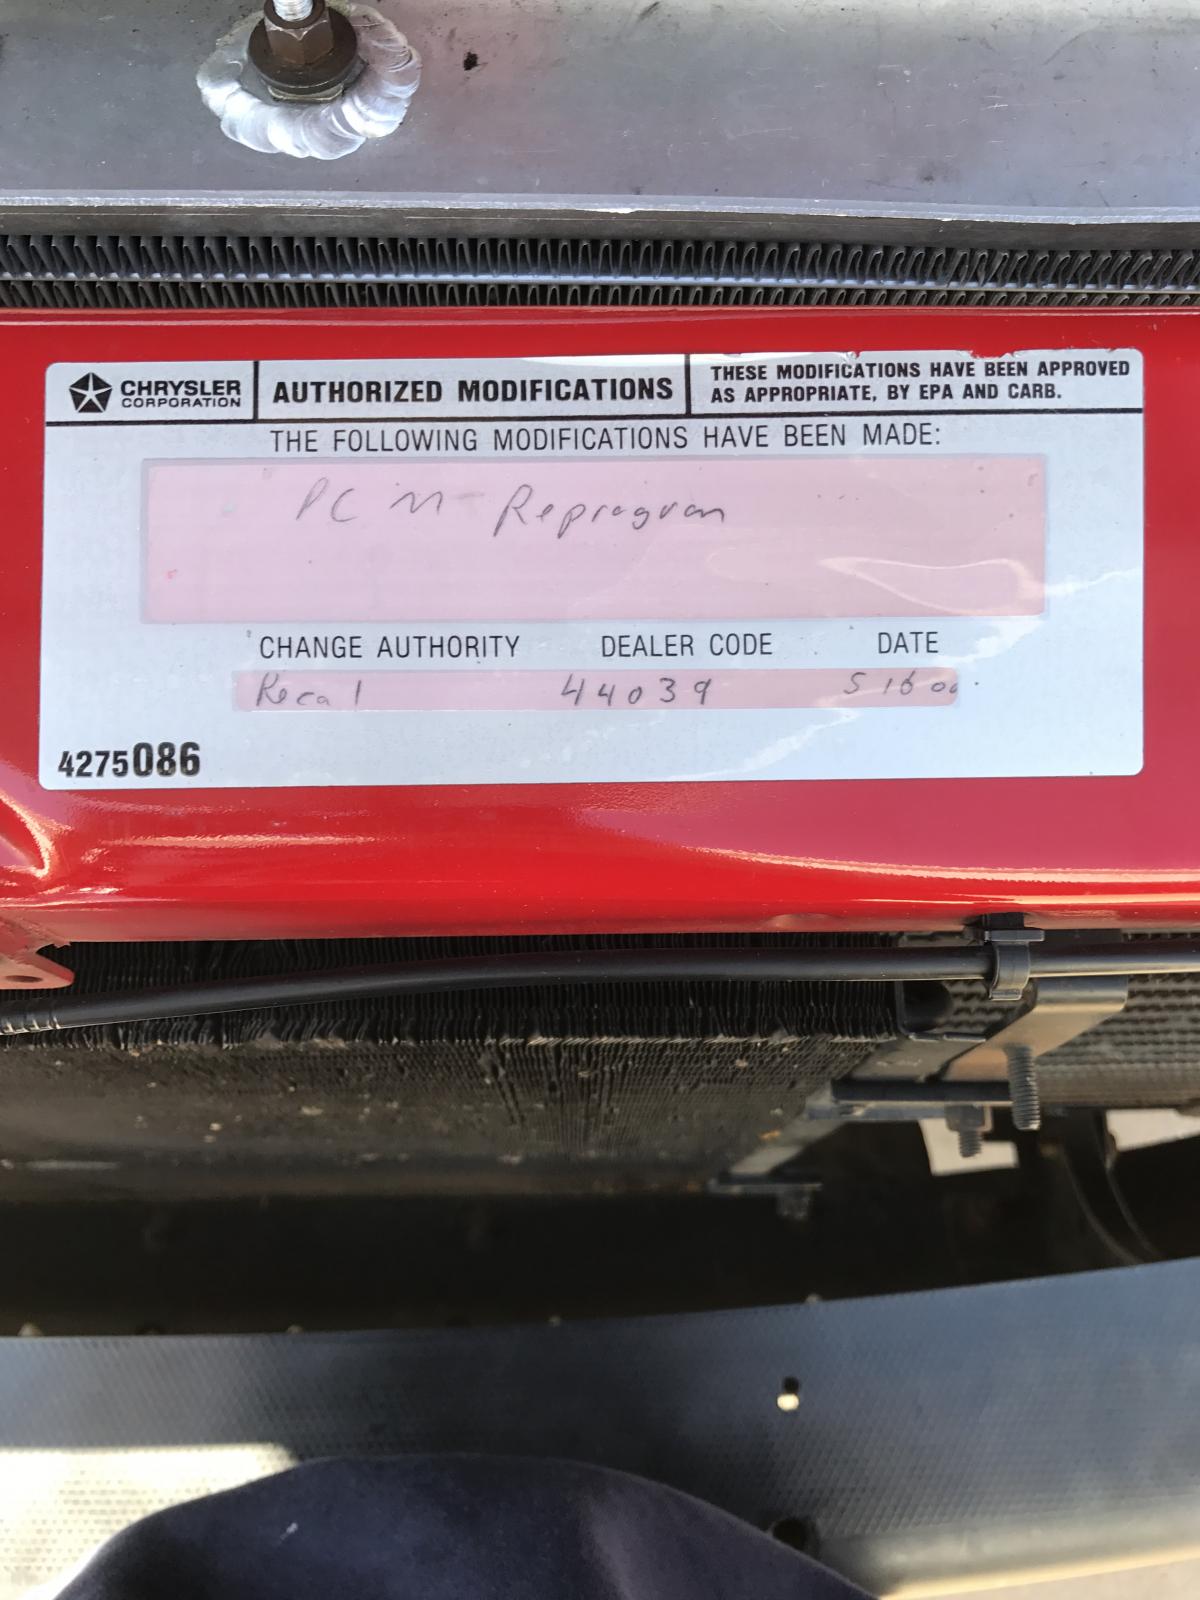
Idea's on what this was for? Curious if a local dealer could lookup my VIN and find out what was done. I'm currently searching the TSB's on http://dodgeram.info/ Number on the bottom left is the Mopar part number for the label itself. This is a California truck.
-
Once you find one and get it installed it's hilarious how bright they are. My setup looked liked a second sun coming down the road with everything on. Pictures and videos don't do justice of how bright the big bars are in my opinion. I will say about my 50", I was scared beyond belief someone would steal it....any of my lighting for that matter. I was extremely cautious of where I parked. I'm a worry wort with my automobiles.For sure....and it's easy to read reviews on amazon and so forth. But you need to find someone who has used the product for a while. I can do some searching on wranglerforum. I believe that would be a good place to search. Curved 52's may not be common on a Wrangler but at least finding a brand that has a good reputation would be helpful....obviously.I bought my Rigid Industries 50" E-Series for $1200 brand new. You get what you pay for but It's completely understandable that it's not in the budget for some. American made, great customer service, and build quality is second to none. Ended up selling it after two years of enjoyment for $1300. Rigid Industries 50 E-Series on the roof Rigid Industries Dually D2 on the a pillars JW Speaker 8700 headlights JW Speaker 6145 foglights (not installed when I took the photo) I kept everything except the 50". I will own another Jeep someday...such a fun vehicle.
 I also stand corrected....they were the original injectors. Last two digits are flip flopped. RV's end in 635 ...mine ended in 653.Evidence seems clear enough. Still curious as to why it started leaking after doing an injector job? Very well could have been slowly leaking over time (from a tiny to a blatant leak). My tee fitting is dry but below that is the return line going to the tank and it's leaking there as well (not as bad as the banjo leak). It's right where the quick connect fitting is. I'll start with the banjo leak and go from there.
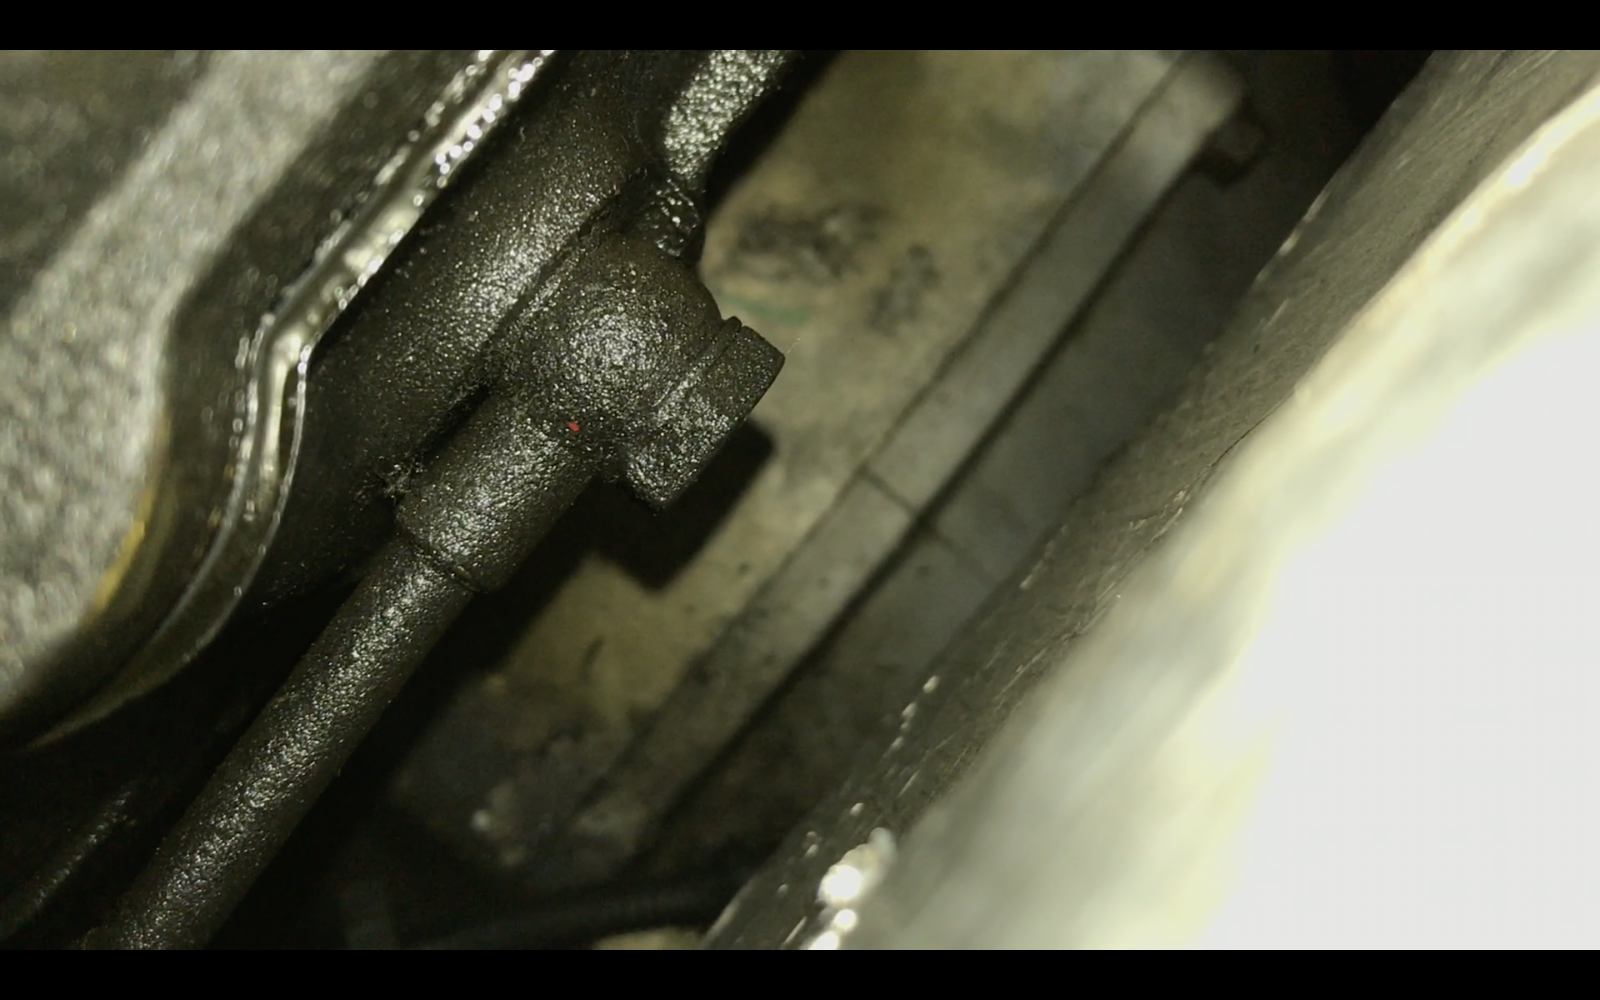 Yep. I'm going to see if I can get my iPhone or a mirror back there. I want a visual that it is causing the leak. I did get fuel with my rubber white glove test...just want to be sure. I know my local Cummins dealer has the banjo's in stock. We'll see what drips overnight...pin point it.Got the job done; the tool took them out with no issues. P.O. had 275's in it which is what I just put in...no worries. But now I have a leak from what I think is the return line on the back of the head? It's not the number six line I know that. It's dripping down to the bottom of the bell housing. My rear main is shot but it is for sure fuel. I never touched the return line nor has it ever leaked so I'm not sure why it's leaking now. I do know it's common. Between doing a valve adjustment and these new injectors it idles a lot quieter and smoother. I do notice however, it chatters a little different. Kind of hard to explain without hearing it in person...it's very very minute but I have sensitive ears. Not sure if that leak in the back would cause it. I would only say that because of when you bleed the engine and it idles like trash until the lines are tightened down...and air is out of the system. Truck has the power...no loss whatsoever. Fixed one issue but created another. I like solving problems so I'm not that frustrated. Luckily I walk to work. Cheers fellas for all of the help. Really means a lot.http://www.ebay.com/itm/DODGE-RAM-2500-3500-DIESEL-Fuel-filter-housing-drain-CUMMINS-NEW-OEM-MOPAR-/161905881236 ?Don't forget to protect your AC line when running the BHAF to prevent chafing. PC: Mopar1973Man
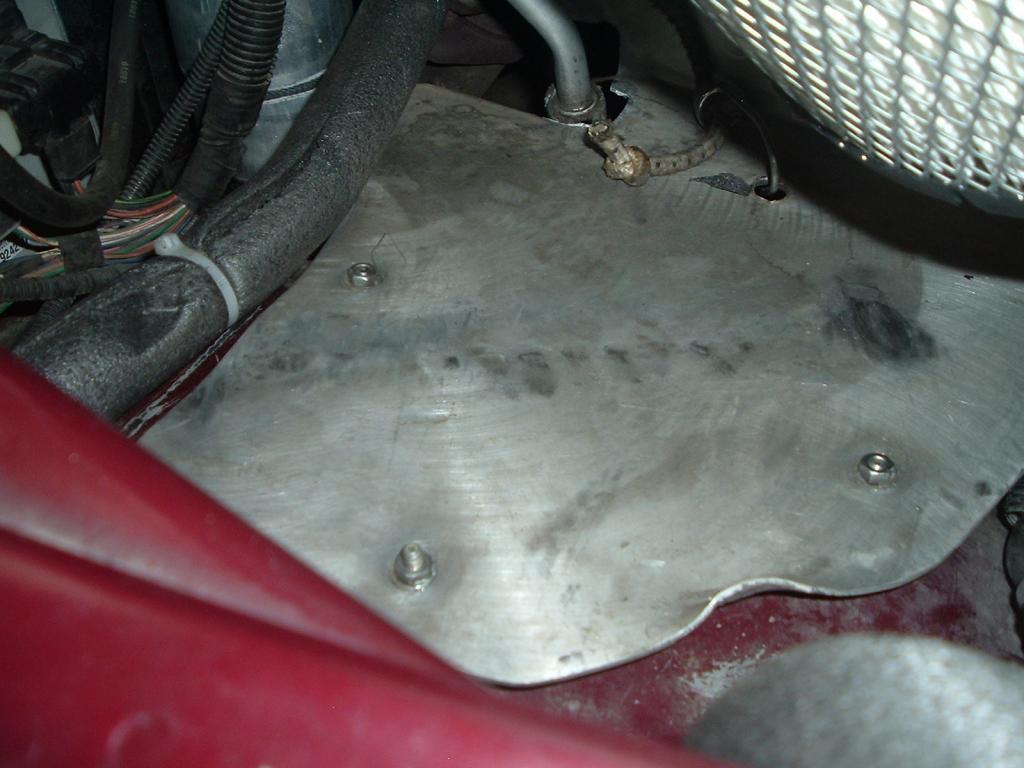 Strap wrench did the job. Once I saw that notch in the bottom where it screws into I thought the P.O. went Conan the Barbarian trying to get it back on or something. Then I realized it is supposed to be like that.
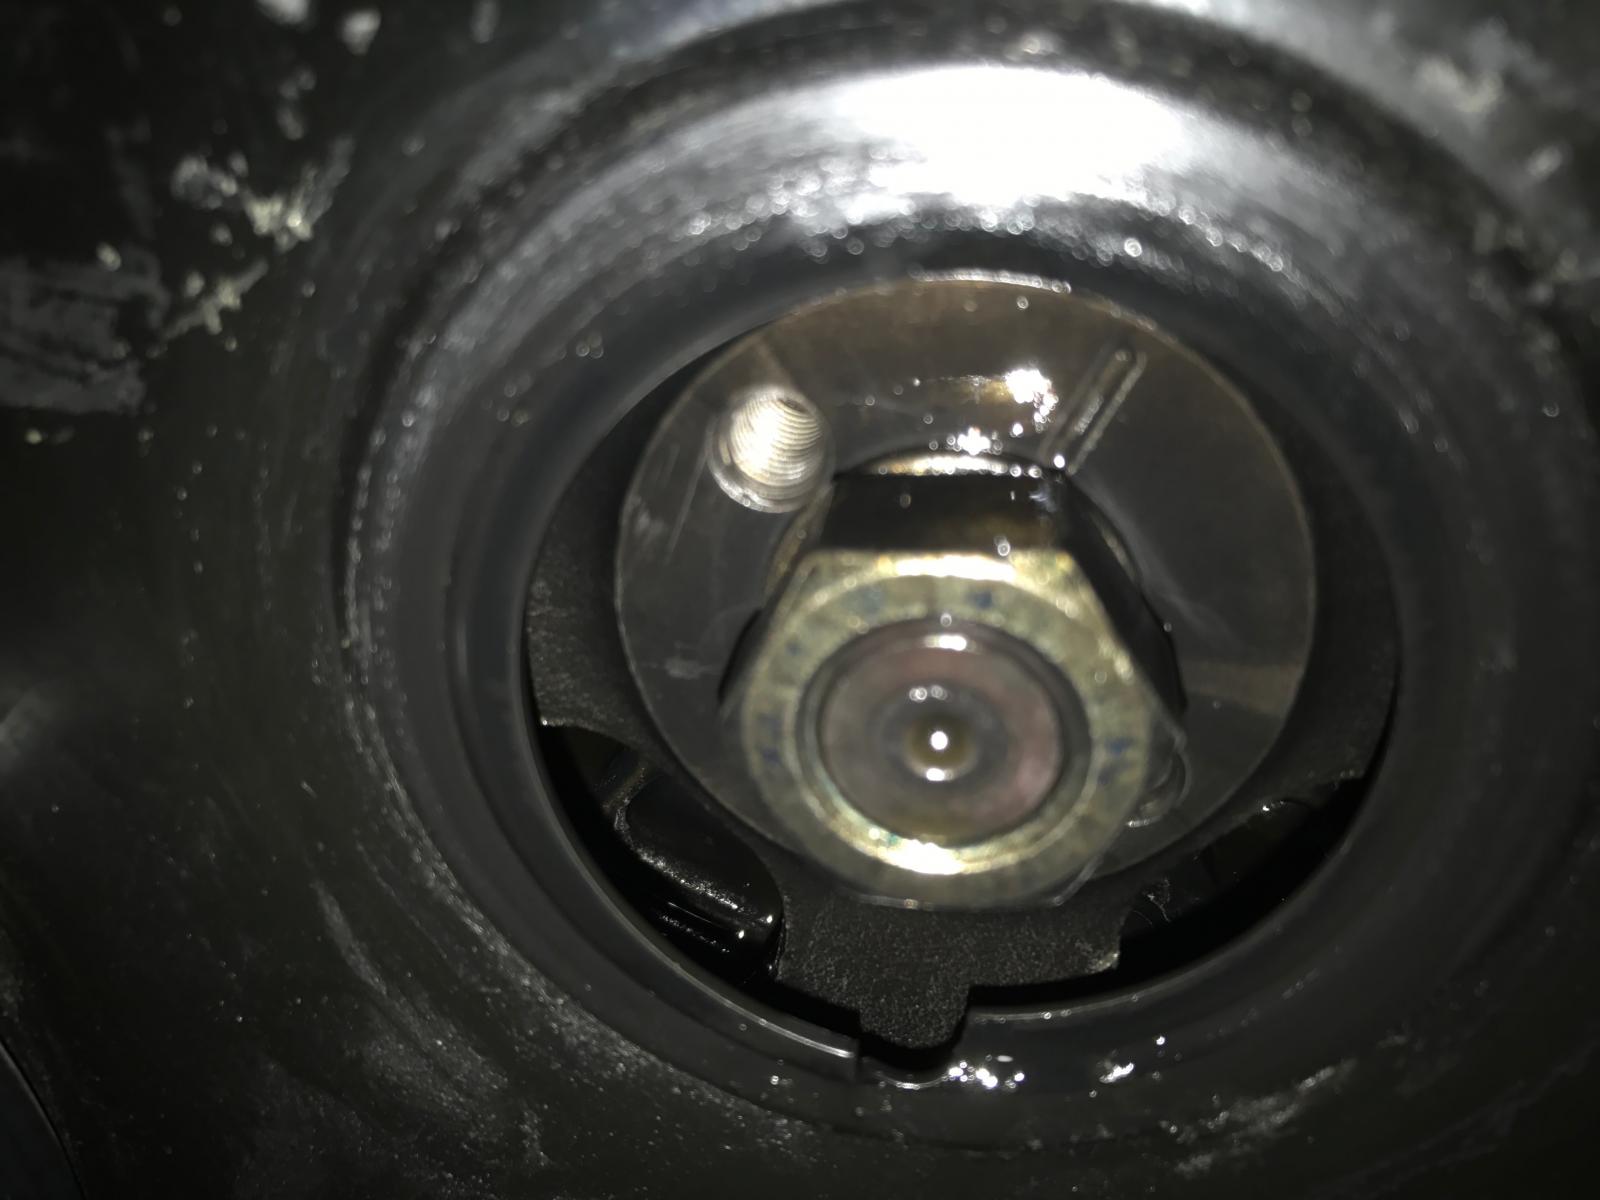 The plug does in fact have threads on it. I'm not sure why it's being so stubborn. I use a different style oil filter wrench which unfortunately wont work in this situation. But that was the first thing that popped into my head was a strap wrench.
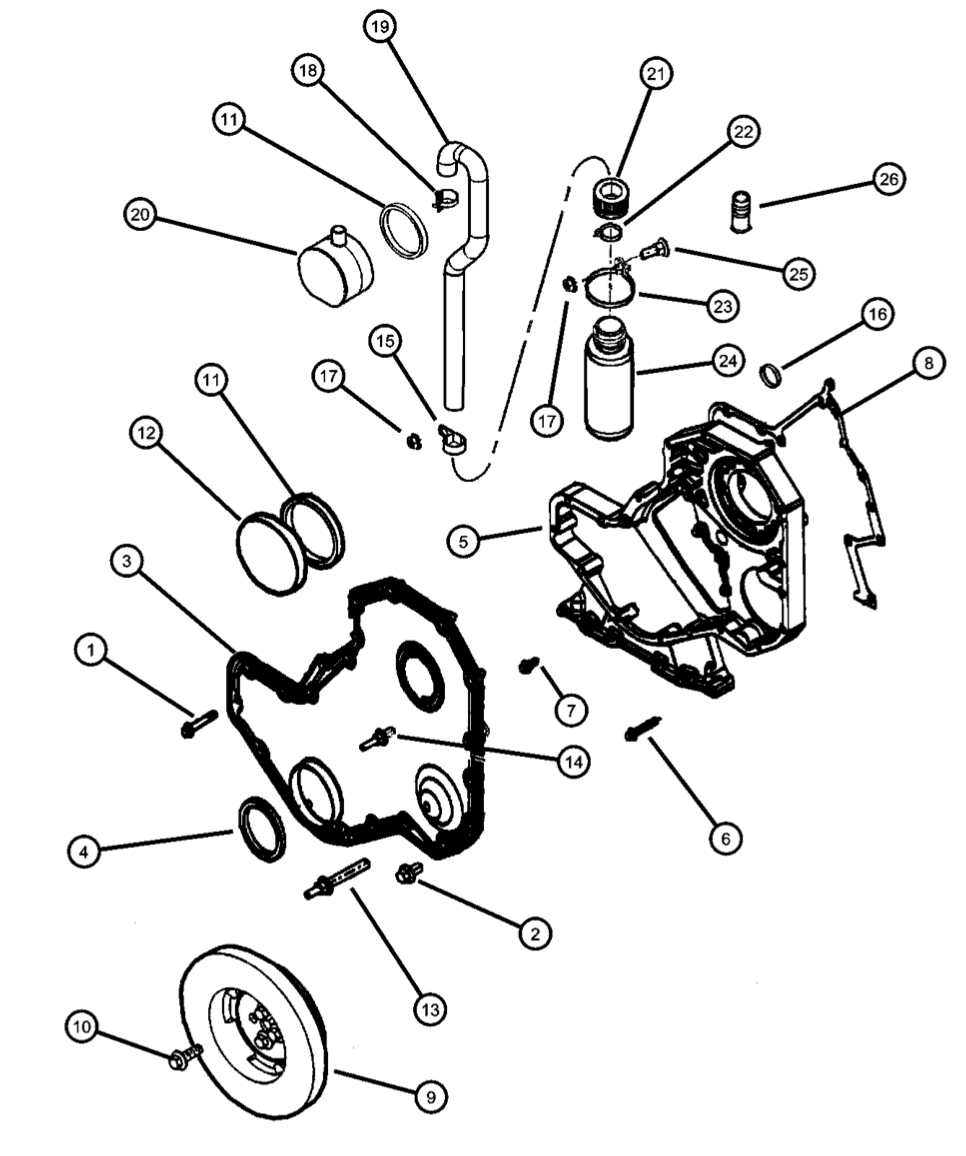
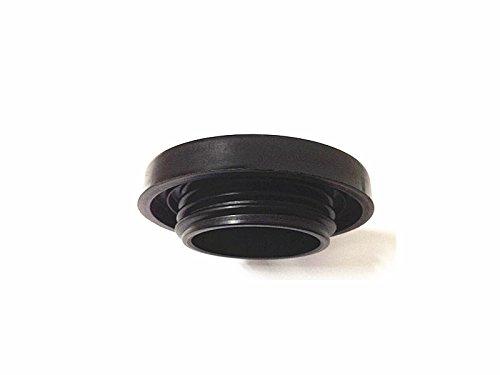 I've seen to run across another normally simple task that is giving me headaches Are there any tips or tricks to removing the crankcase vent on the timing cover? My vehicle has the plug (12) and not the actual vent (20) with the puke bottle. Being thin, it is quite difficult to grab onto and it just wont move at all. I see there is an o-ring that goes along with it. Are these notorious for being difficult to remove?