

- Replies 45
- Views 11.2k
- Created
- Last Reply
Top Posters In This Topic
-
Mopar1973Man 13 posts
-
ISX 12 posts
-
white01 4 posts
-
AH64ID 3 posts


Most Popular Posts
-
Have a little faith John you understand what's going on it just that you need more confidence in what you doing... Which comes by doing it yourself and time...
Well gang... I finally had enough of the random misfire that I was having. So this morning I broke down and got the shop clean up enough to get my truck in. So I did the typical disassembly and got the injectors out...
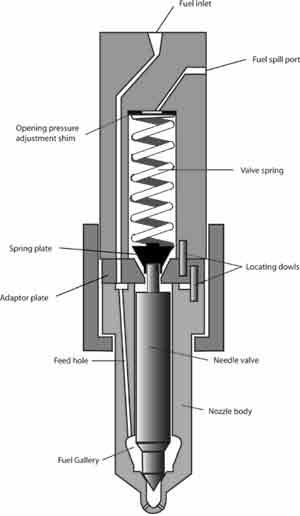
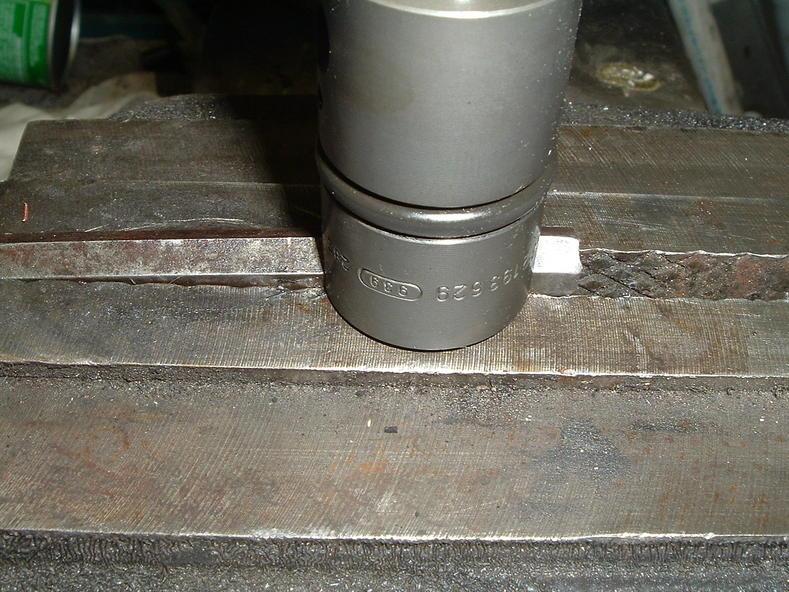
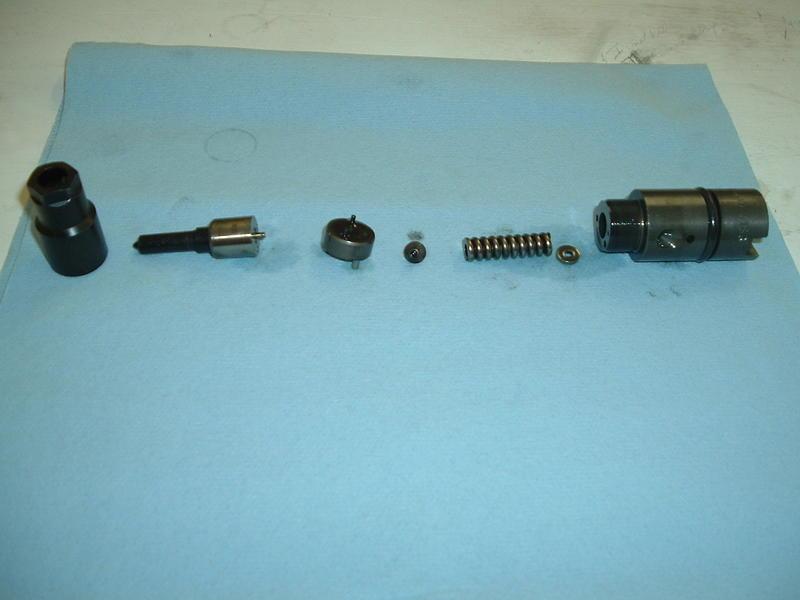 This is the internals of a 24V injector (RV275) What I did was made a jig to hold the injector while you remove the nozzle nut. I used a allen wrench in a vise to make said jig.
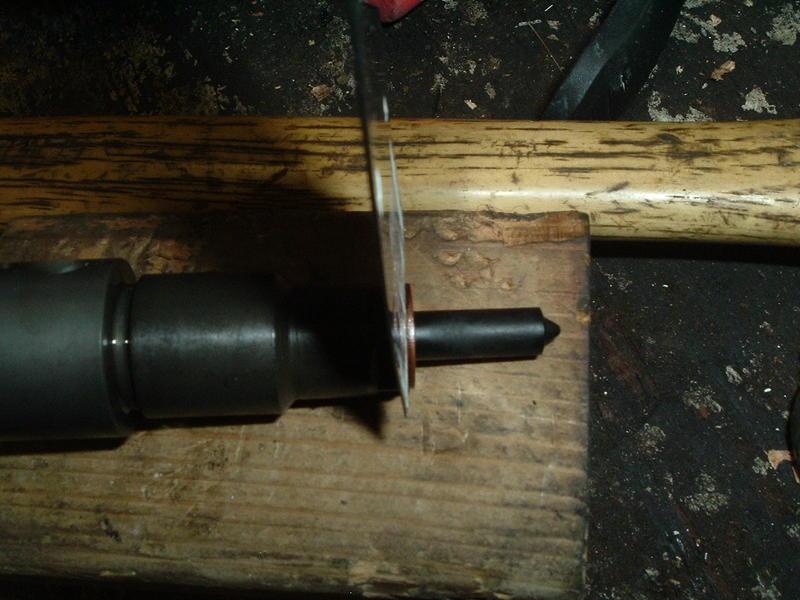
 Then before you can remove the nut you need to remove your copper washer. This can be done with a putty knife and a hammer just lightly tap the putty knife and it should be able to pry it up enough to using a screwdriver.
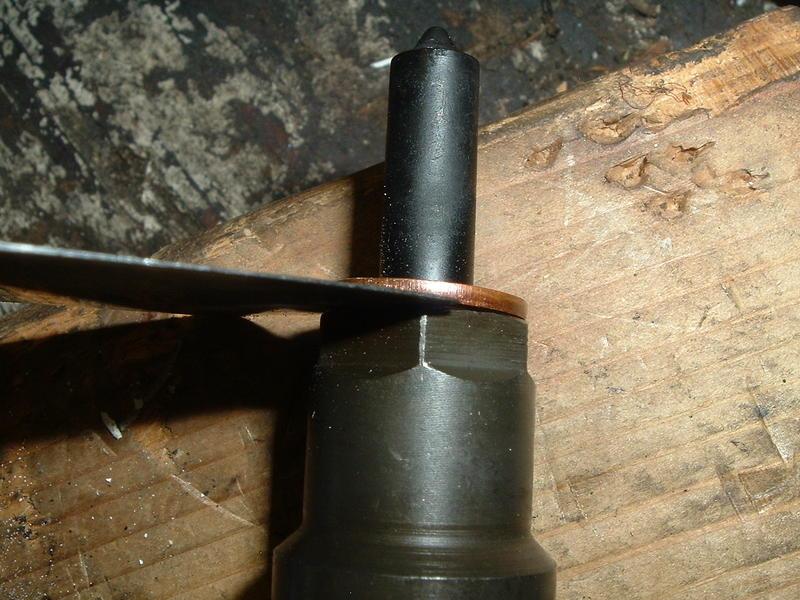
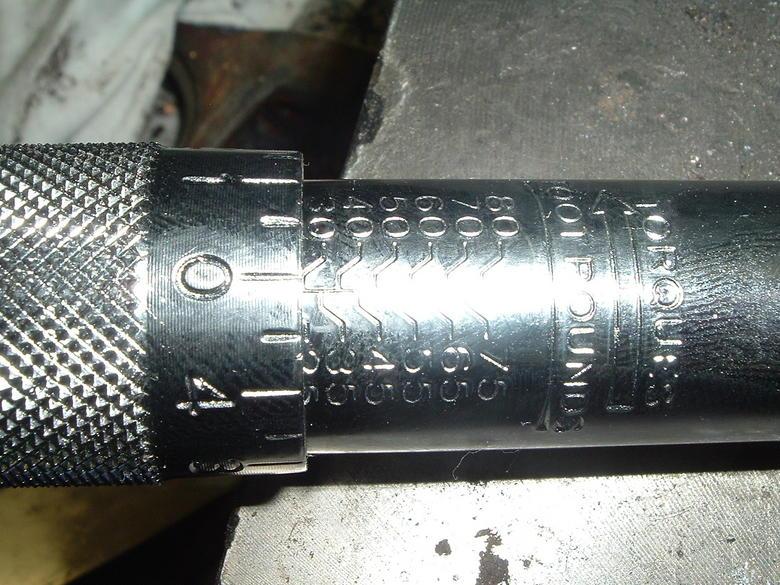
 Now as I set my torque wrench for loosening and kept adding torque to the handle adjustment looking for the click and loosening of the nut. Well I found it at about 32 foot/pounds so I backed off to 30 foot/pounds and set the wrench. Loosen the nut.
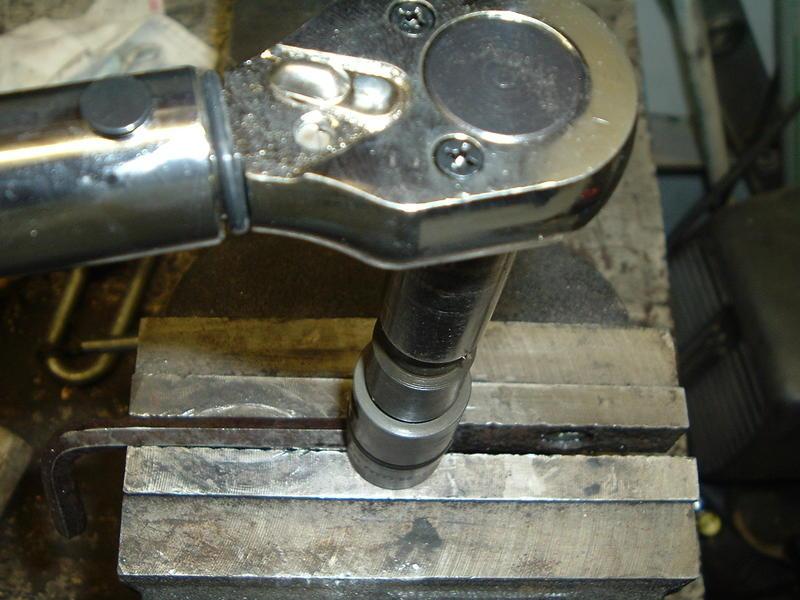
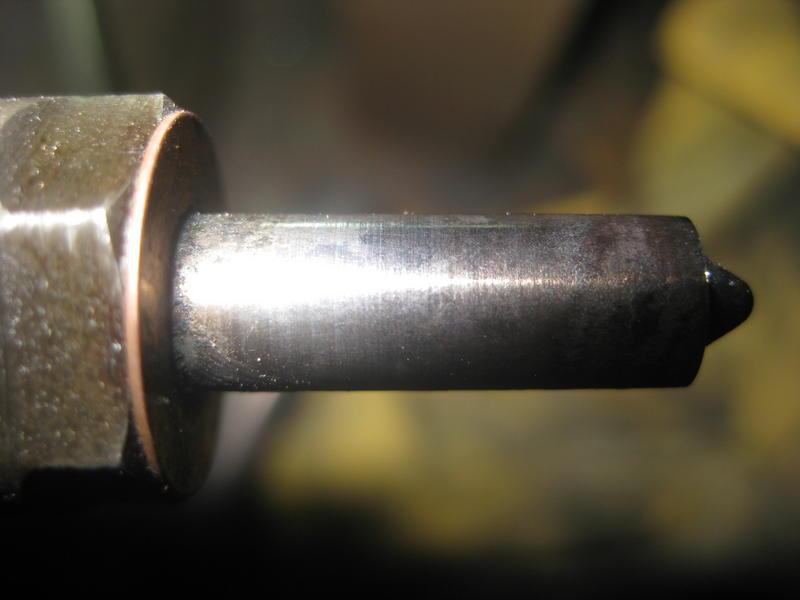
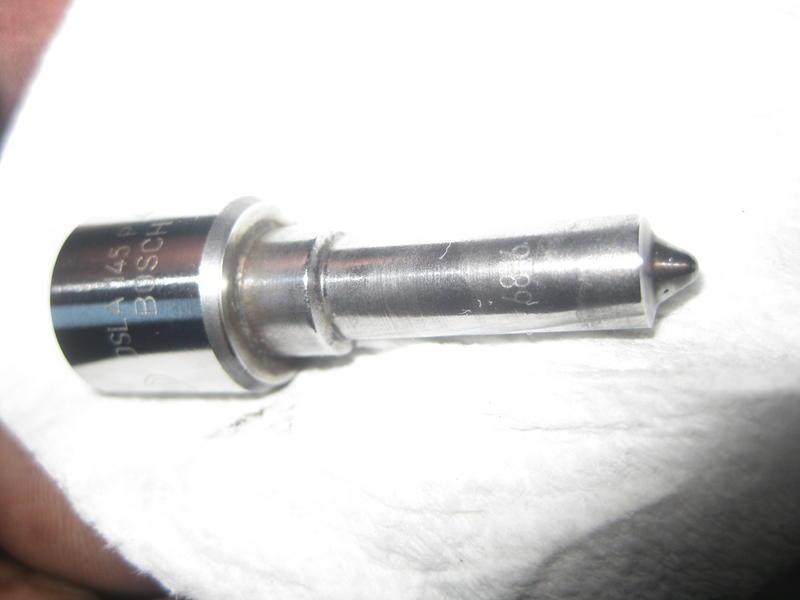
 Now you need a clean area too. I set up a shop towel and a old ashtray. I filled the ashtray with Coleman fuel (Naphtha). So I would open up the injector carefully and place all the parts in the solvent to soak. Now in the pic above there is a shim that goes in the bottom below the spring. This shim might be stuck inside the body don't sweat it let in soak in the Coleman fuel for about 5 minutes and pick it up and it will fall out. Now that all the parts are soaking take a old scotch bright one thats been used a bit and rather soft. dip it in the solvent and light rub the nozzle clean of soot. Yes you may rub the tip but be gentle about it. Now look at the pintle (needle) look at the tip for damage or wear... Now check it for smooth sliding action in the nozzle. If it feels rough rub the pintle gently with the scotch bright pad and it will help it out...
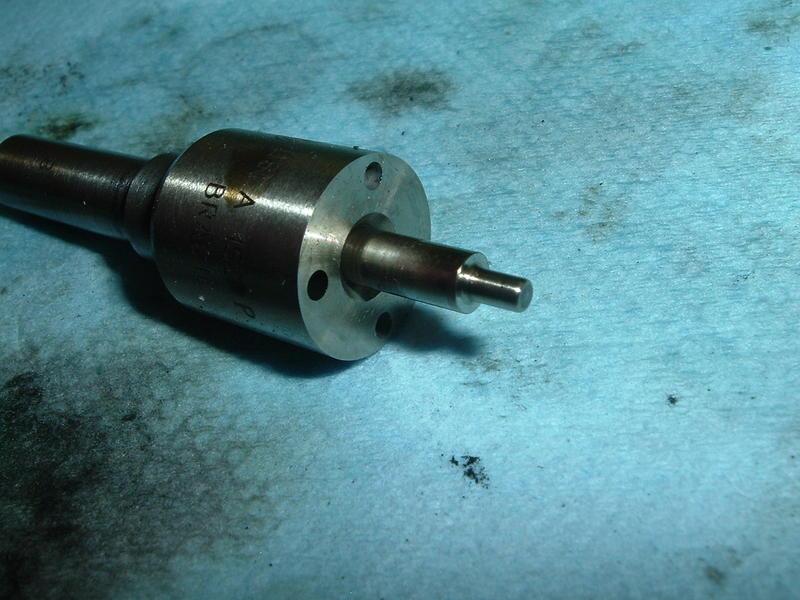
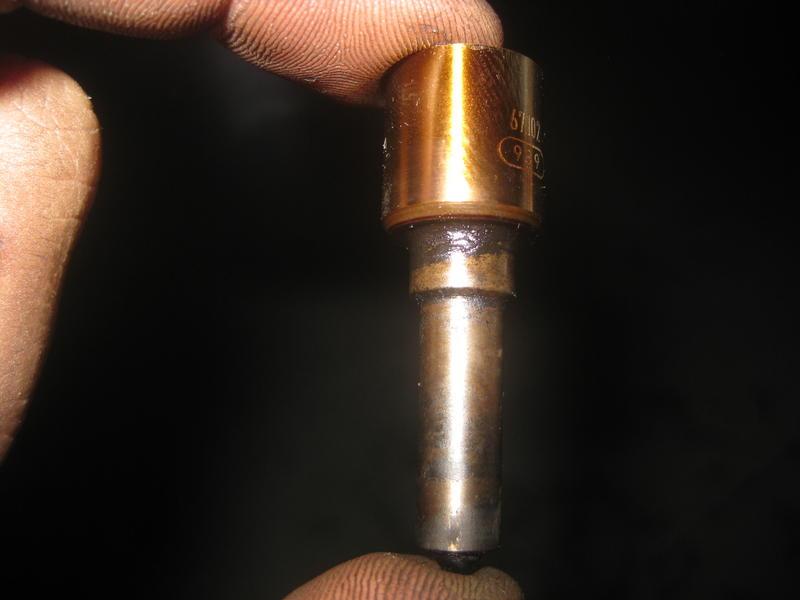
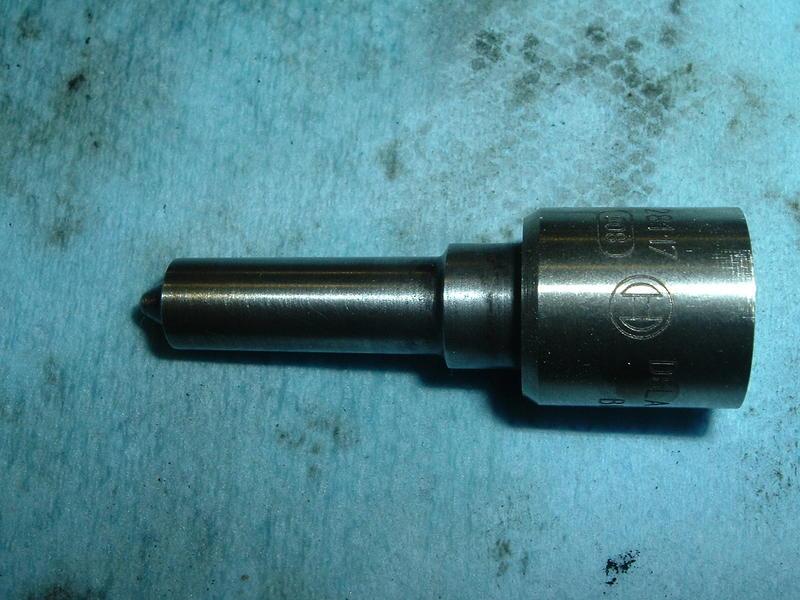 I was doing a mini-spray test too... Dip the nozzle in the solvent keeping the fuel hole up and holding the nozzle horizontal using a blow gun just a light burst of air will show you your spray pattern some what but also insures the nozzle tip is not plugged. Now just blow all the large parts clean and dry from the solvent. Make sure to blow the fuel passages clear. Once you happy with the clean up and every is clean now reassembly the injector exactly the way it came apart. Put your shim in the body take notice of which side was up. You'll also notice the shim has wear marks from the spring so be sure to put it back in the right way. This side down.
 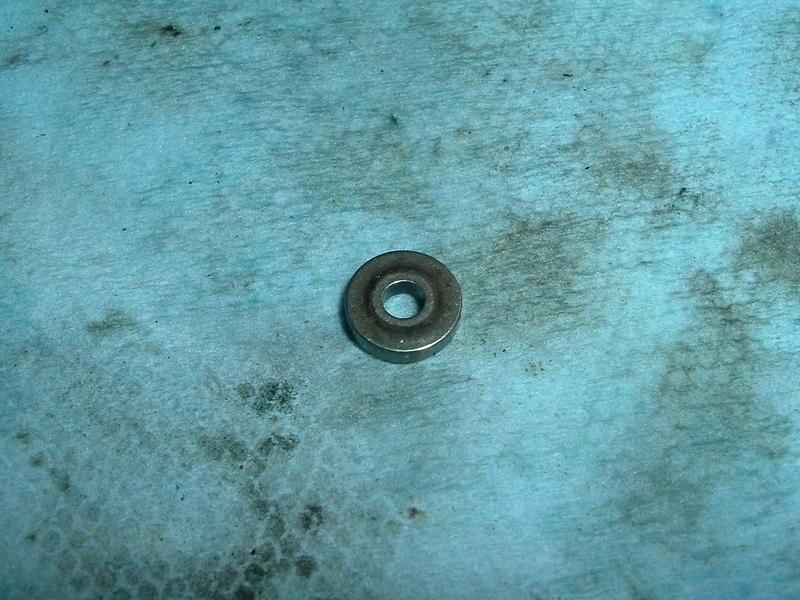 Heck... Let me get more pics and I'll continue this write up...