- Replies 13
- Views 4.6k
- Created
- Last Reply
Top Posters In This Topic
-
 hex0rz 3 posts
 -
 Ilikeoldfords 3 posts
 -
 YabbaDoo 2 posts
 -
 dripley 1 post


So... it was a nice Sunday and I decided to install the Larry B's Starter solenoid kit today First off, the truck had something weird happen about 2 weeks ago
  Started it up after driving all day with no issues and it sounds like metal on metal :banghead: ...I shut it down quickly, or so I thought when I turned the key off... But alas, it kept running :banghead: :banghead: Anyway.. a quick call to MnTom, and my suspicions are confirmed... Starter
  Better than any other alternatives though
  So I ordered a Starter Solenoid kit from Larry B's. I will say he thinks of everything!!( Great customer service) Down to a pair of gloves and a Band-Aid!!

 . Then once you remove the 2 wires going to the starter you need a 12 point 10mm wrench to remove the 3 bolts holding the starter to the motor.
 I break the bolts loose with the regular wrench and then I use the ratcheting wrench to loosen enough for my fingers to remove easily...
 I then bring the starter inside to perform surgery on the kitchen counter... Remove the 3 small solenoid screws that hold the cover in place and then carefully remove the cover
  and plunger
  making sure not to loose the spring or the ball( hence the reason for not performing surgery outside)
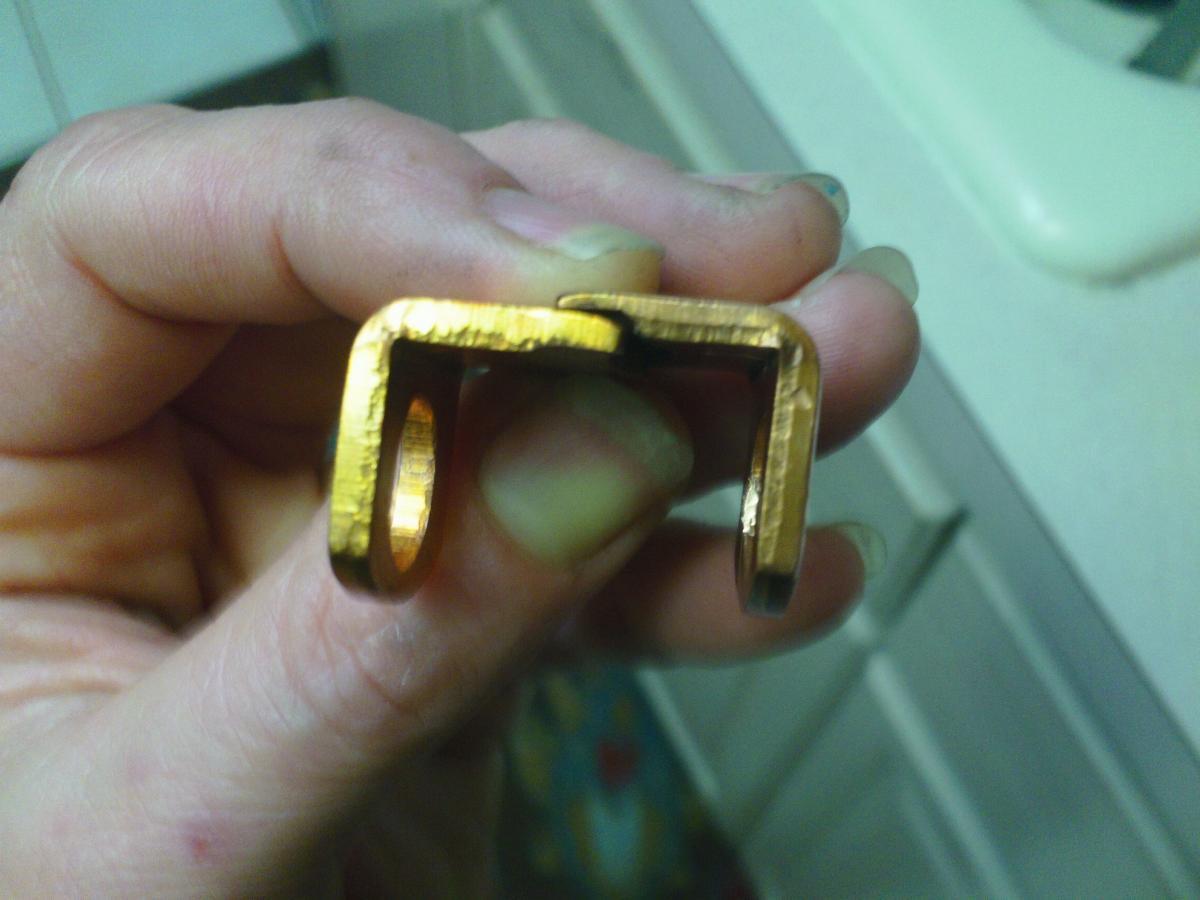
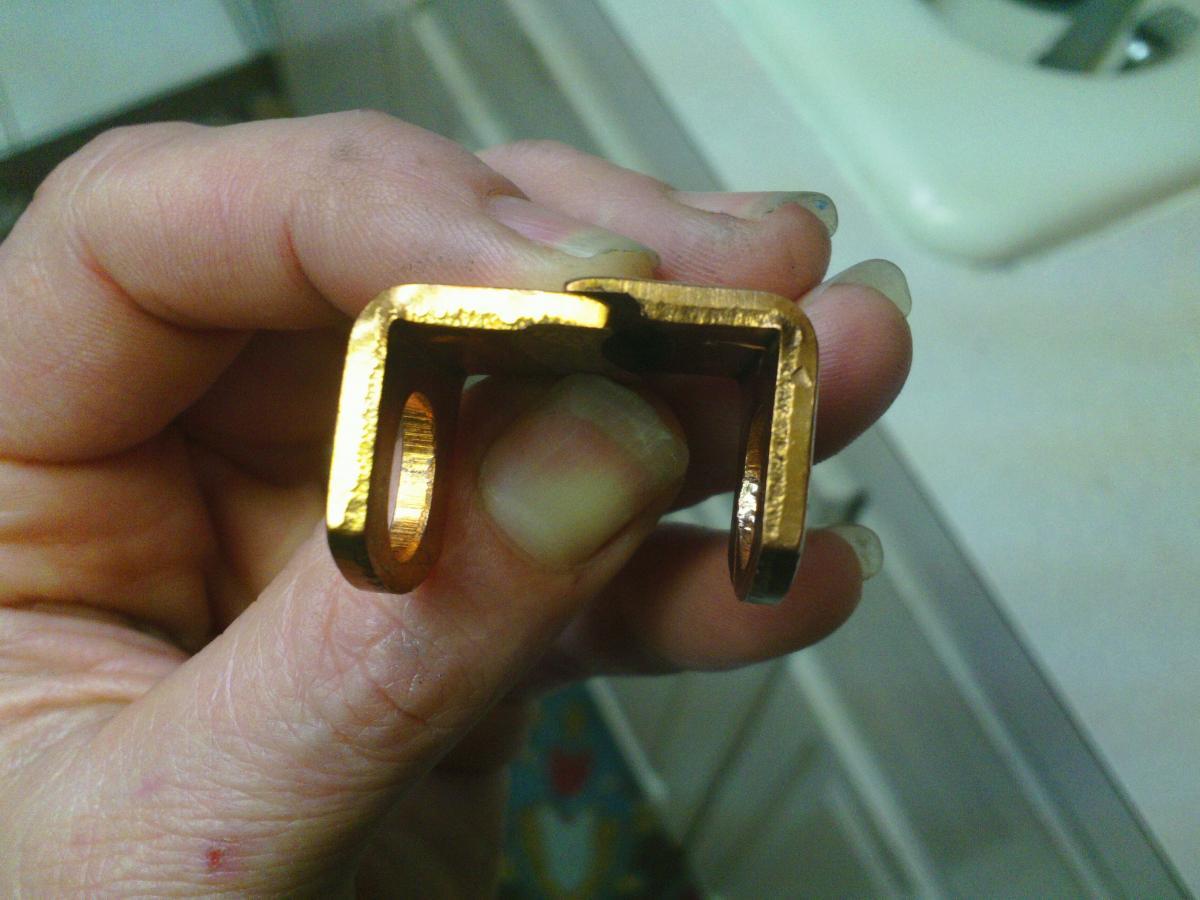
 and replace with the new contacts
 and plunger
 .
. . The it took less than 5 minutes to reinstall and hook up the batteries
  Then of course I had to fire up that bad boy


 One less thing to worry about!!!!
Ok, let's get started ... First disconnect your batteries then you will need a 15 mm and a 5/16 to remove the wires from the starter
Remove the nuts from the contact lugs
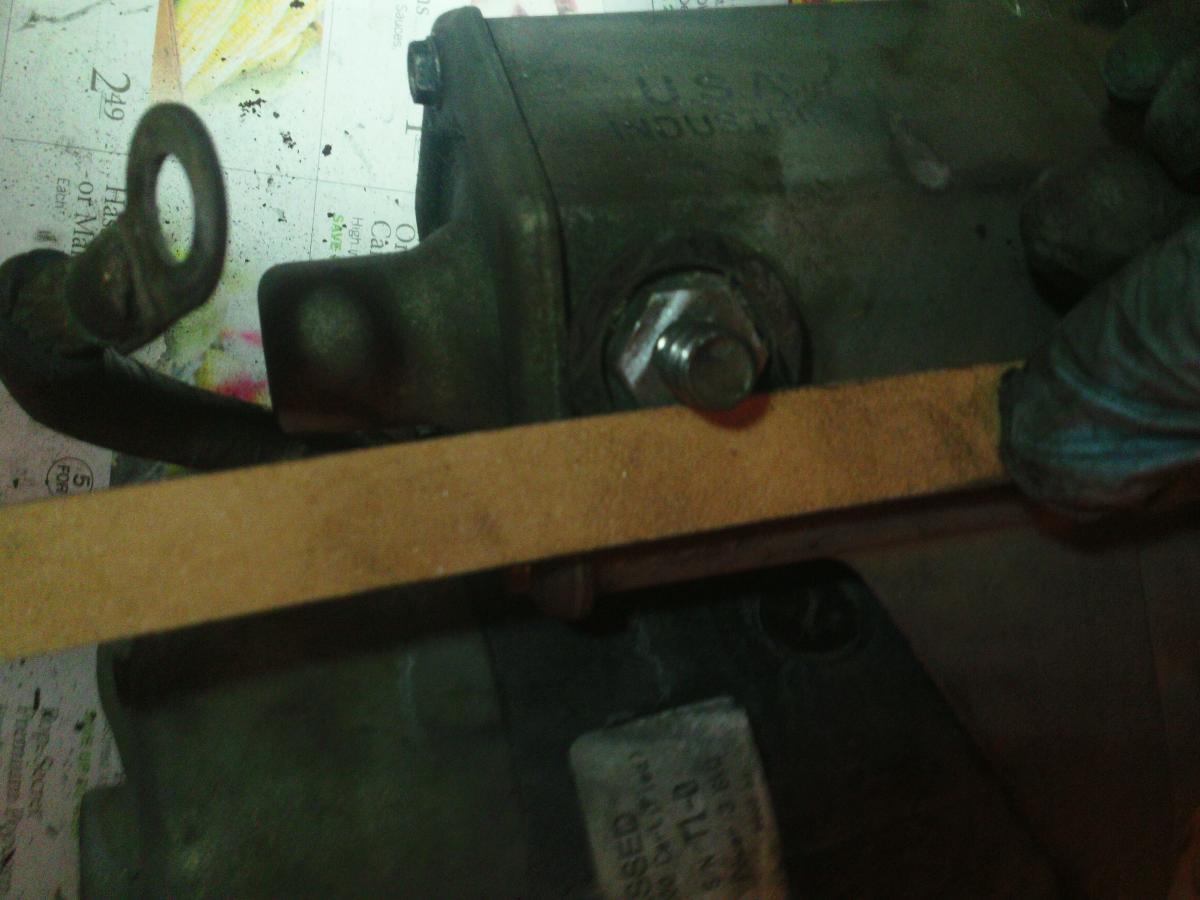
After putting the cover back on, I used one of my nail files to make sure all contact points were clean for the wires
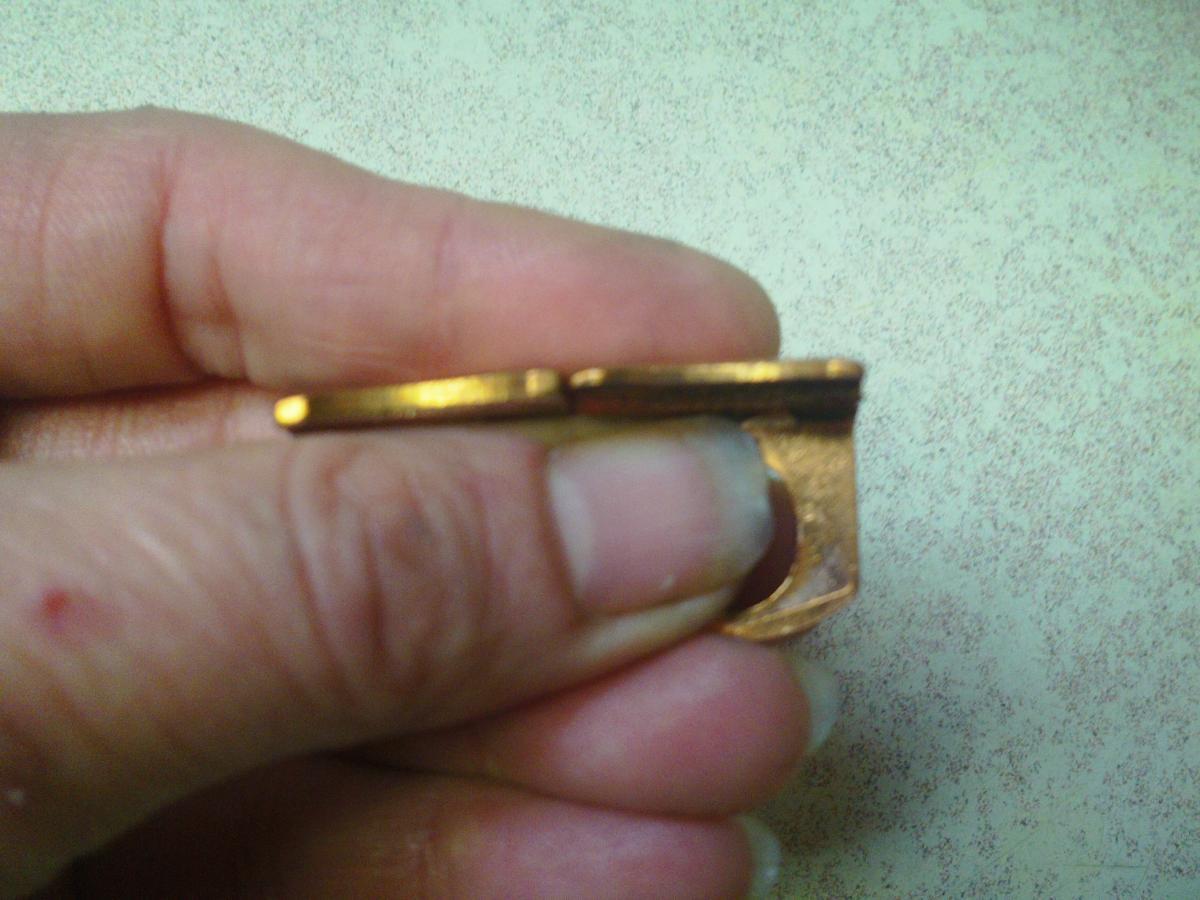
Look at the difference in the new contact vs the old
Edited by YabbaDoo