Jump to content
  • Welcome To Mopar1973Man.Com LLC

    We are a privately owned support forum for the Dodge Ram Cummins Diesels. All information is free to read for everyone. To interact or ask questions you must have a subscription plan to enable all other features beyond reading. Please go over to the Subscription Page and pick out a plan that fits you best. At any time you wish to cancel the subscription please go back over to the Subscription Page and hit the Cancel button and your subscription will be stopped. All subscriptions are auto-renewing. 

Frame off restoration


Recommended Posts

Here it comes the full write up on my 99 Dodge Ram restoration it has been in the process of being rebuilt over the last couple years, it's hit a few speed bumps, moving, shattered ankle and months of recovery.  

Now we are making real progress unfortunately my laptop died on me so I have lost all the photos of the truck during tear-down and most of the before pictures.  

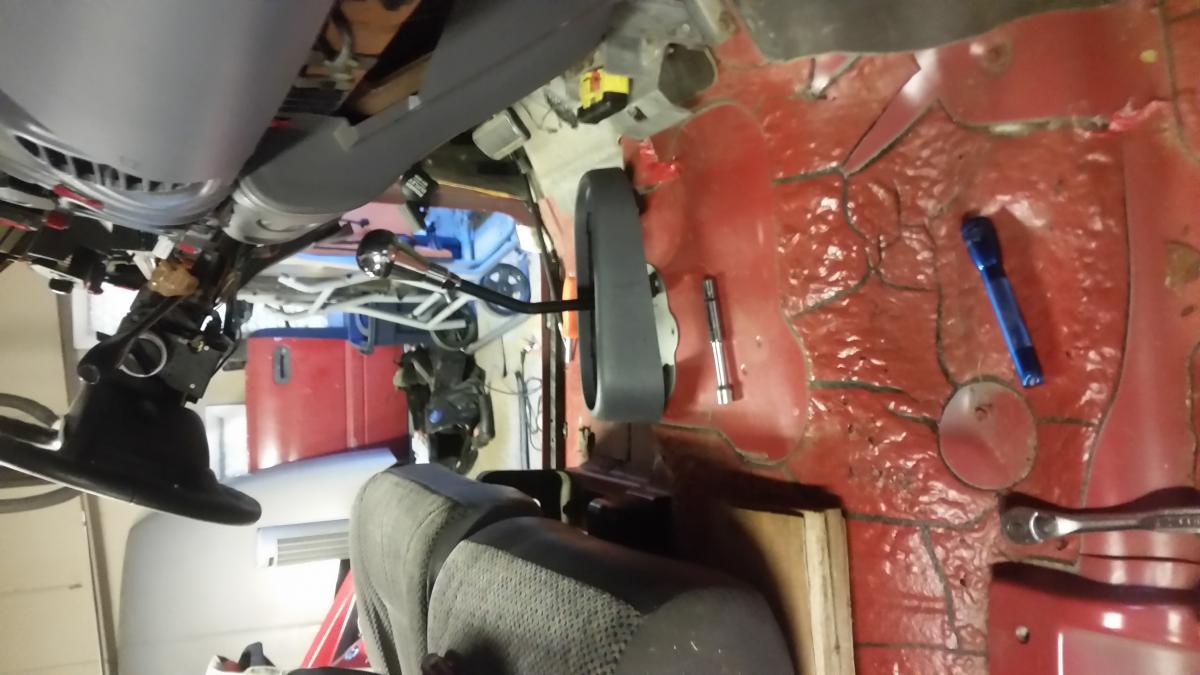
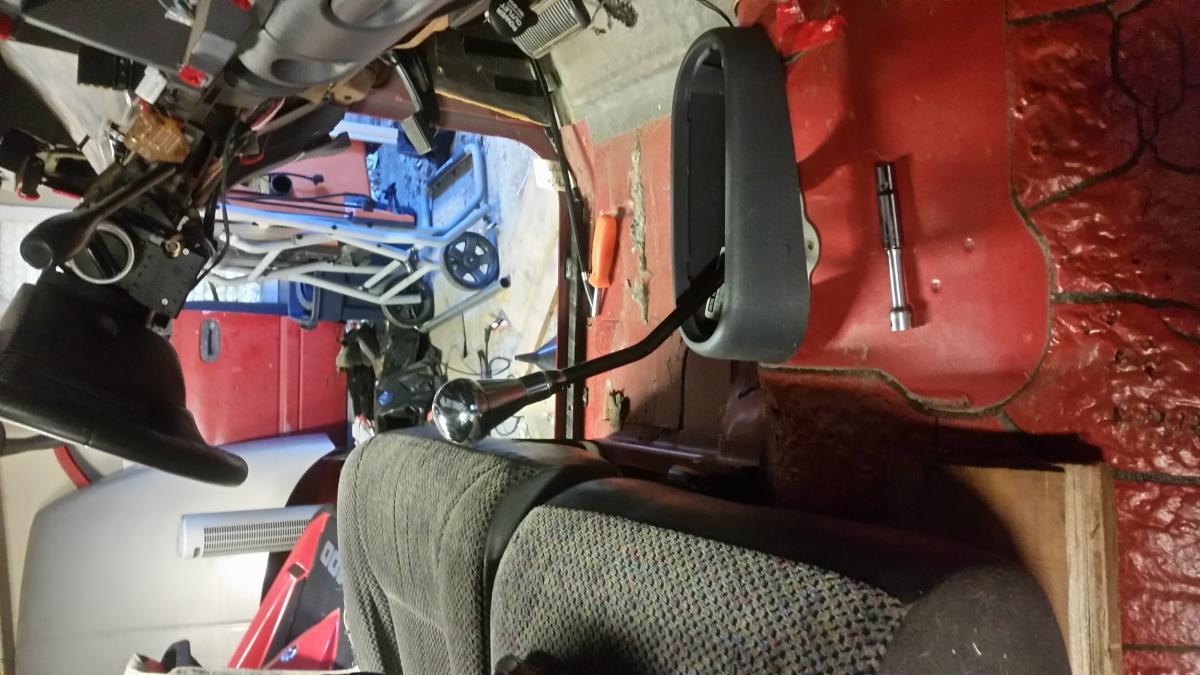
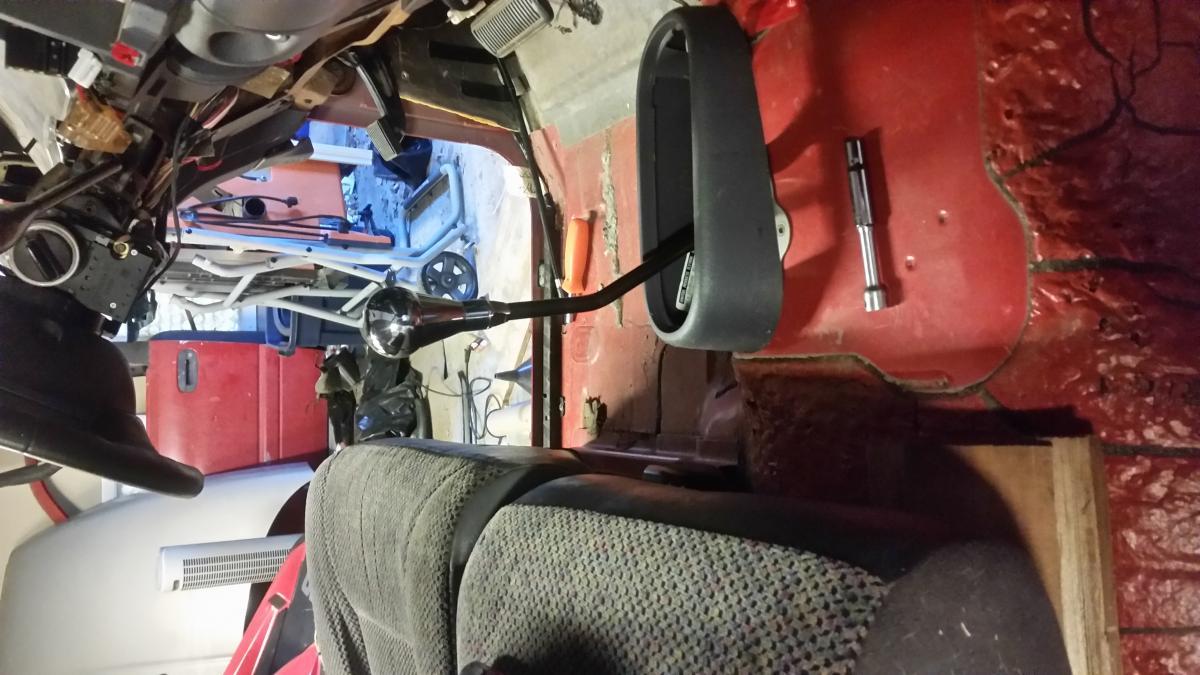
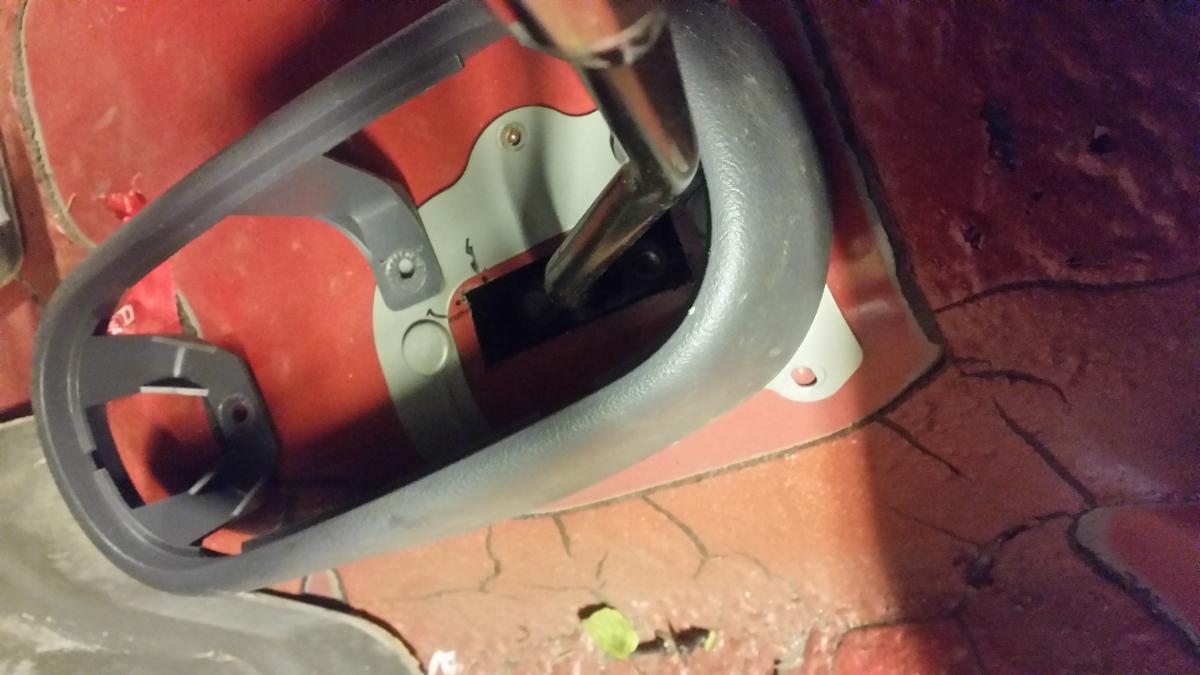
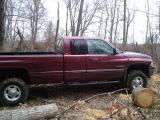
What I have today are pictures of the chassis all scuffed up and receiving the first coats of new primer I also have a small preview of the color not ever found on a Ram but on a 2012 and newer toyota.  I plan to follow this project with photos and updates as they come along,I plan to share the interior refurbishments new dash top, new seat upholstery, carpet cleaning and headliner refinishing..

have a good day       

post-252-0-62684800-1417579049_thumb.jpg

post-252-0-26068800-1417579080_thumb.jpg

post-252-0-16553200-1417579110_thumb.jpg

Link to comment
Share on other sites

Today we got some black paint on the frame and its finally one color again only two more coats to go...  As far as the process and materials used I went simple since it was a frame.  We knocked down all the heavy scale which was minimal less than a square foot of scale rust and less than 2 square feet of surface rust.

I hit bad areas with chassis saver then scuffed rest of frame, remove all surface rust and rattle can primer 4 cans worth then I used up my 4 cans of xo rust enamel I also have a quart of xo rust that should be compatible left around so it will be top coated with a spray gun.  Ya I'm sure I could have coated it with something more expensive but I believe prep is what counts and rattle can can last just as long if prepped right...  

That being said it will be going to a professional body shop for paint on the body panels, at this rate it should be there by Christmas,... best present in years saying I was learning to walk again this time last year.


how do you guy think I should dress out the interior? I have 1 complete gray interior(that's what was in there) then 90% of the tan interior that came out of the red cab in the pictures and 90% of the black interior donor truck.

I am thinking using tan dash with black top and black/wood trimmed instrument panel bezel, tan seats with black trim, tan carpet, black A pillars, dark headliner (maybe camo)?...

at that point I'm stumped on the door cards as well as what would be the rear cab trim or C post cover.

Or should I stick to gray I'm sorry its confusing but the truck will be a dark green so I'm not sure on the gray interior...  

post-252-0-28676500-1417659527_thumb.jpg

post-252-0-73276000-1417660030_thumb.jpg

Edited by MoparFreak1988
  • Like 1
Link to comment
Share on other sites

Ya full four doors would be nice but I've got my hands full as is being a small 3 car garage and the other features I'm working on.  What I speak of is how it seems the norm is (I can here the screams coming) "murdering out" your truck, now it's not that it looks bad I particularly don't mind it though, I like to be unique and have my own style.  So I'm going green and polished metal(wheels bumpers) with a black accent here and there.  
Now I personally hate the factory bumpers and that stands for almost all the generations of ram as well as I believe the ranch hand, ali arc and road armour bumpers are to should I say 90's.  

I plan to build custom front, rear bumpers and matching side steps that second as rock sliders.  I plan for theses pieces to accent the truck as well as add much needed protection in key area I believe the will be aluminium bumpers stainless sliders.  I have a close friends and relative that co own a cnc shop so these parts will be made mostly by someone else based on their knowledge of metallurgy and my weight restrictions.

The front bumper will be a winch bumper that will be streamlined as much as possible with a fully sealed winch box to prevent rust belt assault on a expensive winch. 

I was told to permanent mount over mobile because in recovery situations where you are not pulling in a straight line it is very hard on receiver mount set ups being how heavy our trucks are.  :shrug:  thoughts?

I'm hoping the aluminum will keep the weight down enough to where it does not affect the front suspension very much...

Curious to hear what you guys think about how much weight can be added before serious re-engineering has to occur to save wheel bearings, ball joints and sway bar end links from premature failure.       

Edited by MoparFreak1988
Link to comment
Share on other sites

So I thought I would post this picture since I have a 4wd truck and bought a 1500 2wd sport cab what is cool is the only modification you will need for the swap to work is a hole for the t-case handle at first it seems like it could be a pain measuring it all out, but Dodge did you a favor gave you a template and even put dimples as to where to drill holes to mount the plate  :thumb1:

Paint is about to fly so I'll have to hold off on the last holes and the actual hole for the handle till after the last coat goes on the chassis.

The other nice thing about the setup is the weather tight cup on the bottom of the body where the handle comes through the body, makes it so you can cut out the full open rectangle area of the silver plate in the picture and it will still be weather tight or you can cut a precise hole which is what I plan to do

post-252-0-18433800-1417747286_thumb.jpg

Link to comment
Share on other sites

Chassis is all painted up got the hole in the floor and now I need bodies, because the cab is going on today in about two hours :hyper:

then we will be putting the wiring in along with the factory gray dash, we are doing it this way to speed things up a bit and will finish interior work after it comes back from paint.

Pictures to come 

Link to comment
Share on other sites

Its not to bad once the interior is gutted down to the dash there are 7 major systems preventing the separation of cab and chassis  I'll go through what I did pictures will be at the bottom detailing the systems

  • steering column:  this comes out as one unit steering wheel and automatic shift lever attached, there are 6 mount bolt one set screw for the steering shaft collar and a pop pin that holds the automatic linkage together.  there is a trim panel with t15 screws in them and a cross member that need to come out two screws hold the member in place
  • post-252-0-55450300-1418077160_thumb.jpg
  • post-252-0-91167400-1418077369_thumb.jpg
  • post-252-0-11596300-1418077243_thumb.jpg
  • Dash: 6- 8 if you include the column screws that hold steering column and dash 3 hvac connections  and about six main electrical connections I removed the gauge cluster as well I don't think that is required
  • HVAC box 5 maybe 6 mounting screws 3 or 4 are on the fire wall you will need an A/C line quick connect removal two of multiple sixes I think 5/8 7/8 and 3/8 are needed you must remove the computer and mounting plate to access these screws.
  • post-252-0-27726400-1418077039_thumb.jpg
  • the wiring harness this has two parts one part is engine side one is cab side,  cab side must be separated from engine side and engine side must be fed through the firewall.  this is a plug and play connection, everything is color coded so you cant screw it up.  I must say labeling the harness was a big help 
  • post-252-0-08399900-1418077295_thumb.jpg
  • post-252-0-92623300-1418077208_thumb.jpg
  • 6 body bolts: easy self explanatory  :thumb1:   BTW if you have a rust belt truck OIL OIL OIL AND OIL SOME MORE if its a bolt and it needs to come out oil it up in advance like overnight and your hands and head will thank you
  • post-252-0-34669900-1418077083_thumb.jpg
  • 2 fenders  the passenger side is easy as pie, drivers side on the other hand has a few things going on other than a battery mount we have rwal or 4 wheel abs mounted there fuse box and some solenoids.  It's all easy and pretty self explanatory
  • hood: easy as pie 

That should cover most of it things I did to make my life easier

  • Fenders off first
  • Remove hood
  •  Oil the sh*!t out of everything
  • pictures and labeling should be neat, thorough, organized and make sense to you or your buddys that are helping you
  • As stated above if you have multiple people working on it be organized and Know what everyone is doing, and make sure they understand each other's process. 
Edited by MoparFreak1988
  • Like 2
Link to comment
Share on other sites

I was trying to get it ready for it appointment with the painter and forgot a few things like ordering the new bushings in time at this point there are only 5 installed as one was seized/bent from the crash and had to be persuaded out with a gas ax, I have new ones on order.  they are pretty much rusted out and dry rotted,  I refer to the metal sleeve in the center is badly rusted.  they will be an easy swap when it comes back from paint my other whoops moment is you can see the engine bay is painted well I forgot to get the fender extensions painted.  they tie the fender and cab together,  until I get those back from paint I'm dead in the water  :doh:.  

side note be careful when ordering the bushing as a lot of aftermarket are poly and with our diesel's and vibration I think that would be a really bad idea  :shrug:

Link to comment
Share on other sites

×
×
  • Create New...