Jump to content
Posted
  • Popular Post

Well new to me at least!

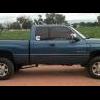
Some of you helped me out in my other thread when looking for one. Well I finally pulled the trigger and picked one up!

It's a 2002 4x4 QC LB auto. Single owner, garage kept majority of its life, never had a goose neck or 5th wheel (which is harder to find than you'd think up here). Came with a 2in leveling kit and 35's and a hypertech 'tuner' to fix the speedo. Other then that, she's all stock. I crawled under to check for any signs of a 53 and couldn't find anything, so I might have a mexican block, but I'm going to keep checking. I couldn't be happier! I originally wanted a manual, but the wife said, if I'm getting a new truck then she better at least be able to drive it. So rather then argue, I just said 'ok' and got lookin!

Anyways, wanted to start a thread here because, since it is stock and I'm planning on keeping this truck for the long haul, I wanted to do some mini write ups of the mods and what not I get done to her. As of now, here's the order I want to go in:

1. FUEL! and lots of it!
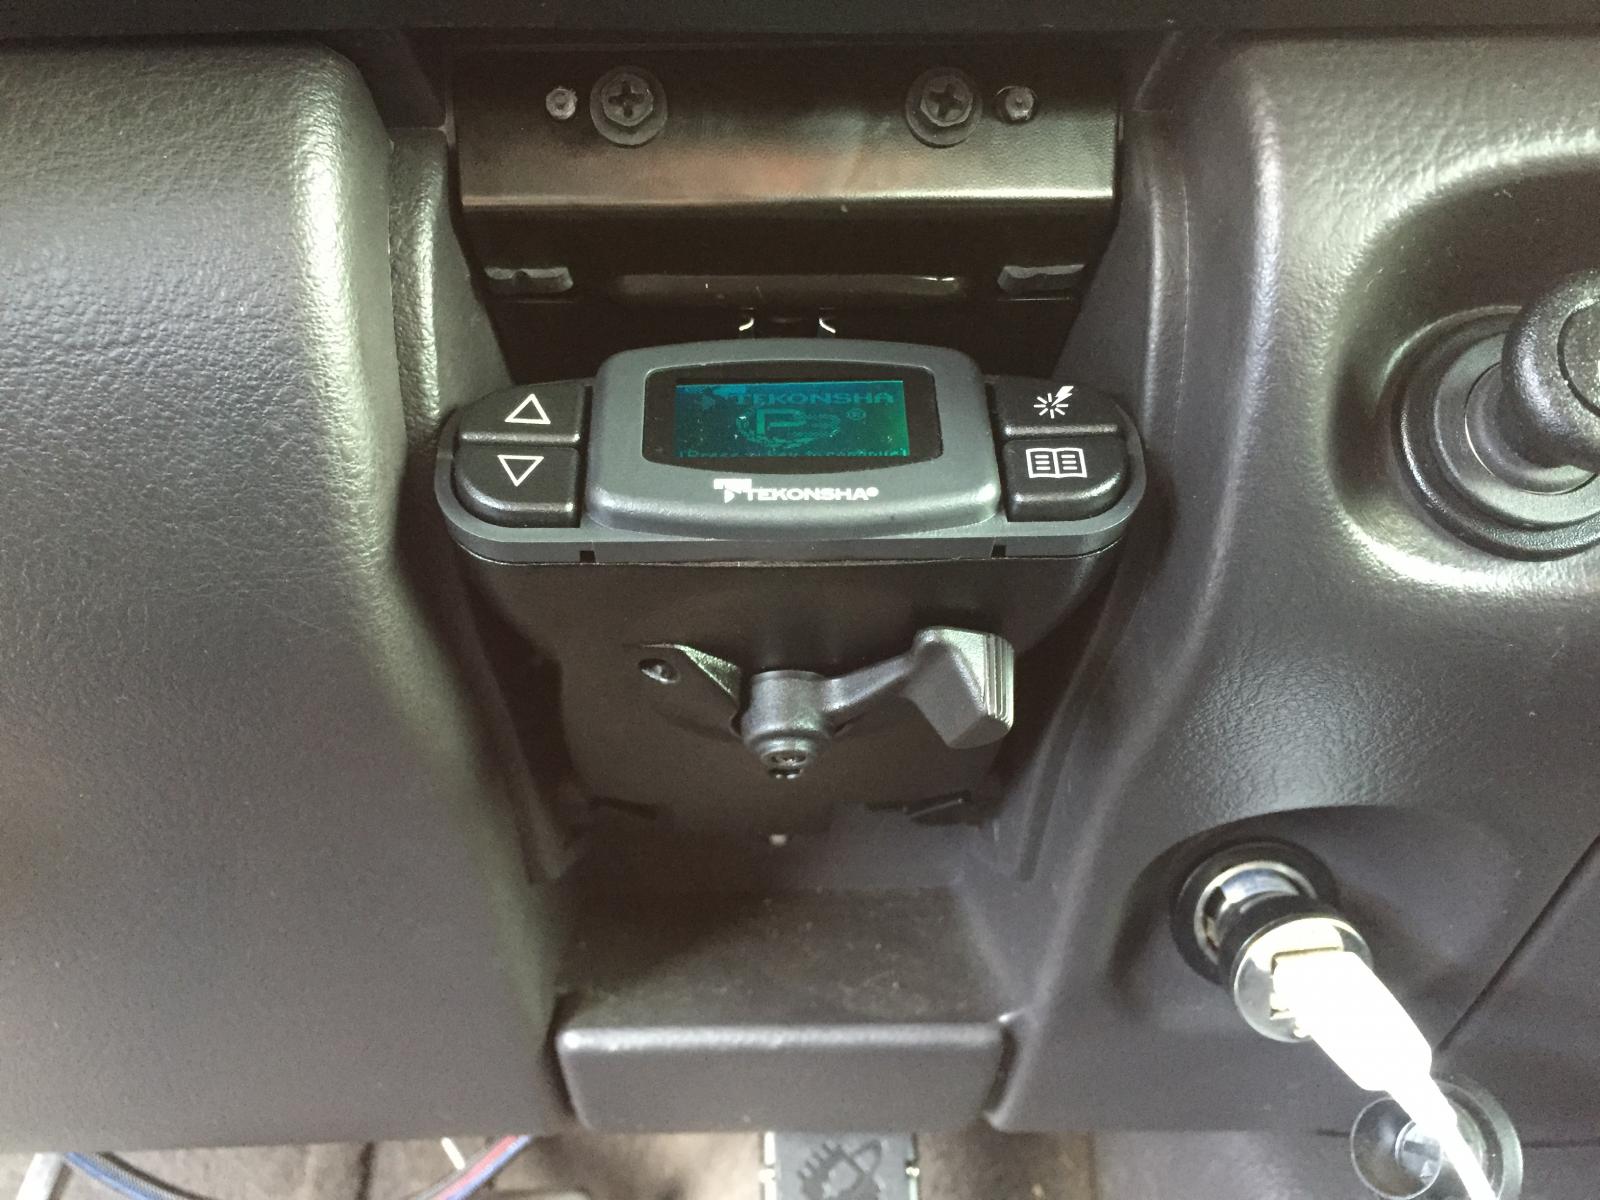
2. Gauges

3. Steering

4. Transmission

5. More power!

3 and 4 may get swapped around depending on what's needed more and my budget but that's the general order.


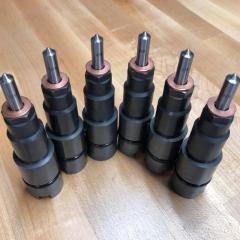
So to start, fuel... The stock injection pump was replaced by the dealer 50-60k miles ago so it should have some decent life left, and it looks like they moved the stock lift pump. I didn't track it down exactly, just looking fairly quickly, and couldn't find it mounted on the frame, did they do in tank LP's for 02's? I'd like to fatten up my fuel lines to 3/8s everywhere possible, also looking to go with the Fuel Boss, but not sure how that works if my LP is mounted in the back in tank if that's even a thing. Any ideas or experience with this? As of now I'm looking at getting the following for step 1.

FUEL BOSS ----- BIG LINE KIT ----- MOD FUEL MODULE

As far as fuel lines, the obvious is the big line kit from Vulcan but I figured I'd talk with Eric about getting lines replace as much stock line as possible. I also threw on the modified fuel module. I saw that as I was browsing their site and hadn't seen it before. Is that necessary at all? Keep in mind I'm just looking to have fuel flow as easily as possible through the truck. When more power rolls around I don't plan on going EXTREME, but would like lack of fuel to never be thought of again after this.

I'll leave at this for now but really looking forward to wrenching on this truck and getting her setup for the long haul!

02RAM.JPG

  • Replies 238
  • Views 29k
  • Created
  • Last Reply

Top Posters In This Topic

Most Popular Posts

  • Quick update post here... I had to get mud flaps put on the truck  I'm personally not a big fan of flaps or flares but local law enforcement sure is!  Anyways I had a local shop fab up some brack

  • Ok so just wanted to put this here so I can have everything I've done on the truck in one spot.    I wanted to copied Mikes idea of putting lights up under the axle because I couldn't see an

  • SWEEEET!!! As for fuel, it's located on the block from the factory. Since the IP was replaced by the dealer you now likely have the in-tank pump. I'm not familiar with the mechanical pumps,

Posted Images

Featured Replies

  • Author

Well parts for my fuel and gauges are trickling in here over the next couple of days, I just need to get this tank of fuel closer to E before I attempt to drop it.

I've been doing some thinking about my suspension/steering upgrades to come, what's everyone's thoughts on the Lukes Links? They seem pretty durable and easily adjustable? I know everyone preaches to put a brand a 3rd gen track bar or one from DOR or something but they're not without their flaws either and are 400+ so makes me second guess a bit. I was really thinking of going Lukes Links, new upper/lower ball joints, new steering stabalizer, BD end links, Bilstein 5100's and of course steering box stabilizer. Am I missing something? Could/should I go another route with something?

Edited by notlimah

  • Owner

I'm still running a stock OE style trackbar with no issues. The catch here is I'm not running oversized tires.

So... You are stuck having to modify and take on either a Luke's links or a 3rd Gen track bar conversion. I would suggest the 3rd Gen track bar myself. Those 35" tire will not allow you to keep a stock track bar. You'll have to consider a steering box brace. Those 35's put a lot of force on the steering box and frame. All I can say is expect to spend quite a bit of time fixing the front end on these trucks as long as you keep over sized tires. 

Edited by Mopar1973Man

  • Author

So I have the steering box brace in the garage waiting to go on the truck cans I ordered up a Luke's link for the track bar. I know it may be a bit of a bandaide fix given my current setup but it should be better then what's currently on it (nothing! Haha) so we'll see how long it last. If it starts becoming a problem I'll put a proper track bar on and call it good at that time. 

  • Author

IMG_2905.JPG.c1cc387bcdc8b42ca21b178850e

It's begun!

I finally got my fuel down enough to where I don't have to siphon too much gas out of the tank before dropping it. But that's where I've hit my first dilemma, need a impact wrench to get that forward most tank strap loosened up. I want to take my time modifying the fuel module with the draw straw and bigger return lines since this is the only part I am only unfamiliar with. Everything else should be fairly straight forward.  

  • Author

Well finally got the tank out! 

image.jpeg.74bbfaea3c0b5f9cad657cf6554c9

Really wish I would've known ahead of time that dropping the bolts on the carrier bearing would've made this easier! :mad:

Anyways, it's out and lesson learned. Couple things, there seems to be a good amount of small debri in the tank, should I worry about cleaning it out? If so how?

Next up is getting the fuel module fitted with the drawstraw 5 as well as the return line. 

image.jpeg.07b748f5018f51f1a60c60f8c0609

I would have warned you but i did not drop the drive shaft to get mine out. Would it have helped, probably so but it came out with the shaft in place for me.

As far as the debris is concerned, I left what little I saw in mine. If it worries you get out what you can. After all you can see what is and I can't.

  • Author

Luckily I didn't need to drop the whole drive shaft, just loosen it a good bit. I honestly wouldn't mind cleaning out the debris, just don't really know how to go about doing it.

  • Author

***Update***

Started working on the fuel module today. Had quite a few phone calls with Eric I between to help guide me since I didn't want to screw things up! 

image.jpeg.12f4a7f0409a1d37724a998615c87

Well that's how it started

image.jpeg.de940e5c6978b587b97d5cd4bac48

Ended up like that!:doh:

I was attempting to meet up with the already existing hole but my bit slid left somehow after I started drilling and I ended up snow coming it! Anyways, the rubber gasket still covers that area (it looks a lot bigger in the pic) but Eric recommended some epoxy just to be safe. So jb weld is in a drying as of now.

image.jpeg.7de6af385466534fd598e81a81dcd

image.jpeg.369161a2a2ac273784ce33448752d

More to come tomorrow!

My tank was mostly drained, I sloshed it til it sesettled in a corner then reached in and swept out the most I could.

As for the sump that thing can be hard to disassemble.. Mine was different than yours.

  • Staff
58 minutes ago, Mopar1973Man said:

Might of been easier to do the Jeep module over modifying this one.

Yes Mike, but it's nice to stay home, work on his truck and not have to go work another day.:thumb1:

  • Author

@Mopar1973Man I'm not familiar with the jeep module??

I knew this way would require a little more then just drilling the tank, but I really just didn't want to drill the tank, even though at this point it probably would've been easier. Talking with Eric at Vulcan and he says they mod these things alllll the time for AirDog so it's really more that it's just unfamiliar to me then actually really being difficult. If worse comes to worse I'll just have to order a new module from Eric and call it good. Either way I'm happy with the route I've gone. TBH, the hardest part yet was removing the freakin in tank lift pump!!  :mad:

@CSM Mine had the in tank lift pump so if yours was different I'd assume you didn't have to deal with that. I might just siphon out all the gas I can and try and get in there to clean out the little bits and pieces, otherwise I'm not too worried about it since the fuel module still has a screen and the fass has filters so it should keep the bad stuff out.

7 hours ago, notlimah said:

@Mopar1973Man

TBH, the hardest part yet was removing the freakin in tank lift pump!!  :mad:


I totally agree with you on that one! I think I had almost every pocket screwdriver I had wedged in there before it finally popped loose. It was worth it in the end...I didn't want to cut a hole in my tank unless I had to. 

Edited by BBHD

  • Author
1 hour ago, BBHD said:

I totally agree with you on that one! I think I had almost every pocket screwdriver I had wedged in there before it finally popped loose. It was worth it in the end...I didn't want to cut a hole in my tank unless I had to. 

Dude, it was the closest I've ever felt to being Macgyver in my life hahah It was like those little plastic tabs were on the verge of breaking the whole time!

1 hour ago, Mopar1973Man said:

Ah ok, didn't realize that was what they were called. That's my back up plan! This would've been a cake install had it been just the drawstraw5. It got complicated when trying to fit in the 1/2in return line as well. Working on a follow up post now.

Alright well another update...

So here's what the 'finished' hole fix ended up looking like

IMG_2922.JPG.73e391a8dbffe923866bbb52a3b

Over all it's not too terrible. Should hold up pretty well since it was mainly there to give the rubber gasket on the bottom a more thorough seal. Never mind the botch job on the left there! :whistle:

Next up are the washers underneath. IMG_2924.JPG.708b0d1cd3ca84c1b6860f0c8d7

This is the reason that this mod was as difficult as it was. Had I just been installing the drawstraw5 it would've been no problem because room would not have been an issue. Adding the DS5 and the return line made things a little more constrained. You need to keep enough separation so you can slide a socket over the bottom nut to tighten it without hitting the otter nut. But, things are limited to where they can move up top, so, grinding down the washers to fit underneath was a must.

Here's the bottom with everything installedIMG_2926.JPG.634f931864dbae46f47d6f5e4f0

And the top

IMG_2925.JPG.c981d018519c535d5e1c5602380

This was my next challenge. Tightening down the red (DS5) was easy since you have room to fasten a wrench on to hold it down. But once the first one is in place, there's now no longer any more room to attach a wrench too to get any leverage to tighten down the nut underneath. I ended up having to remove the JIC fitting so I could grab hold of the aluminum fitting. It worked in getting everything tight, but I rolled the very first thread at the 9 o'clock position on the silver piece. I thought I ruined it, but it was slight enough (wrench must've rolled in when tightening) that I was able to thread/unthread the JIC fitting more and more each time and 'work it out' enough to tighten. Applied some locktite 545 and called it good. My last thing I need to do prior is to get the OEM suction port filled up to make sure it's sealed. I'll more then likely get a couple plastic tipped pieces, fill with JB weld and shove them over and call it good.

The finished product, minus wiring and zip ties

IMG_2928.JPG.389030f2c2893374a1aaf931a5b

Either way, I'm hoping that learning and making mistakes during this process doesn't produce any leaks. Otherwise it'll be another tank drop and more than likely just shell out the dough for a module from Vulcan done the right way!

Next on the agenda is to get in the tank and clean up all the little debris I saw when originally removing the fuel module.

I kept trying to figure out why you were having problems because My AD was not that difficult. But I see why now. With the AD I just cut the tabs and removed the pump and attached a bracket to hold the the pickup and reused the existing return line. So I only had to drill one hole in the top for the pickup. Not saying mine is any better or worse, they are just different. Of course mine is an AD and I will always have that nagging feeling of pump failure. I lost the original pump about 8 months ago and have no idea how good the new one is.

  • Author

@dripley Yea if I were just adding the one pickup, easy peasey! But squeezing two in there is tough! The only thing that made me choose this route as opposed to just cutting the filler tube and running the return line there was to hopefully avoid any fuel pickup issues with sloshing and what not when lower on fuel. I know it might seem marginal to some, but talking with Eric he mentioned it was a possibility and I figured if I'm going through all trouble I might as well try and do what I can to avoid any potential issues. 

All of my return goes into the basket using the old pickup for the pump return on the existing return for the engine return. I did not cut the neck.

  • Author

So it runs an adapter to take your return line from your lift pump to go into the old OEM supply line?

I assume you just ran your VP return line through the OEM one as well correct?